Home>Ideas and Tips>Upgrading Your Home’s Attic With DIY Recessed Lighting

Ideas and Tips
Upgrading Your Home’s Attic With DIY Recessed Lighting
Published: September 20, 2024
Upgrade your attic with DIY recessed lighting! Learn step-by-step installation, benefits, and tips for a sleek, energy-efficient space.
(Many of the links in this article redirect to a specific reviewed product. Your purchase of these products through affiliate links helps to generate commission for Storables.com, at no extra cost. Learn more)
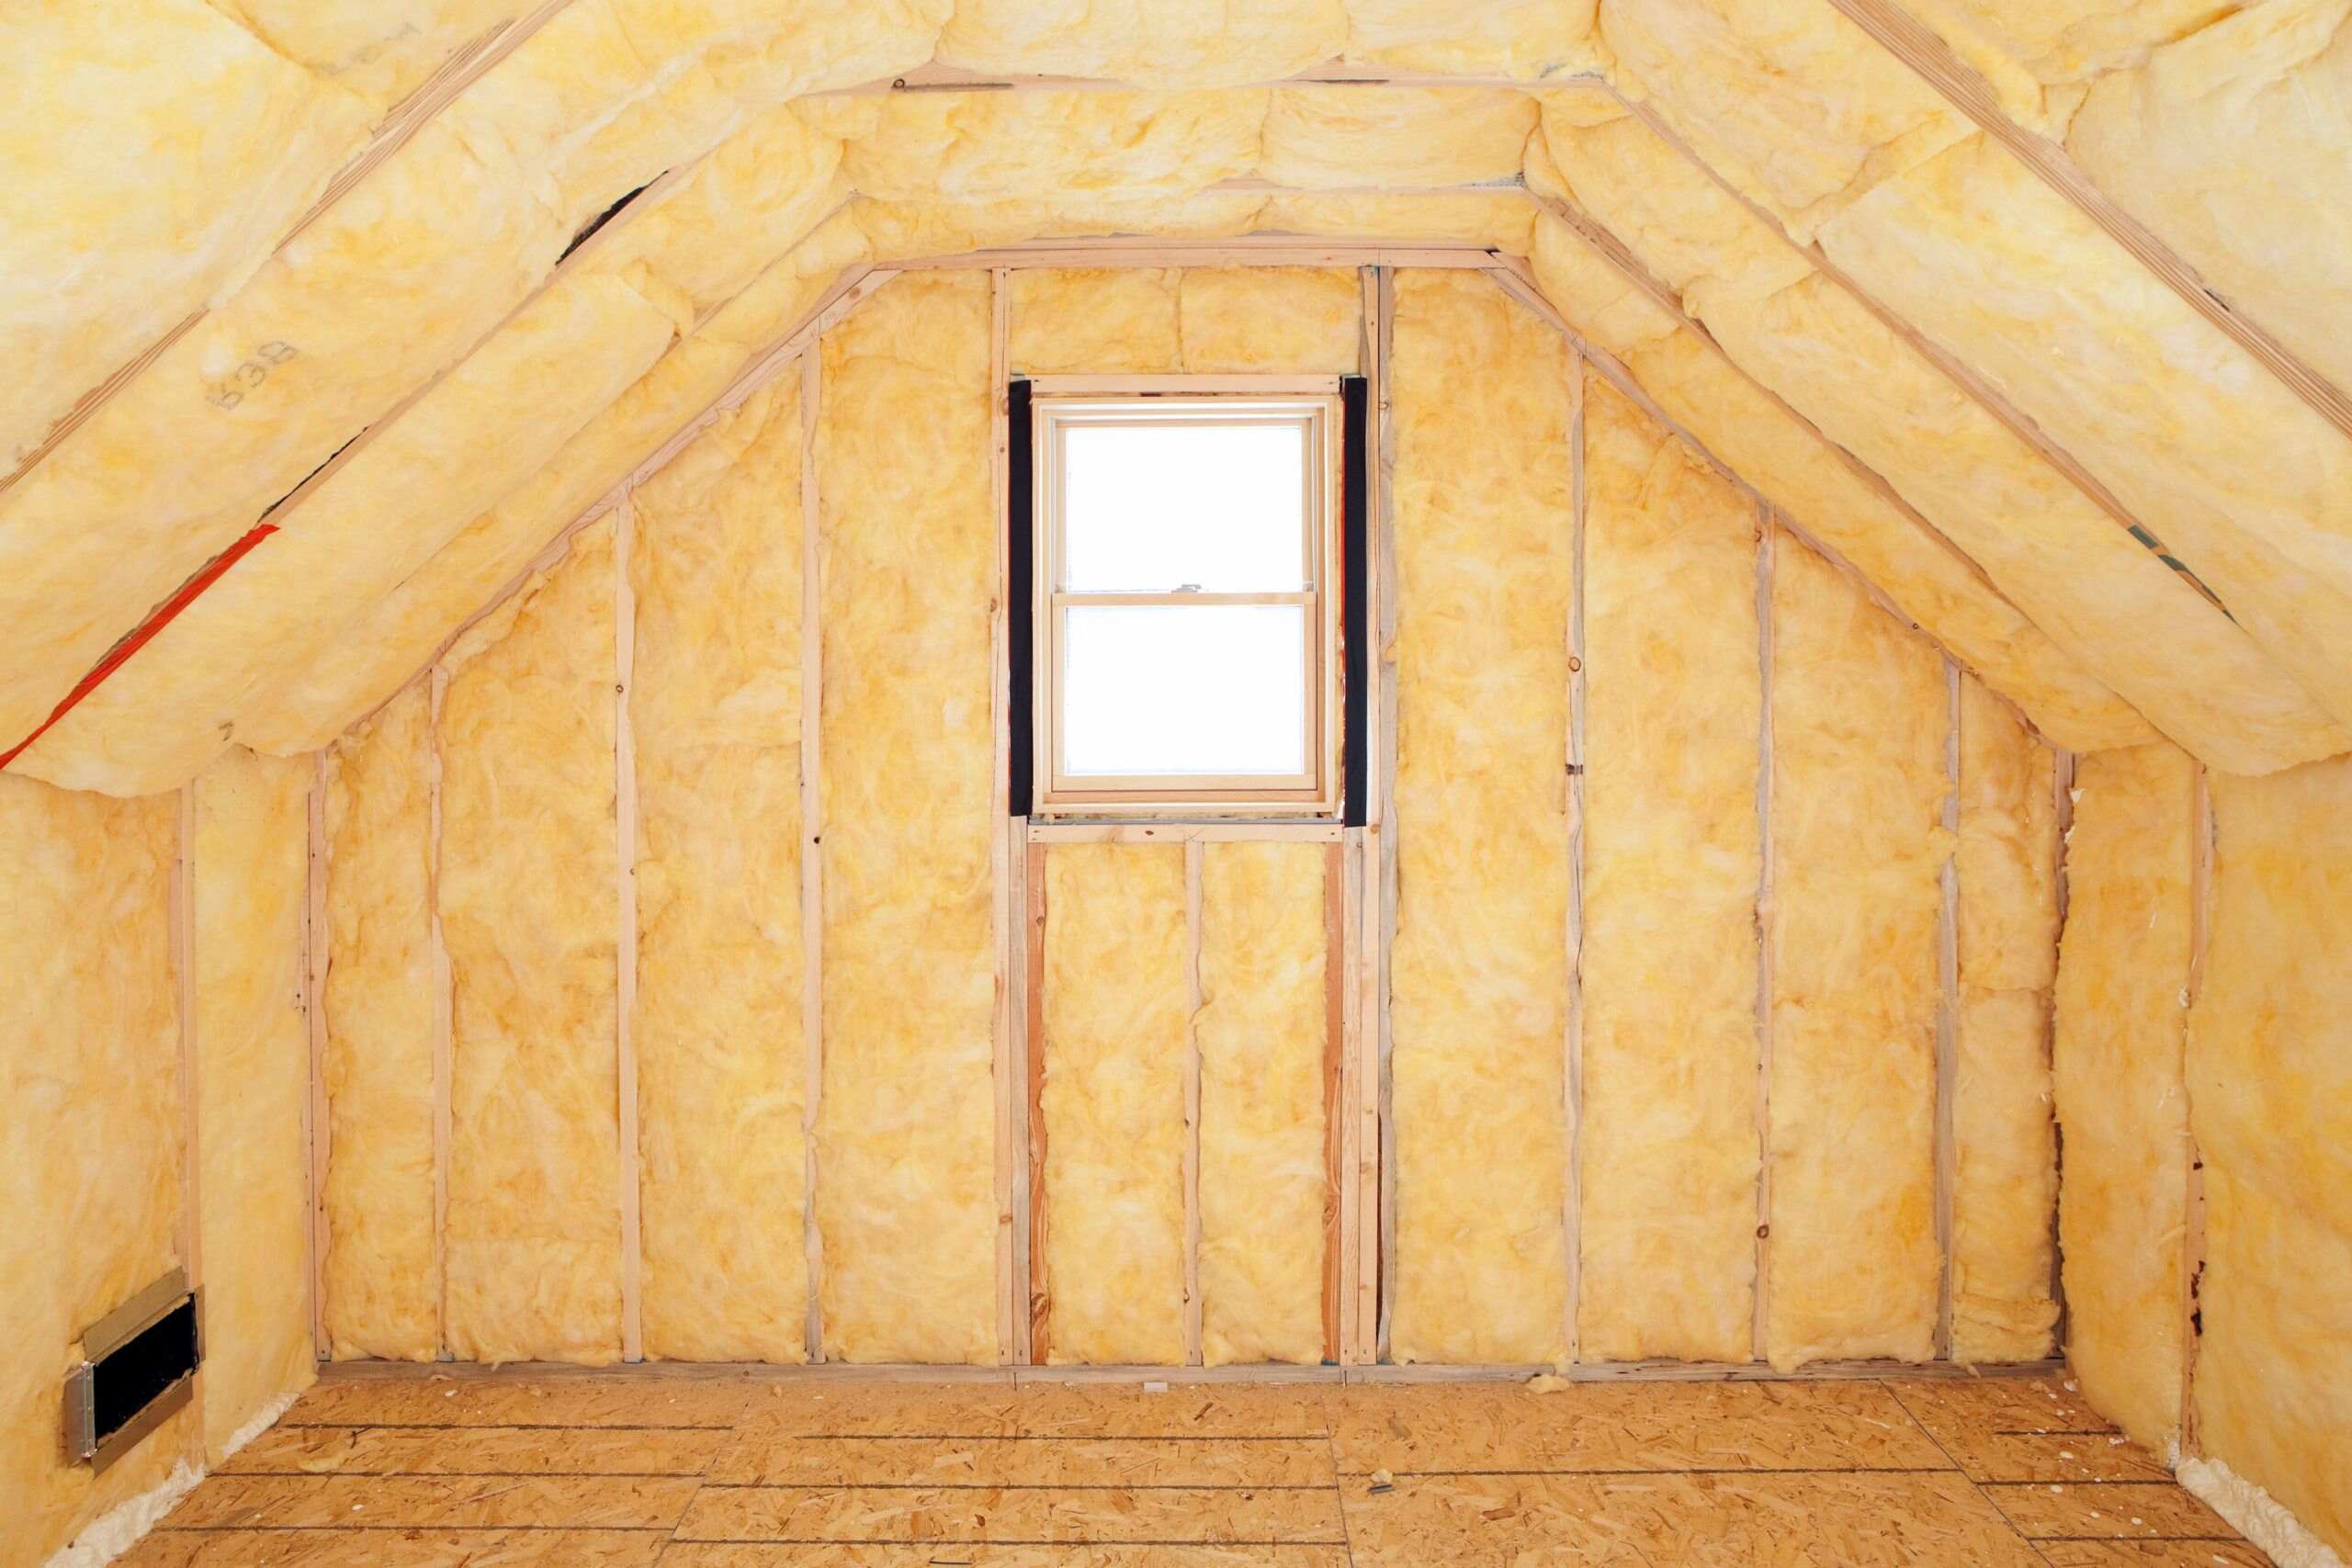
Upgrading your home's attic with DIY recessed lighting can be a fantastic way to enhance the ambiance and functionality of your living space. Recessed lighting offers a sleek, modern look that can transform any room, from the kitchen to the bathroom, and even the attic. In this article, we will guide you through the process of installing recessed lighting in your attic, covering everything from preparation to installation.
Why Choose Recessed Lighting?
Recessed lighting is a popular choice for many homeowners due to its versatility and aesthetic appeal. Here are some reasons why you might want to consider installing recessed lighting in your attic:
-
Aesthetic Appeal: Recessed lights provide a clean, streamlined look that can enhance the overall appearance of your attic. They are particularly useful in spaces with low overhead, where traditional lighting fixtures might look out of place.
-
Energy Efficiency: Modern recessed lights often come with energy-efficient options like LEDs, which consume less power and last longer than traditional bulbs.
-
Task Lighting: Recessed lights can be used for task lighting, providing focused illumination where it is needed most. This is especially useful in areas like kitchens and bathrooms where specific tasks require clear visibility.
-
Space-Saving: Unlike traditional lighting fixtures, recessed lights are installed directly into the ceiling, making them ideal for spaces where floor space is limited.
Preparing for Installation
Before you start your DIY project, it's essential to prepare thoroughly. Here are some steps you should take:
-
Assess Your Ceiling: Determine if your ceiling is made of drywall or another material. This will help you choose the right tools and materials for the job.
-
Choose the Right Fixtures: Select recessed light fixtures that are suitable for your attic space. Consider factors like the size of the fixture, its color temperature, and whether it is IC-rated (insulation contact-rated). IC-rated fixtures are designed to be installed in ceilings with insulation, which is common in attics.
-
Gather Tools and Materials:
- Tools: You'll need a drywall saw, wire cutters and strippers, a voltage tester, a stud finder, and a right-angle drill/driver.
- Materials: You'll need properly rated electrical cables (NM-B), wire nuts or connectors, and recessed light trim kits.
-
Turn Off Power: Ensure that the power to the circuit is turned off before starting your project. This is crucial for safety reasons.
Step-by-Step Installation Guide
Step 1: Plan Your Layout
- Decide on Placement: Determine where you want to place your recessed lights. Typically, they are spaced at intervals of 4 feet to ensure even illumination.
- Mark the Ceiling: Use a template provided with your recessed light fixture to mark the circular cutouts on your ceiling.
Step 2: Cut Holes in the Ceiling
- Use a Drywall Saw: Cut out the marked holes using a drywall saw. Alternatively, you can use a specialty drill bit that cuts circles and has an integral dust and cutoff collector to minimize mess.
- Avoid Joists: Make sure not to cut through joists as this can weaken the structure of your ceiling.
Step 3: Run Wiring
- Drill Through Joists: If necessary, drill through joists to run wires between lights.
- Use Fish Tape: Use fish tape to guide wires through narrow slots cut in your ceiling for minimal tear-out.
- Strip Wires: Strip at least 4 inches off both ends of each wire using wire strippers.
Step 4: Install Wiring
- Pull Wires into Junction Boxes: Pull stripped wires into each recessed light's junction box.
- Connect Wires: Connect wires using wire nuts or connectors according to manufacturer instructions.
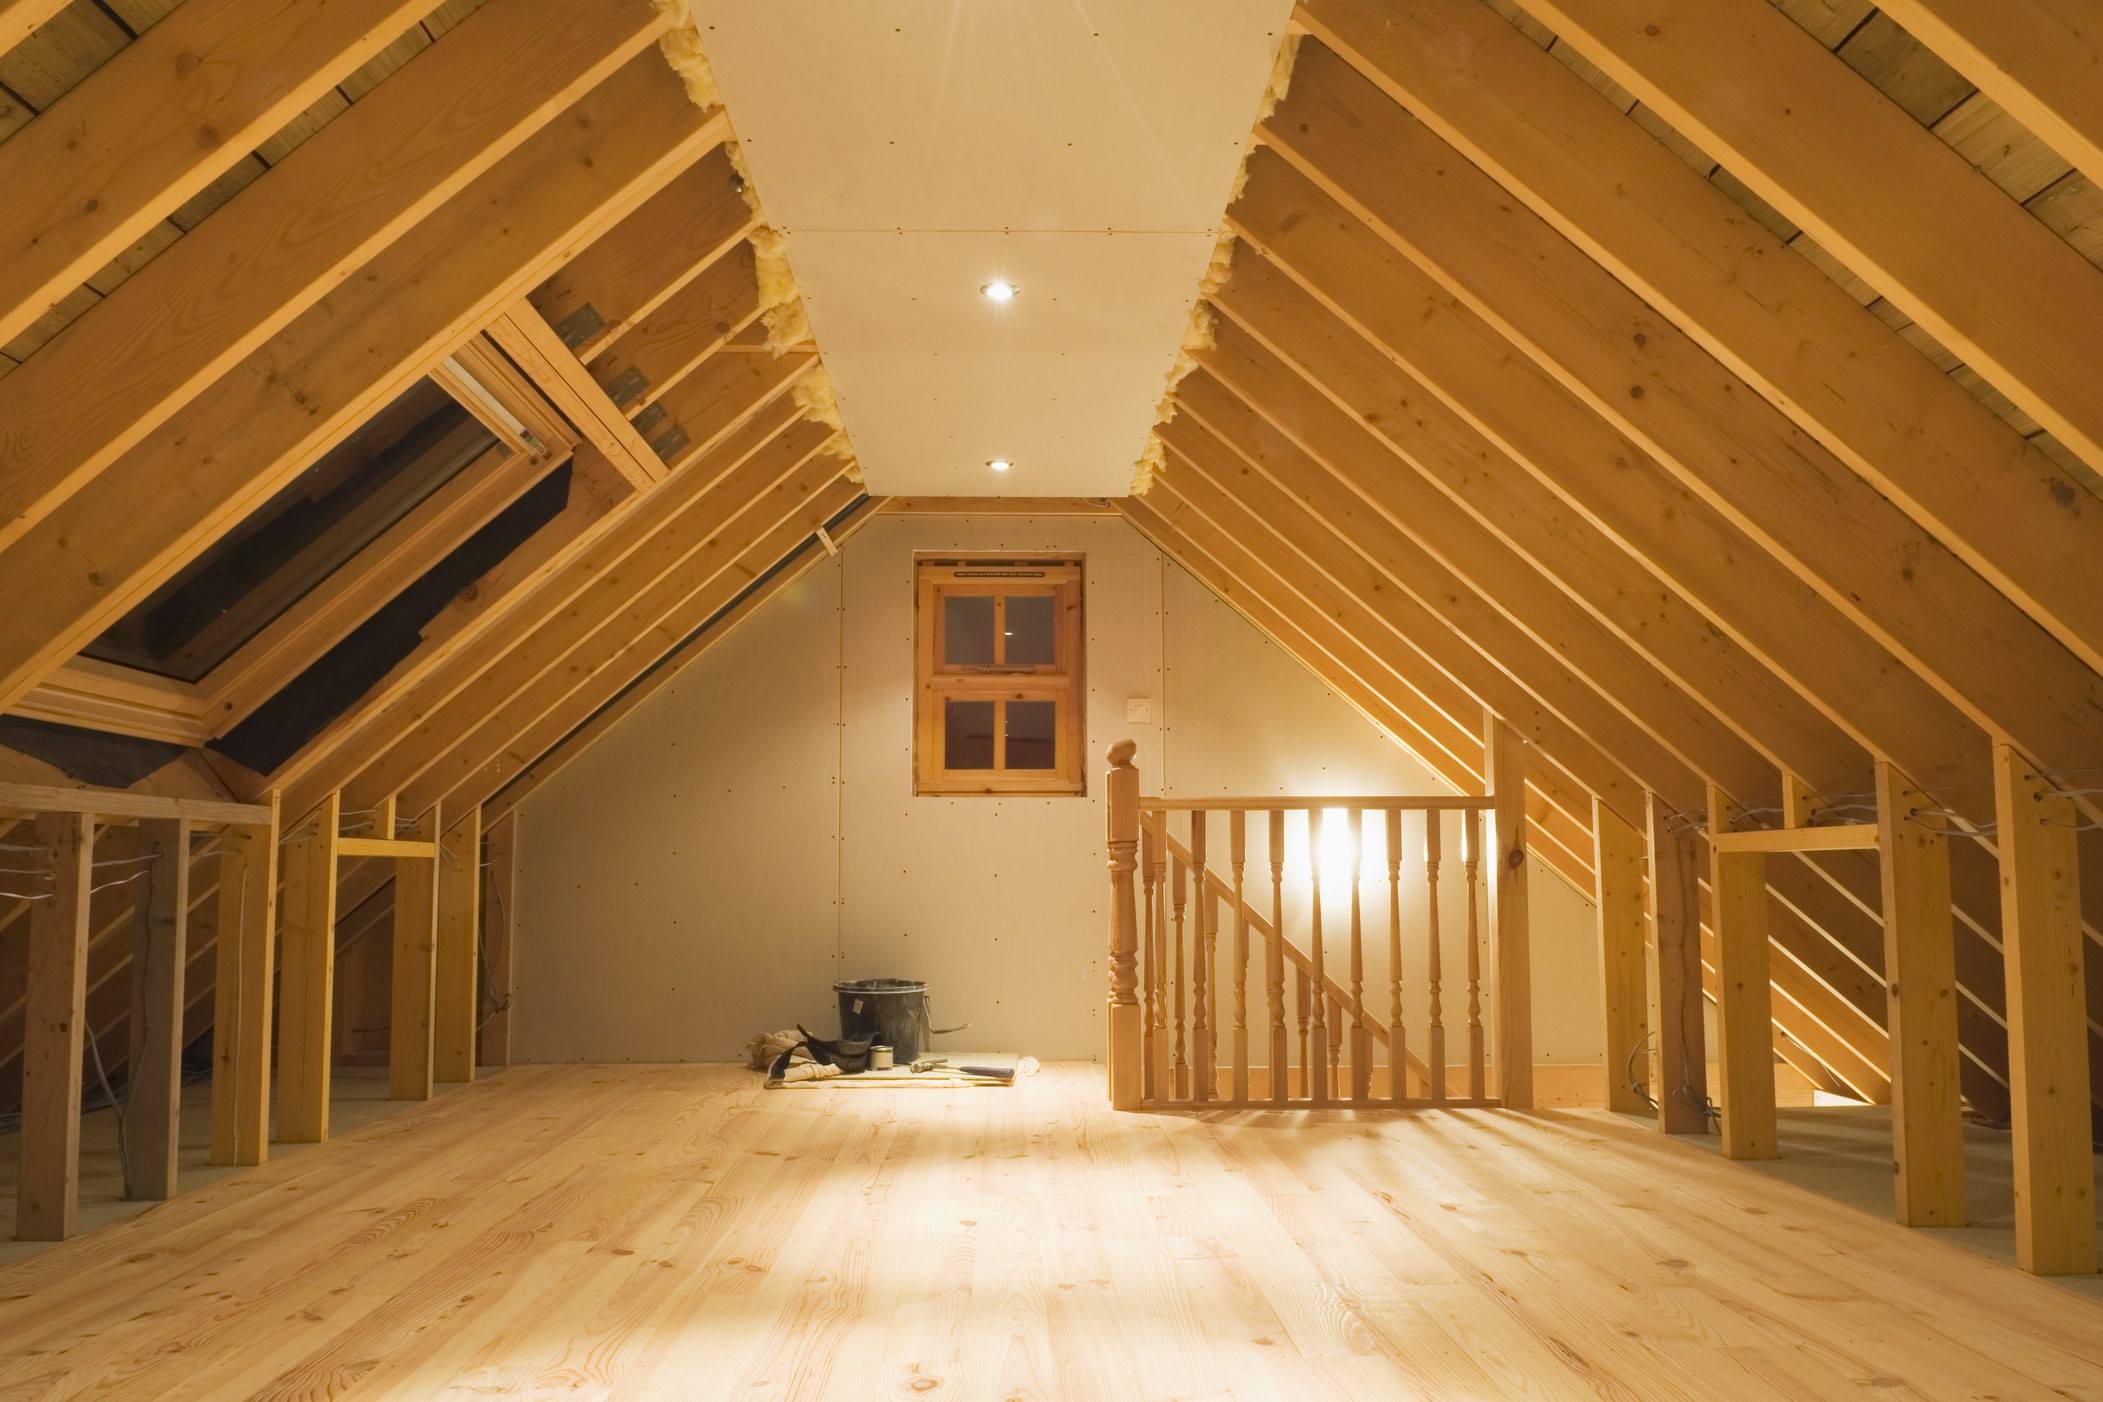
Step 5: Install Recessed Lights
- Push Light Housing into Cavity: Push light housing into new cavity and clip it in place on top of drywall.
- Insert Trim Kit: Firmly insert trim kit so it’s flush with ceiling.
- Screw in Bulb: Screw in appropriate bulb for housing.
Step 6: Test Your Lights
- Turn Power Back On: Turn power back on at circuit breaker panel.
- Test Each Light: Test each light individually using a voltage tester to ensure they are working correctly.
Additional Considerations
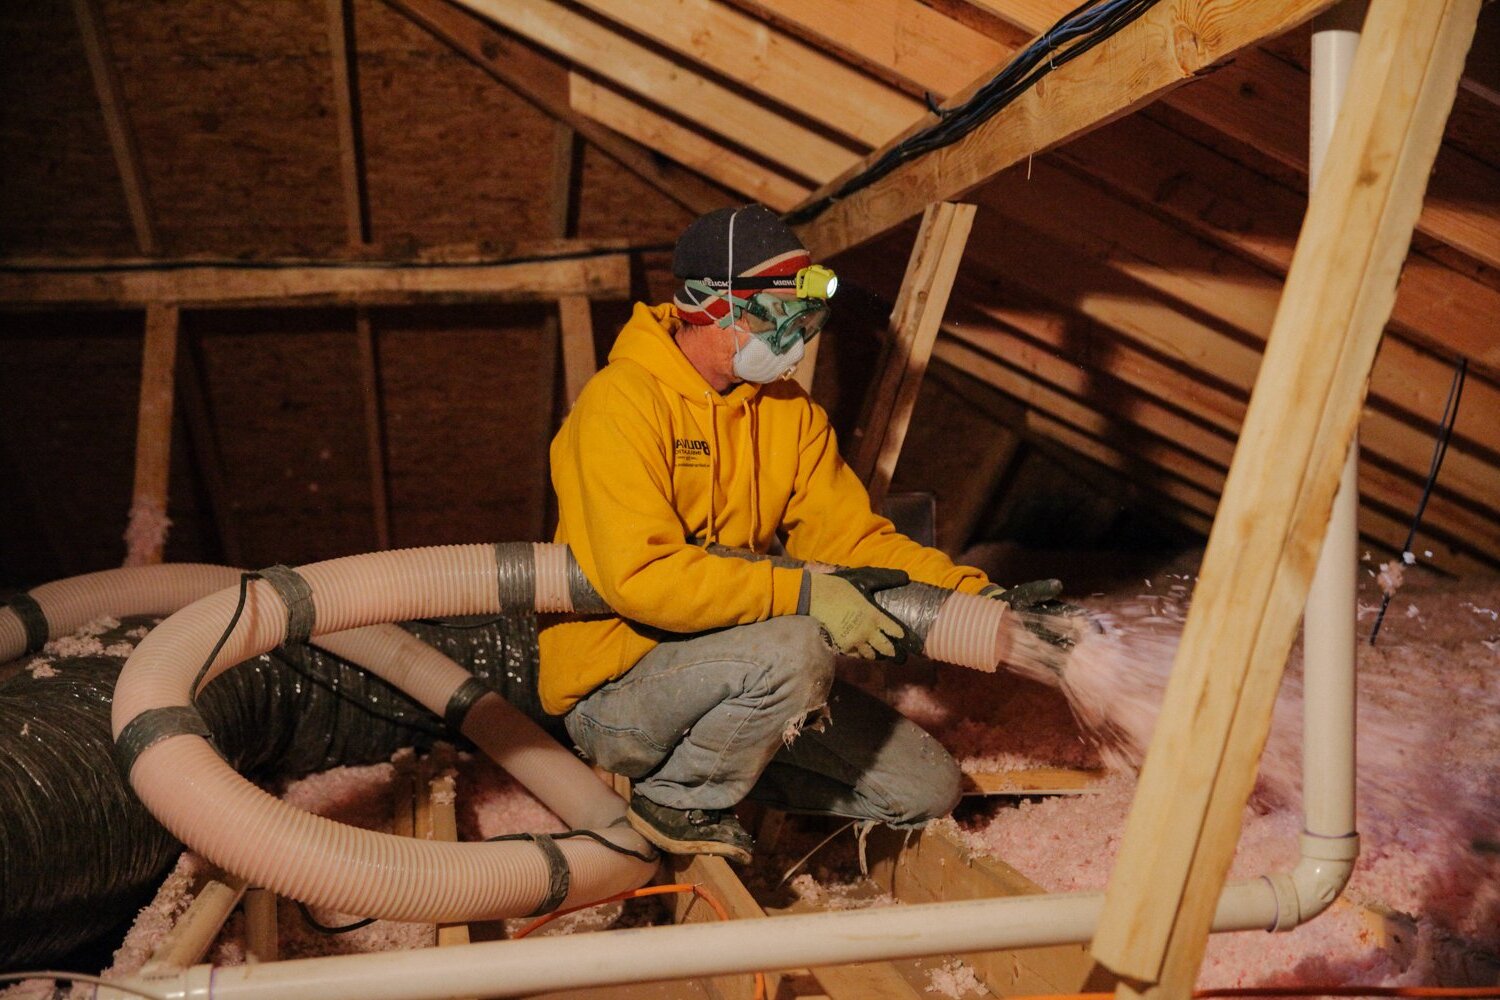
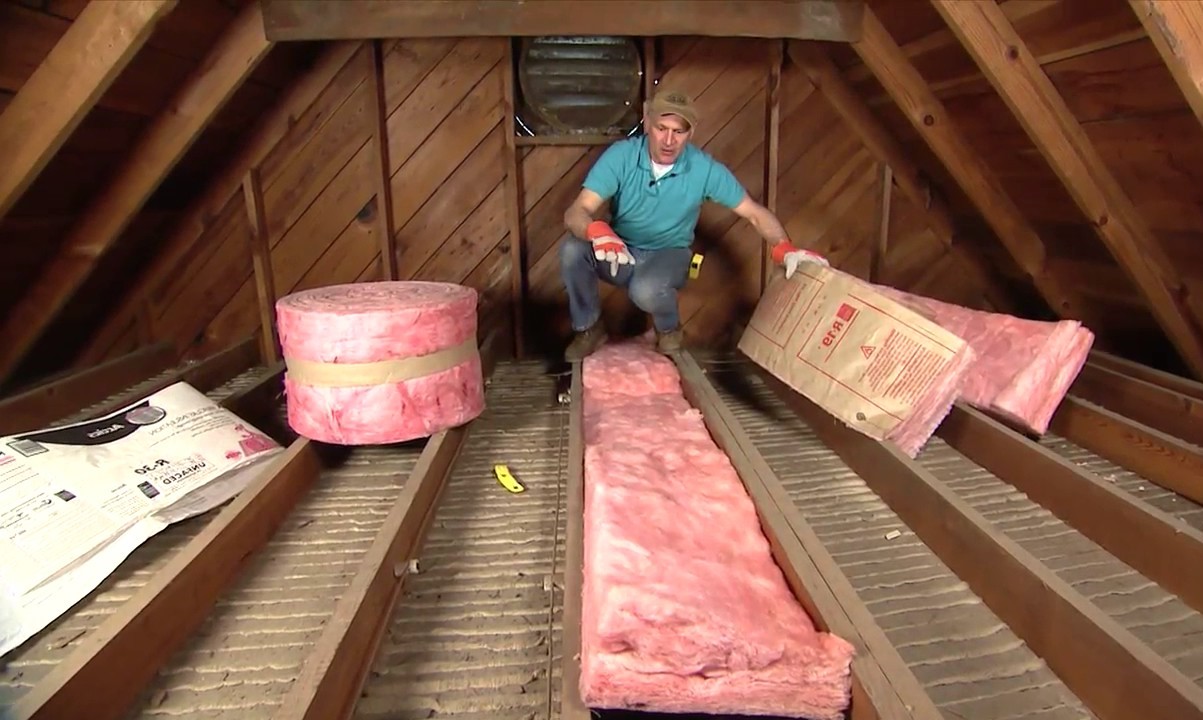
Insulating Recessed Lights
If you have no attic above your ceiling, insulating recessed lights becomes crucial to prevent heat loss and energy consumption. Consider using air-tight trim kits and LED bulbs which are more energy-efficient.
Handling Moisture Issues
When installing recessed lighting near an attic zone, ensure you use vapor-proof boxes that seal into the vapor barrier to prevent moisture issues.
Hiring Professional Help
While many homeowners can handle this project themselves, there are situations where hiring a professional electrician might be necessary—especially if you're dealing with vaulted ceilings or complex wiring configurations.
Cost Considerations
The cost of installing recessed lighting varies based on several factors including whether it's part of a retrofit or new construction, the number of lights needed, and technical specifications like IC-rated housings or smart lighting systems. On average, installing one new recessed lighting fixture costs around $180.
Benefits and Drawbacks
Benefits:
- Aesthetic Appeal: Provides a sleek, modern look.
- Energy Efficiency: Often comes with energy-efficient options like LEDs.
- Task Lighting: Useful for focused illumination in specific areas.
- Space-Saving: Ideal for spaces with limited floor space.
Drawbacks:
- Complexity: Can be more complicated than traditional lighting fixtures.
- Cost: May require additional materials and labor costs depending on complexity.
- Moisture Issues: Requires careful handling to prevent moisture-related problems.
Conclusion
Upgrading your home's attic with DIY recessed lighting is a rewarding project that can significantly enhance both the functionality and aesthetic appeal of your space. By following these steps and considering additional factors like insulation and moisture issues, you can achieve professional-looking results without breaking the bank. Whether you're looking to create task lighting in your kitchen or simply want to brighten up your living room, recessed lighting is an excellent choice that offers numerous benefits for homeowners.
Remember always to follow safety guidelines when working with electricity, and if you're unsure about any part of the process, it's always best to consult a professional electrician for assistance. With patience and attention to detail, you can successfully install recessed lighting in your attic and enjoy its benefits for years to come.
Was this page helpful?
At Storables.com, we guarantee accurate and reliable information. Our content, validated by Expert Board Contributors, is crafted following stringent Editorial Policies. We're committed to providing you with well-researched, expert-backed insights for all your informational needs.


0 thoughts on “Upgrading Your Home’s Attic With DIY Recessed Lighting”