Home>Furniture>Outdoor Furniture>How To Replace Patio Screen
Outdoor Furniture
How To Replace Patio Screen
Modified: March 7, 2024
Looking to replace your patio screen? Learn how to do it yourself with our step-by-step guide. Upgrade your outdoor furniture effortlessly.
(Many of the links in this article redirect to a specific reviewed product. Your purchase of these products through affiliate links helps to generate commission for Storables.com, at no extra cost. Learn more)
Introduction
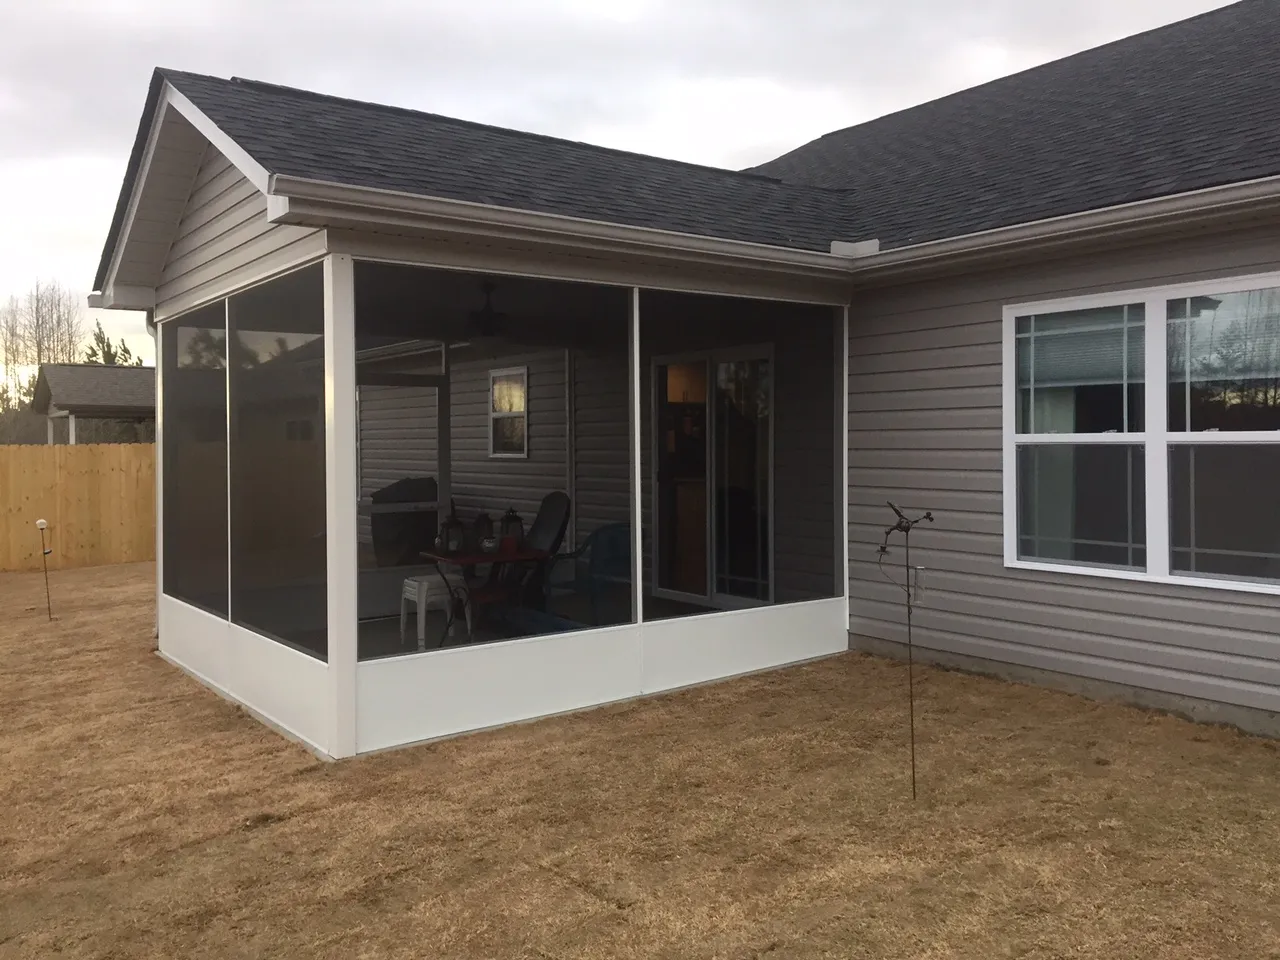
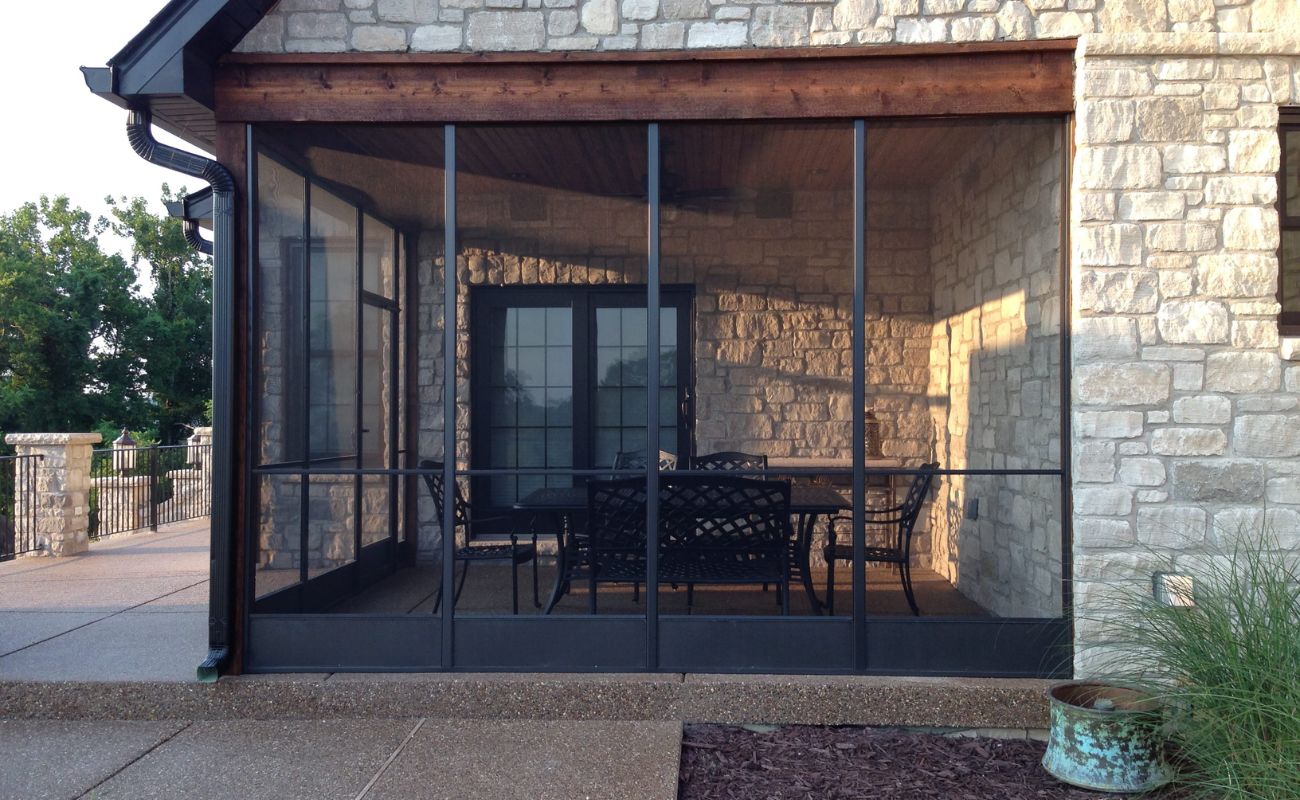
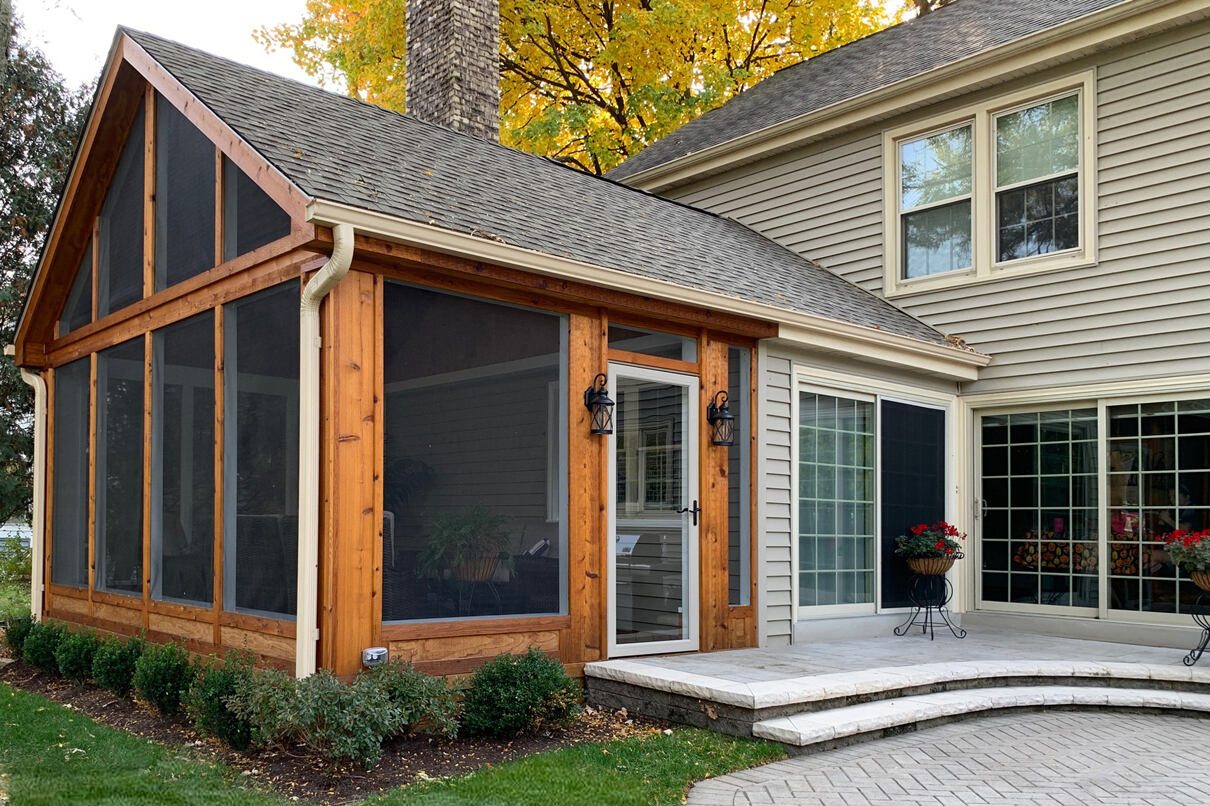
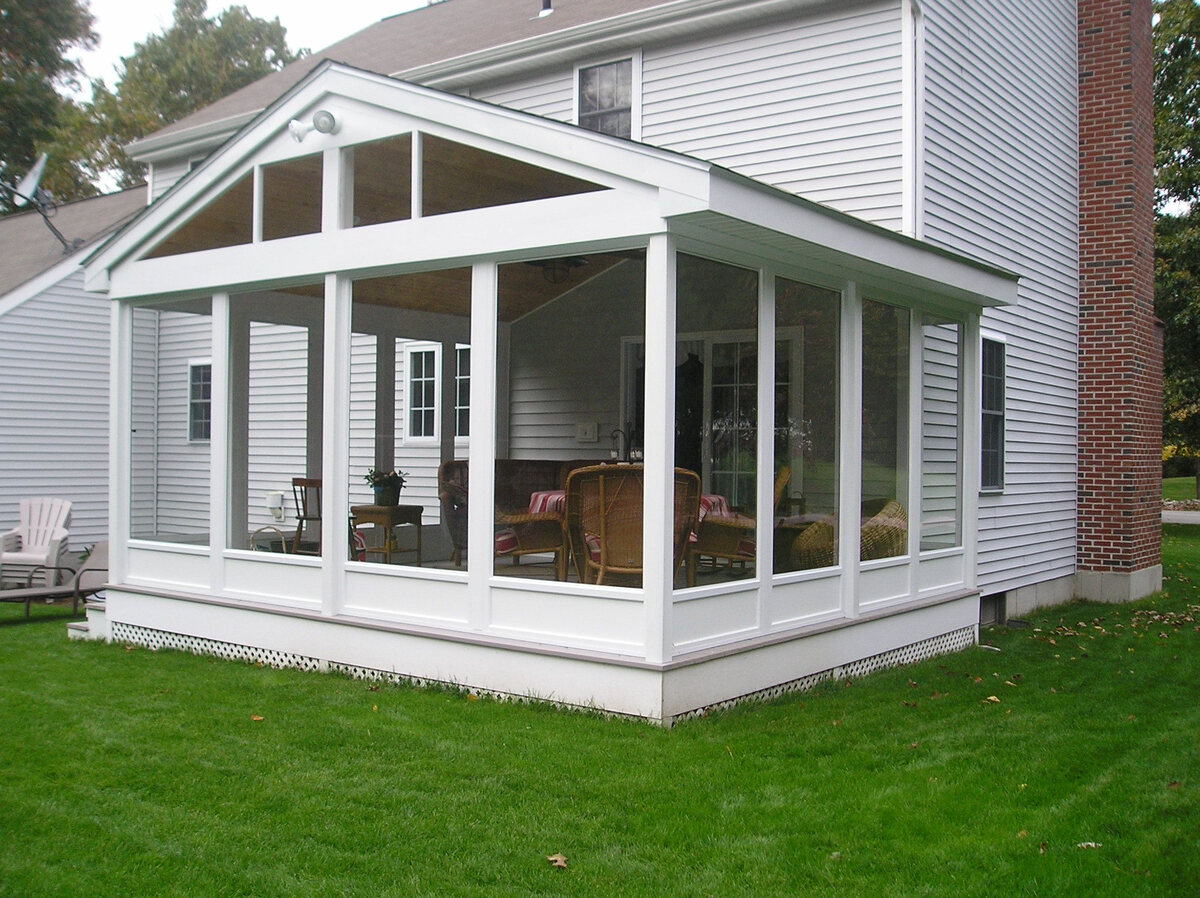
Having a patio is a wonderful addition to any home, providing a versatile space for relaxation and outdoor activities. However, over time, the screens on your patio can become worn out or damaged, compromising the functionality and aesthetics of the space. The good news is that replacing the patio screen is a relatively simple DIY project that can breathe new life into your outdoor oasis.
In this guide, we will walk you through the step-by-step process of replacing your patio screen. From gathering the necessary supplies to installing and securing the new screen, you’ll learn everything you need to know to tackle this project with confidence.
Before we dive into the process, it’s important to note that there are two common types of patio screens: standard fiberglass screens and solar screens. The steps outlined in this guide are applicable to both types, though the materials used may differ slightly depending on your specific screen.
Now, let’s get started on transforming your patio by replacing the worn-out screen with a fresh and functional one!
Key Takeaways:
- Revitalize your outdoor space by replacing worn-out patio screens with a few simple DIY steps. Gather supplies, remove the old screen, measure and cut the new screen, and secure it in place for a refreshed and functional patio area.
- Ensure a visually appealing and functional patio area by following a step-by-step guide to replace your patio screen. Proper preparation, accurate measurements, and secure installation are key to a successful DIY project.
Read more: How To Replace A Screen Patio Door
Step 1: Gather Supplies
Before you begin replacing your patio screen, it’s essential to gather all the necessary supplies. Having everything you need at hand will save you time and ensure a smoother installation process.
Here’s a list of supplies you will need:
- New Screen: Measure the dimensions of your existing screen or the area where the screen will be installed to determine the size of the replacement screen you need. Make sure to choose a high-quality replacement screen that is durable and appropriate for your outdoor environment.
- Spline: This is a flexible cord that holds the screen securely in place within the frame. Choose a spline that matches the thickness of your screen frame and consider using a durable material like rubber or vinyl.
- Spline Roller: This tool is essential for smoothly and securely installing the spline. Look for a roller with a concave wheel that will press the spline into the groove effectively.
- Screwdriver or Power Drill: Depending on the type of fasteners used to secure the screen frame, you will need either a screwdriver or a power drill with the appropriate bits.
- Utility Knife: A sharp utility knife will be necessary for trimming the excess screen once it’s installed.
- Measuring Tape: Accurate measurements are crucial for ensuring a proper fit, so make sure you have a measuring tape on hand.
- Safety Equipment: It’s important to protect yourself during the installation process. Wear gloves to avoid injury and consider using safety glasses to protect your eyes from debris.
Once you have gathered all the necessary supplies, you’re ready to move on to the next step: removing the old screen.
Step 2: Remove Old Screen
Now that you have your supplies gathered, it’s time to remove the old screen from your patio. Follow these steps to ensure a smooth and safe removal process:
- Remove the Screen Frame: Depending on the type of screen frame you have, you may need to unscrew it or remove any clips or fasteners holding it in place. Use a screwdriver or power drill to carefully remove any screws or fasteners, taking care not to damage the frame or surrounding area.
- Release the Spline: The spline is the cord that holds the screen in place within the frame. Use a flathead screwdriver or a spline removal tool to gently lift and release the spline from the groove. Be careful not to bend or damage the frame while doing this.
- Remove the Old Screen: Once the spline is released, carefully remove the old screen from the frame. Be mindful of any staples or other fasteners that may be securing the screen in place. Use a flathead screwdriver or pliers to remove any remaining fasteners if necessary.
- Clean the Frame: With the old screen removed, take the opportunity to clean the frame thoroughly. Remove any dirt, debris, or residue that may have accumulated over time. A brush or a damp cloth can be helpful for this step.
After completing these steps, you should have a clean and empty frame ready for the installation of the new screen. In the next step, we’ll guide you through measuring and cutting the new screen to ensure a perfect fit.
Step 3: Measure and Cut New Screen
Now that you’ve successfully removed the old screen, it’s time to measure and cut the new screen for a precise fit. Follow these steps to ensure accurate measurements and a clean installation:
- Measure the Frame: Use a measuring tape to measure the dimensions of the frame where the new screen will be installed. Measure both the width and height, making sure to account for any curves or angles in the frame. Take accurate measurements to ensure the new screen will fit snugly.
- Add Extra Length: When cutting the new screen, add a few extra inches to each side. This additional length will allow you to securely attach the screen to the frame and account for any necessary adjustments during the installation process.
- Cut the Screen: Lay the new screen flat on a clean and smooth surface. Use a sharp utility knife to carefully cut along the measured dimensions. Take your time and make smooth, straight cuts to ensure a clean and professional-looking result.
During the cutting process, be attentive to the type of screen material you’re working with. Some screens may require a particular cutting technique or specialized tools. Always refer to the manufacturer’s instructions for guidance, especially if you’re working with specialty or high-performance screens.
Once you’ve cut the new screen to the appropriate size, you’re ready to move on to the next step: installing the new screen in the frame.
When replacing a patio screen, make sure to measure the dimensions of the existing screen frame accurately before purchasing a replacement screen. This will ensure that the new screen fits properly and minimizes the need for adjustments.
Step 4: Install New Screen
With the new screen properly measured and cut, it’s time to install it into the frame. Follow these steps to ensure a seamless installation:
- Position the Screen: Lay the new screen flat on the ground or a large work surface. Position the frame over the screen, ensuring that it aligns with the edges of the screen.
- Secure the Screen: Starting at one corner, press the edge of the screen into the frame’s groove. Use your fingers or a flathead screwdriver to ensure the screen is securely in place.
- Work Your Way Around: Continue pressing the screen into the groove while moving along the frame’s perimeter. Take your time to ensure the screen is taut and free of wrinkles or sagging.
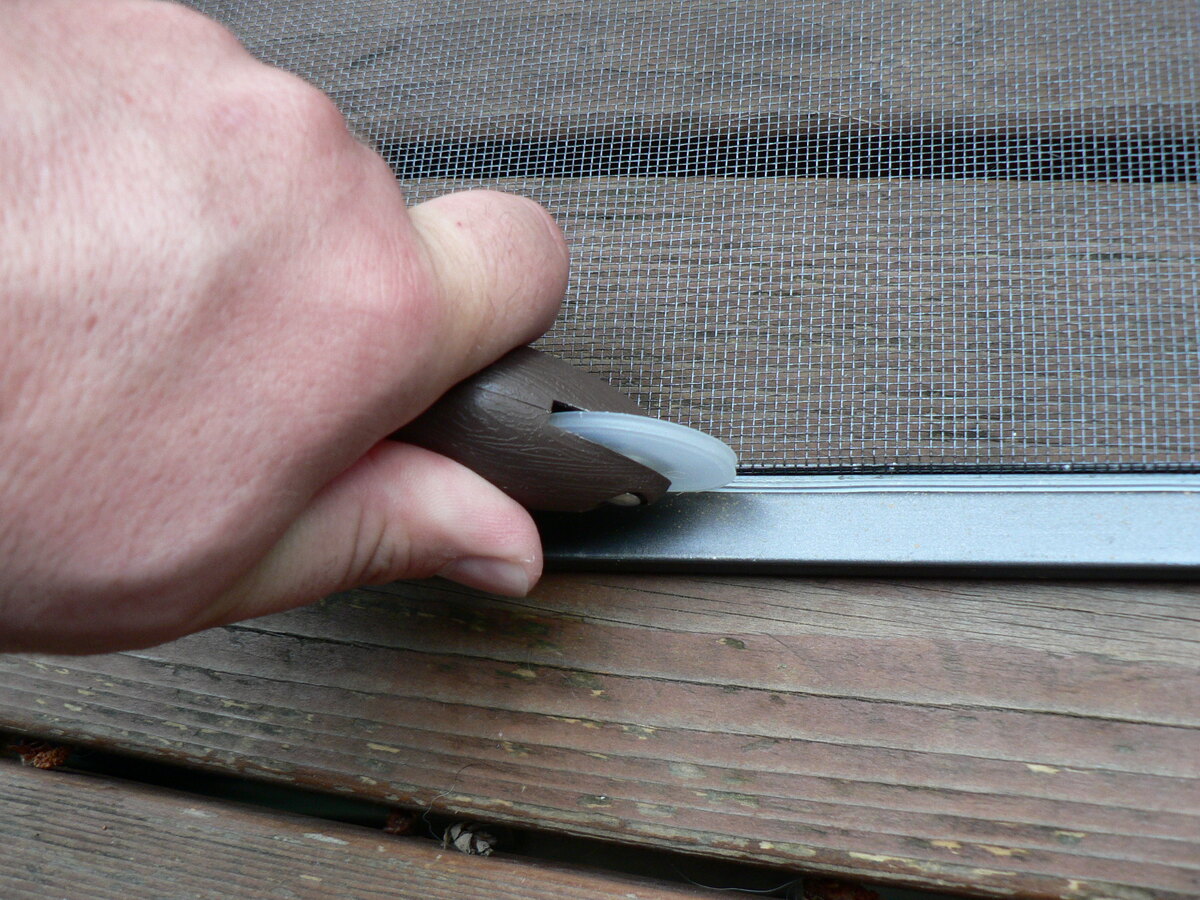
- Use a Spline Roller: Once the screen is fully inserted into the groove, take a spline roller and place it at the beginning of the groove. Apply gentle pressure and roll the spline roller along the edge of the screen, pressing the spline into the groove to secure the screen in place. Repeat this process around the entire perimeter of the frame.
As you work with the spline roller, be careful not to apply excessive pressure that could damage the screen or frame. Take your time and ensure the spline is properly seated in the groove.
If you encounter any areas where the screen needs additional reinforcement or adjustment, use a flathead screwdriver or your fingers to press the screen into place before rolling the spline over it.
Once the screen is securely in place and the spline is rolled over it, you’re almost finished! In the next step, we’ll guide you through securing the screen and trimming any excess material.
Read more: How To Replace Patio Screen Door Rollers
Step 5: Secure Screen in Place
After successfully installing the new screen into the frame, it’s important to secure it properly to ensure longevity and durability. Follow these steps to securely fasten the screen in place:
- Inspect the Screen: Take a close look at the entire screen to check for any areas that may need additional reinforcement. Look for any loose or sagging sections that may require extra attention.
- Secure with Staples or Screws: Depending on the type of screen frame you have, use either staples or screws to secure the screen to the frame. For wooden frames, use staples or small nails to attach the screen at regular intervals around the perimeter. For metal frames, use self-tapping screws with washers to secure the screen to the frame.
- Apply Even Pressure: When securing the screen, apply even pressure to ensure a tight and secure fit. This will help prevent the screen from sagging or tearing over time.
- Double-Check Alignment: As you work, double-check that the screen remains aligned with the frame. Adjust as necessary to maintain a clean and symmetrical appearance.
To ensure a professional finish, drive the staples or screws flush with the frame, being careful not to overdrive them and damage the screen material.
Once you have secured the screen in place, it’s time to move on to the final step: trimming the excess screen material.
Step 6: Trim Excess Screen
Now that the new screen is securely in place, it’s time to trim any excess material for a clean and finished look. Follow these steps to trim the excess screen:
- Evaluate Excess Material: Carefully inspect the perimeter of the frame to identify any areas where the screen extends beyond the edge. These excess portions should be trimmed to create a neat appearance.
- Use a Utility Knife: With a sharp utility knife, carefully trim the excess screen material along the outer edge of the frame. Take your time and make smooth, steady cuts to ensure clean edges.
- Trimming Corners: When you reach the corners of the frame, make diagonal cuts to remove excess screen material while maintaining a snug fit.
- Check for Secure Fit: After trimming the excess screen, assess the overall appearance and ensure that the screen is still securely in place. Make any necessary adjustments or resecure any areas that may have become loose during the trimming process.
Be cautious when using the utility knife to avoid injury or damage to the screen or frame. Take your time and exercise precision throughout the trimming process.
Once you have successfully trimmed the excess screen, step back and admire your work! Your patio screen replacement is complete, and you can now enjoy a refreshed and functional outdoor space.
Remember to store any leftover screen material and supplies for future repairs or replacements.
Conclusion
Congratulations on successfully replacing your patio screen! By following the step-by-step guide outlined in this article, you have revitalized your outdoor space and ensured a functional and visually appealing patio area.
Remember, the key to a successful patio screen replacement is proper preparation and attention to detail. By gathering the necessary supplies, removing the old screen carefully, measuring and cutting the new screen accurately, and securing it in place firmly, you have completed a DIY project that will enhance your outdoor experience.
Regular maintenance of your patio screen, such as cleaning and inspecting for any signs of wear or damage, will help prolong its lifespan. If you notice any issues, don’t hesitate to address them promptly to prevent further damage and ensure the screen’s effectiveness.
We hope this article has provided you with the knowledge and confidence to tackle future patio screen replacements or repairs. Remember to prioritize safety throughout the process, using protective equipment as needed.
Now, it’s time to sit back, relax, and enjoy your new and improved patio space. Whether you’re lounging with a book, entertaining guests, or simply soaking up the sun, your patio screen replacement has created a haven for enjoyable outdoor activities.
Frequently Asked Questions about How To Replace Patio Screen
Was this page helpful?
At Storables.com, we guarantee accurate and reliable information. Our content, validated by Expert Board Contributors, is crafted following stringent Editorial Policies. We're committed to providing you with well-researched, expert-backed insights for all your informational needs.


0 thoughts on “How To Replace Patio Screen”