Articles
How To Repaint Interior Walls
Modified: October 28, 2024
Learn the step-by-step process of repainting interior walls with our informative articles. Discover tips, tricks, and techniques for a flawless finish.
(Many of the links in this article redirect to a specific reviewed product. Your purchase of these products through affiliate links helps to generate commission for Storables.com, at no extra cost. Learn more)
Introduction
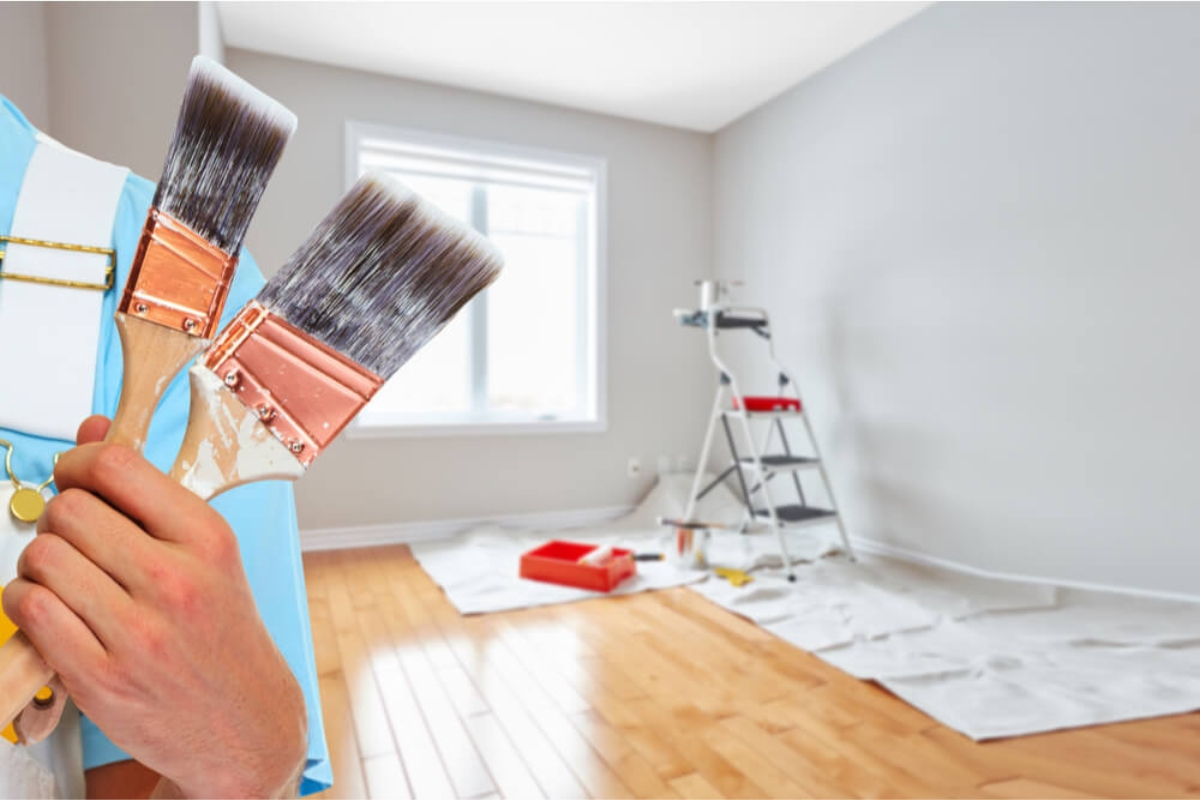
Welcome to the world of interior painting! Repainting your walls can instantly transform the look and feel of any room. Whether you’re looking to refresh the current color or completely change the aesthetic, painting is a cost-effective way to revitalize your space.
Before you dive into your painting project, it’s important to properly prepare and gather all the necessary materials. By following a step-by-step process, you’ll be able to achieve professional-looking results with ease.
In this article, we will guide you through the process of repainting interior walls, from preparation to finishing touches. So, roll up your sleeves and let’s get started!
Key Takeaways:
- Proper preparation, surface cleaning, and filling in holes and cracks are essential for achieving a flawless and professional-looking paint job on interior walls. Attention to detail and thoroughness are key to success.
- Applying the first coat of paint and focusing on finishing touches, such as inspecting the walls, removing painter’s tape, and cleaning up, are crucial steps in completing an interior wall painting project with a polished and professional outcome.
Read more: How To Cover Stucco Interior Walls
Preparation
Proper preparation is key to achieving a smooth and flawless finish when repainting your interior walls. This includes gathering all the necessary materials and clearing the area to ensure a clean and organized working space.
The first step in the preparation process is gathering the materials you’ll need for your painting project. Here’s a checklist of the essentials:
- Paint rollers and brushes
- Drop cloths or plastic sheets
- Painter’s tape
- Sandpaper
- Primer
- Paint trays and liners
- Extension poles
- Paint cans and stir sticks
- Putty knife
- Dust sheets
- Masking tape
- Paint scraper
- Cleaning supplies (sponges, rags, bucket, mild detergent)
Once you’ve gathered all the necessary materials, the next step is to clear the area. Remove any furniture, decorations, and fixtures from the room or cover them with drop cloths to protect them from paint splatters and drips.
It’s also a good idea to cover the floor with drop cloths or plastic sheets to prevent paint from staining or damaging the surface. Secure the drop cloths by taping them down with painter’s tape to keep them in place.
Lastly, if there are any fixtures or electrical outlets on the wall, be sure to switch off the power and remove the outlet covers for a clean and professional finish. Take the time to tape around these areas with painter’s tape to avoid accidentally painting over them.
By properly preparing your workspace, you’ll minimize potential mess and create an environment that allows for smooth and efficient painting. Now that you’ve completed the preparation process, it’s time to move on to the next step: surface preparation.
Gathering Materials
Gathering the right materials is essential for a successful interior painting project. Having the appropriate tools and supplies on hand will make the process smoother and yield professional-looking results. Here is a comprehensive list of the materials you’ll need:
- Paint: Choose a high-quality interior paint in the color of your choice. Consider the finish (such as matte, eggshell, or satin) based on your desired aesthetic and the room’s functionality.
- Paint Rollers and Brushes: Invest in a good quality roller frame and cover, as well as a variety of paint brushes for different purposes, such as cutting in and detail work.
- Drop Cloths or Plastic Sheets: Protect your floors and furniture by covering them with drop cloths or plastic sheets. This will prevent paint drips and spills from damaging your belongings.
- Painter’s Tape: Use painter’s tape to create clean and crisp lines along edges, ceilings, and other areas where you want to avoid painting.
- Sandpaper: Prepare the walls by smoothing out any imperfections or rough spots with sandpaper. Choose a medium-grit sandpaper (around 120-150) for this purpose.
- Primer: If you’re painting over a dark or heavily textured surface, applying a primer will ensure better coverage and adhesion of the new paint.
- Paint Trays and Liners: Pour your paint into a paint tray for easy access and use disposable liners to make cleanup a breeze.
- Extension Poles: For reaching high areas or ceilings, use extension poles to attach to your paint roller handle.
- Paint Cans and Stir Sticks: If you’re using multiple paint cans, make sure to label them with the corresponding room and keep a few stir sticks handy to mix the paint thoroughly.
- Putty Knife: For filling in holes and cracks, a putty knife is necessary to apply spackling compound or wall filler.
- Dust Sheets: Cover furniture or other items that can’t be moved with dust sheets to protect them from dust and paint particles.
- Masking Tape: Use masking tape to cover electrical outlets, light switches, and other areas where you want to avoid getting paint.
- Paint Scraper: If there are old paint layers or loose paint on the walls, a paint scraper will help you remove them before starting the painting process.
- Cleaning Supplies: Keep a bucket, sponges, rags, and mild detergent on hand for cleaning the walls, especially if they are dirty or greasy.
By gathering all the necessary materials beforehand, you’ll have a smooth and organized painting experience. Remember to choose high-quality products to ensure the best results. With the materials ready, it’s time to move on to the next step: clearing the area.
Clearing the Area
Before you begin repainting your interior walls, it’s crucial to clear the area to create a clean and organized workspace. Clearing the area not only protects your furniture and belongings from accidental paint splatters but also allows you to move more freely and efficiently during the painting process. Here are some steps to follow when clearing the area:
1. Remove Furniture: Start by removing as much furniture from the room as possible. Take out larger pieces like sofas, chairs, tables, and cabinets. If you can’t move certain heavy or bulky items, consider moving them to the center and covering them with drop cloths or plastic sheets to protect them from paint drips.
2. Clear Wall Hangings and Decorations: Take down any wall hangings, pictures, mirrors, or decorations that are attached to the walls. This will not only prevent them from getting in your way but also protect them from accidental damage during the painting process.
3. Cover Floorings: Use drop cloths, plastic sheets, or old bedsheets to cover and protect your flooring. Secure the covers with painter’s tape to ensure they stay in place. This step is especially important if you have wooden floors, carpets, or tiles that can be easily stained by paint drips or spills.
4. Protect Fixtures and Electrical Outlets: Cover light fixtures, outlets, switches, and any other fixtures on the walls with painter’s tape or plastic bags. This will prevent accidental paint splatters on them and make it easier to paint around them without getting paint on them.
By clearing the area before you start painting, you create a safe and unobstructed space to work in. This allows you to focus on the task at hand and ensures that your furniture and other belongings are protected. Once you have cleared the area, you can move on to the next step: surface preparation.
Surface Preparation
Surface preparation is a crucial step in repainting interior walls. Properly preparing the surfaces ensures better paint adhesion, helps to achieve a smooth and flawless finish, and prolongs the durability of the paint. Here are the essential steps for surface preparation:
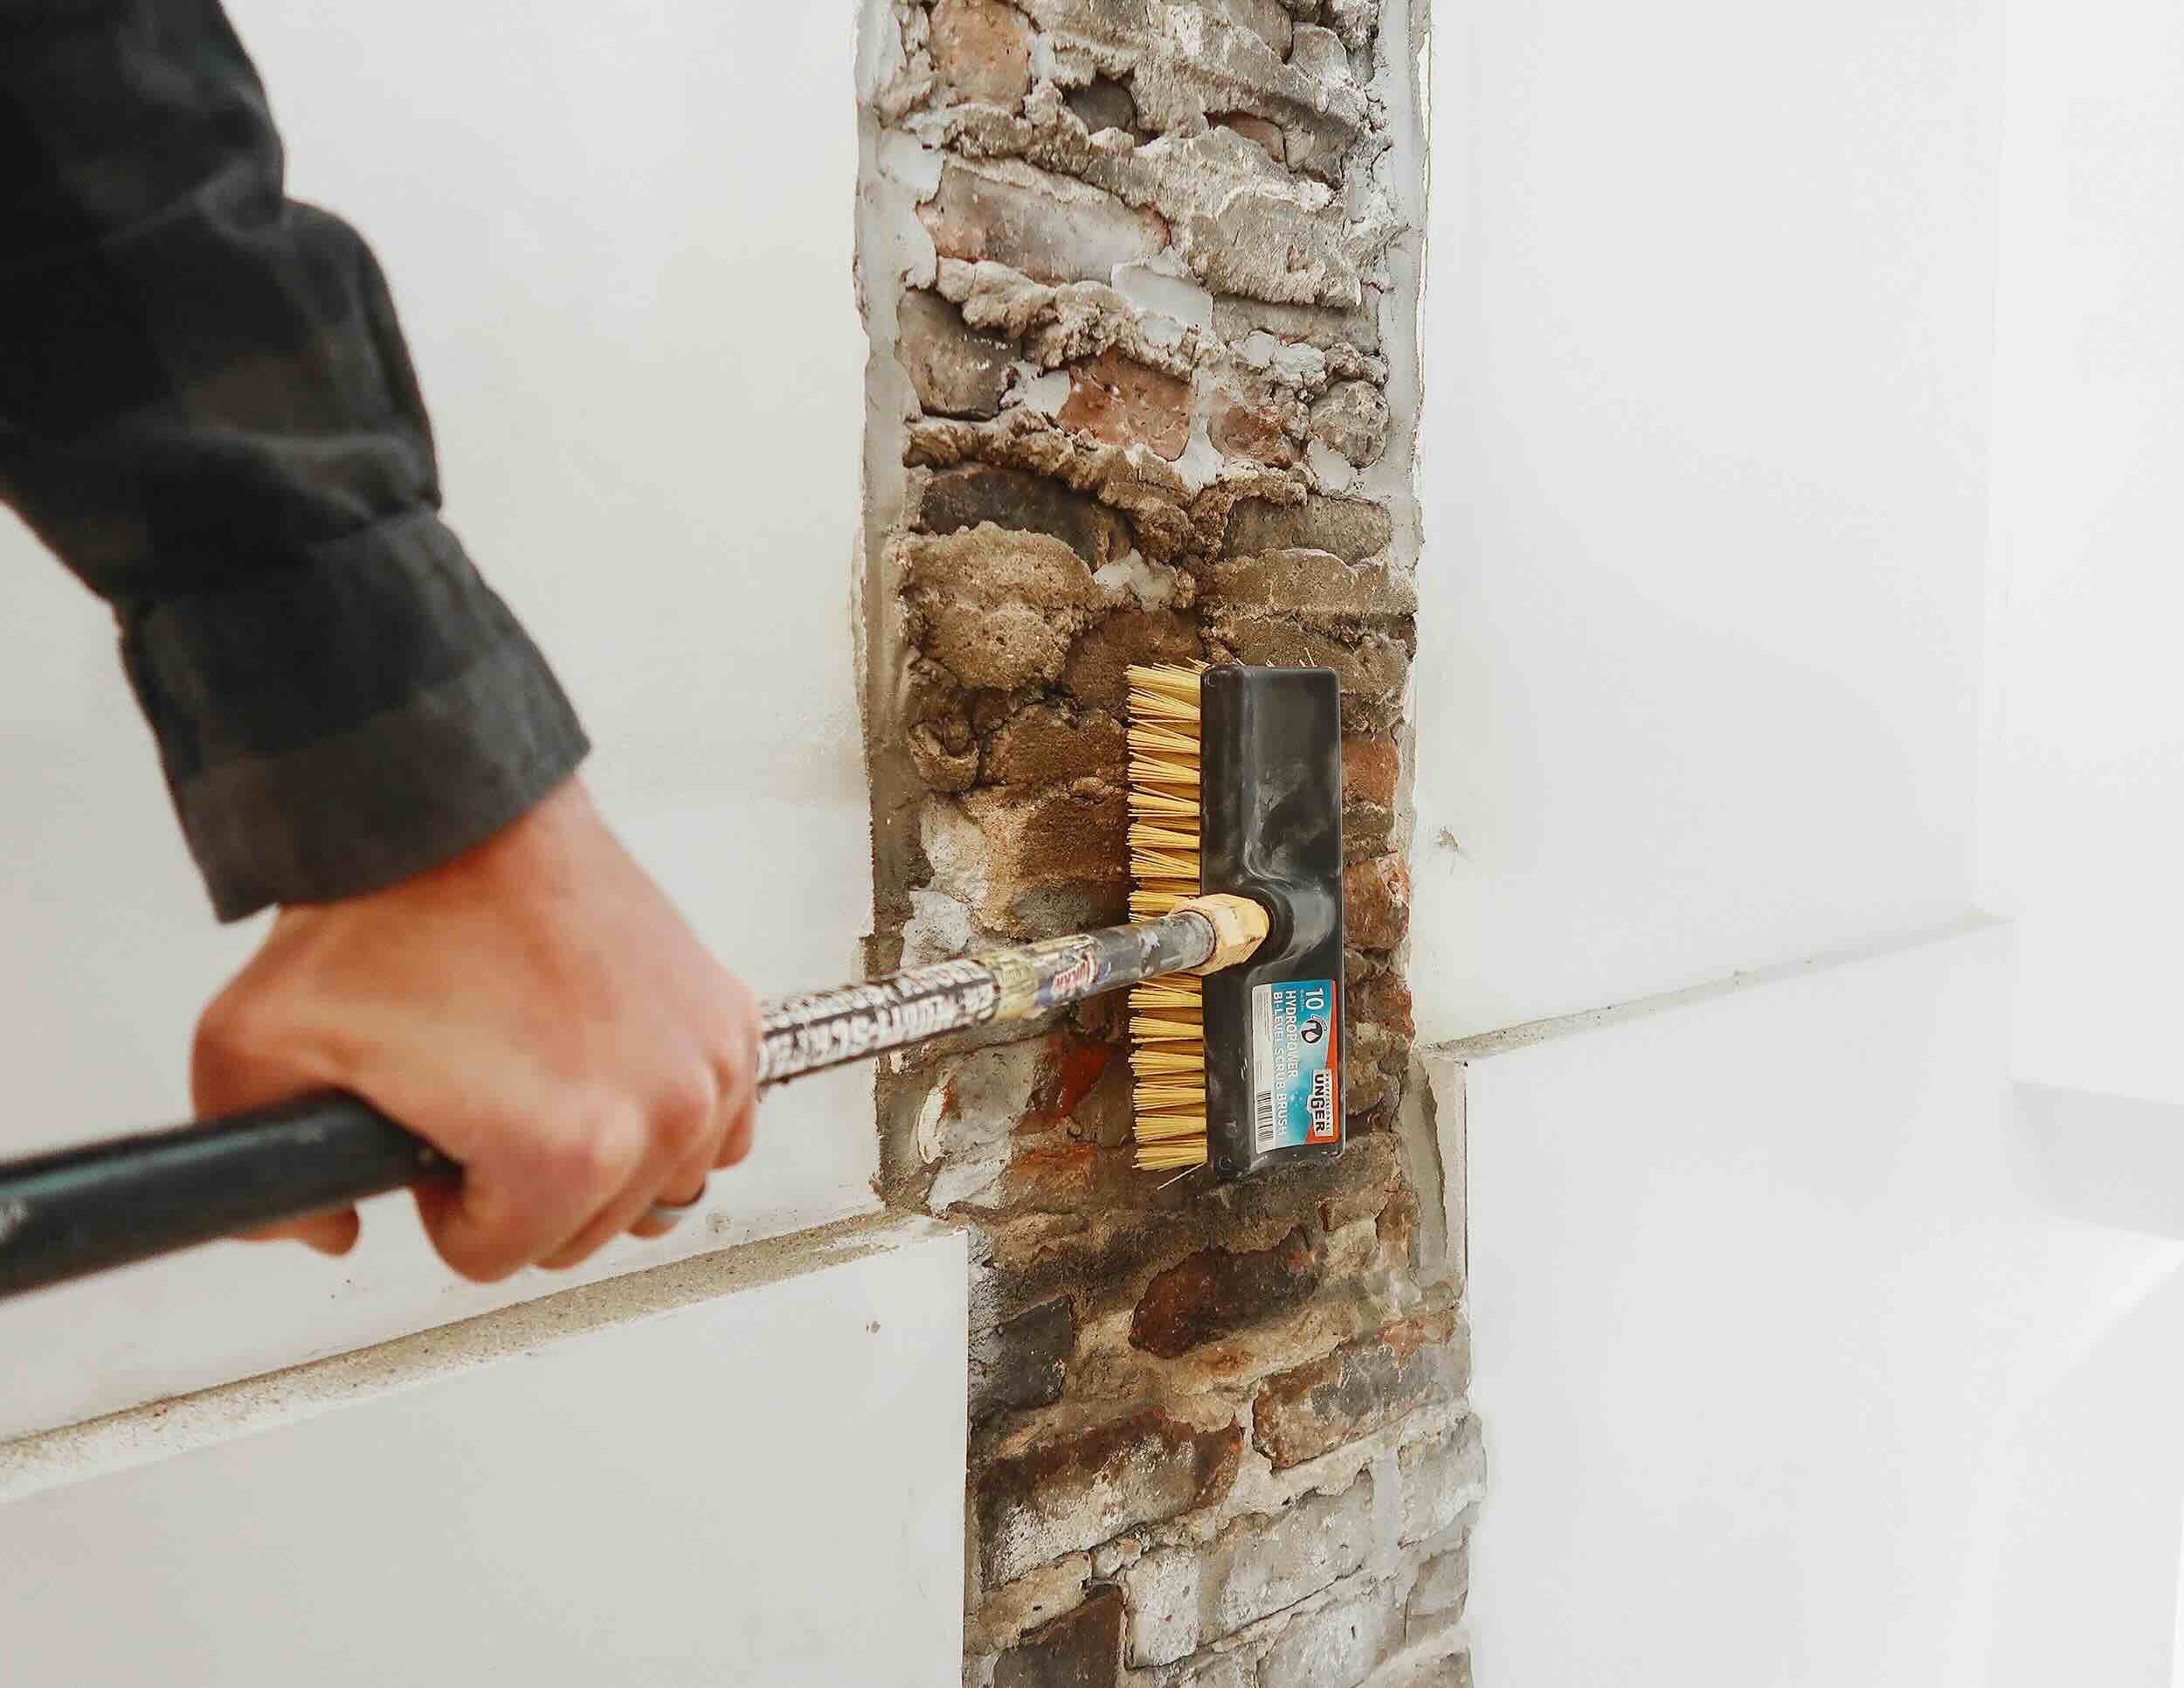
1. Cleaning the Walls: Start by cleaning the walls to remove any dirt, dust, or grease that may affect the paint’s adhesion. Use a mild detergent mixed with water and a sponge or cloth to gently scrub the walls. Rinse the walls with clean water and allow them to dry completely before proceeding to the next step.
2. Filling in Holes and Cracks: Inspect the walls for any holes, cracks, or imperfections. Use a putty knife and a wall filler or spackling compound to fill in these areas. Smooth out the filler with the putty knife and let it dry according to the manufacturer’s instructions. Once dry, sand the filled areas to achieve a smooth and even surface.
3. Sanding the Walls: Lightly sand the entire surface of the walls to create a rough texture that allows the paint to adhere better. Use a medium-grit sandpaper (around 120-150) and sand in circular motions. This step helps to remove any remaining imperfections and smooth out any uneven areas.
4. Priming the Walls: Applying a primer is optional but highly recommended, especially if you’re painting over a dark or bold color, patchy surfaces, or bare drywall. A primer helps to seal the surface, provide a uniform base, improve paint coverage, and enhance the longevity of the paint. Choose a primer suitable for the paint type you’ll be using (e.g., latex or oil-based).
To apply the primer, use a paintbrush for cutting-in along the edges and corners and a roller for larger areas. Allow the primer to dry completely according to the manufacturer’s instructions before proceeding with the painting process.
By thoroughly preparing the walls, you’ll create a clean and stable surface for the paint to adhere to. This will result in a professional-looking finish and ensure the longevity of your paint job. Now that the surfaces are properly prepared, you’re ready to move on to the next step: cleaning the walls.
Read more: How To Build Interior Walls
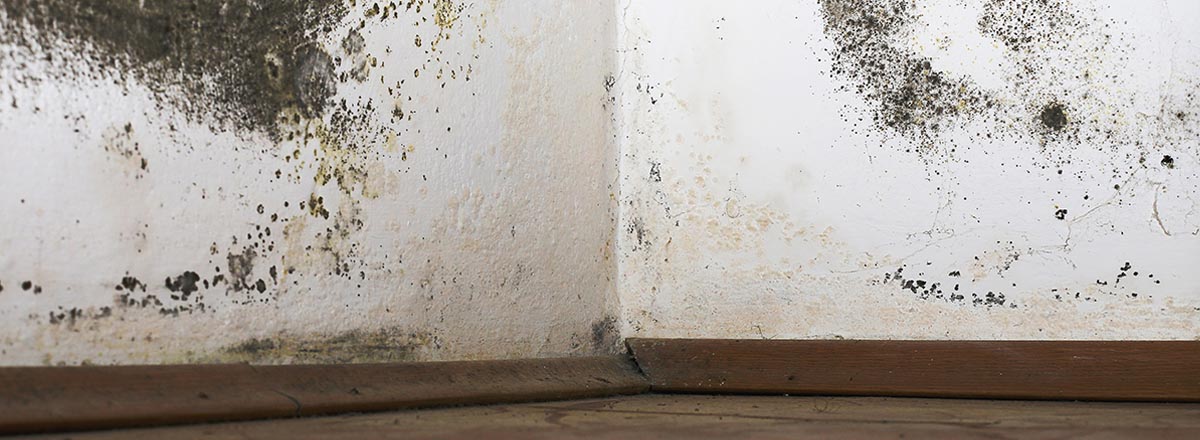
Cleaning the Walls
Cleaning the walls is an important step in the surface preparation process before repainting interior walls. By removing dirt, dust, and grease, you ensure a clean and smooth surface for the paint to adhere to. Here are the steps to effectively clean the walls:
1. Prepare the Cleaning Solution: Mix a mild detergent with warm water in a bucket. Avoid using harsh chemicals or abrasive cleaners as they can damage the paint or the wall surface. Opt for a gentle cleaner that won’t leave residue behind.
2. Test in an Inconspicuous Area: Before cleaning the entire wall, test the cleaning solution on a small, inconspicuous section to ensure it doesn’t cause any damage or discoloration. If there are no adverse effects, proceed with the cleaning process.
3. Start from the Top: Begin cleaning the walls from the top and work your way down. This prevents dirty water from dripping down onto the already cleaned areas. Dip a soft sponge or cloth into the cleaning solution and wring out any excess liquid to avoid saturating the walls.
4. Gentle Scrubbing: Gently scrub the walls in a circular motion, paying special attention to areas with visible stains, smudges, or marks. Avoid applying excessive pressure, as it may damage the paint or wall surface. Instead, let the cleaning solution do the work and allow it to dissolve the dirt and grime.
5. Rinse the Walls: Once you have cleaned the walls, dampen a clean sponge or cloth with plain water and wipe down the walls to remove any soap residue. If needed, you can also use a clean bucket of water and a separate sponge or cloth for rinsing.
6. Drying the Walls: After rinsing, allow the walls to air dry completely before proceeding with the next steps of your painting project. It’s important to ensure the walls are completely dry to prevent any moisture from affecting the paint adhesion or causing paint issues in the future.
By taking the time to clean the walls properly, you’ll ensure that the paint adheres smoothly and evenly. Removing dirt, dust, and grease will result in a clean, vibrant, and long-lasting paint finish. With the walls clean and dry, you’re ready to move on to the next step: filling in holes and cracks.
Filling in Holes and Cracks
Before you begin painting your interior walls, it’s important to ensure they are smooth and free from any imperfections. Holes and cracks in the walls can be unsightly and can affect the overall appearance of your paint job. By filling in these imperfections, you can achieve a flawless finish. Here’s how to fill in holes and cracks:
1. Prepare the Surface: Start by cleaning the area around the hole or crack. Use a damp cloth or sponge to remove any dirt, dust, or loose particles. This will help the filler adhere better to the wall surface.
2. Choose the Right Filler: Select a suitable filler for the size and depth of the holes or cracks. For small nail holes or shallow cracks, a lightweight spackling compound will suffice. For larger holes or deeper cracks, a wall filler or joint compound may be necessary. Read the manufacturer’s instructions for proper application and drying time.
3. Apply the Filler: Using a putty knife, apply a small amount of the filler to the hole or crack. Press it firmly into the damaged area, ensuring it completely fills the space. Smooth out the surface with the putty knife, removing any excess filler. For larger holes, consider applying the filler in layers, allowing each layer to dry before applying the next.
4. Sand the Filled Areas: Once the filler has dried, use a sanding block or sandpaper to gently sand the filled areas. This will level out the surface and ensure a smooth finish. Be careful not to oversand or damage the surrounding wall paint.
5. Dust and Clean the Walls: After sanding, use a clean cloth or sponge to remove any dust or debris from the walls. This step ensures a clean surface for the paint to adhere to.
6. Check for Imperfections: Inspect the filled areas to ensure they are smooth and seamless. If there are any remaining imperfections or unevenness, repeat the filling and sanding steps as needed until you achieve a flawless surface.
By filling in holes and cracks, you create a solid foundation for a professional-looking paint job. The repaired areas will blend seamlessly with the rest of the wall, creating a smooth and even surface. With the walls prepped and repaired, you’re now ready to move on to the next step: sanding the walls.
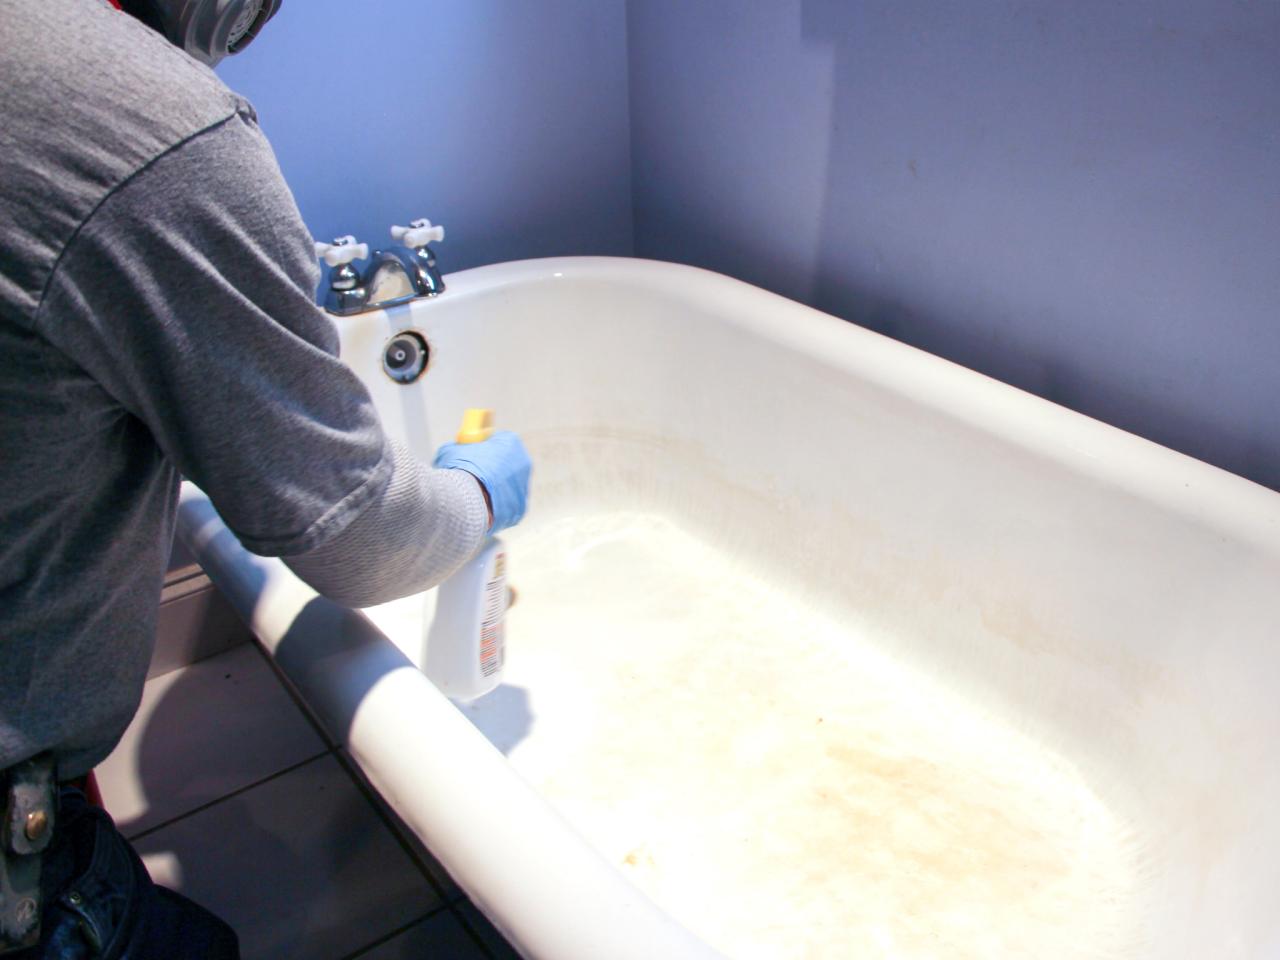
Before repainting interior walls, make sure to clean the walls thoroughly to remove any dirt, dust, or grease. This will help the new paint adhere better and result in a smoother finish.
Sanding the Walls
Sanding the walls is an important step in preparing interior walls for painting. It helps to create a smooth and even surface by removing imperfections, rough spots, and old paint. Sanding also promotes better paint adhesion, resulting in a professional-looking finish. Follow these steps to effectively sand your walls:
1. Gather the Right Tools: Before you begin sanding, gather the necessary tools. You will need sandpaper, a sanding block or sanding pole, a dust mask, safety goggles, and a cloth or vacuum cleaner to remove the dust.
2. Choose the Correct Sandpaper: Select the appropriate sandpaper grit based on the condition of your walls. For lightly textured walls or minor imperfections, start with a medium-grit sandpaper, such as 120 or 150. For more severe imperfections, use a lower grit like 80 or 100.
3. Protect Yourself: Wear a dust mask and safety goggles to protect your eyes and lungs from the dust particles produced during sanding. It’s important to work in a well-ventilated area or use a fan to minimize dust accumulation.
4. Start Sanding: Begin by sanding the walls using a sanding block or sanding pole. Use even, light pressure and move the sandpaper in a circular or back-and-forth motion. Start from the top of the wall and work your way down, focusing on one section at a time. Sand the entire surface of the wall, but pay extra attention to areas with rough spots or visible imperfections.
5. Check Your Progress: Periodically stop and feel the wall with your hand to check for any remaining rough areas or unevenness. If needed, continue sanding until the surface feels smooth and uniform. Be careful not to oversand as this can damage the wall and create more work for you.
6. Remove Dust: Once you have finished sanding, use a cloth or vacuum cleaner to remove the dust from the walls. Wipe down the walls or use a brush attachment on the vacuum to ensure all the dust particles are removed. This will help create a clean surface for painting.
Sanding the walls creates a smooth canvas for your paint. It removes imperfections and allows the paint to adhere properly. With the walls sanded and dust-free, you’re now ready for the next step: priming the walls.
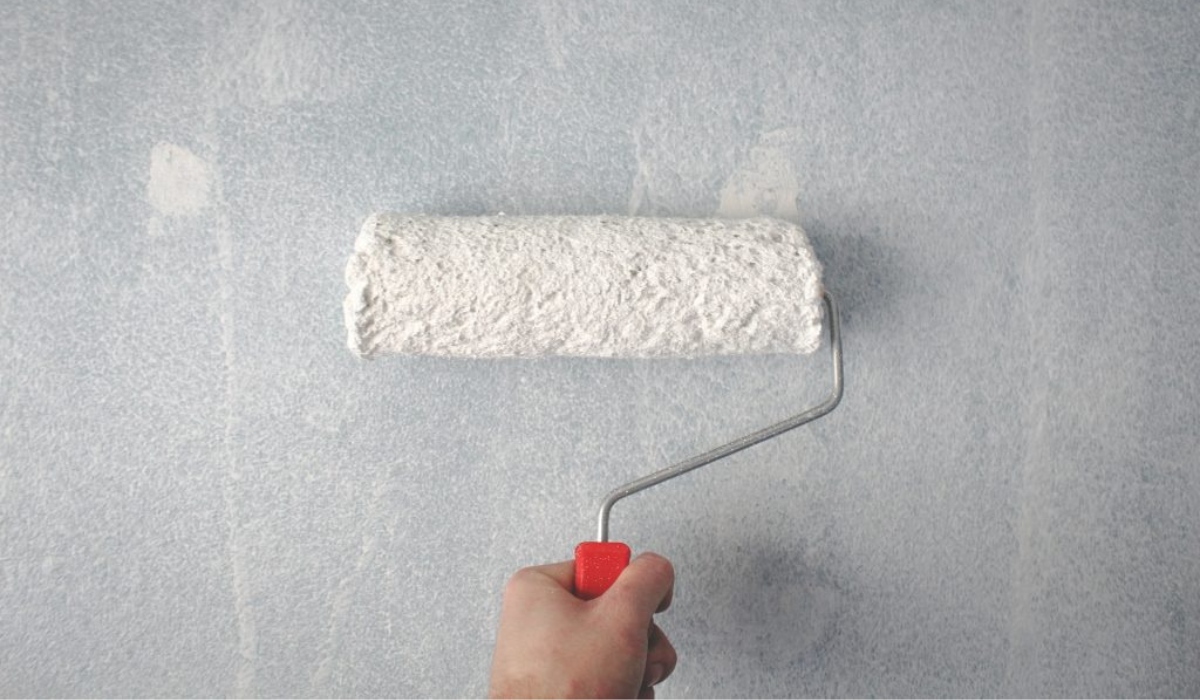
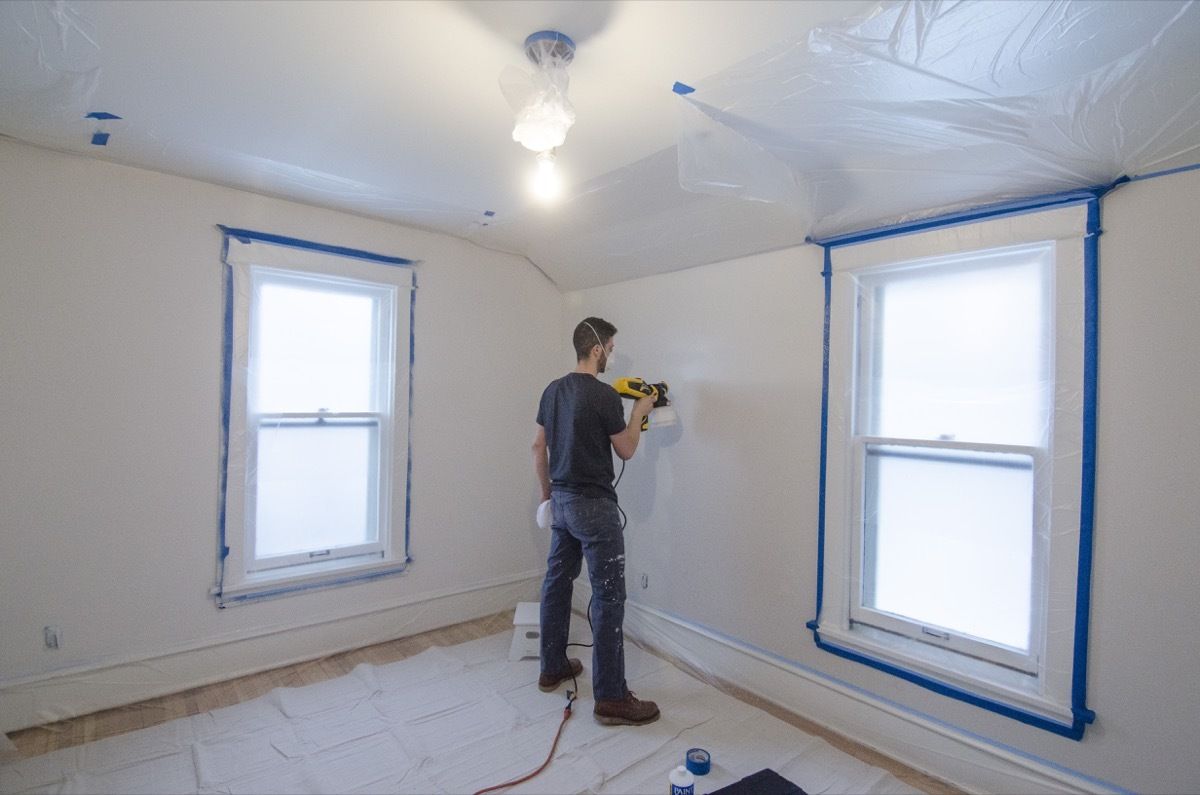
Priming the Walls
Priming the walls is an important step in the painting process, especially when repainting interior walls. A primer acts as a preparatory layer, creating a smooth surface, improving paint adhesion, enhancing coverage, and increasing the longevity of the paint job. Here are the steps to effectively prime your walls:
1. Choose the Right Primer: Select a primer that is compatible with the type of paint you’ll be using and suits the surface you’re painting. Water-based primers are commonly used for interior walls, as they are low in odor and dry quickly. Oil-based primers are suitable for covering stains, bare wood, or when working with oil-based paints.
2. Prepare the Surface: Before applying the primer, ensure the walls are clean and dry. Remove any loose particles or flaking paint using a paint scraper or sandpaper. Wipe the walls with a damp cloth or sponge to remove any dust or dirt. This ensures a smooth and clean surface for the primer to adhere to.
3. Protect Surrounding Areas: Use painter’s tape and plastic sheets to protect adjacent surfaces, such as trims, ceilings, and windows. This will help prevent accidental splatters or drips from getting onto areas that don’t need to be primed.
4. Apply the Primer: Stir the primer thoroughly to ensure it is well-mixed. Pour the primer into a paint tray and use a brush or roller to apply an even coat to the walls. Start from the top and work your way down, using smooth and controlled strokes. Take care to cover the entire surface, ensuring no areas are missed.
5. Cut-in Edges: Use a brush to apply the primer along the edges, corners, and other areas that are difficult to reach with a roller. This technique, known as cutting-in, ensures a seamless transition between the primed walls and the unpainted areas.
6. Allow the Primer to Dry: Follow the manufacturer’s instructions regarding drying time. Typically, latex primers dry within a few hours, while oil-based primers may take longer. Ensure the primer is completely dry before moving on to the next step.
By priming the walls, you create a stable base for the paint, ensuring better adhesion and a more durable finish. The primer also helps to seal the surface, prevent stains or bleed-through, and provide an even base for the paint color. With the walls primed and ready, it’s time to move on to the next step: repainting the walls.
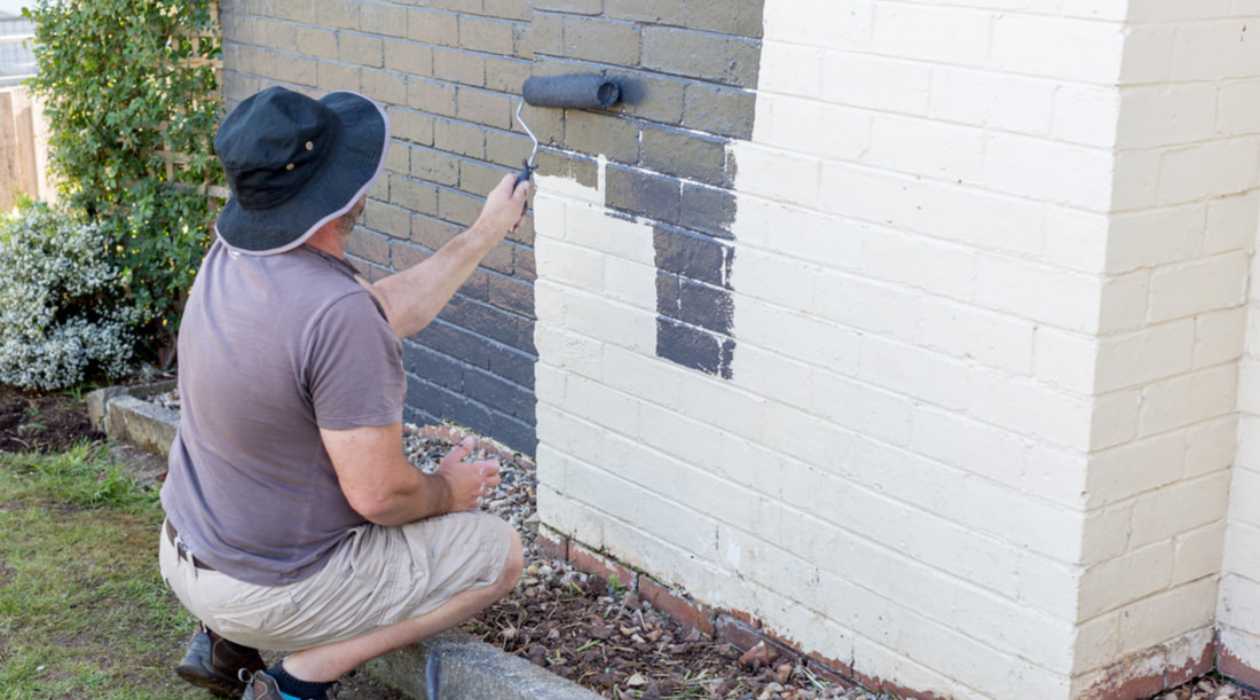
Repainting the Walls
Repainting your interior walls is an exciting step that can completely transform the look and feel of your space. Whether you’re refreshing the current color or opting for a brand new hue, the process involves several key steps to ensure a professional and long-lasting result. Here’s how to effectively repaint your walls:
1. Select the Paint Color: Choose a paint color that suits your style and complements the overall aesthetic of the room. Consider factors such as lighting, furniture, and the mood you want to create. Take advantage of paint samples to test different colors on a small section of the wall before committing.
2. Prepare the Paint: Stir the paint thoroughly to ensure an even consistency. Pour the paint into a paint tray and use a paintbrush to cut-in along the edges of the walls, corners, and any other areas that a roller cannot easily reach.
3. Apply the First Coat: Use a roller to apply the first coat of paint to the main surface of the walls. Start from the top and work your way down in smooth, overlapping strokes. Apply even pressure on the roller and maintain a consistent speed to achieve a uniform finish. Take care to blend the edges of the cut-in areas with the rolled paint for a seamless look.
4. Let the Paint Dry: Allow the first coat of paint to dry according to the manufacturer’s instructions. This typically takes a few hours, but it’s best to wait overnight for optimal drying. Use this time to clean your brushes and rollers to ensure they’re ready for the next coat.
5. Apply Additional Coats: Assess the coverage and color intensity of the first coat. If needed, apply additional coats of paint to achieve the desired result. Use the same technique as before, ensuring even coverage and blending with the cut-in areas. Allow each coat to dry completely before applying the next one.
6. Finishing Touches: Once the final coat is dry, inspect the walls for any uneven areas or missed spots. Touch up any imperfections with a small brush or roller. Remove any painter’s tape carefully while the paint is still slightly tacky to prevent peeling.
7. Clean up: After completing the painting process, clean your brushes, rollers, and paint trays with water or the appropriate cleaning solution. Remove drop cloths or plastic sheets and return furniture and decor to their original place.
By following these steps, you can achieve a professional-looking paint job that enhances the beauty of your interior walls. Take your time, pay attention to detail, and enjoy the process of transforming your space with a fresh coat of paint!
Applying the First Coat
Applying the first coat of paint is an exciting step that brings your vision to life and sets the foundation for the final look of your freshly painted walls. This crucial step requires attention to detail and proper technique to ensure a smooth and even application. Here’s how to effectively apply the first coat of paint:
1. Prepare the Paint: Before you begin, make sure your paint is properly mixed. Use a stir stick to blend the paint and ensure a consistent color and texture. Pour the paint into a paint tray for easy access while painting.
2. Cut-In the Edges: Start by “cutting in” or painting along the edges of the walls using a high-quality angled brush. This includes painting along the ceiling, corners, baseboards, and around any fixtures or trim. Take your time to create clean and precise lines, ensuring that the paint smoothly blends with the main surface area.
3. Load the Roller: Once you have completed the cut-in work, it’s time to use a roller for the main surface area. Dip the roller into the paint tray and roll it back and forth to evenly distribute the paint on the roller cover. Avoid oversaturating the roller to prevent drips and excess paint on the walls.
4. Start Painting: Begin at the top corner of the wall, working your way down in small, manageable sections. Use a “W” or “V” shape pattern to apply the paint, covering a small area with each stroke. Apply even pressure to the roller for consistent coverage.
5. Maintain a Wet Edge: To avoid visible lines or overlapping marks, always work with a wet edge. This means slightly overlapping each new section with the previously painted section while the paint is still wet. This technique helps to blend the paint and create a seamless finish.
6. Smooth Out Roller Marks: After each section is painted, gently roll over the surface in one direction without reloading the roller. This technique helps to smooth out any roller marks or texture inconsistencies, giving the wall a professional look.
7. Check for Uniform Coverage: As you paint, periodically step back and assess the coverage of the first coat. Look for any patches or thin areas that may require additional paint. If needed, apply additional paint to achieve an even and uniform appearance.
8. Let the Paint Dry: Allow the first coat to dry completely based on the manufacturer’s instructions. This will typically take a few hours. Remember to ventilate the room for proper airflow and faster drying.
By following these steps, you’ll be able to apply the first coat of paint smoothly and evenly, creating a solid base for subsequent coats. Take your time, use proper technique, and enjoy the process of transforming your walls! Once the first coat is dry, you can move on to applying additional coats to achieve the desired finish.
Finishing Touches
As you near the completion of your interior wall painting project, it’s time to focus on the finishing touches that will give your walls a polished and professional appearance. These final steps will ensure that your newly painted walls look their best and can be enjoyed for years to come. Here are some essential finishing touches:
1. Inspect the Painted Walls: Take a close look at the painted walls to check for any areas that may need touch-ups or corrections. Look for drips, uneven patches, or missed spots. Use a small brush or roller to fix any imperfections by applying a bit of paint and blending it in with the surrounding area.
2. Remove Painter’s Tape: If you used painter’s tape to protect edges or trim, gently remove it while the paint is still slightly tacky. Slowly and carefully pull the tape away at a low angle to prevent peeling or damaging the freshly painted surface. Check for any bleed-through and touch up if necessary.
3. Clean Up: Properly clean your painting tools, such as brushes, rollers, and paint trays, using water or the recommended cleaning solution. Store them properly for future use. Remove drop cloths, plastic sheets, or any protective coverings from the floors, furniture, and fixtures. Dispose of all paint cans and leftover materials responsibly.
4. Reinstall Fixtures: Once the walls are completely dry and the painting project is finished, you can reinstall electrical outlet covers, light switch plates, and any other fixtures that were removed for painting. Make sure to turn the power back on, if necessary, and ensure everything is securely in place.
5. Step Back and Admire: Take a moment to step back and appreciate the transformation of your interior walls. Enjoy the new colors and the refreshed atmosphere they bring to your space. Invite others to share in your joy and excitement.
By paying attention to these finishing touches, you’ll ensure a professional and polished outcome for your interior wall painting project. This attention to detail will result in walls that look flawless and provide a visually appealing backdrop for your living spaces.
Congratulations! You have successfully completed your interior wall painting project. Sit back, relax, and enjoy the fruits of your hard work and creativity.
Cleaning Up
After completing your interior wall painting project, it’s important to take the time to clean up properly. Cleaning up ensures that your tools are well-maintained, your surroundings are tidy, and your newly painted walls are showcased without any distractions. Here’s a step-by-step guide to cleaning up:
1. Store Excess Paint: If you have any leftover paint in the paint cans, make sure to seal them tightly to prevent air exposure. Label each can with the corresponding room and the paint color to easily identify them for future touch-ups or projects. Store the paint cans in a cool and dry place, away from extreme temperatures and direct sunlight.
2. Clean Your Brushes and Rollers: Thoroughly clean your paint brushes and rollers. For water-based paints, use warm soapy water to wash the brushes and remove any excess paint. Rinse them under clean running water until the water runs clear. For oil-based paints, use the appropriate solvent or cleaner as recommended by the manufacturer. Gently reshape the bristles of the brushes and allow them to air dry or use a brush spinner to remove excess water.
3. Clean Paint Trays and Liners: If you used paint trays and liners, clean them thoroughly with warm soapy water. Remove any excess paint, rinse them, and allow them to dry before storing them away. If using disposable liners, properly dispose of them according to your local waste disposal guidelines.
4. Remove Drop Cloths and Protecting Coverings: Carefully remove any drop cloths, plastic sheets, or other protective coverings that were used to protect floors, furniture, and fixtures. Shake them outside to remove any dust or paint debris. Fold them neatly and store them in a designated area for future use or dispose of them if they are disposable.
5. Check for Drips and Spills: Inspect the surrounding areas for any paint drips or spills that may have occurred during the painting process. Use a damp cloth or sponge to gently wipe away these marks. If the paint has dried, use a paint scraper or sandpaper to carefully remove any unwanted paint from surfaces such as trims or floors.
6. Clean and Organize the Work Area: Give the entire work area a thorough cleaning. Vacuum or sweep the floors to remove any dust or debris. Wipe down any surfaces that may have paint splatters or smudges, such as countertops or windowsills. Put away any tools or equipment that are no longer needed and organize your workspace for future projects.
By taking the time to clean up properly, you maintain the longevity of your painting tools, prevent any accidental damage to your surroundings, and showcase your newly painted walls without any distractions. A tidy and well-organized cleanup ensures that the results of your hard work are truly appreciated.
Congratulations on a successful paint job and enjoy your newly transformed space!
Frequently Asked Questions about How To Repaint Interior Walls
Was this page helpful?
At Storables.com, we guarantee accurate and reliable information. Our content, validated by Expert Board Contributors, is crafted following stringent Editorial Policies. We're committed to providing you with well-researched, expert-backed insights for all your informational needs.


0 thoughts on “How To Repaint Interior Walls”