Home>Ideas and Tips>Upgrading Your Home’s Attic With DIY Spray Foam Insulation And Radiant Barrier

Ideas and Tips
Upgrading Your Home’s Attic With DIY Spray Foam Insulation And Radiant Barrier
Modified: October 18, 2024
Upgrade your home's attic with DIY spray foam insulation and radiant barrier to boost energy efficiency, reduce cooling costs, and enhance comfort.
(Many of the links in this article redirect to a specific reviewed product. Your purchase of these products through affiliate links helps to generate commission for Storables.com, at no extra cost. Learn more)
Introduction
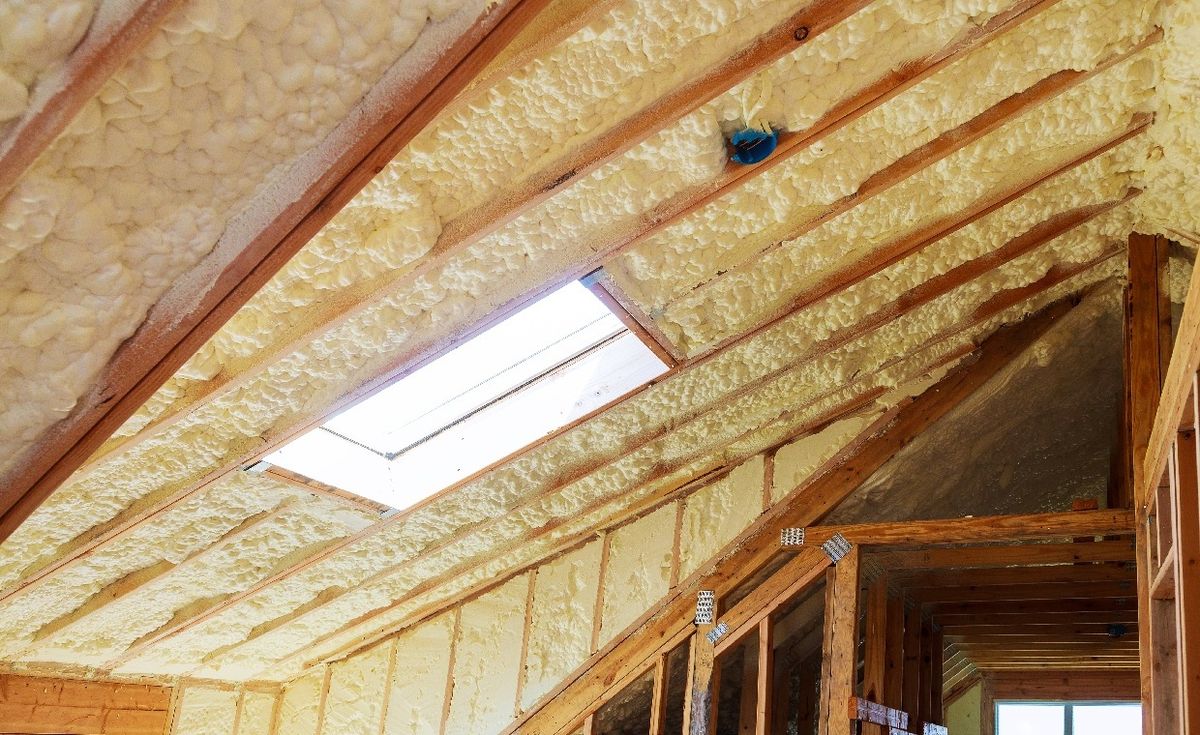
As homeowners, we are constantly looking for ways to improve the energy efficiency and comfort of our homes. One of the most effective ways to achieve this is by upgrading the attic space with the right insulation and radiant barrier. In this article, we will explore the benefits and challenges of using DIY spray foam insulation and radiant barrier in your attic, providing you with a comprehensive guide to help you make an informed decision.
Understanding Radiant Barriers
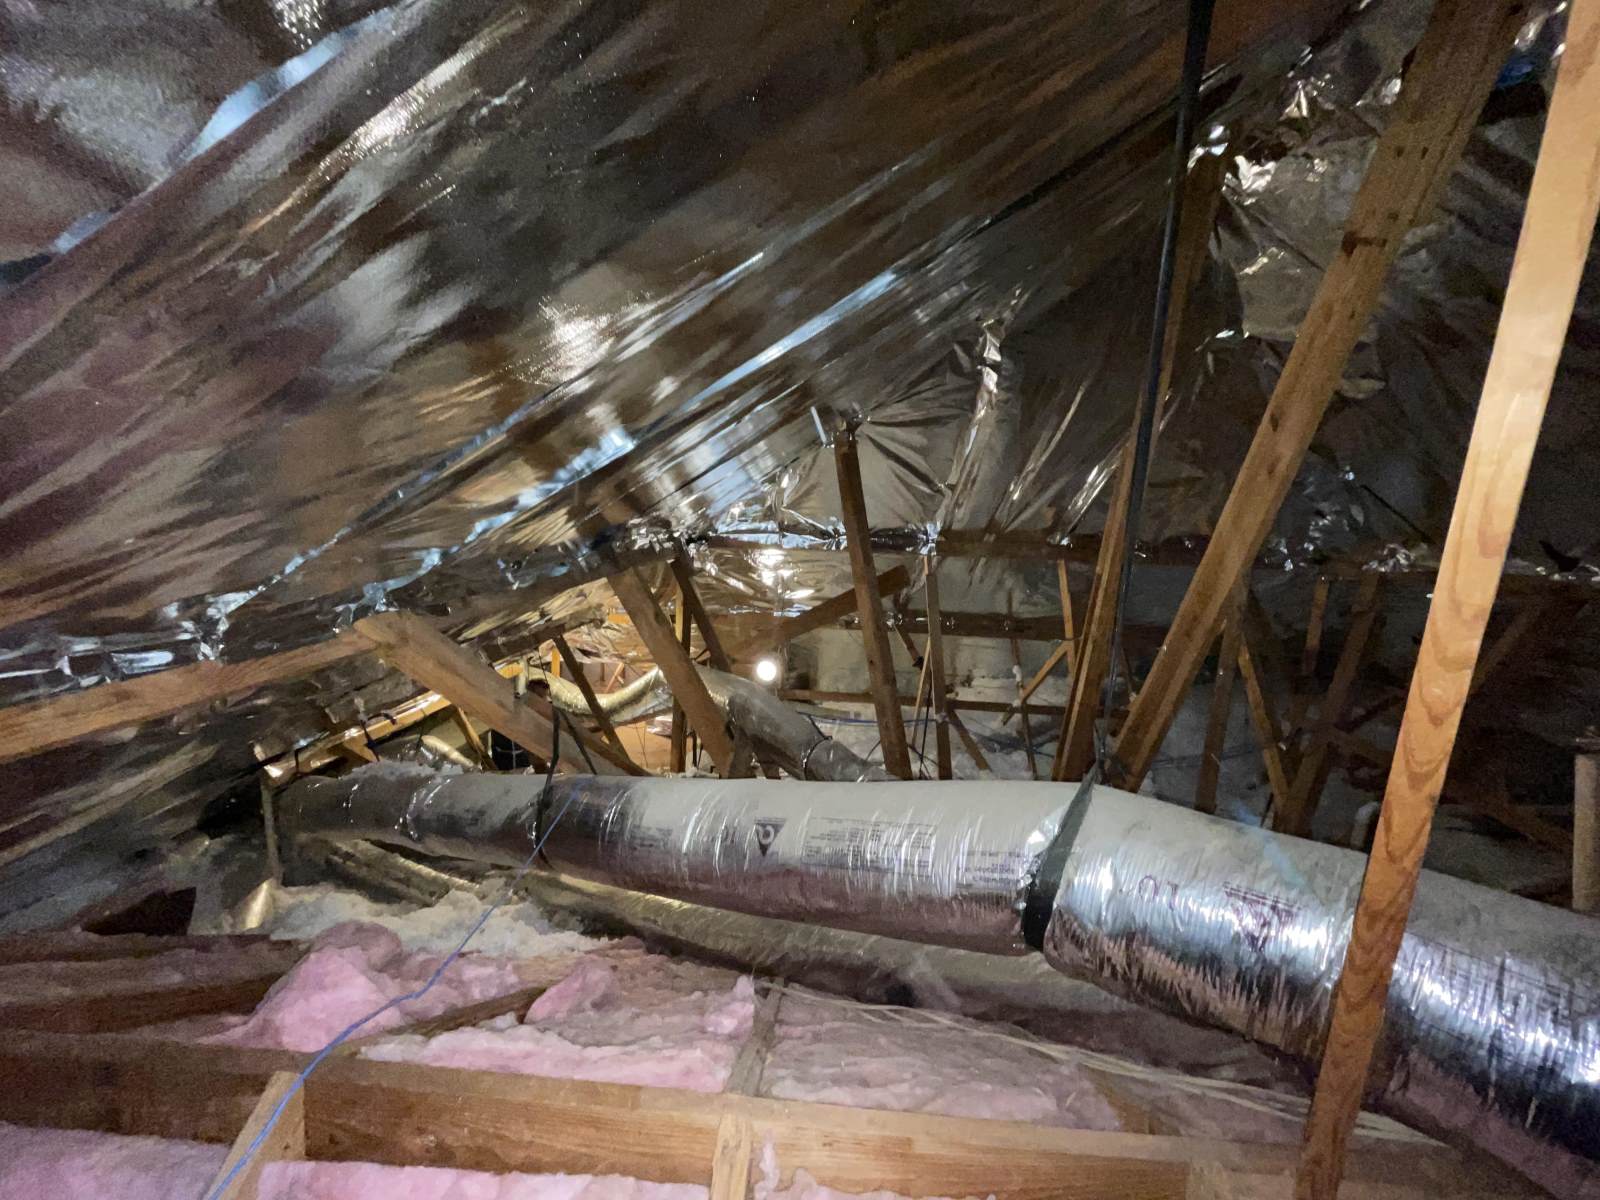
Radiant barriers are designed to reduce the amount of radiant heat that enters your attic space. They typically consist of a reflective surface, such as aluminum foil, bonded to a sheathing material like engineered wood. The primary function of a radiant barrier is to reflect radiant heat rather than absorb it, thereby keeping your attic cooler and reducing the load on your air conditioning system.
How Radiant Barriers Work
Radiant barriers work by creating an air gap between the reflective surface and the attic space. This air gap is crucial because it allows radiant heat to bounce off the reflective surface without being absorbed by the surrounding materials. Without this air gap, the radiant barrier becomes ineffective, as heat can conduct through it instead of being reflected.
Types of Radiant Barriers
There are several types of radiant barriers available, each with its own set of benefits and drawbacks. Some common types include:
- Foil-Faced Radiant Barriers: These are the most common type and consist of a thin layer of aluminum foil bonded to a sheathing material.
- Radiant Barrier Paint: This is a liquid paint that can be applied to the underside of the roof deck to create a reflective surface.
- DIY Radiant Barriers: These can be made using materials like flex duct, plastic sheets, and staples. While cost-effective, they may not be as effective as commercial products.
Understanding Spray Foam Insulation
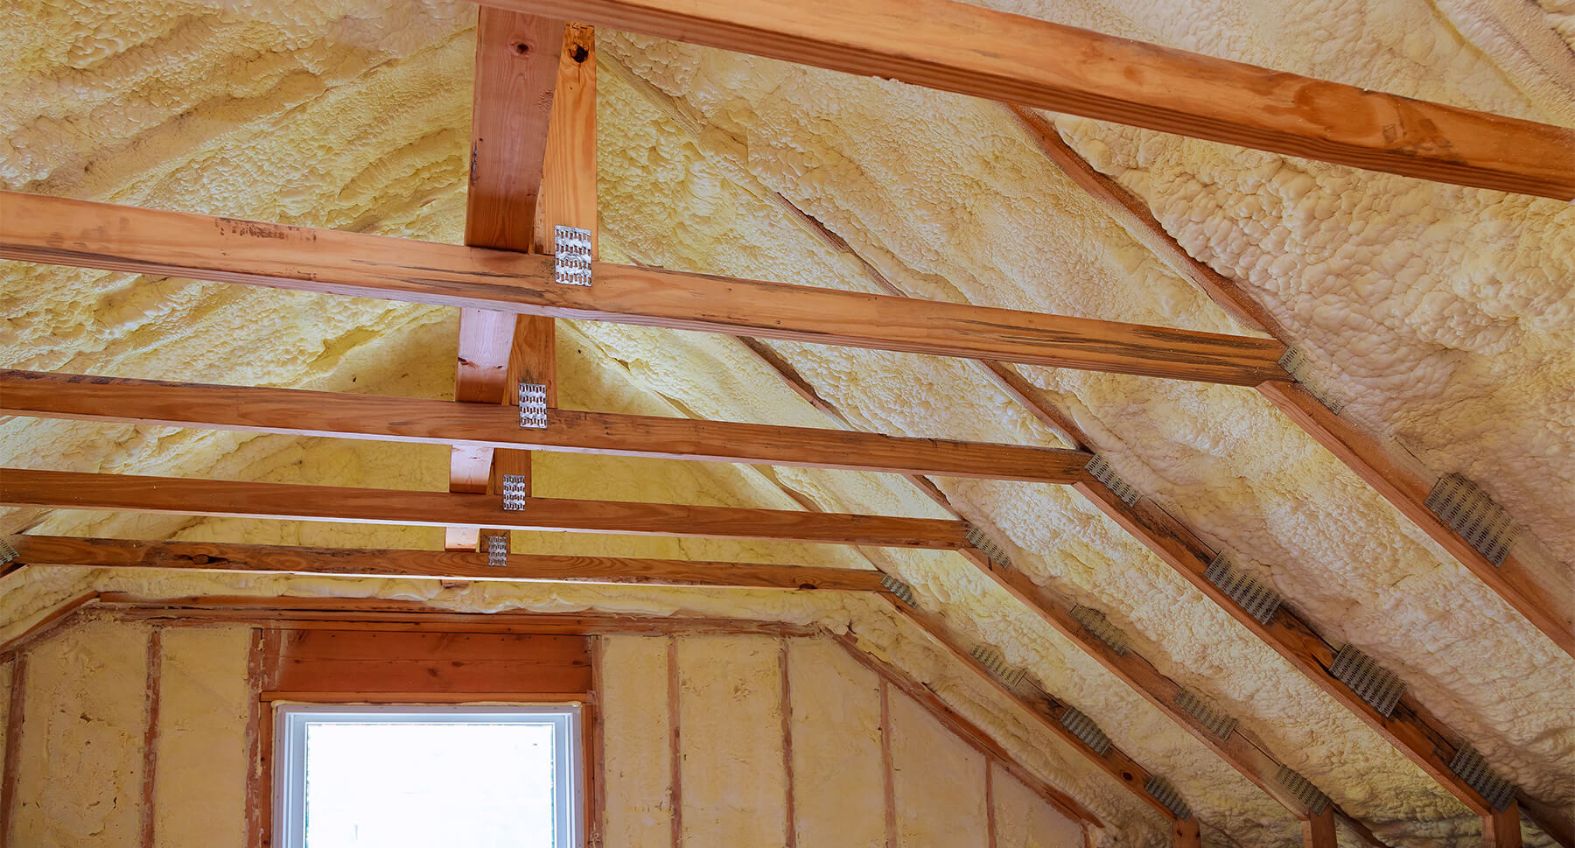
Spray foam insulation is a popular choice for attic insulation due to its high R-value and ability to seal gaps and cracks. It is made from a mixture of isocyanate and polyol that expands when sprayed, creating a thick layer of insulation.
How Spray Foam Insulation Works
Spray foam insulation works by slowing down conductive heat flow through the attic space. It fills gaps and cracks, creating a continuous layer of insulation that prevents heat from entering or leaving the attic. The R-value of spray foam insulation can vary depending on the type and thickness of the foam.
Types of Spray Foam Insulation
There are two main types of spray foam insulation:
- Open-Cell Spray Foam: This type has a lower R-value but is more flexible and easier to install.
- Closed-Cell Spray Foam: This type has a higher R-value but is more rigid and can be more challenging to install.
Combining Radiant Barriers with Spray Foam Insulation
While both radiant barriers and spray foam insulation are effective in their own right, combining them can create a highly energy-efficient attic space. However, there are some critical considerations to keep in mind:
Challenges with Combining Radiant Barriers and Spray Foam
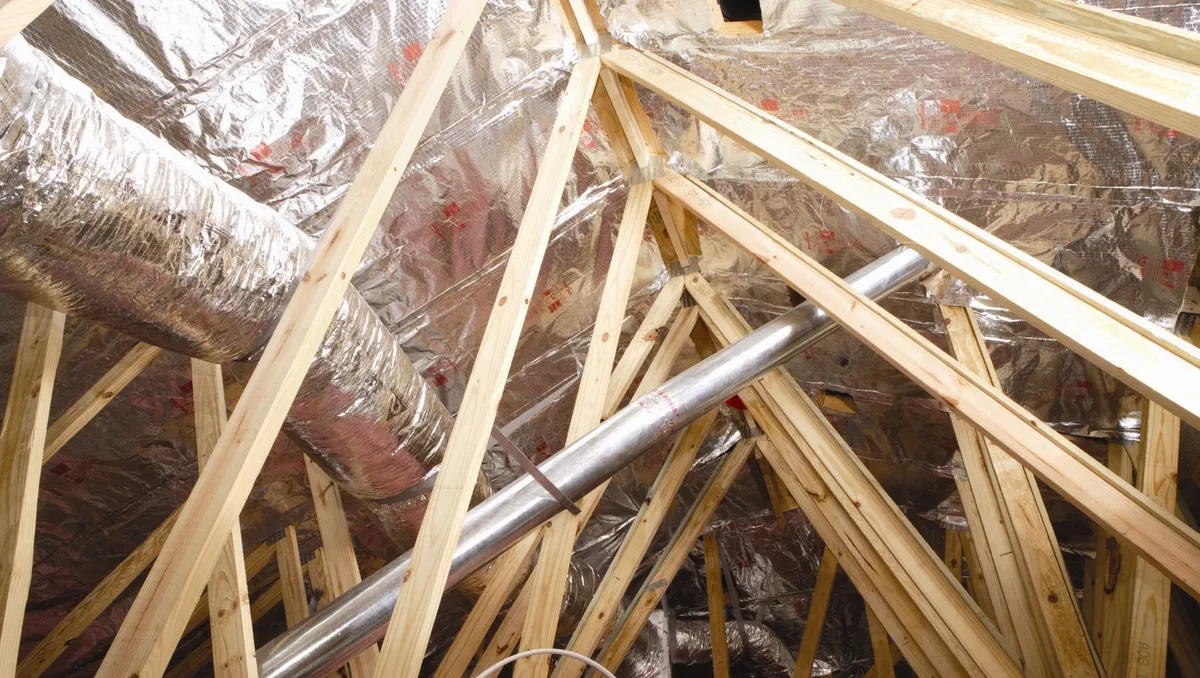
- Air Gap Requirement: Radiant barriers require an air gap to function properly. Spray foam insulation, by its nature, eliminates this air gap when applied directly to the radiant barrier.
- Heat Transfer: When spray foam is applied directly to a radiant barrier, heat can conduct through the foam rather than being reflected by the barrier.
- Moisture Issues: Spray foam can trap moisture if not installed correctly, which can lead to rot and decay of the roof framing.
Solutions for Combining Radiant Barriers and Spray Foam
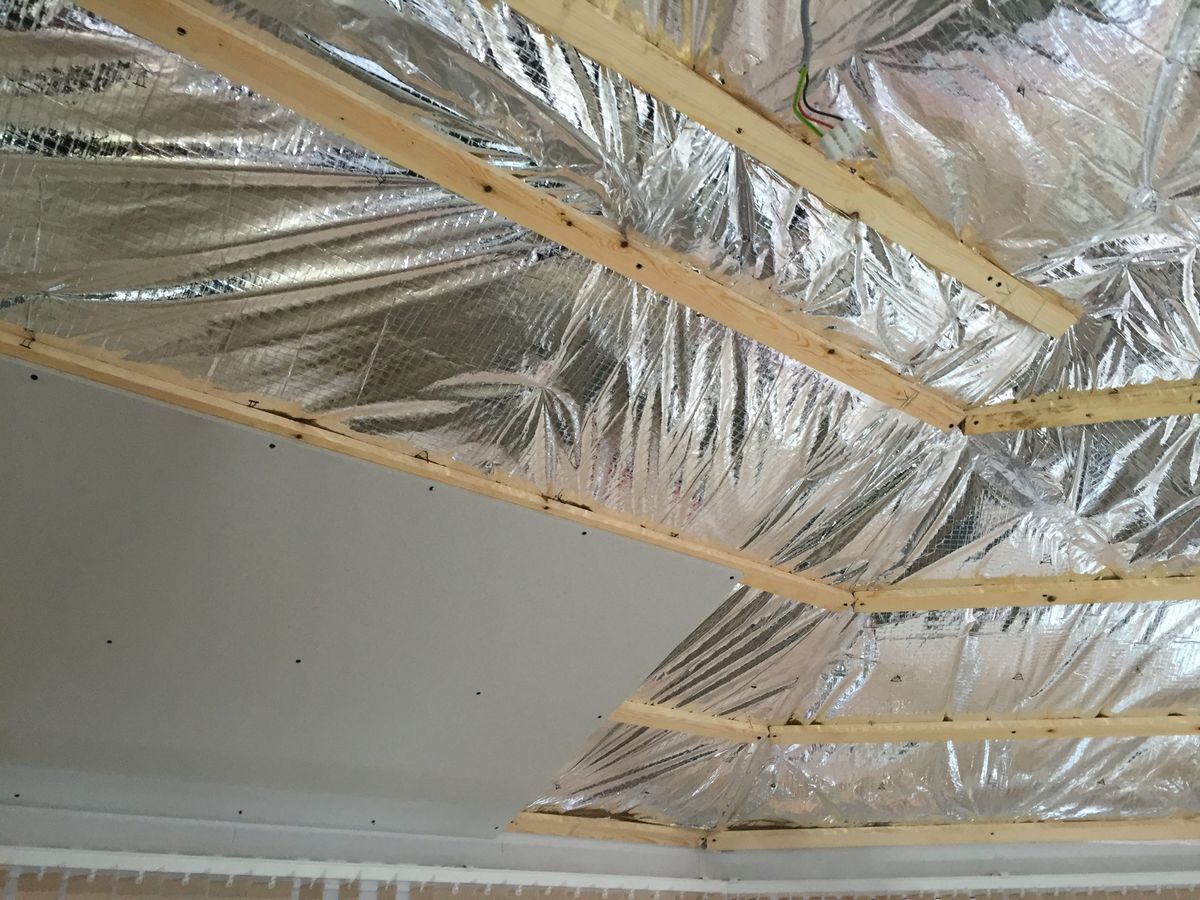
- Use Vent Baffles: Installing vent baffles between the rafters can help preserve the air gap required for radiant barriers while allowing spray foam to be applied.
- Layering Insulation: Using a combination of fluffy insulation between the rafters and foam board over the rafters can provide both reflective and insulating benefits.
- Air Space Maintenance: Ensuring that there is a minimum of 3/4” air space between the radiant barrier and the foam is crucial for maintaining its effectiveness.
DIY Installation Guide
If you decide to upgrade your attic with DIY spray foam insulation and radiant barrier, here’s a step-by-step guide to help you through the process:
Materials Needed
- Radiant Barrier Sheathing
- Spray Foam Insulation
- Vent Baffles
- Fiberglass Insulation
- Foam Board
- Staples and Staples Gun
- Safety Gear (Mask, Gloves, etc.)
Steps for Installation
-
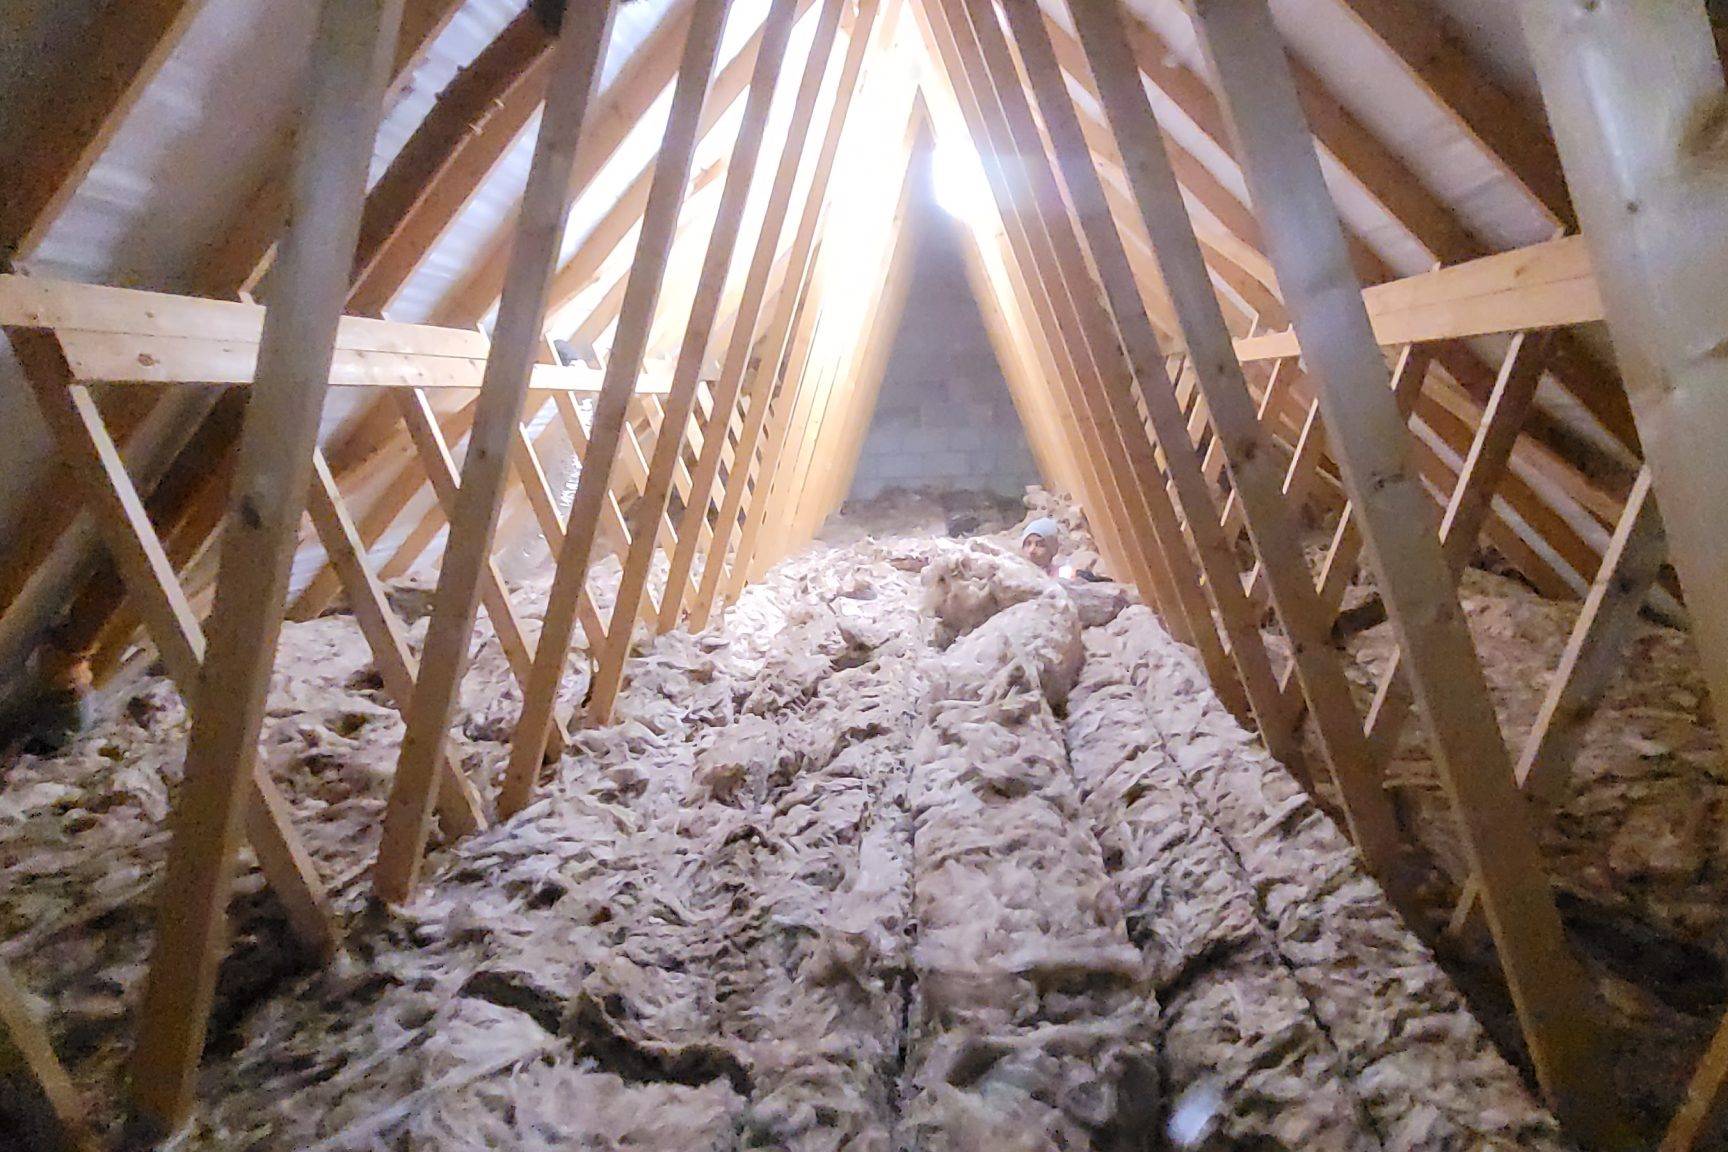
Prepare the Attic Space:
- Ensure the attic is well-ventilated to prevent moisture buildup.
- Remove any existing insulation or debris.
-
Install Radiant Barrier Sheathing:
- Cut the radiant barrier sheathing to size and staple it to the rafters.
- Ensure there is an air gap between the sheathing and any existing insulation.
-
Install Vent Baffles:
- Cut vent baffles to size and place them between the rafters.
- This will help maintain the air gap required for radiant barriers.
-
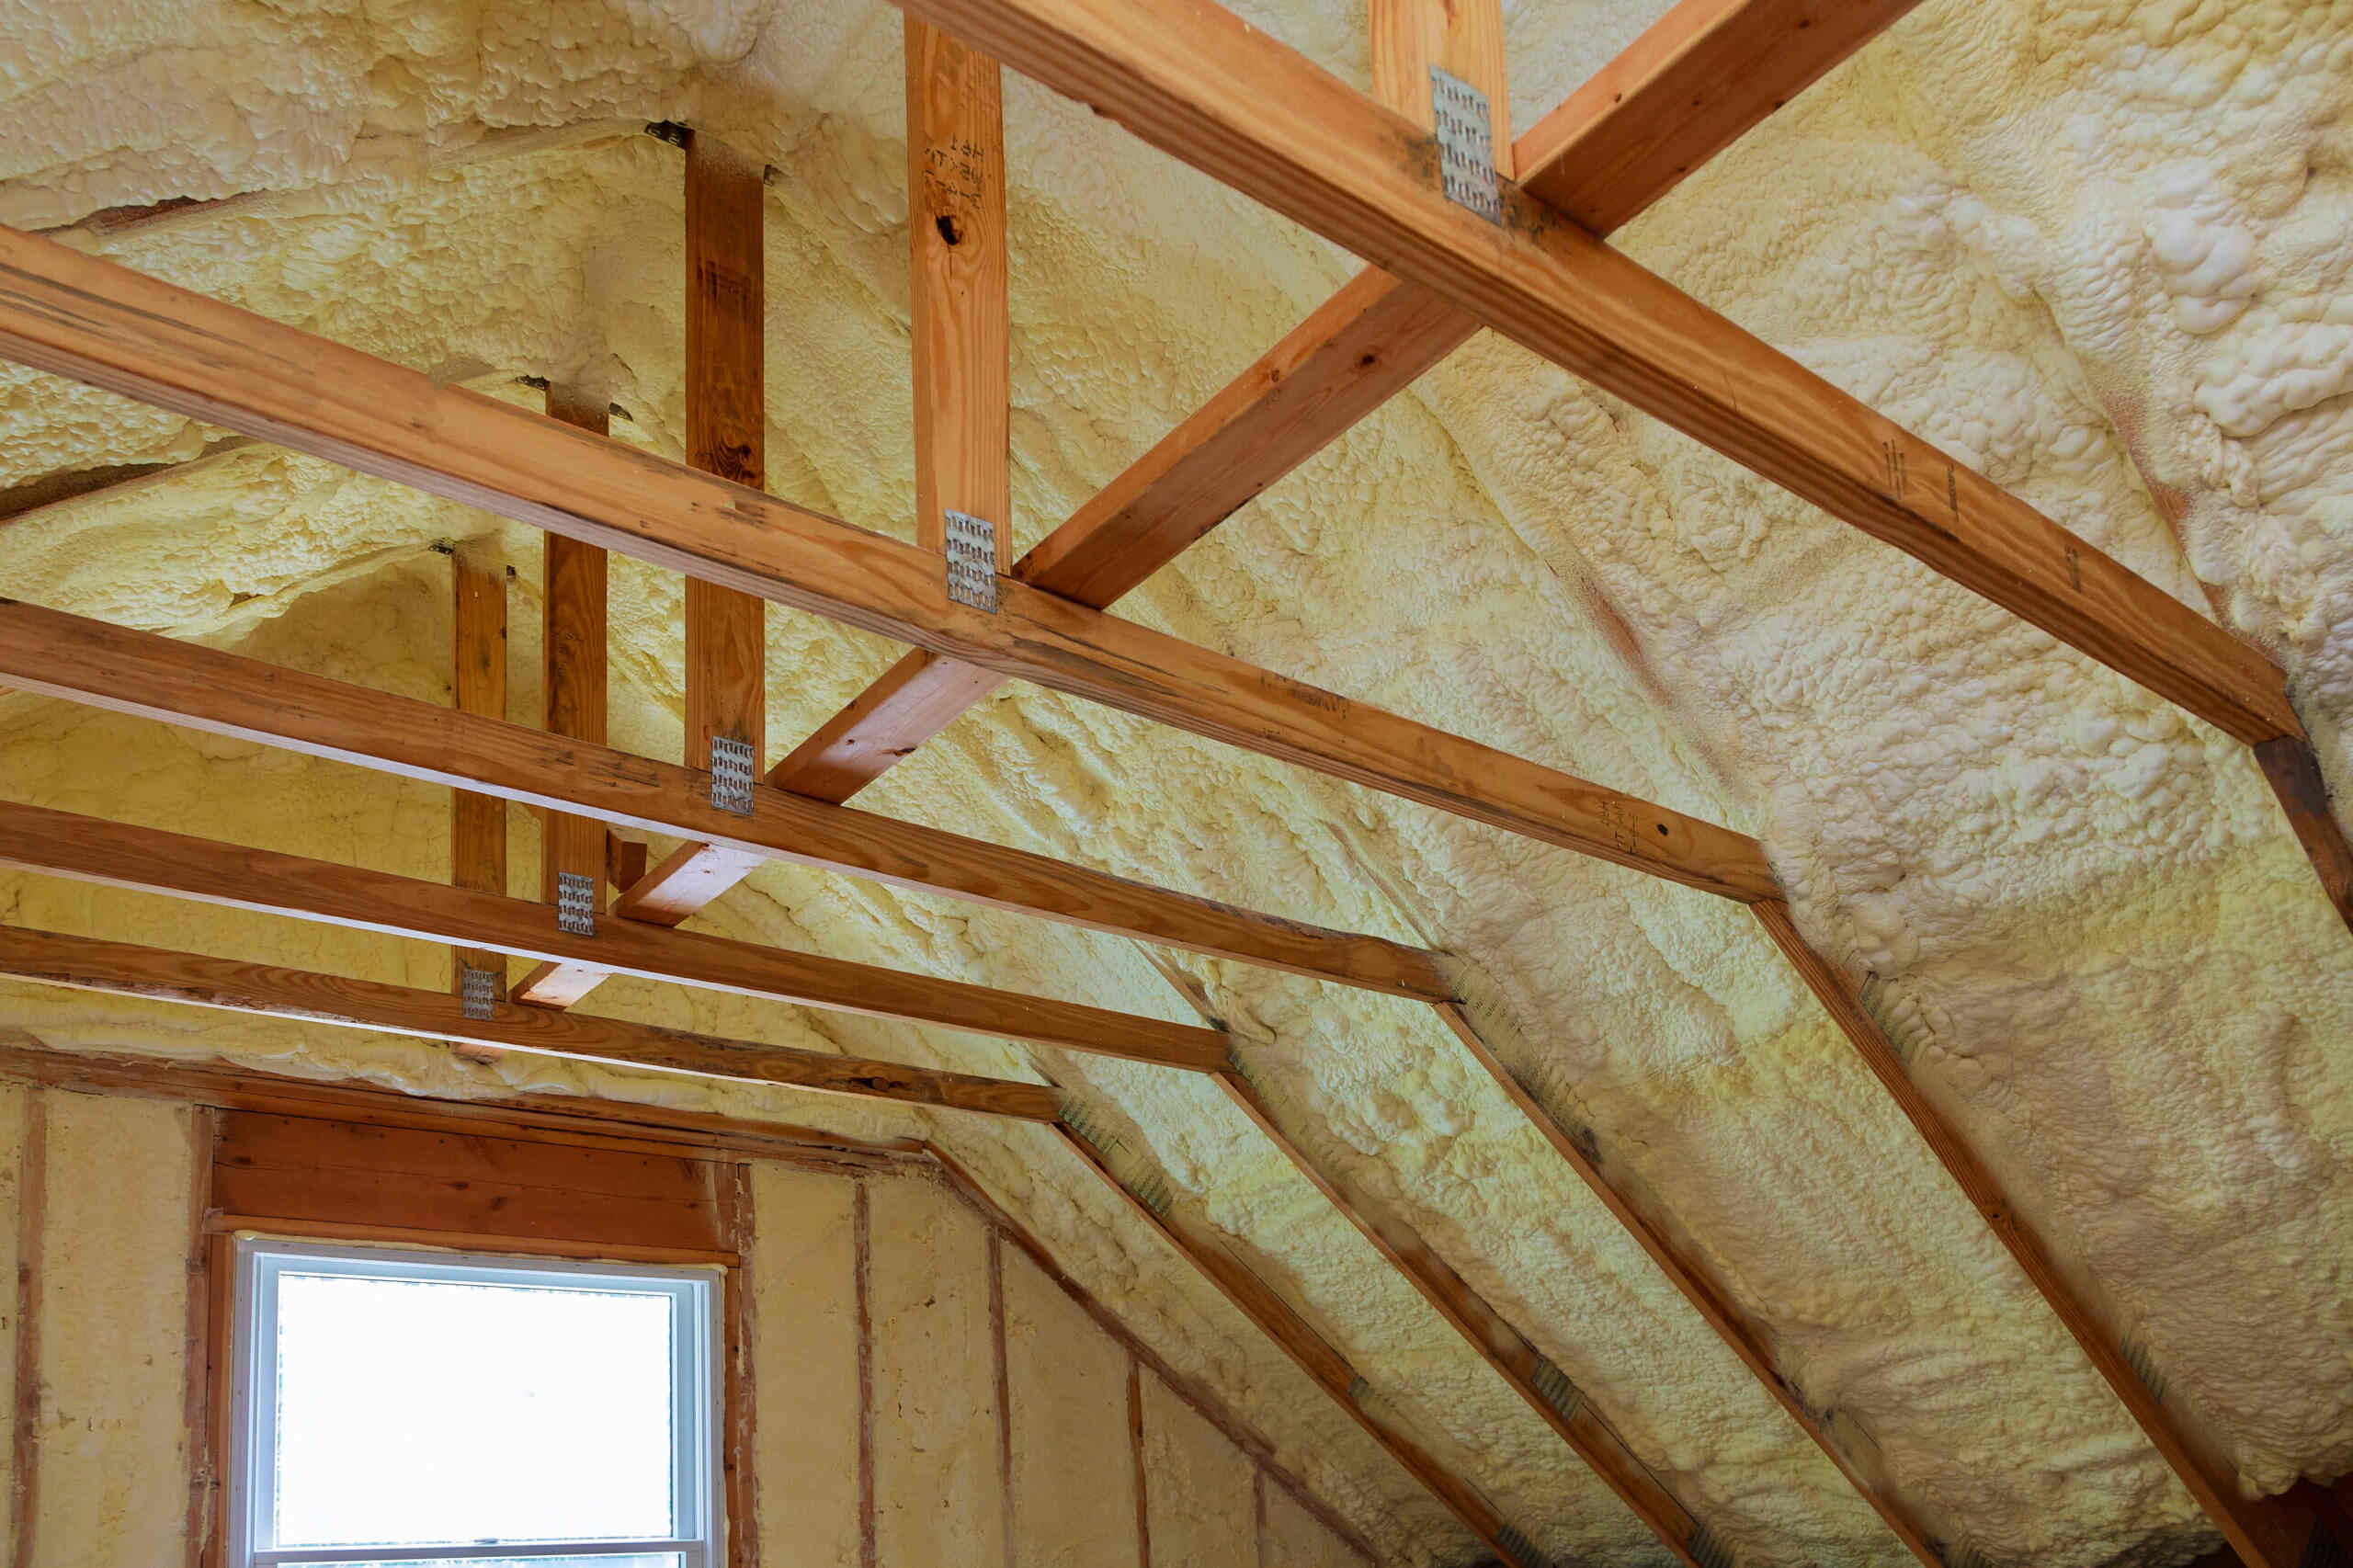
Apply Spray Foam Insulation:
- Use a spray foam gun to apply open-cell or closed-cell foam insulation between the rafters.
- Ensure that the foam is not applied directly to the radiant barrier sheathing.
-
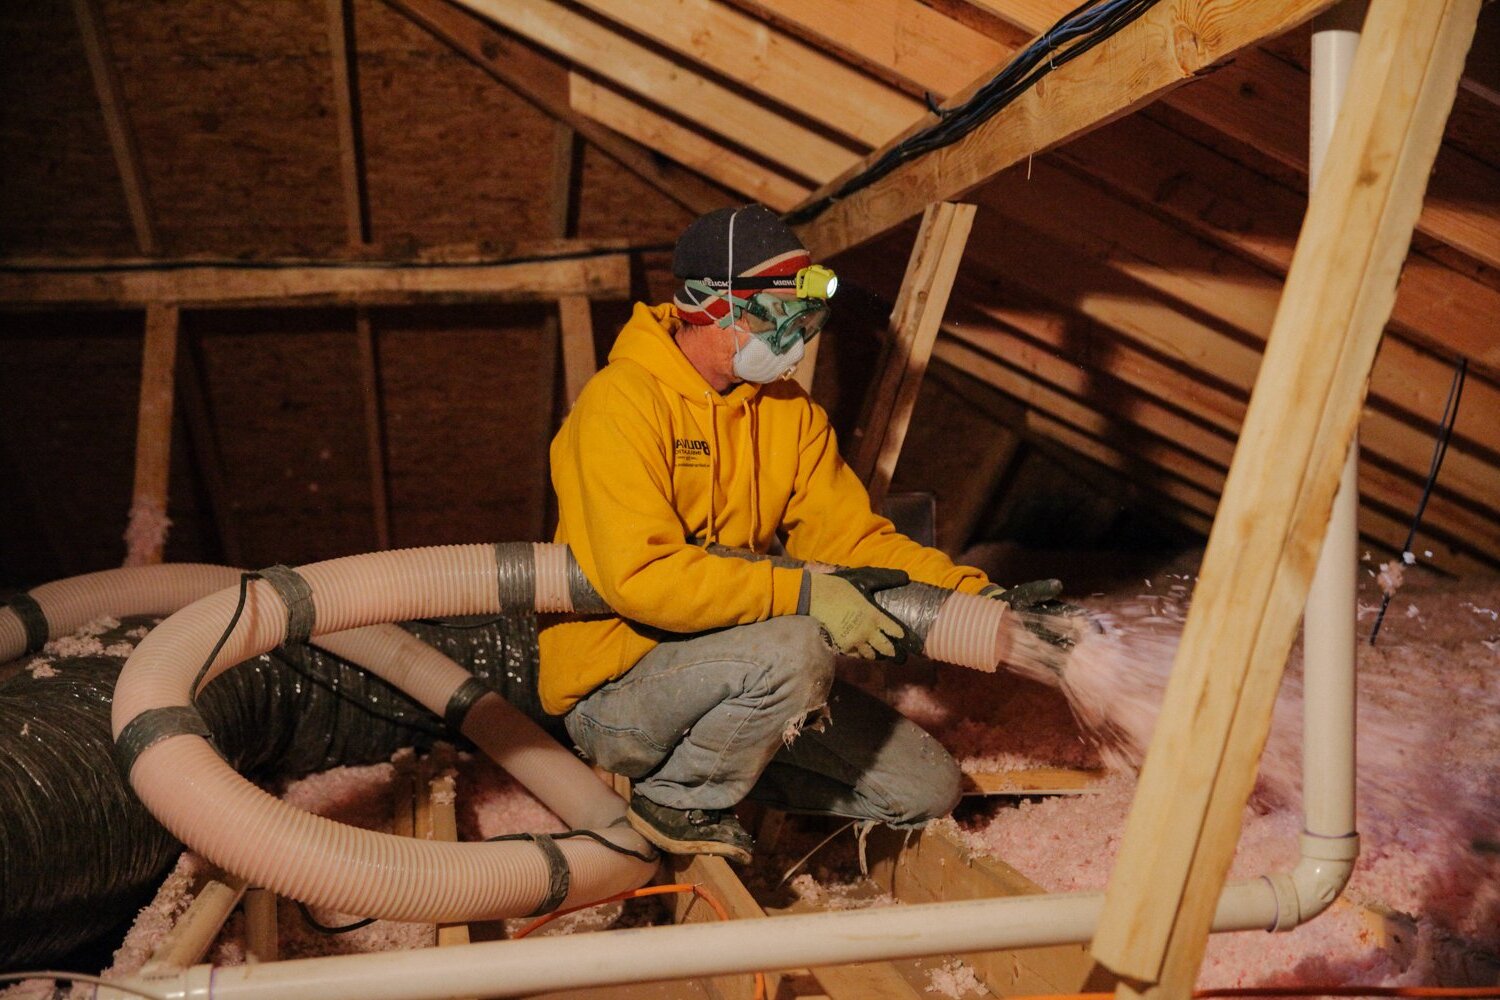
Add Fiberglass Insulation:
- Cut fiberglass batts to size and place them between the rafters.
- This will provide additional insulation and help maintain the air gap.
-
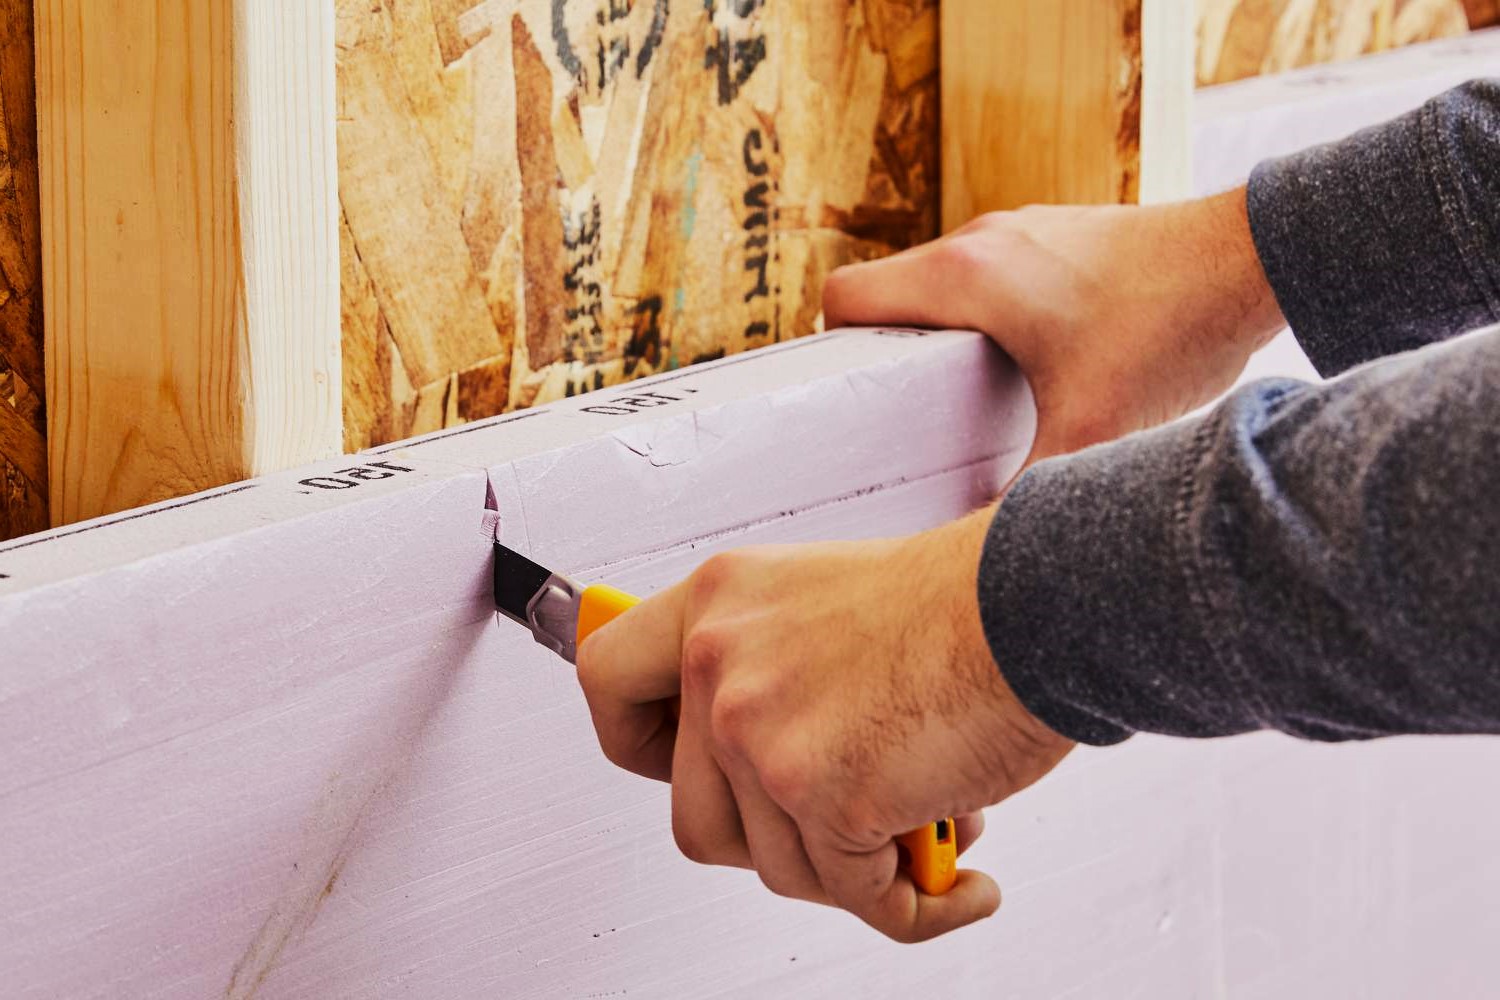
Install Foam Board:
- Cut foam board to size and place it over the rafters.
- This will provide an additional layer of insulation and help seal gaps.
-
Seal Gaps and Cracks:
- Use caulk or spray foam to seal any gaps or cracks in the attic space.
-
Final Check:
- Ensure that there is still an air gap between the radiant barrier sheathing and any foam insulation.
- Check for any gaps or cracks that may have been missed during installation.
Read more: What Is Radiant Barrier Insulation
Benefits of Upgrading Your Attic
Upgrading your attic with DIY spray foam insulation and radiant barrier can provide numerous benefits, including:
Energy Efficiency
- Reduced Cooling Costs: By keeping your attic cooler, you reduce the load on your air conditioning system, leading to lower cooling costs.
- Improved Insulation: Spray foam insulation slows down conductive heat flow, while radiant barriers reflect radiant heat, creating a highly energy-efficient attic space.
Comfort
- Reduced Noise: Spray foam insulation can help reduce noise from outside by sealing gaps and cracks.
- Improved Air Quality: By sealing gaps and cracks, you prevent moisture from entering the attic space, which can lead to mold and mildew growth.
Durability
- Long-Lasting Solution: Radiant barriers and spray foam insulation are durable solutions that can last for many years if installed correctly.
- Moisture Protection: Spray foam insulation can help protect against moisture damage by sealing gaps and cracks.
Conclusion
Upgrading your attic with DIY spray foam insulation and radiant barrier is a cost-effective way to improve the energy efficiency and comfort of your home. While there are challenges associated with combining these two technologies, careful planning and execution can ensure that they work together seamlessly. By following the steps outlined in this guide, you can create a highly energy-efficient attic space that will save you money on cooling costs and improve the overall comfort of your home.
Remember to always follow safety guidelines when working with spray foam insulation, and consider consulting a professional if you are unsure about any part of the process. With the right materials and a bit of effort, you can transform your attic into a highly efficient and comfortable space that will benefit your home for years to come.
Was this page helpful?
At Storables.com, we guarantee accurate and reliable information. Our content, validated by Expert Board Contributors, is crafted following stringent Editorial Policies. We're committed to providing you with well-researched, expert-backed insights for all your informational needs.


0 thoughts on “Upgrading Your Home’s Attic With DIY Spray Foam Insulation And Radiant Barrier”