Home>Ideas and Tips>Upgrading Your Home’s Basement With DIY Carpet Tiles

Ideas and Tips
Upgrading Your Home’s Basement With DIY Carpet Tiles
Modified: October 21, 2024
Transform your basement with DIY carpet tiles. Learn easy installation steps, benefits, and creative ideas to create a cozy, functional space.
(Many of the links in this article redirect to a specific reviewed product. Your purchase of these products through affiliate links helps to generate commission for Storables.com, at no extra cost. Learn more)
Introduction
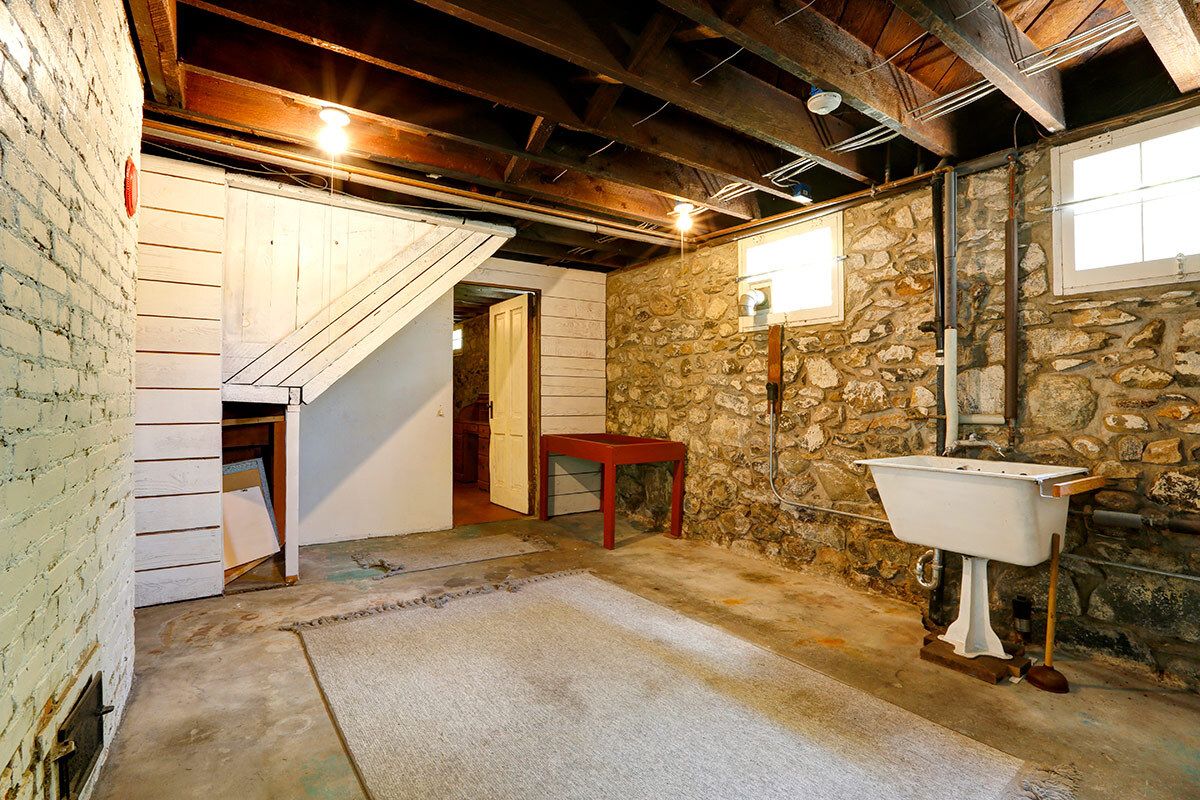
Basements are often the most underutilized spaces in our homes, serving as storage areas or neglected rooms. However, with a little creativity and effort, you can transform your basement into a cozy and inviting space that adds value to your home. One of the most effective ways to upgrade your basement is by installing DIY carpet tiles. These tiles offer a versatile and easy-to-install solution that can significantly enhance the aesthetic and functionality of your basement.
In this article, we will guide you through the process of upgrading your home's basement with DIY carpet tiles. We will cover the benefits of using carpet tiles, the tools and materials needed, step-by-step installation instructions, and some creative ideas to make your basement look and feel like a luxurious retreat.
Benefits of Using Carpet Tiles
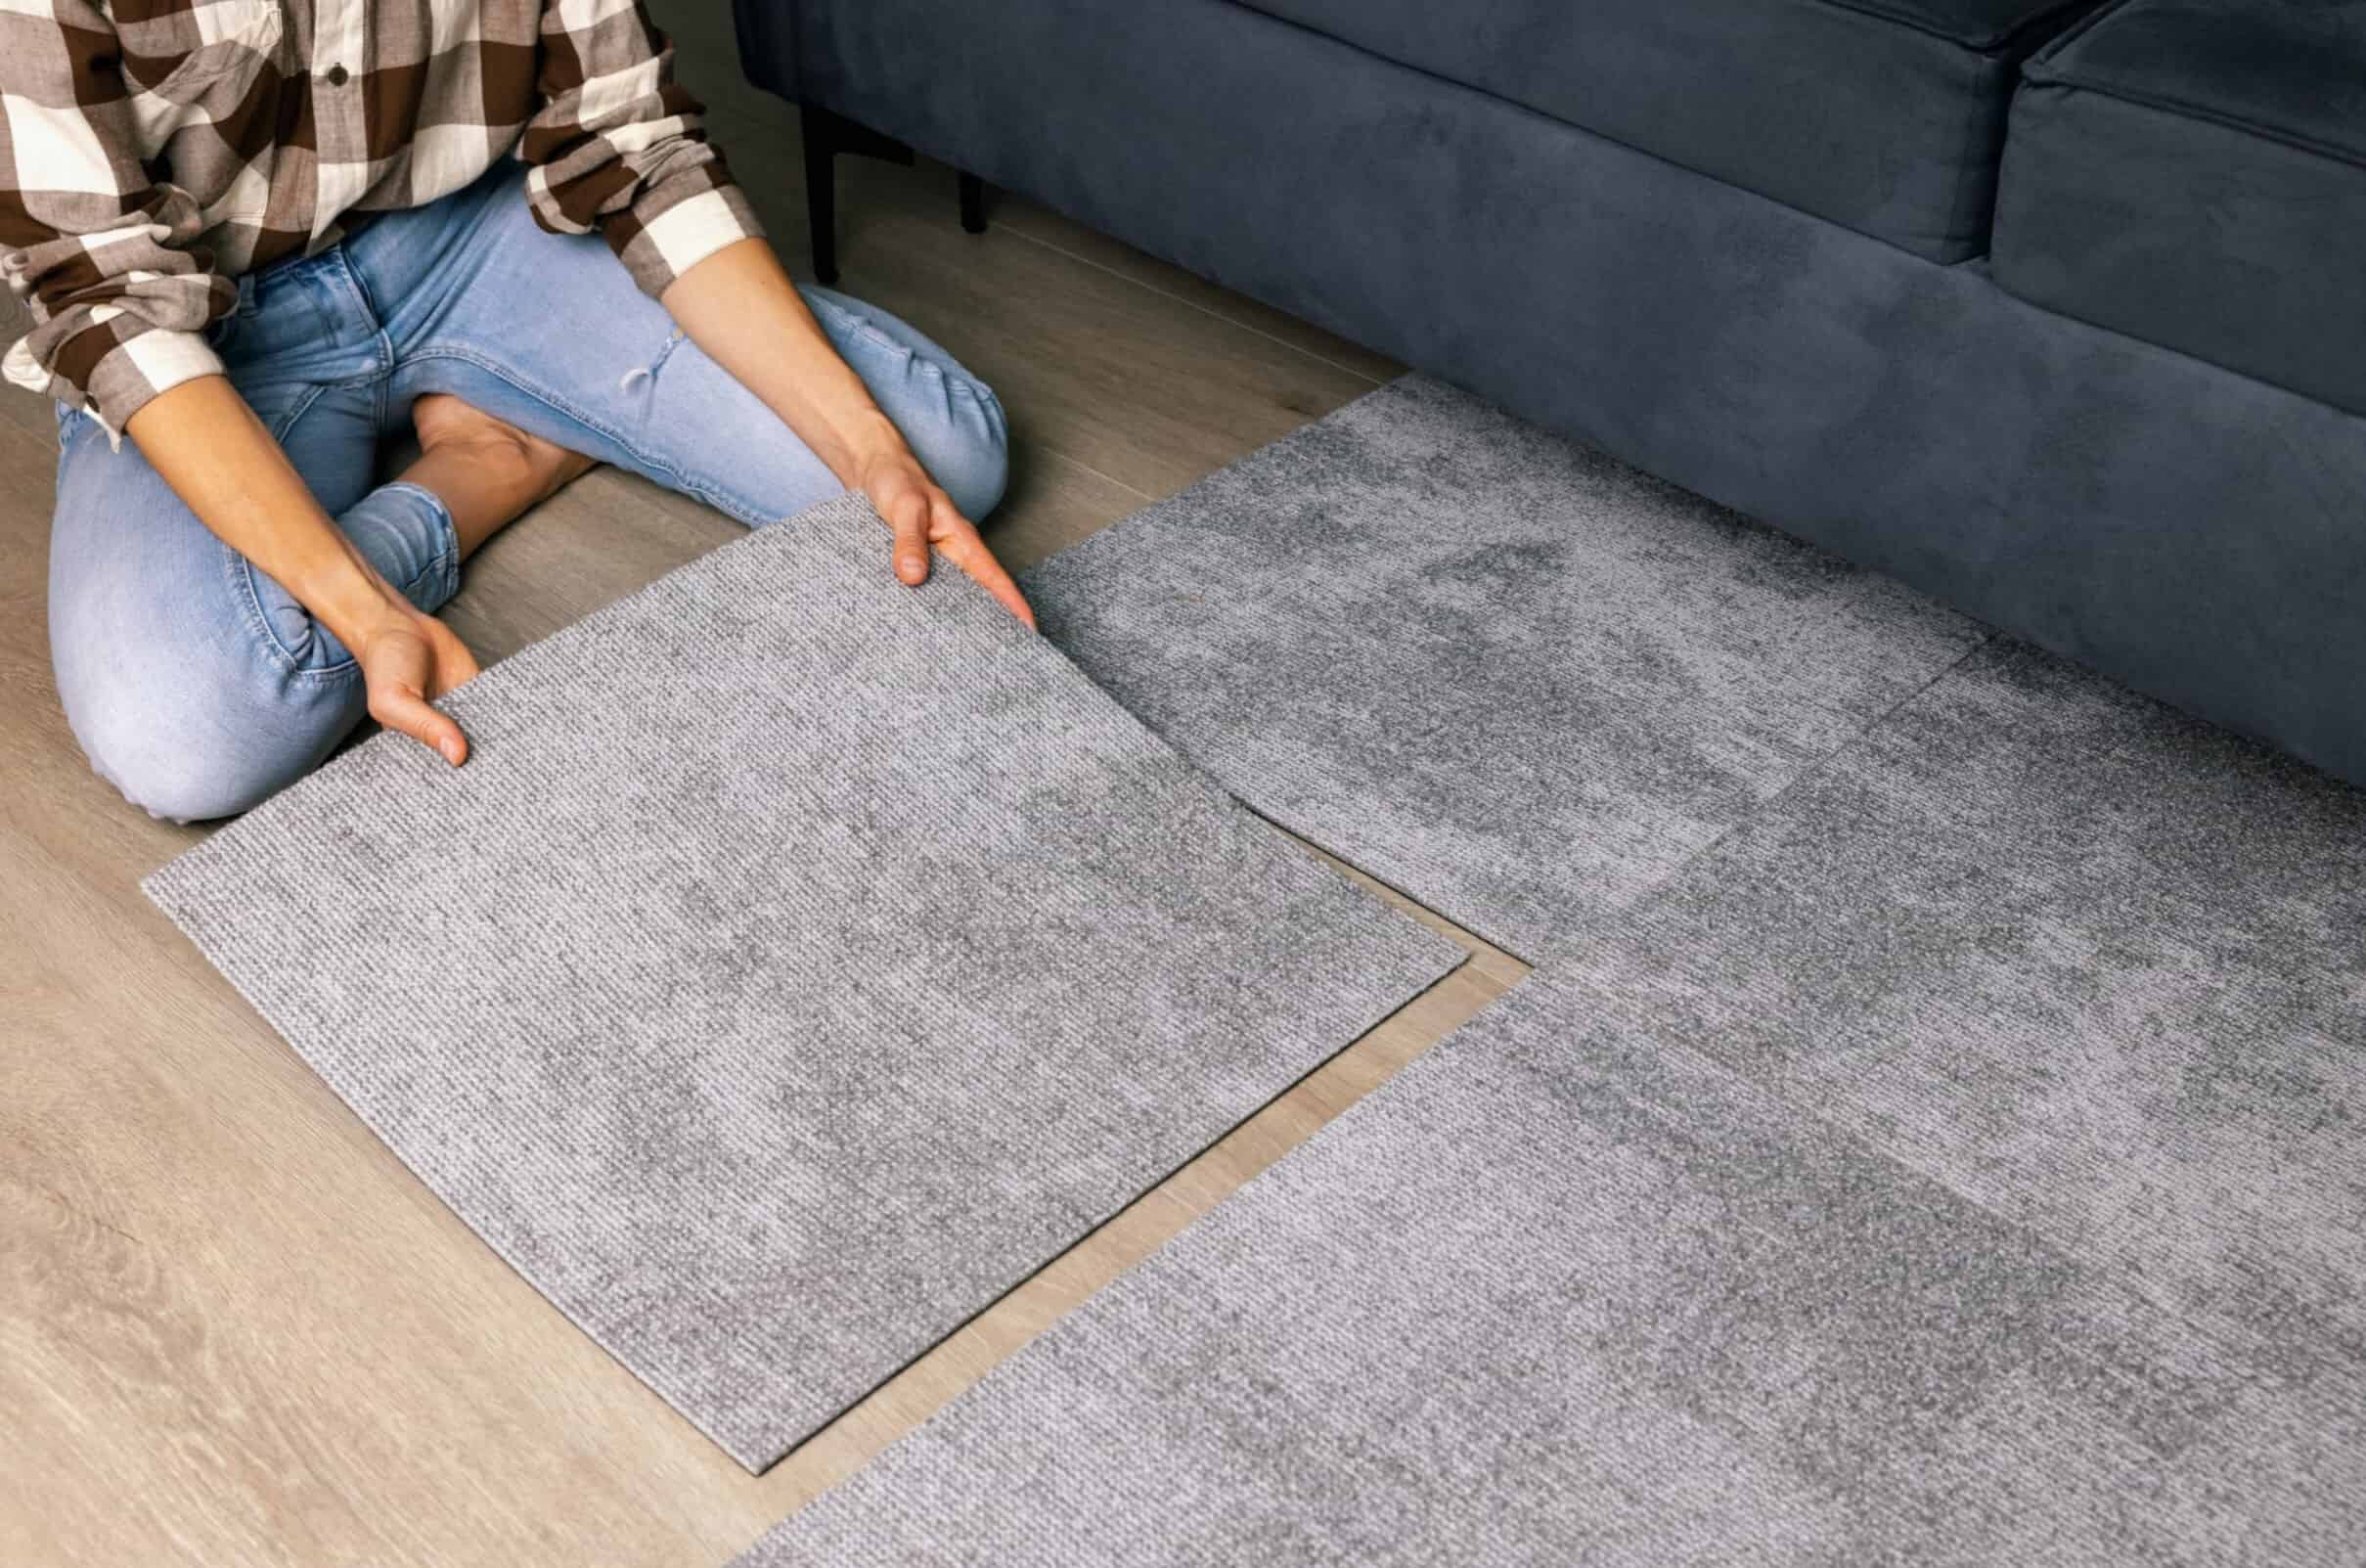
Easy Installation: Carpet tiles are designed to be easy to install, even for those without extensive DIY experience. They come in interlocking squares that can be laid down quickly and efficiently.
Durability: Carpet tiles are made from high-quality materials that are resistant to wear and tear. They can withstand heavy foot traffic and are less prone to stains compared to traditional rolled carpets.
Versatility: Carpet tiles come in a wide range of colors, patterns, and textures. This means you can choose a design that perfectly matches your basement's décor or theme.
Easy Maintenance: One of the biggest advantages of carpet tiles is their ease of maintenance. If one tile gets dirty or damaged, you can simply remove and replace it without affecting the entire carpet.
Moisture Resistance: Basements are often prone to moisture issues due to their location below ground level. Carpet tiles are designed with moisture resistance in mind, making them an excellent choice for basements.
Cost-Effective: While individual carpet tiles may seem expensive at first glance, they are often cheaper than traditional rolled carpets in the long run. This is because you only need to replace the damaged tiles rather than the entire carpet.
Tools and Materials Needed
Before you begin your DIY project, make sure you have all the necessary tools and materials. Here’s a list of what you’ll need:
- Carpet Tiles: Choose a high-quality carpet tile that suits your basement’s décor and functionality needs.
- Underlayment: This is a layer of material placed under the carpet tiles to provide cushioning and support.
- Adhesive: Depending on the type of underlayment you choose, you may need adhesive to secure the tiles in place.
- Trowel or Notched Trowel: For applying adhesive.
- Measuring Tape: To measure your basement floor accurately.
- Laser Level: To ensure your tiles are laid down evenly.
- Pencil and Straightedge: For marking the floor where you’ll place each tile.
- Utility Knife or Tile Cutter: For cutting tiles to fit around edges or corners.
- Roller or Rubber Mallet: For pressing tiles firmly into place.
Step-by-Step Installation Instructions
Preparation
Clear the Area: Move any furniture, storage containers, or other obstructions out of your basement.
Clean the Floor: Thoroughly clean the floor to remove any dirt, dust, or old adhesive residue.
Check for Subfloor Issues: Inspect your subfloor for any cracks or unevenness. If necessary, apply a patching compound to smooth out the surface.
Laying Down Underlayment
Measure Your Floor: Measure your basement floor accurately to determine how many rolls of underlayment you’ll need.
Roll Out Underlayment: Unroll the underlayment material across your floor, ensuring it covers the entire area evenly.
Secure Underlayment: Use adhesive or tape to secure the underlayment in place, following the manufacturer’s instructions.
Installing Carpet Tiles
Lay Out Tiles: Begin by laying down a few tiles in one corner of your basement as a reference point. Use a laser level to ensure they are straight.
Mark Tile Positions: Use a pencil and straightedge to mark where each tile will go on the underlayment.
Apply Adhesive (if needed): If using adhesive with your underlayment, apply it according to the manufacturer’s instructions.
Place Tiles: Start placing tiles along the marked lines, working your way across the room in sections.
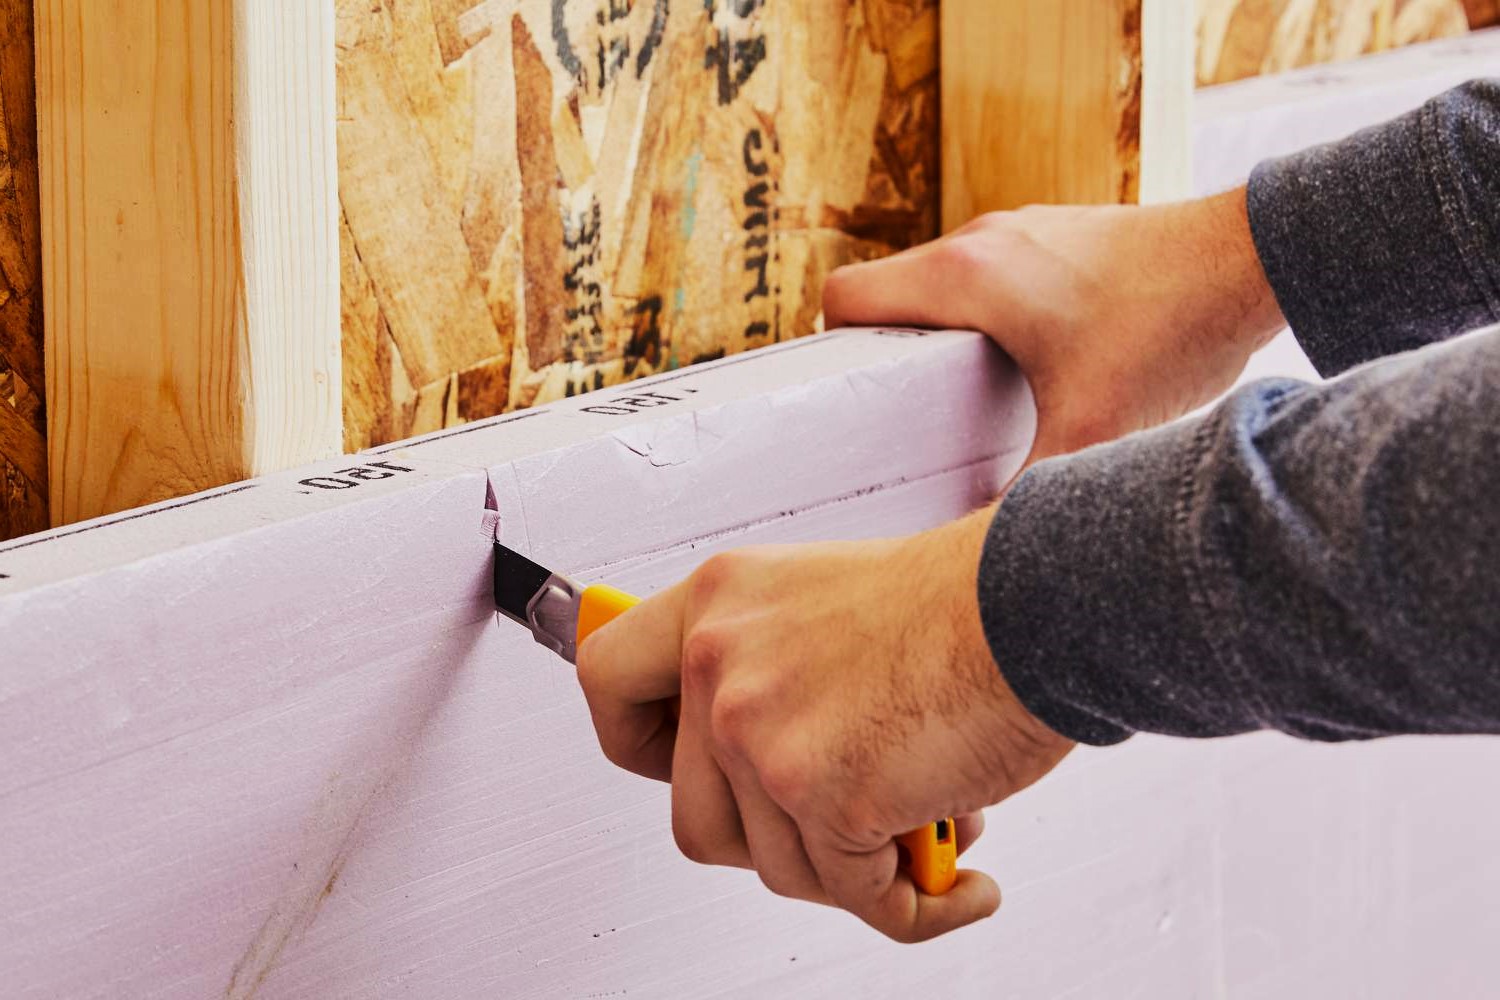
Cut Tiles as Needed: Use a utility knife or tile cutter to cut tiles around edges or corners where they don’t fit perfectly.
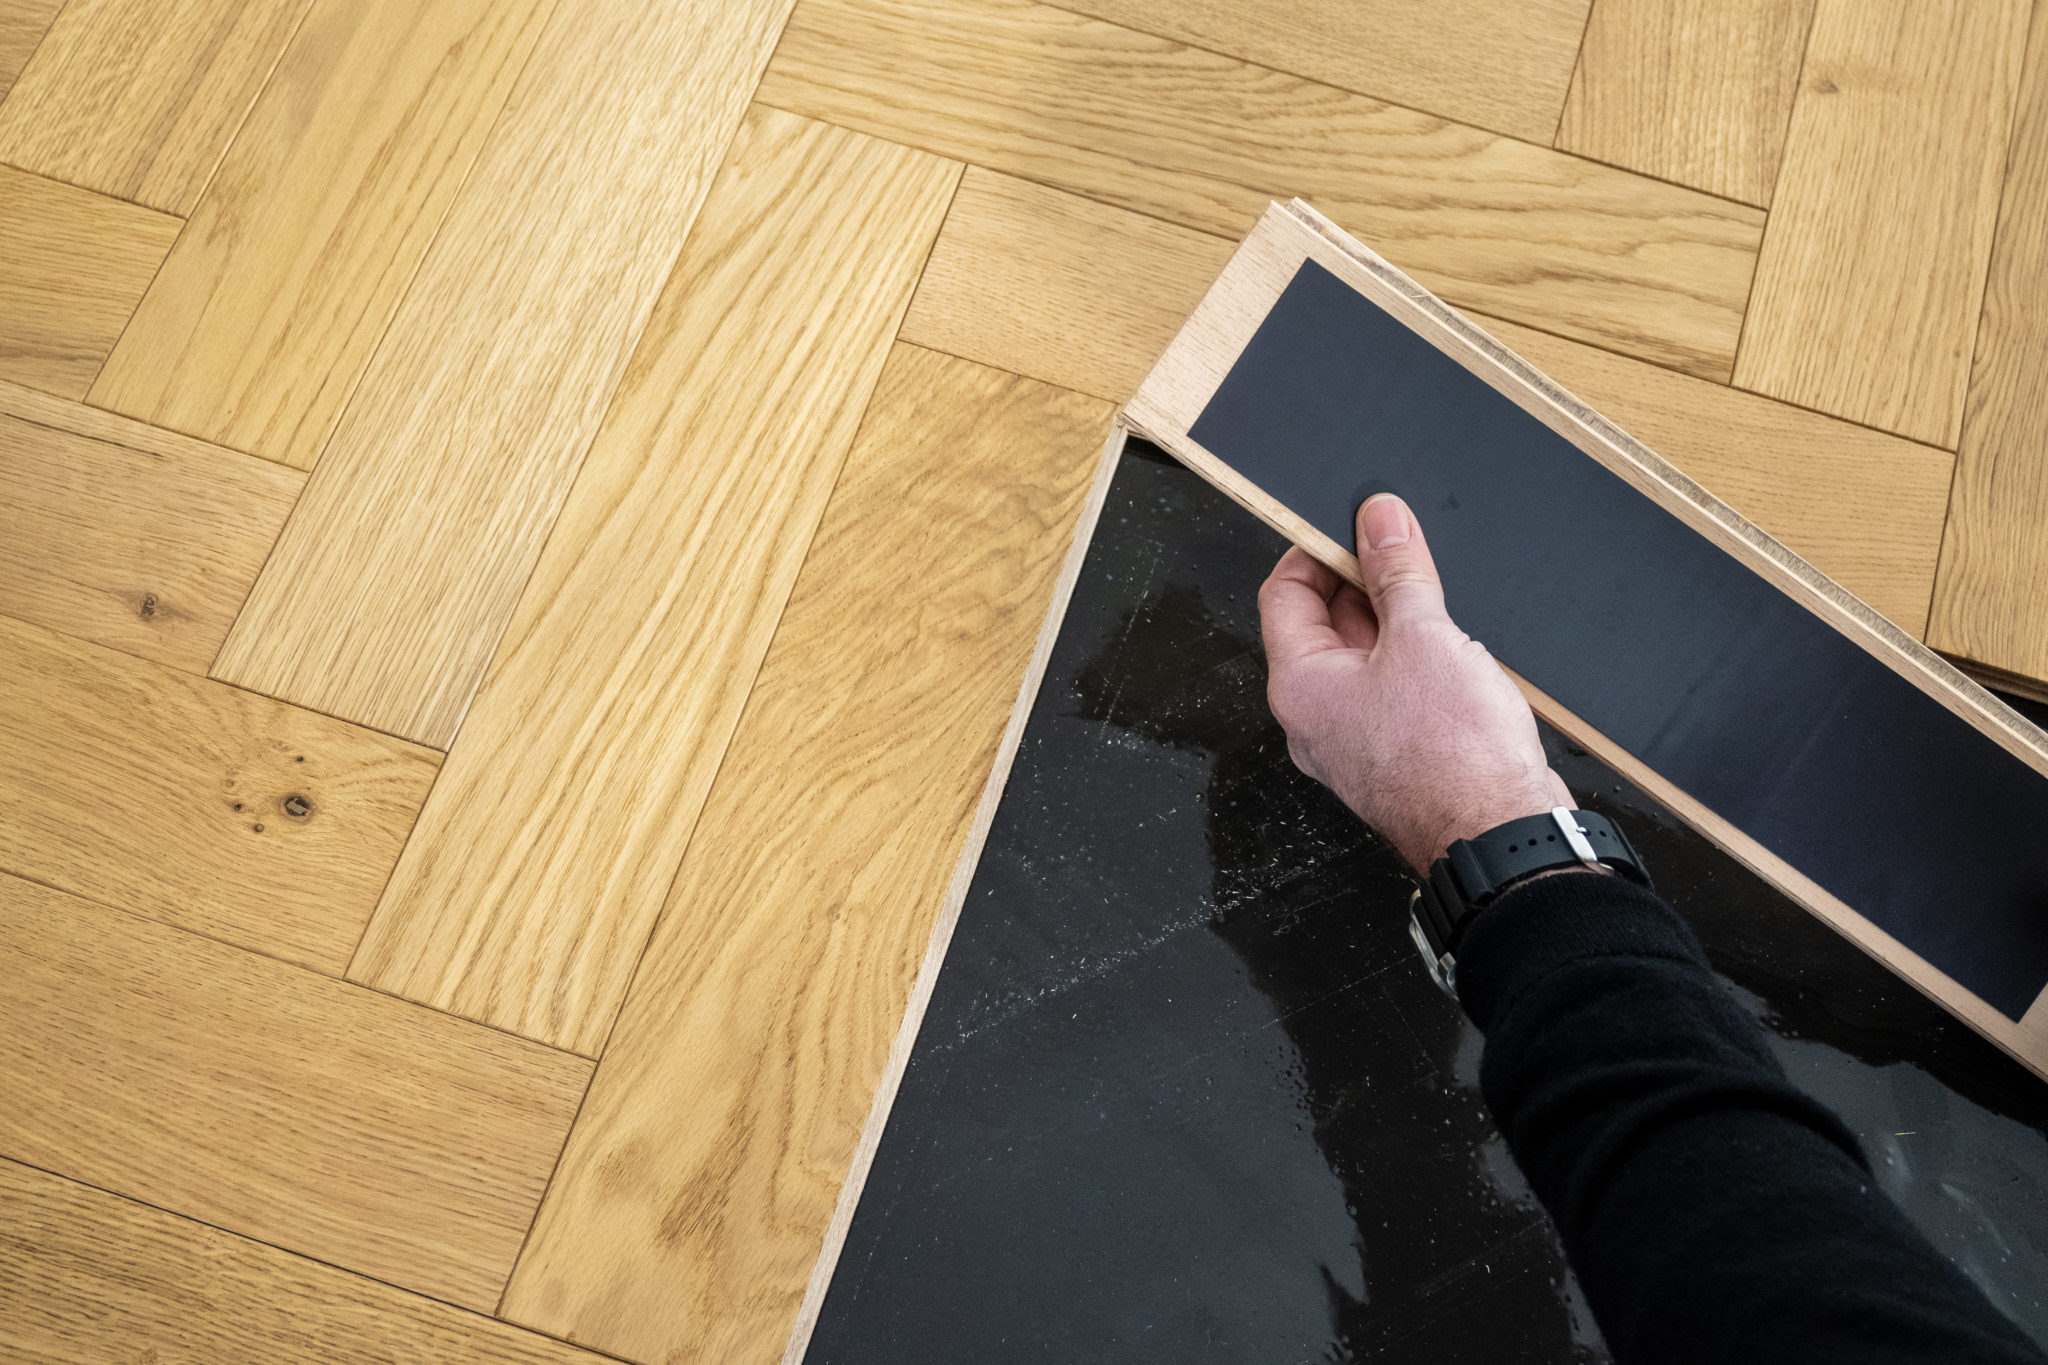
Press Tiles Firmly: Use a roller or rubber mallet to press each tile firmly into place, ensuring they are securely attached.
Check Alignment: Periodically check that tiles are aligned properly using a laser level.
Finish Edges: Once all tiles are laid down, use a utility knife or tile cutter to trim excess material from edges where necessary.
Inspect Work: Walk around your newly laid carpet tiles to ensure they are evenly spaced and securely attached.
Creative Ideas for Your Basement
Add Lighting: Install dimmable LED lights or string lights around the perimeter of your basement to create a cozy ambiance.
Incorporate Storage: Use wall-mounted shelves or storage units to keep your belongings organized while maintaining an open floor plan.
Create a Home Theater: Set up a projector screen and comfortable seating for movie nights or game nights with friends and family.
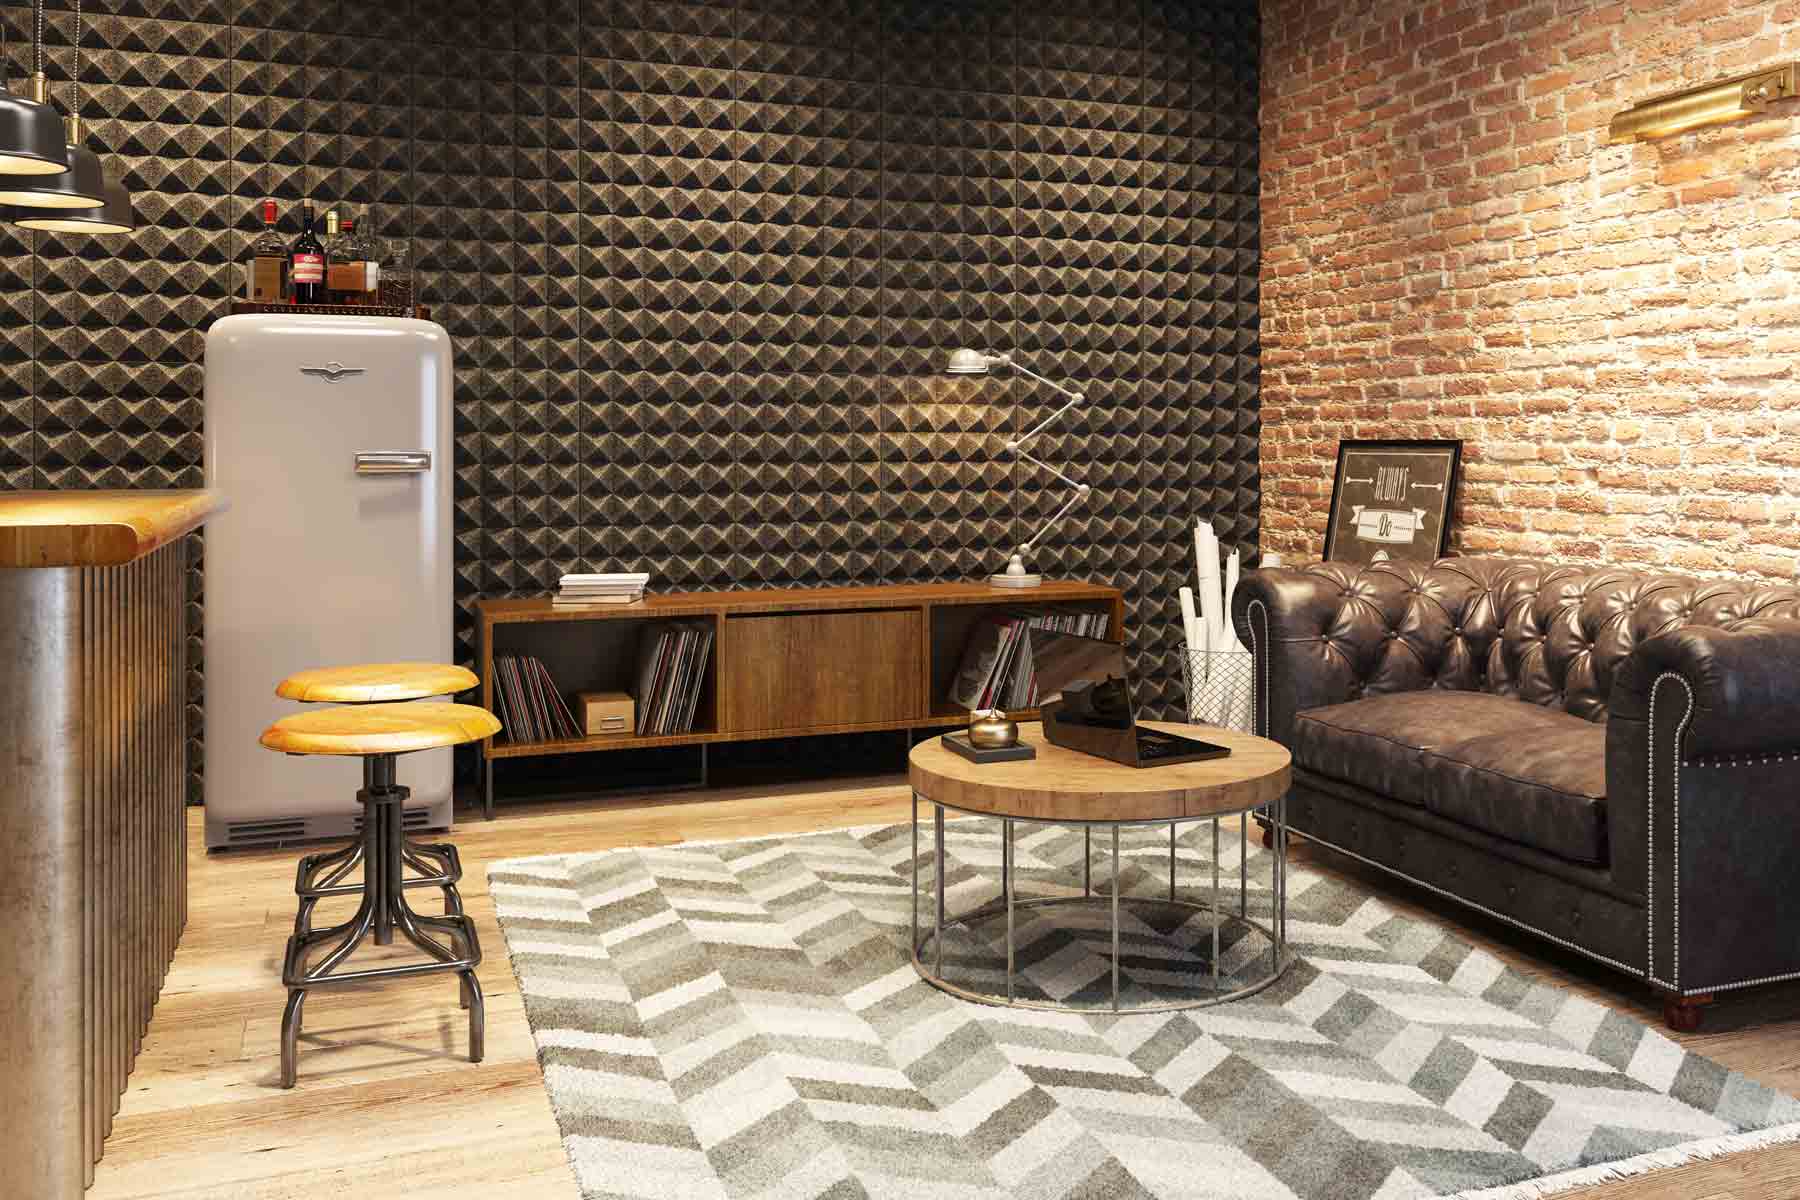
Build a Bar Area: Install a wet bar with stools and a refrigerator for entertaining guests.
Designate a Workspace: Create a dedicated workspace with a desk, chair, and good lighting for working from home or pursuing hobbies like crafting or painting.
Incorporate Plants: Add some greenery by placing potted plants around the room to enhance its aesthetic appeal and air quality.
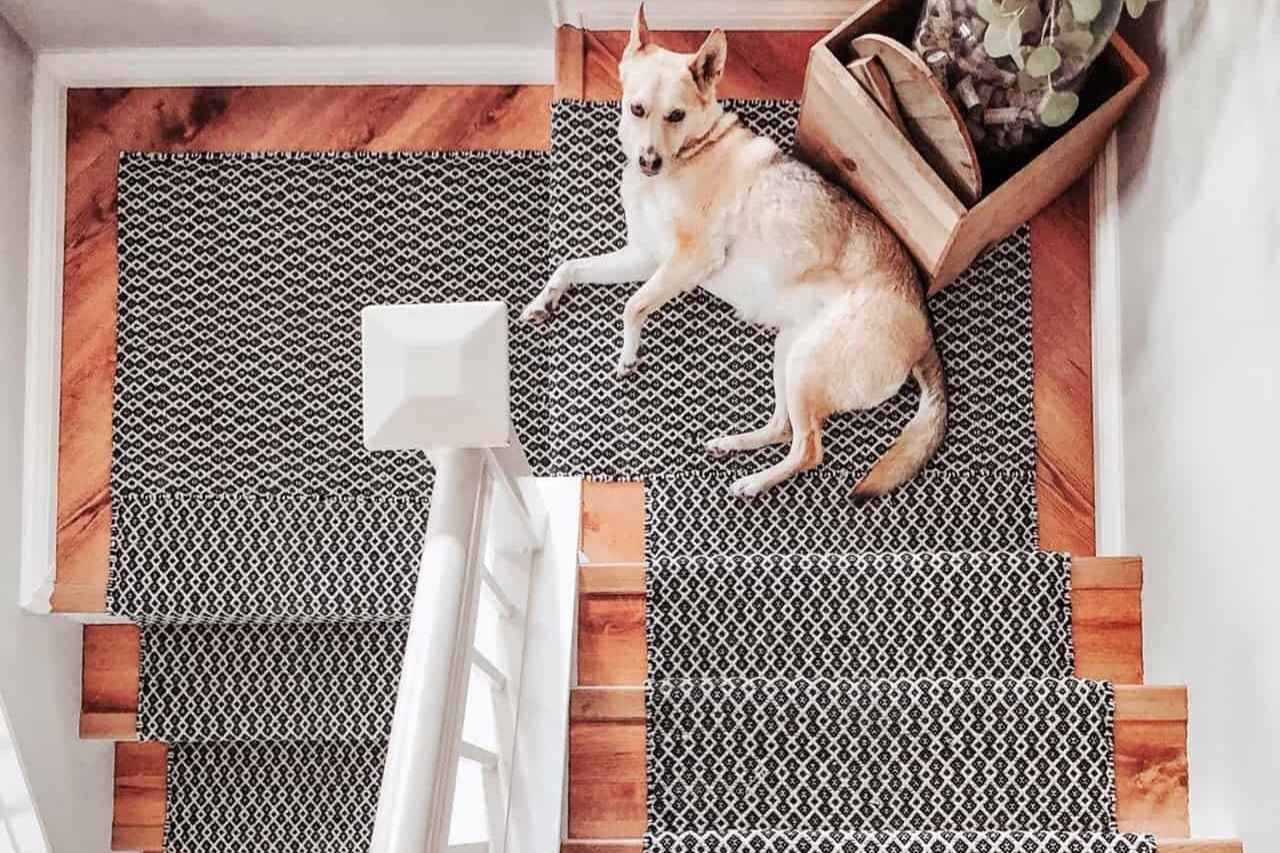
Use Rugs for Accentuation: Place area rugs in high-traffic areas or around seating zones to add color and texture to your space.
Conclusion
Upgrading your home's basement with DIY carpet tiles is an excellent way to transform this often-neglected space into a functional and inviting area that adds value to your home. By following these steps and incorporating some creative ideas, you can turn your basement into a luxurious retreat that you'll love spending time in.
Remember always to follow safety guidelines when working with power tools or chemicals, and don't hesitate to seek professional help if you're unsure about any part of the process. With patience and dedication, you can achieve professional-looking results without breaking the bank or hiring expensive contractors.
So why wait? Start planning your basement makeover today and enjoy the benefits of having a beautifully upgraded space that enhances both functionality and aesthetics.
Was this page helpful?
At Storables.com, we guarantee accurate and reliable information. Our content, validated by Expert Board Contributors, is crafted following stringent Editorial Policies. We're committed to providing you with well-researched, expert-backed insights for all your informational needs.







0 thoughts on “Upgrading Your Home’s Basement With DIY Carpet Tiles”