Articles
How To Crochet A Letter Into A Blanket
Modified: February 24, 2024
Learn how to crochet individual letters onto a cozy blanket with our step-by-step articles. Create personalized keepsakes with this easy crochet technique.
(Many of the links in this article redirect to a specific reviewed product. Your purchase of these products through affiliate links helps to generate commission for Storables.com, at no extra cost. Learn more)
Introduction
Welcome to the world of crocheting! If you’re looking to add a personal touch to your next crochet project, why not try crocheting a letter into a blanket? This unique technique allows you to create custom designs and messages, making your creation truly one-of-a-kind. Whether you want to spell out a name, a special word, or even a heartfelt message, crocheting a letter into a blanket is a fun and creative way to personalize your crochet projects.
In this article, we’ll guide you through the process of crocheting a letter into a blanket, step by step. We’ll cover everything from choosing the right pattern and yarn to preparing your crochet hook and creating the letter itself. With a little bit of practice and patience, you’ll be able to crochet beautiful letters into your blankets in no time.
So, gather your materials and let’s get started on this exciting crochet journey!
Key Takeaways:
- Personalize your crochet projects by learning how to crochet a letter into a blanket. Choose the right pattern, yarn, and colors to create a one-of-a-kind design that showcases your creativity and craftsmanship.
- Crocheting a letter into a blanket requires attention to detail and patience. Enjoy the process, take breaks when needed, and don’t be afraid to get creative with your designs. The end result will be a stunning and meaningful project that holds special significance.
Read more: How To Start Crocheting A Blanket
Materials Needed
Before you start crocheting a letter into a blanket, make sure you have the necessary materials at hand. Here’s a list of items you’ll need:
- Crochet hook – Choose a hook size that matches the yarn weight you’ll be using for your project.
- Yarn – Opt for a soft and durable yarn in the colors of your choice. Consider using a contrasting color for the letter to make it stand out.
- Blanket pattern – Select a pattern with a simple design that allows room for crocheting the letter. A basic stitch pattern, such as single crochet or double crochet, works well.
- Tapestry needle – This needle will come in handy for weaving in loose ends and sewing on any embellishments.
- Scissors – You’ll need a reliable pair of scissors for cutting yarn.
- Stitch markers – These will help you keep track of your stitches and ensure that your letter is crocheted accurately.
Having these materials ready before you start will make the crocheting process smoother and more enjoyable. Make sure to choose high-quality yarn and sturdy crochet hooks to ensure the longevity and durability of your finished blanket.
Choosing a Blanket Pattern
When it comes to crocheting a letter into a blanket, selecting the right pattern is crucial. You’ll want to choose a pattern that has enough space and a solid foundation for your letter to be easily incorporated. Here are some tips to help you choose a suitable blanket pattern:
- Size and Shape – Consider the size and shape of the blanket you want to create. A larger blanket will provide more surface area to crochet your letter. Rectangular or square-shaped blankets are ideal, as they offer more space for the letter to stand out.
- Stitch Pattern – Opt for a blanket pattern that uses simple stitches, such as single crochet or double crochet. These stitches are easier to work with when crocheting a letter, especially if you’re a beginner.
- Texture and Design – Think about the overall texture and design of the blanket. A pattern with a smooth and even texture will make the letter more visible and readable. Avoid patterns with intricate stitch combinations or overly textured designs, as they may distract from the letter.
- Background Color – Consider the color of the blanket when selecting a pattern. Choose a background color that complements the colors you’ll be using for the letter. A solid or subtle patterned background often works best, as it allows the letter to stand out.
Remember, the blanket pattern should provide ample space and a neutral backdrop for the letter to shine. Take your time to explore different patterns and envision how the letter will fit within the design. Once you find the perfect pattern, you’ll be ready to move on to the next step: selecting yarn and colors.
Selecting Yarn and Colors
Choosing the right yarn and colors is essential when crocheting a letter into a blanket. The yarn should be soft, durable, and suitable for the blanket’s use and care. Here are some factors to consider when selecting yarn and colors:
- Yarn Weight – Consider the weight of the yarn in relation to your chosen blanket pattern. Different yarn weights create different textures and drape. A medium-weight yarn (worsted or aran) is a versatile choice for most blanket projects.
- Fiber Content – Decide on the fiber content that suits your preferences and needs. Acrylic yarn is affordable, easy to care for, and comes in a wide range of colors. Wool yarn offers warmth and durability but may require special care.
- Color Palette – Think about the color palette you want for your blanket. Choose colors that complement each other and consider using a contrasting color for the letter to make it stand out. A color wheel can help you create harmonious color combinations.
- Accessibility – Ensure that the yarn you choose is readily available to you. Check local yarn stores or online retailers for a range of options. Take note of any dye lot numbers if you plan to buy yarn in multiple batches.
When selecting colors, think about the overall aesthetic you want to achieve. Soft, pastel shades create a gentle and soothing look, while bold and vibrant colors add a lively touch. Consider the recipient’s preferences and the intended purpose of the blanket as well.
Remember, the yarn and colors you choose play a significant role in bringing your crocheted letter to life. Take your time to explore different options and experiment with different combinations until you find the perfect match for your project.
Preparing the Crochet Hook
Before you begin crocheting a letter into a blanket, it’s important to prepare your crochet hook properly. Here are some steps to follow:
- Select the Right Hook Size – Choose a crochet hook size that matches the yarn weight you’ve selected for your blanket. The hook size will be listed on both the yarn label and your chosen pattern. Using the correct hook size ensures that your stitches will be the right size and the letter will be proportionate.
- Hold the Hook Correctly – Hold your crochet hook in a way that feels comfortable and allows for easy maneuvering. There are different techniques for holding a crochet hook, such as the pencil grip or the knife grip. Experiment and find what works best for you.
- Warm Up Your Hands – Crocheting can strain your hands if you’re not properly warmed up. Before starting your project, do some simple hand and finger exercises to loosen up your muscles and prevent any discomfort.
- File Any Rough Edges – Check your crochet hook for any rough or sharp edges that could snag the yarn. Use a fine-grit sandpaper or a nail file to smooth out any imperfections. This step helps prevent the yarn from splitting and ensures a smooth crocheting experience.
- Choose the Starting Point – Decide where you want the letter to be positioned on your blanket. You can start at the corner, edge, or any other part of the blanket that you prefer. Visualize the placement before you begin.
- Mark the Starting Point – Use a stitch marker or a yarn scrap to mark the starting point of the letter. This will help you keep track of where the letter begins and ensure that it is crocheted accurately.
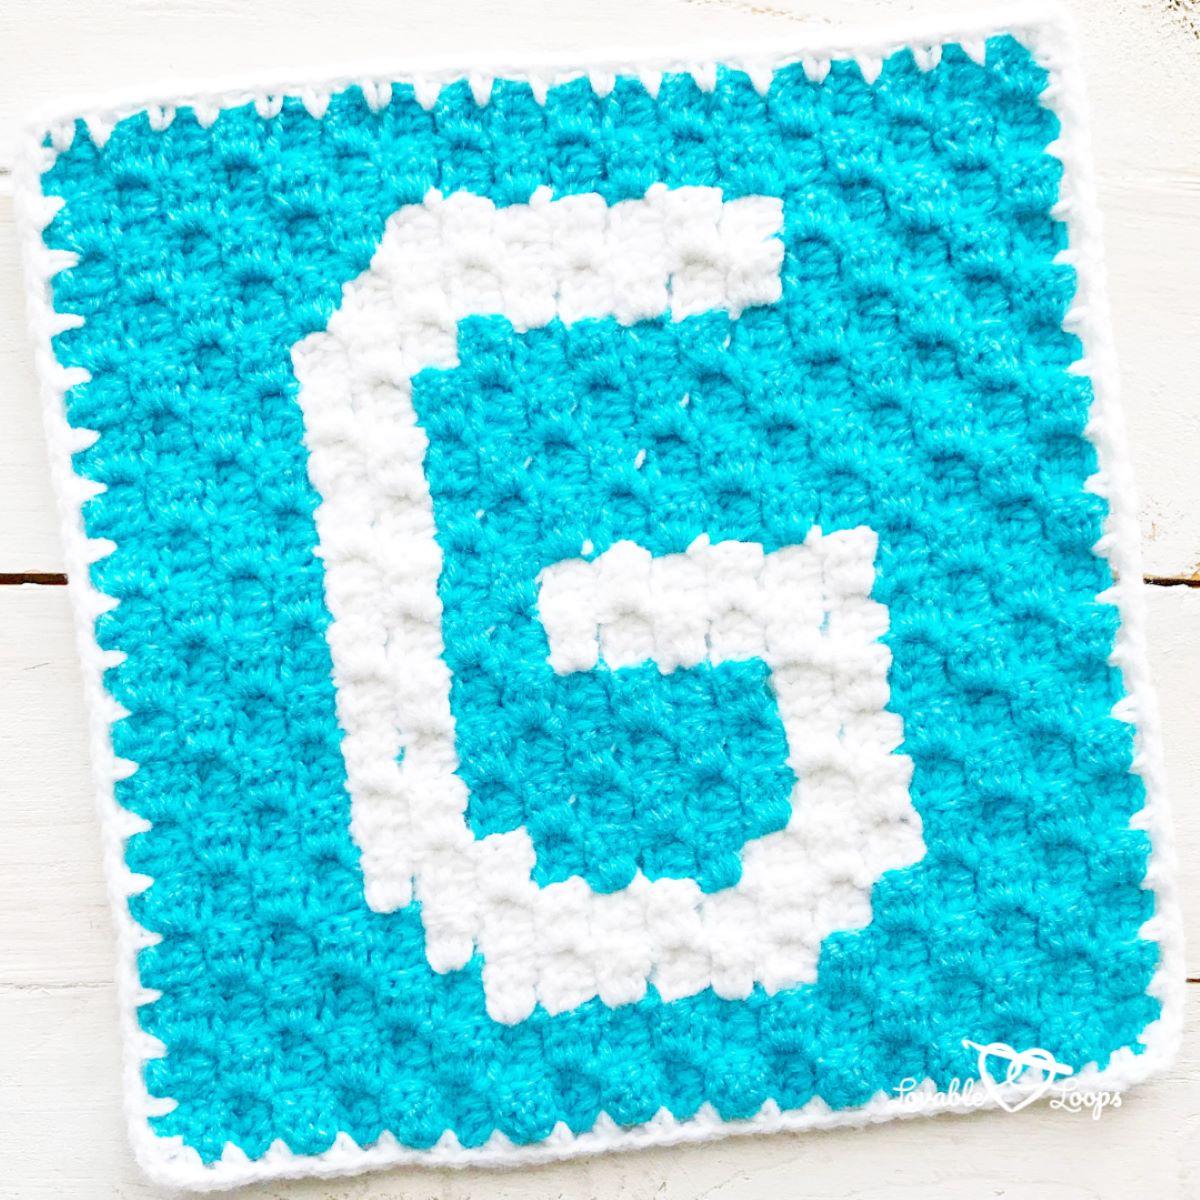
- Refer to Letter Chart or Pattern – If you’re following a letter chart or pattern, use it as a guide to create the shape of the letter. Each square on the chart represents a stitch, and you’ll crochet according to the symbol or color assigned to each square.
- Chain Stitch or Foundation Row – Depending on the letter design, you may need to create a chain stitch or a foundation row to establish the width of the letter. This row will serve as the base for crocheting the letter’s height.
- Count Your Stitches – Count your stitches after each row to ensure that you’re crocheting the correct number of stitches. This will help maintain the shape and proportions of the letter as you work.
- Read the Instructions – Carefully read and understand the instructions or chart symbols for each row of the letter. If there are abbreviations or special stitches used, familiarize yourself with their meanings before you begin crocheting.
- Maintain Consistency – Pay attention to your tension and stitch size to ensure consistency throughout the letter. Consistent stitches will give the letter a neat and even appearance.
- Weave in Ends – Once you’ve completed a row or section of the letter, weave in the loose ends of the yarn to keep your work tidy. You can use a tapestry needle to carefully weave the ends into the stitches on the wrong side of the blanket.
- Count Your Stitches – Regularly count your stitches to ensure that you’re staying on track with the pattern. This will help maintain the integrity of the letter and prevent any mistakes.
- Take Breaks – Crocheting the letter can be time-consuming, so remember to take breaks to rest your hands and relax. It’s important to avoid strain or fatigue to maintain your accuracy and enjoyment.
- Secure the Yarn – Cut the yarn, leaving a tail long enough to weave in later. Pull the yarn through the remaining loop on your hook and gently tug to secure it.
- Weave in Ends – Use a tapestry needle to weave in the loose ends of yarn on the wrong side of the blanket. Make sure to weave the yarn through several stitches to ensure they are secure and invisible.
- Block the Letter (Optional) – If you want to straighten and shape the letter, consider blocking it. Wet blocking or steam blocking can help smooth out any unevenness and make the letter look crisper. Follow the blocking instructions for your chosen yarn.
- Check for Any Corrections – Before moving on to the next steps, review your work for any mistakes or areas that may need correction. Fix any uneven stitches or gaps to ensure that the letter looks clean and well-defined.
- Choose the Border Width – Decide on the width of your blanket border. Consider the proportion of the letter and the overall size of the blanket. A border that is too narrow may not provide enough stability, while a border that is too wide may overpower the letter.
- Select a Stitch Pattern – Choose a stitch pattern for your border. You can opt for a simple single crochet or double crochet stitch for a clean and straightforward look. Alternatively, you can select a more decorative stitch pattern to add texture and visual interest.
- Work Along the Edges – Start by attaching your yarn at any corner of the blanket. Work evenly along each edge, making sure to add the necessary stitches to keep your border flat. You can work the same stitch pattern throughout or alternate multiple stitch patterns for a unique design.
- Corner Stitches – When you reach a corner, create extra stitches (such as chaining) to allow for a smooth turn. This helps maintain the shape of the blanket while giving a professional finish.
- Continue Around the Blanket – Work your way around the entire blanket, joining the stitches at the end of each round to create a seamless border. Take care to maintain an even tension and stitch count as you go.
- Final Round and Fastening Off – After working the desired number of rounds, finish with a final round of single crochet or slip stitch to create a neat edge. Fasten off the yarn, leaving a tail to weave in later.
- Blocked or Unblocked Look – Decide whether you prefer the blanket with a blocked or unblocked look. Blocking can help to even out the stitches and shape, giving a more refined appearance. However, if you prefer a more organic and natural look, you might choose to leave the blanket unblocked.
- Embellishments (Optional) – If you want to add extra flair and personalization, consider embellishing your blanket. You can sew buttons, appliques, or small motifs onto the letter or the surrounding border. Just make sure the added embellishments do not overpower the letter itself.
- Care Instructions – Take note of the care instructions for your blanket. Different yarns and fibers require specific care, including washing, drying, and storing. Follow the recommended guidelines to ensure that your crocheted letter blanket stays in good condition for years to come.
- Share Your Work – Once your blanket is completed, be proud of your achievement! Share your work with others by posting pictures on social media or joining online crochet communities. Your unique and personalized crocheted letter blanket will inspire and impress fellow crafters.
- Experiment and Have Fun – Crocheting letters into blankets opens up a world of creative possibilities. Feel free to experiment with different letter designs, yarn combinations, and stitch patterns. Enjoy the process and embrace the uniqueness of each project.
By taking the time to prepare your crochet hook, you’ll set yourself up for success in crocheting the letter into your blanket. A well-prepared hook will make the crocheting process more enjoyable and allow for better control over your stitches.
Read more: How To Crochet A Star Into A Blanket
Starting the Letter
Now that you have everything prepared, it’s time to start crocheting the letter into your blanket. Follow these steps to begin:
As you begin crocheting the letter, take your time and double-check your work to ensure accuracy. Crocheting the initial rows correctly lays a solid foundation for the rest of the letter and ensures that it will be clearly visible in the finished blanket.
Continue working on the letter by following the chart or pattern, and remember to enjoy the process. Crocheting a letter into a blanket requires practice and patience, but the end result will be well worth it.
When crocheting a letter into a blanket, use a graph or grid pattern to plan out the placement of the letter. This will help ensure that the letter is evenly spaced and sized within the blanket.
Crocheting the Letter
As you continue crocheting the letter into your blanket, you’ll follow the pattern or chart to create the shape of the letter. Here are some tips to keep in mind as you work:
Remember, crocheting the letter is a step-by-step process. Take your time, refer to the pattern or chart, and double-check your work as you progress. Don’t hesitate to unravel and redo any sections if needed to ensure the letter looks the way you envision it.
Continue crocheting row by row until the entire letter is complete. Once finished, step back and admire your work before moving on to the next steps of adding the blanket border and final touches.
Finishing the Letter
As you reach the end of crocheting the letter into your blanket, it’s time to focus on the finishing touches to ensure a clean and polished look. Here are some steps to follow:
Taking the time to properly finish the letter ensures that it stands out beautifully in your blanket. By securing the yarn and weaving in the ends, you prevent any loose threads from unraveling or causing snags.
If you decide to block the letter, it can help enhance its shape and create a more polished finish. However, blocking is optional, and you can skip this step if you are pleased with the look of your letter.
Once you have completed these finishing steps, it’s time to move on to adding the blanket border to give your project a finished and cohesive appearance.
Adding the Blanket Border
Adding a border to your blanket not only gives it a finished look but also helps to reinforce the edges and stabilize the overall structure. Here’s how you can add a border to your blanket:
Adding a border allows you to customize the look of your blanket and complements the crocheted letter. It’s an opportunity to get creative and choose a stitch pattern or color that enhances your overall design.
Once you’ve completed the border, step back and admire your finished blanket. It’s now time to add the final touches and take care of any remaining details.
Read more: How To Repair A Crochet Blanket
Final Touches and Tips
As you near the completion of your crocheted letter blanket, here are some final touches and tips to consider:
Remember, crocheting a letter into a blanket requires practice and patience. If you make mistakes along the way, don’t be discouraged. Remember that crochet is an art form, and mistakes can often be turned into creative opportunities.
Crocheting a letter into a blanket not only showcases your crochet skills but also adds a personal touch and meaning to your project. Whether you’re creating a special gift or a cherished keepsake, the effort and love put into crocheting a letter into a blanket will be appreciated by the recipient.
Enjoy the journey of creating your crocheted letter blanket and let your creativity shine through each stitch!
Conclusion
Crocheting a letter into a blanket is a wonderful way to add a personal touch and create a unique and meaningful project. From choosing the right pattern and yarn to preparing your crochet hook and working through the letter stitches, every step requires attention to detail and a creative mindset.
By following the steps outlined in this article, you’ll be able to confidently crochet a letter into your blanket, resulting in a stunning and personalized finished product. Remember to choose a suitable pattern, select high-quality yarn and colors, and take the time to prepare your crochet hook for the best results.
As you work on the letter, count your stitches and weave in loose ends to maintain a neat and tidy appearance. Adding a border will give your blanket a finished look, enhancing the overall design and making it even more visually appealing.
Throughout the process, take breaks when needed, enjoy the journey, and don’t be afraid to get creative with your letter designs. Crocheting a letter into a blanket is an opportunity to showcase your skills, express your creativity, and create a cherished item that holds special meaning.
Remember to care for your crocheted letter blanket according to the yarn’s instructions to keep it in excellent condition for years to come. Whether you decide to gift it to someone special or keep it as a treasured heirloom, your crocheted letter blanket will be a testament to your creativity and craftsmanship.
So, gather your materials, let your imagination run wild, and start crocheting a letter into your blanket today. Embrace the joy of creating something truly unique and enjoy the satisfaction of completing a beautiful and personalized crochet project.
Frequently Asked Questions about How To Crochet A Letter Into A Blanket
Was this page helpful?
At Storables.com, we guarantee accurate and reliable information. Our content, validated by Expert Board Contributors, is crafted following stringent Editorial Policies. We're committed to providing you with well-researched, expert-backed insights for all your informational needs.