Articles
How To Install Carpet Tiles
Modified: August 28, 2024
Learn how to install carpet tiles with our informative articles. Step-by-step guides and tips for a seamless and professional installation.
(Many of the links in this article redirect to a specific reviewed product. Your purchase of these products through affiliate links helps to generate commission for Storables.com, at no extra cost. Learn more)
Introduction
Welcome to this comprehensive guide on how to install carpet tiles! Whether you are a seasoned DIY enthusiast or a beginner looking to tackle your first flooring project, installing carpet tiles can be a rewarding and cost-effective way to transform any space. Carpet tiles offer versatility, durability, and ease of installation, making them a popular flooring choice for both residential and commercial settings.
In this step-by-step guide, we will walk you through the process of installing carpet tiles, from preparing the subfloor to finishing touches. We will provide you with the necessary tools and materials, as well as valuable tips and tricks to ensure a successful installation.
Before we dive into the installation process, it is important to note that carpet tiles come in a wide range of colors, styles, and textures. Take your time to select the carpet tiles that best suit your design preferences and the functionality of the space. Additionally, consider the traffic flow, desired level of comfort, and maintenance requirements when choosing your carpet tiles.
Now, let’s gather our tools and materials and get started on installing your new carpet tiles!
Key Takeaways:
- Proper planning and preparation are essential for a successful carpet tile installation. Take the time to measure, plan the layout, and prepare the subfloor to ensure a professional and visually appealing result.
- Securing the edges and corners, along with cleaning and finishing touches, is crucial for maintaining the longevity and appearance of your carpet tiles. Follow these steps to enjoy a beautiful and functional space for years to come.
Tools and Materials Needed
Before you begin installing carpet tiles, it is important to gather all the necessary tools and materials to ensure a smooth and efficient installation process. Here is a list of items you will need:
Tools:
- Measuring tape
- Straightedge or chalk line
- Utility knife
- Carpet tile cutter or heavy-duty scissors
- Trowel or adhesive spreader
- Notched trowel (if using adhesive)
- Roller (if using adhesive)
- Knee kicker (optional, but helpful for tight corners)
- Seam roller (for securing seams)
- Vacuum cleaner
Materials:
- Carpet tiles
- Double-sided carpet tape or adhesive
- Carpet tile adhesive (if not using tape)
- Transition strips or edging
- Seam tape and adhesive (if needed)
When selecting your materials, make sure to choose high-quality carpet tiles that are specifically designed for easy installation. Consider the size and thickness of the carpet tiles, as well as their suitability for the intended space. Additionally, ensure that you have enough carpet tiles to cover the entire area, accounting for any cutting and trimming that may be required.
Once you have all the necessary tools and materials ready, you can proceed to the next step: preparing the subfloor.
Preparing the Subfloor
Before you start installing carpet tiles, it is essential to properly prepare the subfloor. The subfloor should be clean, level, and free of any debris, dust, or unevenness. Here are the steps to prepare your subfloor:
1. Remove any existing flooring:
If you have any existing flooring, such as carpet, laminate, or vinyl, remove it completely before you begin. Use a pry bar or floor scraper to lift and remove the old flooring. Make sure to remove any adhesive residue or staples from the subfloor as well.
2. Clean the subfloor:
Thoroughly vacuum and sweep the subfloor to remove any dust, dirt, or debris. Use a damp cloth or mop to clean the surface and allow it to dry completely before proceeding.
3. Check for unevenness:
Use a straightedge or a long level to check for any uneven spots or dips in the subfloor. If you find any low areas or high spots, you may need to level them to ensure a smooth installation. Depending on the severity of the unevenness, you can use a self-leveling compound or plywood to create a level surface.
4. Repair any damage:
If there are any cracks, holes, or damaged areas in the subfloor, repair them before proceeding. Fill in any cracks or holes with a suitable floor patching compound and allow it to dry as per the manufacturer’s instructions.
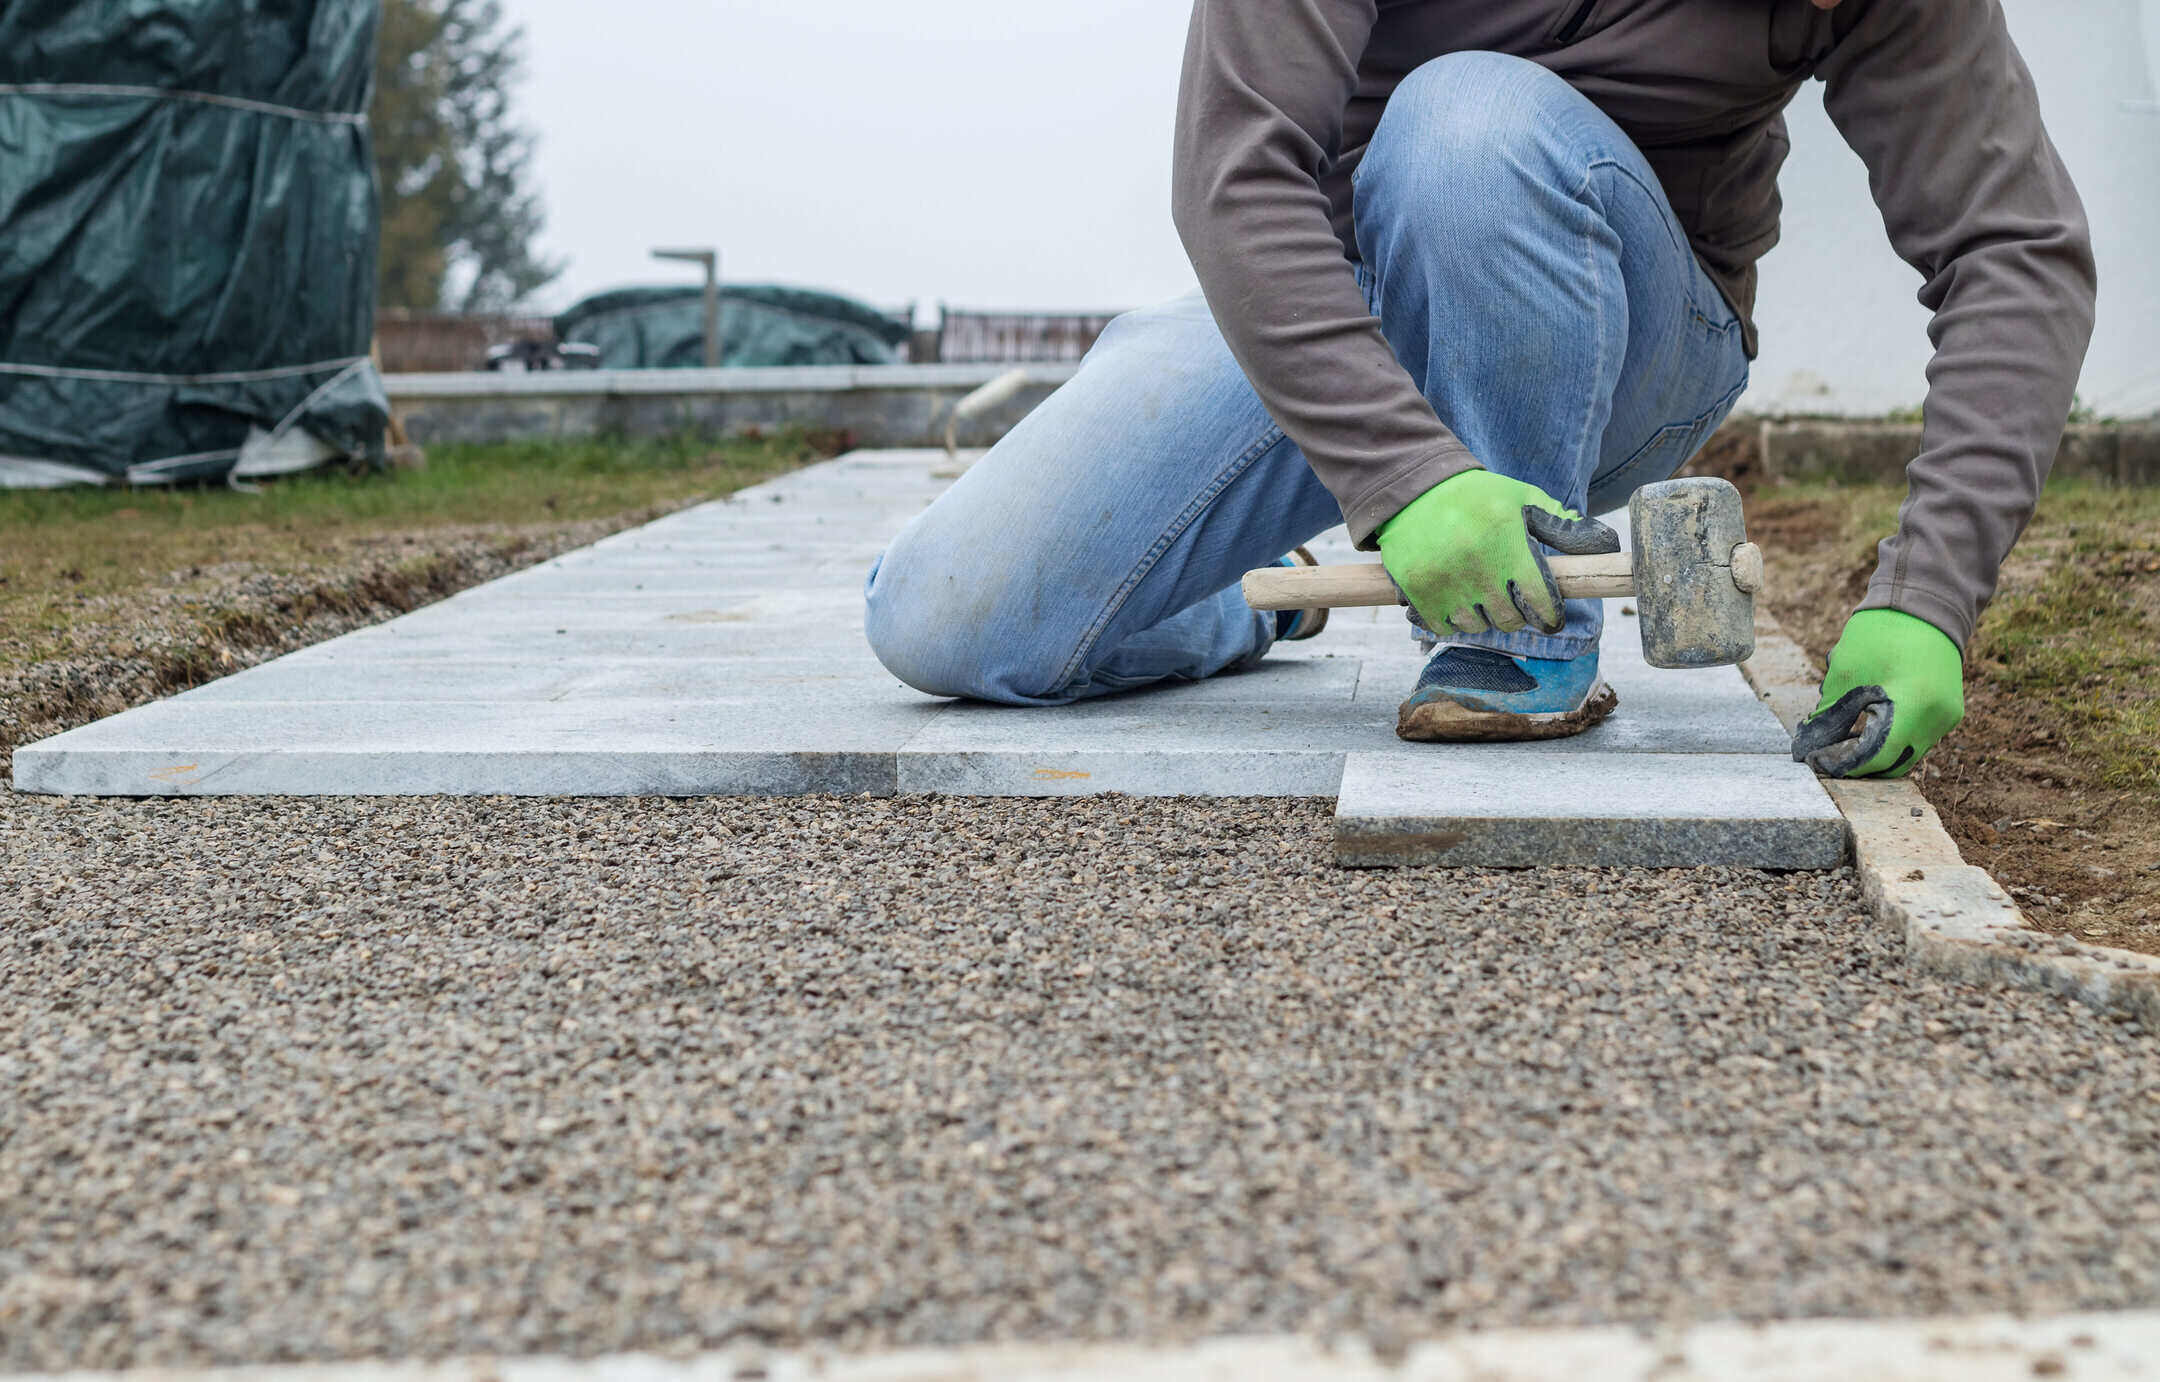
Read more: How To Install Exterior Patio Tile
5. Prime the subfloor:
In some cases, it may be necessary to prime the subfloor before installing carpet tiles. Priming helps to create a strong and stable surface for the adhesive or carpet tile backing to adhere to. Consult the manufacturer’s instructions to determine if priming is required and follow the recommended priming process.
By thoroughly preparing your subfloor, you create a solid foundation for your carpet tiles, ensuring a smooth and durable installation. Once the subfloor is ready, you can move on to the next step: planning the layout of your carpet tiles.
Planning the Layout
Properly planning the layout of your carpet tiles is crucial for achieving a professional and visually pleasing result. Before you start installing the tiles, take the time to carefully plan the layout and determine how the tiles will be positioned in the space. Here are some key steps to consider:
1. Measure the area:
Start by measuring the length and width of the room or space where you will be installing the carpet tiles. Multiply the two measurements to determine the total square footage of the area. This will help you estimate the number of carpet tiles you will need.
2. Determine the tile orientation:
Decide on the orientation of the carpet tiles – whether you want them installed in a straight pattern or a diagonal pattern. Consider the shape of the room and the direction of the natural light to determine the most visually appealing layout.
Read more: How To Install Drain Tile In Basement
3. Mark the center reference point:
Locate the center of the room and mark it as a reference point. This will help you establish the starting point for your installation and ensure that the tiles are centered and aligned properly.
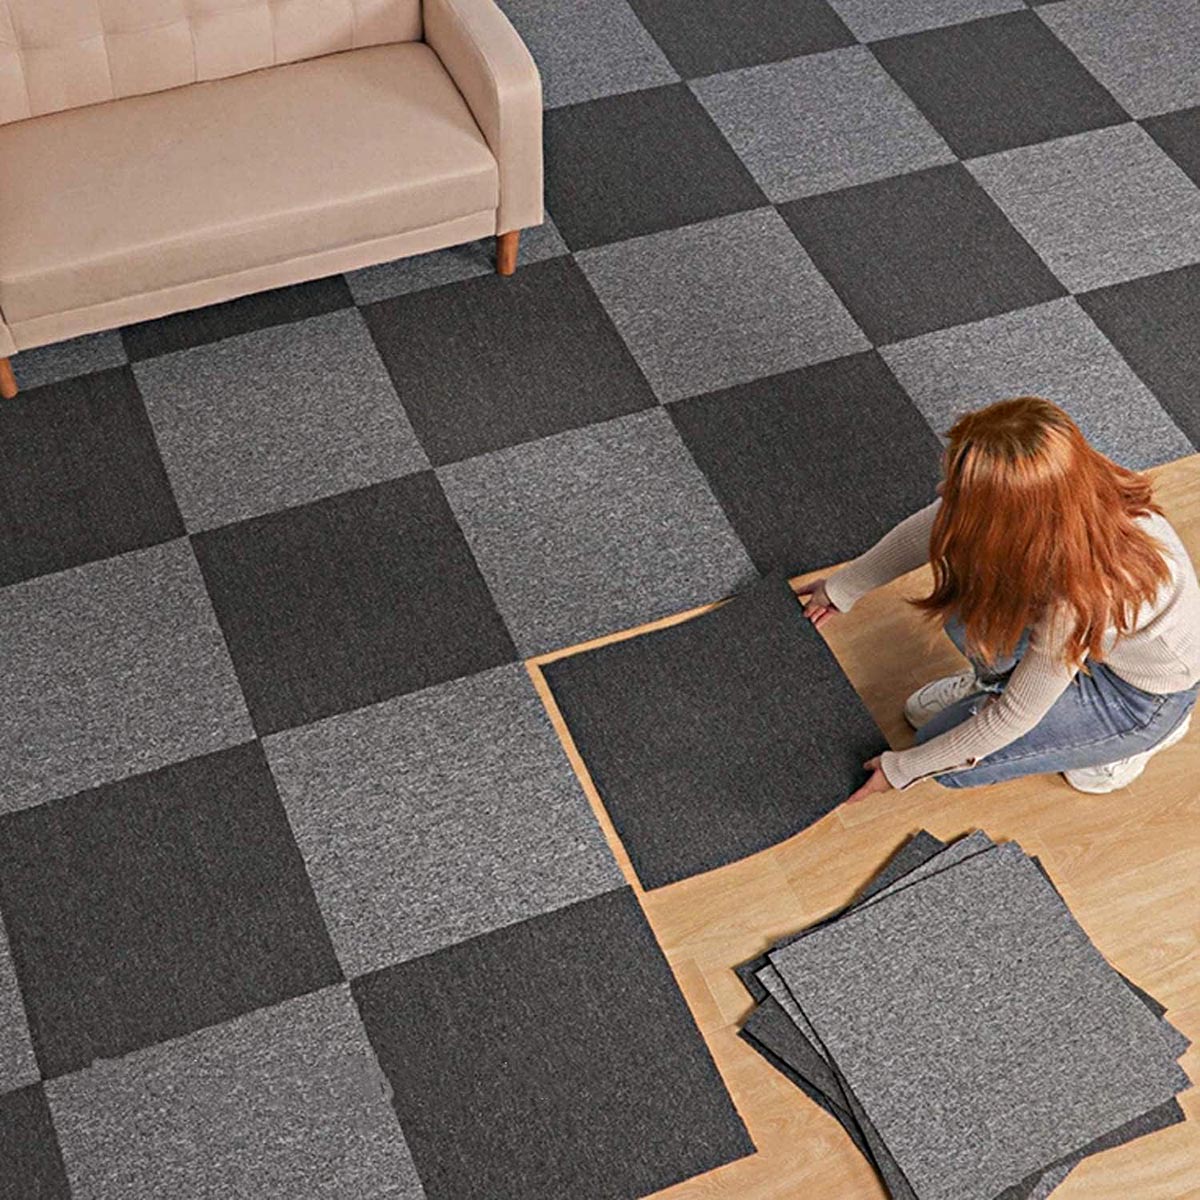
4. Dry lay the tiles:
Before applying any adhesive or tape, it is advisable to do a dry lay of the carpet tiles. Lay the tiles on the subfloor without attaching them, starting from the center reference point. This will allow you to visualize the layout, make any necessary adjustments, and ensure that the tiles fit properly in the space.
5. Consider patterns and variations:
If your carpet tiles have patterns or color variations, take into account how these will be positioned and distributed throughout the installation. Consider whether you want a random or symmetrical arrangement, and plan accordingly.
6. Allow for trimming and cutting:
Remember to account for any trimming or cutting that may be required to fit the tiles around edges, corners, or obstacles. Determine where these cuts will be made and plan the layout accordingly to minimize waste and ensure a seamless installation.
By carefully planning the layout of your carpet tiles, you can ensure a visually appealing and balanced result. Once you have finalized the layout, you are ready to start installing the first carpet tile.
Installing the First Carpet Tile
Now that you have planned the layout and prepared the subfloor, it’s time to start installing the carpet tiles. The first tile you install will set the foundation for the rest of the installation. Follow these steps to ensure a smooth and accurate placement:
1. Start from the center reference point:
Using the center reference point you marked during the planning stage, place the first carpet tile at the center of the room. Make sure the corners of the tile are aligned with the reference point.
2. Position the tile:
Press down firmly on the carpet tile to ensure it adheres securely to the subfloor. If you’re using double-sided carpet tape, remove the backing from the adhesive side of the tile and press it into place. If you’re using adhesive, follow the manufacturer’s instructions for applying it to the subfloor and positioning the tile.
3. Check for alignment:
Use a straightedge or a long level to verify that the tile is aligned properly. Ensure that the edges are parallel to the walls and that there are no gaps or overlaps between adjacent tiles.
Read more: How To Install Peel And Stick Tile
4. Repeat the process:
Once the first tile is in place, continue installing the remaining tiles in the desired pattern or layout. Work outward from the center, placing each tile snugly against the previously installed ones. Take care to maintain proper alignment and spacing between the tiles.
5. Trim as necessary:
If you encounter edges, corners, or obstacles that require trimming, use a utility knife or carpet tile cutter to make the necessary cuts. Measure and mark the tile accurately before cutting to ensure a precise fit.
By following these steps, you can confidently install the first carpet tile and move forward with the rest of the installation. In the next section, we will discuss cutting and trimming the carpet tiles to fit your space perfectly.
Cutting and Trimming Carpet Tiles
When installing carpet tiles, it is common to encounter areas that require cutting and trimming to fit the tiles precisely into the space. Whether it’s around corners, along walls, or near obstacles, proper cutting and trimming techniques ensure a seamless and professional-looking installation. Here’s how to cut and trim carpet tiles:
1. Measure and mark:
Before making any cuts, accurately measure the area where the tile needs to be trimmed. Use a measuring tape to determine the dimensions and transfer those measurements onto the back of the carpet tile using a pencil or marker. Ensure that you mark both the width and length of the cut.
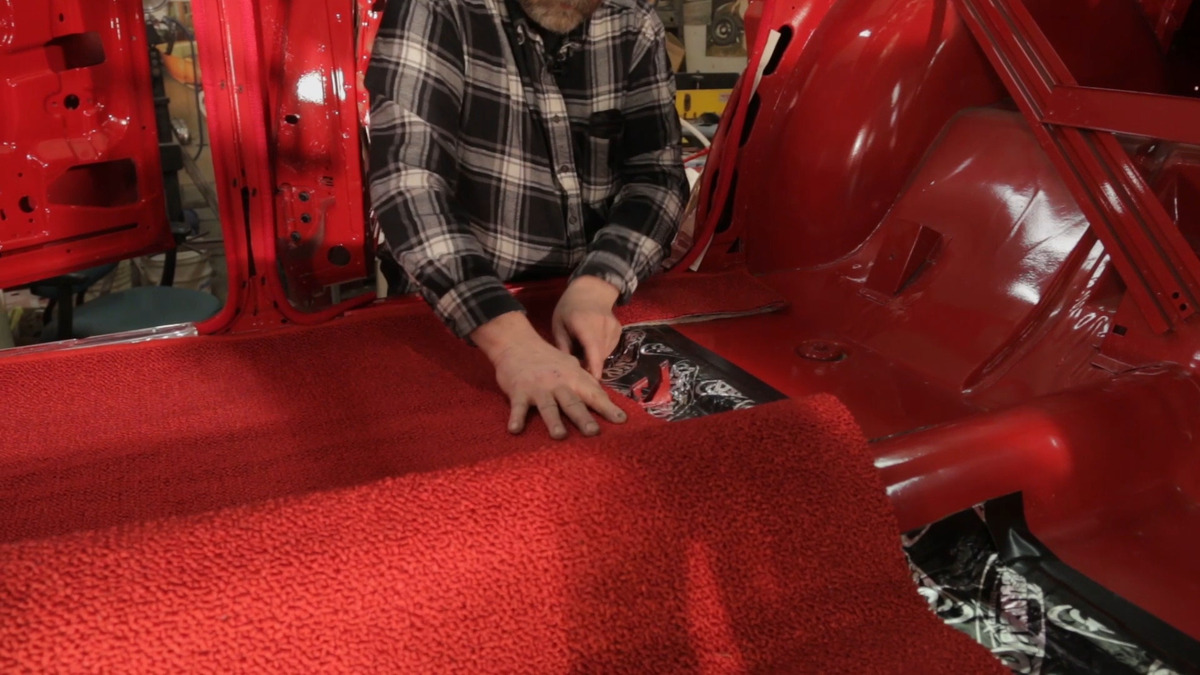
Read more: How To Install Carpet On Concrete
2. Use a straightedge:
Place a straightedge or a ruler along the marked cutting line to guide the knife or carpet tile cutter. This will help you achieve a straight and clean cut. Apply firm pressure to the knife or cutter as you run it along the straightedge to cut through the tile.
3. Cut in a well-ventilated area:
It’s important to cut the carpet tiles in a well-ventilated area to minimize dust and potential health risks. If possible, do the cutting outdoors or in a well-ventilated room. You may also consider wearing a dust mask to further protect yourself.
4. Test the fit:
After cutting the carpet tile, test its fit in the area where it will be placed. Ensure that it fits snugly against the adjacent tiles and that there are no gaps or overlaps. Make any necessary adjustments or additional trimming if needed.
5. Repeat the process:
If you have multiple areas that require cutting and trimming, repeat the process for each tile. Take your time and double-check your measurements before making any cuts to avoid any errors or unnecessary waste.
Read more: How To Install A Carpet On Steps
6. Secure the cut edges:
Once the carpet tiles are cut and properly positioned, make sure to secure the cut edges. Press down firmly on the edges to ensure they adhere well to the subfloor. If necessary, use double-sided carpet tape or carpet tile adhesive to secure the cut tile edges.
By following these steps, you can easily cut and trim carpet tiles to fit your space perfectly. In the next section, we will discuss the installation of the remaining carpet tiles and how to secure the edges and corners.
Installing the Remaining Carpet Tiles
Now that you have successfully installed the first carpet tile and trimmed any necessary tiles, it’s time to continue with the installation of the remaining carpet tiles. Follow these steps to ensure a smooth and seamless installation of the rest of the tiles:
1. Work in sections:
Divide the room into manageable sections and work on one section at a time. This will make the installation process more organized and help prevent any mistakes or misalignment.
2. Place the tiles:
Continue placing the carpet tiles, working outward from the center reference point and aligning them tightly against the previously installed tiles. Use a slight twisting motion to ensure a snug and secure fit.
Read also: 9 Incredible Carpet Tile for 2025
3. Check for alignment and spacing:
Regularly check that the tiles are aligned properly and that there is a consistent spacing between them. Use a straightedge or a tape measure to measure the gaps between tiles and ensure they are uniform throughout the installation.
4. Stagger the seams:
To create a visually appealing and sturdy installation, stagger the seams of the carpet tiles. This means that the ends of the tiles in one row should not align with the ends of the tiles in the adjacent row. Instead, offset the tiles to create a brick-like pattern.
5. Adhere or tape the tiles:
As you continue placing the tiles, adhere them to the subfloor using double-sided carpet tape or apply carpet tile adhesive according to the manufacturer’s instructions. Press down firmly on each tile to ensure proper adhesion.
6. Trim as needed:
If you encounter any areas that require cutting or trimming, such as around obstacles or along walls, follow the same cutting and trimming process we discussed earlier. Measure, mark, and cut the tiles with precision to ensure a perfect fit.
By following these steps and taking your time during the installation process, you can achieve a professional-looking installation of the remaining carpet tiles. In the next section, we will discuss how to secure the edges and corners for a finished look.
Read more: How To Install Artificial Grass On Tiles
Securing the Edges and Corners
Securing the edges and corners of your carpet tile installation is essential for a polished and finished look. The edges and corners are prone to lifting or curling over time, so it’s important to properly secure them to maintain the longevity of your carpet tiles. Follow these steps to ensure the edges and corners are securely fastened:
1. Utilize transition strips:
Transition strips are a great way to secure the edges of your carpet tiles and provide a smooth transition between different flooring materials. Install transition strips along the edges of the carpet tiles where they meet other types of flooring, such as hardwood or tile. Follow the manufacturer’s instructions for installation.
2. Apply adhesive:
If you are not using transition strips, apply carpet tile adhesive along the edges and corners of the installation. Use a notched trowel to spread the adhesive evenly and ensure good coverage. Press down firmly on the edges and corners to secure them in place.
3. Use a knee kicker:
If you encounter any corners or edges that are not staying firmly in place, use a knee kicker to apply pressure and secure them. A knee kicker is a tool that helps stretch and secure the carpet. Place the knee kicker near the corner or edge, and use your knee to press down on the padded end. This will help lock the carpet tiles in place.
Read more: How To Install Tin Ceiling Tile
4. Seam the tiles:
If your carpet tiles have seams (such as patterned tiles), make sure to properly secure them. Apply seam tape and adhesive along the edges of the tiles that need to be seamed. Use a seam roller to press the tiles and seam tape together firmly and create a smooth, seamless connection.
5. Trim excess:
After securing the edges and corners, trim any excess carpet or adhesive using a utility knife or carpet tile cutter. Make clean, straight cuts to achieve a neat and finished appearance.
By taking the time to properly secure the edges and corners of your carpet tile installation, you can ensure a long-lasting and professional finish. In the final section, we will discuss the cleaning and finishing touches to complete your project.
Cleaning and Finishing Touches
After successfully installing your carpet tiles and securing the edges and corners, it’s time to tackle the final steps: cleaning and adding finishing touches to complete your project. Follow these steps to ensure your carpet tiles look their best:
1. Vacuum the carpet tiles:
Use a vacuum cleaner with a brush attachment to thoroughly clean the surface of the carpet tiles. This will remove any loose particles or debris that may have accumulated during the installation process.
Read more: How To Install Glass Tile Backsplash
2. Spot clean any stains or spills:
If you notice any stains or spills on the carpet tiles, attend to them immediately. Use a carpet cleaner or a mixture of mild detergent and warm water to gently blot and clean the affected area. Avoid rubbing the stain, as it can push the stain deeper into the fibers.
3. Fluff the carpet fibers:
Once the carpet tiles are clean and dry, use a carpet brush or your hands to gently fluff the carpet fibers. This will help restore their natural appearance and make the tiles look more even and uniform.
4. Consider adding a rug or runner:
If desired, enhance the aesthetics of your carpet tile installation by adding a rug or runner in strategic areas. This can add an extra layer of comfort and style to the space, while protecting high-traffic areas or defining specific zones.
5. Add furniture pads:
To prevent furniture legs from potentially damaging the carpet tiles, add furniture pads under the legs of your tables, chairs, and other heavy furniture. This will help distribute the weight and minimize indentations or snags on the carpet surface.
Read more: How To Install Grab Bars On Tile
6. Enjoy your new carpet tile flooring:
Finally, take a moment to appreciate your newly installed carpet tile flooring. Walk around the space, inspecting the results and ensuring that everything is in place. Now you can fully enjoy the functionality and beauty of your carpet tile installation.
By following these cleaning and finishing touches, you can ensure that your carpet tiles remain in excellent condition and continue to impress for years to come. Congratulations on completing your carpet tile installation!
If you have any further questions or need additional assistance, don’t hesitate to consult the manufacturer’s instructions or reach out to a professional for guidance.
Conclusion
Installing carpet tiles can be a rewarding and cost-effective way to transform any space. With their versatility, durability, and ease of installation, carpet tiles have become a popular choice for residential and commercial flooring projects. By following the steps outlined in this comprehensive guide, you can achieve a professional and visually appealing carpet tile installation.
We started by emphasizing the importance of planning and preparation. Taking the time to measure the area, plan the layout, and properly prepare the subfloor sets the foundation for a successful installation. We then discussed the tools and materials needed, ensuring you have everything necessary to complete the project.
Next, we walked you through the process of installing the first carpet tile, ensuring proper alignment and positioning. We then covered the cutting and trimming of tiles to fit around edges, corners, and obstacles, providing a seamless and tailored look.
Securing the edges and corners is crucial to maintain the integrity and longevity of the carpet tiles. Transition strips, adhesives, and tools like knee kickers were discussed to help you achieve a professional finish.
Finally, we highlighted the importance of cleaning the carpet tiles and adding finishing touches to enhance their appearance. Vacuuming, spot cleaning, fluffing the fibers, and adding furniture pads were recommended to ensure the carpet tiles remain in excellent condition.
In conclusion, installing carpet tiles can be a rewarding and enjoyable project that allows you to create a beautiful and functional space. By following the steps outlined in this guide, you can successfully install carpet tiles and enjoy their many benefits, including easy maintenance and flexibility. Whether you’re revamping a room in your home or upgrading a commercial space, carpet tiles offer a versatile and practical flooring solution.
Remember, always refer to the manufacturer’s instructions and consult professionals if needed. With proper installation, your carpet tiles will provide comfort, durability, and aesthetic appeal for years to come.
Frequently Asked Questions about How To Install Carpet Tiles
Was this page helpful?
At Storables.com, we guarantee accurate and reliable information. Our content, validated by Expert Board Contributors, is crafted following stringent Editorial Policies. We're committed to providing you with well-researched, expert-backed insights for all your informational needs.