Home>Ideas and Tips>Upgrading Your Home’s Closets With DIY Custom Shelving
Ideas and Tips
Upgrading Your Home’s Closets With DIY Custom Shelving
Modified: October 28, 2024
Transform your home's closets with DIY custom shelving. Maximize storage, enhance aesthetics, and boost functionality on a budget with our step-by-step guide.
(Many of the links in this article redirect to a specific reviewed product. Your purchase of these products through affiliate links helps to generate commission for Storables.com, at no extra cost. Learn more)
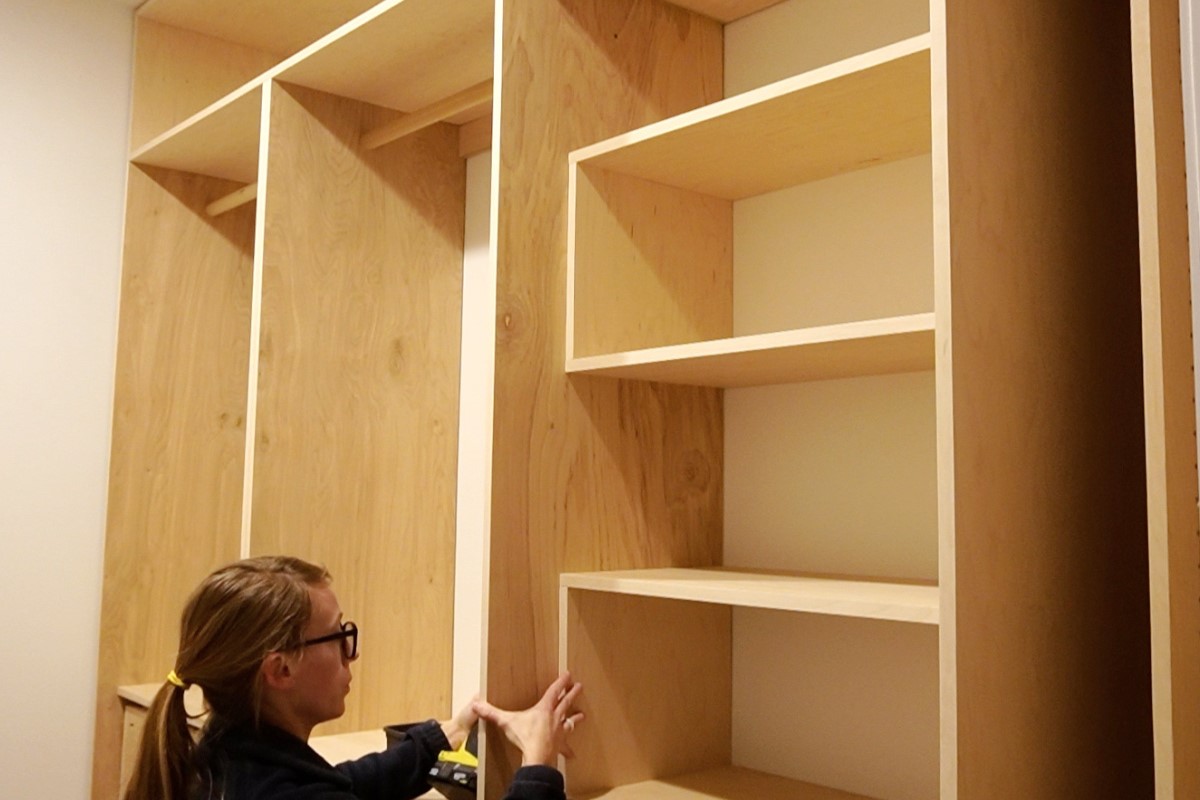
When it comes to home improvement, few projects offer as much potential for transformation and functionality as upgrading your closets. Closets are often overlooked but are crucial spaces that can significantly impact the overall organization and aesthetic of your home. In this article, we will explore the world of DIY custom shelving, providing you with a comprehensive guide on how to upgrade your closets without breaking the bank.
Why Upgrade Your Closets?
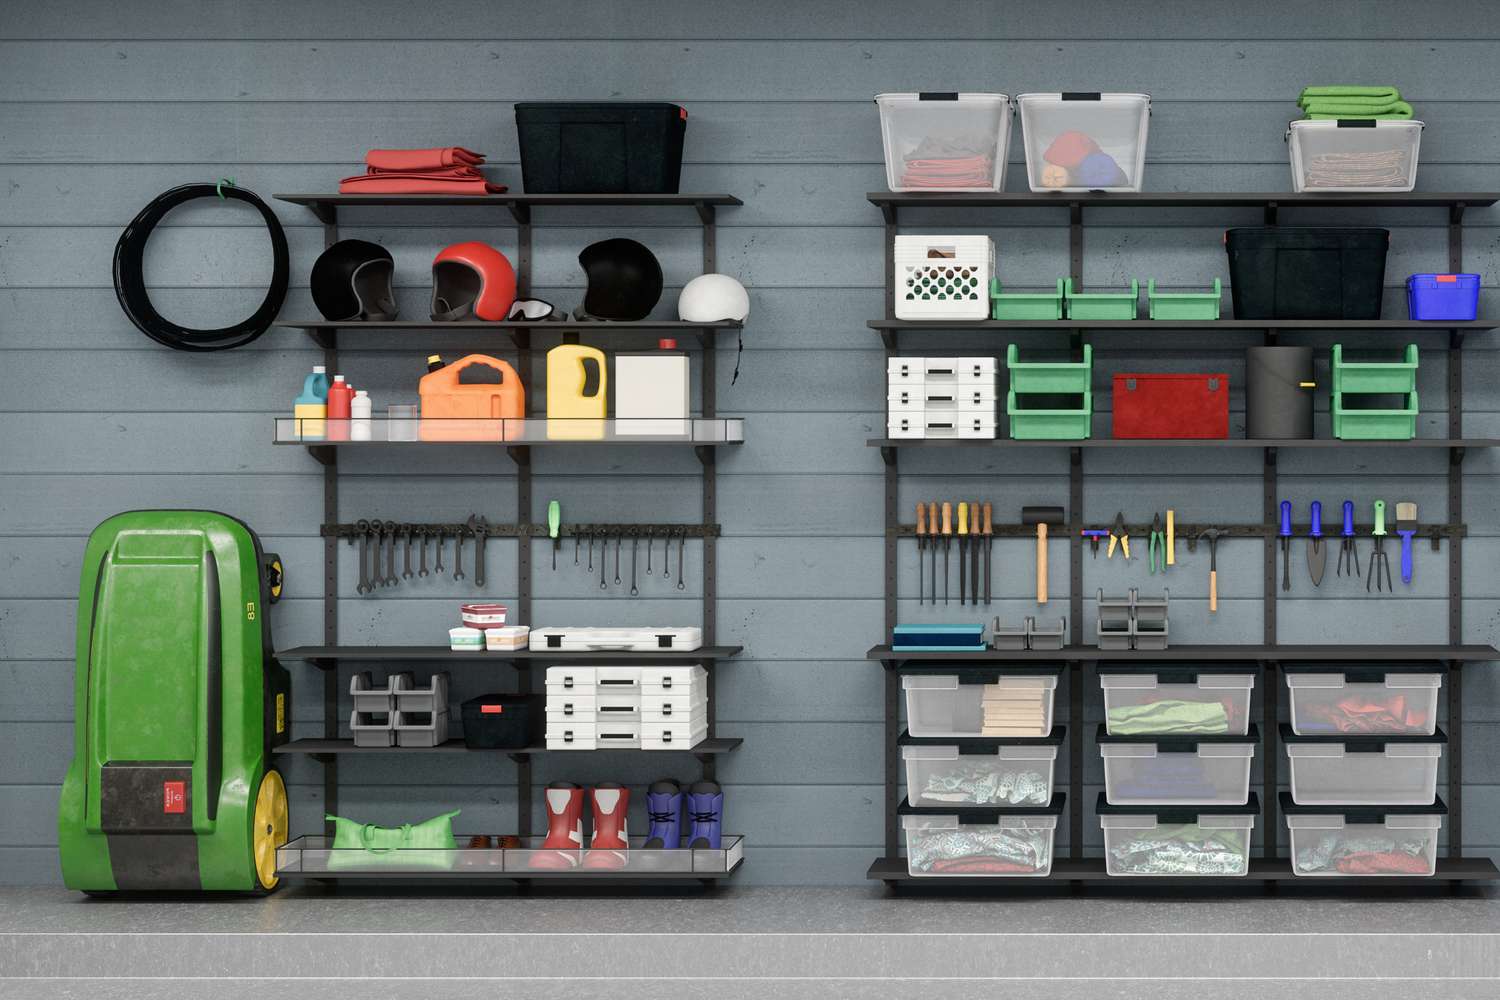
Upgrading your closets is a fantastic idea for several reasons. First off, increased storage is a big win. Closets tend to get cluttered fast. By installing custom shelving, you can maximize storage space, keeping your belongings organized and easily accessible. No more digging through piles of clothes to find that one missing sock!
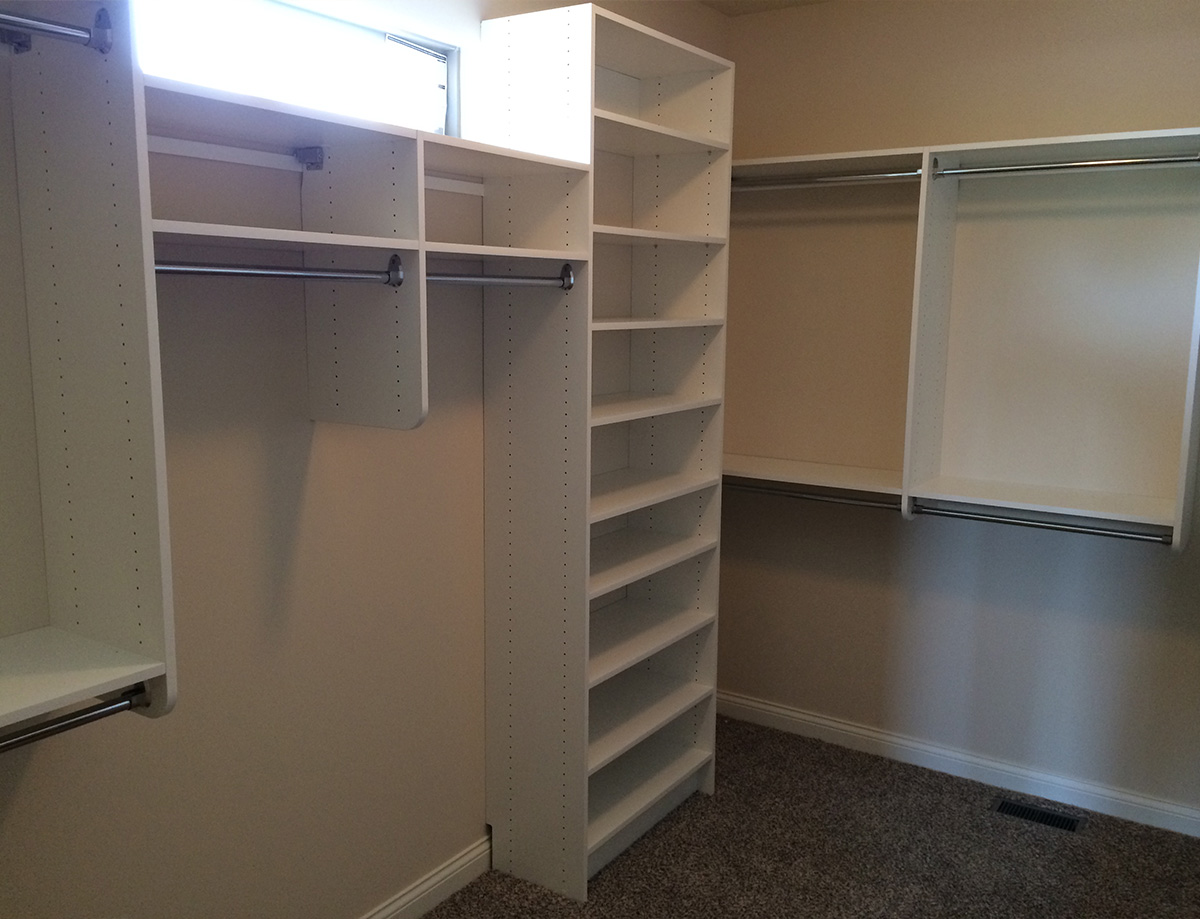
Next, let’s talk about improved aesthetics. Old wire shelving can make your closet look dated and uninviting. Custom shelving allows you to choose materials and designs that match your home's style, enhancing the overall look of your closet. Imagine opening your closet doors to a sleek, modern design that makes you smile every time.
Then there’s enhanced functionality. Custom shelving can be tailored to fit your specific needs. For example, you can add shelves for hanging clothes, storage bins for accessories, or even a shoe rack to keep your footwear organized. It’s like having a closet that’s designed just for you.
Lastly, it’s cost-effective. While professional closet organizers can be expensive, DIY projects offer a budget-friendly alternative. With some basic tools and materials, you can create a custom closet system that fits your budget. Plus, there’s something incredibly satisfying about building something with your own two hands.
Read more: DIY Guide To Building Custom Shelving Units
Planning Your DIY Custom Shelving Project
Before you start your project, it's essential to plan carefully. Here are some steps to help you get started:
-
Assess Your Closet Space:
- Measure the dimensions of your closet, including the height, width, and depth.
- Identify any obstructions such as windows, doors, or plumbing fixtures.
- Consider the layout of your closet and how you want to use the space.
-
Determine Your Needs:
- Think about what you need to store in your closet. This will help you decide on the type and number of shelves you'll require.
- Consider any specific requirements such as hanging rods, shoe racks, or storage bins.
-
Choose Your Materials:
- Decide on the type of shelving you want to install. Options include wood, MDF (medium-density fiberboard), or even IKEA components.
- Consider the durability and maintenance requirements of your chosen materials.
-
Gather Tools and Supplies:
- Basic tools like a drill, saw, and measuring tape are essential for any DIY project.
- Depending on your design, you may also need additional tools such as a level, stud finder, and impact driver.
Step-by-Step Guide to Installing Custom Shelving
Now that you've planned your project, it's time to get started. Here’s a step-by-step guide to help you install custom shelving:
Step 1: Prepare the Space
-
Clear the Closet:
- Remove all contents from the closet to ensure you have a clear space to work in.
- If necessary, vacuum or sweep the floor to remove dust and debris.
-
Protect the Floor:
- Lay down drop cloths or old sheets to protect the floor from any potential damage caused by tools or materials.
-
Mark the Walls:
- Use a level to ensure that any marks you make on the walls are straight and level.
- Mark the locations where you'll be installing shelves or rods using a pencil.
Step 2: Measure and Cut Your Materials
-
Measure Twice, Cut Once:
- Double-check your measurements before cutting any materials to avoid errors.
- Use a tape measure to ensure accurate measurements.
-
Cutting Lumber:
- Use a saw (e.g., circular saw or hand saw) to cut lumber according to your measurements.
- If using pre-cut components like IKEA shelves, follow their instructions for assembly.
Step 3: Assemble Your Shelving Units
-
Assemble Shelves:
- Follow the manufacturer's instructions for assembling shelves if using pre-cut components.
- If building from scratch, use wood glue and nails to secure shelves together.
-
Attach Shelves to Walls:
- Use wall anchors or screws to secure shelves to studs in the wall for added stability.
- Make sure shelves are level before attaching them to the wall.
Step 4: Install Hanging Rods
-
Choose Rods:
- Select rods that fit your closet's dimensions and meet your needs (e.g., adjustable rods or double rods).
-
Install Rods:
- Use screws or wall anchors to secure rods into place at marked locations on the wall.
- Ensure rods are level and evenly spaced for optimal use.
Step 5: Add Additional Features (Optional)
-
Shoe Racks:
- Install shoe racks either on the floor or on a wall-mounted unit using screws or brackets.
- Choose racks that fit your shoe collection size and style preferences.
-
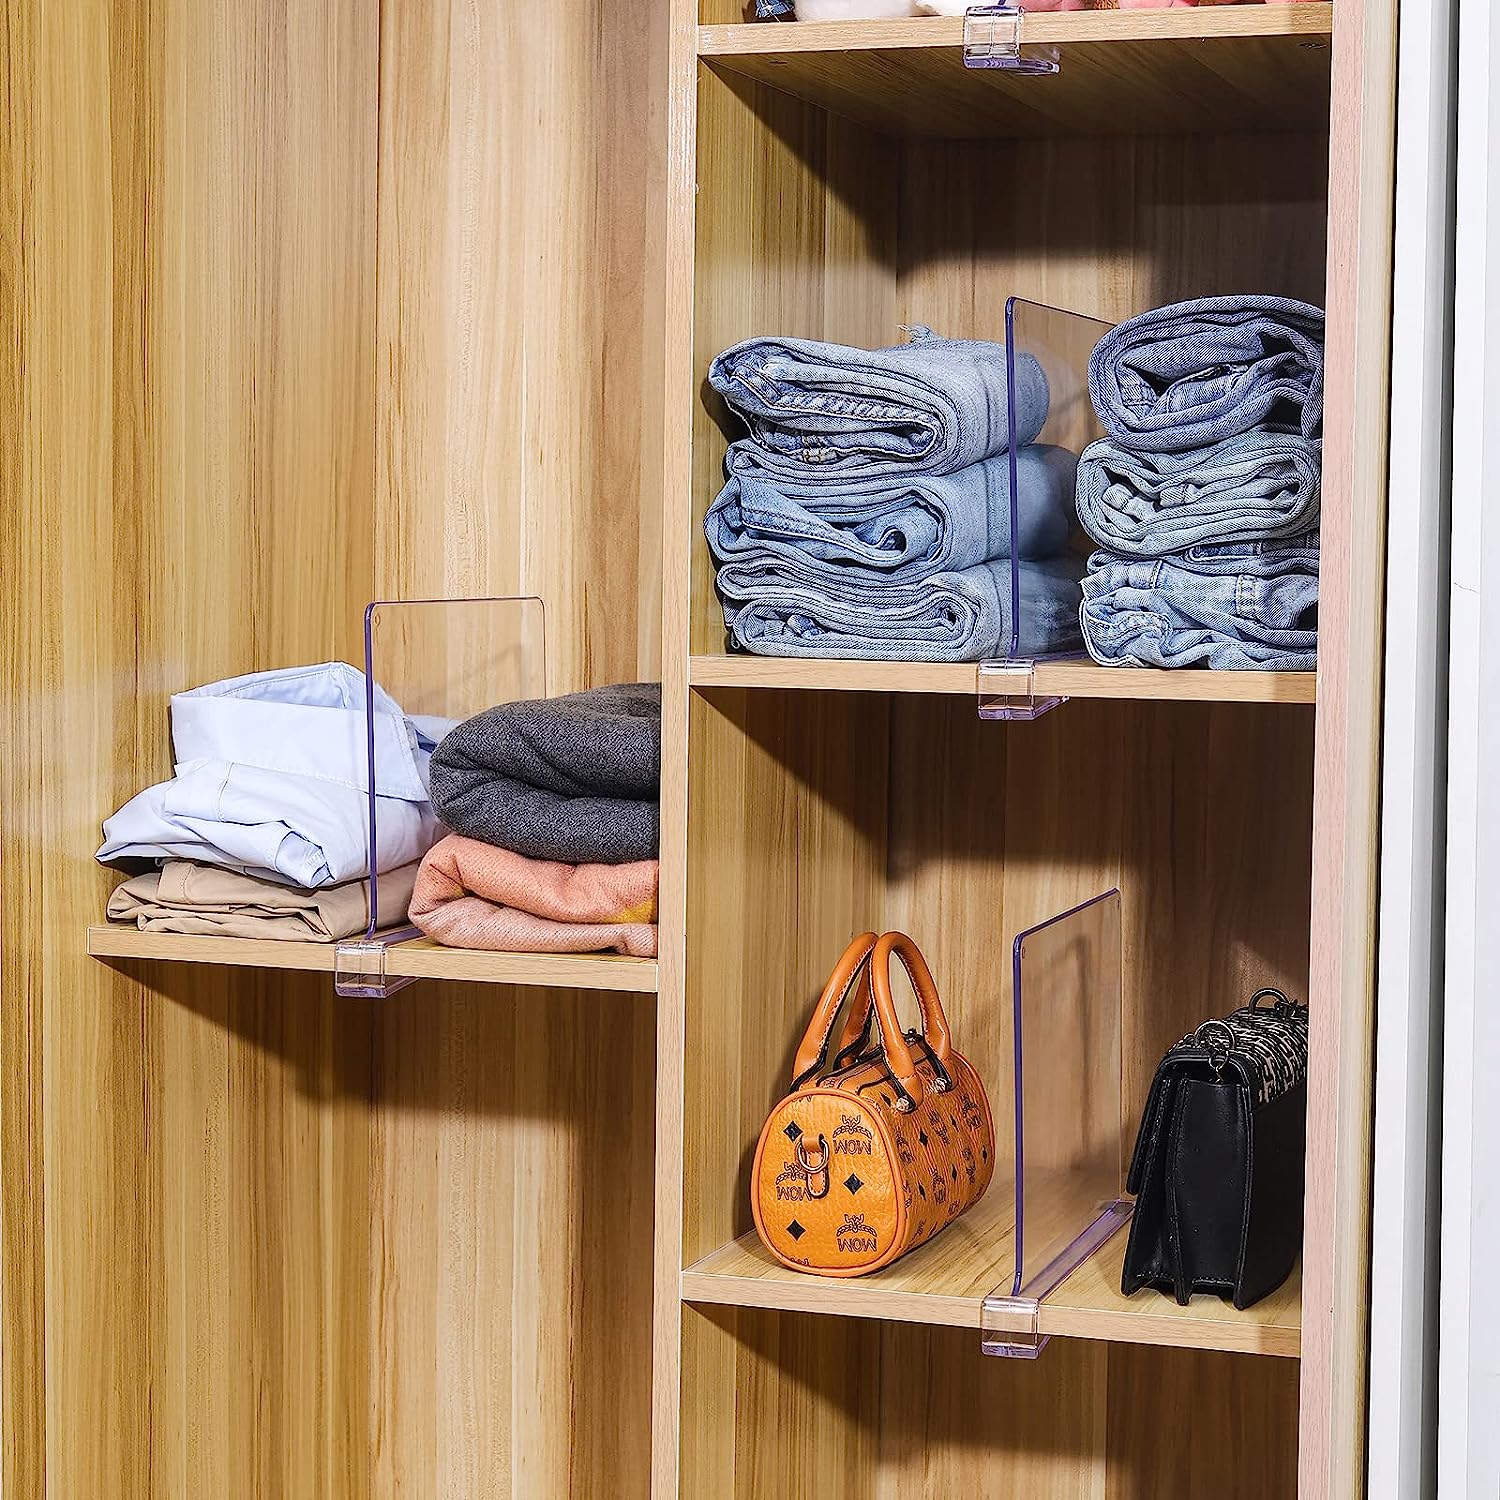
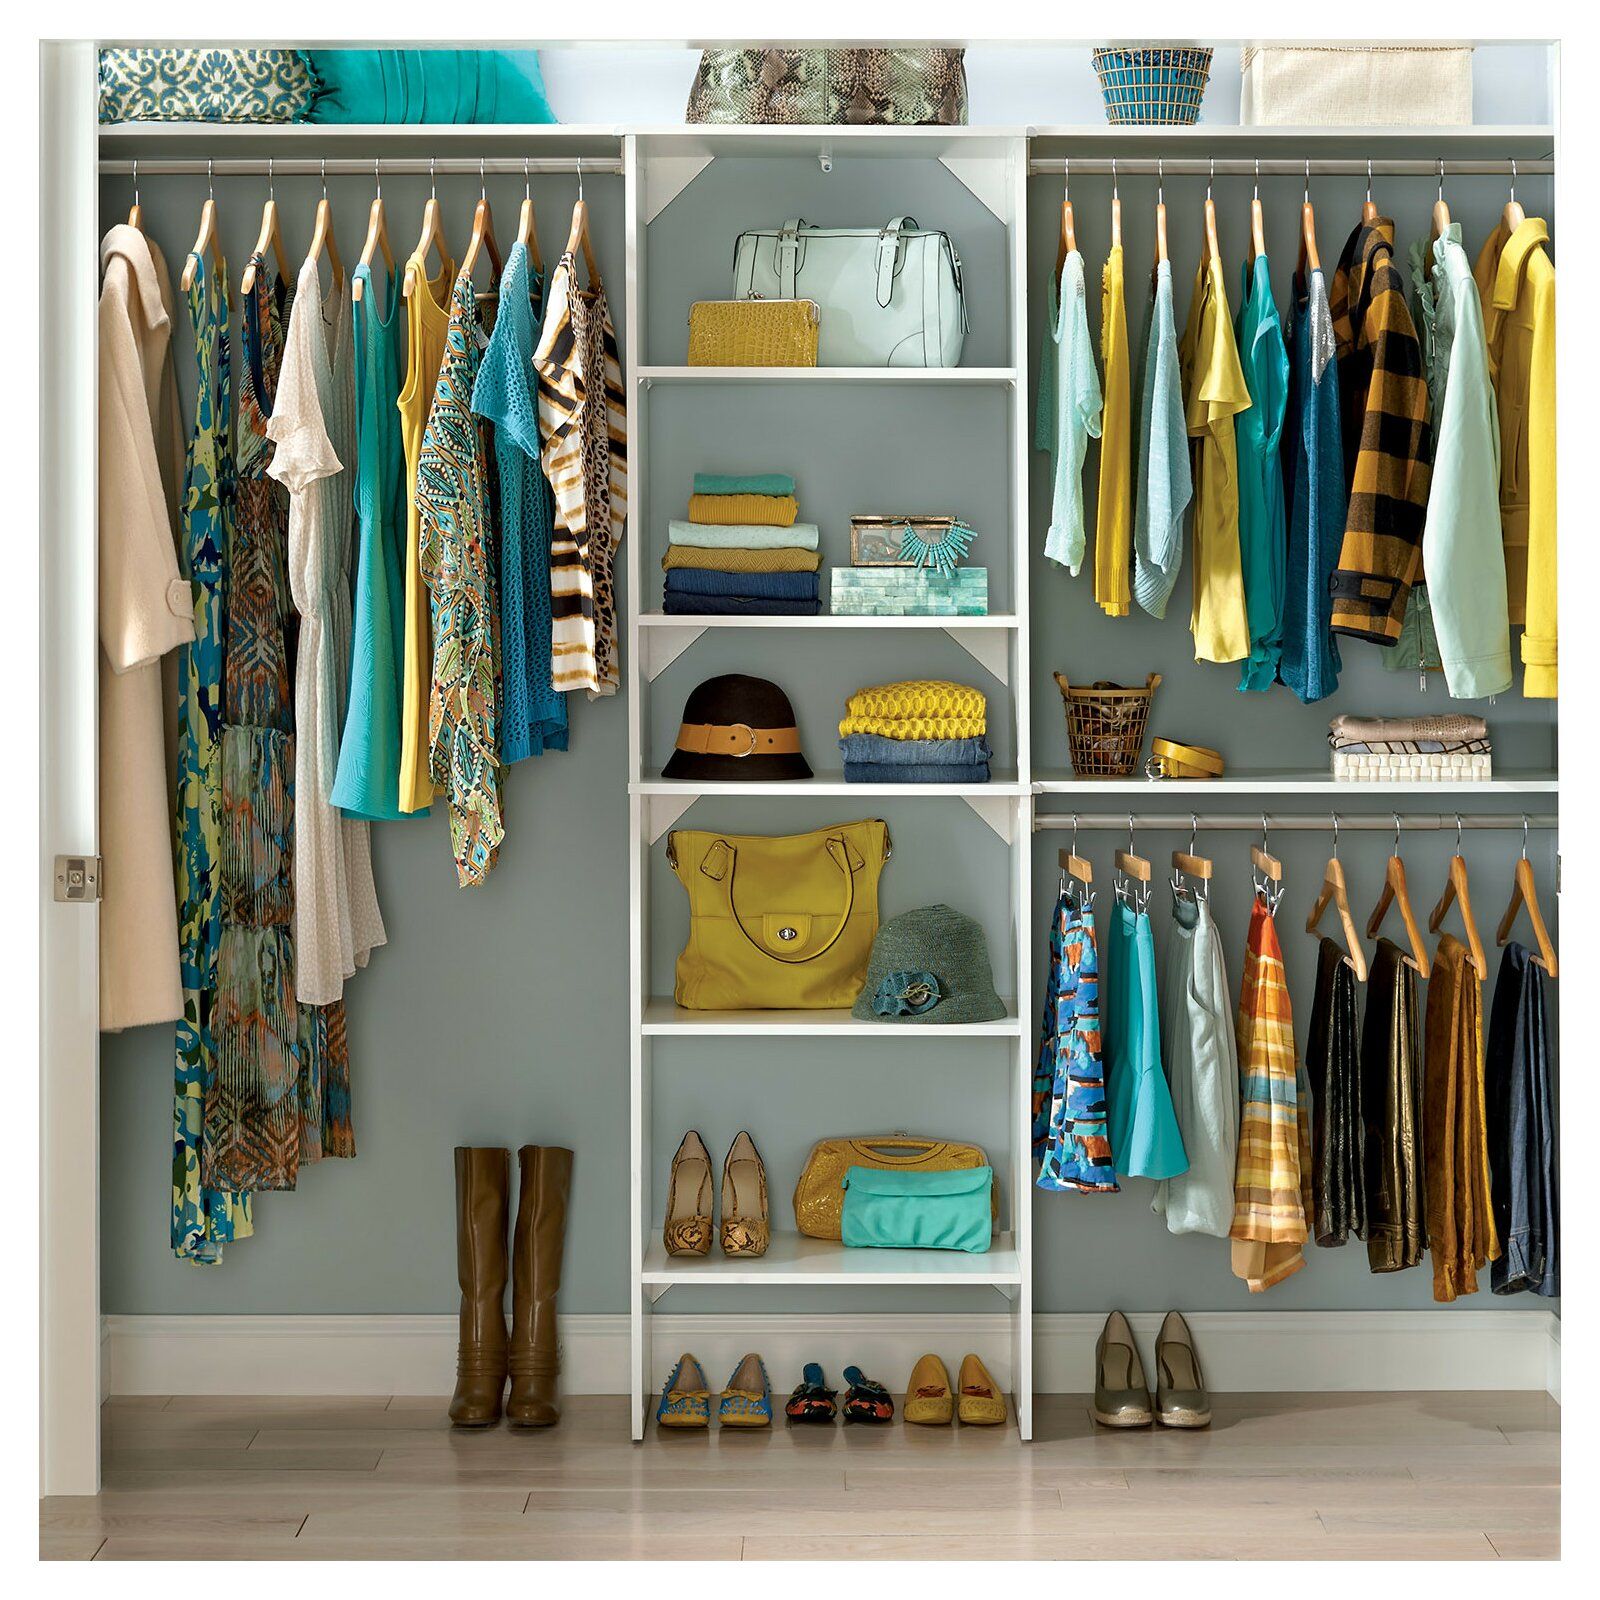
Storage Bins & Baskets:
– Place storage bins or baskets on shelves for organizing smaller items like accessories, jewelry, or knit hats.
– Use cup hooks or small hooks attached to the back of shelves for hanging belts or handbags. -
Drawer Units (Optional):
– If space allows, consider adding drawer units for storing folded clothes or linens.
– Follow manufacturer instructions for assembling drawers if using pre-made units.
Real-Life Examples of DIY Custom Shelving Projects
Read more: How To Build Custom Closet
Stacy’s Savings: Customizing Every Closet in the Home
Stacy from Stacy’s Savings shares her experience of customizing every closet in her home on a budget. Here’s how she did it:
-
My Son’s Closet:
– Stacy started with her son’s closet which was in bad shape with a clothing rod falling off the wall.
– She painted it light blue, added an IKEA Billy shelf, some boards, and closet rods.
– The result was quadrupled storage space that could grow with her son. -
The Closet Under the Stairs/Coat Closet:
– This closet had an awkward layout but needed to serve multiple functions like an under-stairs closet and coat closet.
– Stacy used creative thinking to design a space that met all their needs; it’s still not fully completed but has plenty of storage potential. -
The Girls’ Shared Closet:
– With the arrival of Baby #3, they needed more storage space for their growing family.
– They customized this closet with crown molding & baseboards installed since these pictures were taken; it’s functional yet stylish. -
The Linen Closet:
– The linen closet upstairs is mostly used for game & puzzle storage; Stacy hasn’t decided what she’ll do there yet but plans something soon.
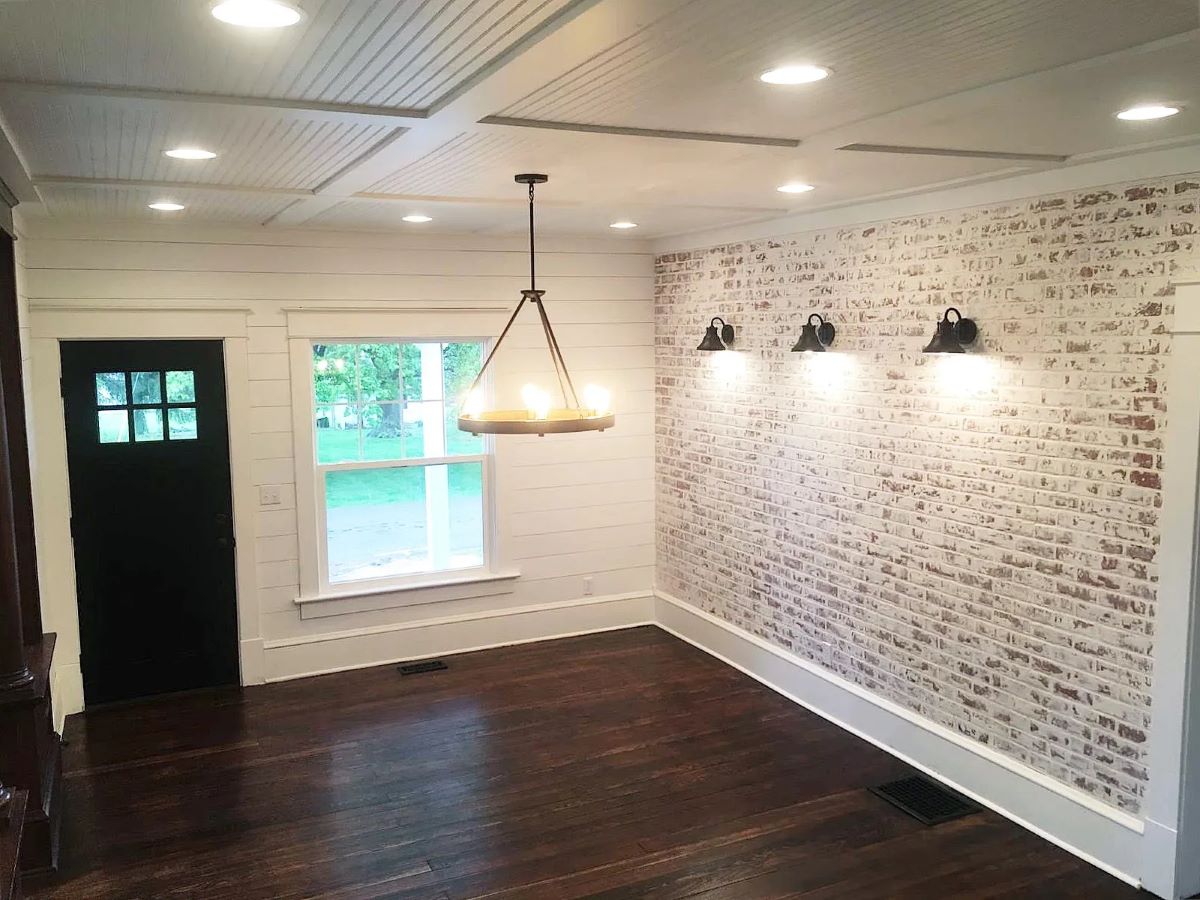
The Rose House: Upgrading a Wire Shelf Closet
Tiana from The Rose House shares her experience of upgrading an outdated wire shelf closet into a chic modern haven:
-
Removing Old Wire System:
– Tiana removed the old wire system which was outdated and inefficient. -
Installing New Bookcase:
– She purchased four Room Essentials bookcases from Target for $40 each totaling $160 plus tax. -
Adding Adjustable Rods:
– She bought adjustable rods ranging from 18 to 30 inches long which fit perfectly into particle wood without needing additional screws. -
Final Touches:
– The transformation was dramatic; not only did it look good but also made using it enjoyable for her daughter.
Reddit User: Closet Upgrade DIYs
A Reddit user shared their experience of upgrading their closets using aromatic red cedar shiplap and 3/4" birch ply shelves:
-
Materials Used:
– They used aromatic red cedar shiplap along with 3/4" birch ply shelves which took them only a few weekends to complete at a cost of around $500 total for all wood materials. -
Design Layout:
– They designed their layout around basic boxes from The Container Store ensuring each section served its purpose effectively (e.g., one section tall enough for a vacuum). -
Tools Required:
– Basic tools like drills saws measuring tapes were sufficient along with some additional tools such as stud finders impact drivers depending upon complexity level desired.
Additional Tips & Tricks
Custom Shelves from Family Handyman
Family Handyman provides several tips on building custom shelves that double your storage space:
-
Building Closet Shelves
– Measure carefully before cutting any materials ensuring accurate measurements.
– Use wood glue nails securing shelves together firmly before attaching them onto walls using wall anchors screws ensuring stability level. -
Belt Holders
– Create an inexpensive belt holder using wooden hangers cup hooks widening cup hooks slightly using needle-nose pliers if necessary accommodating thicker buckles belts handbags alike. -
Seasonal Clothing Storage
– Store seasonal clothing accessories elsewhere freeing up space needed currently utilizing vacuum storage bags labeling contents easily locating items unexpectedly needed later on down line saving space overall efficiency wise too! -
Closet Nook Shelves
– Utilize recessed spaces installing wire custom shelving holding blankets towels bedding maximizing existing real estate available effectively reducing clutter significantly enhancing overall aesthetic appeal too! -
Fixing Stubborn Bifold Doors
– Adjust bifold doors sticking trimming repairing corners tightening handles keeping them loose over time ensuring smooth operation functionality wise too! -
Adding-On Clothes Rods
– Hang additional clothes rods upper rods lightweight chains attaching directly screw eyes S-hooks carabiners adjusting heights easily snapping place desired locations specified accordingly maximizing vertical space available effectively doubling storage capacity instantly boosting organizational capabilities manifold fold! -
Using Boxes Baskets Smaller Items
– Purchase matching boxes baskets housing smaller items neatly nesting smaller boxes inside larger ones saving space feature prominently showcasing organizational prowess displayed proudly throughout entire closet area observed visually pleasing manner indeed! -
Building Shoe Storage Booster Stool
– Construct handy shoe organizer hour parking inside closet utilizing simultaneously reaching high shelves effortlessly convenient manner indeed! -
DIY Tiered Hangers Short Closet Space
– Utilize lightweight chain staggering hanging clothing tall closets maximizing vertical space available effectively doubling storage capacity instantly boosting organizational capabilities manifold fold indeed!
Upgrading your home's closets with DIY custom shelving is not only cost-effective but also highly rewarding in terms of functionality and aesthetics. By following these steps carefully planning meticulously executing flawlessly you'll be able transform drab outdated spaces into chic modern havens reflecting personal style preferences perfectly enhancing overall living experience manifold fold indeed Whether you're tackling small projects like adding-on clothes rods or larger ones involving custom shelving units one thing remains constant – creativity innovation play crucial roles every step way ensuring success ultimately achieved desired outcomes envisioned initially planned meticulously executed flawlessly throughout entire process observed visually pleasing manner indeed
Was this page helpful?
At Storables.com, we guarantee accurate and reliable information. Our content, validated by Expert Board Contributors, is crafted following stringent Editorial Policies. We're committed to providing you with well-researched, expert-backed insights for all your informational needs.


0 thoughts on “Upgrading Your Home’s Closets With DIY Custom Shelving”