Articles
How To Make Shelves For Closet
Modified: October 18, 2024
Learn how to make stylish and functional shelves for your closet with our expert interior design tips. Transform your space with these easy DIY ideas!
(Many of the links in this article redirect to a specific reviewed product. Your purchase of these products through affiliate links helps to generate commission for Storables.com, at no extra cost. Learn more)
Introduction
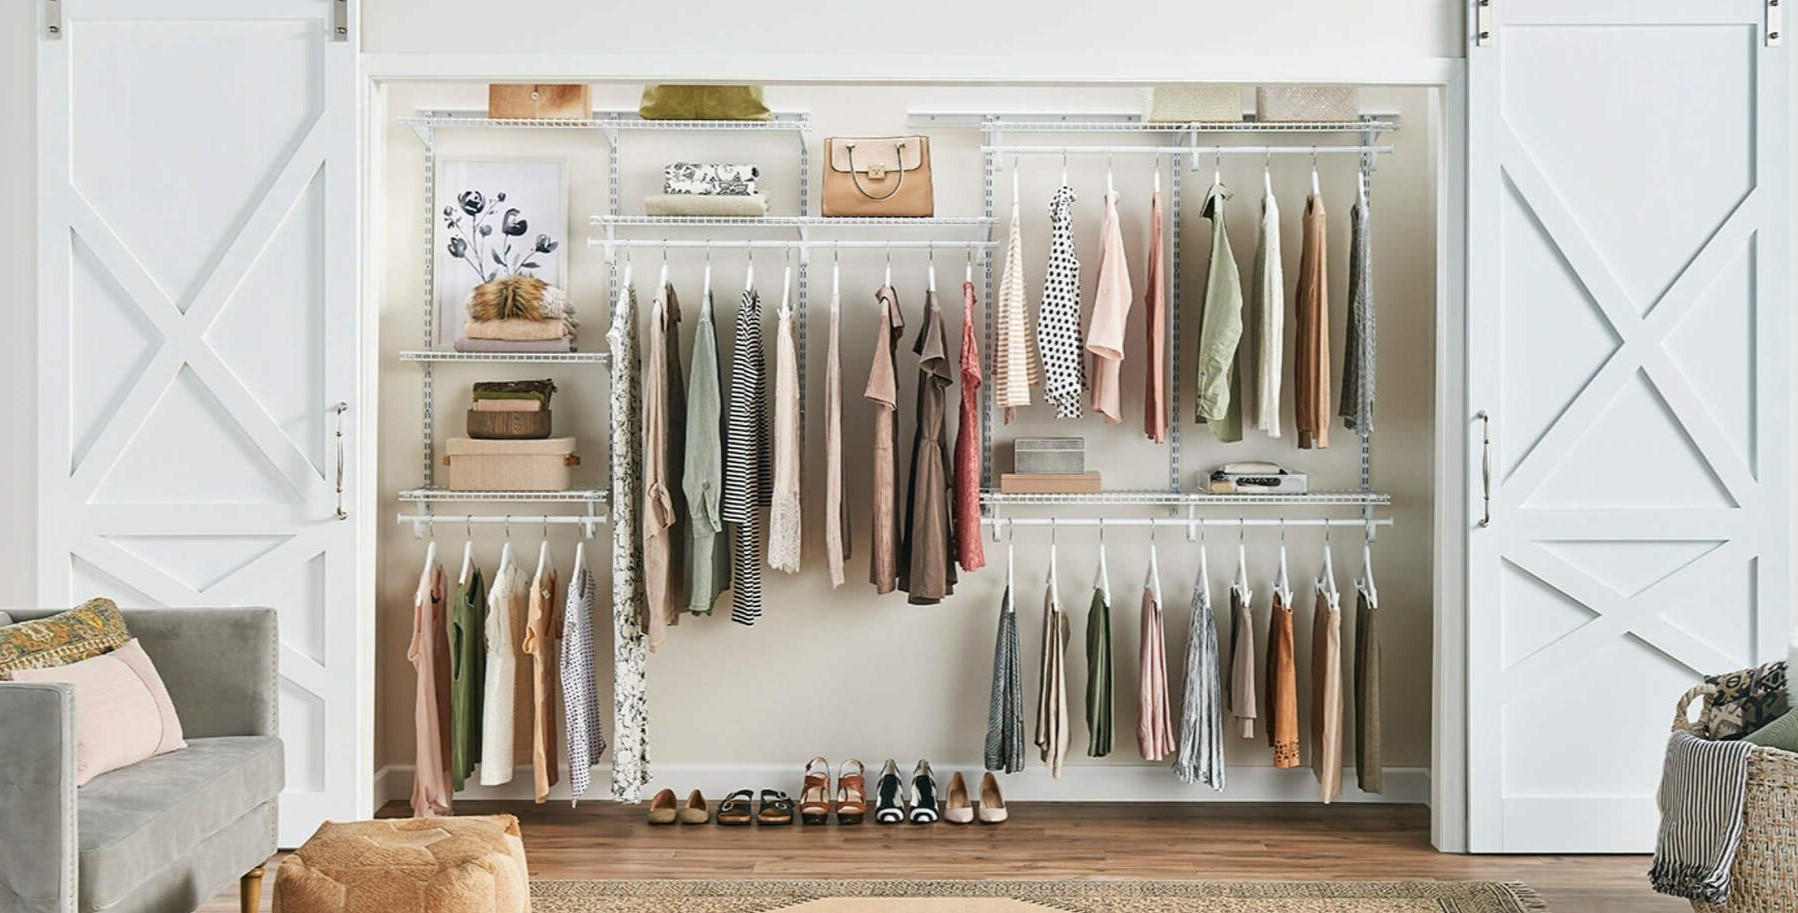
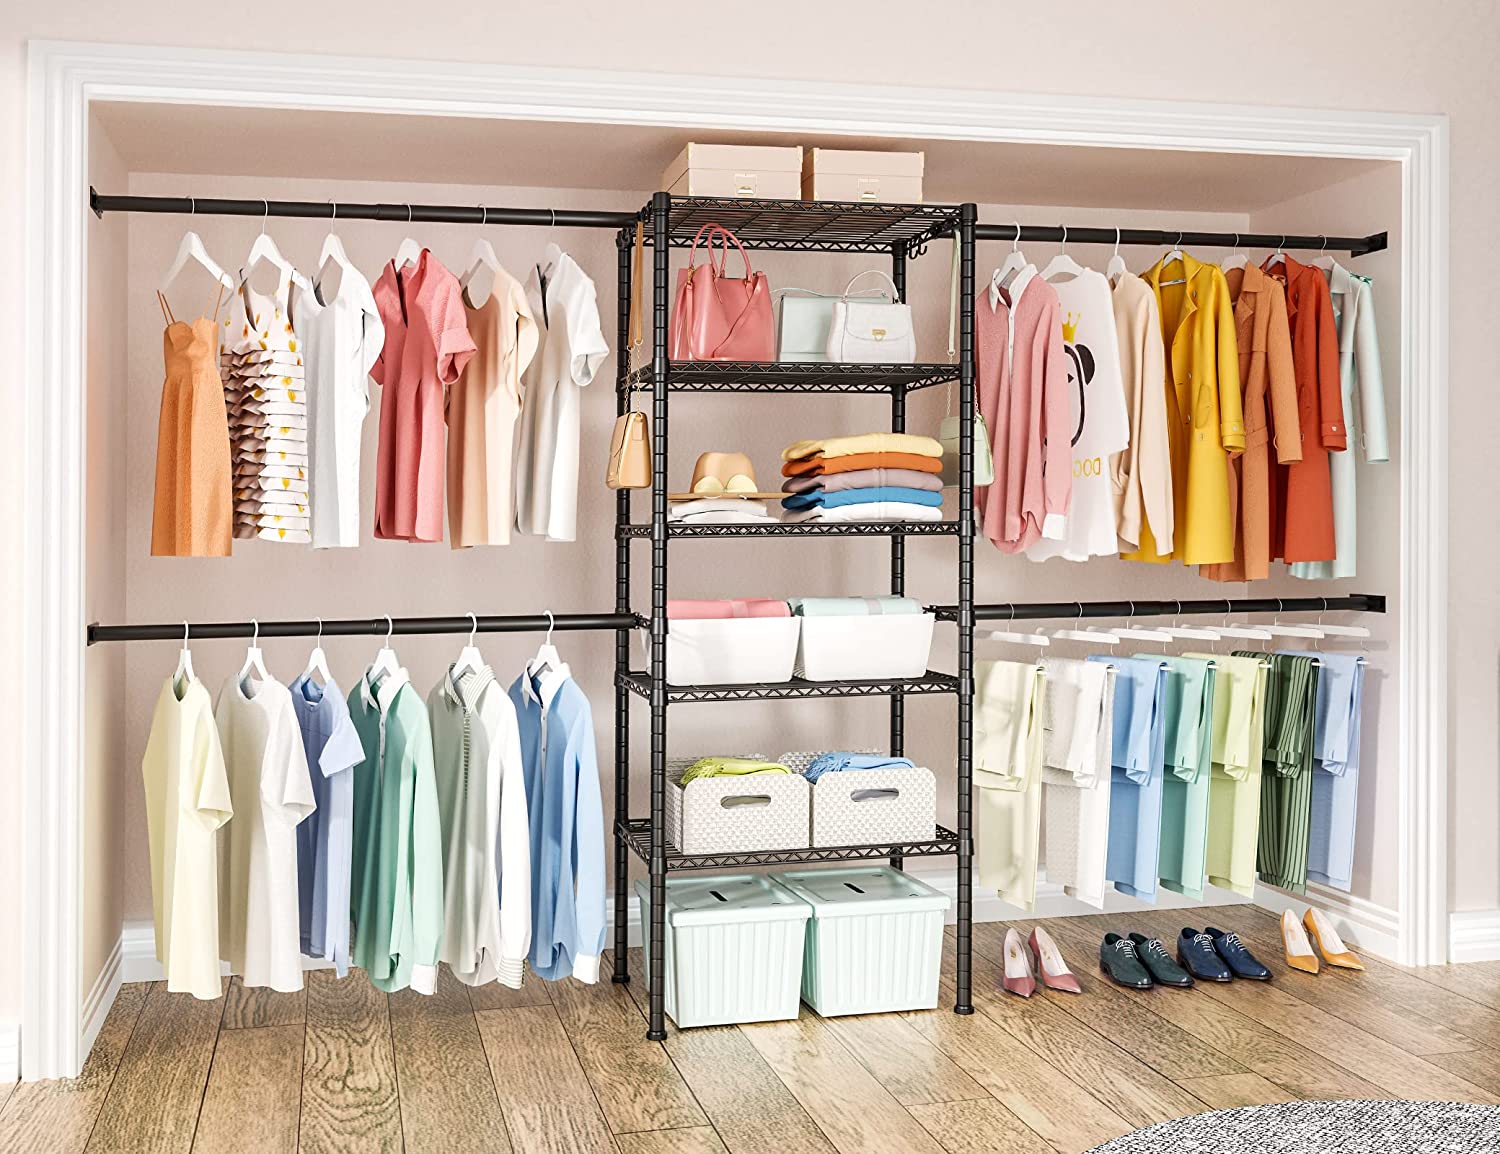
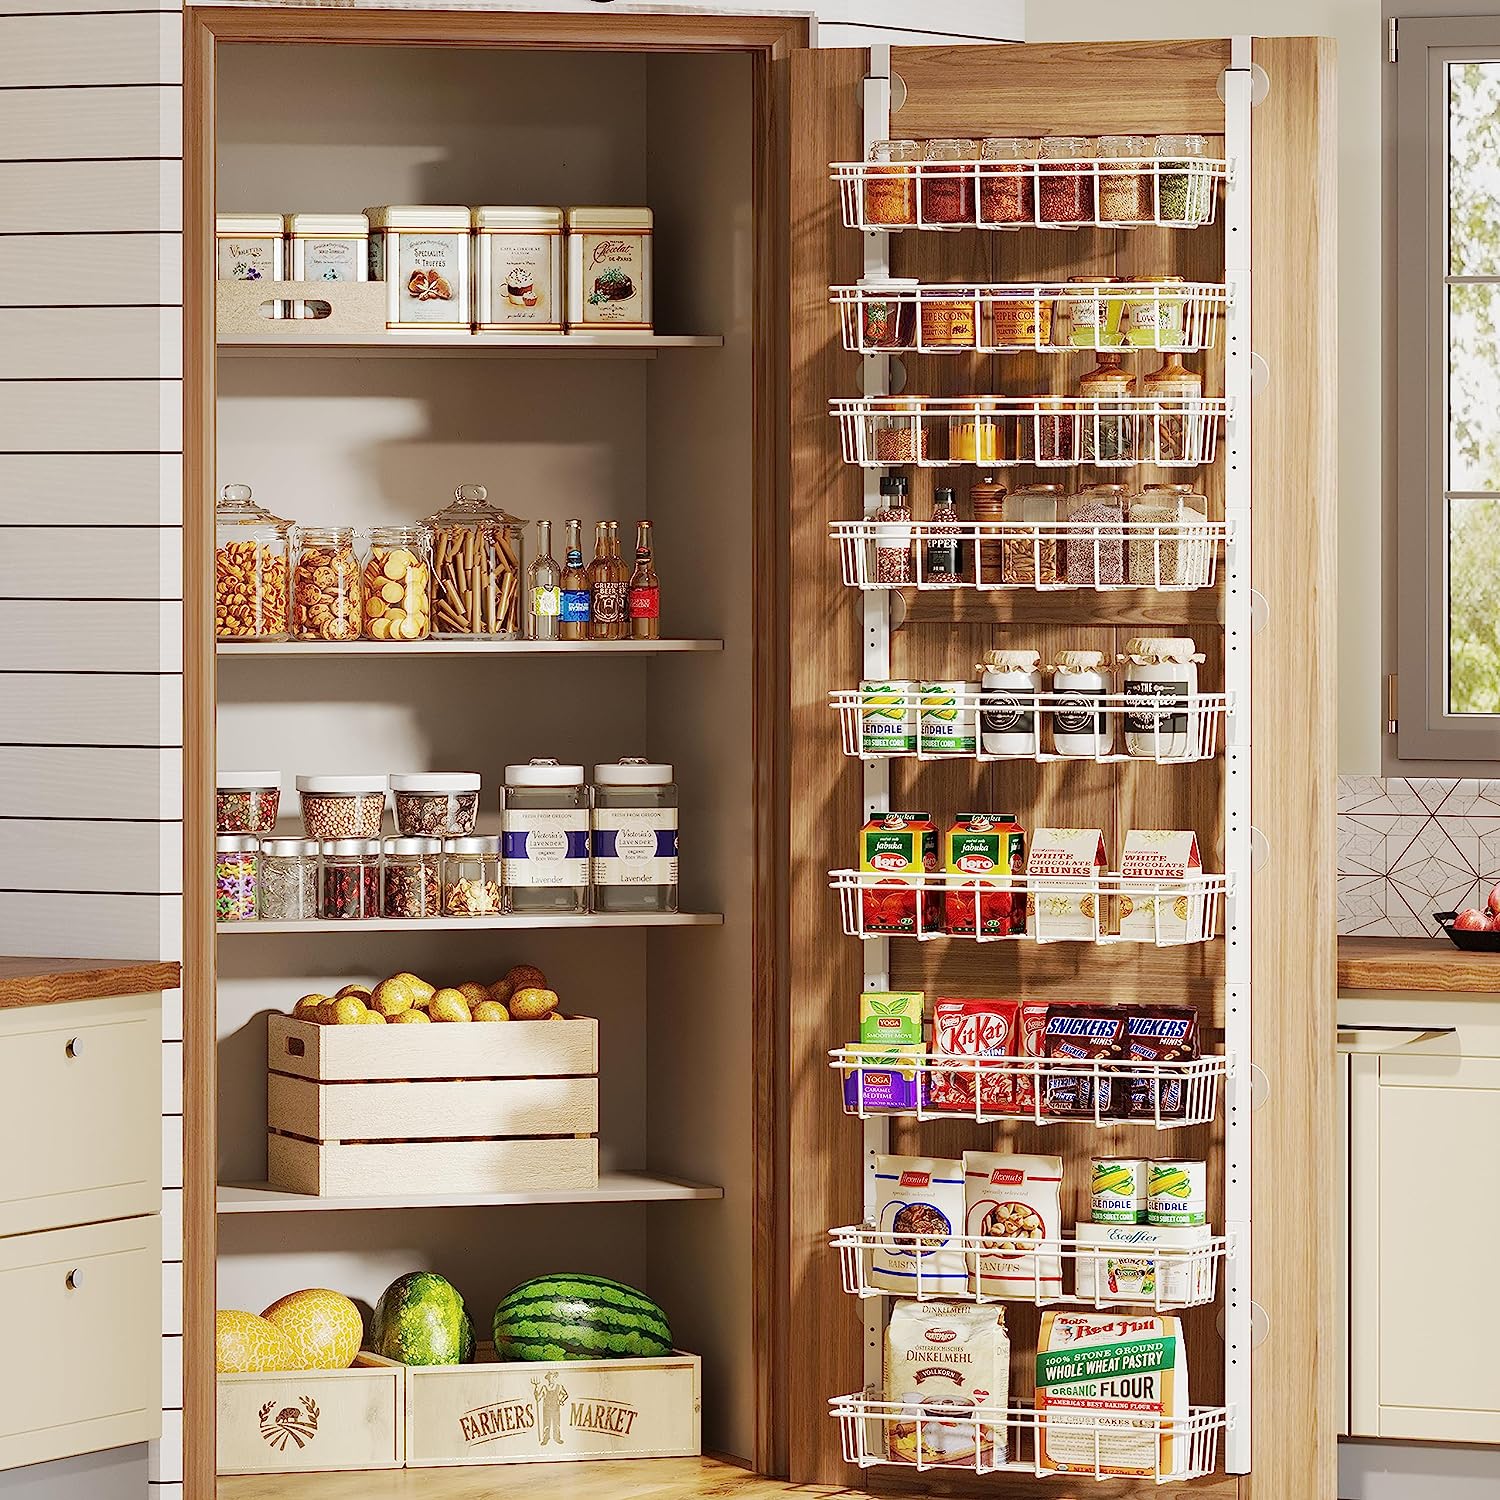
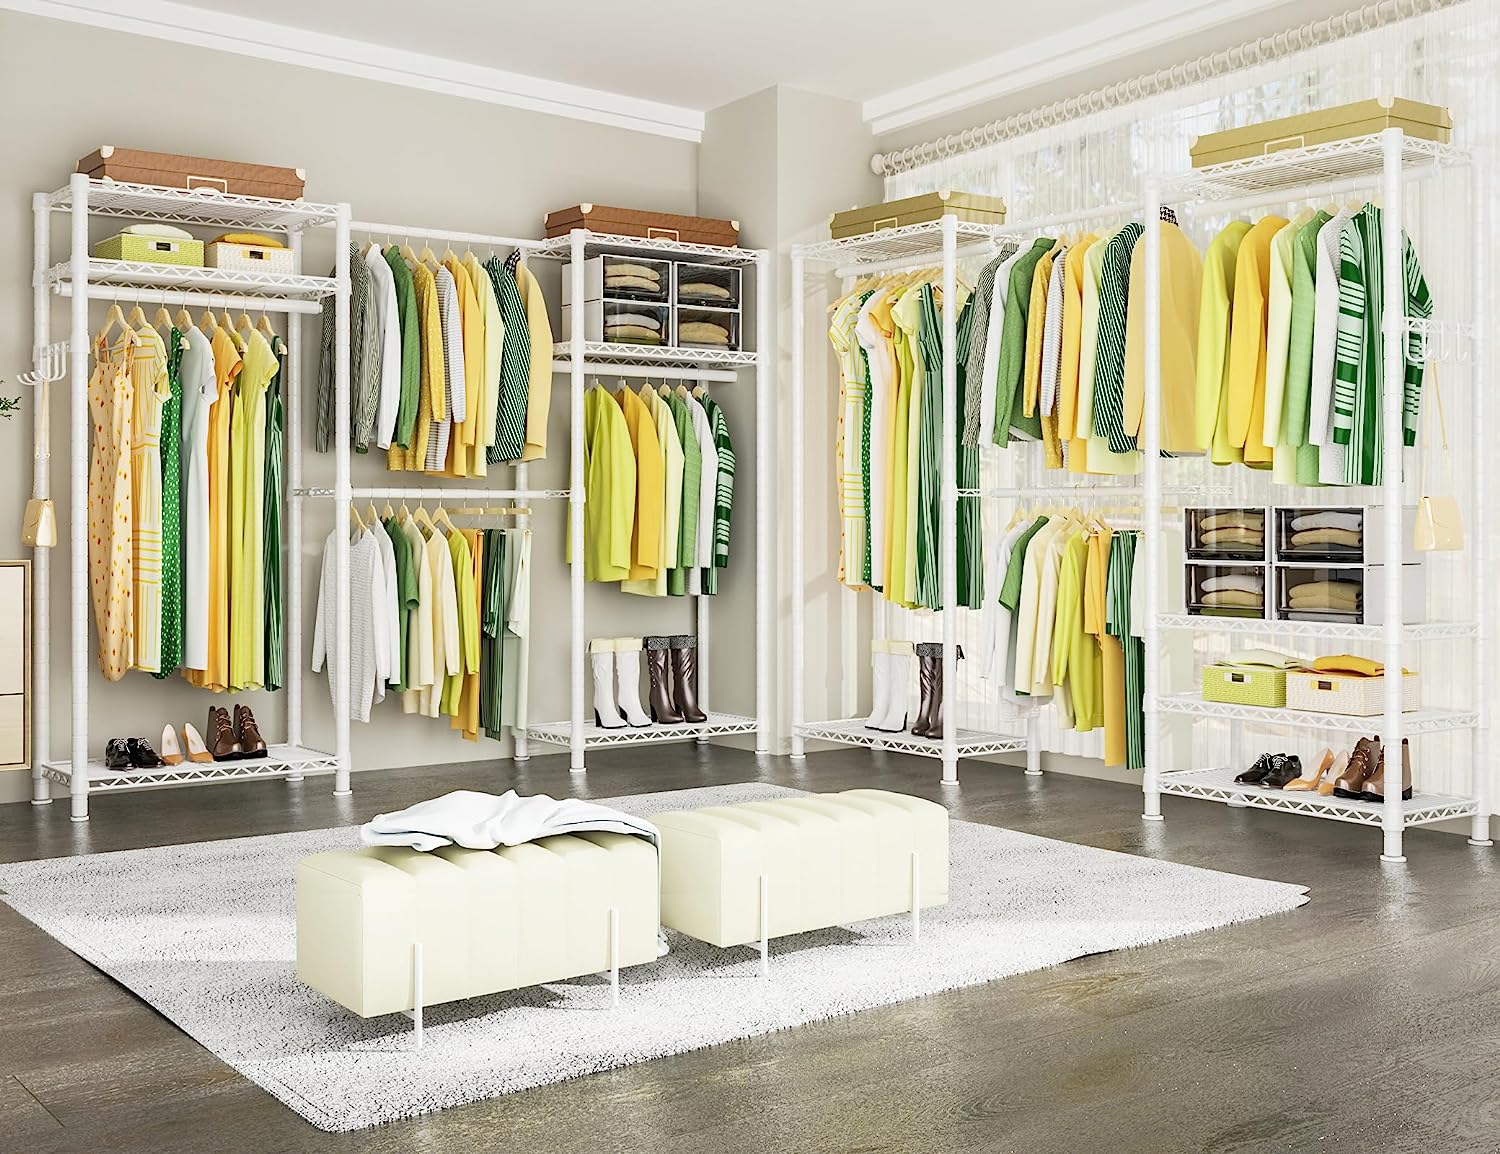
Having an organized closet is essential for maximizing space and keeping your belongings easily accessible. One way to achieve this is by installing shelves in your closet. Shelves provide a practical and efficient solution for storing folded clothes, shoes, accessories, and even bins or baskets for smaller items.
In this article, we’ll guide you through the process of creating custom shelves for your closet. Whether you’re a seasoned DIY enthusiast or a beginner, this step-by-step guide will help you transform your cluttered closet into a well-organized space.
Before we dive into the instructions, it’s important to gather the necessary materials. Let’s take a look at what you’ll need:
Key Takeaways:
- Transform your cluttered closet into a well-organized space by creating custom shelves. Maximize storage potential and accessibility with practical DIY techniques.
- Prioritize functionality and style when organizing and styling your newly installed shelves. Create designated zones, utilize storage bins, and add decorative touches for a visually appealing closet.
Read more: How To Put Shelves In Closet
Materials Needed
Before you begin, gather the following materials:
- Measuring tape
- Pencil
- Level
- Saw (circular saw or miter saw)
- Drill with appropriate drill bits
- Shelf brackets
- Screws
- Sanding block or sandpaper
- Wood glue (optional)
- Paint or stain (optional)
These materials will equip you to accurately measure your closet space, cut the shelves, install the brackets, and add finishing touches.
Now that you have everything you need, let’s move on to the first step: measuring the closet space.
Step 1: Measuring the Closet Space
The first step in creating custom shelves for your closet is to measure the available space. Accurate measurements are crucial to ensure that the shelves fit properly and maximize the storage potential of your closet. Follow these steps to measure the closet space:
- Clean out your closet: Before taking measurements, remove all items from your closet to get a clear view of the space.
- Measure the width: Use a measuring tape to measure the width of the closet from one side to the other. Take measurements at the top, middle, and bottom to account for any irregularities.
- Measure the height: Measure the height of the closet from the floor to the top shelf or ceiling. Again, take measurements at multiple points to ensure accuracy.
- Measure the depth: Determine the depth of the shelves by measuring from the back wall to the front edge of the closet. This measurement will help you determine the optimal depth for your shelves.
Make sure to record all measurements accurately. Having precise measurements will allow you to plan the layout and cut the shelves to the appropriate size in the following steps.
With the measurements in hand, you can now move on to planning the shelf layout.
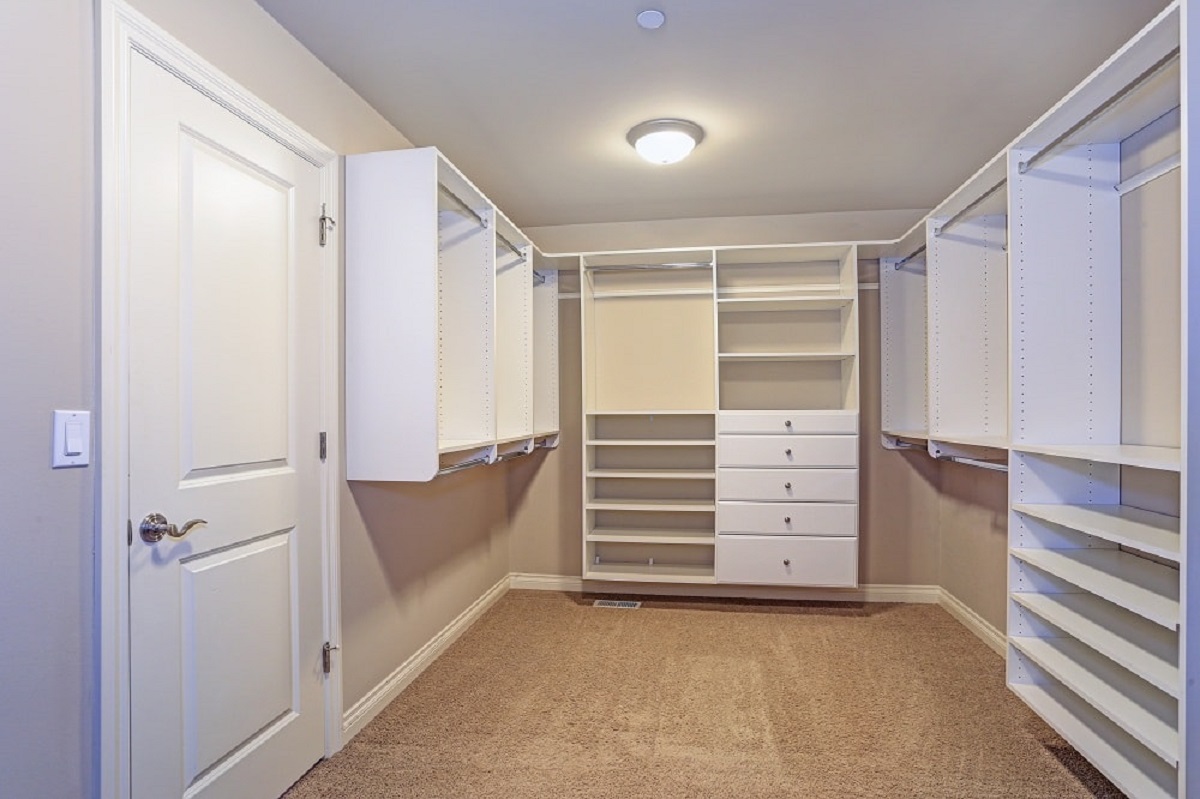
Step 2: Planning the Shelf Layout
Once you have measured the closet space, it’s time to plan the layout for your shelves. This step will help you determine the number of shelves needed and their positions within the closet. Here’s how you can plan the shelf layout:
- Consider your storage needs: Assess what items you’ll be storing on the shelves. This will help you determine the ideal spacing between shelves and their overall height.
- Determine the number of shelves: Based on your storage needs and the available space, decide how many shelves you want in your closet. Keep in mind that it’s better to have more shelves than fewer to maximize storage options.
- Decide on shelf spacing: Consider the height of the items you’ll be placing on the shelves and the overall height of the closet. Aim for a spacing that allows for easy access to items while efficiently utilizing the available space.
- Plan upper and lower shelves: Allocate space for upper and lower shelves that can accommodate items like hats, handbags, or shoeboxes. These shelves can be narrower than the main shelves but still provide valuable storage options.
Once you have planned the layout, mark the positions of the shelves using a pencil. Use a level to ensure that the marked lines are straight and even. This will help you during the installation process.
With the shelf layout planned, you’re ready to move on to the next step: cutting the shelves.
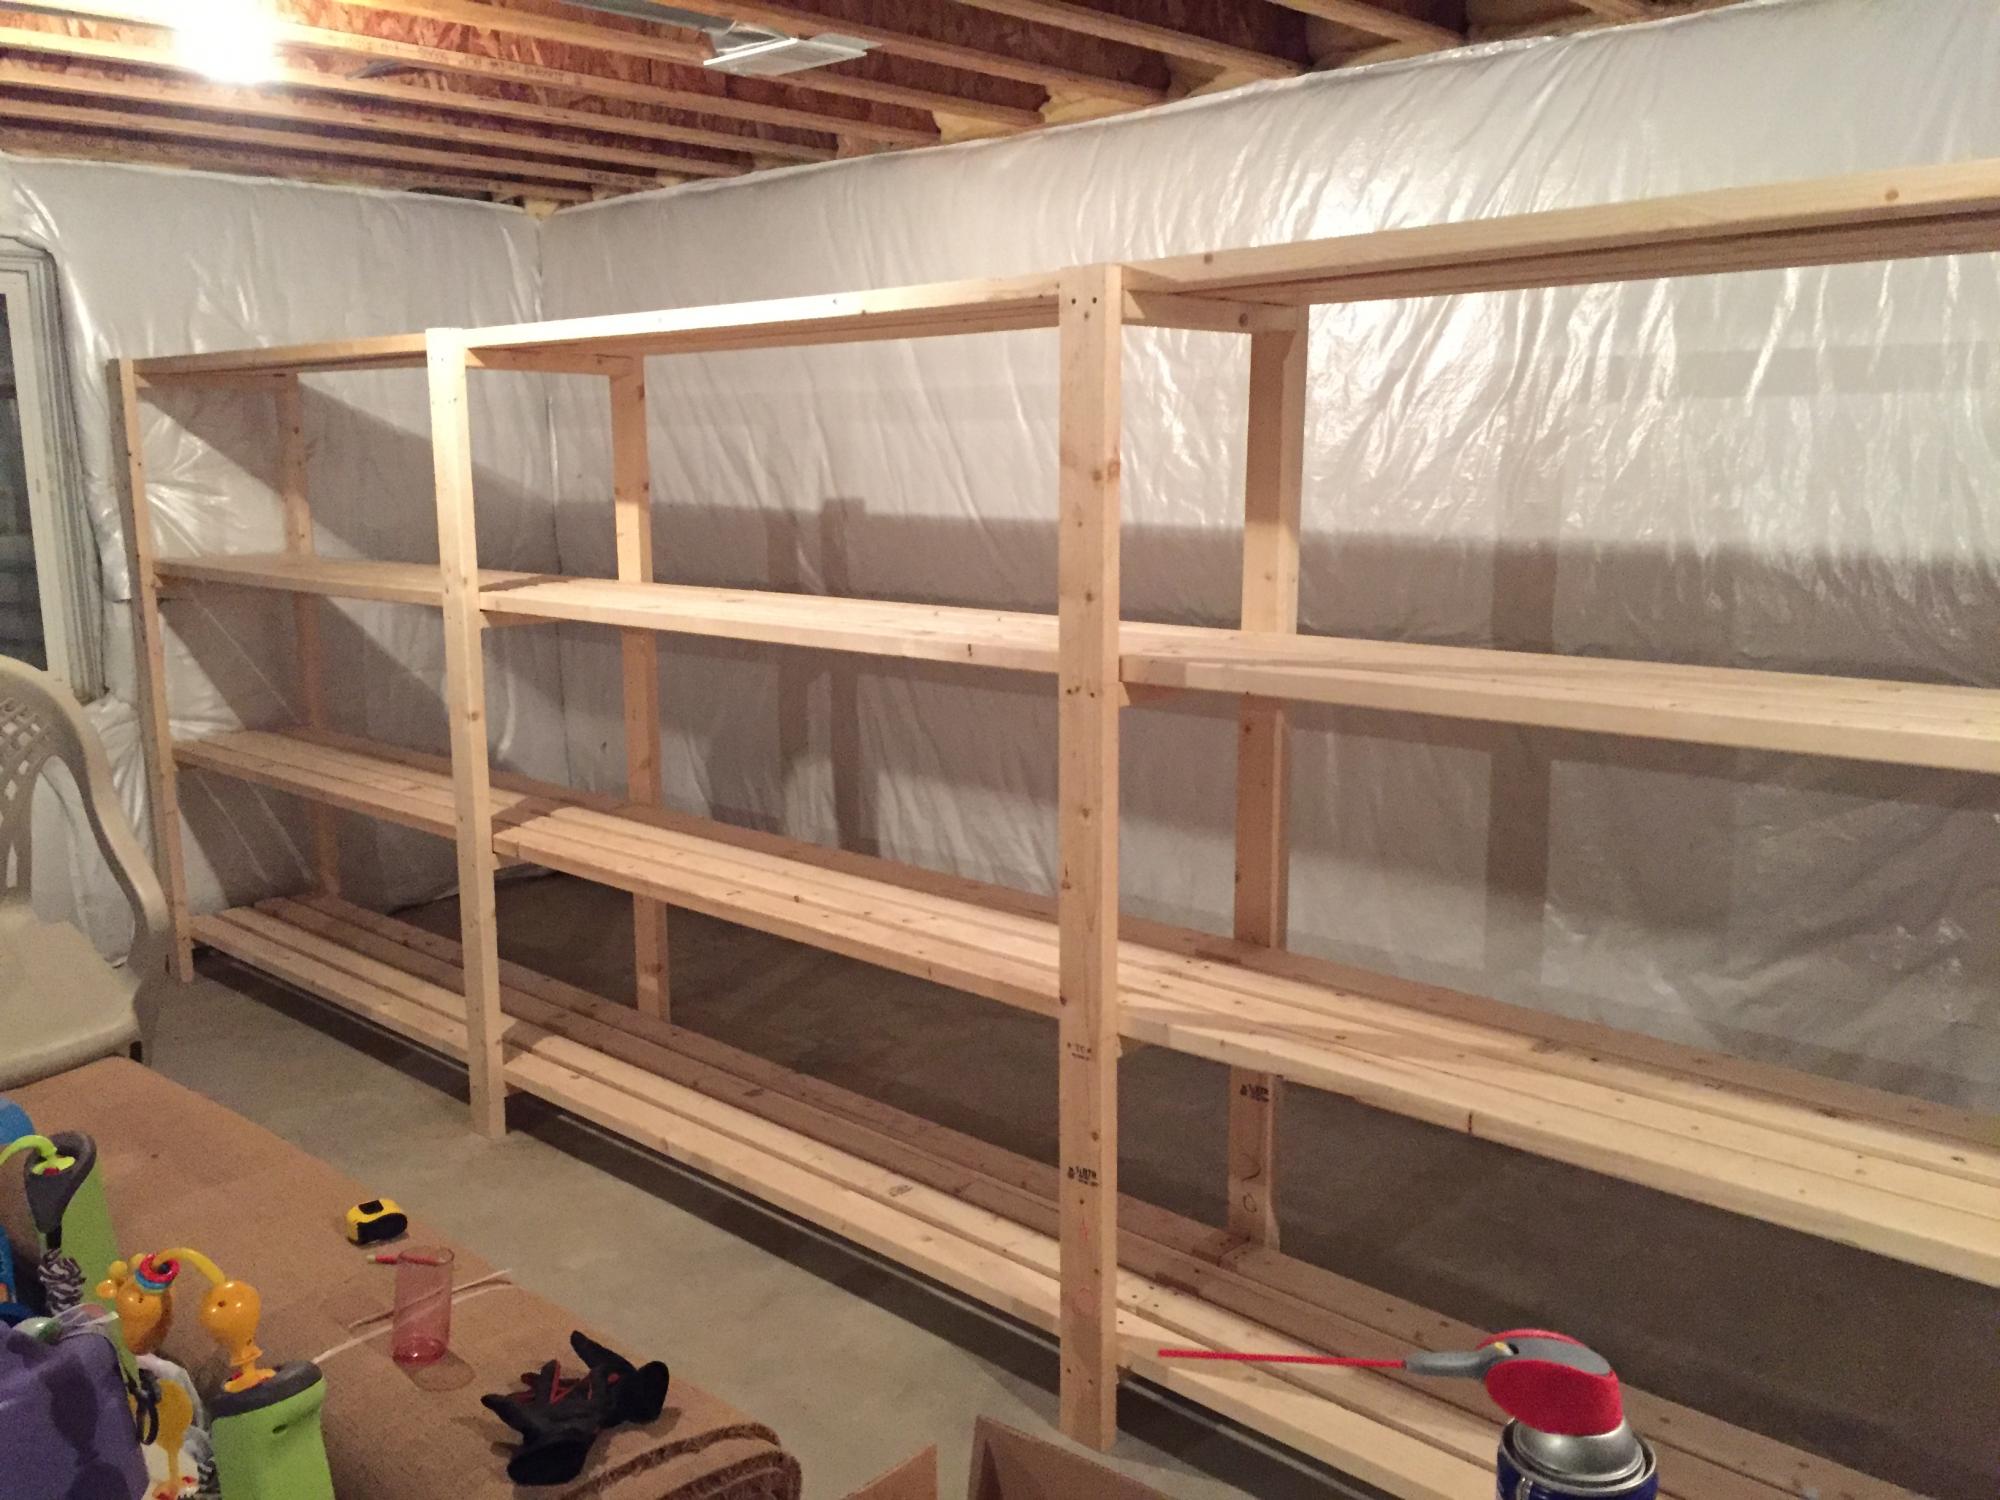
Step 3: Cutting the Shelves
Now that you have planned the layout for your shelves, it’s time to cut the shelves to the appropriate size. Follow these steps to ensure accurate cuts:
- Prepare your workspace: Find a suitable area for cutting the shelves. Ensure that you have enough space and a stable work surface to safely work with your saw.
- Measure and mark your shelves: Using your measurements from step 1, transfer those measurements onto your chosen material for the shelves. Use a measuring tape and a pencil to mark the length and width of each shelf.
- Cut the shelves: Use a saw, such as a circular saw or miter saw, to cut along the marked lines. Take your time and ensure that the cuts are straight and accurate.
- Sand the edges: Use a sanding block or sandpaper to smooth out the edges of the shelves. This will prevent any splintering and create a neater finish.
It’s a good idea to double-check your measurements and make test cuts on scrap pieces of wood before cutting the actual shelves. This will help you ensure that everything fits correctly before committing to the final cuts.
Once you have cut and sanded all the shelves, it’s time to move on to the next step of the process: installing the shelf brackets.
Read more: Install Simple Closet Shelves
Step 4: Installing the Shelf Brackets
With your shelves cut to the desired size, it’s time to install the shelf brackets. These brackets will provide support for the shelves and ensure they are secure and sturdy. Follow these steps to properly install the shelf brackets:
- Locate the stud: Use a stud finder or tapping technique to locate the studs in the wall where you’ll be installing the brackets. Studs are the vertical wooden beams behind the drywall that provide extra strength and support.
- Mark the bracket positions: Place the first bracket at the desired height and mark the screw hole locations on the wall using a pencil. Repeat this process for the remaining brackets.
- Pre-drill pilot holes: Using an appropriate drill bit, pre-drill pilot holes into the wall at the marked screw hole locations. This will make it easier to screw in the brackets and minimize the risk of splitting the wood.
- Attach the brackets: Place the first bracket over its corresponding pilot holes and screw it into the wall using a drill or screwdriver. Repeat this process for the remaining brackets.
- Ensure level installation: Use a level to make sure that the brackets are installed evenly and the shelves will be level. Adjust the brackets if necessary.
It’s important to note that the number of brackets needed will depend on the length and weight capacity of your shelves. Typically, a bracket should be installed every 16 to 24 inches for optimal support.
With the brackets securely installed, you’re now ready to move on to attaching the shelves in the next step.
When making shelves for a closet, be sure to measure the space accurately and use sturdy materials like plywood or melamine. Install support brackets for added stability and consider adding a coat of paint or laminate for a finished look.
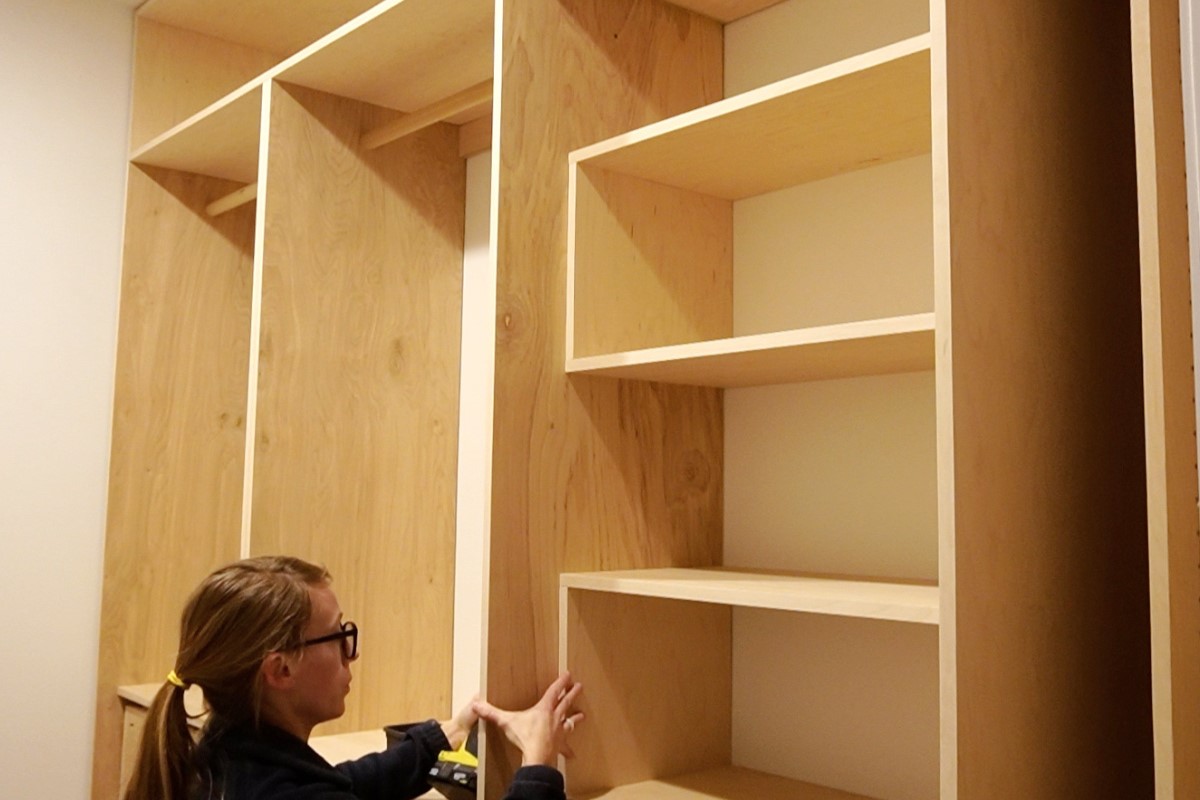
Step 5: Attaching the Shelves
With the shelf brackets in place, it’s time to attach the shelves to complete your custom closet organization. Follow these steps to properly attach the shelves:
- Position the first shelf: Place the first shelf on top of the installed brackets, ensuring it sits securely and evenly.
- Secure the shelf: Use a drill or screwdriver to screw through the bracket holes and into the underside of the shelf to secure it in place. Be sure to use appropriate screws that are long enough to go through the bracket and into the shelf without protruding through the top.
- Repeat for other shelves: Following the same process, attach the remaining shelves one by one, adjusting each shelf to ensure they are level.
Take your time to align and secure each shelf properly. This will ensure that they can hold the weight of your belongings and remain sturdy over time. If desired, you can also apply a small amount of wood glue along the bracket edges before attaching the shelves for extra stability.
Congratulations! You have successfully attached all the shelves to the shelf brackets. You’re now one step closer to achieving a well-organized and functional closet. In the next step, we’ll discuss the option of adding additional supports if necessary.
Step 6: Adding Additional Supports (If Necessary)
While the shelf brackets provide adequate support for most closet shelving projects, there may be instances where additional support is needed, especially for longer or heavier shelves. Here’s how you can add extra support if necessary:
- Assess stability: Once the shelves are attached, check for any signs of sagging or instability. If you notice that the shelves are bending or wobbling under the weight of your items, additional support may be needed.
- Measure and cut support boards: If you determine that extra support is necessary, measure the length of the shelves that require reinforcement. Cut support boards from the same material as your shelves, ensuring they are slightly shorter than the length of the shelves to allow for a proper fit.
- Install support boards: Position the support boards vertically beneath the shelves. Use a drill or screwdriver to securely attach the support boards to the back wall and the underside of the shelves. Make sure to use appropriate screws that are long enough to penetrate both the support board and the shelf.
- Verify stability: Once the additional supports are installed, check the stability of the shelves again. They should now be more secure and able to withstand heavier loads without sagging or tilting.
Adding extra support is particularly important for longer shelves or if you plan to store heavier items on them. By reinforcing the shelves, you can ensure their longevity and prevent any potential damage or accidents.
With the shelves and any necessary additional supports in place, it’s time to move on to the next step: sanding and finishing the shelves.
Step 7: Sanding and Finishing the Shelves
Now that the shelves are securely installed, it’s time to sand and finish them to create a polished and professional look. Follow these steps to sand and finish your shelves:
- Sanding the shelves: Use a sanding block or sandpaper to smooth out any rough edges or surfaces on the shelves. Sand in the direction of the wood grain to achieve a smooth finish. Start with a coarse grit sandpaper and gradually move to finer grits for a refined surface.
- Cleaning the shelves: Once you’ve finished sanding, wipe down the shelves with a damp cloth or tack cloth to remove any dust or debris.
- Choosing a finish: Decide whether you want to paint or stain the shelves. Consider the style and aesthetic of your closet and choose a finish that complements the overall look.
- Applying the finish: If you’re painting the shelves, apply a coat of primer as a base layer, followed by one or two coats of paint. Allow each coat to dry before applying the next. If you’re staining the shelves, follow the instructions on the stain can and apply multiple coats as desired, allowing each coat to dry between applications.
- Sealing the finish (optional): To further protect the shelves and enhance the look, you can apply a clear sealant or varnish. This will add a layer of durability and shine to the finished shelves.
Remember to allow sufficient drying time between each step, following the instructions on the product labels. This will ensure a professional and long-lasting finish for your shelves.
With the shelves sanded, finished, and sealed (if desired), it’s time to move on to the final step: organizing and styling the shelves to suit your needs.
Read more: How To Organize Closet Without Shelves
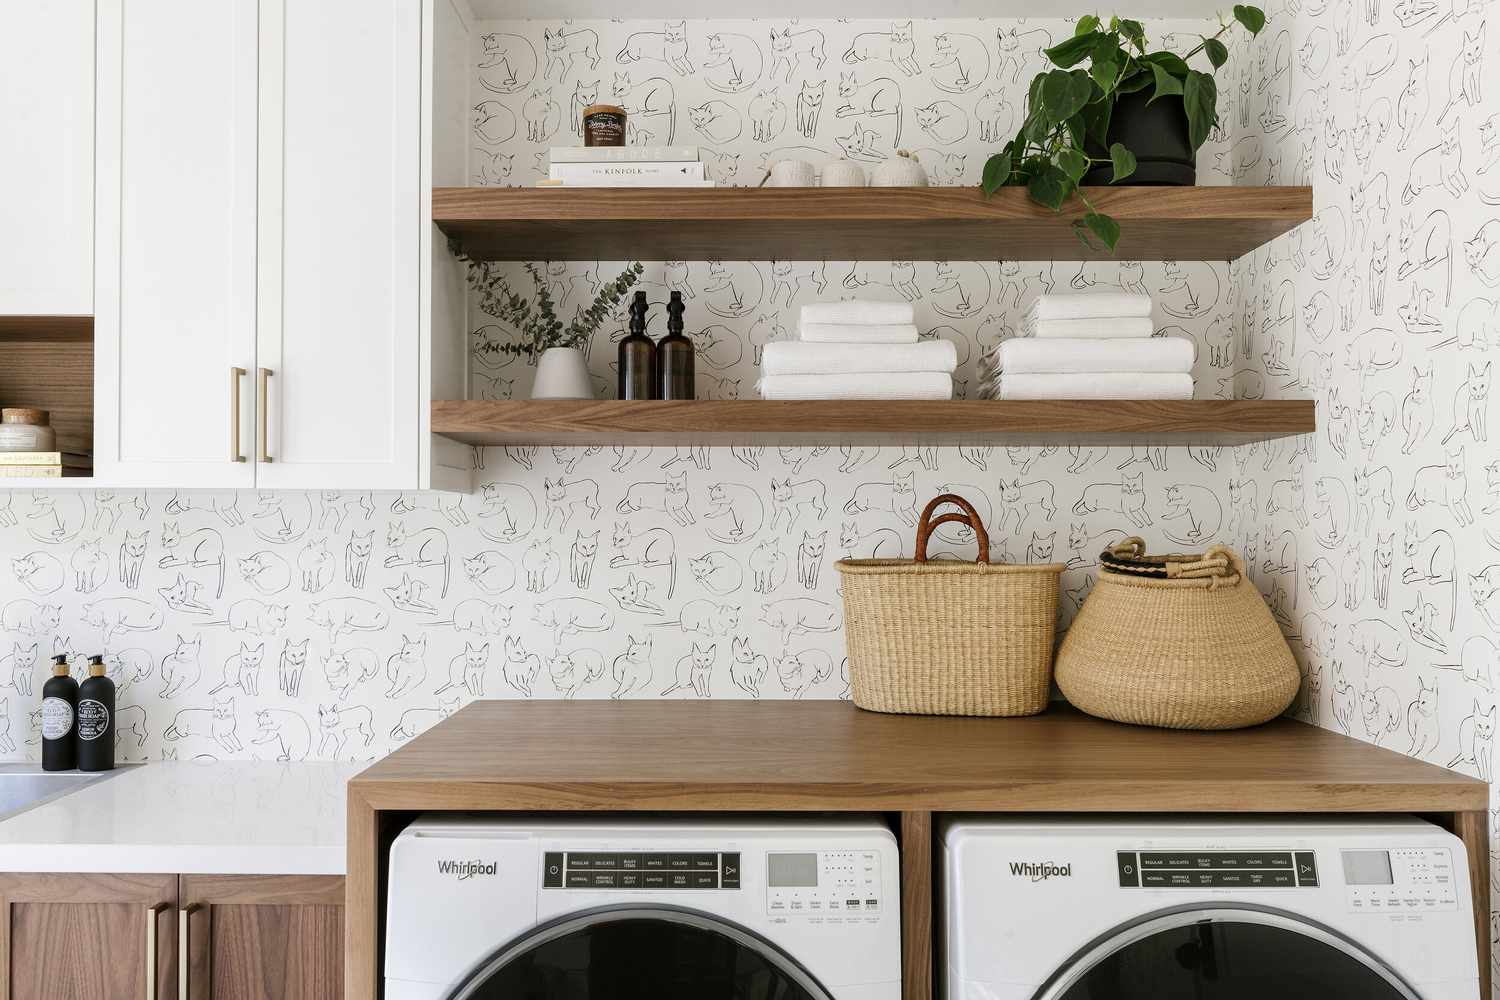
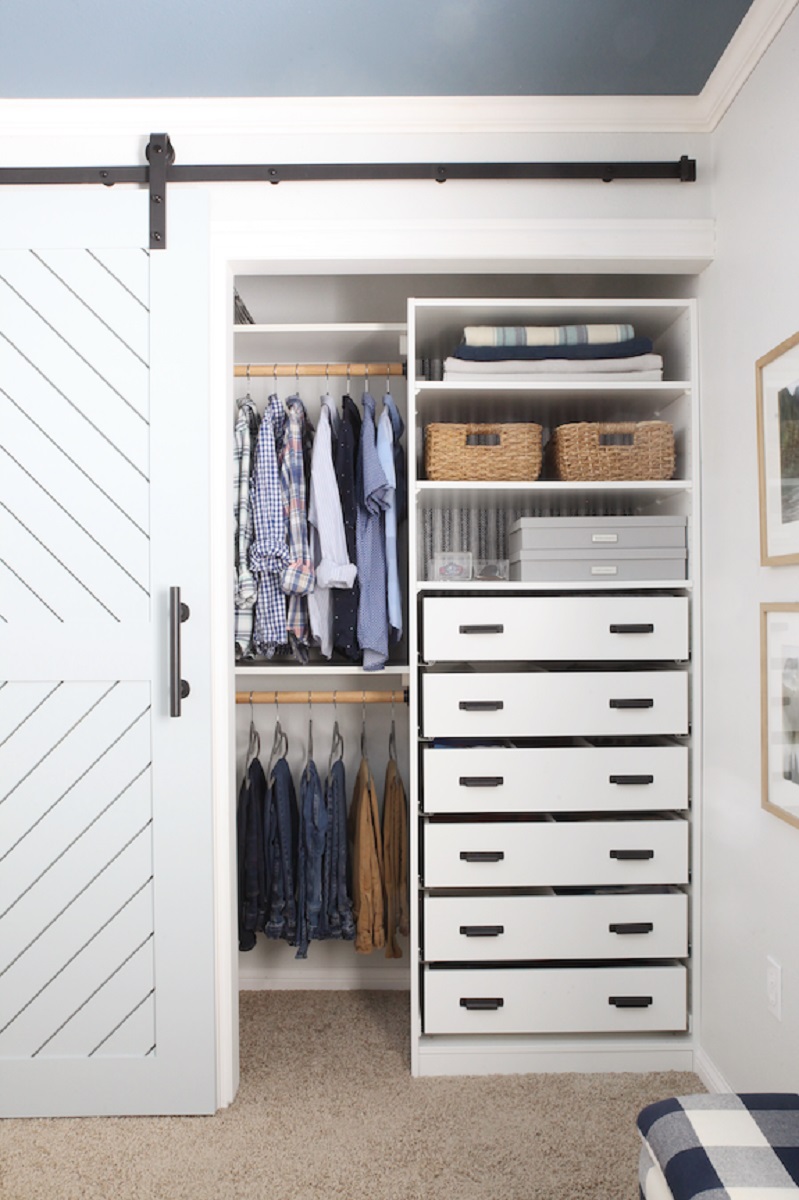
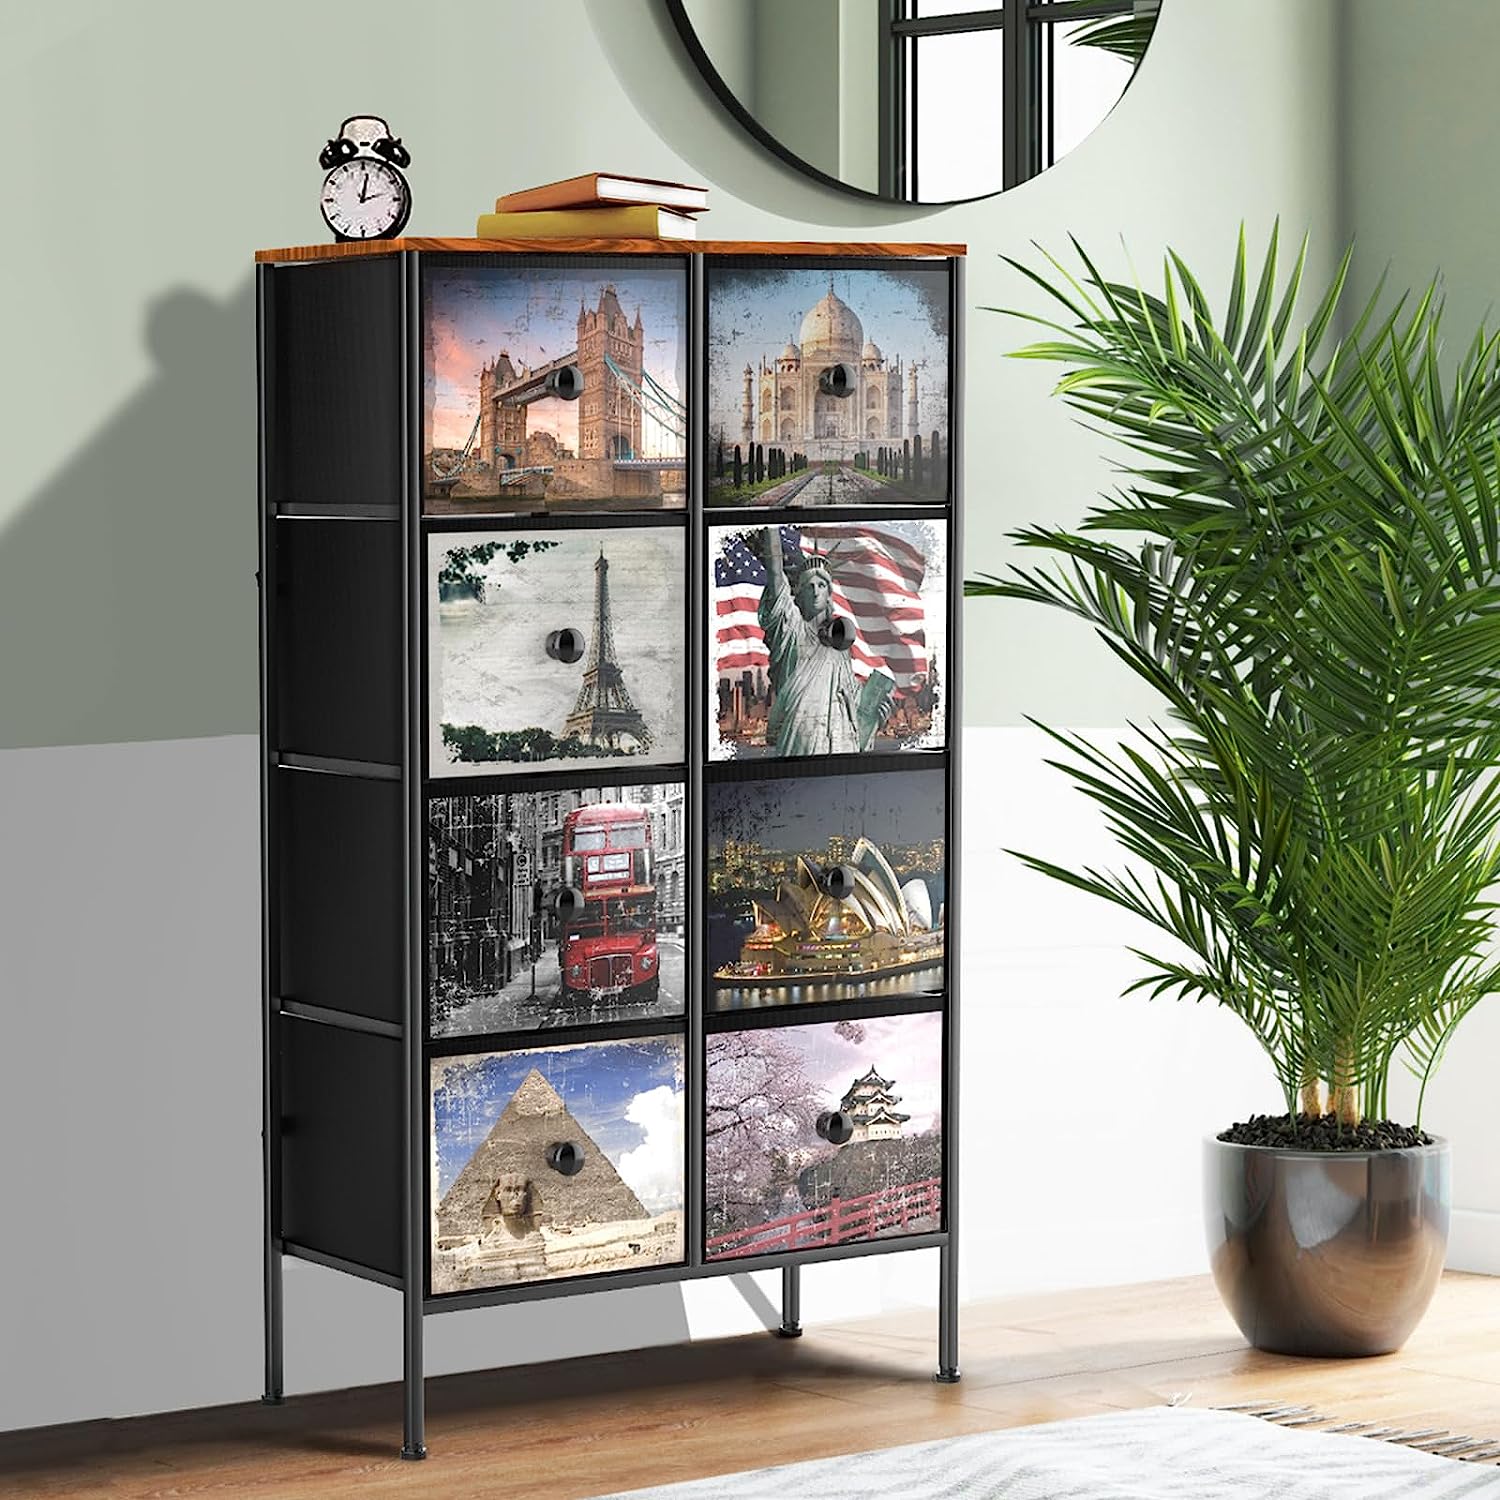
Step 8: Organizing and Styling the Shelves
Now that your custom shelves are complete, it’s time to bring order to your closet by organizing and styling the shelves. Follow these steps to make the most of your newly installed shelves:
- Prioritize functionality: Consider your storage needs and arrange the items on your shelves based on their frequency of use. Keep regularly used items within easy reach and place less frequently used items on higher or lower shelves.
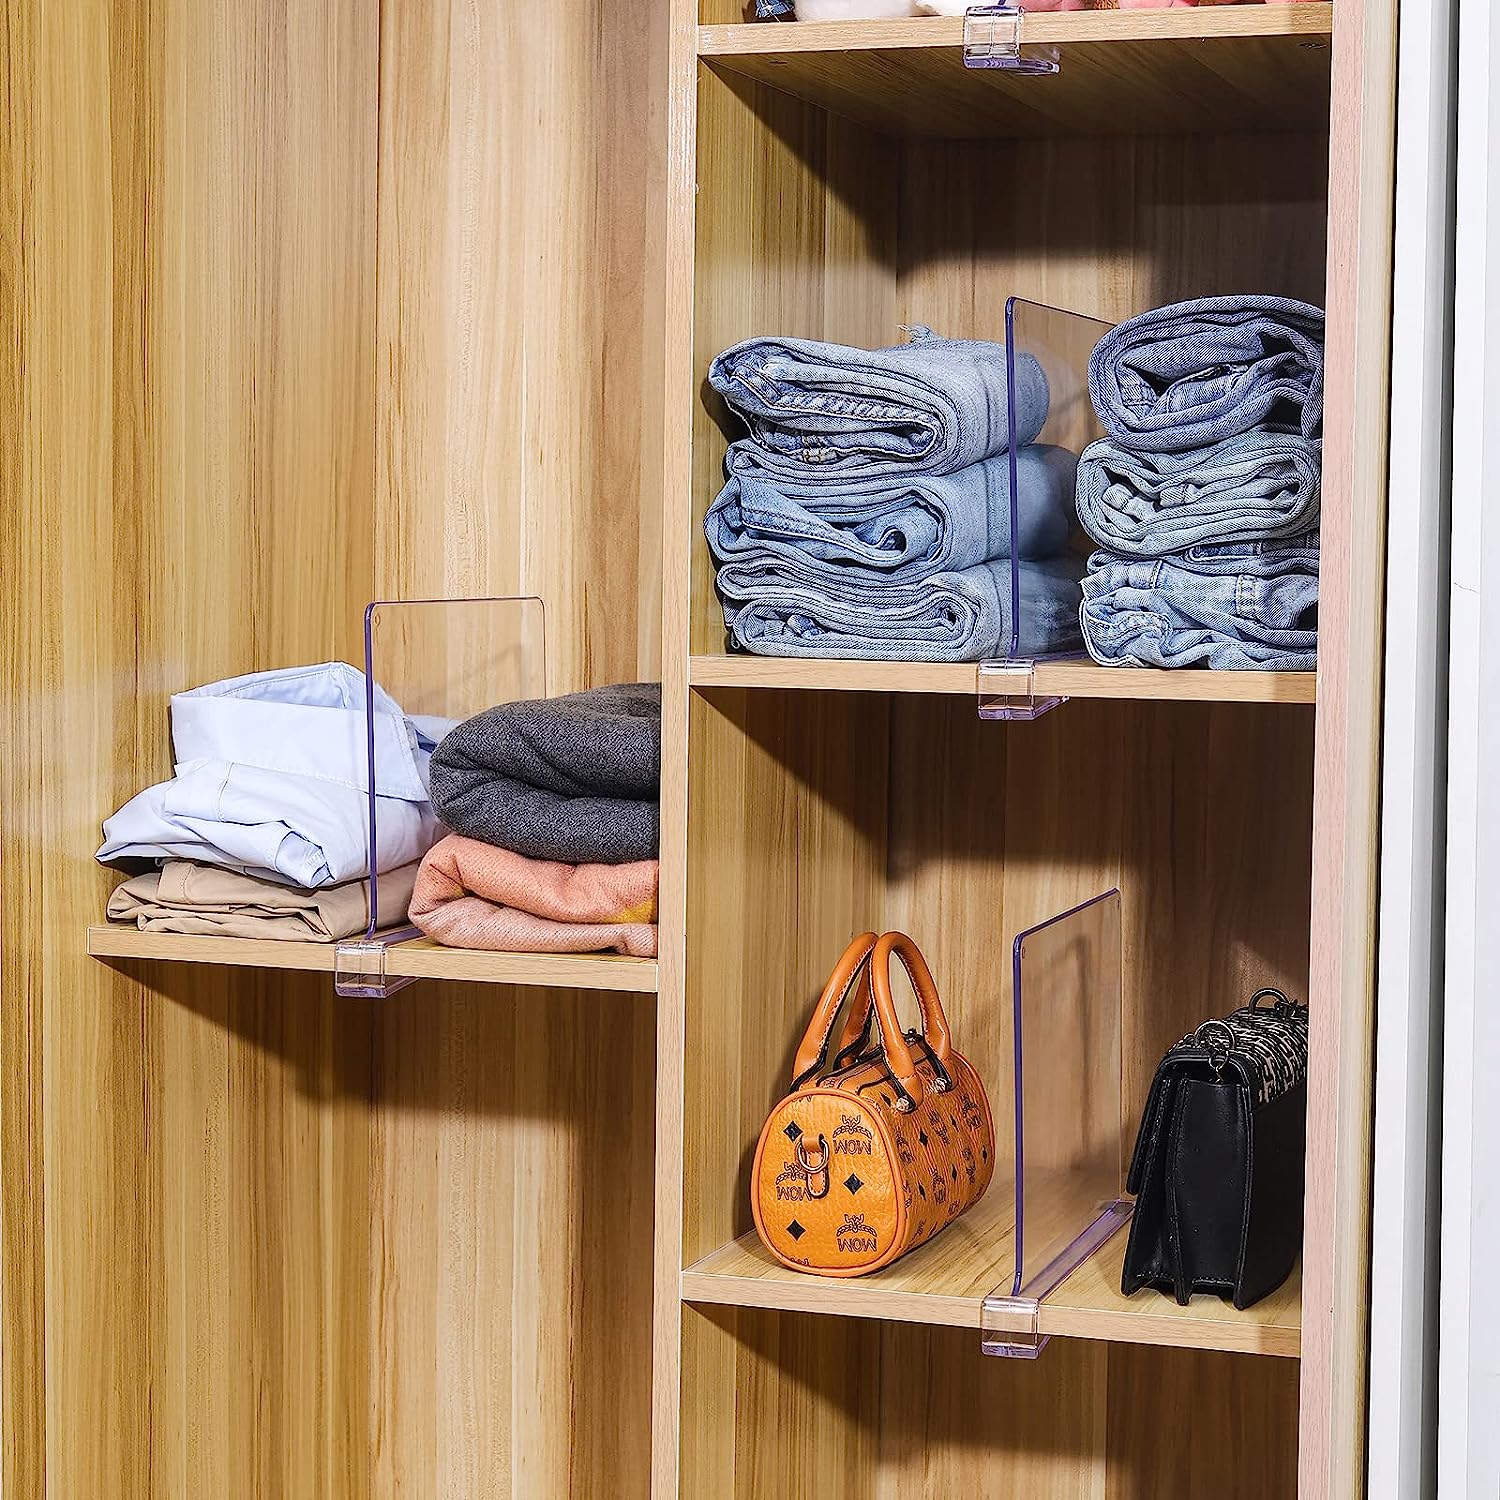
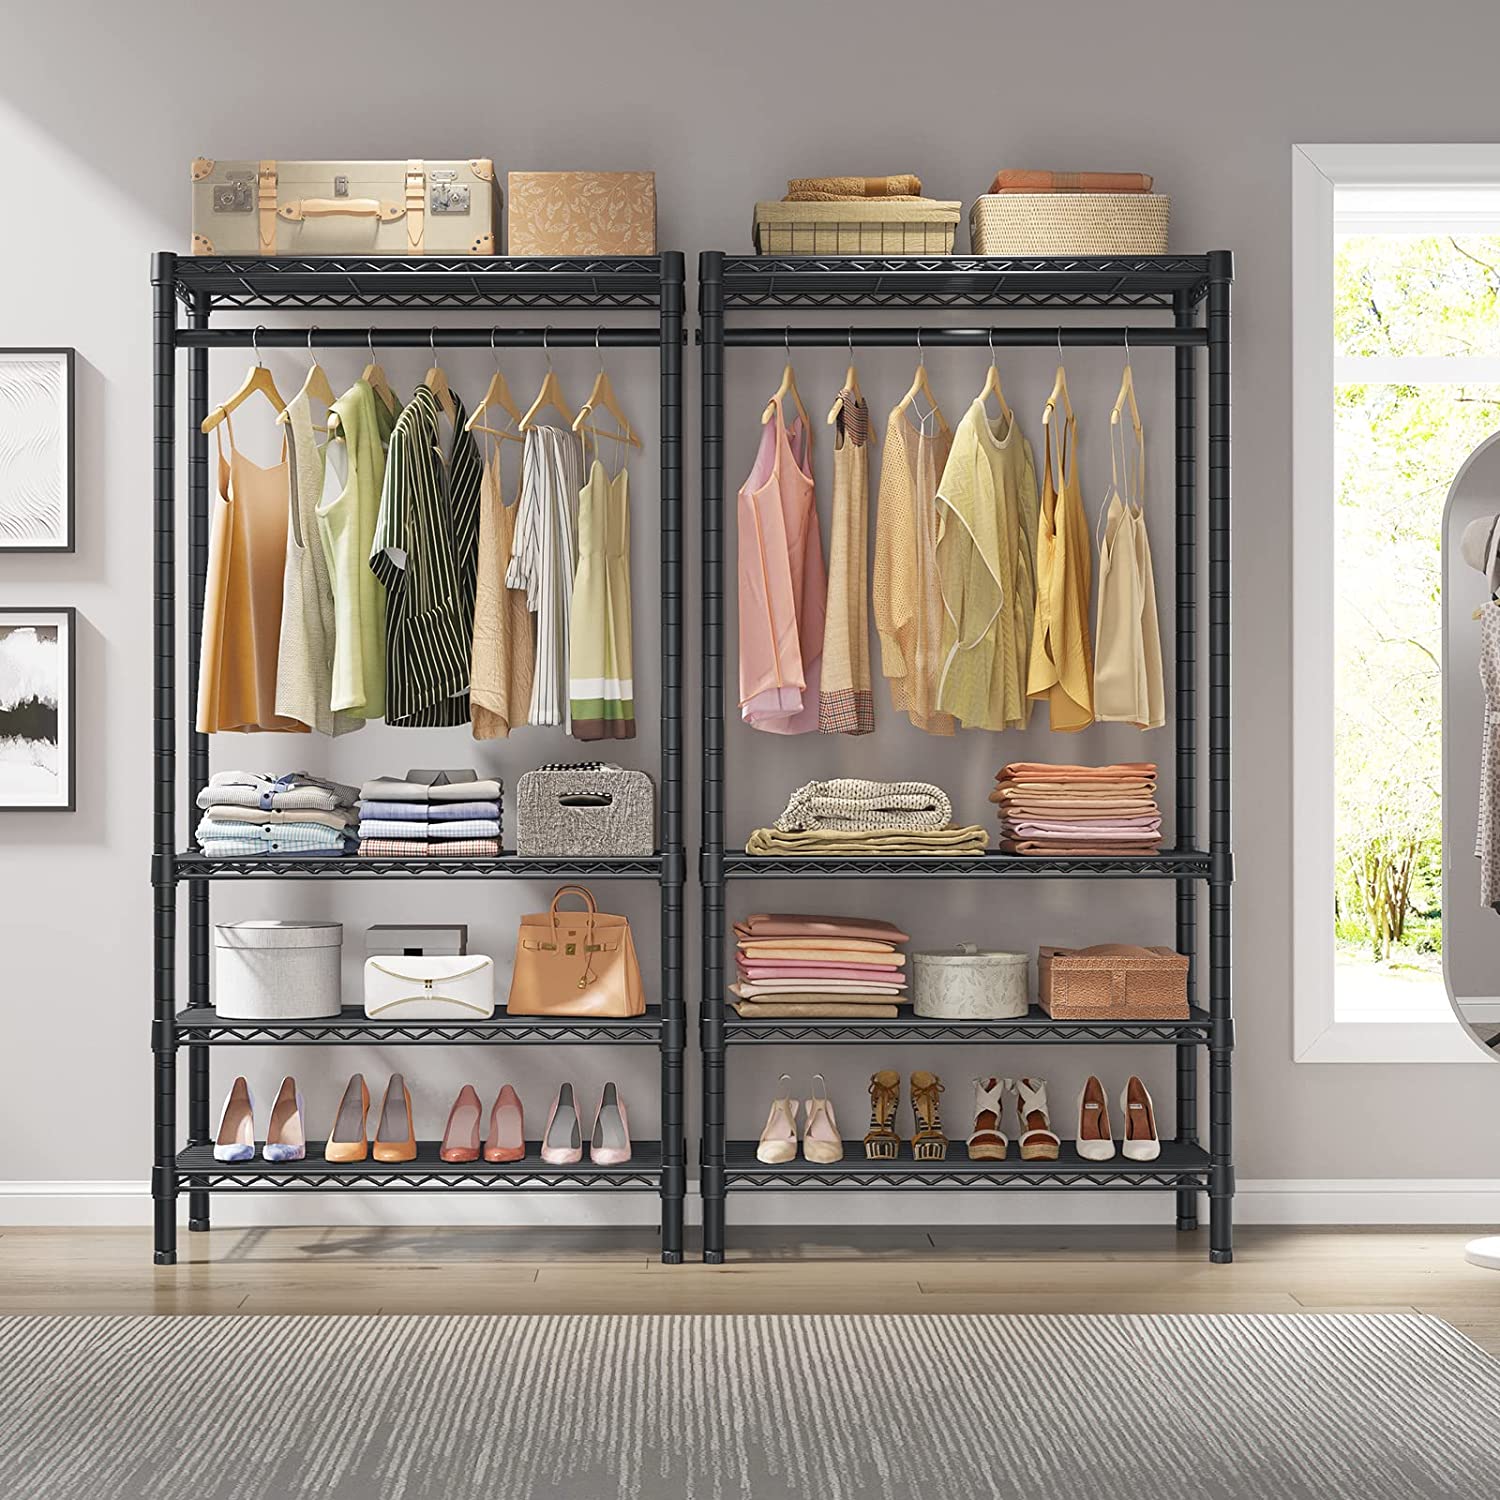
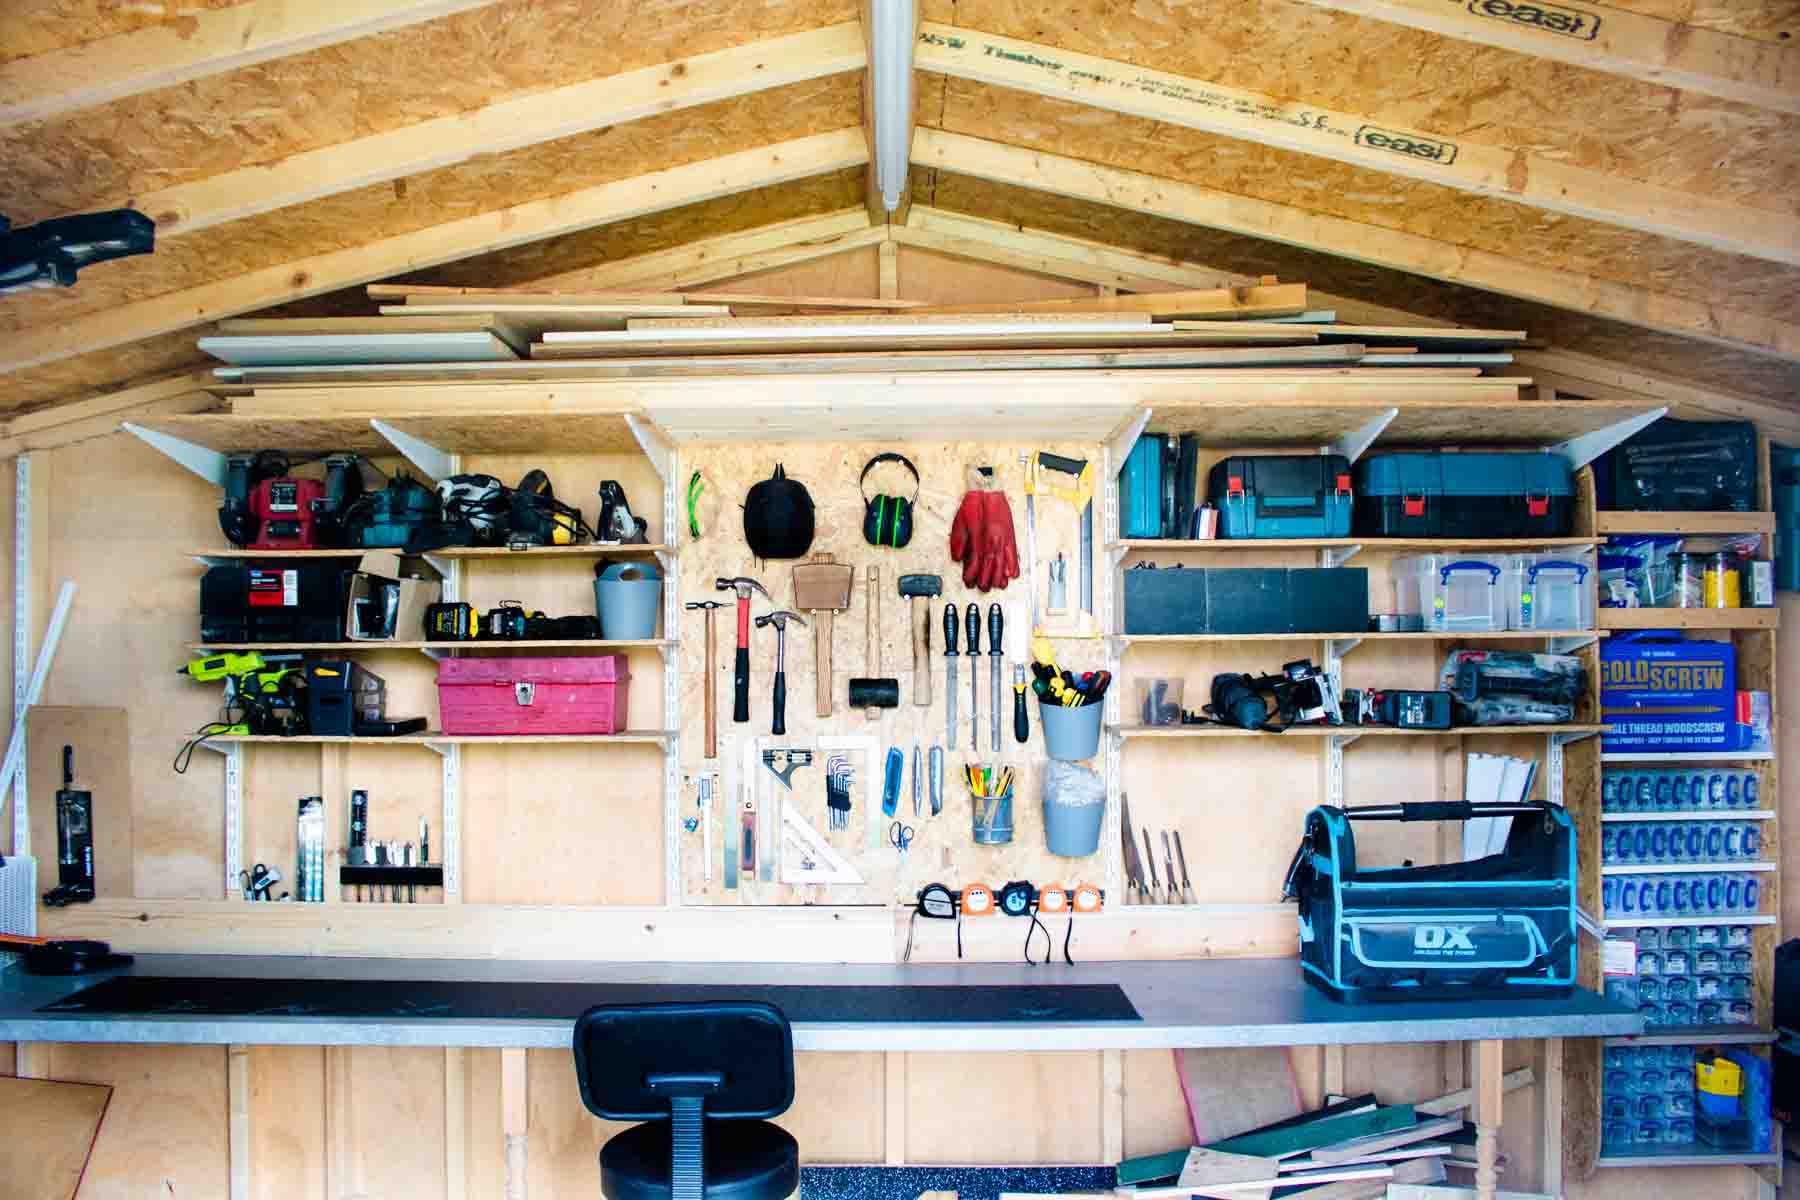
- Group similar items together: Create designated zones for different categories of items, such as folded clothes, shoes, accessories, or bins for smaller items. This will make it easier to find and retrieve specific items when needed.
- Utilize storage bins or baskets: Utilize storage bins or baskets on the shelves to corral loose items and keep them organized. This is especially helpful for small accessories or items that may easily get misplaced.
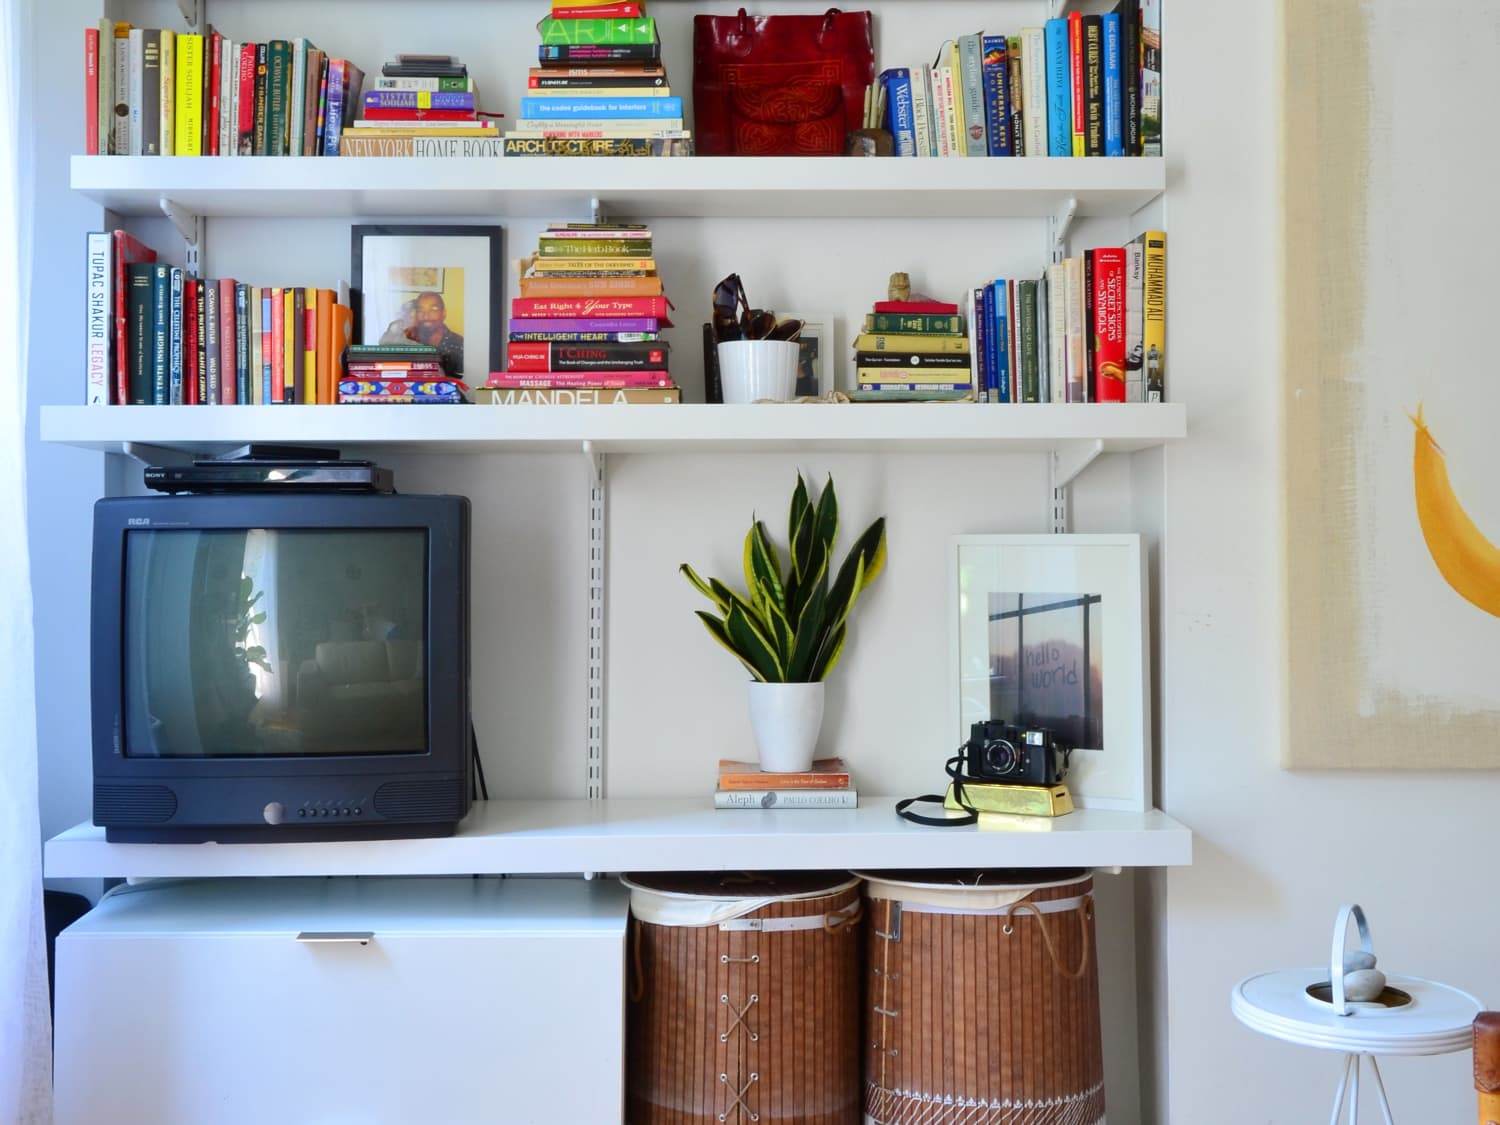
- Add decorative touches: Include decorative elements such as plants, framed photos, or stylish storage boxes to personalize your shelves and add a touch of style to your closet.
- Label and maintain: Consider labeling containers or shelves to help you identify and locate items quickly. Regularly clean and declutter your shelves to maintain an organized and tidy space.
Remember, the goal is not only to create an organized closet but also to make it visually appealing. By applying thoughtful organization techniques and incorporating personal touches, you can transform your shelves into a functional and aesthetically pleasing part of your closet.
Congratulations! You have successfully completed all the steps to create custom shelves for your closet. Enjoy your newly organized space and revel in the convenience and satisfaction that comes with a well-designed storage solution!
If you enjoyed this project, consider applying your newfound skills to other areas of your home to enhance organization and maximize space.
That concludes our guide on how to make shelves for your closet. We hope this step-by-step process has been helpful and that you’re now inspired to create additional storage solutions throughout your home. Happy organizing!
Please note: It is important to follow all necessary safety precautions while working with tools and materials. Always wear protective gear, use tools properly, and consult instructional guides or professionals if needed.
Conclusion
Creating custom shelves for your closet is a rewarding and practical project that can significantly enhance the organization and functionality of your space. By following the steps outlined in this guide, you have learned how to measure the closet space, plan the shelf layout, cut the shelves to size, install the shelf brackets, attach the shelves securely, add additional supports if necessary, sand and finish the shelves, and finally, organize and style them to suit your needs.
Having well-organized shelves in your closet allows for efficient storage of clothes, shoes, accessories, and other items. You’ll no longer have to sift through piles of items or struggle to find what you need. Instead, everything will have its designated place, making it easier to locate and access your belongings.
Remember, functional storage solutions can also contribute to the overall aesthetic of your closet. By adding decorative elements and incorporating your personal style into the organization process, you can create a visually pleasing and inviting space.
As you embark on this DIY project, don’t forget to prioritize safety. Always use appropriate tools and equipment, and follow instructions carefully. If you’re not comfortable with certain tasks, consider seeking assistance from a professional.
Now that you have the knowledge and skills to make shelves for your closet, why stop there? Apply these techniques to other areas of your home and enhance the organization and functionality throughout. Custom shelves can be useful in linen closets, pantries, home offices, and more.
Enjoy the satisfaction of an organized closet and the convenience it brings to your daily life. Happy organizing!
Please note: The suggestions and instructions provided in this guide are intended for informational purposes only. Use your discretion and consult professional help if needed when undertaking any DIY projects.
Frequently Asked Questions about How To Make Shelves For Closet
Was this page helpful?
At Storables.com, we guarantee accurate and reliable information. Our content, validated by Expert Board Contributors, is crafted following stringent Editorial Policies. We're committed to providing you with well-researched, expert-backed insights for all your informational needs.
0 thoughts on “How To Make Shelves For Closet”