Home>Ideas and Tips>Upgrading Your Home’s Exterior With DIY Landscape Uplighting
Ideas and Tips
Upgrading Your Home’s Exterior With DIY Landscape Uplighting
Published: September 20, 2024
Enhance your home's curb appeal with DIY landscape uplighting. Learn how to plan, install, and maintain a stunning exterior lighting system.
(Many of the links in this article redirect to a specific reviewed product. Your purchase of these products through affiliate links helps to generate commission for Storables.com, at no extra cost. Learn more)
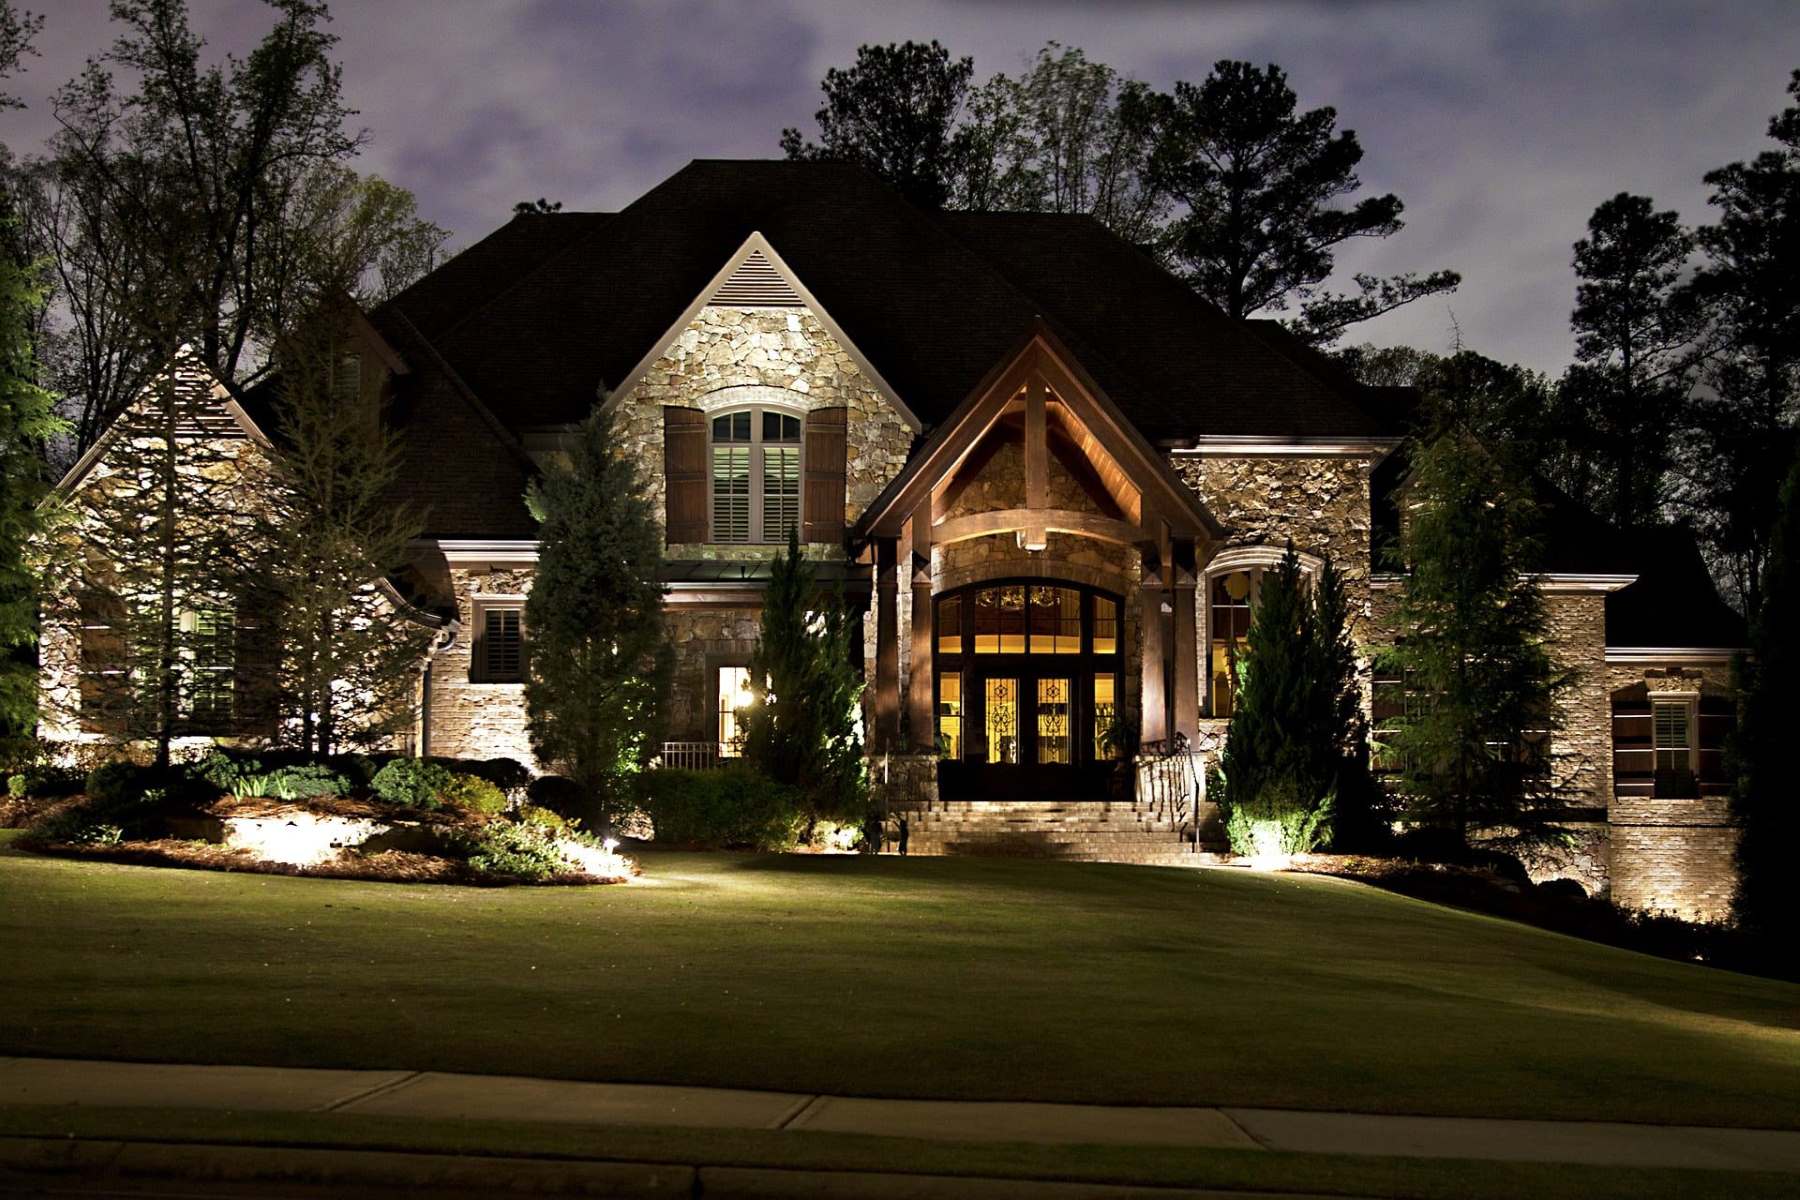
Landscape uplighting is a simple yet effective way to enhance the curb appeal and ambiance of your home. By strategically placing lights to highlight architectural features, trees, and other landscape elements, you can create a beautiful and inviting exterior that extends your living space into the night. In this article, we will guide you through the process of installing DIY landscape uplighting, covering everything from planning and preparation to the actual installation and maintenance.
Understanding Landscape Uplighting
Landscape uplighting involves more than just placing a few lights around your yard. The goal is to create a balanced, aesthetically pleasing nighttime environment that showcases your property's best features. Modern landscape lighting systems typically use low-voltage power, which is safer and more cost-effective than traditional 120-volt systems. Low-voltage systems operate on 12 volts, stepped down from your home's standard electrical supply using a transformer.
Benefits of Low-Voltage Systems
- Safety: Low-voltage systems are significantly safer than high-voltage systems, reducing the risk of electrical shock.
- Cost-Effectiveness: They are generally less expensive to install and maintain.
- Flexibility: Low-voltage systems offer greater flexibility in design, allowing for a wide range of lighting effects from subtle washes of light to dramatic spotlighting.
Planning Your Landscape Uplighting Design
Effective landscape uplighting design requires careful planning and consideration of your property's unique features. A well-thought-out plan will ensure that your lighting enhances your home's architecture, highlights key landscape elements, and creates the desired ambiance.
Mapping Out Your Exterior Lights
- Create a Detailed Map: Begin by creating a detailed map of your property, including your home, pathways, trees, and key landscape features. This map will serve as your blueprint for placing lights.
- Identify Key Areas: Determine the areas you want to highlight and the effects you want to achieve. For example, you might want to illuminate architectural features like columns or eaves, or highlight specific trees or garden beds.
- Consider Spacing: Mark Piantedosi, owner of Commonwealth Landscape Lighting, recommends placing fixtures no closer than 20 feet apart. This ensures that you have pools of light to guide your eye from one plant to the next, rather than continuous illumination.
Choosing the Right Fixtures
When selecting landscape lighting fixtures, consider the type of lighting you need and the style of your home. Here are some common types of fixtures:
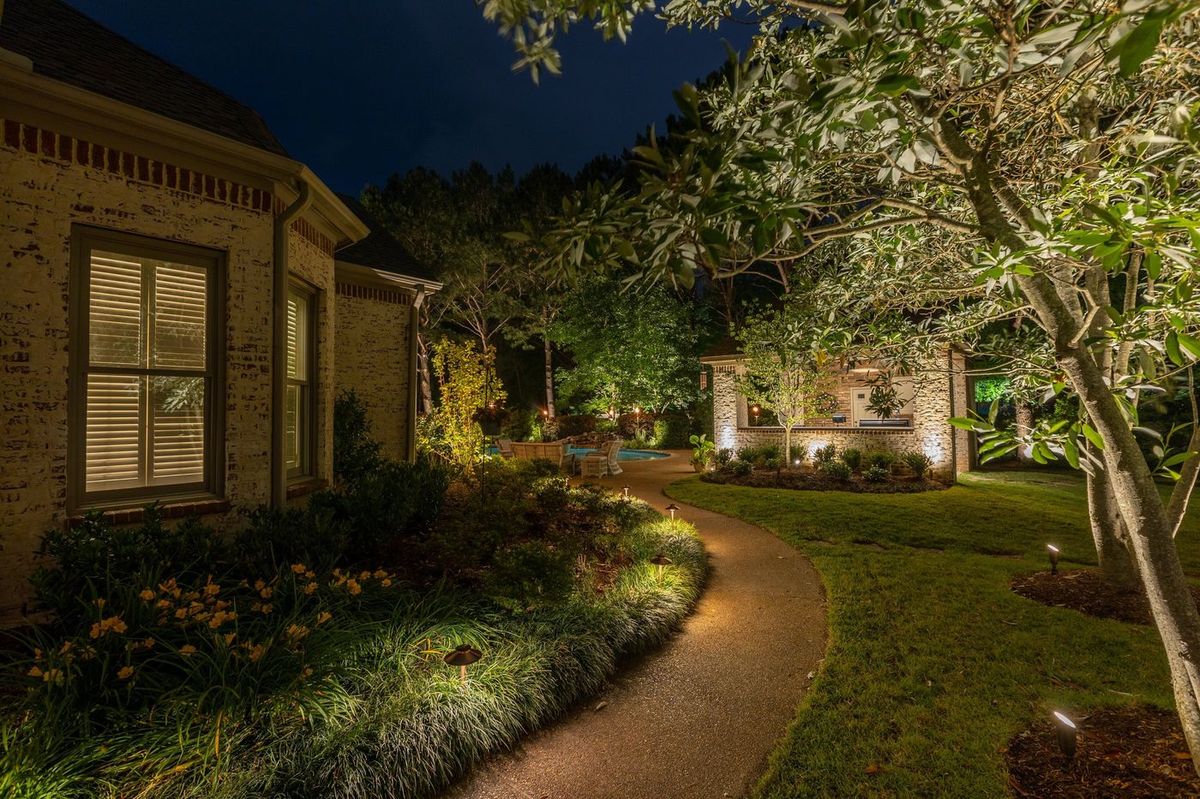
- Path Lights: These direct the light downward for safety along walkways.
- Deck Lights: These can be wired into deck stairs or railings.
- Up/Spot Lights: These are ideal for trees and larger bushes, or even a flag on the house or in the yard.
- Flood Lights: These are used to wash the house exterior with light.
- Well Lights: These provide soft ambient lighting in garden beds.
Tips for Choosing Fixtures
- Avoid Overlighting: Too many lights can decrease the custom look that these add, so start with a few and then add more if needed.
- Consider Quality: While inexpensive systems might be tempting, they often come with lower quality fixtures that may not last long.
- Check Compatibility: Ensure that the fixtures you choose are compatible with your power pack and wiring system.
Gathering Materials
To install your DIY landscape uplighting system, you will need the following materials:
- Lights Themselves: Path lights, up/spot lights, flood lights, and well lights.
- Power Pack: A transformer that steps down your home's electrical supply to 12 volts.
- Wire: Low-voltage wire in the appropriate gauge for your system.
- Connectors: No-splice connectors for easy wiring.
- Mounting Hardware: Stakes or clips to secure the lights in place.
Tips for Selecting Materials
- Power Pack Size: Determine the size of your power pack based on the total wattage of your lights. A general rule of thumb is to choose a power pack that will hold more than you think you'll need, just in case you add more fixtures later.
- Wire Gauge: Choose the appropriate gauge of wire for your system. Thicker wire is needed for higher wattage systems, while thinner wire is sufficient for lower wattage systems.
Installing Your Landscape Uplighting System
Installing your DIY landscape uplighting system is a straightforward process that requires minimal electrical knowledge. Here’s a step-by-step guide:
Step 1: Assemble Your Lights
- Pathway Lights: These are often pre-assembled but may require connecting the LED bulb inside the stem. Simply twist on the neck piece and then the glass cover to protect everything from the elements.
- Spot Lights: These are also pre-assembled and require only inserting the 7-watt LED bulb inside. Twist the housing back together, ensuring the spring stays in place.
Step 2: Lay Out Your Light Fixtures
- Plan Your Layout: Before installing, lay out all of the light fixtures where they will be placed. This allows you to step back and take a look at your landscape lighting design in real time, making any necessary adjustments.
- Consider Placement: Think about where you want to place each fixture to achieve the desired effect. For example, up/spot lights should be placed near trees or bushes to highlight them effectively.
Step 3: Connect Your Lights
- Connect to Power Pack: Connect each light fixture to the power pack using no-splice connectors. This makes wiring simple and safe.
- Hide Wires: Hide the wire along the house or in mulch to keep it out of sight and avoid tripping hazards.
Step 4: Secure Your Lights
- Use Mounting Hardware: Use stakes or clips to secure the lights in place. This ensures they remain stable and do not get knocked over by wind or pets.
Tips for Maintenance and Troubleshooting
While DIY landscape uplighting is generally easy to install and maintain, there are some potential issues to watch out for:
- Moisture: If you live in an area with high moisture levels, you may encounter corroded contacts or other issues related to water exposure.
- Bugs and Crud: Over time, bugs and crud can build up in the sockets of your lights, affecting their performance. Regular cleaning can help prevent this.
- Damage from External Factors: Be aware that external factors like delivery trucks or pets can damage your fixtures. Consider using durable materials and securing them properly.
Advanced Design Techniques
While basic installation is straightforward, advanced design techniques can elevate your landscape uplighting system to the next level:
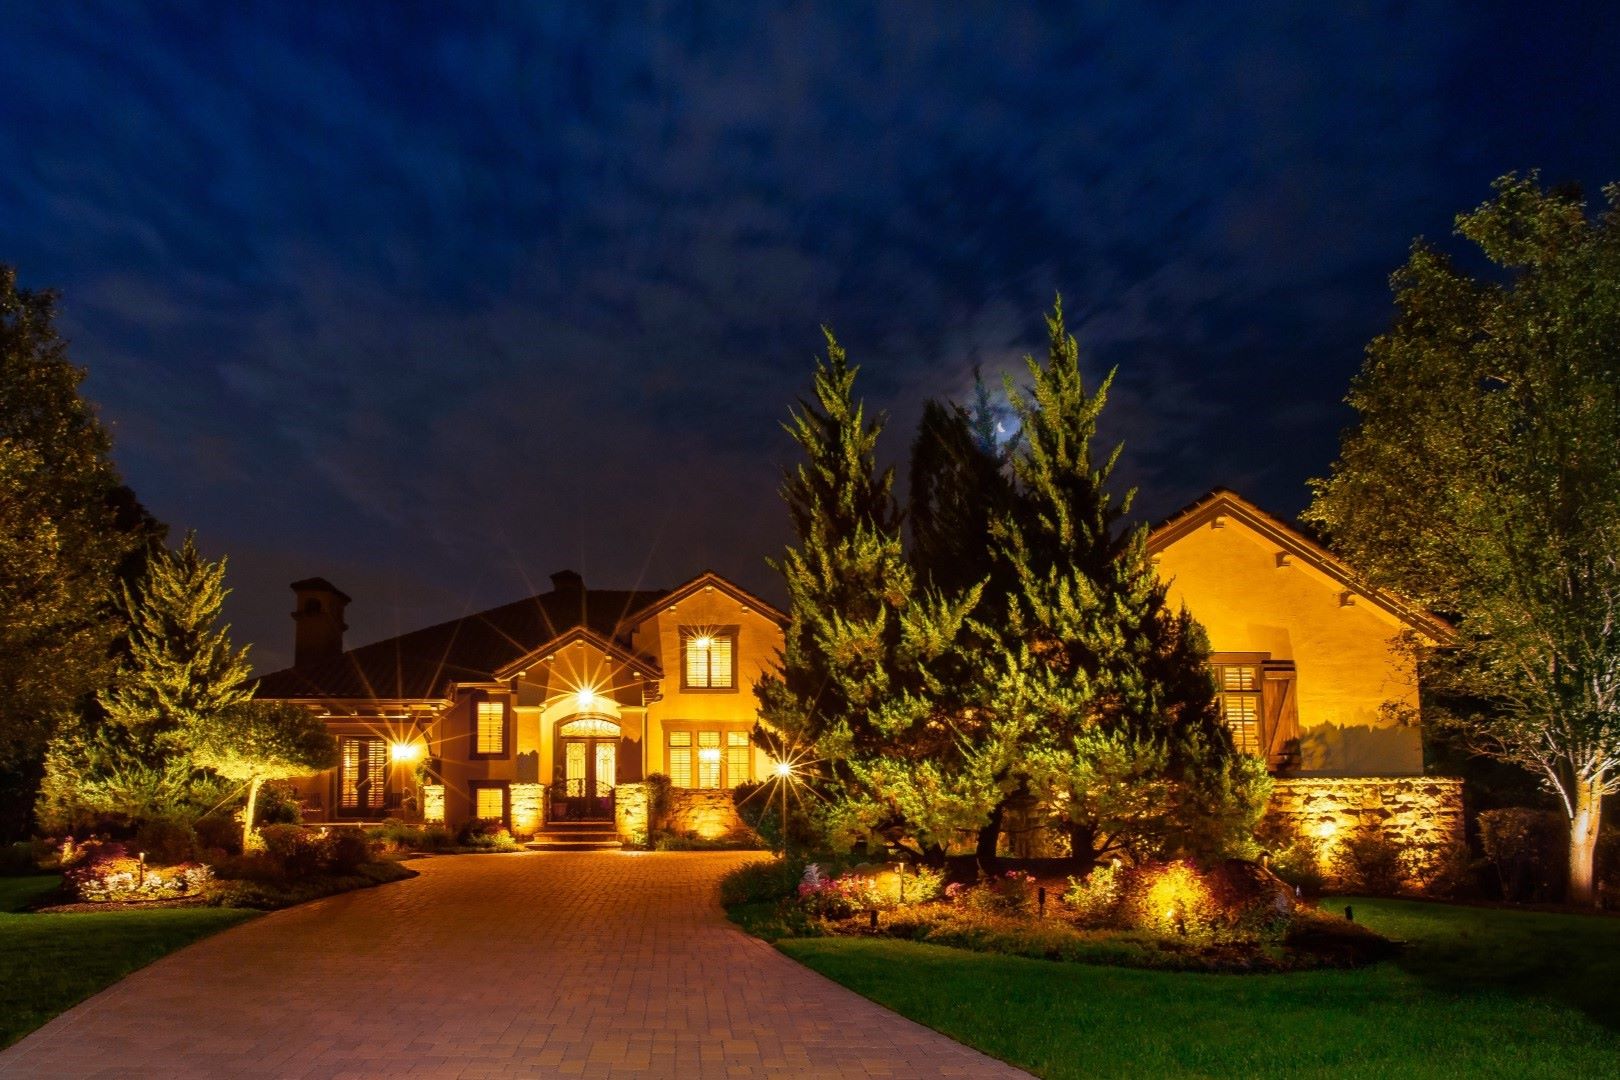
- Layered Lighting: Use a combination of focused beams on key features with softer wash lighting to fill in the spaces between. This layered approach adds depth and dimension to your home’s nighttime appearance.
- Highlighting Architectural Features: Fit bullet lights with bulbs that have 12-degree beam spreads, aiming them at corners of your house or architectural details. Use softer wash lights to fill in the space between these focused beams.
- Illuminating Pathways and Driveways: Use path lights spaced about six to eight feet apart to guide visitors safely to your door. For driveways, consider using a combination of downlighting from nearby trees and low-level path lights along the edges.
Conclusion
Upgrading your home's exterior with DIY landscape uplighting is a rewarding project that can significantly enhance both the curb appeal and ambiance of your property. By following these steps and tips, you can create a beautiful nighttime display that showcases your home's best features without requiring extensive electrical knowledge. Remember to plan carefully, choose high-quality materials, and maintain your system regularly to ensure it continues to look its best over time.
Whether you're looking to highlight architectural details, illuminate pathways, or simply add some warmth and security to your home's exterior, DIY landscape uplighting is an excellent choice for homeowners who want to make a lasting impression without breaking the bank. So why let the darkness disappear at nightfall? With a flick of a switch and some strategically placed landscape lighting, you can roll back the shadows and put it all on display.
Was this page helpful?
At Storables.com, we guarantee accurate and reliable information. Our content, validated by Expert Board Contributors, is crafted following stringent Editorial Policies. We're committed to providing you with well-researched, expert-backed insights for all your informational needs.


0 thoughts on “Upgrading Your Home’s Exterior With DIY Landscape Uplighting”