Articles
How To Frame Garage Door
Modified: August 22, 2024
Learn the step-by-step process of framing a garage door with our informative articles. Achieve a professional and sturdy finish for your garage project.
(Many of the links in this article redirect to a specific reviewed product. Your purchase of these products through affiliate links helps to generate commission for Storables.com, at no extra cost. Learn more)
Introduction
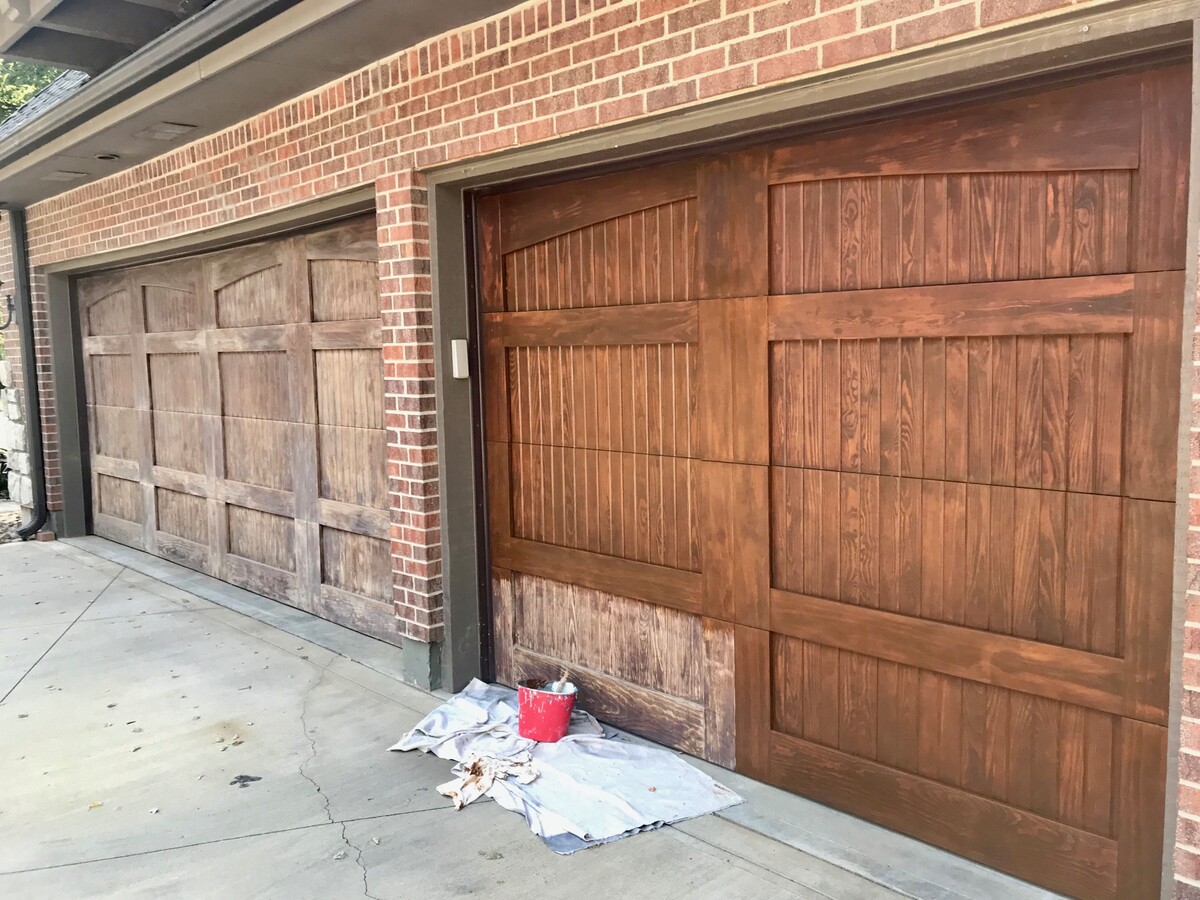
Building a garage is an exciting project that allows you to add valuable space to your property while providing a safe and secure place to store your vehicles and belongings. An essential component of any garage is the garage door, and properly framing the door is crucial for its functionality and stability.
In this article, we will guide you through the step-by-step process of framing a garage door. Whether you are a seasoned DIY enthusiast or a beginner looking to tackle your first big project, this guide will provide you with all the information you need to successfully frame your garage door.
Before we dive into the nitty-gritty details, let’s take a quick look at the materials you will need for this project.
Key Takeaways:
- Properly framing a garage door is crucial for stability and functionality. By following the step-by-step process and using the right materials, DIY enthusiasts can achieve professional results and create a secure space for their vehicles and belongings.
- Thoroughly checking and adjusting the garage door after installation is essential for optimal functionality and longevity. Regular maintenance, attention to detail, and safety precautions will ensure a reliable and visually appealing garage door for years to come.
Read more: How To Store Framed Pictures In Garage
Materials Needed
Before you begin framing your garage door, gather the following materials:
- Pressure-treated lumber: You will need 2×4 or 2×6 pressure-treated lumber to create the frame. The exact amount required will depend on the size of your garage door.
- Nails: Choose galvanized or exterior-grade nails that are long enough to securely fasten the lumber together.
- Screws: Use deck screws to attach the frame to the garage walls.
- Level: A carpenter’s level will help ensure that the frame is straight and level.
- Measuring tape: Accurate measurements are essential for properly framing the garage door. A measuring tape will be necessary to mark and measure the lumber.
- Saw: You will need a saw to cut the pressure-treated lumber to the appropriate lengths.
- Hammer: A hammer will be used to drive in nails or a pneumatic nail gun if you have one.
- Protective gear: Safety should always be a priority. Wear goggles, gloves, and appropriate clothing to protect yourself while working.
Now that you have the necessary materials, let’s get started with the framing process.
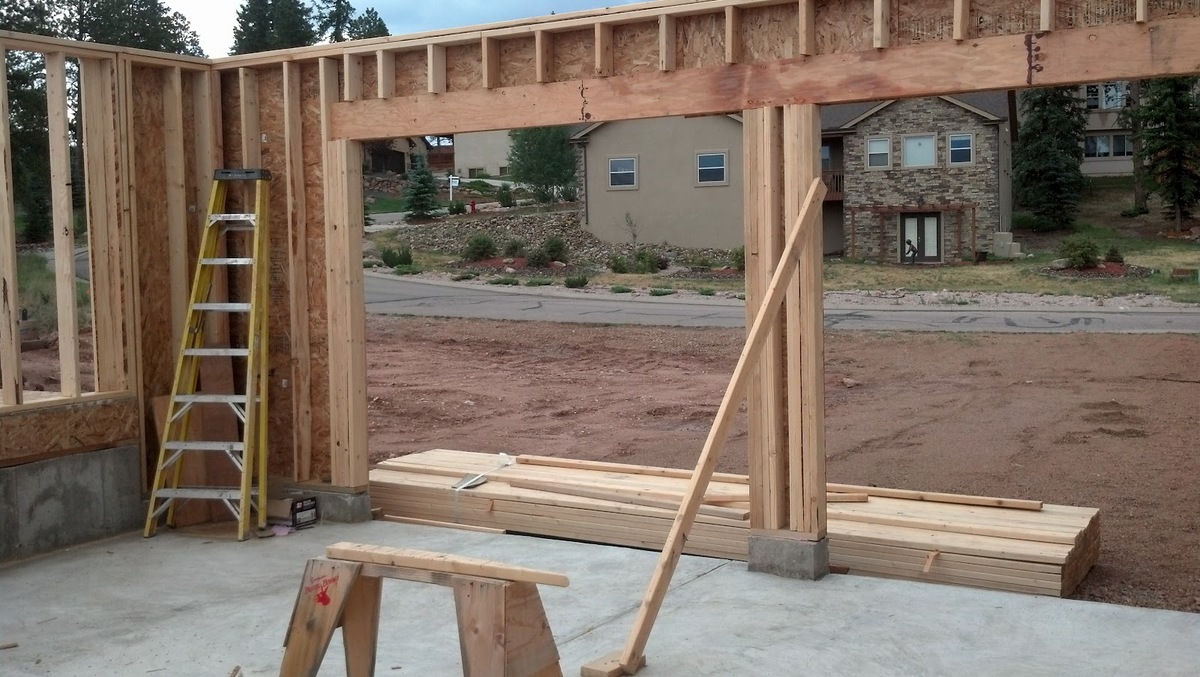
Step 1: Measure and Mark
The first step in framing your garage door is to accurately measure and mark the location for the frame. Begin by determining the height and width of the garage door that you want to install.
Using a measuring tape, measure the distance from the ground to the desired height of the bottom of the door frame. Mark this measurement on both sides of the garage opening, ensuring that the marks are level with each other.
Next, measure the width of the garage door and mark the center point on the header, which is the horizontal beam above the opening. This will help you properly align the frame with the center of the garage opening.
Measure and mark the vertical locations of the side jambs, which are the vertical supports for the frame. It is recommended to leave a small gap between the jambs and the opening to allow for smooth operation of the door.
Double-check all your measurements and marks to ensure accuracy before moving on to the next step. Taking the time to measure properly at the beginning will save you headaches and potential issues later in the process.
Once you are satisfied with your measurements and marks, you are ready to move on to cutting the lumber for the frame.
Step 2: Cut the Lumber
With your measurements and marks in place, it’s time to cut the pressure-treated lumber to the appropriate lengths. Remember to wear protective gear, such as goggles and gloves, while using the saw.
Start by cutting two pieces of lumber for the side jambs. These pieces should be the height of the garage door, plus any additional space you want to leave above the door for installation purposes. Using a saw, make straight and precise cuts.
Next, cut another piece of lumber for the header. This piece should match the width of the garage door. Take care to make accurate cuts to ensure a tight fit.
Finally, cut two additional pieces of lumber for the trimmers. These pieces will be attached vertically on each side of the door opening to provide additional support. Cut them to the same height as the side jambs.
While cutting the lumber, keep in mind that it is always better to cut longer pieces at first. You can always trim them down later if needed, but making them too short initially can lead to fitment issues and added frustration.
Once you have all the pieces cut to the correct measurements, it’s time to assemble the frame.
Step 3: Assemble the Frame
Now that you have all the necessary pieces of lumber cut to the correct measurements, it’s time to assemble the frame for your garage door. Follow these steps to ensure a sturdy and properly aligned frame:
- Start by laying the header piece on a flat surface, such as the garage floor or a workbench.
- Take the two side jambs and position them vertically on each end of the header. Ensure that the edges are flush and the corners are squared.
- Depending on the size of your garage door, you may need to add additional pieces of lumber, known as cripples, in between the header and the side jambs for added support. Cut and insert these pieces as needed.
- Once everything is aligned, use nails or screws to fasten the side jambs to the header and cripples. Make sure to countersink the screws or drive the nails flush with the surface to prevent any interference with the garage door installation.
- Next, attach the trimmers to the inside edges of the side jambs. Use nails or screws to secure them in place, ensuring they are vertically aligned.
- Double-check the frame for any signs of warping or misalignment. Make any necessary adjustments before moving on to the next step.
Assembling the frame is a critical step, as it provides the structural integrity and stability for your garage door. Take your time to ensure accurate measurements and precise alignment.
Once the frame is assembled, it’s time to install it in the garage opening.
When framing a garage door, ensure that the header is properly supported with jack studs and that the opening is square and level to ensure smooth operation of the door.
Read more: How To Frame A Closet Door
Step 4: Install the Frame
With the frame assembled, it’s time to install it in the garage opening. Follow these steps to properly secure the frame:
- Position the frame in the garage opening, making sure it is centered and level with the marks you made earlier.
- Use a level to ensure that the frame is plumb and straight. Adjust as necessary by tapping the frame with a hammer or using shims to achieve the proper alignment.
- Once the frame is level, secure it to the garage walls. Predrill pilot holes through the side jambs and into the wall studs.
- Use deck screws to attach the frame to the walls, making sure to drive the screws flush with the surface of the lumber.
- Continue securing the frame, placing screws approximately every 16 inches to ensure stability.
- Double-check the frame for any signs of movement or instability. Make any necessary adjustments and reinforcements to ensure a secure installation.
Properly installing the frame will provide a solid foundation for your garage door and ensure its smooth operation. Take your time during this step to ensure accuracy and stability.
Now that the frame is securely installed, it’s time to move on to attaching the garage door.
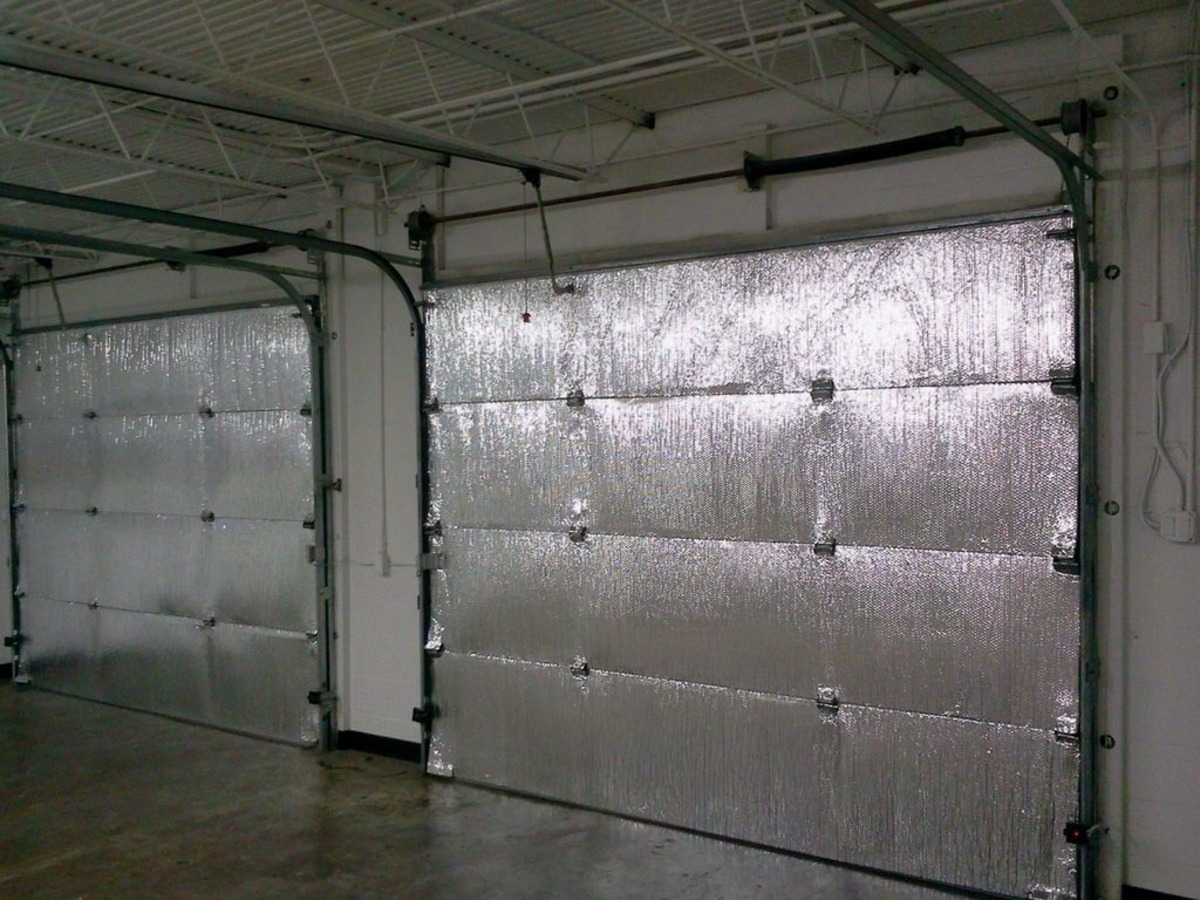
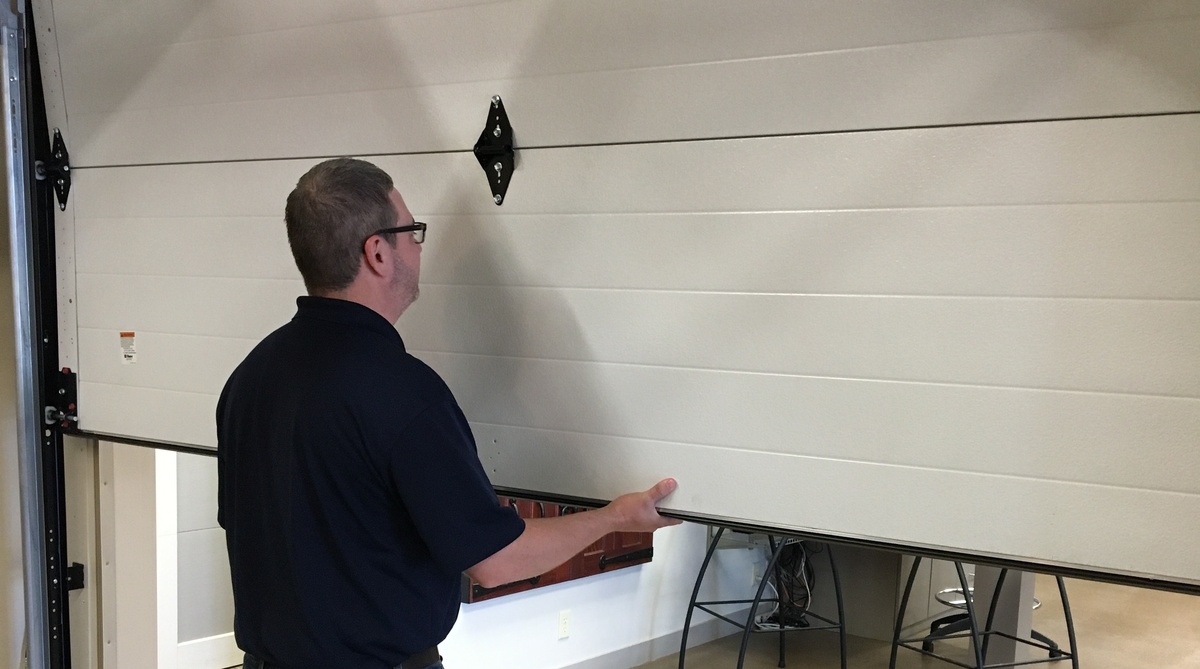
Step 5: Attach the Garage Door
Now that the frame is securely installed, it’s time to attach the garage door. Follow these steps to properly install the door:
- Begin by positioning the garage door in the opening, making sure it is centered and level.
- Attach the hinges to the top panel of the garage door according to the manufacturer’s instructions. These hinges will allow the door to smoothly open and close.
- With the help of a friend or family member, carefully lift the garage door and place it on the track. Ensure that the rollers align with the track and that they move smoothly along it.
- Install the vertical and horizontal tracks on each side of the door, securing them to the frame with the provided hardware.
- Attach any additional panels to complete the height of the garage door, making sure they are properly aligned and connected.
- Check the alignment of the garage door by opening and closing it several times. Make any necessary adjustments to ensure smooth and proper operation.
Attaching the garage door may require the assistance of another person due to the weight and size of the door. Take your time during this step to align the door properly and ensure its smooth operation.
Now that the garage door is attached, it’s time to move on to the final step of the process.
Step 6: Check and Adjust
After completing the installation of the garage door, it’s important to thoroughly check and adjust the door to ensure optimal functionality. Follow these steps to make any necessary adjustments:
- Open and close the garage door several times to test its operation. Pay attention to any unusual sounds, jerking movements, or improper alignment.
- If the door is not operating smoothly or is misaligned, you may need to adjust the tension of the springs. Consult the manufacturer’s instructions or seek professional assistance for spring adjustment.
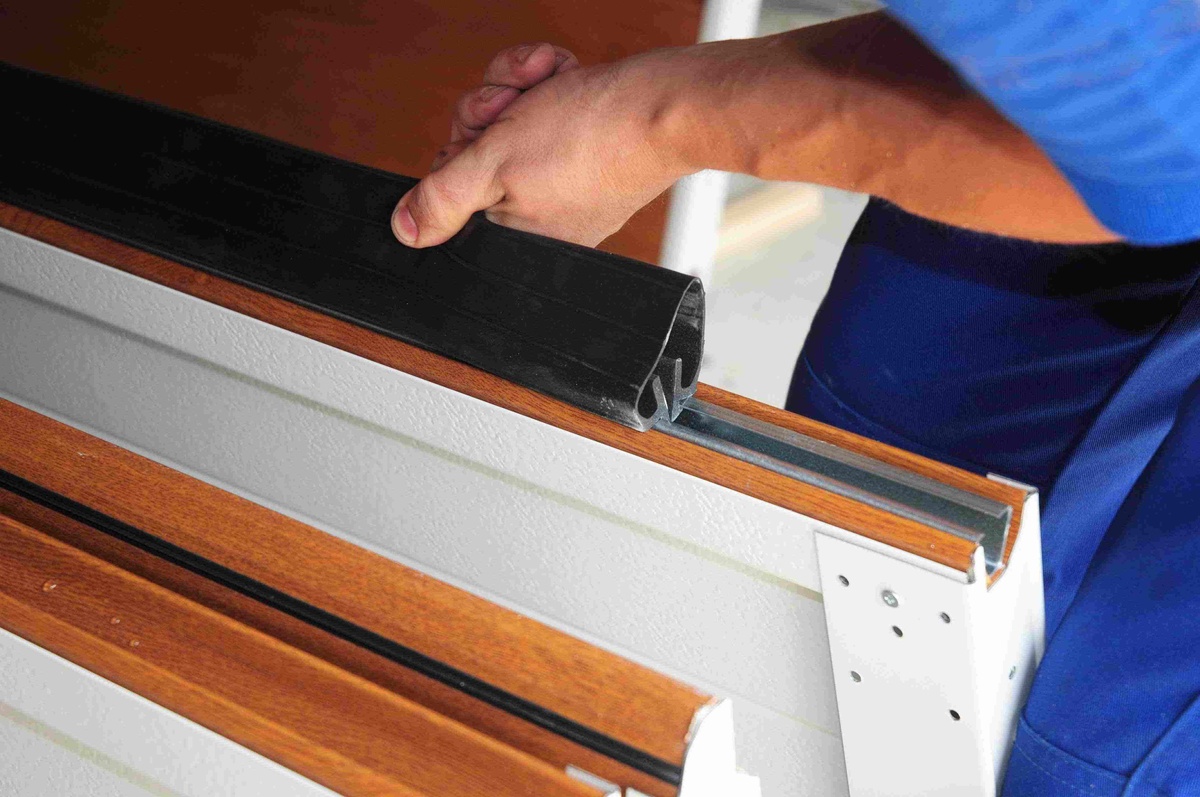
- Check the weatherstripping along the bottom of the garage door to ensure a tight seal. Replace any damaged or worn weatherstripping.
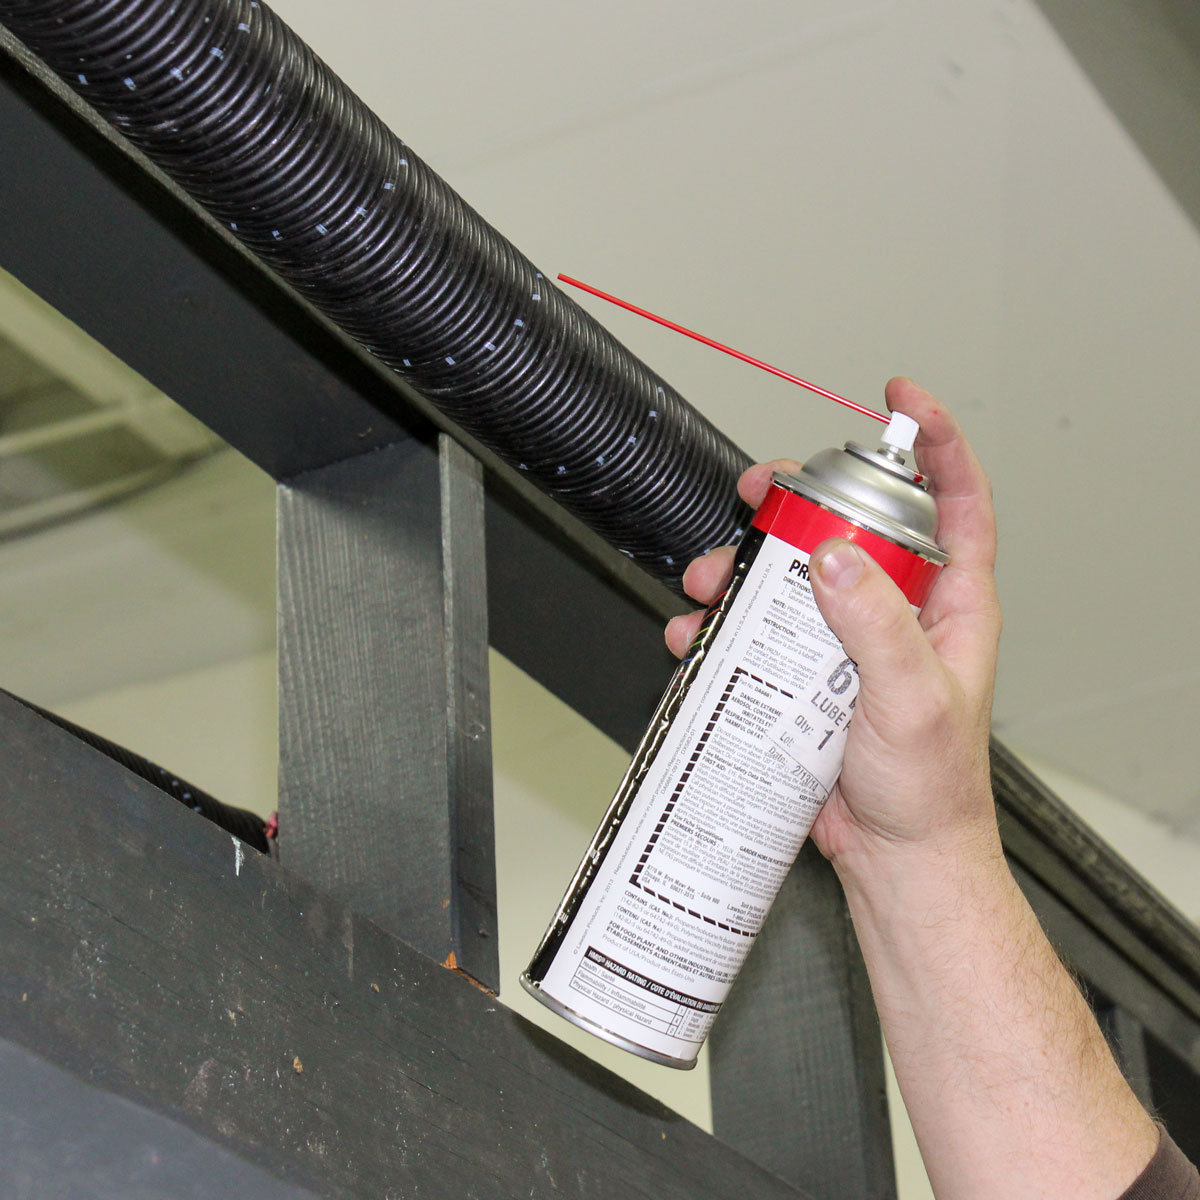
- Inspect all hinges, rollers, and tracks for any signs of wear or damage. Lubricate any moving parts with a silicone-based garage door lubricant.
- Use a level to check the alignment of the garage door. Adjust the track and roller brackets as necessary for proper alignment.
- Make any additional adjustments or repairs as needed to ensure the garage door operates smoothly and securely.
By thoroughly checking and adjusting the garage door, you can address any potential issues early on and ensure its longevity and proper functioning.
Congratulations! You have successfully framed and installed your garage door. With proper maintenance and care, your garage door will serve you reliably for many years to come.
Conclusion
Framing a garage door is an essential step in the construction process. By following the steps outlined in this guide, you can successfully frame and install your garage door, creating a secure and functional space for your vehicles and belongings.
Remember to take accurate measurements, use the proper materials, and follow all safety precautions throughout the process. Whether you’re a seasoned DIY enthusiast or tackling your first big project, with a little patience and attention to detail, you can achieve professional results.
Properly framing a garage door ensures its stability, alignment, and smooth operation. By assembling the frame correctly, installing it securely, and attaching the garage door with precision, you can enjoy a functional and visually appealing garage door for years to come.
Don’t forget to regularly check and maintain your garage door to ensure optimal performance. Lubricate moving parts, inspect for wear and tear, and address any issues promptly to avoid long-term damage or safety hazards.
Now that you have learned how to frame a garage door, you can confidently embark on your garage construction project or tackle any necessary repairs or upgrades. Enjoy the benefits of a well-framed garage door and the convenience it brings to your everyday life.
Happy framing!
Frequently Asked Questions about How To Frame Garage Door
Was this page helpful?
At Storables.com, we guarantee accurate and reliable information. Our content, validated by Expert Board Contributors, is crafted following stringent Editorial Policies. We're committed to providing you with well-researched, expert-backed insights for all your informational needs.


0 thoughts on “How To Frame Garage Door”