Home>Ideas and Tips>Upgrading Your Home’s Exterior With DIY Passive Solar Heating System
Ideas and Tips
Upgrading Your Home’s Exterior With DIY Passive Solar Heating System
Modified: October 20, 2024
Upgrade your home's exterior with a DIY passive solar heating system. Learn how to reduce energy costs and stay warm sustainably.
(Many of the links in this article redirect to a specific reviewed product. Your purchase of these products through affiliate links helps to generate commission for Storables.com, at no extra cost. Learn more)
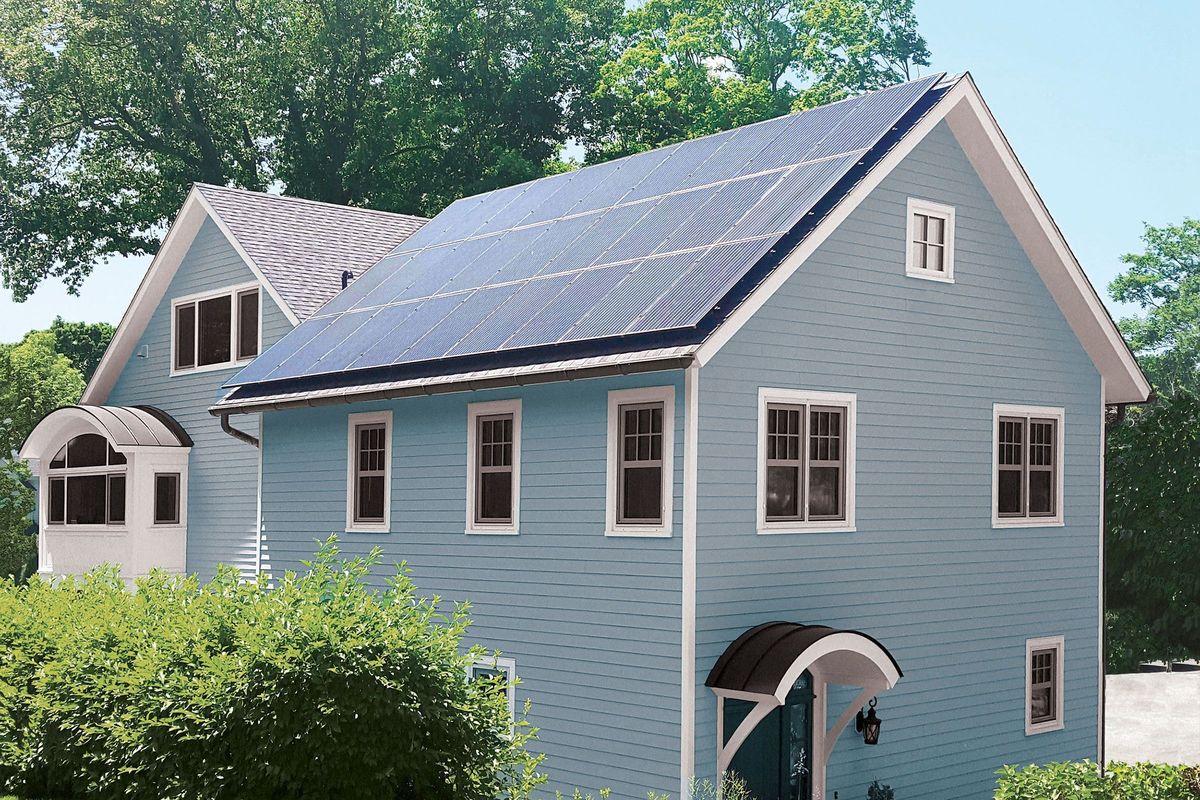
Upgrading your home's exterior with a DIY passive solar heating system is a fantastic way to save on energy bills and make your home more eco-friendly. But how does it work, and what do you need to get started? Let's dive in and find out.
Understanding Passive Solar Heating
Passive solar heating uses the sun's energy to heat your home naturally. Unlike active solar systems that need mechanical parts to move the heated air, passive systems rely on natural convection and insulation. This means fewer moving parts, less maintenance, and a more straightforward setup. It's especially effective in sunny regions, where you can harness the sun's power to keep your home warm without extra heating sources.
Key Principles
- Orientation: Your solar collector should face south to get the most sunlight.
- Insulation: Good insulation helps keep the heat inside. Use materials like foam boards or plywood with aluminum foil.
- Air Flow: Design your system to allow natural air flow. Cold air should enter the collector, and hot air should be expelled.
- Materials: Choose materials wisely. Glass, polycarbonate panels, and recycled items like beer cans work well.
DIY Solar Air Heater
A popular DIY project for passive solar heating is the solar air heater. This system captures sunlight and turns it into heat, which then circulates through your home using natural convection.
Materials Needed
- Steel Drip Edge Roof Flashing: Provides the framework for your collector.
- Glass or Polycarbonate Panel: Acts as the glazing material, letting sunlight in.
- Insulation (Optional): Improves efficiency.
- Solar-Powered Fan: Draws out the heated air.
- Wooden Frame: Holds everything together.
- Adhesives and Fasteners: Liquid nails, roofing nails, and RTV silicone for assembly.
Step-by-Step Instructions
-
Prepare the Frame:
- Cut four pieces of pressure-treated lumber to create a rectangular frame, each side 8 feet long.
- Assemble the frame using screws or nails.
-
Add Glazing Material:
- Cut the polycarbonate panel to fit inside the frame. Secure it with roofing nails and special screws.
-
Create Air Channels:
- Cut 7 lengths of steel drip edge roof flashing, each dual-faceted to create multiple air channels.
- Place these slats inside the collector, ensuring even spacing.
-
Add Insulation (Optional):
- Insulate the back of the collector with foam boards or plywood with aluminum foil.
-
Install Solar-Powered Fan:
- Attach a small solar-powered fan at the top of the collector. It should activate in sunlight and shut off when no heating occurs.
-
Finish and Paint:
- Glue down all components with liquid nails.
- Paint the unit matte black to maximize sunlight absorption.
-
Test and Adjust:
- Install your solar air heater in a south-facing window or wall.
- Monitor temperatures and adjust as needed.
Example Project
A YouTube video shows a DIY solar air heater using 7 lengths of 2×2 steel drip edge roof flashing. Each slat is dual-faceted, creating both closed and open air channels. Sunlight enters through glass, heating the black steel flashing. A small solar-powered fan at the top draws out the hot air, only activating in sunlight. The video shows impressive results with output air temperatures reaching up to 160°F (74°C).
Passive Solar Heater Window Unit
Another effective DIY project is the passive solar heater window unit. This design uses the thermosiphon effect to pull in room temperature air while expelling hot air into the room.
Materials Needed
- Poly ISO Boards: Sheets with aluminum foil on one side for insulation.
- Polycarbonate Roofing Material: Serves as the glazing component.
- Window Screen: Black or charcoal-colored screen helps filter UV rays and maintain air flow.
- Flat Black Paint: For absorbing sunlight.
- Roofing Nails & RTV Silicone: For assembling the frame.
- Special Screws & Plywood: For securing polycarbonate panels and additional insulation.
Step-by-Step Instructions
-
Prepare Frame:
- Cut two pieces of pressure-treated lumber (1x6x12) to create an 8-foot long side and a 24-inch long side.
-
Assemble Box:
- Use roofing nails to secure sides together, forming an enclosed box with an angled end towards the house.
-
Add Insulation & Glazing:
- Cut solar board (plywood with aluminum foil) into strips and place them inside the box for additional insulation.
- Secure polycarbonate roofing material with special screws.
-
Install Air Inlets & Outlets:
- Cut small holes at both ends of the box for air flow. The bottom inlet should be larger than the top outlet.
-
Finish & Paint:
- Apply flat black paint on all surfaces to maximize sunlight absorption.
- Secure window screen at the bottom with trim pieces if desired.
-
Test & Install:
- Place this passive solar heater in a south-facing window or wall.
- Monitor temperatures and adjust as needed.
Example Project
A YouTube video shows how to build a passive thermal solar collector using materials like poly ISO boards, polycarbonate roofing material, and window screen. The collector collects warmth from sunlight and brings it into your house or garage without drilling holes or using power-hungry fans.
Recycled Material Solar Heater
For an eco-friendly approach, building a solar heater using recycled materials like beer cans is a great option.
Materials Needed
- Beer Cans: Free or low-cost cans that can be repurposed.
- Plate Glass: Two pieces of free glass for glazing.
- Frame Material: Plywood or other scrap wood.
- Vent Tubes & Caulk: For assembling the frame.
- Brown Paint & Spray Paint: For aesthetic purposes.
Step-by-Step Instructions
-
Prepare Frame:
- Cut plywood into desired shapes to create a frame around your glass pieces.
-
Assemble Frame:
- Use caulk and vent tubes to secure all pieces together, ensuring no air flow gaps exist.
-
Install Glass Pieces:
- Place plate glass inside each frame piece carefully ensuring no damage occurs during handling.
-
Add Ventilation System:
- Install an upper vent tube connected directly above one end of each glass piece allowing hot air escape while cold enters from bottom end via another tube placed below each glass piece ensuring proper circulation throughout system throughout day time hours when sun shines brightly outside windows/doors etc…
-
Finish & Paint:
- Apply brown paint over entire structure giving it rustic look while also protecting materials from weather conditions like rain/snow etc…
- Use spray paint adding final touches making sure everything looks neat tidy before final installation phase begins…
-
Test & Install:
- Place this recycled material solar heater near south-facing window wall ensuring maximum exposure direct sunlight throughout day time hours when needed most especially during colder months when temperatures drop significantly outside making indoor spaces feel cozy warm inviting everyone inside enjoying warmth comfort provided by this simple yet effective DIY project!
Conclusion
Upgrading your home's exterior with a DIY passive solar heating system is not only cost-effective but also environmentally friendly. By leveraging natural sunlight and utilizing recycled materials, you can significantly reduce your energy consumption while maintaining a comfortable indoor temperature. Whether you choose to build a solar air heater using steel drip edge roof flashing or opt for a passive solar heater window unit made from poly ISO boards and polycarbonate roofing material, these projects are straightforward enough for anyone to undertake with basic tools and materials readily available at most hardware stores today!
Remember always follow safety guidelines when working with power tools adhesives ensuring proper ventilation during construction phase avoiding any potential hazards associated with these activities ensuring successful completion project ultimately benefiting both you family members alike enjoying warmth comfort provided by these innovative solutions years come!
Happy building
Was this page helpful?
At Storables.com, we guarantee accurate and reliable information. Our content, validated by Expert Board Contributors, is crafted following stringent Editorial Policies. We're committed to providing you with well-researched, expert-backed insights for all your informational needs.


0 thoughts on “Upgrading Your Home’s Exterior With DIY Passive Solar Heating System”