Home>Dining>Table Decor>How To Make Chippendale-Style Table Legs
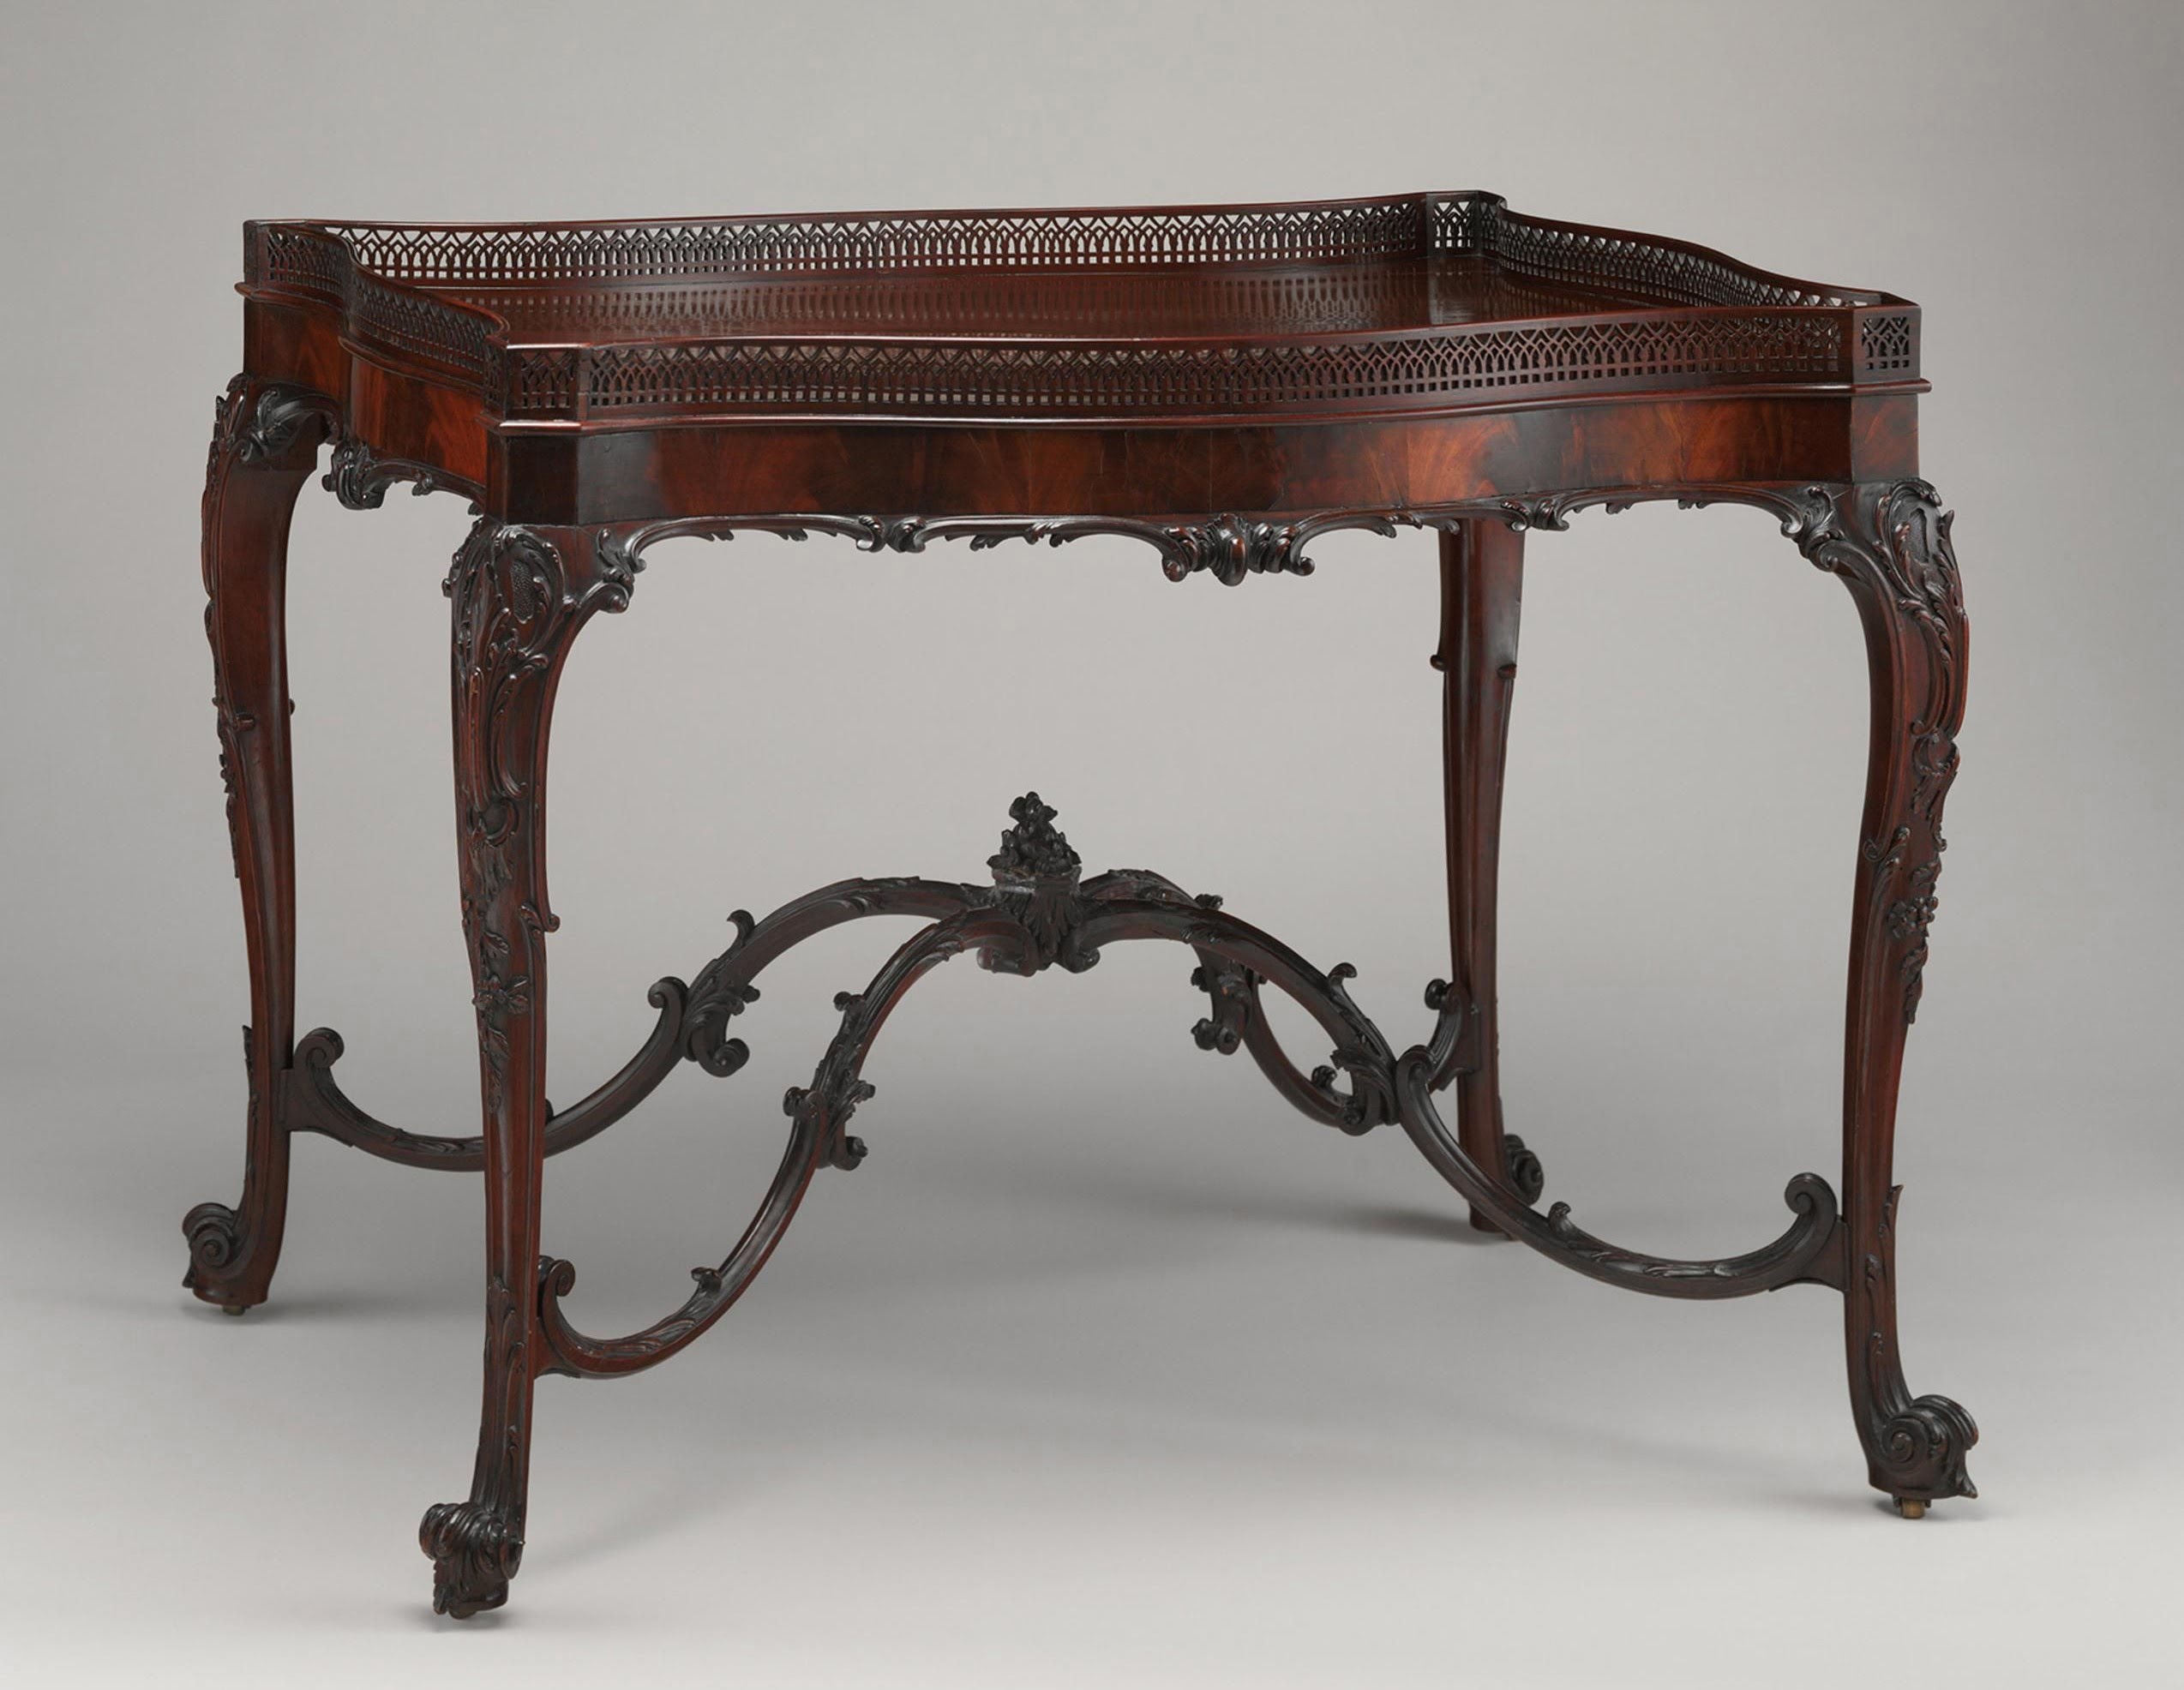
Table Decor
How To Make Chippendale-Style Table Legs
Modified: December 7, 2023
Learn how to create beautiful Chippendale-style table legs with our step-by-step guide. Elevate your table decor with this timeless and elegant design.
(Many of the links in this article redirect to a specific reviewed product. Your purchase of these products through affiliate links helps to generate commission for Storables.com, at no extra cost. Learn more)
Introduction
Welcome to the world of Chippendale-style table legs! If you’re looking to make a statement with your table or add a touch of elegance and sophistication to your space, Chippendale-style table legs are the perfect choice. With their intricate detailing and classic design, these legs can transform an ordinary table into a work of art.
In this article, we will guide you through the process of creating your own Chippendale-style table legs. Whether you’re a seasoned woodworker or a beginner looking for a new project, this step-by-step guide will provide you with the knowledge and inspiration you need to bring your vision to life.
But first, let’s take a moment to appreciate the history and beauty behind Chippendale furniture. Named after the renowned English furniture maker Thomas Chippendale, Chippendale-style furniture emerged in the 18th century and remains a popular choice among furniture enthusiasts today.
Chippendale furniture is characterized by its intricate carvings, delicate curves, and attention to detail. The signature feature of Chippendale-style table legs is their ornate motifs, which draw inspiration from various design influences such as Chinese, Gothic, and Rococo styles. These legs are often crafted from high-quality wood, such as mahogany or walnut, and can be stained or painted to complement any interior style.
Now that you have a better understanding of the beauty and significance of Chippendale-style furniture, let’s dive into the materials and tools you’ll need to get started on your own Chippendale-style table legs.
Key Takeaways:
- Elevate your table with Chippendale-style legs, exuding elegance and sophistication. Crafted from high-quality wood and intricate carvings, these legs transform any table into a work of art.
- Embrace the timeless beauty of Chippendale-style furniture by creating your own table legs. From gathering inspiration to adding decorative details, this guide empowers you to craft unique and elegant pieces for your space.
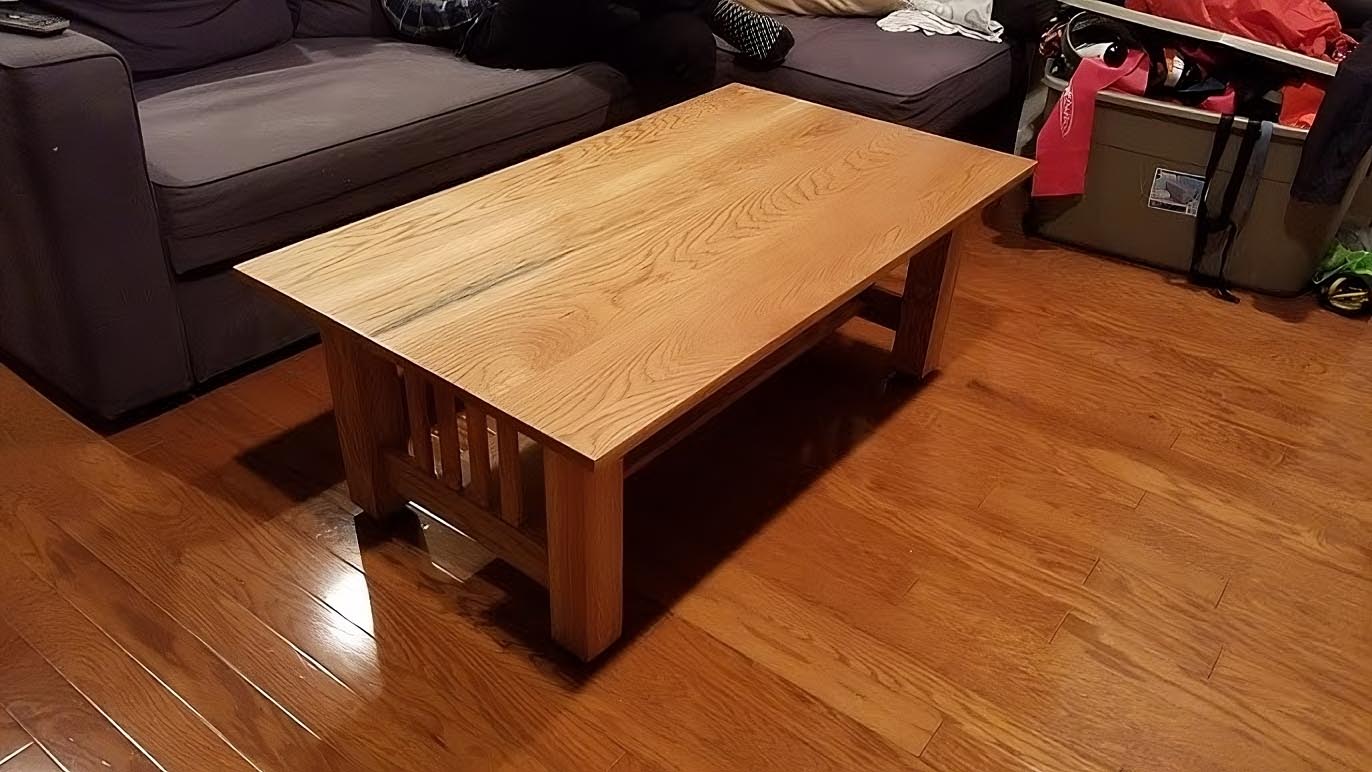
Read more: How To Attach Mission Style Table Legs
Materials and Tools Needed
Before you embark on creating your Chippendale-style table legs, it’s important to gather all the necessary materials and tools. Having everything prepared beforehand will make the process smoother and more enjoyable. Here’s a list of what you’ll need:
- Wood: Choose a high-quality wood that is suitable for your project. Mahogany and walnut are popular choices for Chippendale-style furniture due to their durability and rich color.
- Measuring tape: Accurate measurements are vital for creating well-proportioned table legs. Invest in a reliable measuring tape to ensure precision.
- Saw: A saw is essential for cutting the wood to the desired length and shape. Choose a saw that is appropriate for your skill level and project requirements.
- Drill: You’ll need a drill to create holes for screws or dowels, depending on the construction method you choose for attaching the legs to the table.
- Chisel: A chisel will come in handy for carving intricate details and decorative motifs on the table legs. Opt for sharp, high-quality chisels for better control and precision.
- Sandpaper: Sandpaper of different grits will be necessary for refining and smoothing the wood surface. It’s important to achieve a silky smooth finish for a professional and polished look.
While this list outlines the basic materials and tools you’ll need, you may also consider additional supplies such as clamps, woodworking glue, and a workbench to facilitate the construction process.
Now that you have gathered all the necessary materials and tools, you’re ready to move on to the next step: designing and sketching your Chippendale-style table leg.
Step 1: Gather Inspiration and Design
Before you start crafting your Chippendale-style table legs, it’s important to gather inspiration and have a clear design plan in mind. The intricate details and motifs of Chippendale-style legs make them unique and eye-catching. Here’s how you can gather inspiration and design your own:
Research Chippendale-style table legs: Take some time to research and explore different examples of Chippendale-style table legs. Look for photographs, drawings, or even physical examples if possible. Pay attention to the intricate carvings, shapes, and proportions. This will give you a better understanding of the style and help you decide on the specific elements you want to incorporate into your design.
Sketch out your desired design: Once you have gathered inspiration, it’s time to put your ideas onto paper. Grab a pencil and sketch out your desired design for the table legs. Start by outlining the basic shape and proportions. Pay attention to the details and decorative motifs you want to include. You can also experiment with different variations and combinations to find the perfect design that reflects your personal style.
During the design process, keep in mind the overall aesthetics of your table and the space where it will be placed. Consider factors such as the table’s size, the style of the room, and the existing furniture. Your Chippendale-style legs should complement the overall look and feel of the table while adding a touch of elegance and sophistication.
Once you are satisfied with your design, take a close look at it and make any necessary adjustments. Remember, this sketch will serve as your guide throughout the construction process, so it’s crucial to have a clear and well-thought-out design from the beginning.
With your design finalized, you’re now ready to move on to the next step: preparing the wood for your Chippendale-style table legs.
Step 2: Prepare the Wood
Now that you have a clear design in mind for your Chippendale-style table legs, it’s time to prepare the wood. The quality of the wood you choose will greatly affect the final result, so select a high-quality wood type that suits your preferences and project requirements. Here are the steps to prepare the wood:
Select a high-quality wood type: Chippendale-style table legs are typically crafted from wood species such as mahogany or walnut. These woods are known for their durability, rich color, and ability to showcase intricate carvings. Choose a wood type that suits your taste and budget while also considering the intended use and aesthetics of your table.
Measure and cut the wood to the desired length: Using your design sketch as a guide, measure and mark the length of each table leg on the chosen wood. Use a measuring tape and pencil to ensure accuracy. Once marked, carefully cut the wood along the designated lines using a saw. Take your time and use slow, controlled motions to achieve clean and precise cuts.
Smooth out any rough edges with sandpaper: After cutting the wood to the desired length, you may notice rough edges or uneven surfaces. To create a polished and professional finish, use sandpaper to smooth out any imperfections. Start with coarse grit sandpaper to remove larger rough areas, then transition to finer grits for a smoother finish. Be sure to sand in the direction of the wood grain for the best results.
As you sand, periodically run your hand along the surface to check for smoothness. Aim for a silky-smooth feel, as any roughness or inconsistencies will be more noticeable once the legs are finished and installed on the table.
By following these steps, you’ll ensure that your wood is properly prepared and ready for the next phase: creating the basic leg shape of the Chippendale-style legs. Take your time during this stage to ensure the wood is of the highest quality and ready for the next steps of the woodworking process.
Step 3: Create the Basic Leg Shape
Now that you have prepared the wood and smoothed out any rough edges, it’s time to create the basic leg shape for your Chippendale-style table legs. This step will require precision and attention to detail. Here’s how you can accomplish it:
Use a template or guide to mark the leg shape on the wood: To ensure consistency and accuracy, it’s helpful to use a template or guide to mark the leg shape on the wood. This can be a pre-made template specifically designed for Chippendale-style table legs or a carefully drawn guide based on your design sketch. Place the template or guide on the wood, aligning it with the desired position, and trace the shape onto the wood using a pencil or marker.
Carefully cut along the marked lines with a saw: Once you have marked the leg shape on the wood, it’s time to cut along the lines using a saw. Make sure to use a saw that is appropriate for the thickness and type of wood you are working with. Take your time and use slow, controlled motions to achieve clean and precise cuts. It’s always better to cut slightly outside the marked lines and then sand down to the exact shape, as this allows for more flexibility in achieving the desired leg shape.
As you cut, pay close attention to any curves or intricate details in your design. Take your time to ensure that you accurately follow the shape and maintain the desired proportions. Use a steady hand and take breaks if needed to maintain focus and prevent fatigue.
Once you have carefully cut along the marked lines, you will have created the basic leg shape for your Chippendale-style table legs. However, the true beauty of these legs lies in the intricate details and decorative motifs. In the next step, we will explore how to add these decorative touches to your table legs.
Now that you have created the basic leg shape, it’s time to add the intricate details and decorative motifs that will truly bring your Chippendale-style table legs to life.
When making Chippendale-style table legs, ensure precise measurements and use high-quality wood for a professional finish. Take your time with intricate carving and detailing for an authentic look.
Read more: What Are The Different Styles Of Table Legs?
Step 4: Add Decorative Details
Now that you have the basic leg shape for your Chippendale-style table legs, it’s time to add the decorative details that will make them truly remarkable. In this step, we will explore how to incorporate traditional Chippendale motifs and bring a touch of elegance to your table legs. Follow these steps to add the decorative details:
Research traditional Chippendale motifs: Before you start carving, it’s essential to research traditional Chippendale motifs. These motifs are inspired by various design influences, including Chinese, Gothic, and Rococo styles. Take your time to study and familiarize yourself with these intricate designs. Look for examples in Chippendale-style furniture or reference books and make note of the patterns and motifs that resonate with you.
Mark and carve the details onto the leg with a chisel: Once you have determined the motifs you want to incorporate, use a pencil or marker to lightly trace the design onto the leg. Double-check the placement and accuracy of the marks before proceeding to the next step.
Now it’s time to bring out your chisel and carefully carve the marked details onto the leg. Start with a small chisel and begin removing the wood in small, controlled cuts. Take your time and work slowly to ensure precision. Be mindful of both the depth and angles of the cuts, as they will determine the final look of the details.
As you carve, reference your design sketch and pay attention to the specific details and proportions of the motifs. Take breaks if needed to maintain focus and prevent fatigue, as carving can be a meticulous process that requires patience and concentration.
Once you have completed carving the decorative details, step back and assess your work. Take the time to refine any rough edges or imperfections using sandpaper. Smooth out the carved areas to achieve a polished and professional look.
Adding the intricate details and decorative motifs is a crucial step in creating authentic Chippendale-style table legs. These details truly set them apart and make them stand out as unique pieces of art. With the decorative details complete, it’s time to move on to the next step: shaping and smoothing the legs to perfection.
Step 5: Shape and Smooth the Leg
Now that you have added the decorative details to your Chippendale-style table legs, it’s time to shape and smooth the legs to perfection. This step is crucial to achieve a polished and professional finish. Follow these steps to shape and smooth the legs:
Use sandpaper to refine and smooth the leg shape: Start by using sandpaper to refine and smooth the overall shape of the legs. Begin with a coarse grit sandpaper to remove any prominent imperfections or rough surfaces. Gently sand the wood, moving in the direction of the grain. Be careful not to apply too much pressure as you want to maintain the integrity of the carved details.
Pay attention to curves and edges for a polished finish: Chippendale-style table legs often feature curved sections and intricate edges. Take extra care when sanding these areas to ensure a smooth and polished finish. Consider using a sanding sponge or wrap the sandpaper around a dowel or cylindrical object to reach concave areas. Use your fingers to feel for any rough spots, and continue sanding until the surface feels even and flawless.
Throughout the sanding process, periodically wipe the legs with a clean cloth or brush to remove any dust or debris. This will help you assess the progress and identify areas that may need further attention. Take your time and continue sanding with progressively finer grits of sandpaper until you achieve the desired level of smoothness.
Don’t forget to pay attention to any exposed end-grain or joints in the legs. These areas may require additional sanding and smoothing to ensure a seamless and cohesive appearance.
As you work, continuously check the legs from different angles and in different lighting to ensure that they have a consistent and uniform appearance. Aim for a silky smooth surface that is inviting to both the eye and the touch.
With the shaping and smoothing complete, your Chippendale-style table legs are taking shape. The next step will guide you on creating matching legs and how to give your table legs the perfect finishing touches.
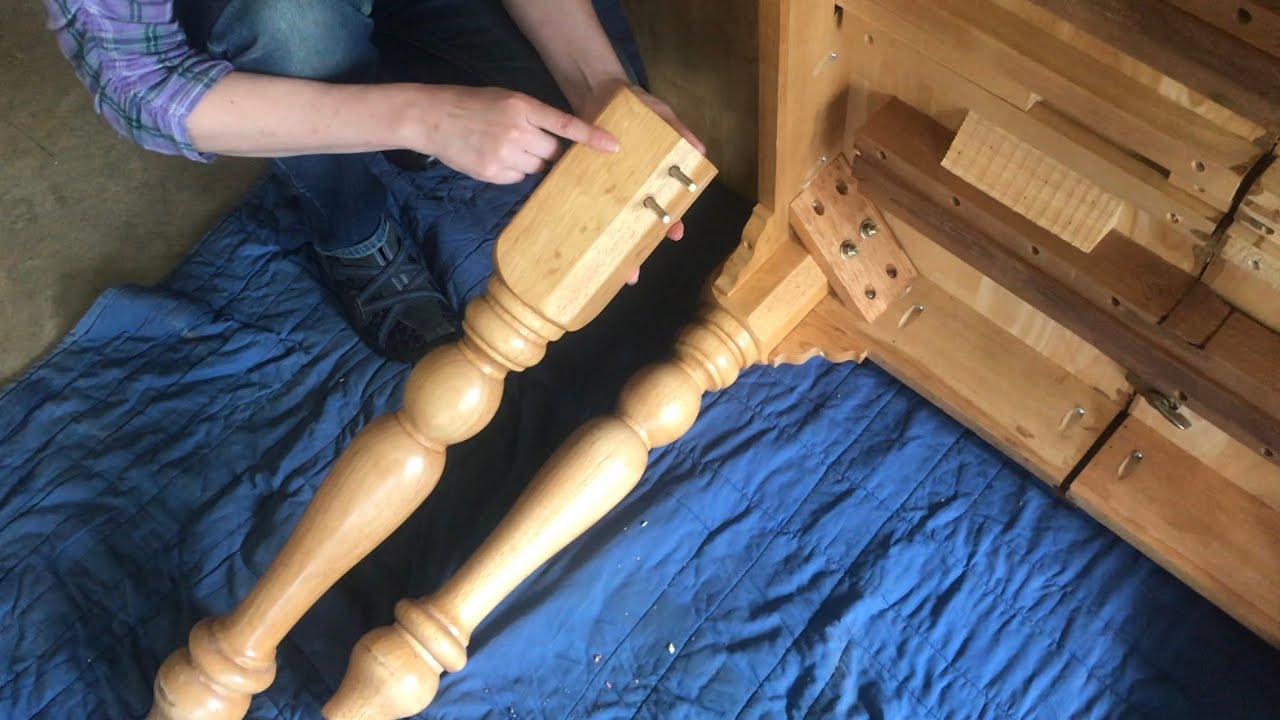
Step 6: Repeat for Additional Legs
Now that you have completed shaping and smoothing one of your Chippendale-style table legs, it’s time to create matching legs for your table. Following the same steps you took for the first leg, repeat the process to ensure consistency and symmetry in your table design. Here’s what you need to do:
Follow the same steps to create matching legs for your table: Use your completed leg as a reference and guide to create the remaining legs. This will help maintain uniformity and ensure that all the legs share the same dimensions and design elements. Take the time to measure and mark the wood, create the basic leg shape, add the decorative details, and shape and smooth the legs just as you did with the initial leg.
Throughout the process, periodically compare the legs side by side to ensure they are matching in terms of size, proportion, and detailing. Make any necessary adjustments to achieve the desired consistency.
Remember to maintain focus and pay attention to small details, such as the placement and depth of the decorative motifs, as these can have a significant impact on the overall look and feel of your table.
As you progress, it can be useful to have all the legs in close proximity to each other to ensure cohesiveness and symmetry. This will allow you to make any final adjustments or refinements as needed.
By following the same steps for each leg, you will create a set of matching Chippendale-style legs that will beautifully complement your table.
With all the legs complete, it’s time to add the finishing touches and prepare your table for use.
Step 7: Finishing Touches
Now that you have completed the construction of your Chippendale-style table legs, it’s time to add the finishing touches. The final steps in the process will help bring out the natural beauty of the wood and protect the legs for years to come. Here’s what you need to do:
Sand the legs once more for a silky smooth surface: Before applying any finish, give the legs a final sanding. This step ensures that any roughness or imperfections that may have occurred during the carving and shaping process are smoothed out. Start with a fine-grit sandpaper and lightly sand the entire surface of the legs, going with the grain. This will leave you with a silky smooth finish and prepare the wood for the next step.
Apply your desired finish (stain, paint, varnish, etc.): Now comes the exciting part – applying the finish to enhance the appearance of the Chippendale-style table legs. The finish you choose will depend on your personal preference and the desired look you want to achieve. Options may include stain, paint, varnish, oil, or wax. Test the finish on a small, inconspicuous area to ensure you are happy with the color and finish before applying it to the entire leg. Use a brush or cloth to apply an even coat of the finish, following the manufacturer’s instructions. Pay attention to any intricate carvings or details, ensuring that the finish is applied evenly.
Allow the finish to dry completely before use: Once you have applied the finish, allow the legs to dry completely. It’s important to follow the recommended drying time specified by the manufacturer to ensure the finish sets properly. Keep the legs in a well-ventilated area during the drying process to allow air circulation and prevent any moisture-related issues. Once the legs are fully dry, inspect them for any touch-ups or additional coats if desired.
With the finishing touches complete, your Chippendale-style table legs are now ready for use. Install them on your table, step back, and admire the beautiful craftsmanship and unique design you have achieved.
Remember, proper care and periodic maintenance will help preserve the beauty and longevity of your table legs. Regularly clean them with a soft cloth and avoid harsh cleaners or abrasive materials that can damage the finish. With the right care, your Chippendale-style table legs will continue to add elegance and charm to your space for years to come.
Enjoy your newly crafted Chippendale-style table legs and the magnificent table they will support!
Read more: How To Make Coffee Table Legs
Conclusion
Congratulations on completing the journey of creating your own Chippendale-style table legs! By following the steps outlined in this guide, you have crafted a set of legs that exude elegance, sophistication, and timeless beauty. Your attention to detail, craftsmanship, and dedication have resulted in a truly unique piece of furniture that will undoubtedly become a focal point in your space.
Throughout this process, you’ve learned the importance of gathering inspiration, designing your own Chippendale motifs, and carefully shaping and smoothing the wood. The addition of decorative details has brought an extra level of intricacy and charm to your table legs. Finally, with the finishing touches and the application of the desired finish, your legs have been beautifully transformed and protected.
Remember, craftsmanship is an ongoing journey of learning and growth. Whether you’re a beginner or experienced woodworker, each project provides an opportunity to improve your skills and explore new creative avenues. Don’t be afraid to experiment and put your own unique twist on traditional designs, as this is what makes your creation truly yours.
Now that your Chippendale-style table legs are complete, it’s time to enjoy the fruits of your labor. Install them on your table, step back, and take pride in the piece you’ve created. The elegance and sophistication that Chippendale-style furniture brings to a space are sure to impress and inspire.
Lastly, don’t forget to maintain and care for your table legs properly. Regular cleaning and periodic maintenance will keep them in great condition for years to come. Consider periodically inspecting them for any signs of wear or damage and address them promptly to ensure their longevity.
Thank you for joining us on this creative journey to craft Chippendale-style table legs. We hope you found this guide informative and inspiring. Now, go forth and enjoy your beautifully crafted Chippendale-style table legs in your space!
Frequently Asked Questions about How To Make Chippendale-Style Table Legs
Was this page helpful?
At Storables.com, we guarantee accurate and reliable information. Our content, validated by Expert Board Contributors, is crafted following stringent Editorial Policies. We're committed to providing you with well-researched, expert-backed insights for all your informational needs.
0 thoughts on “How To Make Chippendale-Style Table Legs”