Home>Ideas and Tips>Upgrading Your Home’s Garage with a DIY Epoxy Floor with a Metallic Finish
Ideas and Tips
Upgrading Your Home’s Garage with a DIY Epoxy Floor with a Metallic Finish
Modified: August 31, 2024
Transform your garage with a stunning DIY metallic epoxy floor. Learn step-by-step installation, tips, and tricks for a durable and stylish finish.
(Many of the links in this article redirect to a specific reviewed product. Your purchase of these products through affiliate links helps to generate commission for Storables.com, at no extra cost. Learn more)
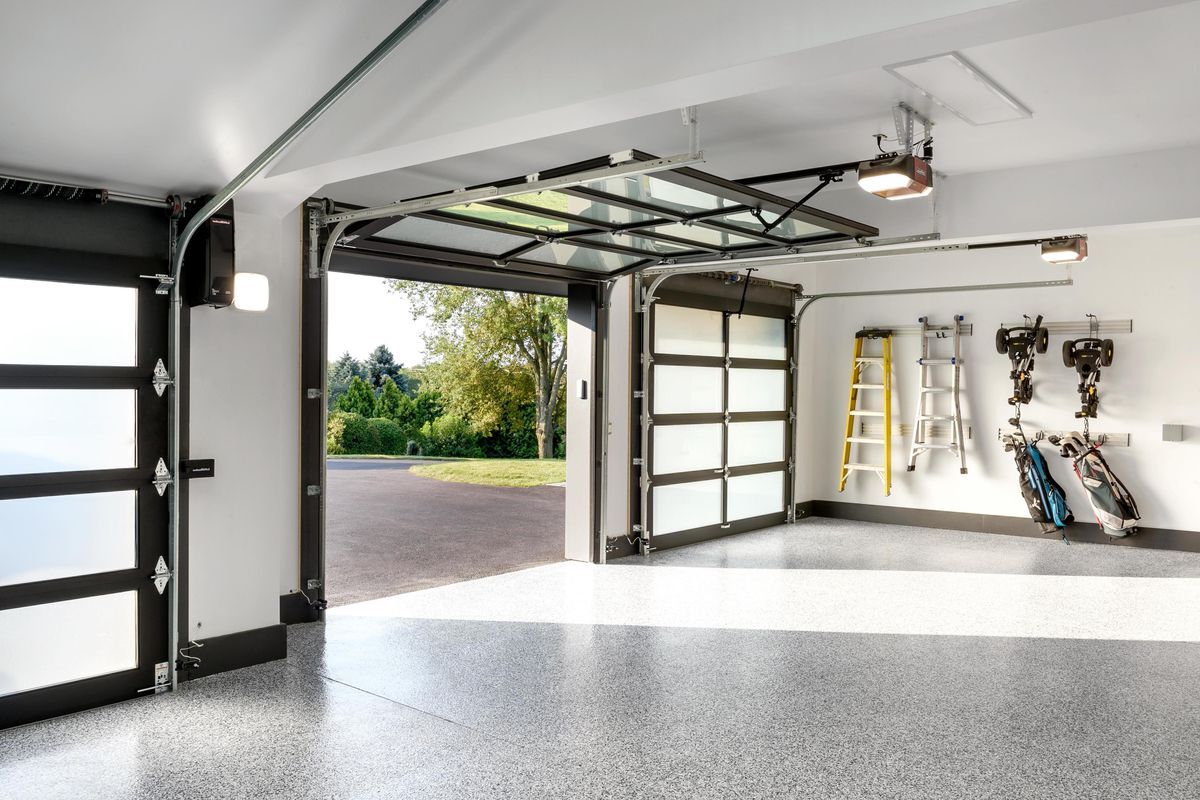
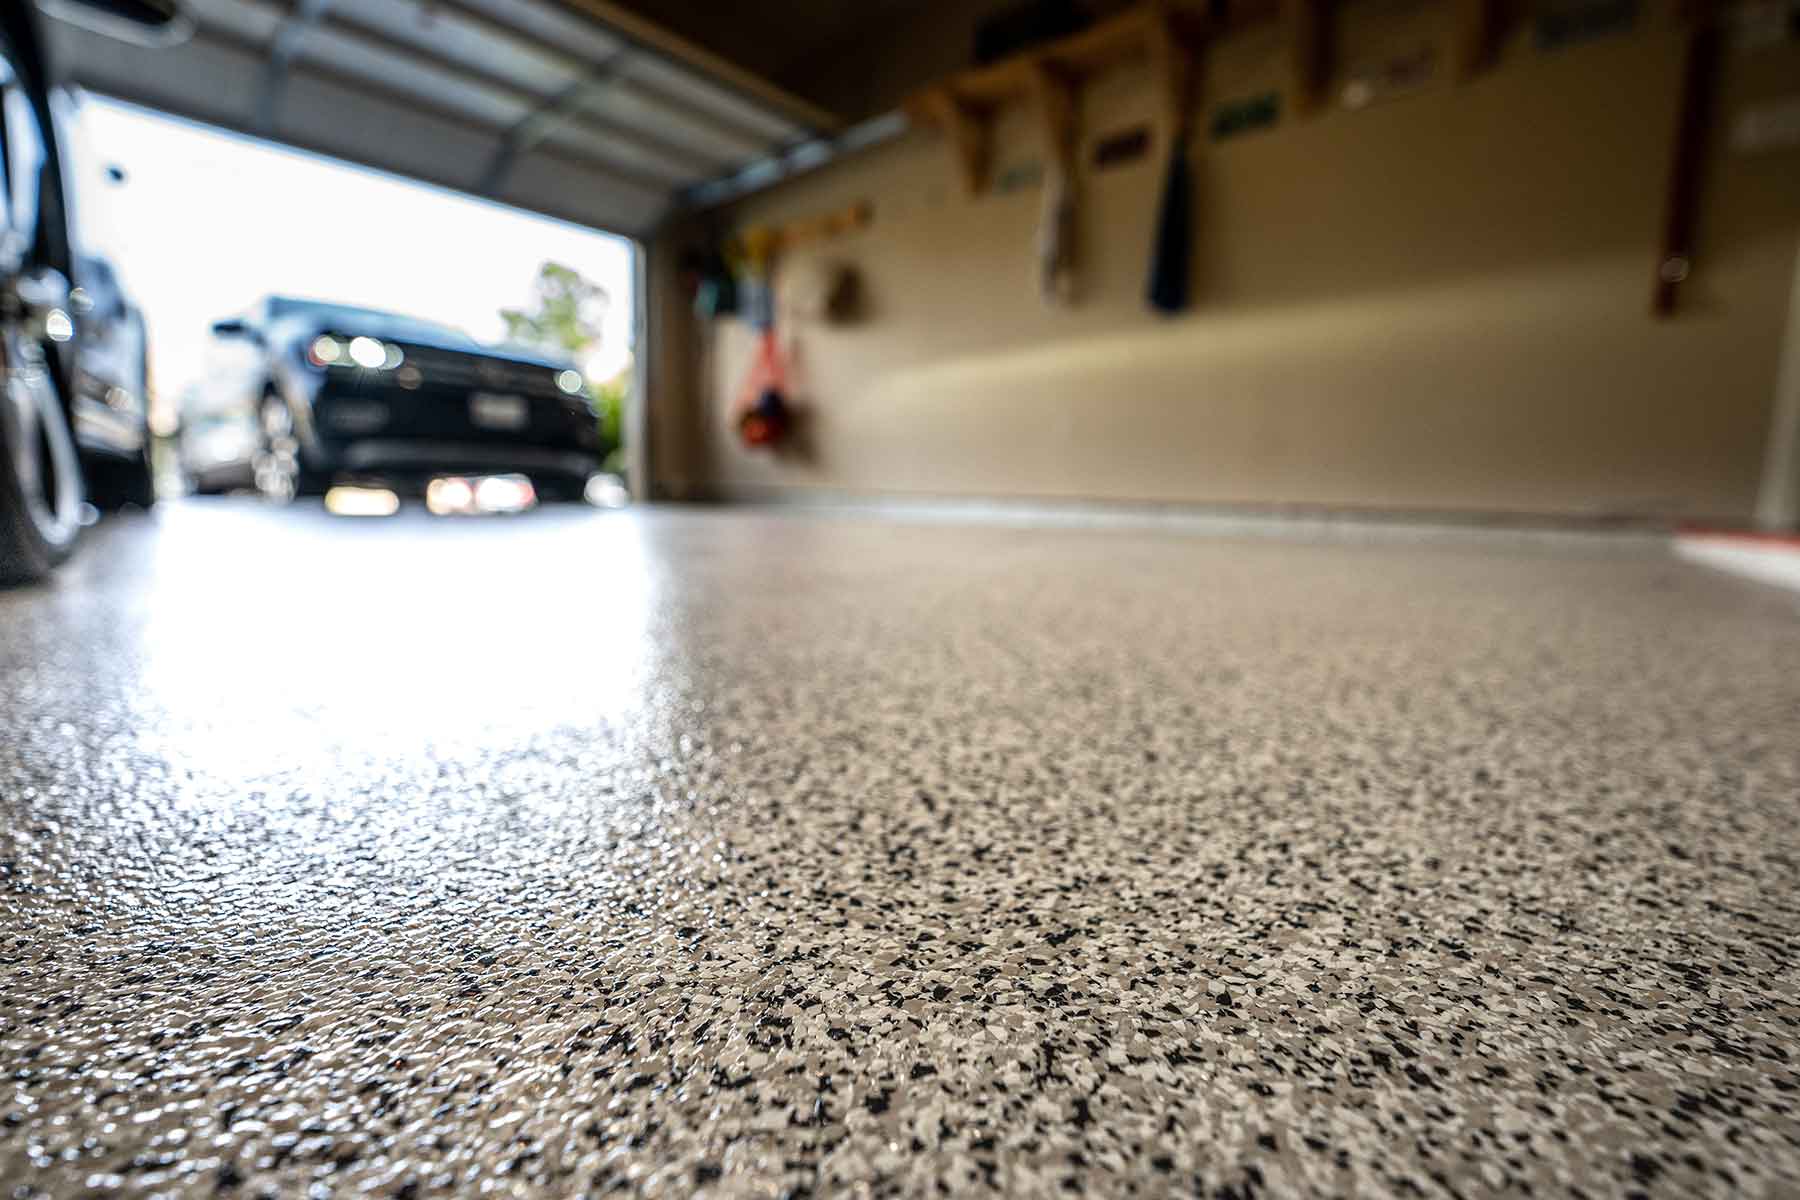
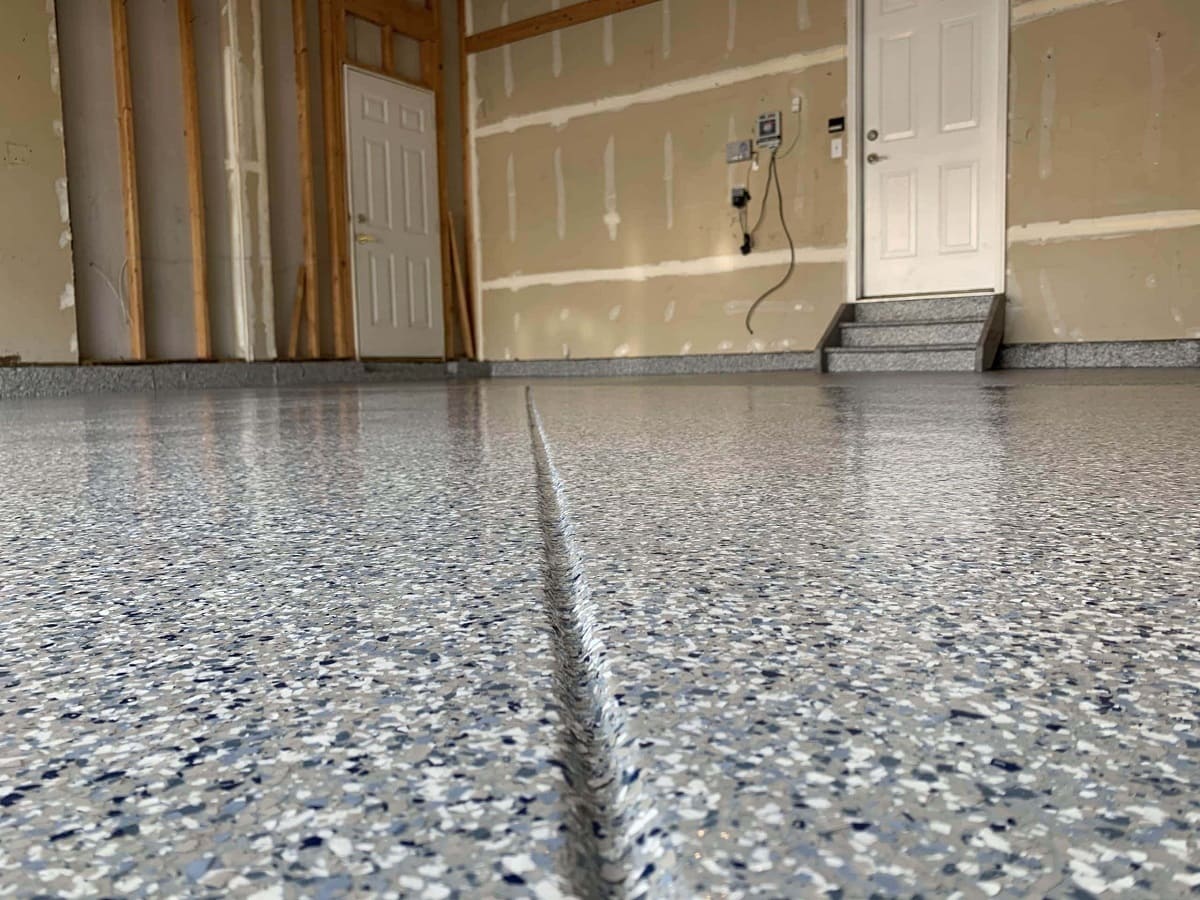
Upgrading your garage with a DIY epoxy floor with a metallic finish is a fantastic way to give it a sleek, modern look. But why should you choose a metallic epoxy floor? Well, let's dive into the reasons.
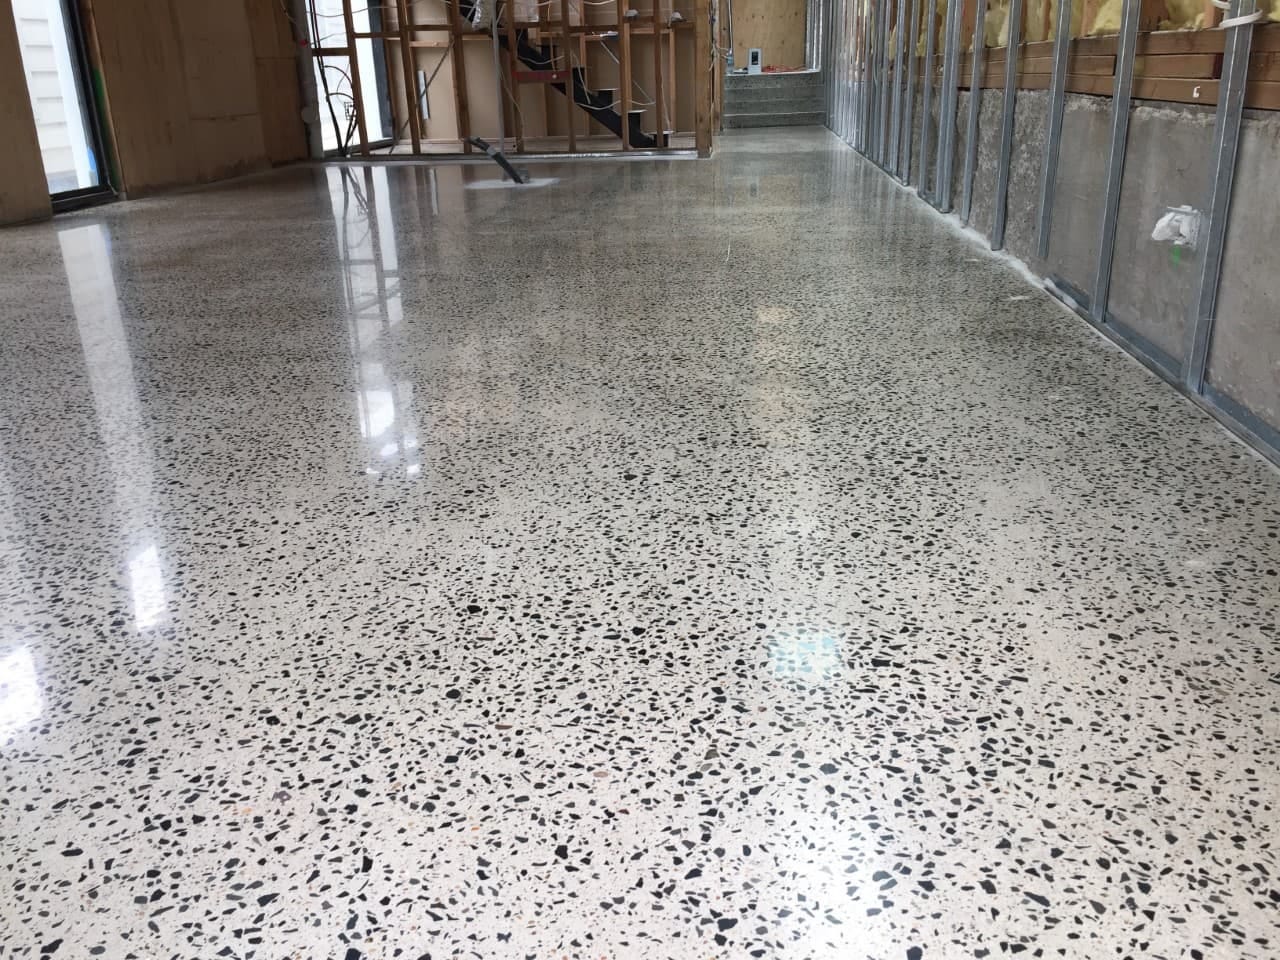
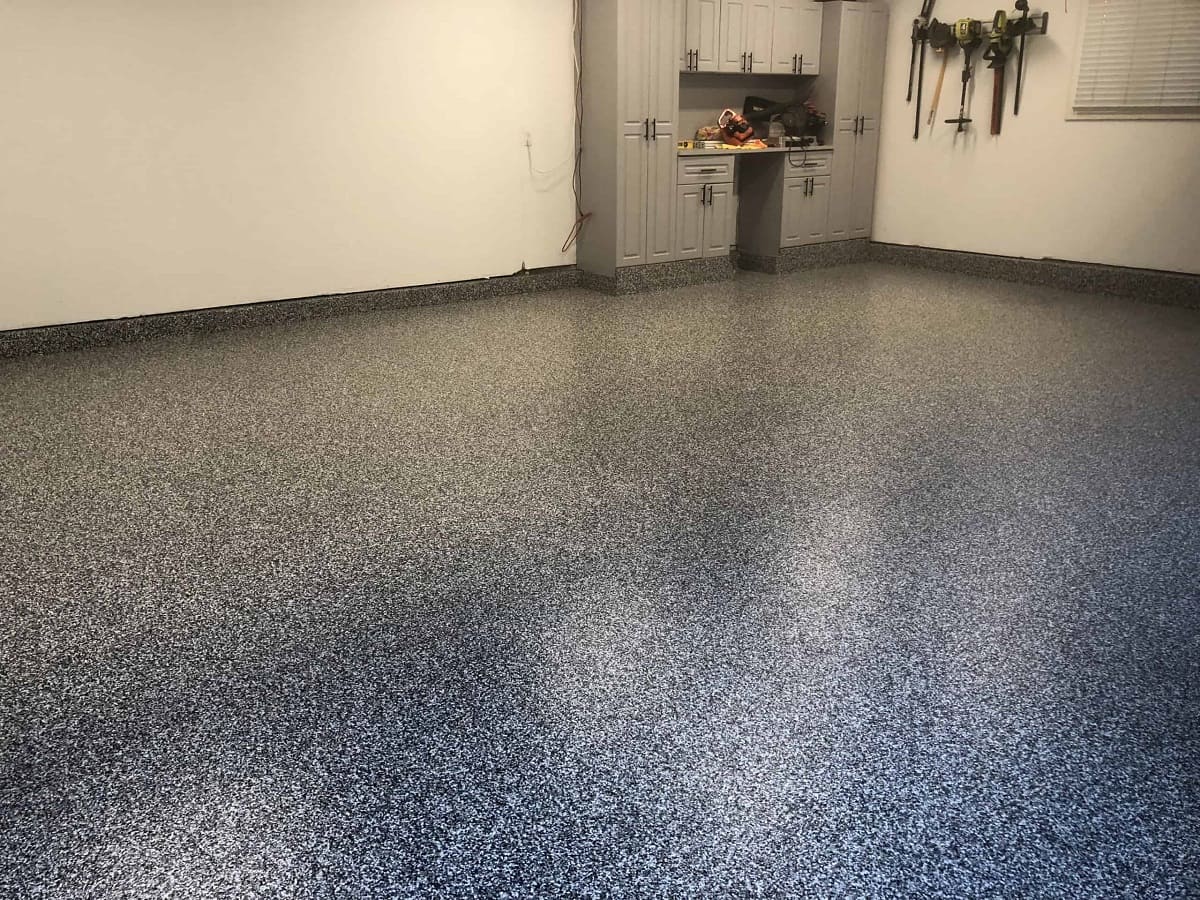
First off, the aesthetic appeal is off the charts. Metallic epoxy floors offer a unique, beautiful finish that can transform any space. Imagine walking into your garage and seeing a three-dimensional marbled surface that looks like it belongs in an art gallery. This is achieved by mixing premium clear epoxy with metallic pigments, creating an artistic and eye-catching design. It's like having a piece of art under your feet!
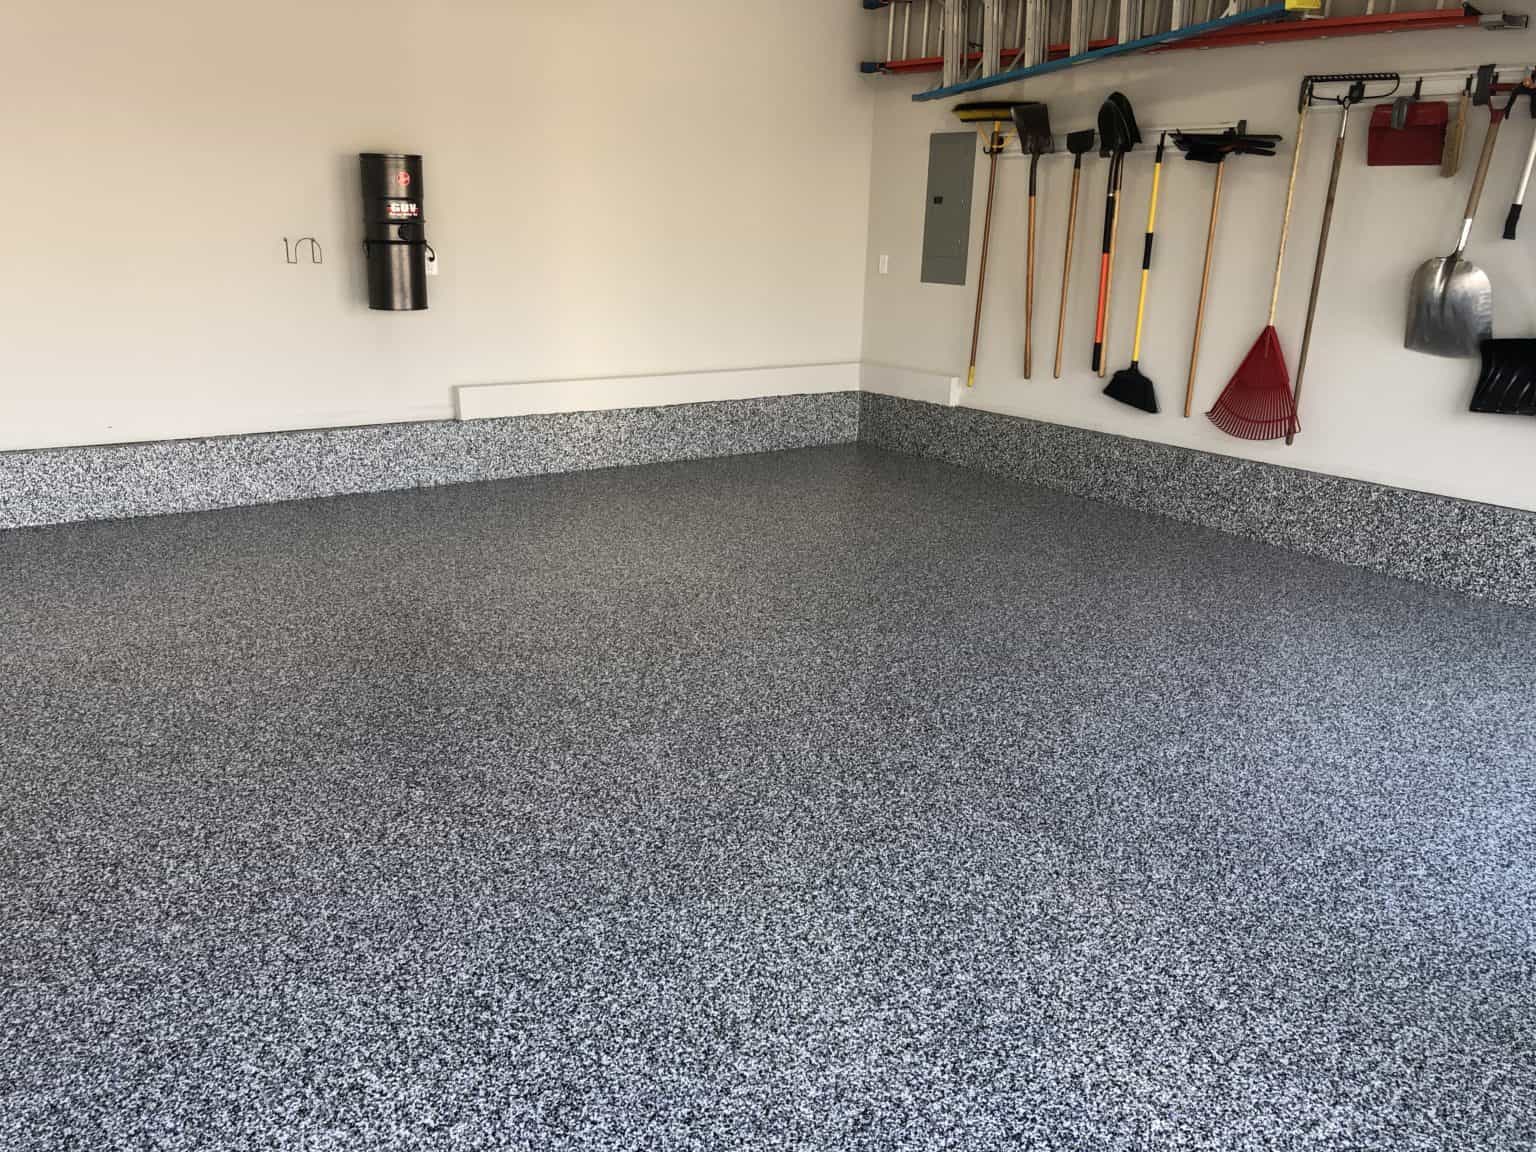
Next up, durability. These floors are tough cookies. They can withstand heavy foot traffic, making them perfect for garages where you might be working on cars or other projects. Plus, they're resistant to chemicals, so oil spills and other substances won't ruin your beautiful floor. You won't have to worry about wear and tear, which is a huge plus.
Then there's the ease of maintenance. Epoxy floors are a breeze to clean. You can sweep or mop them just like any other floor, and you don't need any special cleaning products. This makes them a practical choice for a space that can get as dirty as a garage. No more scrubbing on your hands and knees!
Lastly, let's talk about versatility. Metallic epoxy floors aren't just for garages. You can use them in basements, entryways, kitchens, and even bathrooms. Their versatility means you can add a touch of elegance to any space in your home. It's like having a secret weapon in your home improvement arsenal.
Preparation is Key
Before you start your DIY project, you need to prepare the surface properly. Here's how you can do it:
- Clean the Floor: Make sure the floor is completely clean of dust, debris, and any other material that might soil it. If the floor is concrete, diamond grinding or sanding with an aggressive 25-grit sander is advisable to create a smooth surface.
- Fill Cracks: All cracks must be filled with epoxy gel. Allow the gel to harden, then sand or grind it to an even surface.
- Moisture Vapor Barrier: Depending on the slab and site conditions, an additional moisture vapor barrier might be needed. This can bring the total number of layers to four.
Choosing the Right Kit
When selecting a DIY metallic epoxy floor kit, it's important to choose one that meets your needs. Here are some factors to consider:
- Size of the Kit: Ensure the kit covers the square footage of your garage. Most kits range from covering up to 200 sq. ft. to 3600 sq. ft., so choose one that fits your space.
- Quality of Components: Look for kits made with premium components. High-quality kits will yield better results and last longer.
- Brand Reputation: Consider brands like Armortech Epoxy, which have been in the industry for over three decades and offer commercial-grade products.
Step-by-Step Installation Guide
Now that you have your kit and prepared the surface, it's time to start the installation process. Here’s a detailed step-by-step guide:
Step 1: Apply Primer
- Mix Primer: Use a solid-colored epoxy primer capable of hiding floor imperfections. Mix part A by itself before mixing in part B at a 2:1 ratio by volume.
- Apply Primer: Pour the epoxy primer onto the surface in lines. Use a roller and squeegee to spread it evenly over the surface, ensuring no air bubbles are trapped.
- Cure Primer: Allow the primer to cure for 16-24 hours. Keep room temperature above 65 degrees Fahrenheit for optimal curing.
Step 2: Apply Metallic Floor
- Mix Metallic Epoxy: Use a drill and paddle mixer to mechanically mix together the metallic powder and epoxy liquid. ZeraOrnate MF is sold as a complete unit A & B that already contains metallic powder for better consistency and performance.
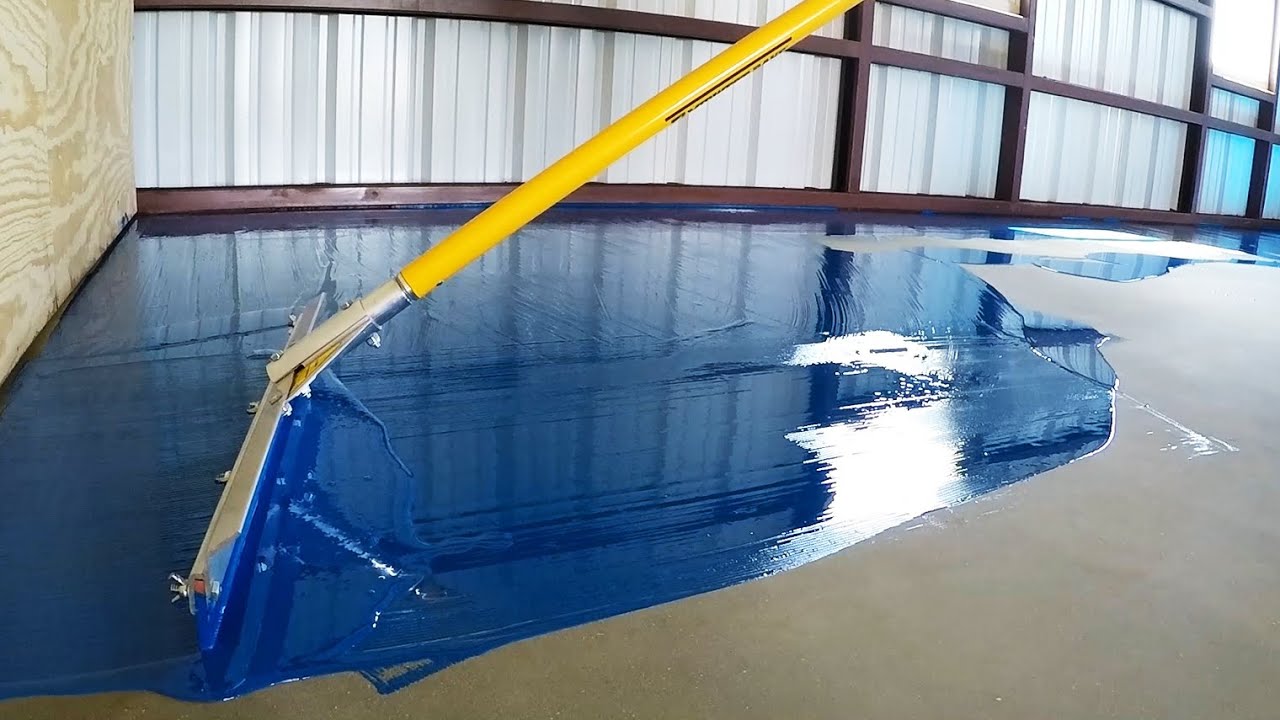
- Pour Metallic Epoxy: Pour out the sealer on the floor using a long trail and spread it around. Use your imagination in creating the design you want for your flooring.
- Spread Material Evenly: Use a notched squeegee to spread the material evenly and back roll using a 6-mm short nap lint-free roller.
- Remove Roller Marks: Walk on the floor with spike shoes and use a leaf blower to remove all roller marks, generating that unique, attractive design.
Step 3: Add Accent Colors (Optional)
- Mix Accent Colors: Divide the mixed epoxy into three different cups and add colors to each one—main base color with most of the epoxy, while the other two should be accent colors with less epoxy.
- Add Accent Colors: Use a floor trowel and light pressure to spread accent colors until you get the desired look.
- Blend Colors: Use 91% isopropyl alcohol to blend and mix epoxy colors together, spraying some alcohol on any micro bubbles that appear to help pop them.
Step 4: Allow Floor to Cure
- Cure Time: Allow the floor to cure for 24 hours after mixing in room temperatures above 65 degrees Fahrenheit.
- Self-Leveling: The floor will self-level and meld for hours, allowing you to create intricate patterns using small microfiber rollers.
Step 5: Apply Top Coat (Optional)
- Screen Floor: Before applying top coat, screen the metallic floor with a 150-grit sanding screen and clear off all debris to ensure a smooth attractive finish.
- Choose Top Coat: Use clear high gloss polyaspartic acid, clear color-stable epoxy (ZeraKlear), or waterborne clear high gloss polyurethane (ZeraTuf W-104).
- Apply Top Coat: Apply top coat according to manufacturer’s instructions, ensuring it adheres well without any air bubbles.
Tips and Tricks
Here are some additional tips and tricks to help you achieve professional results:
- Wear Protective Gear: Always wear protective gear such as gloves, safety glasses, and spike shoes when applying epoxy floor coating.
- Use Right Tools: Use appropriate tools like notched squeegees and short nap lint-free rollers for spreading materials evenly.
- Remove Air Bubbles: Use 91% isopropyl alcohol to remove excess air incorporated into the epoxy while mixing and spreading materials.
- Maintain Temperature: Keep room temperature above 65 degrees Fahrenheit during curing process for optimal results.
Common Concerns
Here are some common concerns that may arise during or after the floor coating process:
- Dust and Debris: It is possible that after you have completely painted your flooring that you will find dust or debris in the coating.
- Air Bubbles: Air bubbles can form during mixing or application process; use isopropyl alcohol to pop them.
- Curing Issues: Ensure proper curing conditions by maintaining room temperature above 65 degrees Fahrenheit.
Conclusion
Upgrading your home's garage with a DIY metallic epoxy floor is an excellent way to enhance its aesthetic appeal while ensuring durability and ease of maintenance. By following these steps carefully and considering tips provided above, you can achieve professional-looking results without breaking the bank or hiring professionals.
Remember always follow safety guidelines when working with chemicals like epoxy resins, wear protective gear at all times, and ensure proper surface preparation before starting your project.
With patience and practice, you'll be able to transform your garage into a beautiful space that not only looks great but also lasts long enough to withstand years of use.
Was this page helpful?
At Storables.com, we guarantee accurate and reliable information. Our content, validated by Expert Board Contributors, is crafted following stringent Editorial Policies. We're committed to providing you with well-researched, expert-backed insights for all your informational needs.

0 thoughts on “Upgrading Your Home’s Garage with a DIY Epoxy Floor with a Metallic Finish”