Articles
How To Repair HVAC Unit
Modified: October 20, 2024
Learn valuable articles on how to repair your HVAC unit and keep it running efficiently. Improve your knowledge and save money on costly repairs.
(Many of the links in this article redirect to a specific reviewed product. Your purchase of these products through affiliate links helps to generate commission for Storables.com, at no extra cost. Learn more)
Introduction
An HVAC unit plays a crucial role in keeping our homes comfortable, providing heating, ventilation, and air conditioning. However, like any other mechanical system, HVAC units can encounter problems over time that require repair. While some issues may require professional assistance, there are several common problems that you can address yourself with the right knowledge and tools.
In this guide, we will explore the essential steps to repairing your HVAC unit and restoring its functionality. From troubleshooting common problems to implementing maintenance tasks, this article will equip you with the necessary tools and knowledge to tackle common HVAC issues.
Before diving into the repair process, it’s important to note that safety should always be a top priority. HVAC systems involve electrical components and moving parts, so make sure to follow safety precautions and wear protective gear when necessary.
Now, let’s explore some of the most common problems that you may encounter with your HVAC unit and how to fix them.
Key Takeaways:
- Regular maintenance and DIY repairs can keep your HVAC unit running smoothly, from cleaning air filters to checking for ductwork leaks. Prioritize safety and seek professional help for complex issues.
- By following safety precautions and using the right tools, you can tackle common HVAC problems and ensure your unit operates efficiently. Regular maintenance and testing are key to a well-functioning system.
Common HVAC Unit Problems
HVAC units can experience a range of issues that affect their performance and efficiency. Understanding these common problems can help you diagnose and resolve them effectively. Here are a few problems you may encounter with your HVAC unit:
- No Cooling or Heating: If your HVAC unit is not producing cool air during hot weather or warm air during cold weather, the issue could lie with the thermostat, electrical connections, or compressor. Start by checking the thermostat settings and ensure it is set to the appropriate temperature. If the thermostat appears to be functioning correctly, consider inspecting the electrical connections and testing the compressor for any faults.
- Poor Airflow: Insufficient airflow can be caused by clogged air filters, blocked vents, or a malfunctioning blower motor. Begin by inspecting and cleaning or replacing the air filters. Clear any debris or obstructions from the vents to ensure unrestricted airflow. If the issue persists, the blower motor may need to be repaired or replaced.
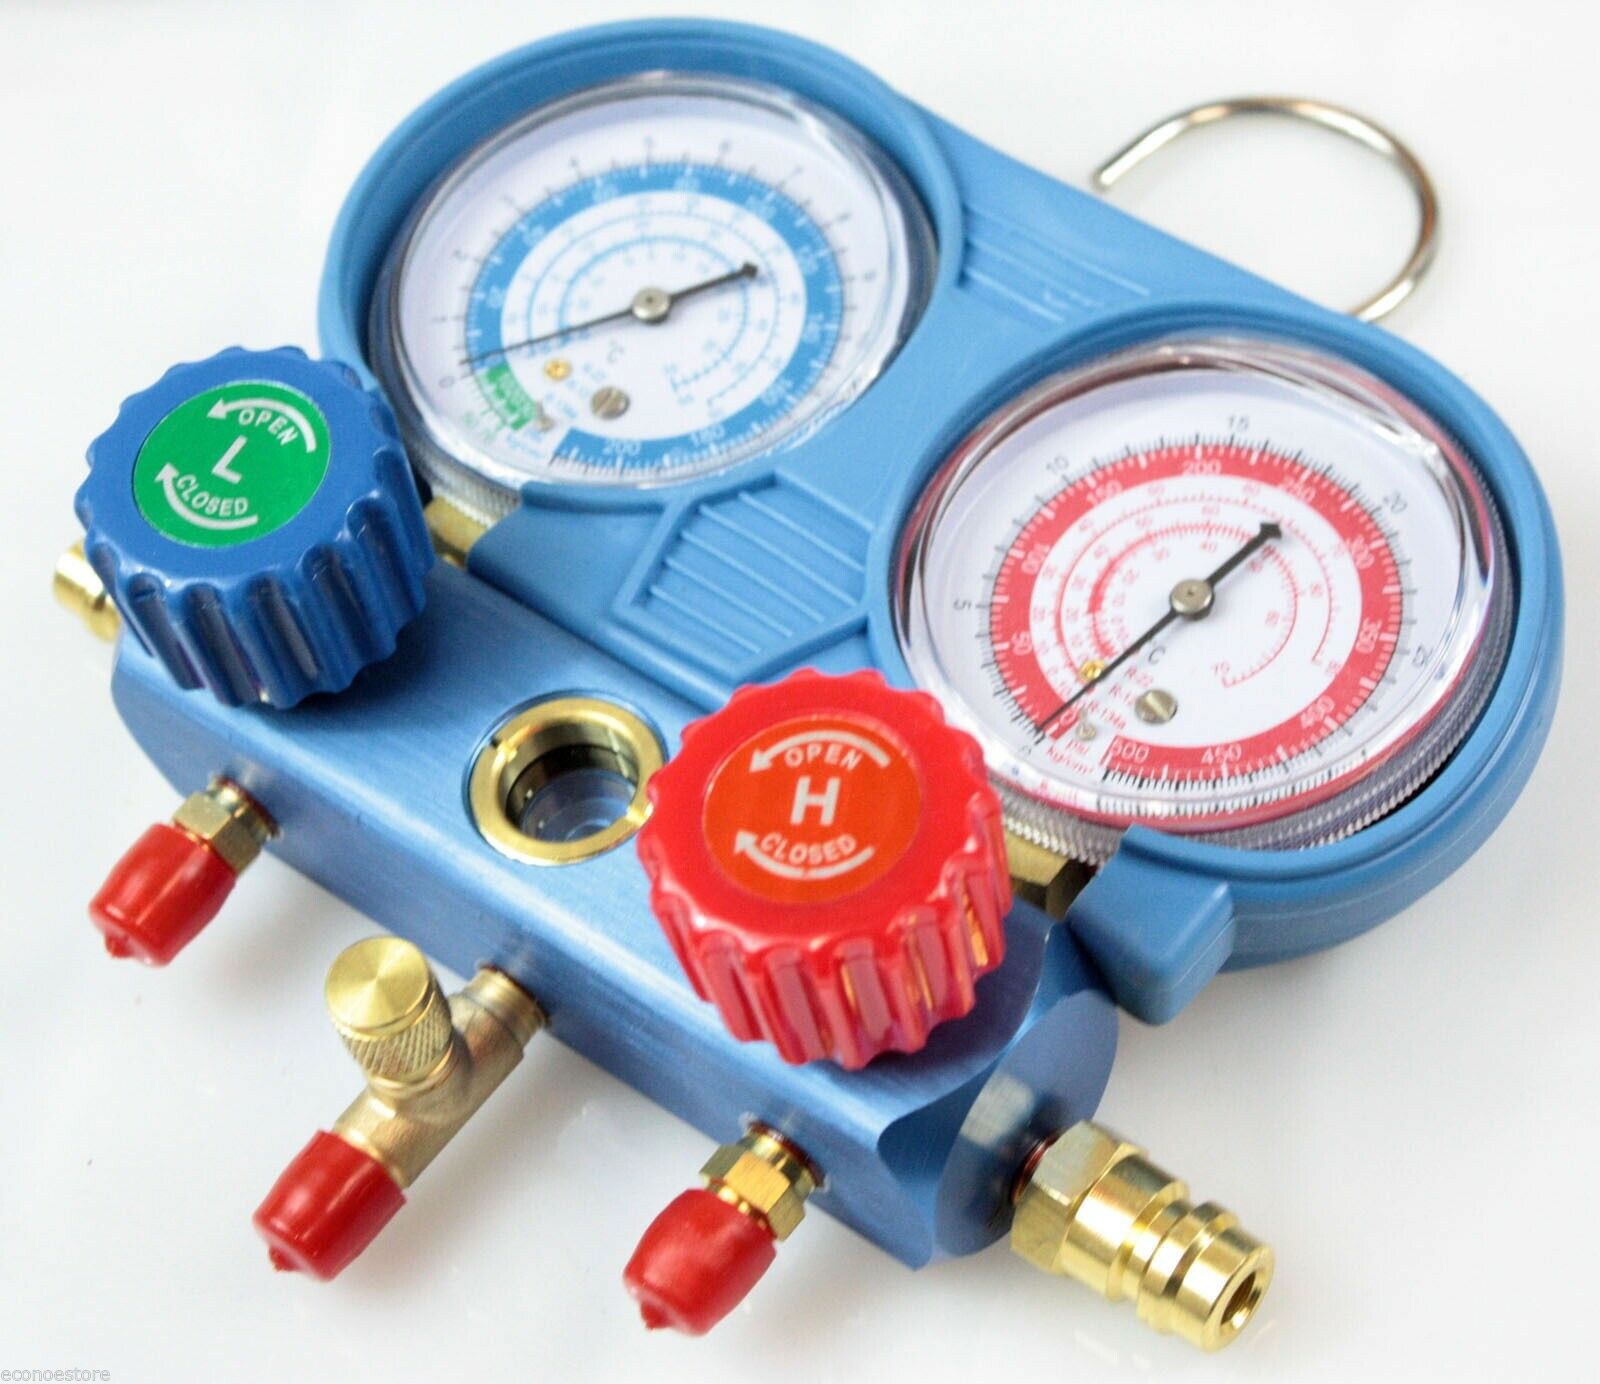
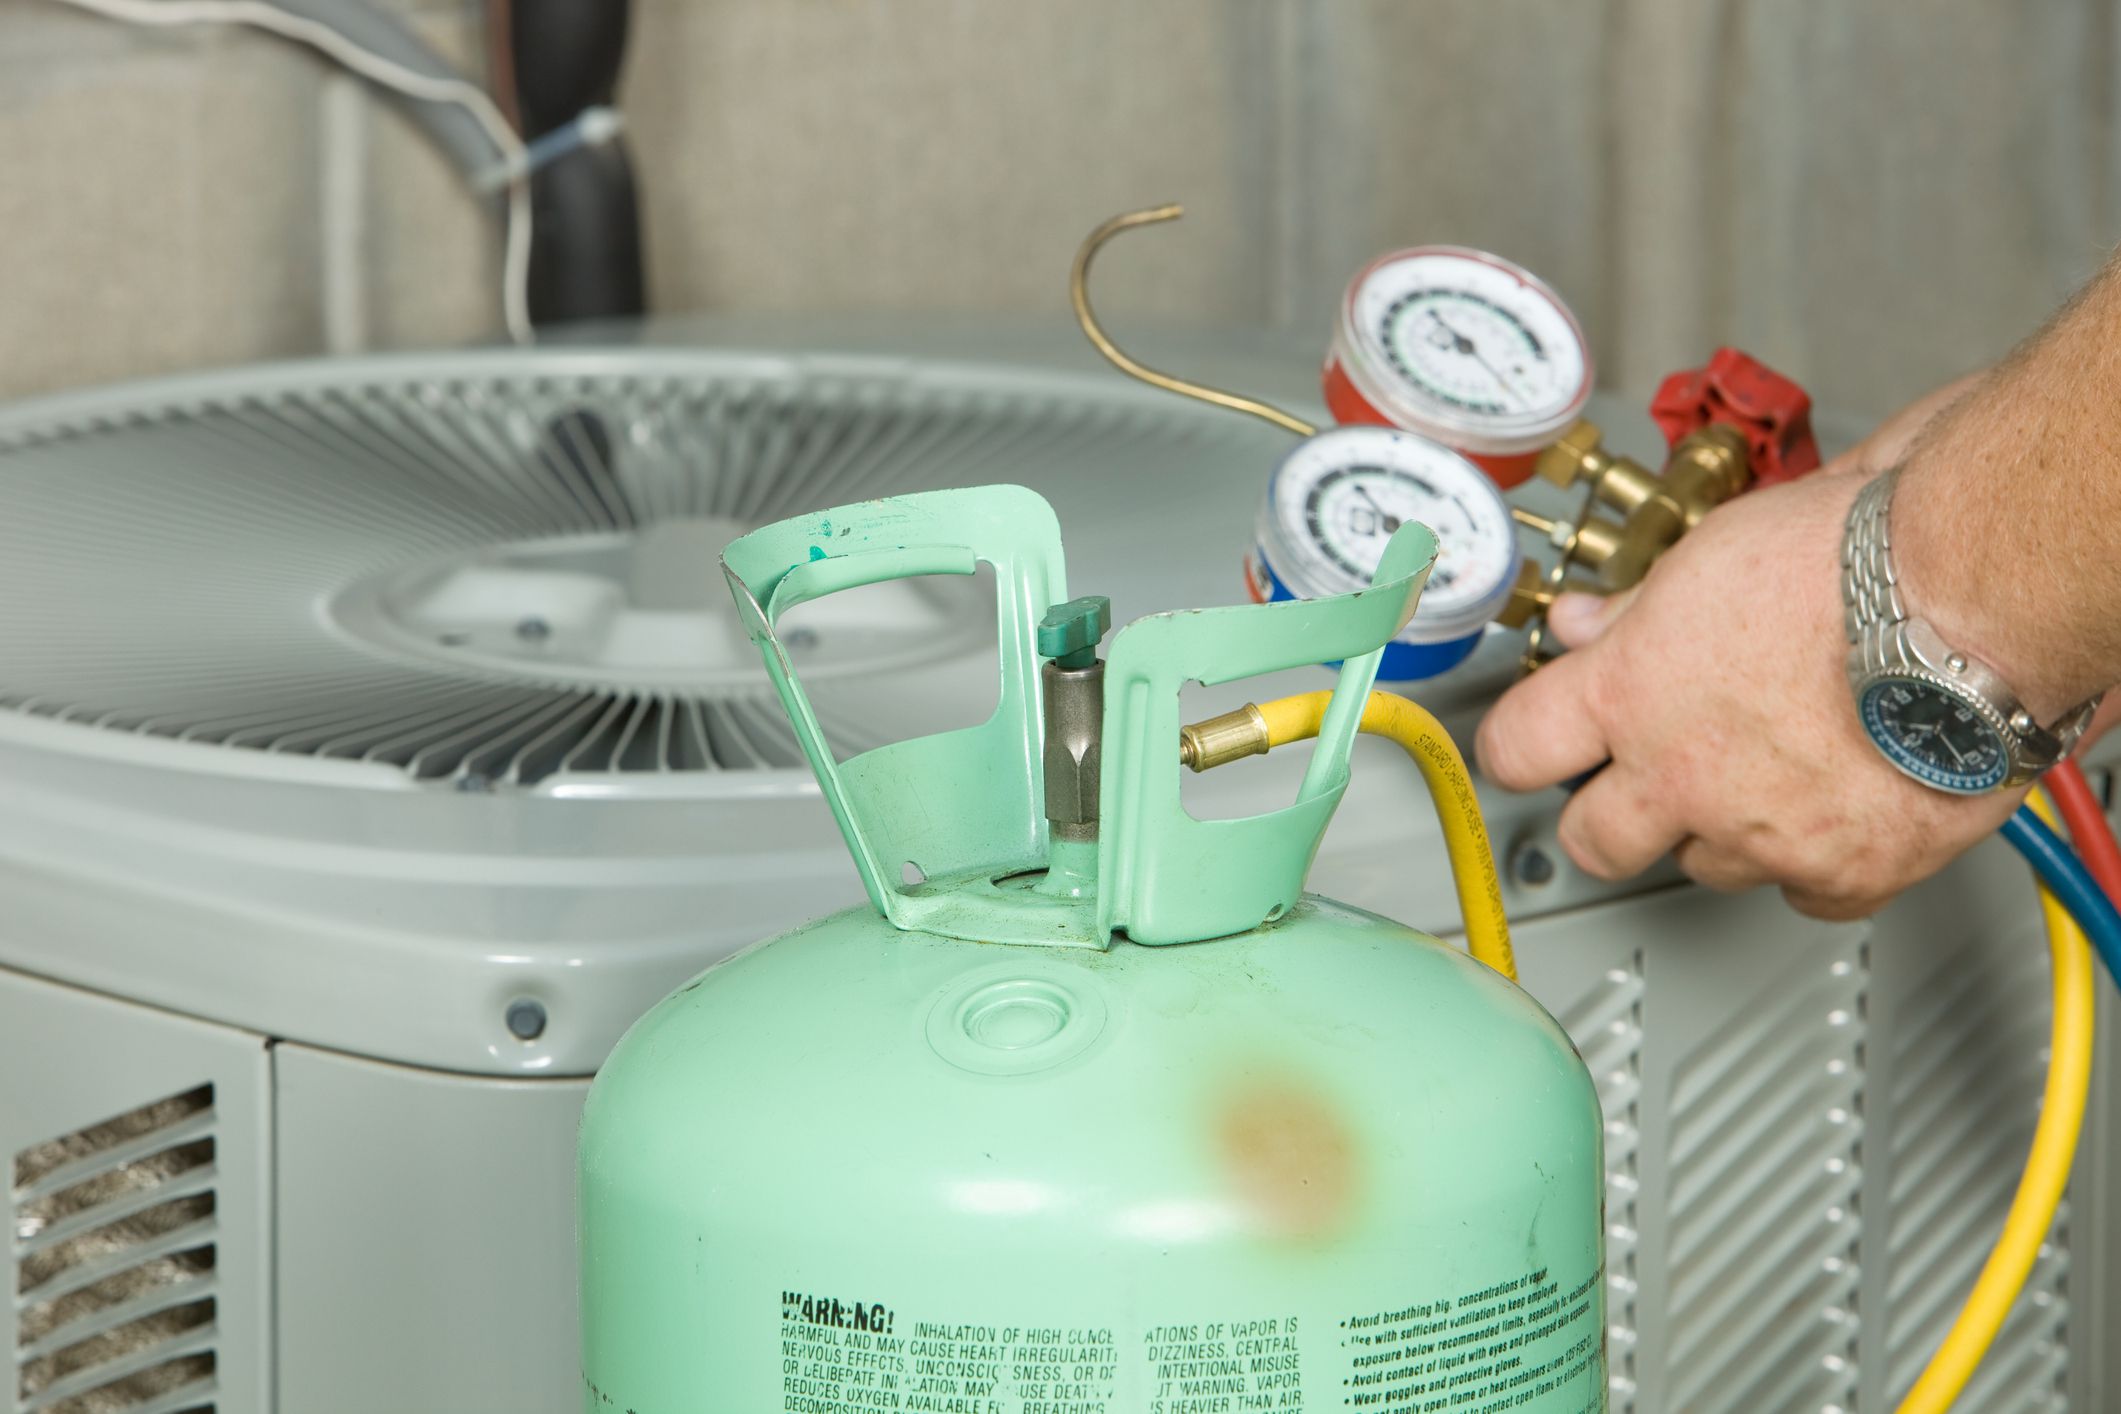
- Leaking Refrigerant: A refrigerant leak can lead to inadequate cooling and potential damage to the compressor. Signs of a refrigerant leak include reduced cooling performance and hissing sounds near the unit. If you suspect a refrigerant leak, it is recommended to contact a professional HVAC technician for repair, as handling refrigerants requires proper training and equipment.
- Frozen Evaporator Coil: Inadequate airflow, refrigerant leaks, or dirty coils can cause the evaporator coil to freeze. When this occurs, the unit may not cool effectively or may not work at all. Check for clogged air filters, clean the coils, and ensure there are no refrigerant leaks. If the issue persists, a professional technician should be consulted for further inspection and repair.
- Strange Noises: Unusual noises coming from your HVAC unit can indicate issues with the fan motor, loose components, or faulty belts. Listen for humming, rattling, or grinding sounds and try to identify their source. Tightening loose components, lubricating moving parts, or replacing faulty belts can often resolve these noise-related problems.
Understanding these common HVAC problems will help you identify the cause of the issue and determine whether it can be fixed on your own or if professional assistance is required. Now that we have identified common problems, let’s move on to the tools you’ll need for HVAC unit repair.
Tools Needed for HVAC Unit Repair
Before you begin repairing your HVAC unit, it’s important to gather the necessary tools to ensure a smooth and efficient process. Here are some essential tools you’ll need for HVAC unit repair:
- Screwdrivers: A set of screwdrivers with different sizes and types (such as flathead and Phillips) will be useful for removing panels, accessing components, and making adjustments.
- Adjustable Wrench: An adjustable wrench allows you to tighten or loosen various nuts and bolts throughout the HVAC unit.
- Socket Set: A socket set, including different sizes of sockets and a ratchet, is essential for removing and installing bolts and screws.
- Multimeter: A multimeter is used to measure electrical voltage, current, and resistance. It can help you identify electrical issues and troubleshoot components.
- Wire Strippers and Cutters: Wire strippers and cutters are necessary for working with electrical wires, allowing you to strip insulation, cut wires to length, and make connections.
- Condenser Coil Cleaner: For cleaning the condenser coils, you’ll need a suitable condenser coil cleaner. This helps remove dirt, debris, and grime that can obstruct airflow and reduce efficiency.
- Lubricant: A lubricant, such as a silicone-based lubricant, is useful for lubricating moving parts like fan motors and bearings to reduce friction and ensure smooth operation.
- Belt Tension Gauge: If your HVAC unit has a fan belt, a belt tension gauge can help you check and adjust the tension, ensuring the belt is neither too loose nor too tight.
- Duct Tape and Sealant: Duct tape and sealant are handy for temporarily sealing leaks in ductwork during repair or for preventing air leakage.
- Safety Gear: Don’t forget to wear appropriate safety gear, such as gloves, safety glasses, and a face mask, especially when working with electrical components or cleaning chemicals.
Having these essential tools on hand will make your HVAC unit repair process much smoother and more efficient. Now that you’re equipped with the necessary tools, we can move on to discussing important safety precautions to follow before beginning any repair work.
Safety Precautions
When it comes to repairing your HVAC unit, safety should always be a top priority. HVAC systems involve electrical components and moving parts, so it’s important to take precautions to protect yourself and prevent accidents. Here are some important safety precautions to keep in mind before starting any HVAC unit repair work:
- Disconnect the Power: Before working on your HVAC unit, make sure to turn off the power supply. This can usually be done by shutting off the circuit breaker or disconnecting the unit from the power source.
- Wear Protective Gear: When working with HVAC systems, it’s important to wear appropriate protective gear. This includes gloves, safety glasses, and a face mask to protect against electrical shock, sharp edges, and chemical exposure.
- Work in a Well-Ventilated Area: If you’re using cleaning chemicals or solvents, ensure that the work area is well-ventilated to avoid inhaling fumes. Open windows or use fans to circulate fresh air during the repair process.
- Use Proper Ladder Safety: If you need to access high areas of your HVAC unit, use a sturdy ladder and ensure it is placed on a stable surface. Always maintain three points of contact and avoid overreaching to prevent falls and injuries.
- Follow Manufacturer’s Guidelines: Consult the manufacturer’s manual or instructions when working on your HVAC unit. This will provide specific guidelines and safety precautions for your particular model.
- Avoid DIY if Unsure: If you’re unsure about a repair task or feel uncomfortable working with certain components, it’s best to leave it to a professional HVAC technician. Attempting complex repairs without proper knowledge and experience can result in further damage or potential harm.
By following these safety precautions, you can minimize the risk of accidents and ensure a safer repair process. It’s always better to prioritize your safety and seek professional help if needed. Now that you’re aware of the necessary safety measures, let’s move on to the step-by-step process of repairing your HVAC unit.
Step 1: Shut Off Power
Before starting any repair work on your HVAC unit, it’s crucial to shut off the power supply. This step ensures your safety and prevents any electrical accidents during the repair process. Follow these steps to shut off the power to your HVAC unit:
- Locate the Electrical Disconnect: Depending on your HVAC unit, the electrical disconnect may be located near the unit itself or in a separate electrical panel. Look for a metal box with a flip or pull-out handle.
- Turn Off the Power: Once you’ve found the electrical disconnect, flip the handle or pull it out to the “off” position. This will cut off the power supply to the unit.
- Double-Check Power Shut-Off: After turning off the power, double-check to ensure that the HVAC unit is no longer receiving electricity. You can do this by testing the system or using a voltage tester to confirm the absence of electrical current.
- Secure the Disconnect: Once you’ve confirmed that the power is off, secure the electrical disconnect by replacing the cover or securing the handle in the “off” position. This helps prevent accidental reactivation of the power supply.
Remember, shutting off the power is a crucial step to ensure your safety while working on your HVAC unit. Always double-check that the power is off before proceeding with any repairs. In the next step, we’ll discuss how to clean or replace the air filters, which is an essential maintenance task for your HVAC unit.
Read more: How To Disassemble Vinyl Fence
Step 2: Clean or Replace Air Filters
Cleaning or replacing the air filters in your HVAC unit is an important maintenance task that can improve its efficiency and indoor air quality. Over time, air filters accumulate dust, dirt, and other debris, which can obstruct airflow and impair the performance of your HVAC system. Follow these steps to clean or replace the air filters:
- Locate the Air Filter: The air filter is typically located in the return air duct or in the air handler unit. Refer to your HVAC unit’s manual to find the exact location of the air filter.
- Remove the Air Filter: Depending on your HVAC unit, the air filter may be secured by clips, screws, or a filter casing. Carefully remove the filter from its housing.
- Inspect the Air Filter: Examine the condition of the air filter. If it is dirty, clogged, or damaged, it needs to be cleaned or replaced. Disposable filters should be replaced, while washable filters can be cleaned according to the manufacturer’s instructions.
- Clean the Air Filter: If you have a washable air filter, gently rinse it under running water to remove dirt and debris. Avoid using harsh chemicals or excessive force, as this can damage the filter. Allow the filter to air dry completely before reinstalling it.
- Replace the Air Filter: If your air filter is disposable or cannot be cleaned effectively, it’s time to replace it with a new one. Make sure to choose the correct size and type of filter recommended by the manufacturer.
- Reinstall the Air Filter: Once the air filter is clean or replaced, carefully place it back into its housing. Ensure that it fits securely and that the arrow indicating the airflow direction is facing towards the unit.
Cleaning or replacing the air filters should be done every one to three months, depending on factors such as indoor air quality and usage. Regular maintenance of air filters helps to improve airflow, enhance energy efficiency, and prolong the lifespan of your HVAC unit. In the next step, we will discuss how to check and clean the condenser coils, another important maintenance task for your HVAC system.
Step 3: Check and Clean Condenser Coils
The condenser coils in your HVAC unit play a crucial role in removing heat from the air to cool your home. Over time, these coils can become dirty and covered in dust, dirt, and debris, hindering their ability to transfer heat effectively. Cleaning the condenser coils is an important maintenance task that can improve the efficiency and performance of your HVAC unit. Follow these steps to check and clean the condenser coils:
- Turn Off the Power: Before inspecting or cleaning the condenser coils, ensure the power supply to the unit is turned off. Follow the safety precautions mentioned earlier to shut off the power before proceeding.
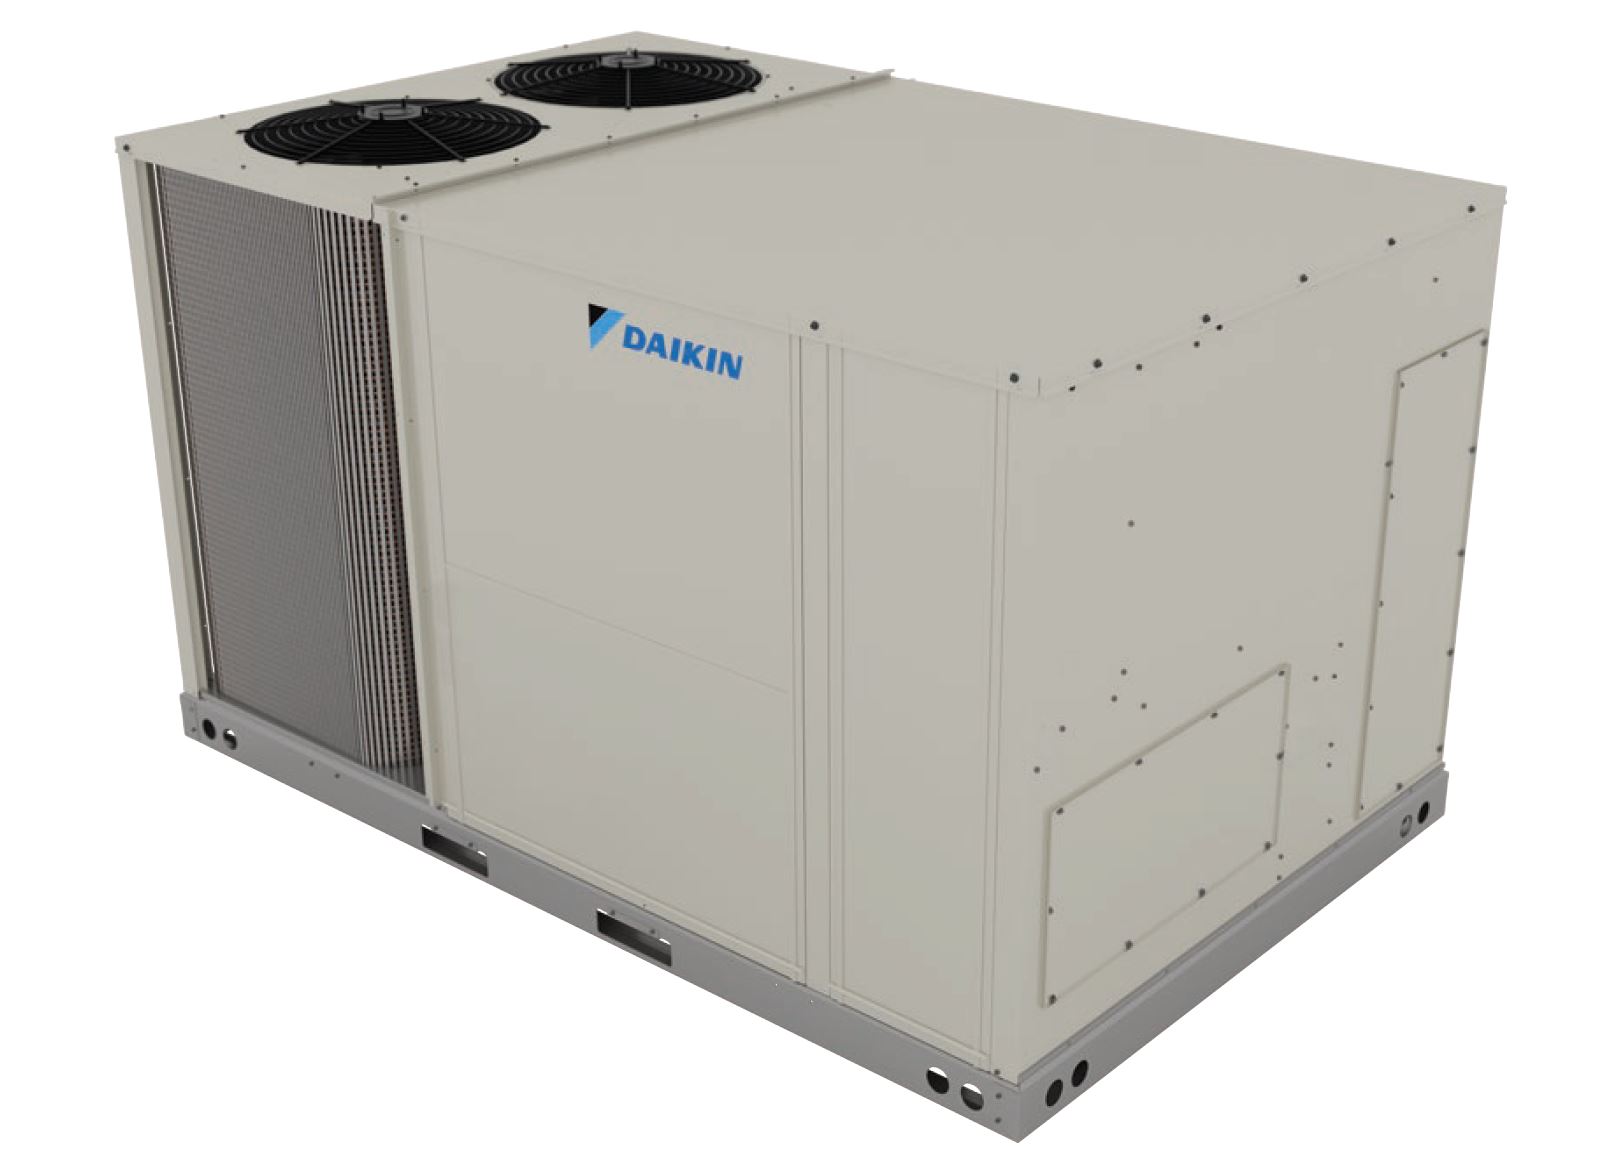
- Locate the Condenser Unit: The condenser unit is usually located outside your home. It looks like a large metal box with a fan on top and houses the condenser coils. Refer to your HVAC unit’s manual if you’re unsure about its location.
- Inspect the Condenser Coils: Carefully examine the condenser coils for any visible dirt, debris, or signs of damage. If the coils are covered in dirt and debris, it’s time to clean them to ensure optimal performance.
- Remove Debris: Use a soft brush or a handheld vacuum cleaner to gently remove loose debris, leaves, and dirt from the coils and surrounding area. Take care not to damage the delicate coil fins during this process.
- Clean the Coils: After removing the larger debris, you can proceed to clean the condenser coils. Use a coil cleaner specifically designed for HVAC systems and follow the manufacturer’s instructions. Apply the cleaner to the coils and allow it to sit for the recommended duration to dissolve any stubborn dirt and grime. Rinse thoroughly with water to remove the cleaner and any remaining debris.
- Dry and Reassemble: Once the coils are cleaned, allow them to dry completely before reassembling the condenser unit. Ensure that all panels and protective covers are securely in place.
Cleaning the condenser coils at least once a year or as needed can significantly improve the efficiency of your HVAC unit. It helps to maintain proper airflow, reduces strain on the system, and prolongs its lifespan. In the next step, we’ll discuss how to check and clear the condensate drain line, an often overlooked but critical maintenance task for your HVAC system.
Step 4: Check and Clear Condensate Drain Line
The condensate drain line in your HVAC unit is responsible for removing moisture created during the cooling process. Over time, the drain line can become clogged with algae, dirt, debris, or mold, causing it to back up and potentially damage your HVAC system. Checking and clearing the condensate drain line is an important maintenance task to prevent water leaks and maintain the proper functioning of your unit. Follow these steps to check and clear the condensate drain line:
- Locate the Condensate Drain Line: The condensate drain line is usually a small plastic or PVC pipe connected to the indoor air handler unit of your HVAC system. It may be located near the unit or in the basement, crawlspace, or attic.
- Inspect the Drain Line: Carefully examine the condensate drain line for any signs of blockage or clogging. Look for water stains, standing water, or any visible debris in or around the drain line.
- Clear the Drain Line: If you notice any blockage or clog in the drain line, it’s time to clear it. Start by turning off the power to the HVAC unit. You can use a wet/dry vacuum, a hand pump, or a thin, flexible brush to remove the debris from the drain line. Insert the tool into the drain line and gently work it back and forth to dislodge the clog. Be cautious not to damage the drain line or push the blockage further into the system.
- Flush with Water: After clearing the clog, flush the drain line with water. You can pour a mixture of equal parts water and bleach into the drain line to help prevent the growth of algae and mold. Alternatively, you can use a specialized condensate line cleaning product following the manufacturer’s instructions.
- Test the Drain Line: Once the drain line is cleared and flushed, turn on the power to the HVAC unit and observe the flow of water. It should drain freely without any backup or leaks. If you notice any issues, such as slow drainage or water leaks, further cleaning or professional assistance may be required.
Regularly checking and clearing the condensate drain line can prevent water damage, reduce the risk of mold growth, and ensure the efficient operation of your HVAC system. In the next step, we’ll discuss how to inspect and replace the fan motor if necessary, another crucial step in HVAC unit repair.
Regularly clean or replace the air filters in your HVAC unit to improve efficiency and prevent damage. This simple maintenance task can help extend the life of your system and keep it running smoothly.
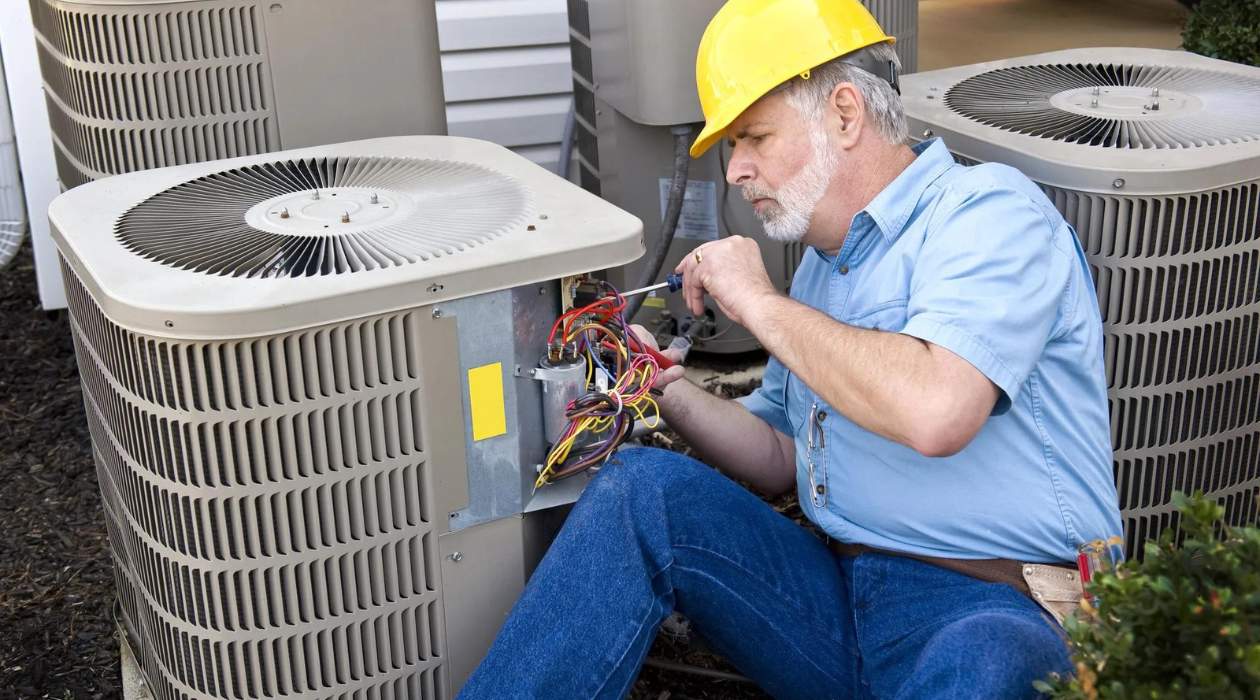
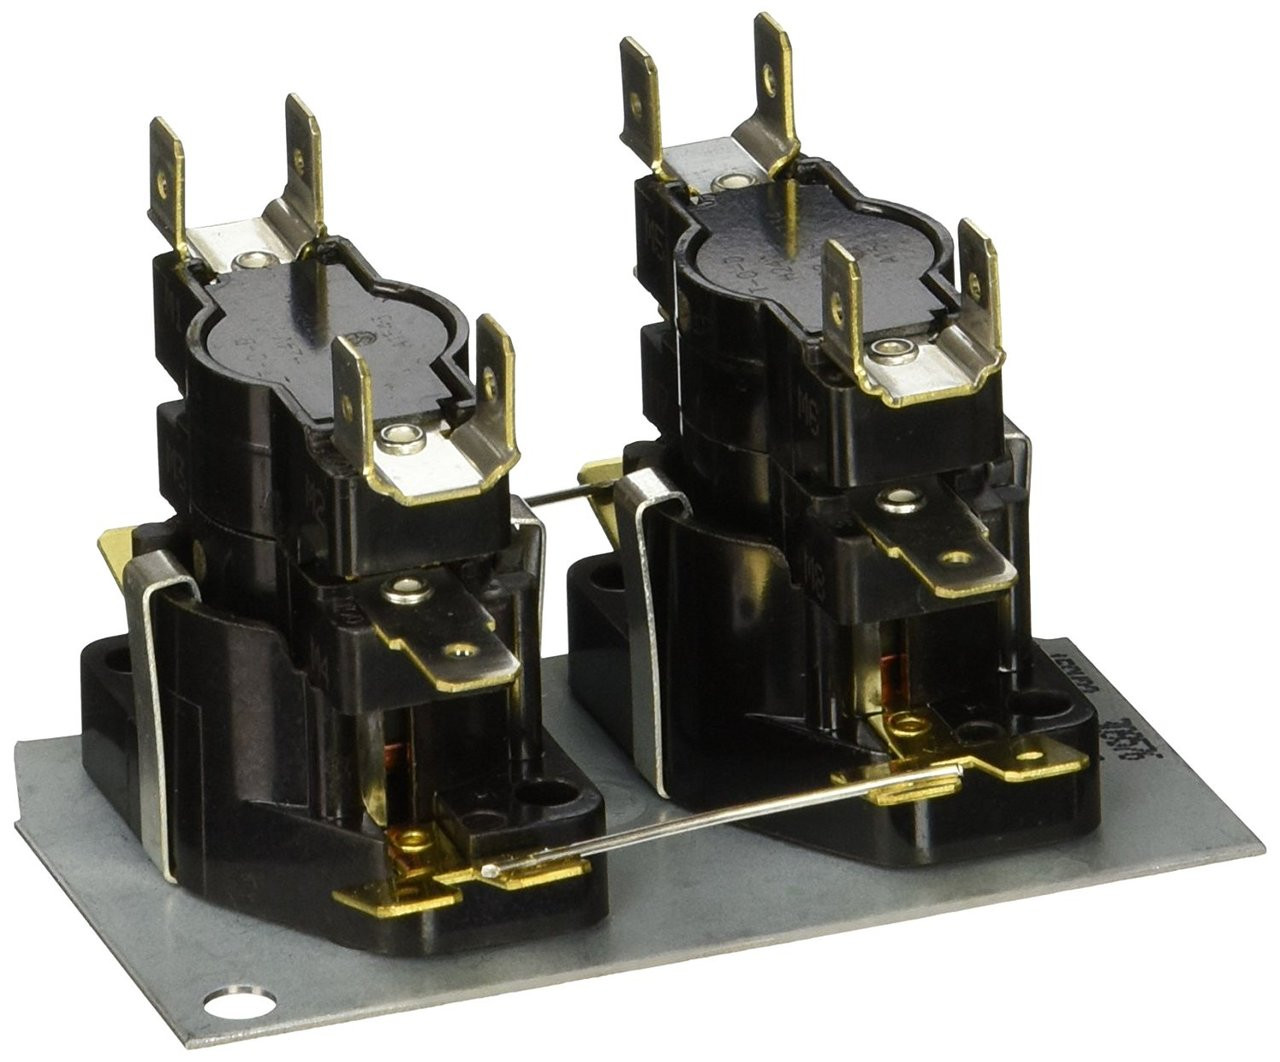
Step 5: Inspect and Replace Fan Motor
The fan motor in your HVAC unit is responsible for circulating air throughout the system. Over time, the fan motor can experience wear and tear, leading to decreased performance or complete failure. Inspecting and replacing the fan motor when necessary is an essential step in maintaining the functionality of your HVAC unit. Follow these steps to inspect and replace the fan motor:
- Turn Off the Power: Before working on the fan motor, ensure that the power supply to the HVAC unit is turned off. Follow the safety precautions mentioned earlier to shut off the power before proceeding.
- Locate the Fan Motor: The fan motor is typically located in the outdoor condenser unit or the indoor air handler unit. Refer to your HVAC unit’s manual to find the exact location of the fan motor.
- Inspect the Fan Motor: Carefully examine the fan motor for any signs of damage, such as worn-out bearings, loose wires, or excessive noise when the unit is operating. If the fan motor is not functioning properly or shows signs of wear, it may require replacement.
- Disconnect the Fan Motor: If the fan motor needs to be replaced, carefully disconnect it from its power source and wiring connections. Take note of the specific wiring connections or take a photo for reference when installing the new fan motor.
- Install the New Fan Motor: Using the information from the old fan motor or the manufacturer’s instructions, install the new fan motor in the correct orientation and secure it with screws or brackets. Make sure to reconnect the wiring connections correctly.
- Test the Fan Motor: Once the new fan motor is installed, turn on the power to the HVAC unit and observe its operation. Check for proper rotation and listen for any unusual noises. If the fan motor is operating smoothly and effectively, you have successfully replaced it.
- Dispose of the Old Fan Motor: Properly dispose of the old fan motor according to local regulations. Many municipalities have recycling programs or designated locations for disposing of electronic waste.
Replacing the fan motor can be a complex task, so if you are unsure or uncomfortable with the process, it is advisable to seek professional HVAC assistance. A trained technician can safely and effectively replace the fan motor for you. In the next step, we’ll discuss how to check and adjust the fan belt if your HVAC unit has one.
Read more: How To Install Vinyl Fence On A Slope
Step 6: Check and Adjust Fan Belt
If your HVAC unit has a fan belt, it is crucial to regularly check and adjust its tension to ensure proper operation. Over time, the fan belt may become loose or worn, leading to issues such as reduced airflow and increased energy consumption. Follow these steps to check and adjust the fan belt:
- Turn Off the Power: As always, before performing any maintenance or repair on your HVAC unit, make sure to turn off the power supply. This will help prevent any accidents or injuries.
- Locate the Fan Belt: The fan belt is typically located near the blower motor or the outdoor condenser unit. Consult your HVAC unit’s manual to find the exact location.
- Check the Tension: Gently press down on the middle of the fan belt with your finger. Ideally, the belt should have a slight give, but not be too loose or too tight. If the belt feels loose or has excessive sag, it needs to be adjusted.
- Adjust the Tension: To adjust the tension of the fan belt, locate the tensioner pulley or adjustment bolt. Use the appropriate tool, such as a wrench or a belt tension gauge, to either tighten or loosen the belt as required. Refer to your HVAC unit’s manual for specific instructions on adjusting the tension.
- Ensure Proper Alignment: While adjusting the tension, also check the alignment of the fan belt. It should run smoothly and evenly along the pulleys without any misalignment. If necessary, adjust the position of the motor or pulleys to ensure proper alignment.
- Test the Belt Tension: After adjusting the tension and alignment, turn on the power to the HVAC unit and observe the fan belt in operation. Make sure it does not slip, squeal, or exhibit any signs of excessive tightness or looseness. Proper tension will ensure optimal performance and reduce wear on the belt and other components.
It’s important to note that not all HVAC units have fan belts, as many newer models utilize direct drive motors. If your unit does not have a fan belt, you may skip this step. Additionally, if you’re unsure about adjusting the fan belt or are having difficulty, it’s recommended to seek professional assistance from an HVAC technician who can properly assess and adjust the belt tension for you. In the next step, we’ll discuss the importance of lubricating moving parts in your HVAC unit.
Step 7: Lubricate Moving Parts
Regular lubrication of the moving parts in your HVAC unit is essential to ensure smooth and efficient operation. Over time, these parts can become dry and create friction, leading to increased wear, reduced performance, and potential breakdowns. Follow these steps to lubricate the moving parts in your HVAC unit:
- Turn Off the Power: As always, before performing any maintenance or repair on your HVAC unit, make sure to turn off the power supply to avoid any accidents or injuries.
- Identify the Moving Parts: The moving parts in your HVAC unit can include fan motors, bearings, pulleys, and other mechanical components. Consult your HVAC unit’s manual to identify the specific parts that require lubrication.
- Choose the Right Lubricant: Select the appropriate lubricant for your HVAC unit. Most HVAC systems require a silicone-based lubricant, as it can withstand high temperatures and provides long-lasting lubrication. Avoid using grease or oil-based lubricants, as they can attract dust and debris.
- Lubricate the Moving Parts: Apply a small amount of lubricant to each moving part as specified in the manual. Use a damp cloth or a brush to remove any debris or dirt from the parts before applying the lubricant. Be cautious not to over-lubricate, as excess lubricant can cause accumulation and attract more dirt.
- Rotate the Parts: After lubricating the moving parts, manually rotate them to distribute the lubricant evenly. This helps to ensure that all areas are properly coated and that the lubricant can penetrate into the necessary areas.
- Clean Excess Lubricant: Wipe off any excess lubricant using a clean, dry cloth. Leaving excess lubricant can attract dirt and debris, creating a potential hazard for the HVAC system.
- Turn on the Power: Once the lubrication is complete and excess lubricant is removed, turn on the power to the HVAC unit and observe its operation. Make sure the moving parts operate smoothly and without any unusual noises.
Regular lubrication of the moving parts in your HVAC unit can extend the lifespan of the components and improve overall performance. Be sure to follow the manufacturer’s recommendations regarding lubrication intervals and the type of lubricant to use. If you’re unsure about which parts to lubricate or need assistance, don’t hesitate to consult a professional HVAC technician. In the next step, we’ll discuss how to inspect and test the thermostat of your HVAC unit.
Step 8: Inspect and Test Thermostat
The thermostat in your HVAC unit controls the temperature and settings, ensuring comfort and energy efficiency. It’s important to regularly inspect and test the thermostat to ensure it is functioning correctly. Follow these steps to inspect and test the thermostat of your HVAC unit:
- Turn Off the Power: As always, before performing any maintenance or repair on your HVAC unit, make sure to turn off the power supply to avoid any accidents or injuries.
- Remove the Thermostat Cover: Carefully remove the cover from the thermostat by loosening the screws or following the manufacturer’s instructions. You may need a screwdriver or a small tool to do this.
- Inspect the Wiring: Examine the wiring connections inside the thermostat. Ensure that none of the wires are loose, damaged, or corroded. If you notice any issues, such as loose wires, they should be tightened or repaired.
- Clean the Thermostat: Use a soft brush or a cloth to gently clean the thermostat and remove any dust, dirt, or debris that may have accumulated. Be cautious not to damage any delicate components.
- Test the Thermostat: Set the thermostat to the desired temperature and wait for a few minutes. Listen for any clicking or humming sounds to indicate that the thermostat is functioning correctly. Also, check if the heating or cooling system kicks in as expected.
- Calibrate if Needed: If you suspect that the thermostat is not accurately maintaining the set temperature, you can calibrate it. Refer to your thermostat’s manual for instructions on how to calibrate it. This process typically involves adjusting a small screw or setting in the thermostat.
- Reinstall the Thermostat Cover: Once you have completed the inspection and testing, reattach the thermostat cover by securing the screws or following the manufacturer’s instructions.
- Turn on the Power: After reinstalling the thermostat cover, turn on the power to the HVAC unit and observe its operation. Make sure the thermostat is accurately controlling the temperature and that the heating or cooling system is functioning as expected.
Regularly inspecting and testing the thermostat ensures accurate temperature control and helps to identify any issues that may require repairs or adjustments. If you encounter persistent problems or are unsure about the thermostat’s operation, consulting a professional HVAC technician can provide further guidance and assistance. In the next step, we’ll discuss how to check and repair any ductwork leakage in your HVAC system.
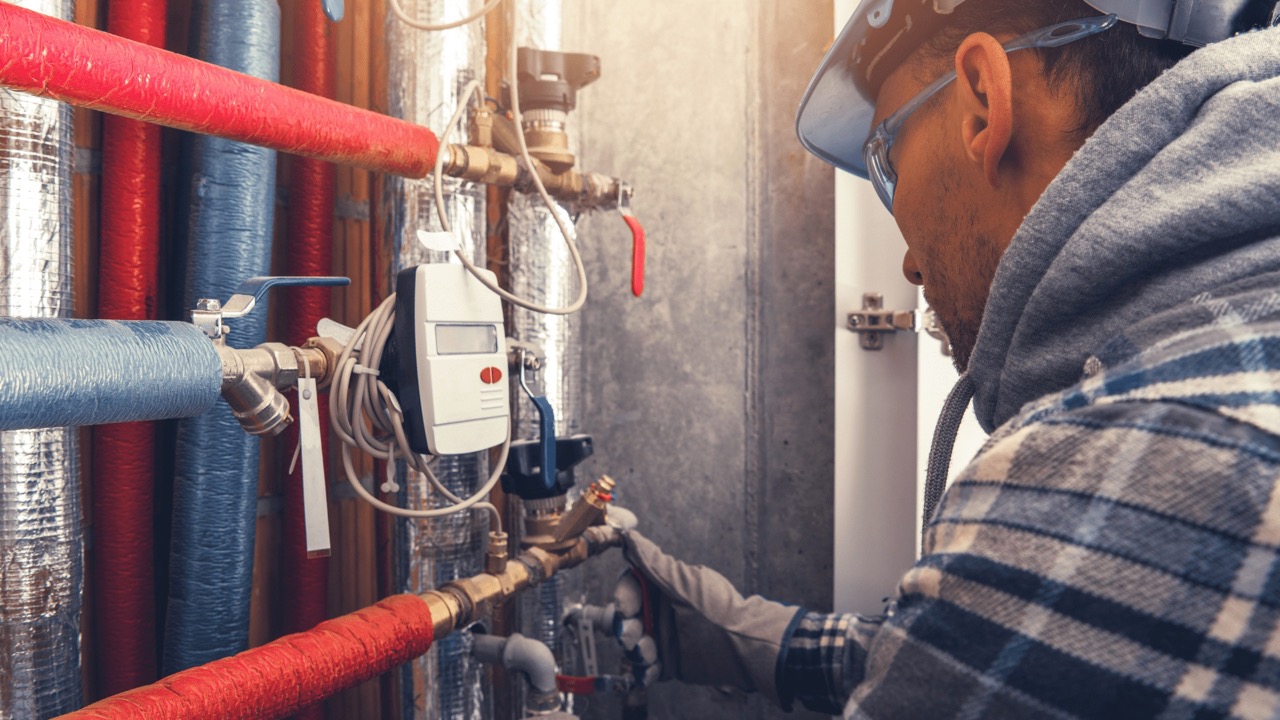
Step 9: Check and Repair Ductwork Leakage
The ductwork in your HVAC system plays a critical role in distributing conditioned air throughout your home. Over time, ducts can develop leaks or gaps, resulting in decreased efficiency, poor airflow, and energy waste. Checking and repairing ductwork leakage is an important maintenance task to optimize the performance of your HVAC system. Follow these steps to check and repair ductwork leakage:
- Turn Off the Power: Before working on the ductwork, ensure that the power supply to the HVAC unit is turned off. This is important for both your safety and to prevent the system from accidentally turning on during repairs.
- Locate the Ductwork: The ductwork is typically found in the basement, attic, or crawl space, depending on your home’s layout. Identify the sections of ductwork that are accessible for inspection and repair.
- Inspect the Ductwork: Visually inspect the ductwork for any visible signs of leakage, such as gaps, loose duct connections, or holes. Pay close attention to areas where ducts connect to vents, registers, or other duct sections.
- Seal Small Leaks: For small leaks or gaps, you can use duct sealant or special HVAC foil tape to seal the affected areas. Apply the sealant or tape directly over the leak, ensuring it is fully covered and securely adhered to the duct surface.
- Repair Larger Leaks: If you discover larger holes or gaps in the ductwork, you may need to use sheet metal patches or professional duct mastic. Cut a piece of sheet metal slightly larger than the hole, then secure it in place using sheet metal screws. Apply duct mastic around the edges to create an airtight seal.
- Check Connections: Inspect the connections between duct sections, vents, and registers. Tighten any loose screws or clamps to ensure a secure and airtight connection.
- Consider Professional Inspection: If you’re unable to locate or repair all the leaks or if you suspect significant ductwork issues, it may be wise to consult a professional HVAC technician. They can conduct a thorough inspection and perform more advanced repairs as needed.
Repairing ductwork leakage can improve airflow, increase energy efficiency, and enhance the overall performance of your HVAC system. Regularly inspecting the ductwork and addressing any leaks promptly is essential for maintaining a well-functioning HVAC system. In the final step, we’ll discuss how to test the operation of your HVAC system to ensure optimal performance.
Read more: How To Clean Bat Poop In Attic
Step 10: Test System Operation
After completing the necessary repairs and maintenance tasks on your HVAC system, it is essential to test its operation to ensure everything is functioning correctly. Testing the system allows you to identify any remaining issues and verify that all repairs have been successful. Follow these steps to test the operation of your HVAC system:
- Turn On the Power: Make sure the power supply to the HVAC unit is turned on. Ensure that you have reconnected any disconnect switches or power sources that were previously turned off.
- Set the Thermostat: Adjust the thermostat to your desired temperature and cooling or heating mode. Listen for the HVAC unit to kick in and ensure that it starts up smoothly without any unusual noises or vibrations.
- Check Airflow and Temperature: Place your hand near the supply vents in each room to verify that there is consistent airflow. Feel the temperature of the air coming from the vents to ensure it aligns with the thermostat setting.
- Listen for Unusual Noises: Listen for any strange noises coming from the HVAC unit, such as buzzing, rattling, or grinding sounds. Unusual noises could indicate lingering issues that need to be addressed.
- Monitor Performance: Observe the performance of the HVAC system over several cycles. Ensure that the system maintains the desired temperature, kicks on and off as needed, and operates without any irregularities.
- Check for Leaks or Odors: Inspect the areas around the HVAC unit and the ductwork for any signs of leaks, water buildup, or abnormal odors. Address any issues promptly to avoid further damage or potential health hazards.
- Perform Regular Maintenance: Now that your HVAC system is up and running smoothly, remember to perform regular maintenance tasks, such as cleaning or replacing air filters, checking the condenser coils, and lubricating moving parts, to keep it in optimal condition.
By following these steps and thoroughly testing the operation of your HVAC system, you can ensure that all repairs have been successful and the system is functioning efficiently. Regular maintenance and prompt attention to any issues that arise will help prolong the lifespan of your HVAC system and ensure continued comfort in your home. If you encounter any persistent problems or are unsure about any aspect of the system’s operation, it is recommended to consult a professional HVAC technician for further assistance.
Congratulations on completing the repair process for your HVAC unit! With proper maintenance and regular inspections, you can enjoy reliable performance and a comfortable indoor environment for years to come.
Conclusion
Maintaining and repairing your HVAC unit is essential for optimal performance, energy efficiency, and indoor comfort. By following the steps outlined in this guide, you have learned how to diagnose common HVAC problems and make necessary repairs to keep your system in top shape. Regular inspection and maintenance tasks such as cleaning filters, checking condenser coils, and lubricating moving parts can help prevent issues before they arise and prolong the lifespan of your HVAC unit.
We covered everything from shutting off the power and cleaning or replacing air filters to inspecting and testing the thermostat, and checking for ductwork leakage. Each step plays a vital role in ensuring your HVAC system operates efficiently and effectively. Safety precautions were emphasized at every stage, prioritizing your well-being throughout the repair process.
Remember, while you can handle many repairs yourself, it’s important to know your limits. For more complex issues or if you’re uncertain about tackling a repair task, it is advisable to seek professional assistance from a qualified HVAC technician. They have the expertise and experience to efficiently diagnose and resolve any problems with your HVAC unit.
By taking proactive steps to maintain and repair your HVAC unit, you can enjoy improved performance, energy savings, and a comfortable indoor environment all year round. Remember to perform regular maintenance tasks and schedule annual inspections to keep your system running optimally.
Thank you for following this comprehensive guide. By investing time and effort in maintaining and repairing your HVAC unit, you are ensuring its longevity and maximizing its efficiency. Now, go ahead and enjoy the comfort of your well-functioning HVAC system!
Frequently Asked Questions about How To Repair HVAC Unit
Was this page helpful?
At Storables.com, we guarantee accurate and reliable information. Our content, validated by Expert Board Contributors, is crafted following stringent Editorial Policies. We're committed to providing you with well-researched, expert-backed insights for all your informational needs.


0 thoughts on “How To Repair HVAC Unit”