Home>Ideas and Tips>Upgrading Your Home’s Gutters DIY Installation Tips
Ideas and Tips
Upgrading Your Home’s Gutters DIY Installation Tips
Published: September 5, 2024
Learn how to upgrade your home's gutters with our DIY installation tips. Save money and enhance your home's functionality and appearance.
(Many of the links in this article redirect to a specific reviewed product. Your purchase of these products through affiliate links helps to generate commission for Storables.com, at no extra cost. Learn more)
Introduction
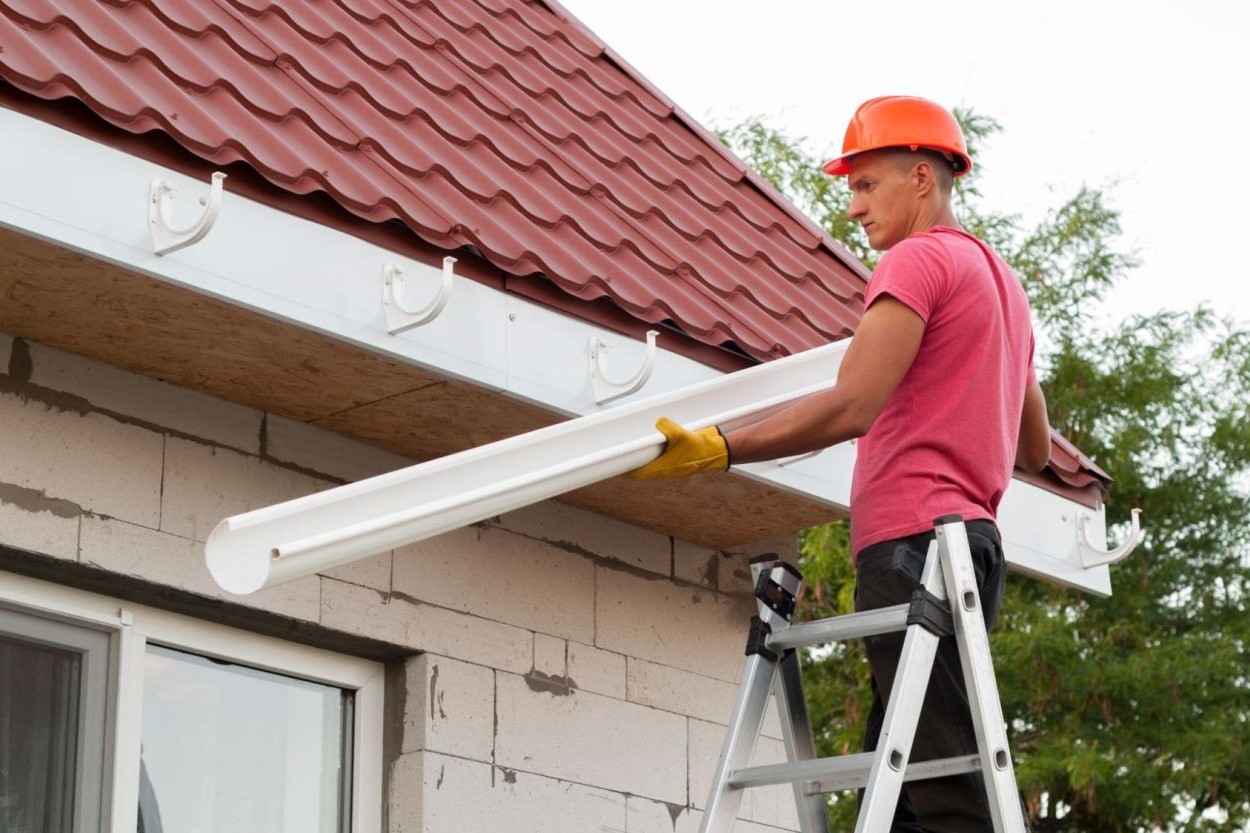
Upgrading your home's gutters is a crucial home improvement project that can significantly enhance the functionality and aesthetic appeal of your property. Gutters play a vital role in directing rainwater away from your home's foundation, preventing erosion, and reducing the risk of water damage. While hiring a professional can be an option, many homeowners find that installing gutters themselves can be a rewarding and cost-effective DIY project. In this article, we will guide you through the process of upgrading your home's gutters with DIY installation tips.
Planning the Gutter Replacement Project
Before you begin, it's essential to evaluate and plan your gutter replacement project carefully. Here are some key steps to consider:
-
Inspect Your Current Gutters
- Start by inspecting your current gutters for any signs of damage, sagging, or clogs. Look for rust, corrosion, or cracks in the gutters and downspouts. Check if the gutters are properly aligned and if there are any gaps or leaks.
- Evaluate the condition of the fascia board and soffit. If you notice any rotting wood, it's crucial to replace it before installing new gutters.
-
Measure Your House
- Measure the length of each gutter run and mark the downspout locations. Record the number of inside and outside corners, as well as the end caps (right or left ends).
- Determine the height of the downspouts and add four feet to each for the extension away from the house at the bottom.
-
Choose the Right Materials
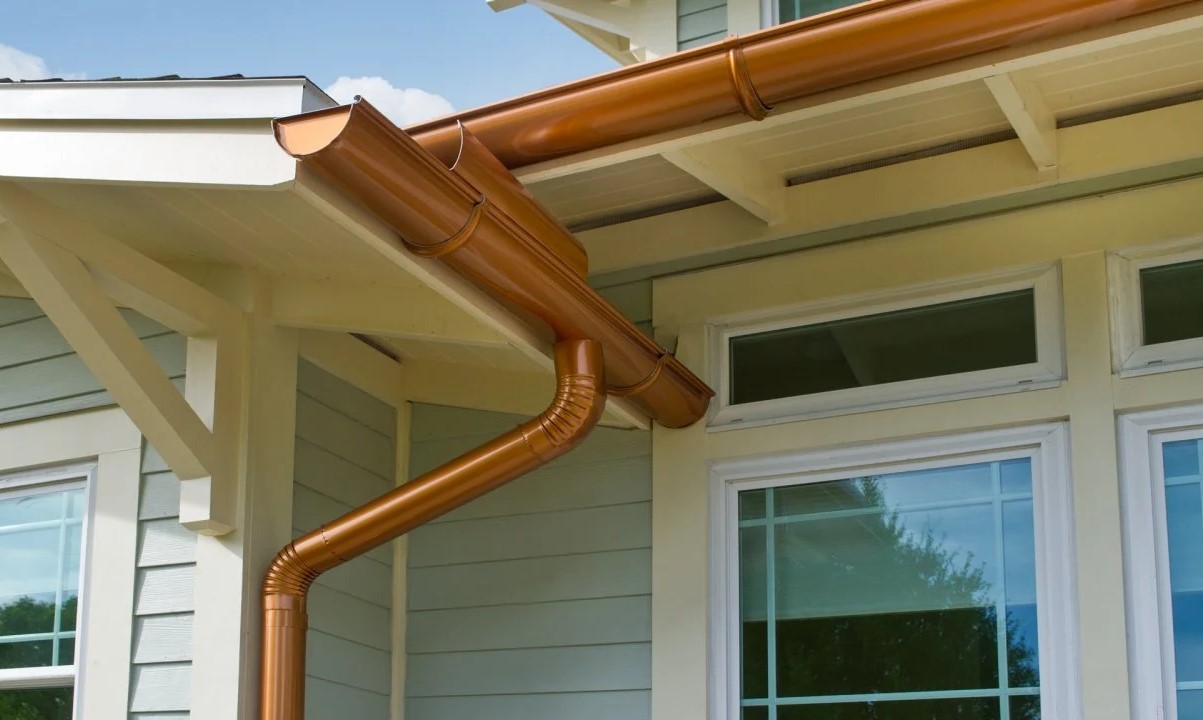
- Decide on the type of gutter material you want to use. Common options include aluminum, vinyl, and copper. Each material has its own set of benefits and drawbacks.
- Consider the color and style of your gutters. You can choose from various colors and styles such as half-round or K-style gutters.
-
Gather Tools and Components
- Make a list of the tools and components you'll need for the installation. These may include:
- Cordless drill
- Crimper
- Duckbill tin snips
- Extension ladder
- Hex head driver
- Offset tin snips
- Pop rivet gun
- 1 1/4" self-tapping hex head screws
- 1/4" hex head screws ('zippers')
- 1/8-in. medium length rivets
- Downspouts
- Elbows
- Gutter
- Gutter flashing
- Gutter hanging strap
- Gutter sealant
- Make a list of the tools and components you'll need for the installation. These may include:
Tools Required for Installation
Here is a detailed list of tools you'll need for installing gutters:
-
Cordless Drill
- A cordless drill is essential for driving screws and rivets.
-
Crimper
- A crimping tool helps secure the gutter sealant around the edges.
-
Duckbill Tin Snips
- These are used to cut metal gutters and downspouts.
-
Extension Ladder
- An extension ladder is necessary for reaching high areas of your roof.
-
Hex Head Driver
- This tool is used to drive hex head screws.
-
Offset Tin Snips
- Offset tin snips are handy for cutting curved sections of gutters.
-
Pop Rivet Gun
- A pop rivet gun is required for installing rivets in non-seamless gutters.
Materials Required for Installation
Here is a detailed list of materials you'll need for installing gutters:
-
Gutters
- Choose from various materials like aluminum, vinyl, or copper based on your preference and budget.
-
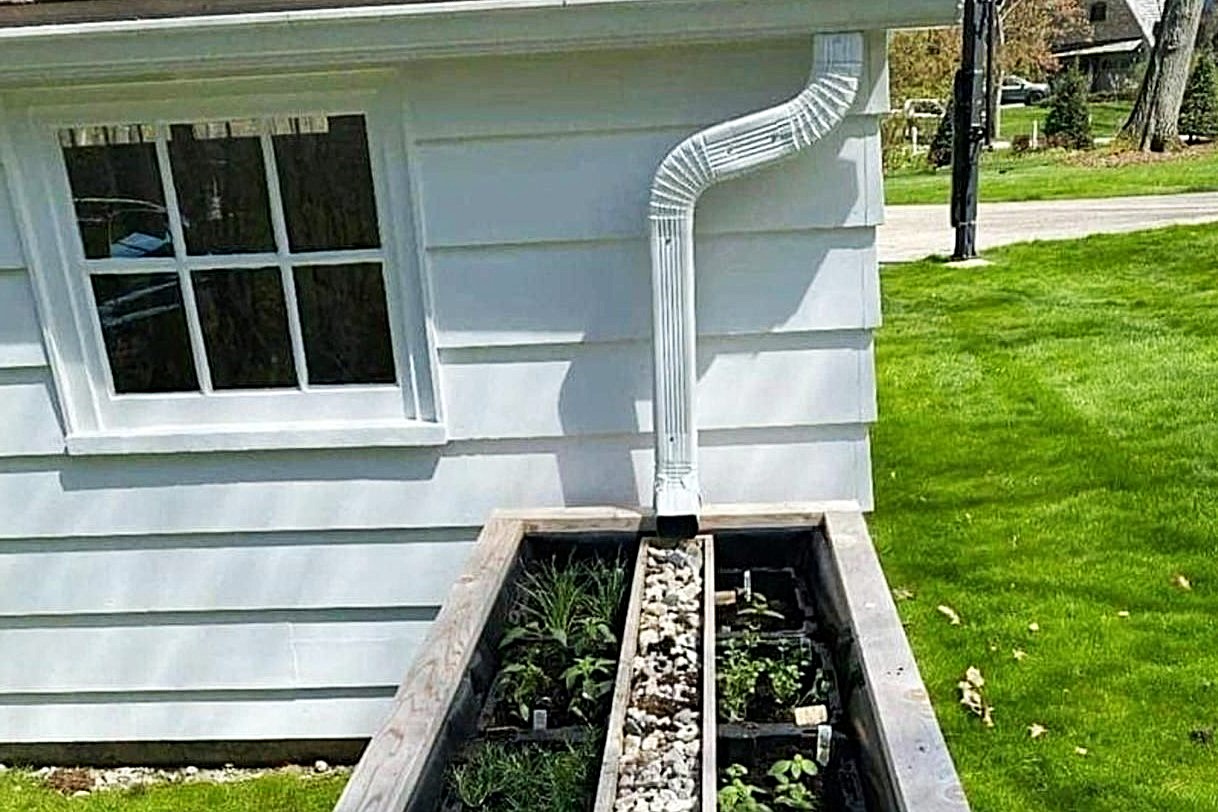
Downspouts
- Downspouts direct water away from your home's foundation. You'll need multiple downspouts depending on the size of your house.
-
Elbows
- Elbows are used to turn downspouts at corners or bends.
-
Gutter Flashing
- Gutter flashing helps prevent water from seeping behind the gutters.
-
Gutter Hanging Strap
- This strap secures the gutters to the fascia board.
-
Gutter Sealant
- Gutter sealant reduces maintenance costs by preventing leaks at seams.
Step-by-Step Guide to Installing Gutters
Step 1: Remove Old Gutters (If Necessary)
If you're replacing old gutters, start by carefully removing them from your home's fascia board using a pry bar and hammer. Be cautious not to damage the fascia board or soffit.
Step 2: Inspect and Prepare the Fascia Board
Inspect the fascia board for any signs of rotting wood or damage. If necessary, replace it with new wood and prime it before painting.
Step 3: Measure and Mark the Gutter Run
Measure each section of your roof where you'll be installing gutters and mark them accordingly. Determine a rough layout based on these measurements.
Step 4: Cut Gutter Sections
Cut gutter sections according to your measurements using duckbill tin snips or an angle grinder with a metal cutting blade.
Step 5: Assemble Gutter Sections
Join gutter sections using silicone glue and rivets or screws. Make sure all seams are secure to prevent leaks.
Step 6: Install Downspouts
Install downspouts at marked locations using elbows to turn them at corners or bends.
Step 7: Secure Gutters to Fascia Board
Use gutter hanging straps to secure gutters to the fascia board. Ensure they are evenly spaced and tightly secured.
Step 8: Add Gutter Flashing
Apply gutter flashing around edges where gutters meet the fascia board to prevent water seepage.
Step 9: Test Gutters
Test your newly installed gutters by simulating rainfall using a hose or sprinkler system. Check for any leaks or issues at seams.
Tips for Successful DIY Gutter Installation
-
Plan Thoroughly
- Plan your gutter installation thoroughly before starting work. Measure multiple times to ensure accuracy.
-
Use Proper Tools
- Use proper tools like crimpers, duckbill tin snips, and pop rivet guns to secure gutters effectively.
-
Ensure Slope
- Ensure that gutters have a slight slope (about 1/4 inch per 10 feet) towards downspouts to prevent water accumulation.
-
Use Gutter Sealant
- Apply gutter sealant around seams to reduce maintenance costs over time.
-
Consider Gutter Guards
- Install gutter guards like LeafFilter to prevent clogs from leaves, pine needles, animals, etc., which can significantly increase the longevity of your gutter system.
-
Maintain Regularly
- Establish an excellent gutter cleaning protocol including regular inspections and cleaning sessions using mildew or bleach spray on gutters from time to time.
Benefits of DIY Gutter Installation
-
Cost-Effective
- DIY gutter installation can save you substantially over professionally installed gutters.
-
Personal Satisfaction
- Completing a DIY project like gutter installation can give you a sense of personal satisfaction and accomplishment.
-
Customization
- With DIY installation, you have more control over customization options such as color and style choices.
-
Learning Experience
- It provides an opportunity to learn new skills related to home improvement projects.
When to Consider Professional Installation
While DIY gutter installation can be rewarding, there are situations where it's better to hire professionals:
-
Long Runs
- If you have long runs of gutters (over 10 feet), it's often more practical and cost-effective to hire professionals who can fabricate seamless gutters on-site.
-
Complex Installations
- Complex installations involving multiple corners or bends may require specialized tools and expertise that DIYers might not possess.
-
Time Constraints
- If you don't have several days to invest in this project due to time constraints or other commitments, hiring professionals might be a better option.
-
Seamless Gutters
- Seamless gutters offer superior performance with no weak points where water can drip and leak. Professionals can provide seamless gutters which are generally more durable than DIY installations.
Conclusion
Upgrading your home's gutters with DIY installation tips can be a rewarding experience if done correctly. By following these steps and tips outlined above, you'll be able to install strong, sleek-looking gutters that enhance both functionality and aesthetic appeal of your property while saving money compared to professional installation costs. However, always consider hiring professionals if you're dealing with complex installations or lack sufficient time for the project.
Remember always to inspect current gutters before starting any work; evaluate their condition thoroughly; measure accurately; use proper tools; ensure slope; apply gutter sealant; consider gutter guards; maintain regularly; and finally ensure that all seams are secure preventing leaks over time ensuring longevity of your new gutter system protecting valuable investment made into upgrading home's exterior features enhancing overall value property itself
Was this page helpful?
At Storables.com, we guarantee accurate and reliable information. Our content, validated by Expert Board Contributors, is crafted following stringent Editorial Policies. We're committed to providing you with well-researched, expert-backed insights for all your informational needs.


0 thoughts on “Upgrading Your Home’s Gutters DIY Installation Tips”