Home>Articles>How To Replace A Water Heater Pressure Relief Valve
Articles
How To Replace A Water Heater Pressure Relief Valve
Modified: October 20, 2024
Looking for articles on how to replace a water heater pressure relief valve? Check out our comprehensive guide and learn the step-by-step process.
(Many of the links in this article redirect to a specific reviewed product. Your purchase of these products through affiliate links helps to generate commission for Storables.com, at no extra cost. Learn more)
Introduction
A water heater pressure relief valve plays a critical role in maintaining the safety and functionality of your water heating system. This valve is designed to release built-up pressure inside the tank, preventing potential disasters such as explosions or ruptures.
Over time, the pressure relief valve may become faulty or worn out, compromising the efficiency and safety of your water heater. In such cases, it is essential to replace the valve promptly to ensure the proper functioning of your system.
In this article, we will guide you through a step-by-step process on how to replace a water heater pressure relief valve. We will discuss the necessary tools and materials, how to turn off the power supply, drain the water heater, locate and remove the old valve, install the new one, and test the pressure relief valve after the replacement.
By following these instructions, you can confidently replace the pressure relief valve and ensure the continued performance and safety of your water heating system.
Key Takeaways:
- Regularly testing the pressure relief valve is crucial to ensure it functions properly, preventing potential disasters. Contact a professional if the valve fails the test.
- Replacing a water heater pressure relief valve is a critical maintenance task that helps ensure the safety and efficiency of your water heating system. Always prioritize safety and follow proper procedures.
Understanding the Water Heater Pressure Relief Valve
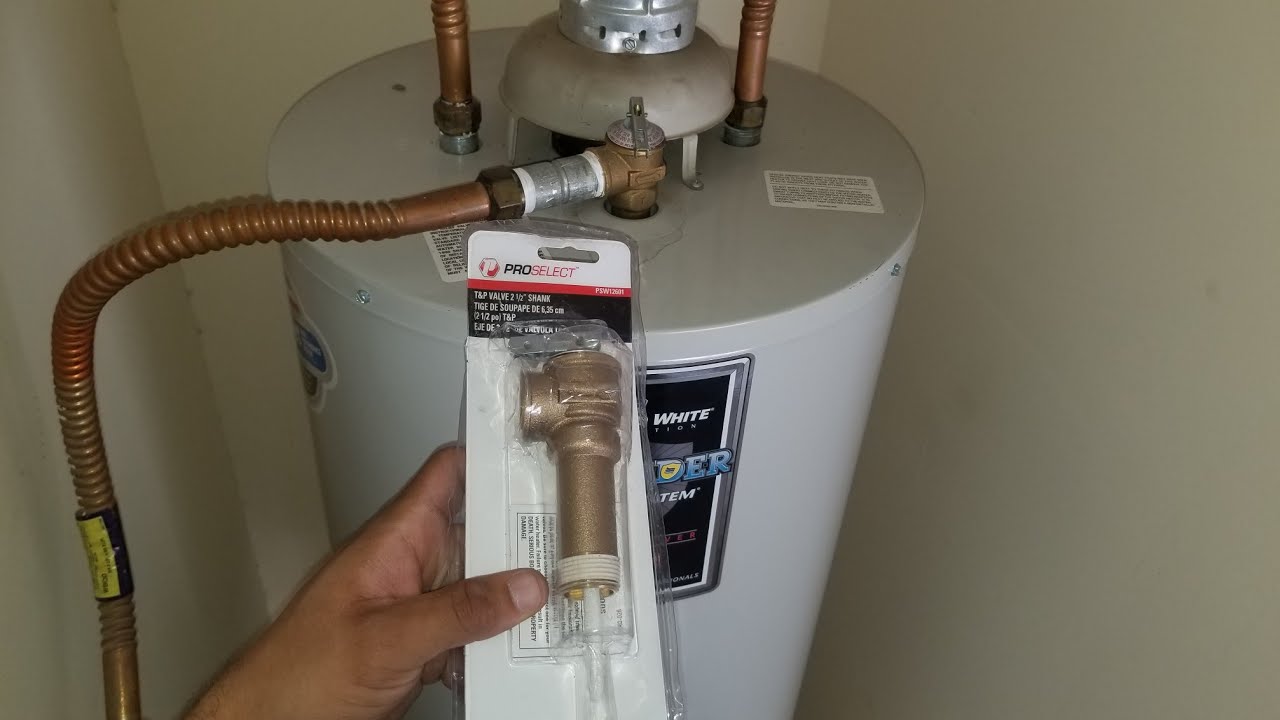
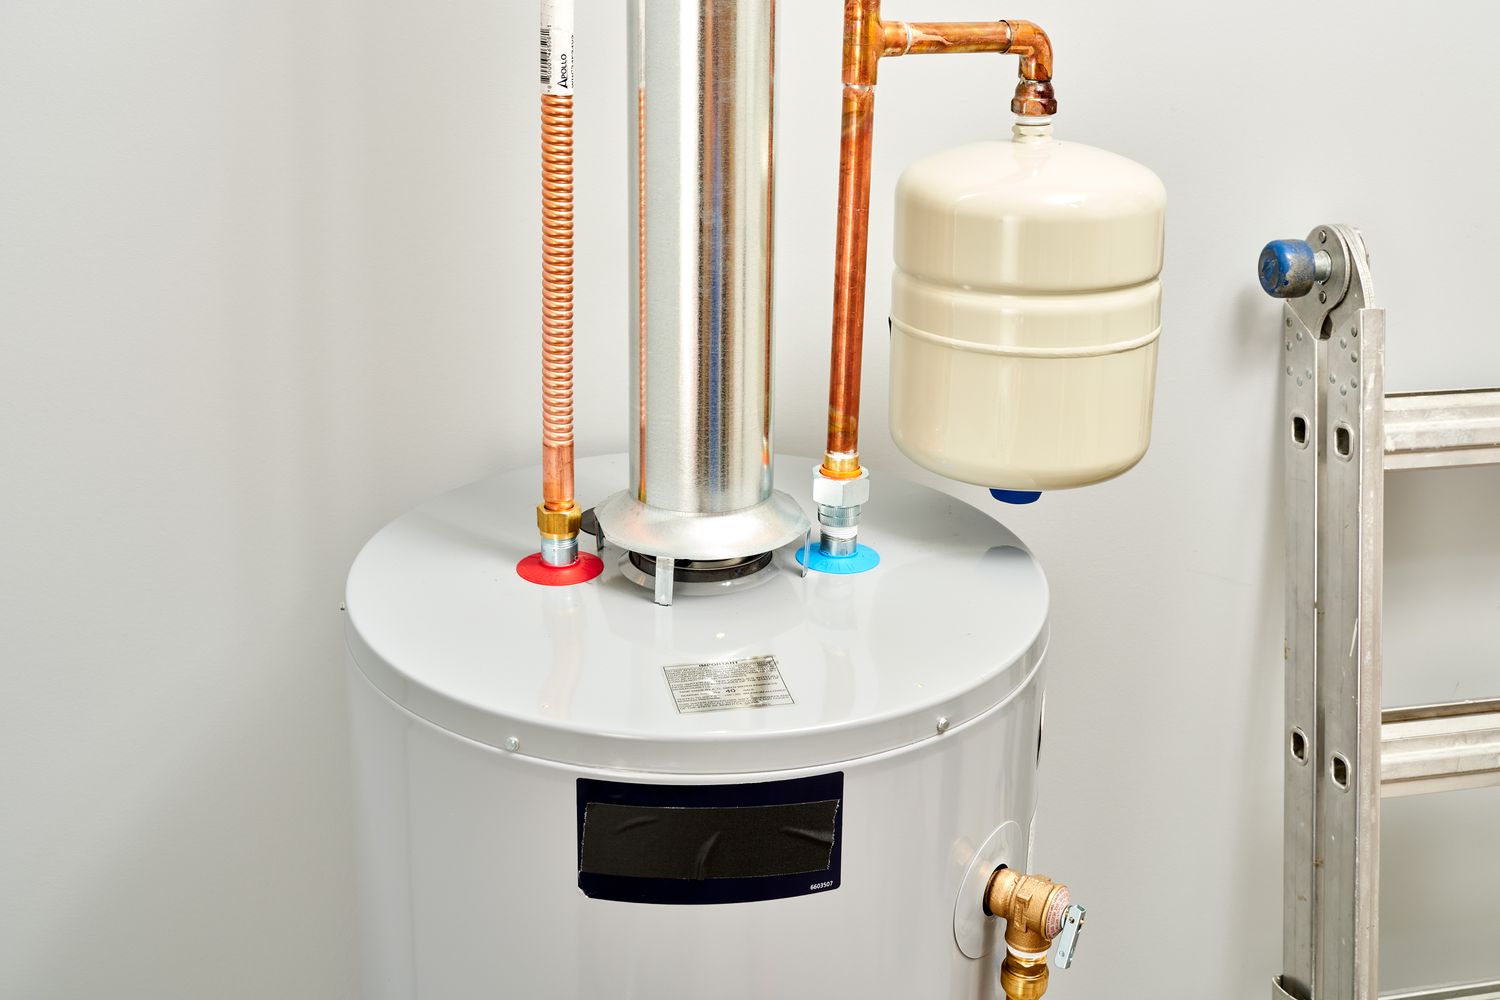
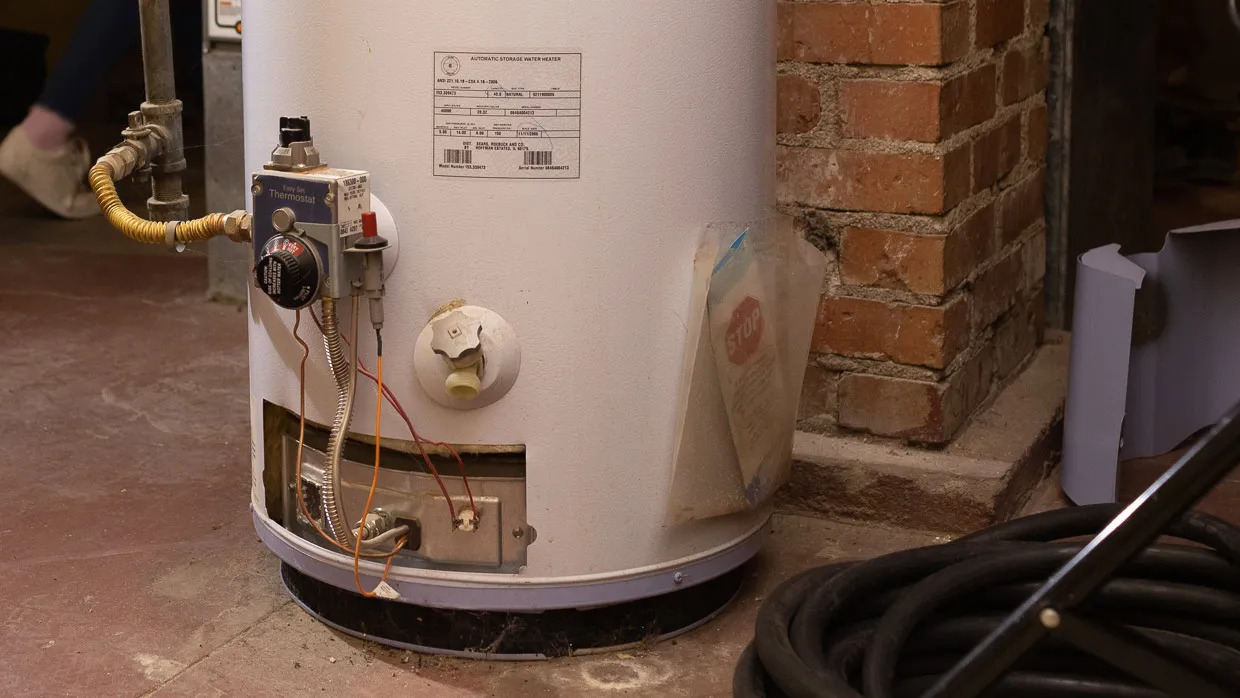
The water heater pressure relief valve, also known as the T&P (temperature and pressure) valve, is a crucial component of your water heating system. Its primary function is to prevent excessive pressure build-up inside the water heater tank, which can lead to catastrophic failures.
When the water inside the tank reaches a certain temperature or pressure level, the pressure relief valve opens to release the excess pressure. This action helps to prevent the tank from exploding or rupturing, protecting your home and ensuring your safety.
The pressure relief valve is typically located on the side or top of the water heater tank and is equipped with a lever or a test lever for manual testing. It is designed to handle high temperatures and pressures, but over time, it can become faulty or worn out, necessitating replacement.
It is essential to understand the specifications of your water heater pressure relief valve before replacing it. Look for the appropriate pressure rating, temperature rating, and size to ensure compatibility with your specific water heater model. Consult the manufacturer’s instructions or seek professional guidance if you are unsure about the specifications.
Remember that working with water heater components can be dangerous, especially when dealing with high pressure and high temperatures. If you are uncomfortable or uncertain about replacing the pressure relief valve yourself, it is always a good idea to seek professional assistance.
Now that you have a clear understanding of the water heater pressure relief valve and its importance, let’s move on to the next steps in the process of replacing it.
Gather the Necessary Tools and Materials
Before replacing the water heater pressure relief valve, it is essential to gather all the necessary tools and materials to ensure a smooth and successful replacement process. Here is a list of the items you will need:
- Adjustable wrench: This tool will be used to loosen and tighten connections.
- Pipe wrench: A pipe wrench will come in handy to remove and install the pressure relief valve.
- Screwdriver: Depending on the type of connections on your water heater, you may need a flathead or Phillips screwdriver.
- Teflon tape: Teflon tape helps create a leak-free seal when installing the new pressure relief valve.
- Bucket or hose: You will need a container or a hose to drain the water heater tank before replacing the valve.
- New pressure relief valve: Purchase a new pressure relief valve that is compatible with your water heater model. Make sure to check the specifications and select the appropriate pressure rating and size.
Ensure that you have all these tools and materials readily available before starting the replacement process. This will help save time and prevent any delays or interruptions during the procedure.
Once you have gathered the necessary tools and materials, you are ready to proceed with turning off the power supply to the water heater, which we will discuss in the next step.
Turn Off the Power Supply to the Water Heater
Before you begin replacing the water heater pressure relief valve, it is crucial to turn off the power supply to the water heater to ensure your safety and prevent any potential accidents. Follow these steps to turn off the power supply:
- Electric water heater: Locate the circuit breaker panel in your home and find the breaker dedicated to the water heater. Switch the breaker to the “off” position to cut off the power supply to the water heater. Alternatively, if your water heater has a dedicated disconnect switch, turn it off.
- Gas water heater: Locate the gas valve on the water heater and turn the valve to the “off” position. This will shut off the gas supply to the water heater.
By turning off the power supply or gas supply, you ensure that there is no electrical or heat source present while replacing the pressure relief valve, reducing the risk of injury or damage.
It’s also a good practice to wait for the water heater to cool down before proceeding further, especially if you had hot water running recently. This will prevent any accidental burns during the replacement process.
Once you have turned off the power supply and allowed the water heater to cool down, you are ready to move on to the next step: draining the water heater.
Drain the Water Heater
Before replacing the water heater pressure relief valve, it’s necessary to drain the water heater to relieve the pressure and empty the tank. Follow these steps to drain the water heater:
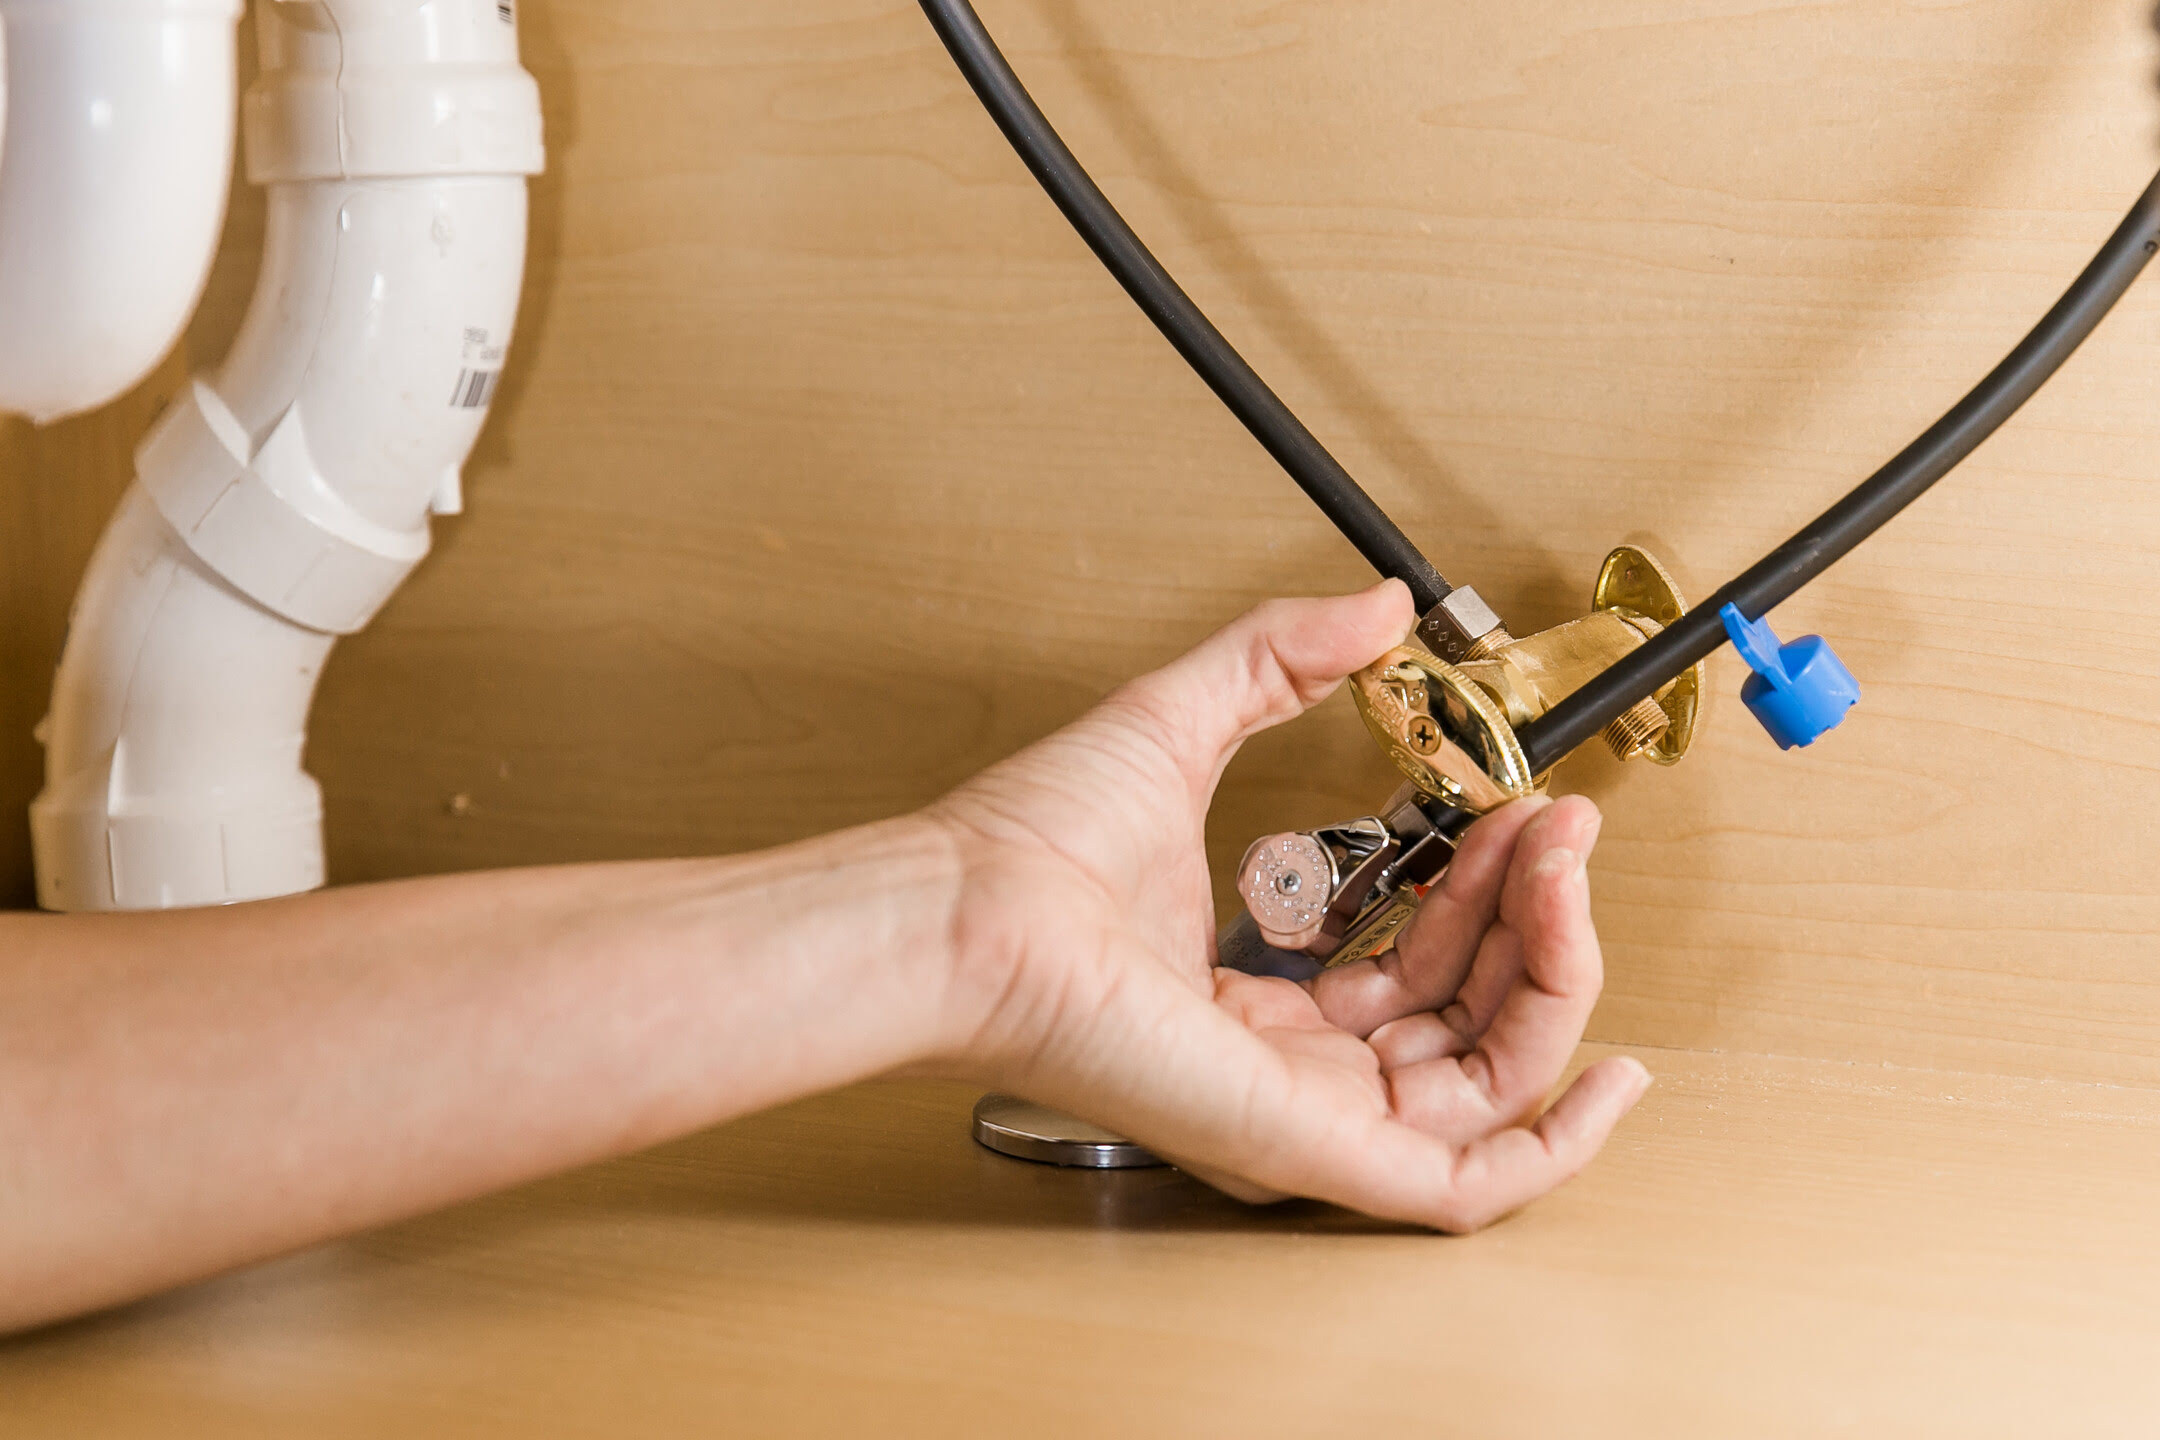
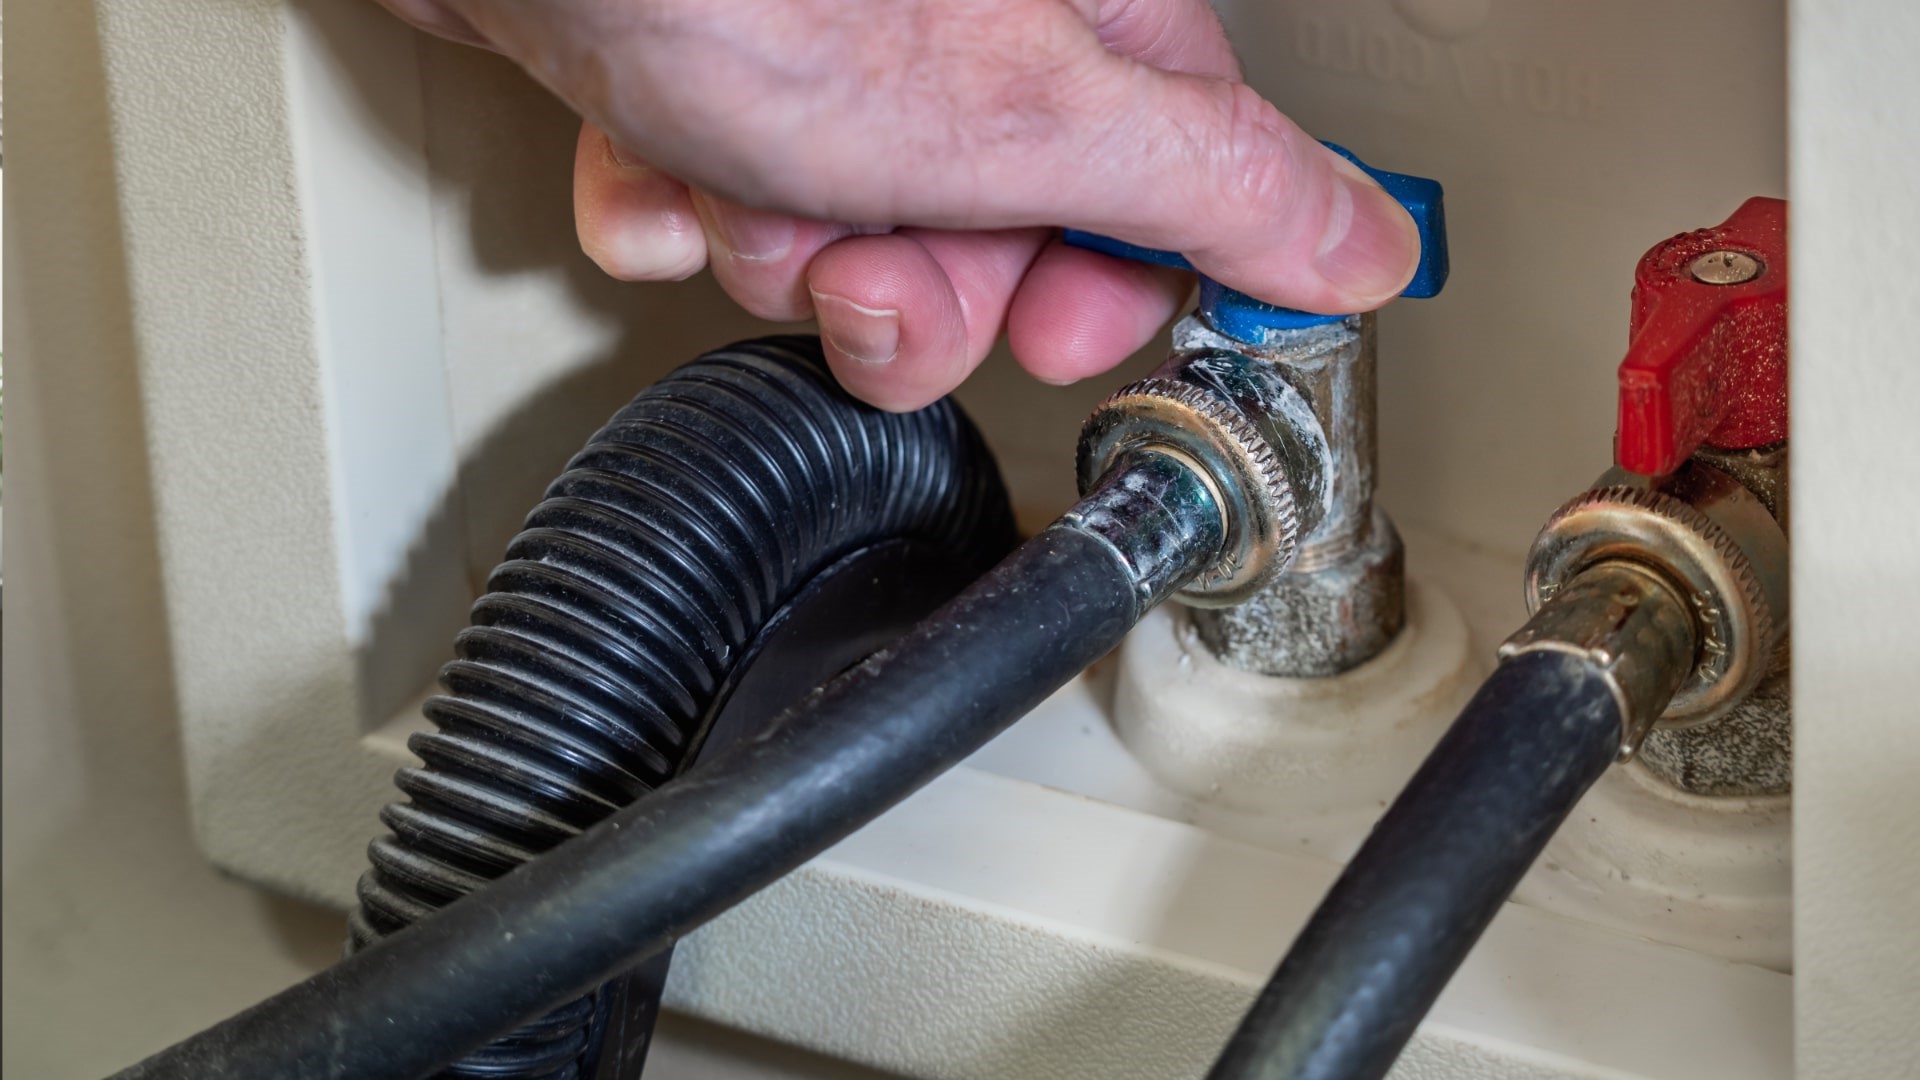
- Turn off the cold water supply: Locate the shut-off valve on the cold water inlet pipe connected to the water heater. Turn the valve clockwise to shut off the water supply to the tank.
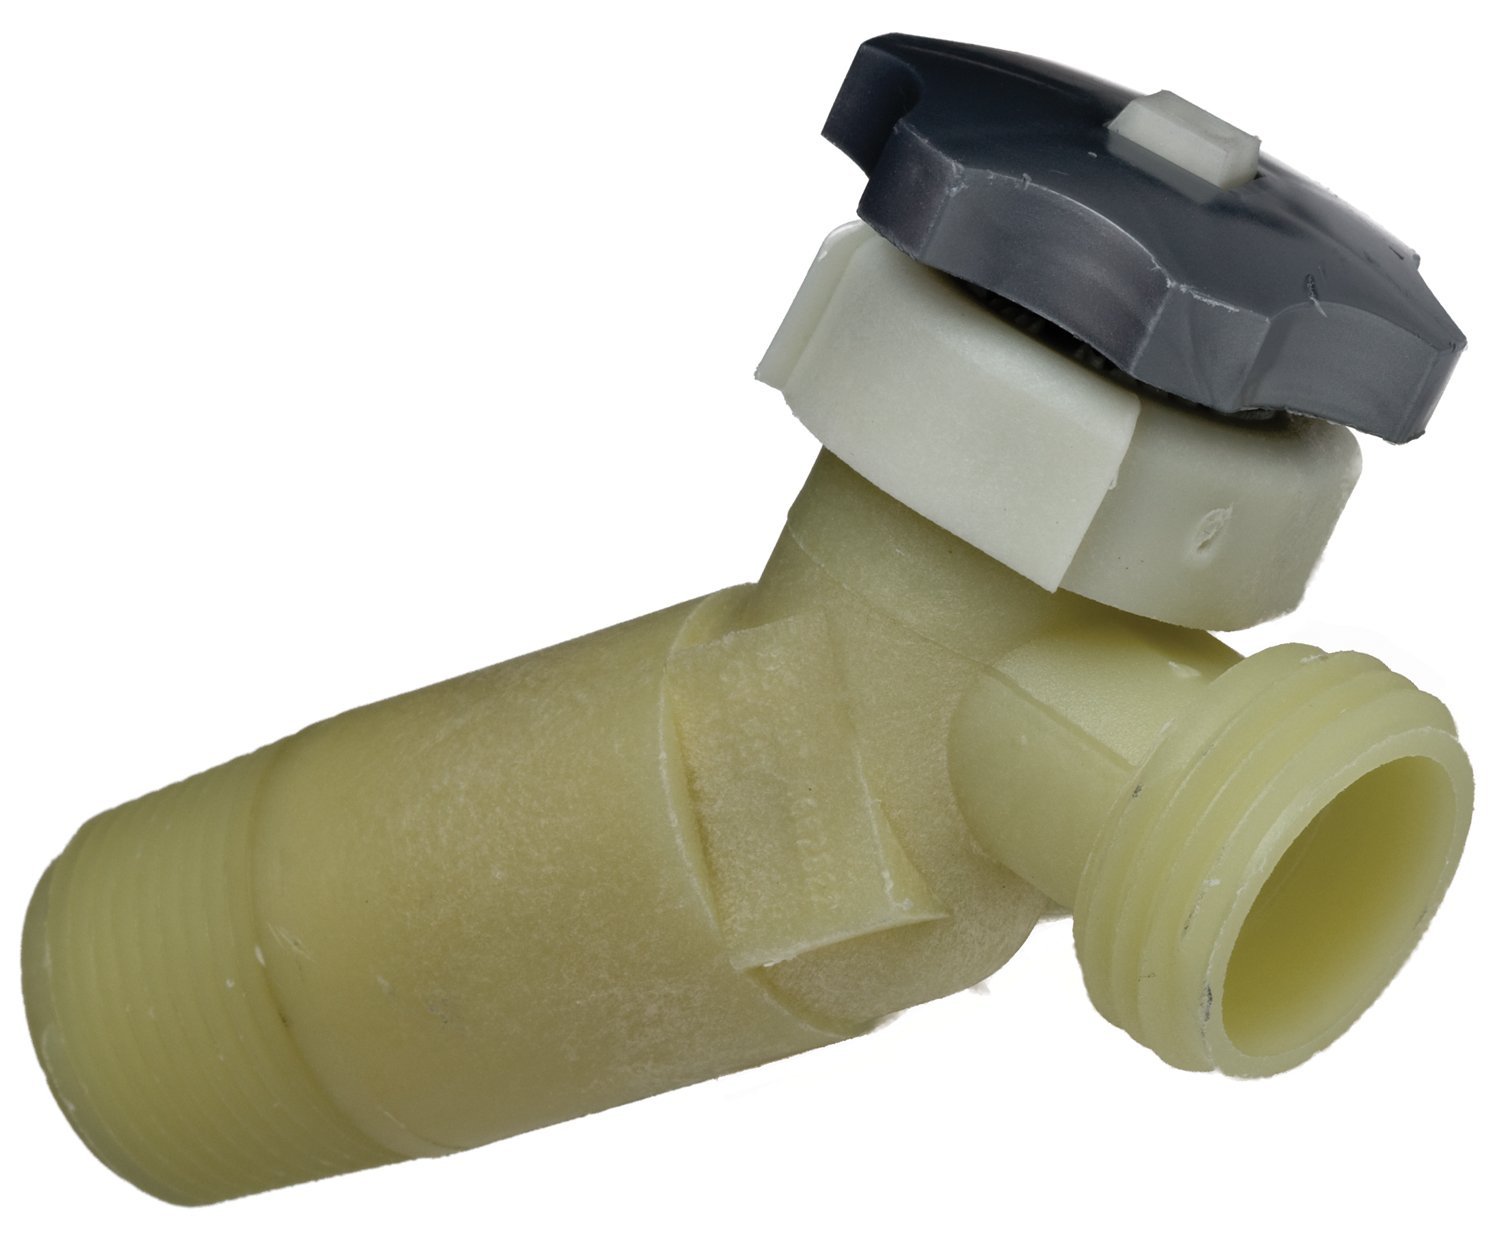
- Attach a hose to the drain valve: Locate the drain valve at the bottom of the water heater tank. Attach a garden hose to the drain valve and ensure the other end of the hose is in a suitable drainage area or a nearby floor drain. If you don’t have a hose, you can use a bucket to collect the water.
- Open the drain valve: Slowly open the drain valve by turning it counterclockwise. This will allow the water to start flowing out of the tank and through the hose. Be cautious as the water may be hot.
- Release pressure from the pressure relief valve: To allow the water to drain more effectively, open the pressure relief valve on the top of the water heater by pulling up on the lever or pressing the test lever. This will release any built-up pressure inside the tank.
- Wait for the tank to drain: Allow the water to drain completely from the tank. Depending on the size of the tank and the water pressure, this may take some time. You can check if the tank is empty by opening a hot water faucet in your home. If no water flows out, the tank is drained.
Once the water heater is drained and the tank is empty, you can proceed to the next step: locating and removing the pressure relief valve.
When replacing a water heater pressure relief valve, make sure to turn off the power and water supply to the heater before starting the replacement process. This will ensure your safety and prevent any potential damage to the heater.
Read more: How To Replace Gas Valve On Water Heater
Locate and Remove the Pressure Relief Valve
Now that you have successfully drained the water heater, it’s time to locate and remove the existing pressure relief valve. Follow these steps:
- Locate the pressure relief valve: The pressure relief valve is typically located on the side or top of the water heater tank. It is a cylindrical valve with a lever or a test lever.
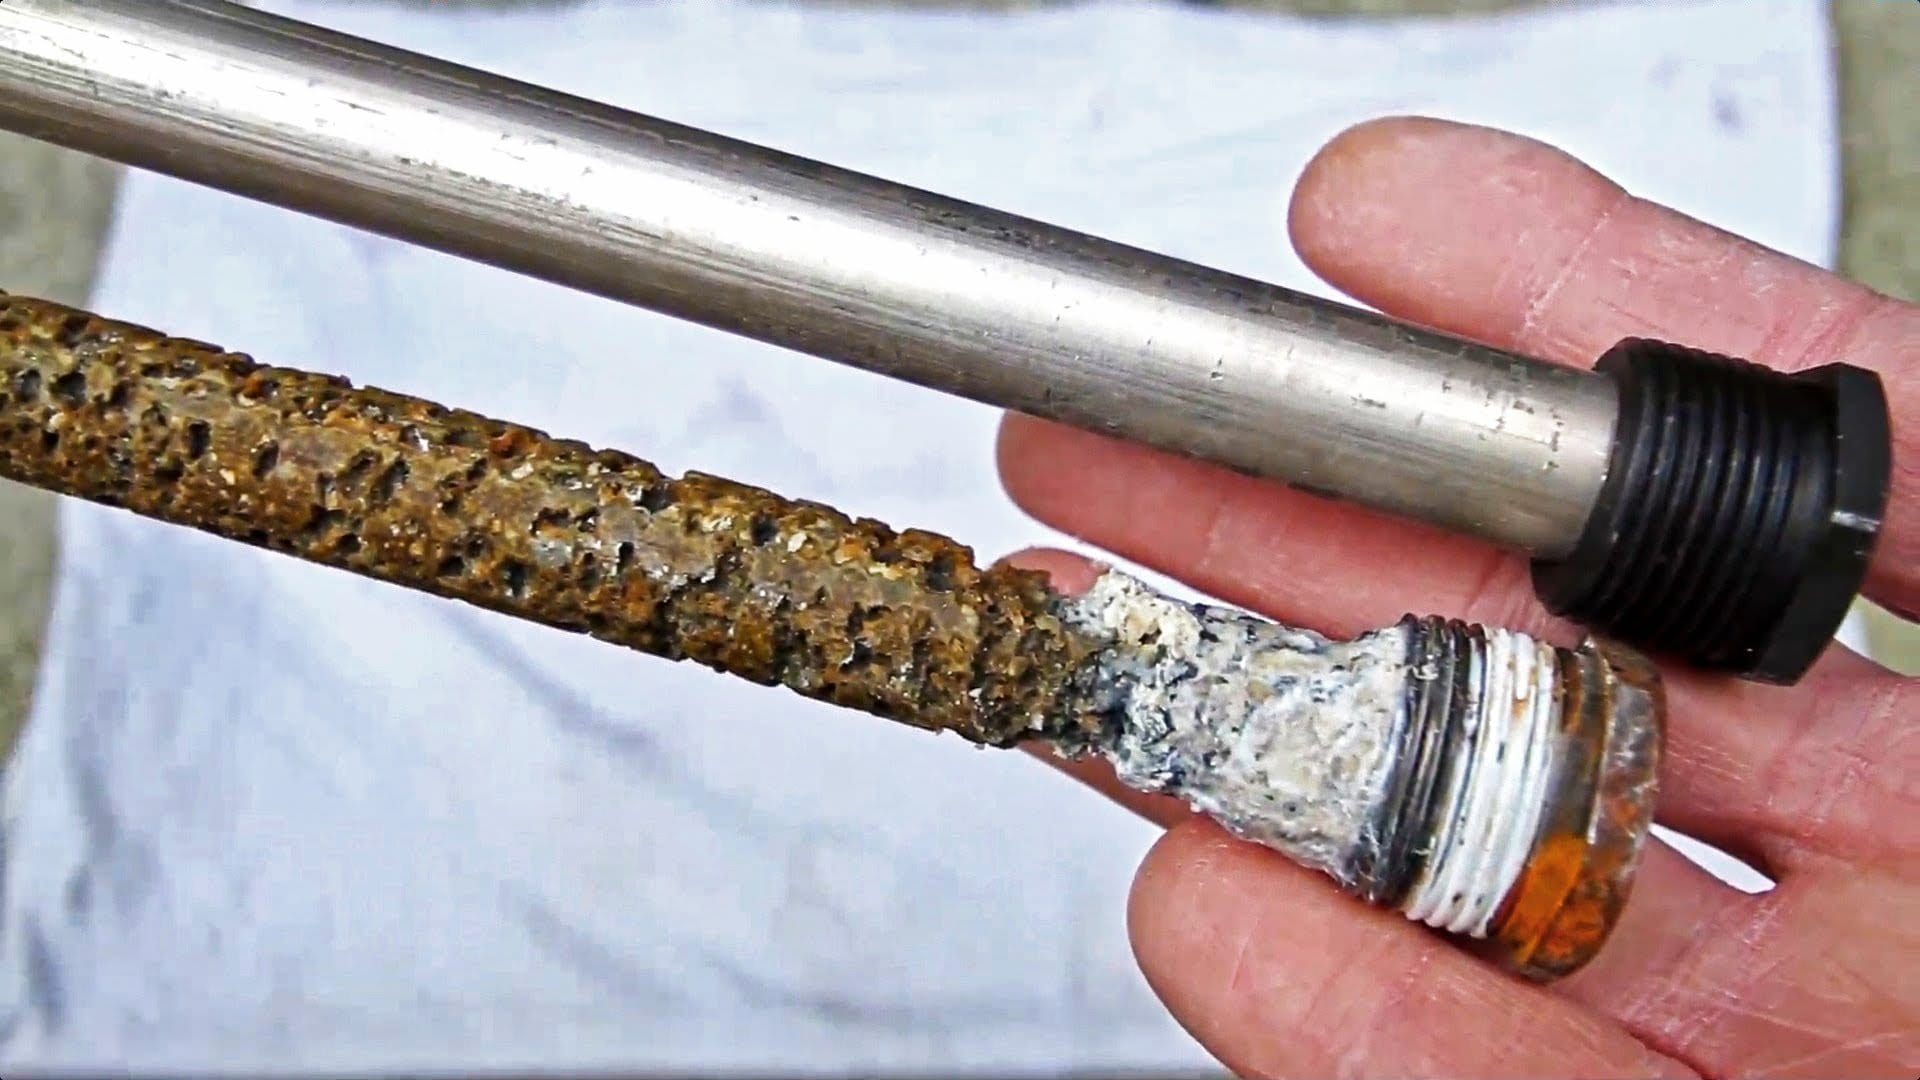
- Inspect the valve: Before removing the valve, inspect it for any signs of damage or corrosion. If the valve appears worn out, damaged, or if it hasn’t been replaced in a long time, it is recommended to replace it even if there are no immediate issues.
- Disconnect the discharge pipe: The pressure relief valve is connected to a discharge pipe that directs the released water away from the water heater. Use a wrench or pliers to loosen the fitting connecting the discharge pipe to the pressure relief valve. Once loosened, carefully remove the pipe from the valve.
- Release pressure from the valve: To remove the pressure relief valve, you must release any remaining pressure. Position a bucket or towel underneath the valve and slowly lift the lever or test lever to allow any trapped water to escape.
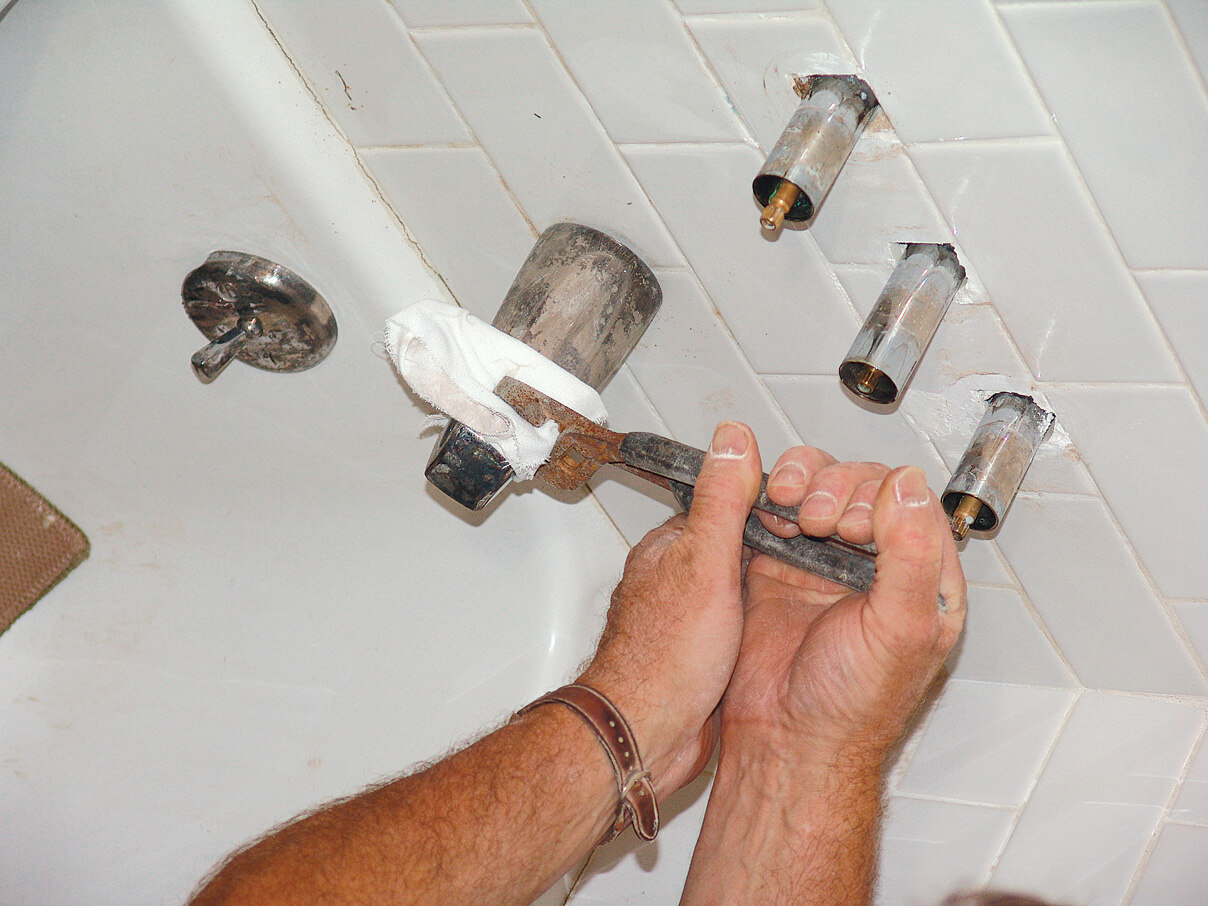
- Remove the pressure relief valve: Use an adjustable wrench or pipe wrench to loosen the pressure relief valve by turning it counterclockwise. Be careful as the valve may be tightly secured. Once loose, continue unscrewing it by hand until it is completely removed from the water heater tank.
- Inspect the opening: After removing the pressure relief valve, inspect the opening on the water heater tank for any debris or buildup. Use a cloth or brush to clean the area if necessary, ensuring it is clear and free from obstructions.
With the pressure relief valve successfully removed, you can now proceed to the next step: installing the new pressure relief valve.
Install the New Pressure Relief Valve
Now that you have removed the old pressure relief valve, it’s time to install the new one. Follow these steps to properly install the new pressure relief valve:
- Prepare the new valve: Before installing the new pressure relief valve, apply a few wraps of Teflon tape on the threads of the valve. This will help create a secure and leak-proof seal.
- Insert and tighten the new valve: Insert the threaded end of the new pressure relief valve into the opening on the water heater tank. Turn it clockwise to tighten it, ensuring a snug fit. Use an adjustable wrench or pipe wrench to tighten the valve, being careful not to over-tighten and cause any damage.
- Reconnect the discharge pipe: Take the discharge pipe that was disconnected earlier and reattach it to the newly installed pressure relief valve. Use a wrench or pliers to tighten the fitting and ensure a secure connection. Double-check that the pipe is properly aligned and not bent or kinked.
- Tighten any loose connections: While performing the installation, check for any other loose connections on the water heater. Use your wrench or pliers to tighten any loose fittings or pipes, ensuring that everything is secure and leak-free.
- Double-check the valve’s position: Once the new pressure relief valve is installed, make sure it is in the closed position. The lever or test lever should be pushed down, indicating that the valve is tightly sealed.
By following these steps, you have successfully installed the new pressure relief valve on your water heater. Now, let’s move on to the next step: reconnecting the water heater and turning on the power supply.
Reconnect the Water Heater and Turn On the Power Supply
With the new pressure relief valve installed, it’s time to reconnect the water heater and turn on the power supply to ensure proper functionality. Follow these steps:
- Reconnect the cold water supply: Locate the shut-off valve on the cold water inlet pipe and turn it counterclockwise to open the valve. This will allow water to flow back into the water heater tank.
- Wait for the tank to fill: Once the cold water supply is opened, allow the tank to fill completely. You can verify this by opening a hot water faucet in your home and checking if water flows out without any air sputtering.
- Turn on the power supply: If you have an electric water heater, go to the circuit breaker panel and switch on the breaker dedicated to the water heater. Alternatively, if your water heater has a dedicated disconnect switch, turn it on. For gas water heaters, make sure the gas valve is turned on.
- Monitor for leaks: After turning on the power supply, closely monitor the newly installed pressure relief valve and its connections for any signs of leaks. Check for any dripping or pooling water. If there are any leaks, turn off the water heater and tighten the fittings as necessary.
By following these steps, you have successfully reconnected the water heater and turned on the power supply. Now, let’s move on to the final step: testing the pressure relief valve to ensure proper operation.
Test the Pressure Relief Valve
After installing the new pressure relief valve and reconnecting the water heater, it is crucial to test the valve to ensure it is functioning correctly. Follow these steps to test the pressure relief valve:
- Ensure the tank is filled: Make sure the water heater tank is completely filled with water. This is important as the valve needs water pressure to properly function.
- Pull up the valve lever: Locate the lever or test lever on the pressure relief valve. Slowly pull up on the lever to open the valve manually. This should release a small amount of water or vapor from the valve.
- Observe the valve operation: While holding the lever up, observe the operation of the pressure relief valve. The valve should open fully, allowing water to flow out steadily. If the valve does not open or if water does not flow out, it may indicate a faulty valve that requires immediate replacement.
- Release the lever: Once you have observed the valve operation, release the lever. It should return to its closed position, sealing off the water flow. If the valve remains partially or fully open after releasing the lever, it may indicate a defective valve that needs to be replaced.
- Check for leaks: After testing the pressure relief valve, check the surrounding area and fittings for any signs of leakage. Ensure that all connections are tight and secure. If you notice any leaks, tighten the fittings or replace any faulty components as needed.
Regularly testing the pressure relief valve is important to ensure it will properly release pressure in the event of an overpressure situation. If the valve fails to operate correctly during testing, contact a professional plumber to inspect and address the issue.
By following these steps and testing the pressure relief valve, you have completed the process of replacing the water heater pressure relief valve. Congratulations! You have taken an important step in maintaining the safety and functionality of your water heating system.
Read more: Where Is Drain Valve On Water Heater
Conclusion
Replacing a water heater pressure relief valve is a crucial maintenance task that helps ensure the safety and efficiency of your water heating system. By following the step-by-step process outlined in this article, you can successfully replace the valve and restore the proper function of your water heater.
Understanding the role and importance of the pressure relief valve is essential. It acts as a safety mechanism to release excessive pressure inside the water heater tank, preventing potential disasters. Knowing how to locate, remove, and install the valve is crucial for a successful replacement process.
Gathering the necessary tools and materials upfront will save you time and ensure that you have everything you need to complete the task. Turning off the power supply and draining the water heater are critical steps to ensure your safety while working on the system.
When installing the new pressure relief valve, it is essential to follow proper procedures, including applying Teflon tape for a secure seal. Reconnecting the water heater and turning on the power supply must be done carefully to avoid leaks or other issues.
Finally, testing the pressure relief valve after installation is crucial to ensure its proper operation. This step allows you to verify that the valve opens and closes as intended, releasing pressure when necessary. Any signs of leaks or malfunctions should be addressed promptly by a professional.
By properly replacing the water heater pressure relief valve, you are taking an important step in maintaining the safety and efficiency of your water heating system. Regular maintenance and inspections will further enhance the performance and lifespan of your water heater.
Remember, if you are unsure or uncomfortable with any step, it is always best to consult a professional plumber who can assist you. With proper care and maintenance, your water heater will continue to provide you with reliable hot water for years to come.
Finished mastering your water heater's pressure relief valve? Why stop there when your home has so much more to offer? If you're spotting unusual signs in your pipes or faucets, perhaps a quick guide on plumbing repair will clarify whether professional help is necessary. Love rolling up your sleeves for more projects? Our DIY home improvement tips might spark some inspiration. Or maybe you're facing some wear and tear in the house; our practical advice on home repair could save you a trip to the hardware store. Keep enhancing your living space with these handy guides!
Frequently Asked Questions about How To Replace A Water Heater Pressure Relief Valve
Was this page helpful?
At Storables.com, we guarantee accurate and reliable information. Our content, validated by Expert Board Contributors, is crafted following stringent Editorial Policies. We're committed to providing you with well-researched, expert-backed insights for all your informational needs.

0 thoughts on “How To Replace A Water Heater Pressure Relief Valve”