Home>Ideas and Tips>Upgrading Your Home’s Stairs with a DIY Carpet Runner

Ideas and Tips
Upgrading Your Home’s Stairs with a DIY Carpet Runner
Modified: October 28, 2024
Enhance your home's stairs with a DIY carpet runner. Learn how to install it easily, adding elegance and durability to your living space.
(Many of the links in this article redirect to a specific reviewed product. Your purchase of these products through affiliate links helps to generate commission for Storables.com, at no extra cost. Learn more)
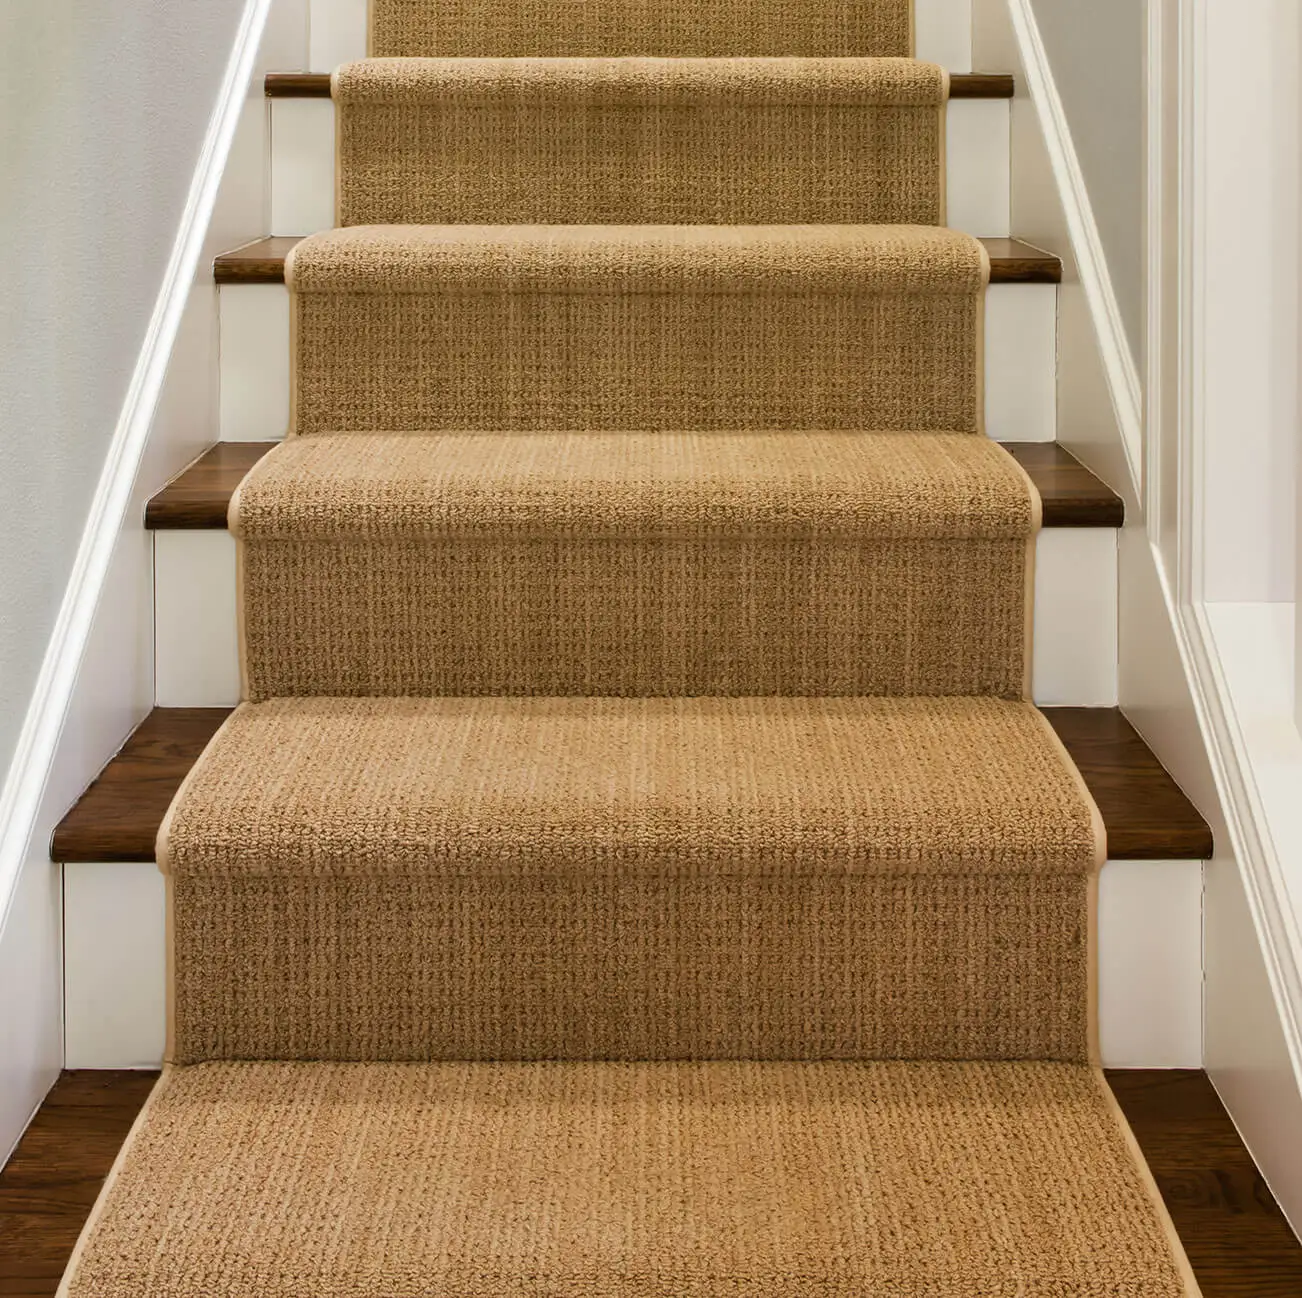
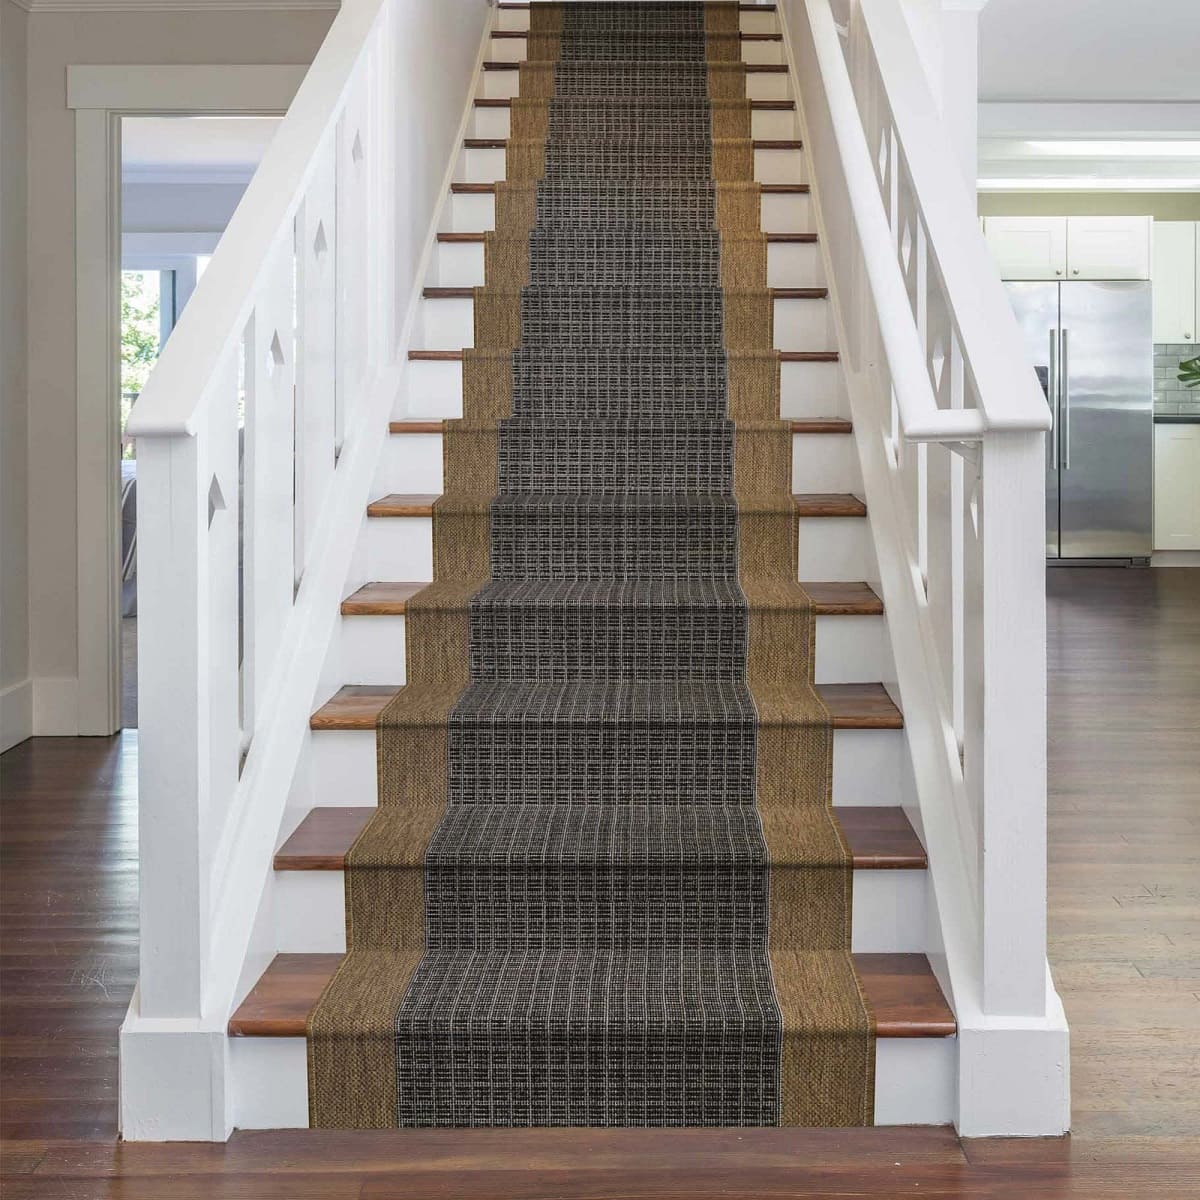
Upgrading your home's stairs can significantly enhance the aesthetic appeal and functionality of your living space. One of the most effective ways to do this is by installing a DIY carpet runner. This project not only adds a touch of elegance but also provides a practical solution for hiding worn-out or damaged stairs. In this article, we will guide you through the process of creating a beautiful and functional DIY carpet runner for your stairs.
Why Choose a DIY Carpet Runner?
Before diving into the project, it's essential to understand the benefits of a DIY carpet runner. Here are some compelling reasons to consider this upgrade:
-
Cost-Effective: One of the primary advantages of a DIY carpet runner is its affordability. You can find affordable rugs at local stores or online, and the materials needed for installation are relatively inexpensive.
-
Customization: With a DIY project, you have complete control over the design and materials used. This allows you to choose colors, patterns, and textures that perfectly match your home's decor.
-
Easy Installation: While it may seem daunting, installing a carpet runner is a manageable task for most homeowners. The steps involved are straightforward, and you can complete the project over the weekend with some dedication.
-
Durability: A well-installed carpet runner can last for years, providing a durable solution for your stairs. It also helps in hiding any imperfections or damage on the stairs.
-
Aesthetic Appeal: A carpet runner adds a touch of elegance to your home's interior. It can transform a dull and uninspiring staircase into a beautiful focal point in your home.
Read more: How To Install A Carpet Runner On Stairs
Preparing Your Stairs for the Project
Before you start installing your carpet runner, it's crucial to prepare your stairs properly. Here’s a step-by-step guide on how to prepare your stairs:
-
Remove Old Carpet and Underlay:
- The first step in preparing your stairs is to remove the old carpet and underlay. This can be a bit of a workout, but it's essential for a smooth installation process. Use a pry bar and hammer to remove the old carpet, and pliers to remove any remaining staples or tacks.
-
Clean and Inspect Stairs:
- Once the old carpet is removed, inspect each tread and riser for any damage or imperfections. Use flexible wood filler to fill any cracks or small holes, and sand it to create a smooth finish.
-
Paint the Stairs (Optional):
- If you want to add an extra layer of protection and aesthetic appeal, consider painting the stairs. This will help in hiding any remaining imperfections and give your stairs a fresh look. Make sure to prepare the surface properly by removing all old staples, filling cracks, sanding, and cleaning.
Choosing the Right Materials
Selecting the right materials is crucial for a successful DIY carpet runner project. Here are some essential items you'll need:
-
Carpet Runner:
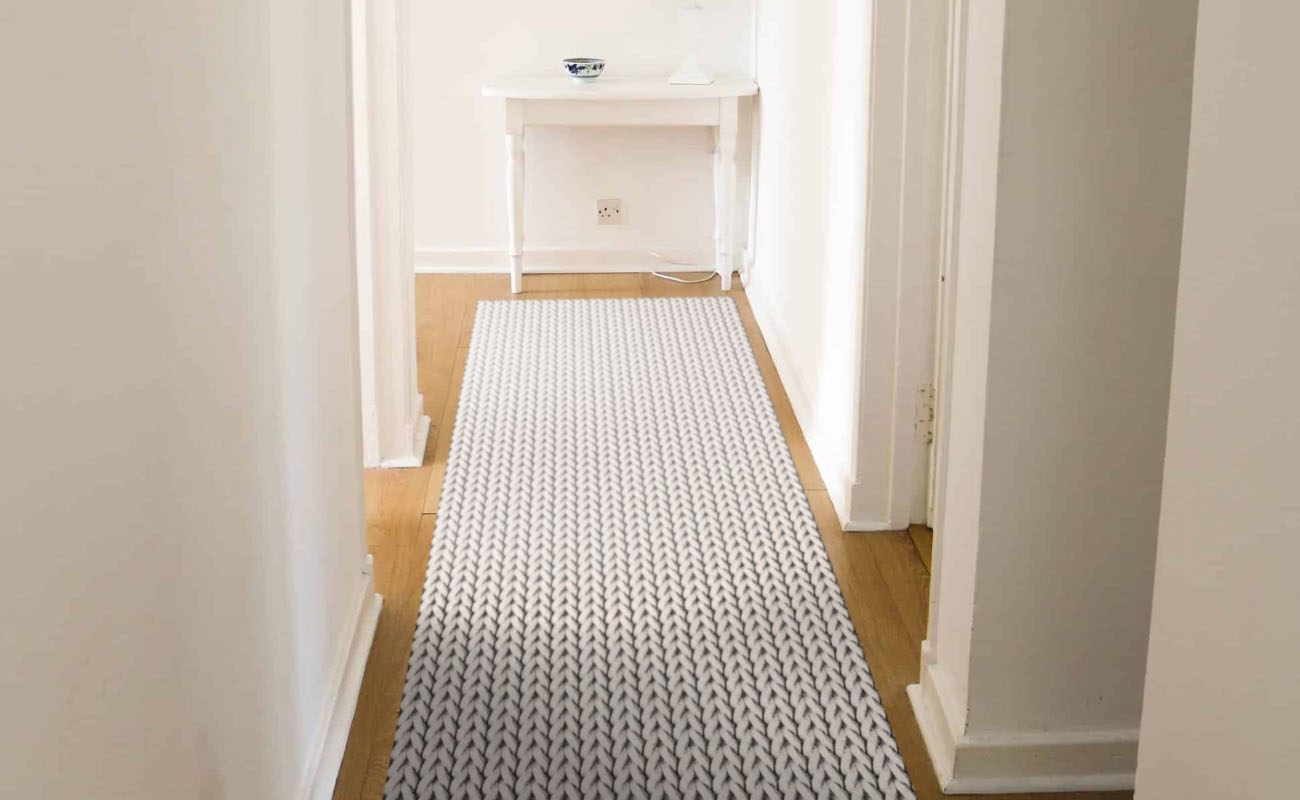
- The carpet runner is the centerpiece of your project. Choose a rug that matches your desired color palette and style. For a more seamless look, consider using multiple rugs that complement each other in terms of color and pattern.
-
Carpet Pad:
- A carpet pad is necessary to ensure the rug stays in place and provides comfort underfoot. You can either purchase a new pad or trim the existing one to fit your needs.
-
Tools:
- You'll need a variety of tools for this project, including:
- Staple gun
- Staples
- Pliers
- Hammer
- Pry bar
- Tape measure
- Painter’s tape
- Utility knife or sharp scissors
- Carpet seam sealer (optional)
- You'll need a variety of tools for this project, including:
Step-by-Step Installation Guide
Now that you have your materials ready, let's dive into the step-by-step installation guide:
Step 1: Measure Your Stairs
Measure each stair to determine how much carpet you'll need. Multiply the measurement by the number of stairs you have to get the total length required. It's always better to have a little extra material for trimming and adjustments.
Read more: DIY Guide To Installing A Stair Runner
Step 2: Cut the Carpet Pad
Cut the carpet pad into rectangles slightly smaller than the width of your rug and the depth of your stairs. This will ensure that the pad doesn’t extend beyond the lip of the step.
Step 3: Secure the Carpet Pad
Find the center of your top stair and mark it on the riser. Match this mark with the center of your carpet pad and secure it in place with two strips of carpet tape. Continue this process for each step, ensuring that the pad is evenly distributed.
Step 4: Lay Down the Runner
Start at the top of the stairs, centered on each riser. Use a staple gun to attach the runner to the riser, starting at the base of each step and working your way up. Make sure to pull the rug smooth and tight as you staple it in place.
Step 5: Trim and Secure
As you reach the end of each runner, trim it to size using a utility knife or sharp scissors. Apply carpet tape along the edges to secure the next runner in place before stapling it up. This will help conceal any seams and ensure a seamless look.
Read more: How To Install Carpet Stair Runner
Step 6: Finish with Seams
Once all the runners are installed, inspect the seams for any fraying or loose edges. Apply carpet seam sealer to seal any cut edges and prevent fraying over time. This step is crucial if you have pets or children who might scratch or damage the seams.
Tips and Tricks
Here are some additional tips and tricks to help you complete your DIY carpet runner project successfully:
-
Use Flexible Wood Filler: Flexible wood filler is essential for filling any cracks or small holes on your stairs. It dries quickly and sands easily, providing a smooth finish.
-
Paint the Edges: If you're painting your stairs, make sure to leave the center unpainted so that you can use the stairs while the paint is drying. This will save you time and effort in the long run.
-
Use Carpet Tape: Carpet tape is a lifesaver when installing a carpet runner. It helps secure the rug in place while you staple it down, ensuring that everything stays aligned and smooth.
-
Measure Twice, Staple Once: Measuring accurately is crucial when installing a carpet runner. Measure each step twice before stapling to avoid any mistakes or misalignments.
-
Work in Sections: Divide your project into sections, focusing on one step at a time. This will help you maintain organization and avoid confusion during the installation process.
Conclusion
Upgrading your home's stairs with a DIY carpet runner is a rewarding and cost-effective project that can significantly enhance the aesthetic appeal of your living space. By following these steps and tips, you can create a beautiful and functional carpet runner that not only hides worn-out or damaged stairs but also adds a touch of elegance to your home's interior. Whether you're looking to transform a dull staircase or simply want to add some warmth and comfort underfoot, this DIY project is an excellent choice for any homeowner.
Additional Resources
For more detailed instructions or inspiration, consider checking out the following resources:
- Unexpected Elegance: A step-by-step guide on how to replace carpet with an inexpensive stair runner.
- Claire Douglas Styling: A DIY stair runner tutorial that includes tips on painting and preparing the stairs for installation.
- House on a Sugar Hill: A detailed tutorial on installing a carpet runner, including measurements and tools needed.
By following these guides and tips, you'll be well on your way to creating a stunning DIY carpet runner that will elevate your home's interior design while providing practical benefits for years to come.
Was this page helpful?
At Storables.com, we guarantee accurate and reliable information. Our content, validated by Expert Board Contributors, is crafted following stringent Editorial Policies. We're committed to providing you with well-researched, expert-backed insights for all your informational needs.


0 thoughts on “Upgrading Your Home’s Stairs with a DIY Carpet Runner”