Articles
How To Install A Carpet Runner On Stairs
Modified: August 27, 2024
Learn step-by-step articles on how to properly install a carpet runner on your stairs and enhance the beauty and safety of your home.
(Many of the links in this article redirect to a specific reviewed product. Your purchase of these products through affiliate links helps to generate commission for Storables.com, at no extra cost. Learn more)
Introduction
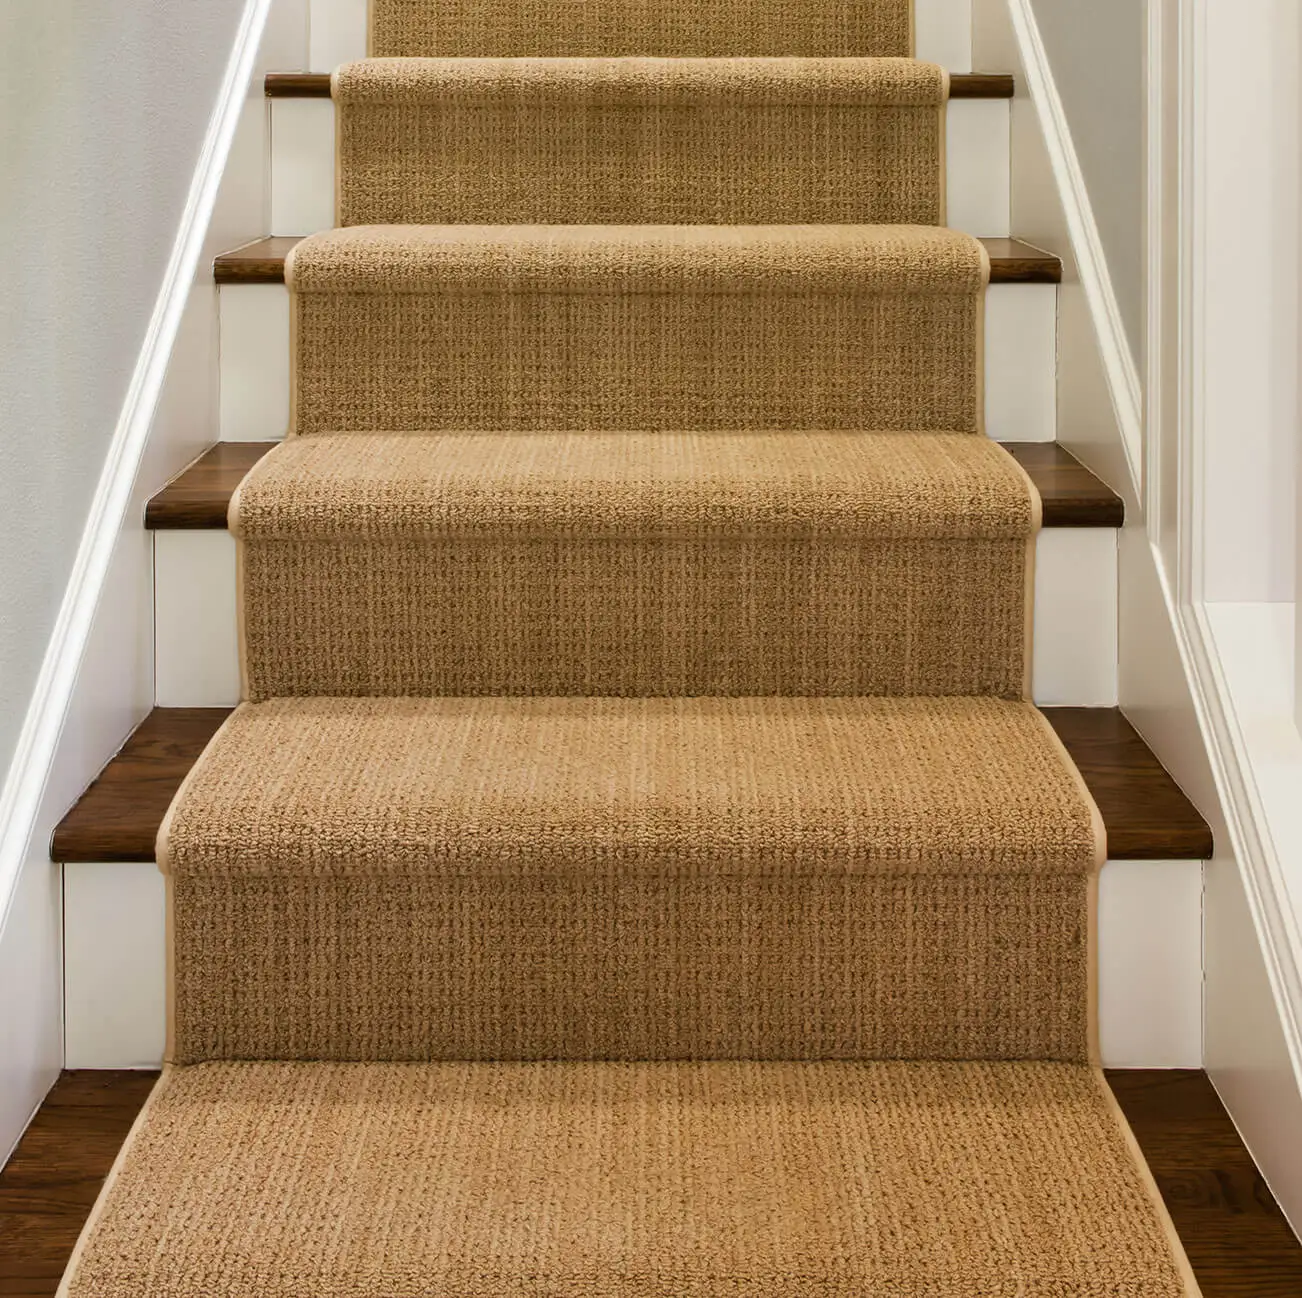
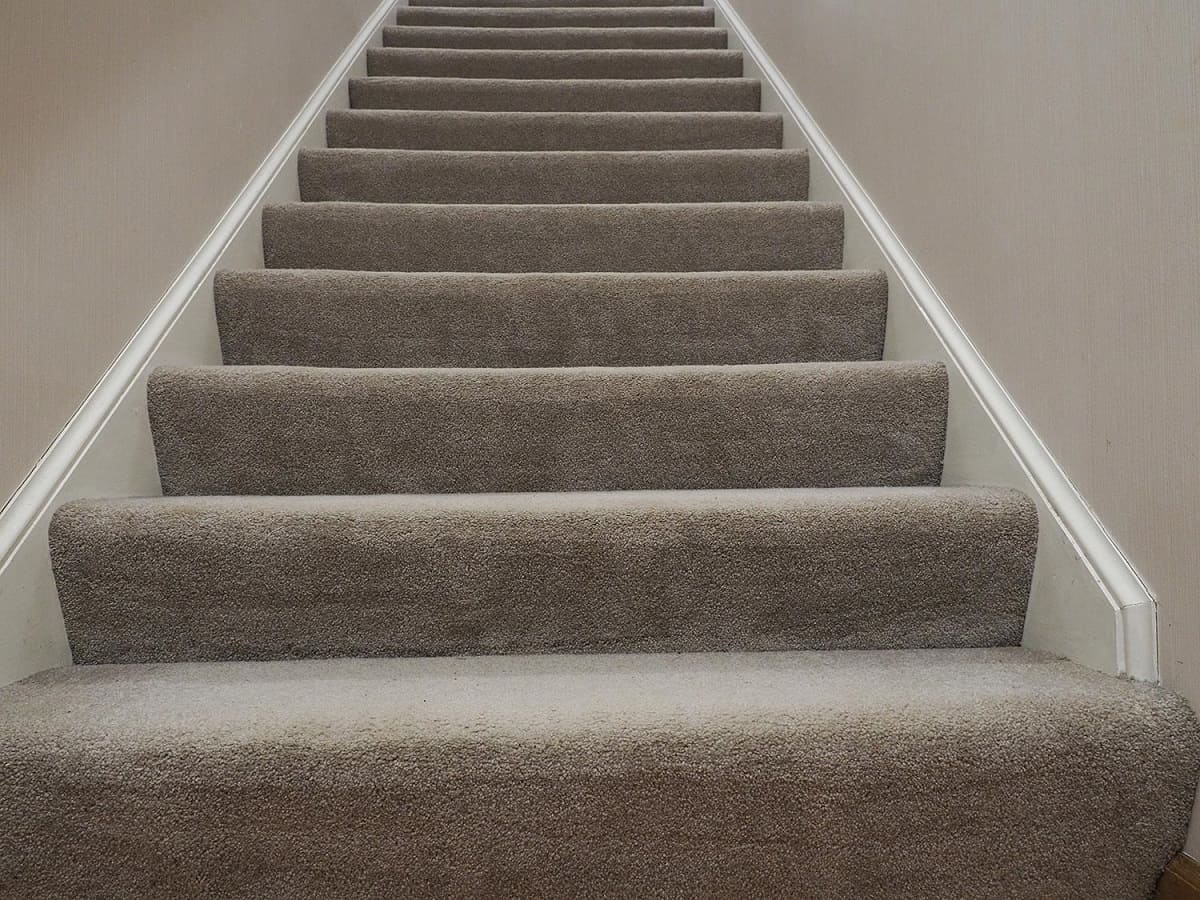
Installing a carpet runner on stairs is not only a functional choice but can also add a touch of elegance and style to your home. Apart from providing a safe and comfortable surface to walk on, a carpet runner can enhance the overall aesthetic appeal of your stairs.
While the task may seem daunting at first, with the right tools and a step-by-step approach, you can easily install a carpet runner on stairs yourself. This article will guide you through the process, from measuring the stairs to trimming the edges.
Before diving into the details, it is essential to note that safety should be your utmost priority when working on stairs. Make sure to use proper safety equipment, such as gloves and goggles, and be cautious when using tools.
Now that we have emphasized safety, let’s delve into the steps required to install a carpet runner on stairs.
Key Takeaways:
- Transform your home with a stylish and functional carpet runner on your stairs. Follow the step-by-step guide for a safe, elegant, and DIY installation process. Elevate your home decor and create a safer walking surface.
- Prioritize safety, measure accurately, and gather the right materials for a successful carpet runner installation. Enjoy the warmth, comfort, and aesthetic appeal of a professionally installed staircase.
Read more: How To Install Carpet Stair Runner
Step 1: Measure the Stairs
The first and most crucial step in installing a carpet runner on stairs is to accurately measure the dimensions of your stairs. Proper measurements will ensure that you procure the right amount of carpet and have a flawless installation.
Here’s how you can measure your stairs:
- Start by measuring the width of the stair tread. Measure from one side of the tread to the other, ensuring you include any overhang or bullnose.
- Next, measure the length of the stair tread. Measure from the back of the tread, where it meets the riser, to the front edge of the tread.
- Measure the height of the riser. Measure from the bottom of one tread to the top of the next, following the natural angle of the stairs.
- Measure the total number of stairs. Count all the individual steps, including any landings or platforms if applicable.
Once you have these measurements, add a few extra inches to the length and width to accommodate for any adjustments or changes during installation.
If you’re unsure about the measurements or the complexity of your stairs, it’s a good idea to seek the help of a professional or a carpeting specialist who can provide accurate measurements and guidance.
Remember, accurate measurements are essential for a seamless carpet runner installation. Taking the time to measure correctly at the beginning will save you from potential frustration and costly mistakes later on.
Step 2: Gather the Materials
Now that you have measured your stairs, it’s time to gather the materials you’ll need for installing the carpet runner. Having everything you need in one place will make the installation process more efficient and streamline the workflow.
Here are the essential materials you’ll need:
- Carpet Runner: Choose a carpet runner that suits your style and complements your home decor. Measure the length based on the total number of stairs, taking into account the extra inches you added during the measurement process.
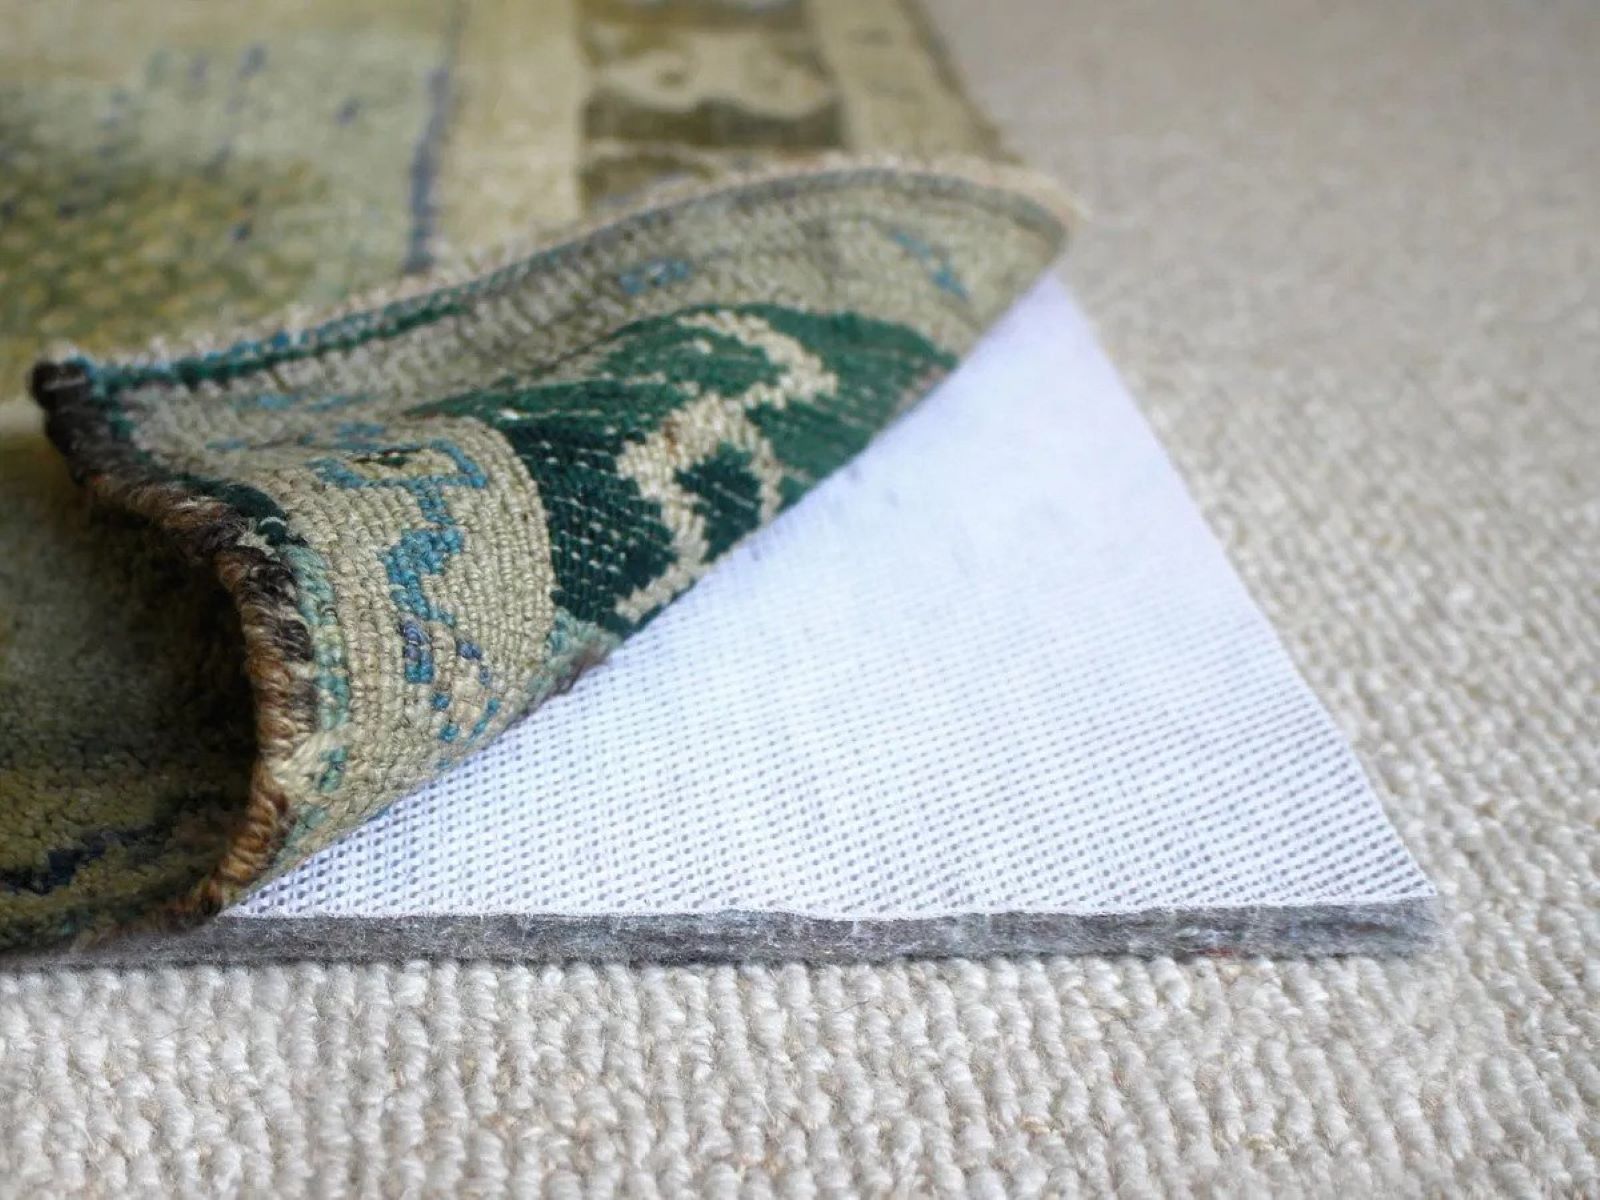
- Carpet Padding: Padding helps to add cushioning and protect the carpet runner from wear and tear. Choose a carpet padding that is appropriate for stairs and cut it to fit the size of your individual stairs.
- Double-Sided Carpet Tape: Use double-sided carpet tape to secure the carpet runner and prevent it from shifting or moving. Make sure to choose a high-quality tape that is specifically designed for carpet installation.
- Staple Gun and Staples: A staple gun will be needed to secure the carpet padding to the stairs. Choose a sturdy staple gun and ensure you have enough staples for the entire installation process.
- Utility Knife: A utility knife will be used to cut the carpet runner and carpet padding to the appropriate size and shape. Make sure to have a sharp blade for clean and precise cuts.
- Measuring Tape: A measuring tape will help you double-check measurements during the installation process and ensure accuracy.
- Safety Equipment: Always prioritize safety during any home improvement project. Wear gloves, goggles, and other necessary safety equipment to protect yourself from potential hazards.
By gathering these materials beforehand, you can create a smooth workflow and avoid unnecessary interruptions during the installation process.
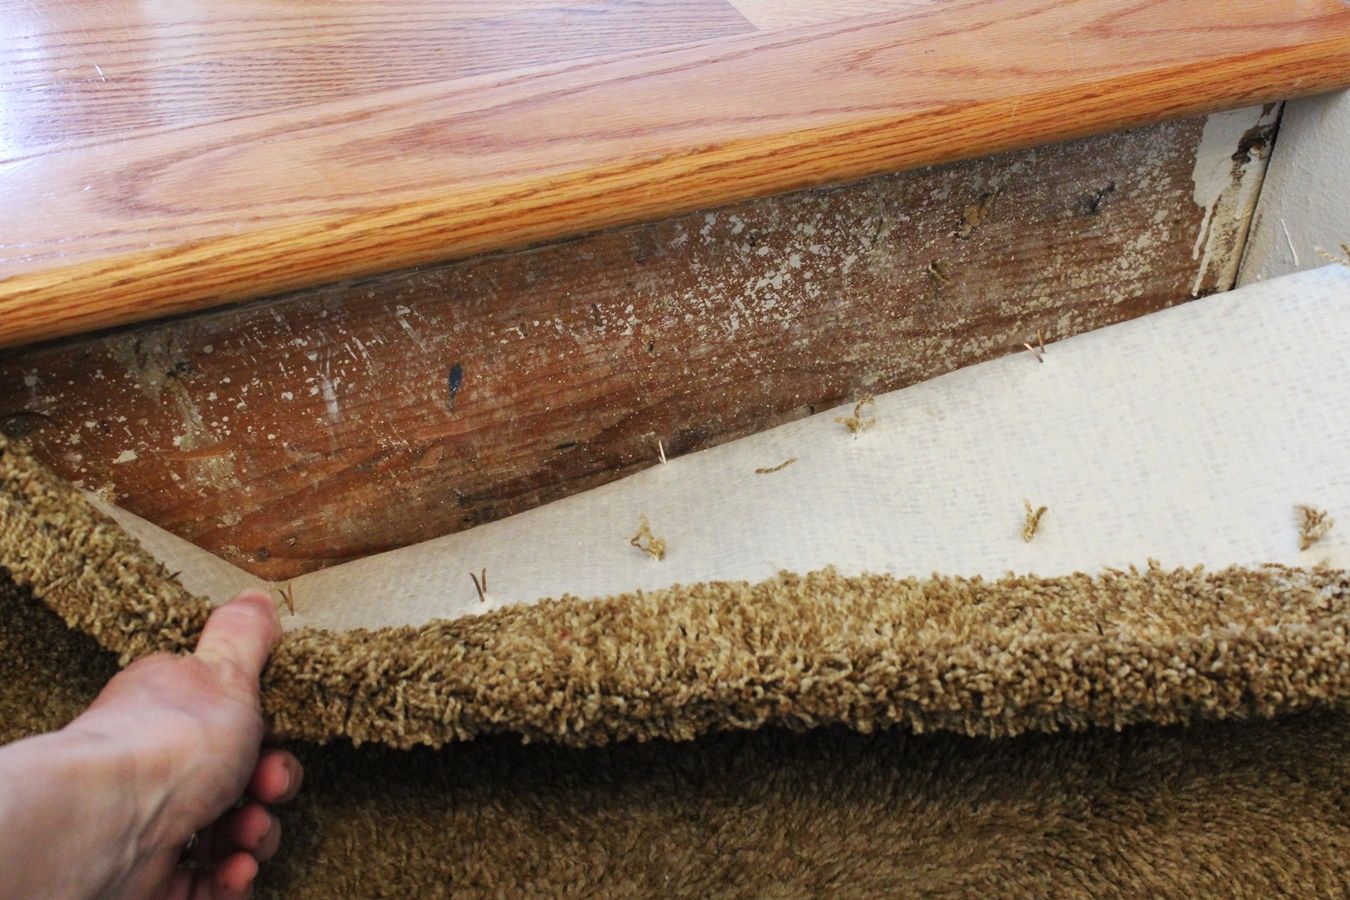
Step 3: Prepare the Stairs
Before you begin installing the carpet runner, it’s important to prepare the stairs properly. This involves cleaning and repairing any imperfections on the stair surfaces to ensure a smooth and stable foundation for the carpet.
Here’s what you need to do to prepare the stairs:
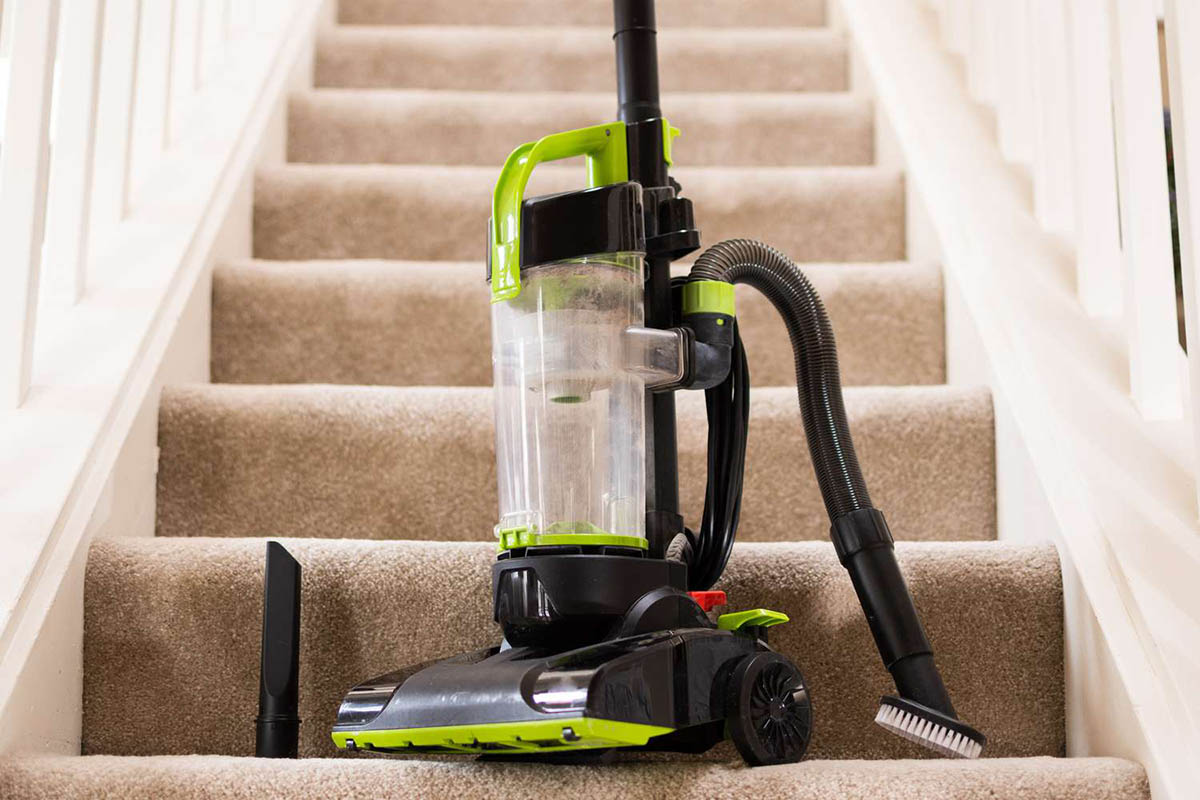
- Clean the Stairs: Start by thoroughly cleaning the stairs. Remove any dirt, debris, or dust that may have accumulated. Use a stiff brush or vacuum cleaner to ensure that the surface is clean and free from any loose particles.
- Repair any Damage: Inspect the stairs for any damage such as loose boards, squeaky steps, or protruding nails. Address these issues by tightening loose boards, reinforcing squeaky steps, and hammering down any protruding nails. Repairing the stairs will ensure a secure and stable foundation for the carpet runner.
- Smooth out Uneven Surfaces: If you notice any uneven surfaces on the stairs, such as bulges or lumps, you may need to sand them down to create a flat and smooth surface. This will prevent any visible bumps or unevenness under the carpet runner.
- Fill in Gaps: If there are any gaps between the stair treads or risers, you can fill them in using wood putty or a similar filler. Fill in the gaps to create a seamless and consistent surface for the carpet runner.
By properly preparing the stairs, you’ll ensure a solid base for the installation and prevent any potential issues in the future. Take your time with this step to ensure that the stairs are in the best possible condition before proceeding with the installation process.
Step 4: Install Carpet Padding
After preparing the stairs, it’s time to install the carpet padding. Carpet padding adds cushioning and softness to the stairs, making them more comfortable to walk on and extending the life of the carpet runner.
Follow these steps to install the carpet padding:
- Start from the Bottom: Begin at the bottom of the stairs and work your way up. This will ensure a smooth and uniform installation.
- Measure and Cut: Measure the width and length of each individual stair, and then cut the carpet padding accordingly. Make sure to leave a little excess padding to wrap around the edge of the stair.
- Attach the Padding: Position the cut carpet padding on the stair, making sure it is centered and covers the entire surface. Secure the padding to the stair using a staple gun, placing staples along the edges and in the center to prevent any movement.
- Trim Excess Padding: Use a utility knife to trim any excess padding that extends beyond the edges of the stair tread. This will create a neat and clean appearance.
- Repeat for Each Stair: Repeat the process for each stair, measuring, cutting, attaching, and trimming the padding. Take your time to ensure that each step is properly padded.
Installing carpet padding provides a cushioned surface and helps to reduce noise and impact on the stairs. It also acts as insulation, making your stairs more comfortable in both hot and cold weather.
Once you have completed this step, you’re ready to move on to the next phase of the installation process – cutting and attaching the carpet runner.
Before installing a carpet runner on stairs, make sure to measure the width of each step and add a few inches to allow for trimming. This will ensure a proper fit and professional finish.
Read more: How To Install Runner On Stairs
Step 5: Cut and Attach the Carpet Runner
With the carpet padding in place, it’s time to cut and attach the carpet runner to the stairs. This step requires precision and attention to detail to ensure a seamless and professional-looking installation.
Follow these steps to cut and attach the carpet runner:
- Measure the Carpet Runner: Measure the length of each individual stair, starting from the bottom and working your way up. Leave a little excess at each end to ensure a proper fit.
- Mark the Cutting Lines: On the back of the carpet runner, use a pencil or chalk to mark the cutting lines based on your measurements. Use a straight edge or a carpenter’s square to ensure straight and accurate lines.
- Cut the Carpet Runner: Use a sharp utility knife to carefully cut along the marked cutting lines. Take your time and make clean, straight cuts to ensure a professional finish.
- Position the Carpet Runner: Starting from the bottom of the stairs, position the cut carpet runner on the stair tread, ensuring that it is centered and straight.
- Attach the Runner with Carpet Tape: Apply double-sided carpet tape along the edges and down the center of the stair tread. Press the carpet runner firmly onto the tape, smoothing out any wrinkles or bubbles as you go.
- Continue to the Next Step: Repeat the process for each individual stair, cutting and attaching the carpet runner until you reach the top of the stairs.
Ensure that the carpet runner is properly aligned and sits flat on each stair tread. Take your time to make any necessary adjustments to create a cohesive and visually pleasing look.
Once you’ve completed this step, it’s time to move on to securing the carpet runner in place to prevent any shifting or movement.
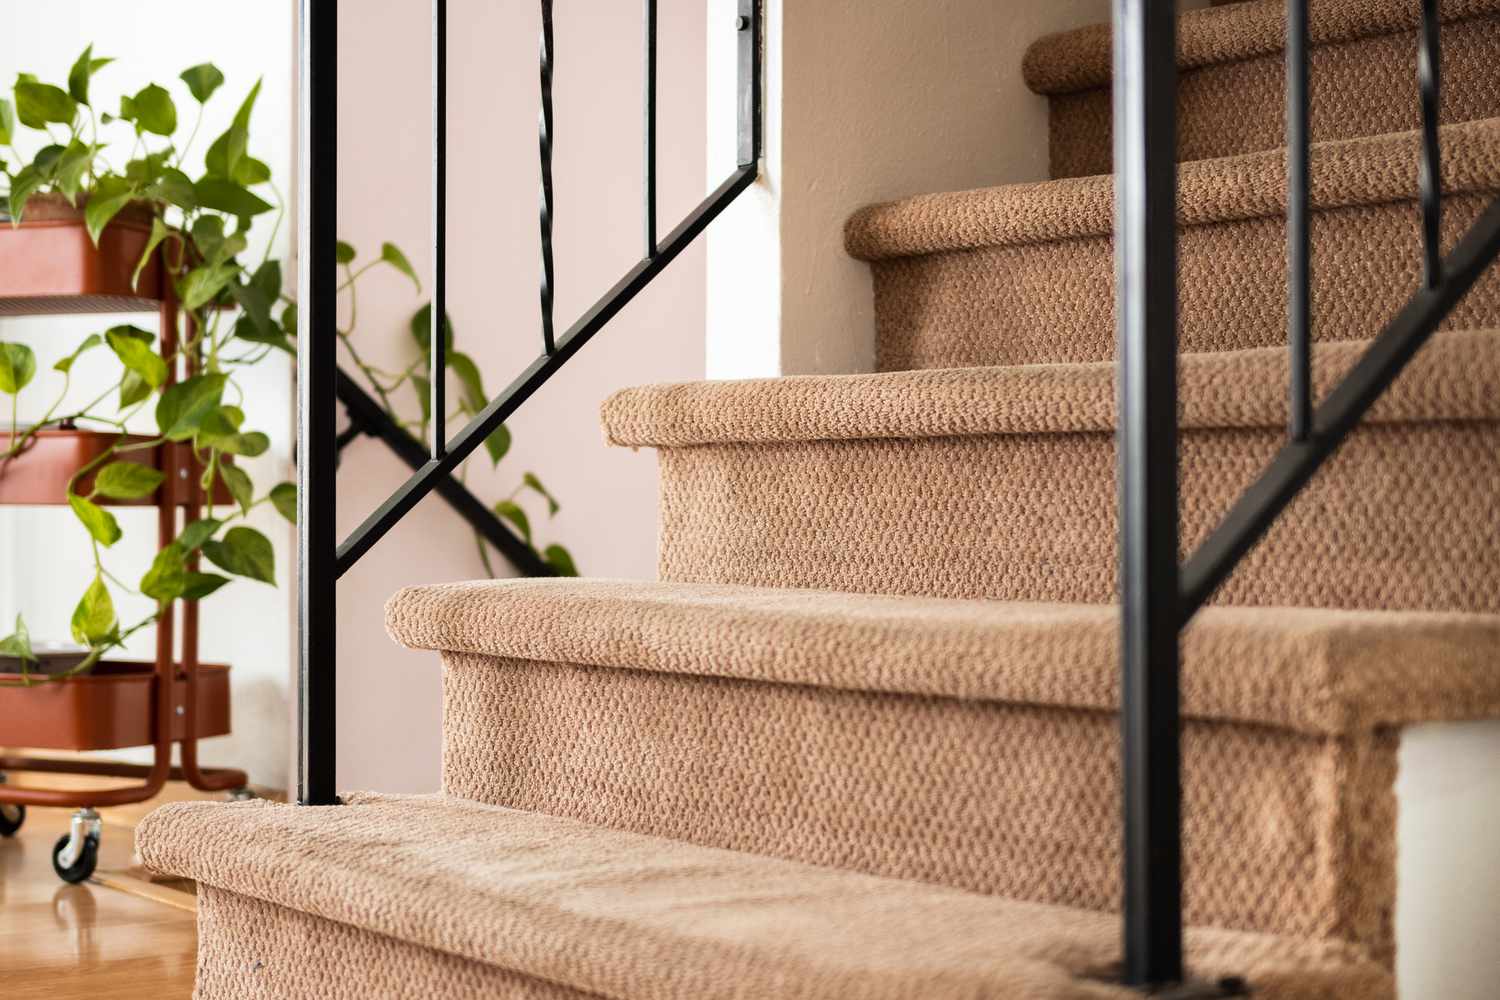
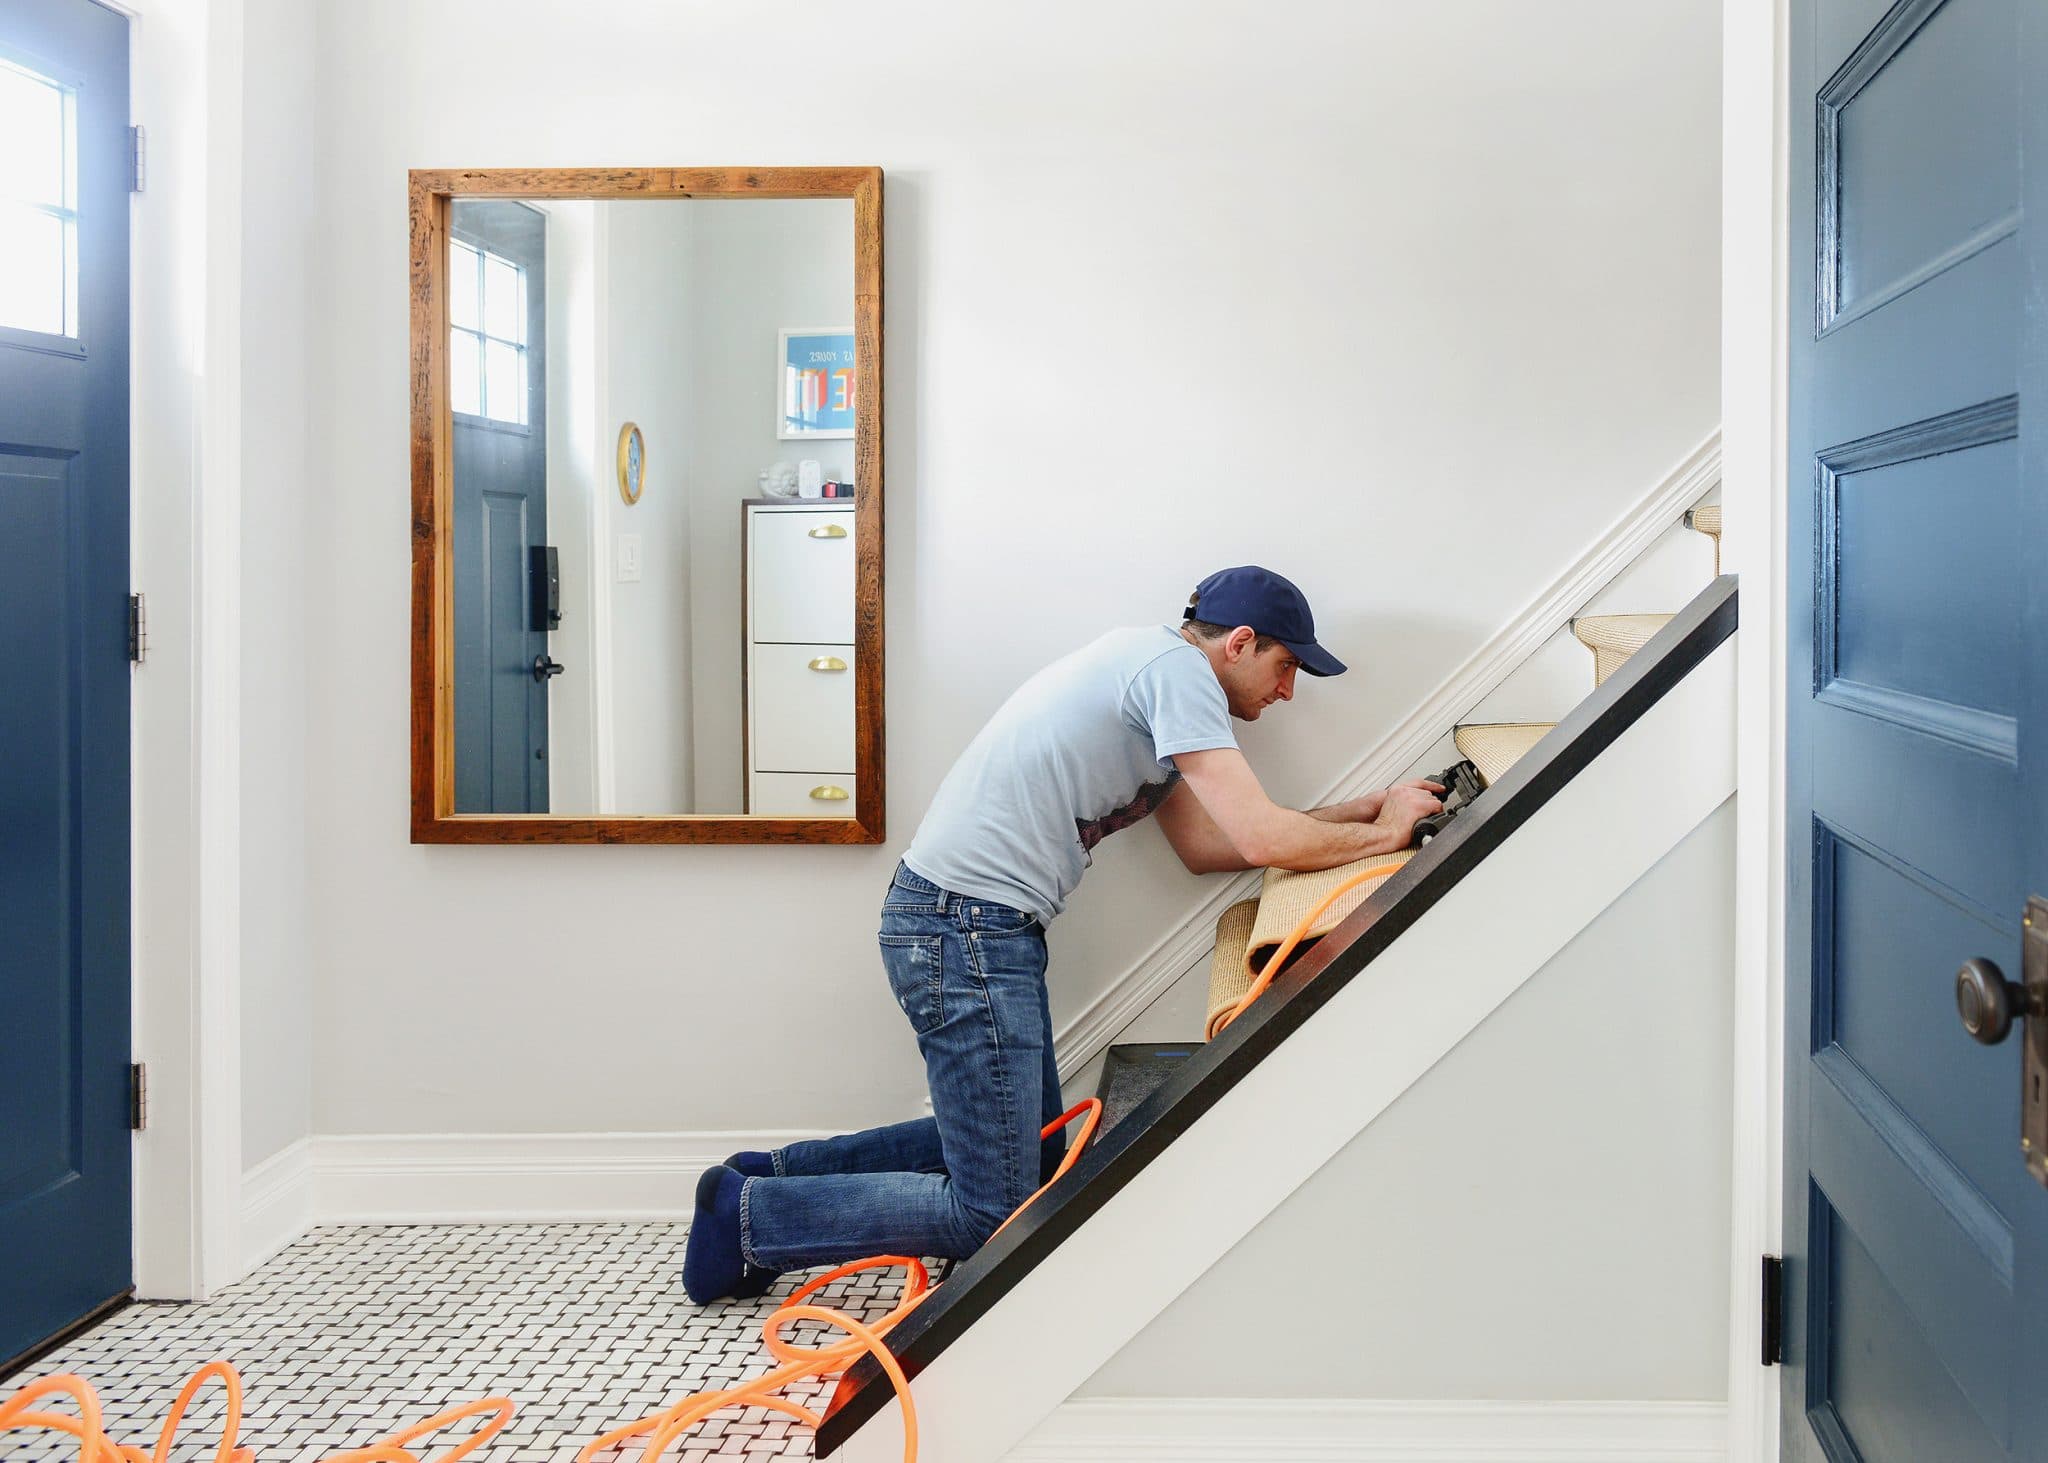
Step 6: Secure the Carpet Runner
After cutting and attaching the carpet runner, it’s important to secure it in place to prevent any shifting or movement. This step will ensure that your carpet runner stays securely in position, providing both aesthetic appeal and safety.
Follow these steps to secure the carpet runner:
- Use Double-Sided Carpet Tape: Apply double-sided carpet tape along the edges and down the center of each stair tread. Ensure that the tape is adhered securely to both the stair tread and the backside of the carpet runner.
- Press Firmly: Press the carpet runner firmly onto the tape, ensuring that it is secure and tightly attached. Smooth out any wrinkles or bubbles as you go, ensuring a clean and professional appearance.
- Consider Using Staples: If desired, you can further secure the carpet runner by using a staple gun and staples. Place staples discreetly along the edges and center of the stair tread, ensuring they are hidden within the pile of the carpet runner.
- Repeat for Each Stair: Repeat the process of applying tape and securing the carpet runner for each individual stair. Pay attention to proper alignment and ensure a consistent look throughout.
By using double-sided carpet tape and, if necessary, staples, you can effectively secure the carpet runner to the stairs, preventing it from shifting or slipping over time. This adds stability and durability to your installation.
Once you have securely attached the carpet runner, it’s time to trim the excess edges for a clean and finished appearance.
Step 7: Trim the Edges
The final step in installing a carpet runner on stairs is to trim the edges for a polished and finished look. Trimming the edges will give your installation a professional appearance and ensure that the carpet runner fits neatly on the stairs.
Follow these steps to trim the edges of the carpet runner:
- Measure and Mark: Measure the excess carpet runner along the edges of the stairs. Use a straight edge or a carpenter’s square to mark the cutting lines.
- Cut the Excess Carpet: Use a sharp utility knife to carefully cut along the marked cutting lines. Ensure that you make clean and straight cuts for a neat finish.
- Tuck the Edges: Once you have trimmed the excess carpet, tuck the edges underneath the lip of the stair tread or against the riser. Use a blunt tool, such as a putty knife, to push the edges securely into place.
- Secure with Carpet Tape or Adhesive: If necessary, you can use double-sided carpet tape or carpet adhesive to secure the trimmed edges in place. Apply the adhesive or tape along the tucked edges and press firmly to ensure a secure bond.
Trimming the edges of the carpet runner will give your installation a clean and polished appearance. It will also ensure that the edges are secure and won’t fray or curl over time.
Once you have completed trimming the edges, take a step back and admire your professionally installed carpet runner on the stairs.
Conclusion
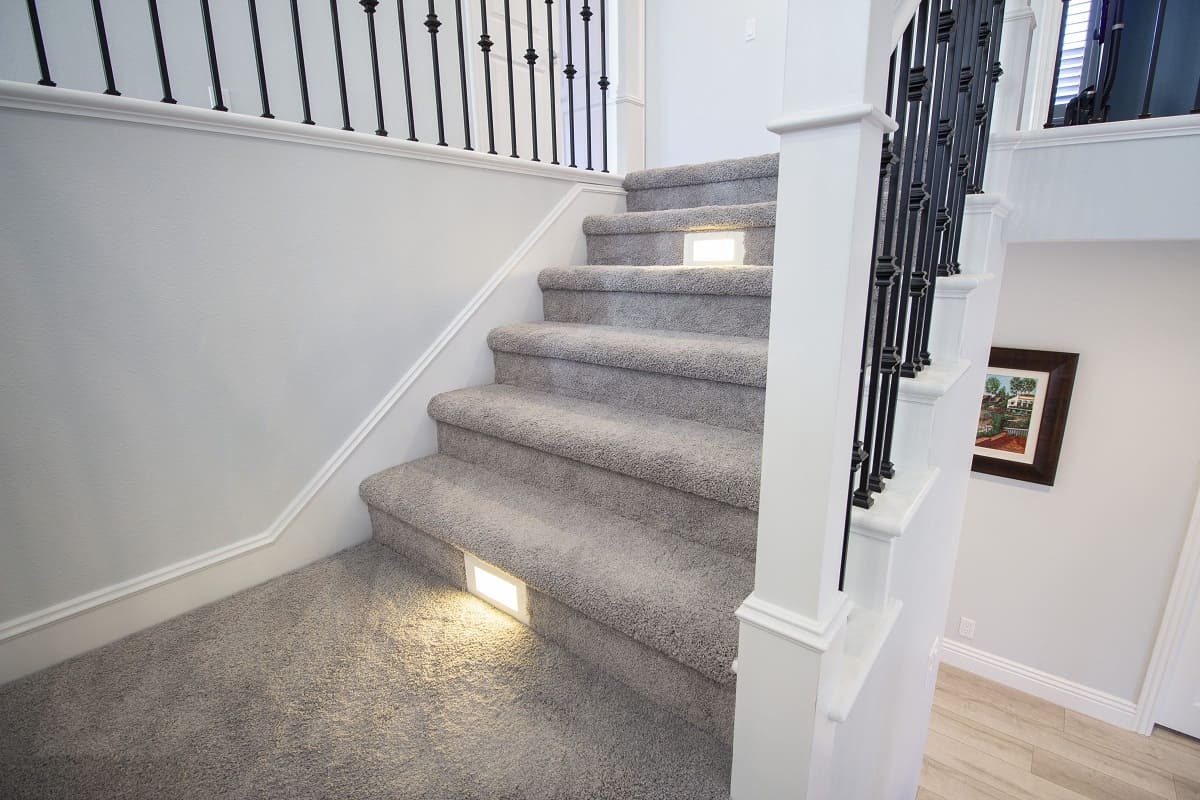
Installing a carpet runner on stairs can transform the look and feel of your home, providing both style and functionality. With careful measurement, gathering the right materials, and following a step-by-step process, you can easily install a carpet runner yourself.
Throughout this guide, we have covered each essential step, from measuring the stairs and gathering the materials to preparing the stairs, installing carpet padding, cutting and attaching the carpet runner, securing it in place, and finally, trimming the edges for a polished finish.
Remember, safety should always be a priority when working on stairs. Take the necessary precautions and use proper safety equipment to ensure a smooth and accident-free installation process.
By installing a carpet runner on your stairs, you not only add a touch of elegance and warmth to your home, but you also create a safer and more comfortable surface to walk on. The added cushioning and traction provided by the carpet runner can help prevent slips and falls, especially in high traffic areas.
So go ahead and give your stairs a makeover by installing a beautiful carpet runner. With patience, attention to detail, and the right tools, you’ll be able to enjoy the beauty and comfort of a carpeted staircase for years to come.
Now it’s time to put your newfound knowledge into action. Measure your stairs, gather the materials, and begin the installation process. Soon enough, you’ll be able to marvel at your newly transformed staircase with a stylish and inviting carpet runner.
Frequently Asked Questions about How To Install A Carpet Runner On Stairs
Was this page helpful?
At Storables.com, we guarantee accurate and reliable information. Our content, validated by Expert Board Contributors, is crafted following stringent Editorial Policies. We're committed to providing you with well-researched, expert-backed insights for all your informational needs.