Articles
How To Install Runner On Stairs
Modified: February 23, 2024
Learn how to install a runner on stairs with this comprehensive step-by-step guide. Our articles provide expert tips and instructions for a flawless installation.
(Many of the links in this article redirect to a specific reviewed product. Your purchase of these products through affiliate links helps to generate commission for Storables.com, at no extra cost. Learn more)
Introduction
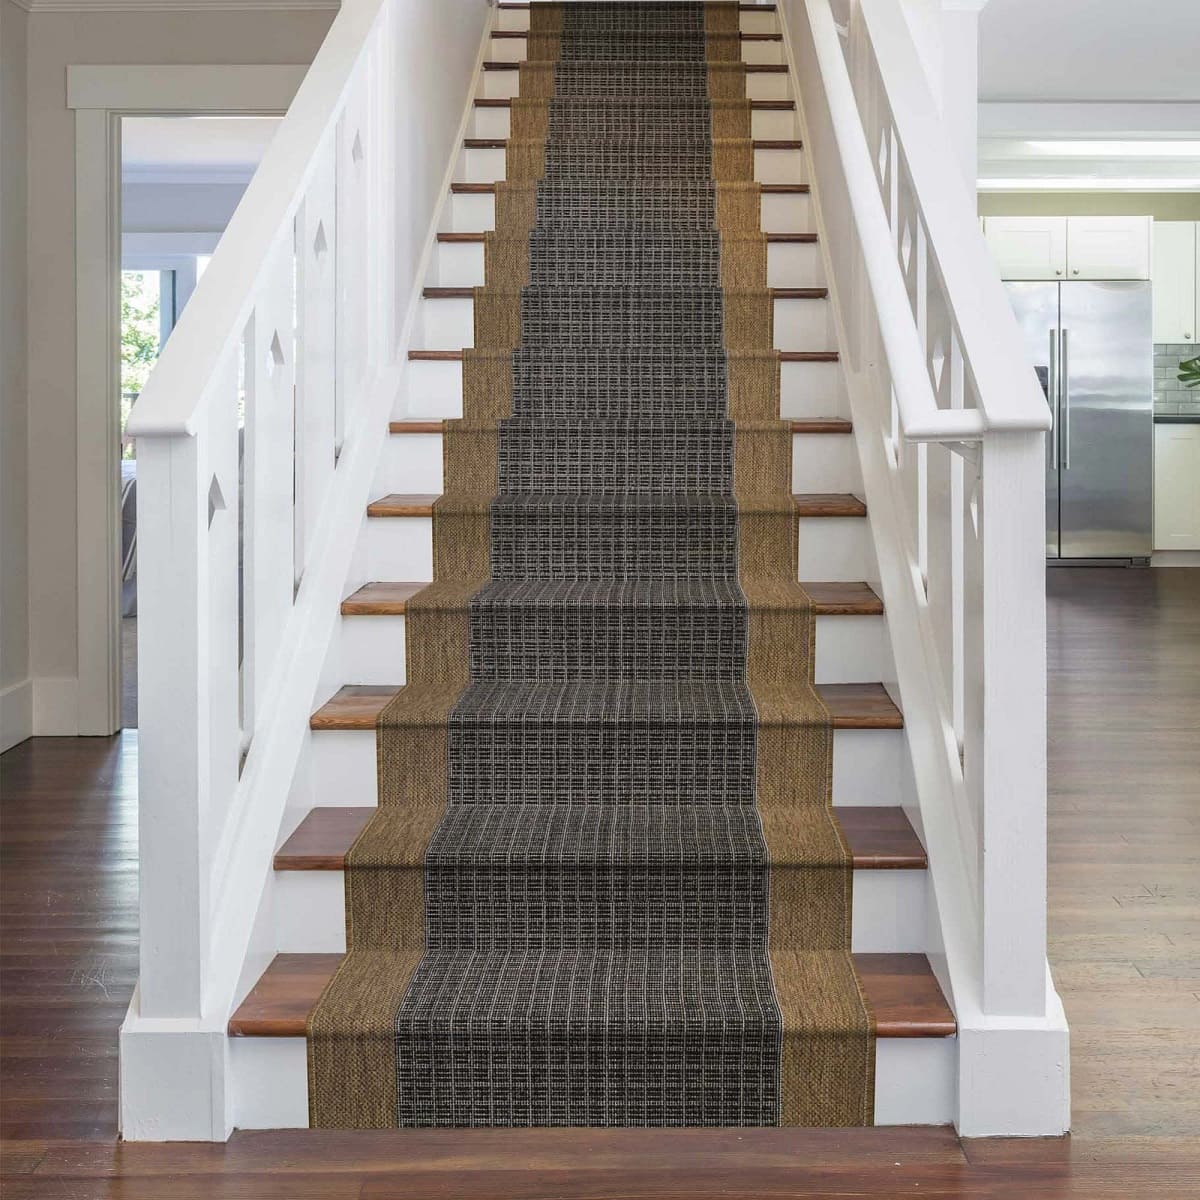
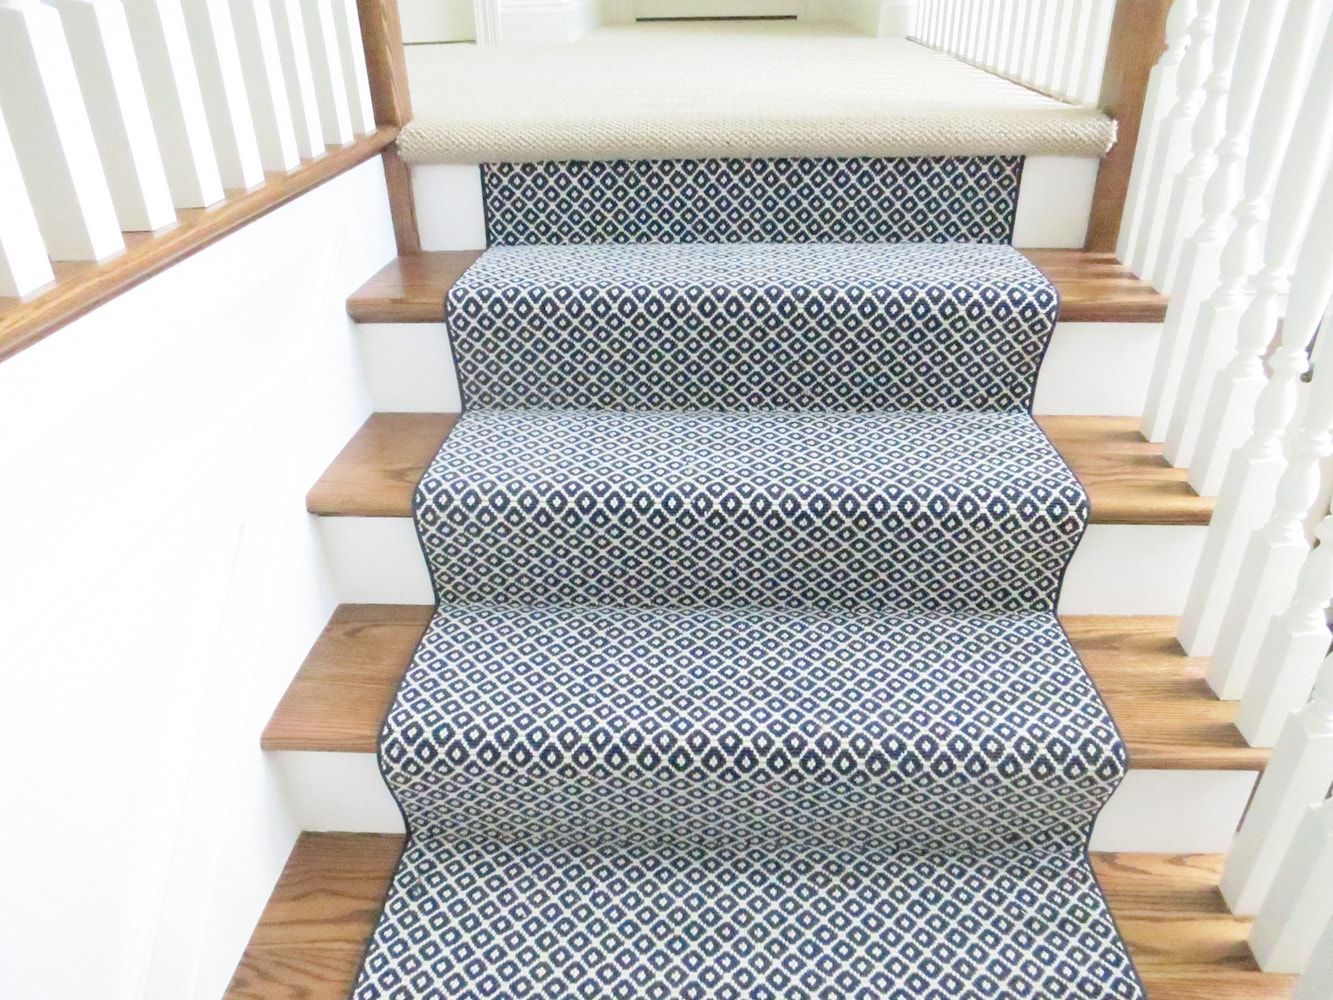
Installing a runner on stairs is a great way to add style, comfort, and safety to your home. Whether you have a grand staircase in a Victorian-era house or a simple set of steps in a modern home, a runner can transform the look and feel of your staircase. Not only does it provide a soft and cozy surface to walk on, but it also adds a touch of elegance and visual interest.
In this article, we will guide you through the step-by-step process of installing a runner on stairs. We’ll cover everything from gathering the necessary tools and materials to securing the runner in place and finishing the edges. With a little bit of time and effort, you’ll be able to achieve a professional and flawless installation that will make your stairs a focal point of your home.
Before we dive into the details, let’s take a quick look at why installing a runner on your stairs is a good idea. Firstly, a runner helps to protect your staircase from wear and tear. As one of the highest traffic areas in a home, stairs endure a lot of foot traffic. By covering them with a runner, you can prevent scratches, scuffs, and other damage that can occur over time.
Secondly, a runner adds an element of safety to your stairs. The added traction and grip provided by a runner can help prevent slips and falls, especially on hard and slippery surfaces such as wood or tile. This is particularly important if you have young children, elderly family members, or pets in your home.
Lastly, a runner allows you to inject your own personal style into your staircase. With a wide range of colors, patterns, and materials to choose from, you can find a runner that complements your home’s decor and reflects your unique taste.
Now that you understand the benefits of installing a runner on stairs, let’s get into the nitty-gritty of how to do it. Get your tools ready and let’s get started!
Key Takeaways:
- Transform your staircase with style, comfort, and safety by installing a runner. Protect your stairs, add traction, and showcase your personal style with a professional and flawless installation.
- Gather tools, measure, secure, and maintain your runner for a stunning staircase. Enjoy the benefits of a runner, from protection to personalization, and elevate your home’s aesthetic.
Read more: How To Install A Carpet Runner On Stairs
Step 1: Gather the necessary tools and materials
Before you begin installing a runner on your stairs, it’s important to gather all the tools and materials you’ll need. Having everything on hand will make the process smoother and more efficient. Here’s a list of the essential tools and materials you’ll need:
- Measuring tape: To accurately measure the length and width of your stairs, as well as the runner.
- Screwdriver: To remove any existing hardware or screws on the stairs.
- Utility knife: To cut the runner and trim the edges.
- Staple gun: To attach the runner to the stairs securely.
- Carpet padding: Provides added cushioning and support beneath the runner.
- Runner: Choose a runner that suits your style and complements your home decor. Opt for a durable material that can withstand heavy foot traffic.
- Double-sided carpet tape: Used to secure the edges of the runner and prevent it from shifting.
- Stair rods (optional): Adds a decorative touch and helps to hold the runner in place.
Make sure you have all the tools and materials before you start the installation process. This will save you time and avoid any unnecessary interruptions.
It’s also a good idea to prep the area by removing any existing carpet or debris from the stairs. This will provide a clean and stable surface for the runner installation.
Once you have gathered all the necessary tools and materials, you’re ready to move on to the next step: preparing the stairs.
Step 2: Prepare the stairs
Preparing the stairs is essential to ensure a smooth and long-lasting installation of the runner. Follow these steps to get your stairs ready:
- Clean the stairs: Start by thoroughly cleaning the stairs. Remove any dirt, dust, or debris using a broom or vacuum cleaner. This will provide a clean surface for the runner and prevent any particles from getting trapped underneath.
- Inspect the stairs: Take a closer look at the stairs and check for any damage or loose parts. Repair or replace any damaged or squeaky steps to ensure stability and safety.
- Remove any existing carpet or flooring: If you have existing carpet or flooring on the stairs, you’ll need to remove it before installing the runner. Use a screwdriver to remove any hardware or screws holding the carpet in place. Then, carefully lift and remove the carpet or flooring, ensuring not to damage the stairs.
- Sand and fill any imperfections: If your stairs have any rough or uneven spots, sand them down with sandpaper to create a smooth surface. Fill in any gaps or imperfections with wood filler and allow it to dry completely before proceeding.
- Paint or stain (optional): If you wish to change the color or finish of your stairs, now is the time to paint or stain them. Make sure to allow sufficient drying time before continuing with the installation.
By properly preparing the stairs, you’ll ensure a sturdy and flawless installation of the runner. Take your time with this step to achieve the best results. Once the stairs are cleaned, inspected, and prepared, you’re ready to move on to the next step: measuring and cutting the runner.
Step 3: Measure and cut the runner
Accurate measurements are crucial when it comes to installing a runner on stairs. Follow these steps to measure and cut the runner:
- Measure the length: Start by measuring the length of each individual step. Use a measuring tape to measure from the bottom of the riser (where the vertical part of the step meets the horizontal part) to the edge of the tread (where you place your foot).
- Add extra length: Add a few inches to the length measurement to ensure the runner has enough allowance to be secured properly. This will also give you room to trim the edges later on.
- Measure the width: Next, measure the width of the runner. It should be wide enough to cover the entire width of the step, with a little bit of overhang on each side for a polished look.
- Mark the measurements: Use a piece of chalk or masking tape to mark the measurements on the back of the runner. Double-check the measurements to ensure accuracy.
- Cut the runner: Carefully cut the runner along the marked measurements using a utility knife or carpet cutter. Take your time and ensure clean, straight cuts.
Keep in mind that each step may have slightly different measurements, especially if your staircase is not perfectly uniform. Measure and cut each piece of the runner individually to ensure a precise fit.
Once you have measured and cut the runner for each step, make sure to check their alignment and order before moving on to the next step. This will help you avoid any mistakes or misplacements during the installation process.
Now that the runner is measured and cut, it’s time to move on to the next step: attaching the runner to the stairs.
Step 4: Attach the runner to the stairs
Now that you have the runner measured and cut, it’s time to attach it to the stairs. Follow these steps for a secure and professional installation:
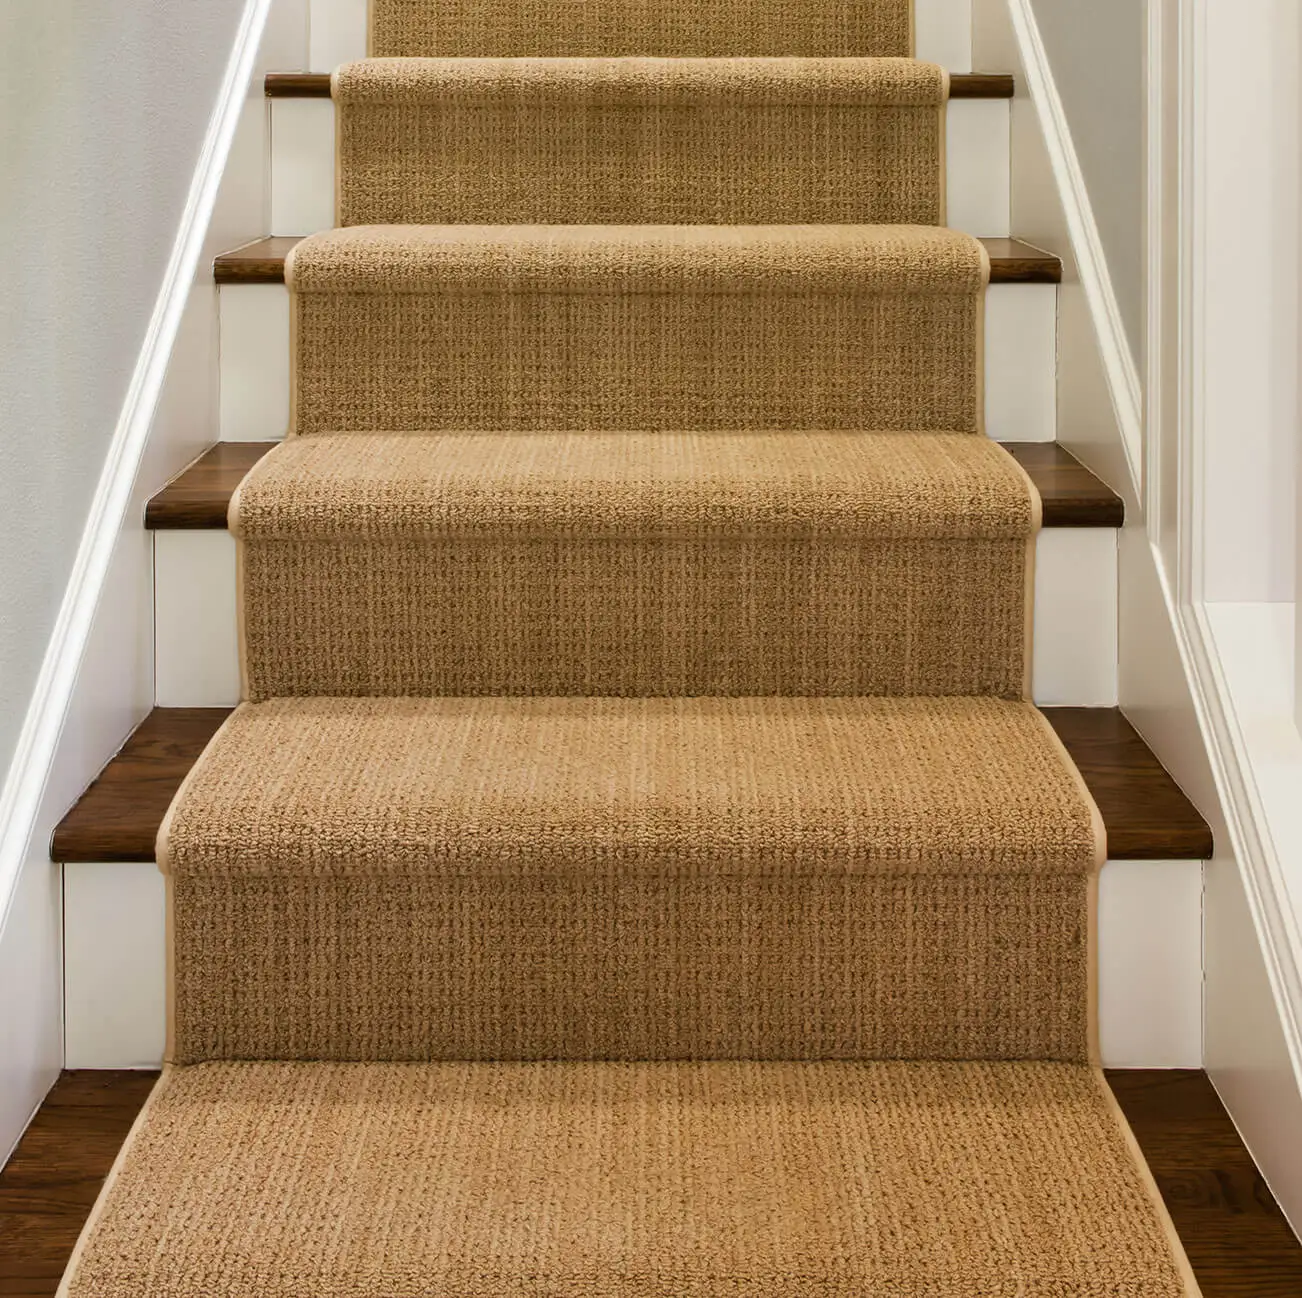
- Start at the bottom: Begin by positioning the cut end of the runner at the bottom of the stairs. Make sure it is aligned with the edge of the tread and the riser.
- Apply double-sided carpet tape: Lift the runner slightly and apply double-sided carpet tape along the length of the step, near the riser edge. Be sure to apply the tape on both the tread and riser for added stability.
- Press the runner down: Carefully press the runner onto the double-sided carpet tape, starting from the center and working your way towards the edges. Smooth out any wrinkles or bubbles to achieve a neat and even appearance.
- Repeat for each step: Move up to the next step and repeat the process, ensuring that each section of the runner is securely attached with the double-sided carpet tape.
- Staple the runner: For additional reinforcement, use a staple gun to attach the runner to the stairs. Place staples along the edges and every few inches along the length of each step, making sure they are hidden beneath the runner’s pile.
As you work your way up the stairs, be mindful of the runner’s alignment and tension. It’s important to maintain a straight and even runner throughout the installation process.
Take your time with this step to ensure that the runner is securely attached and free from any wrinkles or loose areas. A well-secured runner will not only add to the aesthetics of your staircase but also provide a safe and comfortable walking surface.
Once you have attached the runner to all the steps, it’s time to move on to the next step: securing the runner in place.
When installing a runner on stairs, start by measuring and cutting the runner to fit each step. Use a staple gun to secure the runner in place, making sure to pull it taut and smooth out any wrinkles as you go. Finally, use a carpet tucker to neatly tuck the edges of the runner into the crease where the riser meets the tread for a professional finish.
Read more: How To Install Carpet Stair Runner
Step 5: Secure the runner in place
After attaching the runner to the stairs, the next step is to secure it in place to ensure it stays in position. Follow these steps to secure the runner:
- Use stair rods (optional): If you want to add a decorative touch and further secure the runner, you can use stair rods. Stair rods are metal rods with decorative finials that hold the runner in place. Position the stair rods at regular intervals along the width of the runner and screw them to the stairs.
- Apply carpet adhesive: To provide additional grip and prevent the runner from shifting, you can apply carpet adhesive underneath the runner. Lift the edge of the runner and apply the adhesive in a zigzag pattern along the length of the step. Press the runner back down firmly.
- Add tackless strips: Another option to secure the runner is to use tackless strips. These are strips of wood with angled prongs that grip the runner. Place the tackless strips along the edges of the runner, ensuring they are positioned just beneath the edge of the runner without piercing through it.
- Stretch the runner: If you opted for tackless strips, use a knee kicker or a carpet stretcher to stretch the runner tightly from one side to the other. This will ensure a smooth and wrinkle-free appearance.
- Trim excess runner: If there is any excess runner at the top or bottom of the stairs, use a utility knife to trim it neatly. Take your time and make precise cuts for a professional-looking finish.
By securing the runner in place, you not only enhance its stability but also prolong its lifespan. It’s important to choose a method that suits your preferences and the design of your stairs.
Once you have secured the runner, take a moment to inspect the entire installation and ensure that everything is in place. Make any necessary adjustments before moving on to the next step: trimming and finishing the edges.
Step 6: Trim and finish the edges
Trimming and finishing the edges of the runner will give your staircase a polished and professional look. Follow these steps to trim and finish the edges:
- Measure the edges: Start by measuring the length of the exposed edges of the runner. This includes the sides of each step and the top landing area if applicable.
- Mark the measurements: Use a pencil or chalk to mark the measured length on the backside of the runner.
- Cut the edge binding: Using a sharp utility knife, carefully cut the edge binding of the runner along the marked measurements. Take your time to make clean and precise cuts.
- Fold and secure the edge binding: Fold the cut edge binding back onto the backside of the runner. Use a staple gun to securely fasten the folded edge binding, ensuring that it is flush with the back of the runner.
- Trim excess material: If there is any excess material sticking out beyond the edge binding, carefully trim it using a utility knife.
- Optional: Add trim or molding (if desired): To further enhance the appearance and hide any rough edges, you can add trim or molding along the sides of the runner and the top landing area. Choose a trim that complements your home’s decor and install it using a nail gun or adhesive.
Trimming and finishing the edges of the runner will give it a clean and professional look. It ensures that the runner fits neatly into the staircase and hides any raw edges for a polished finish.
Once you have trimmed and finished the edges, take a step back and admire your newly installed runner. It’s almost complete! The last step is to clean up and follow some maintenance tips to keep your runner looking its best.
Step 7: Clean up and maintenance tips
After successfully installing a runner on your stairs, it’s important to clean up and implement proper maintenance to keep your runner looking fresh and in good condition. Follow these cleaning and maintenance tips:
- Vacuum regularly: Vacuum the runner regularly to remove dirt, dust, and debris. Use a brush attachment or a handheld vacuum to ensure thorough cleaning. This will prevent the accumulation of dirt and maintain the runner’s appearance.
- Spot clean spills: In case of spills or stains, act quickly. Blot the area with a clean cloth or paper towel to absorb the liquid. Avoid rubbing or scrubbing, as it can push the stain deeper into the fibers. Use a mild carpet cleaner or a mixture of warm water and gentle detergent to gently clean the affected area. Test the cleaner on an inconspicuous area first to ensure it doesn’t cause any discoloration.
- Avoid excessive moisture: Minimize exposure to moisture on the runner as it can lead to mold or mildew growth. Wipe up any spills immediately and avoid using excessive water or cleaning solutions.
- Rotate furniture: If you have any furniture or heavy items on the runner, periodically rotate them to prevent uneven wear. This will distribute the weight and prolong the lifespan of the runner.
- Protect from direct sunlight: Direct sunlight can cause the colors of the runner to fade over time. Use curtains, blinds, or window films to protect the runner from excessive sunlight exposure.
- Regular maintenance checks: Periodically inspect the runner for any signs of wear, loose edges, or fraying. Address any issues promptly to prevent further damage or safety hazards.
By following these cleaning and maintenance tips, you can extend the life of your runner and keep it looking beautiful for years to come.
Congratulations! You have successfully completed the installation of a runner on your stairs. Take a moment to appreciate your hard work and enjoy the enhanced style, comfort, and safety that the runner brings to your home.
Remember that each staircase may have unique requirements and variations, so adjust the installation process accordingly. If you encounter any difficulties or have specific questions, don’t hesitate to consult a professional or seek further guidance.
Enjoy your newly transformed staircase and the many benefits of having a runner on your stairs!
Conclusion
In conclusion, installing a runner on your stairs is a rewarding home improvement project that adds style, comfort, and safety. By following the steps outlined in this guide, you can achieve a professional and flawless installation that will transform your staircase.
The benefits of installing a runner on stairs are numerous. It helps protect your stairs from wear and tear, adds an element of safety by providing extra grip and traction, and allows you to inject your own personal style into your home. Whether you have a grand staircase or a simple set of steps, a runner can enhance the visual appeal of your staircase and create a focal point in your home.
Starting with gathering the necessary tools and materials, preparing the stairs, measuring and cutting the runner, attaching it securely, and finishing off with trimming and maintaining the edges, each step plays a crucial role in achieving a successful installation.
Throughout the process, it’s important to pay attention to detail, take accurate measurements, and work carefully. By doing so, you can ensure that the runner fits snugly, looks visually appealing, and stands the test of time.
Regular maintenance, such as vacuuming and spot cleaning, will keep your runner looking its best. It’s also important to address any wear or damage promptly to prevent further issues.
Remember to personalize your installation by choosing a runner that suits your style and complements your home decor. With countless options available, from colors and patterns to materials, you can find a runner that reflects your unique taste and enhances the overall aesthetic of your home.
Installing a runner on your stairs is a project that not only adds beauty and functionality but also brings a sense of satisfaction and accomplishment. So, gather your tools, follow the steps outlined in this guide, and enjoy the transformation of your staircase into a stunning centerpiece of your home.
Happy installing!
Frequently Asked Questions about How To Install Runner On Stairs
Was this page helpful?
At Storables.com, we guarantee accurate and reliable information. Our content, validated by Expert Board Contributors, is crafted following stringent Editorial Policies. We're committed to providing you with well-researched, expert-backed insights for all your informational needs.


0 thoughts on “How To Install Runner On Stairs”