Home>Ideas and Tips>Upgrading Your Kitchen Cabinets Without Replacing Them
Ideas and Tips
Upgrading Your Kitchen Cabinets Without Replacing Them
Published: August 27, 2024
Upgrade your kitchen cabinets without the cost of replacement. Discover refacing, painting, and more budget-friendly DIY methods for a fresh new look.
(Many of the links in this article redirect to a specific reviewed product. Your purchase of these products through affiliate links helps to generate commission for Storables.com, at no extra cost. Learn more)
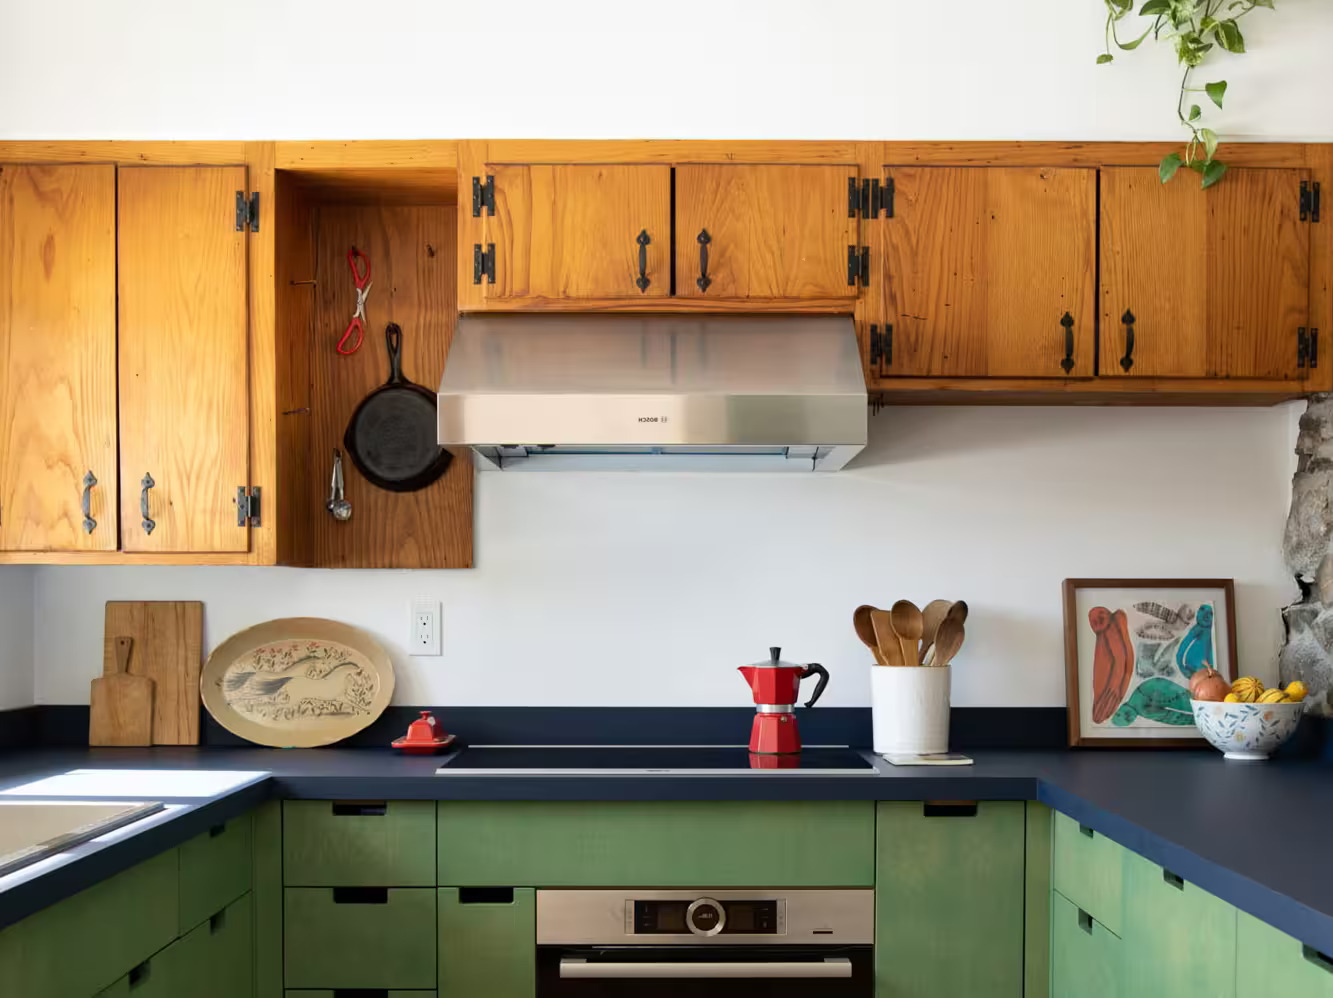
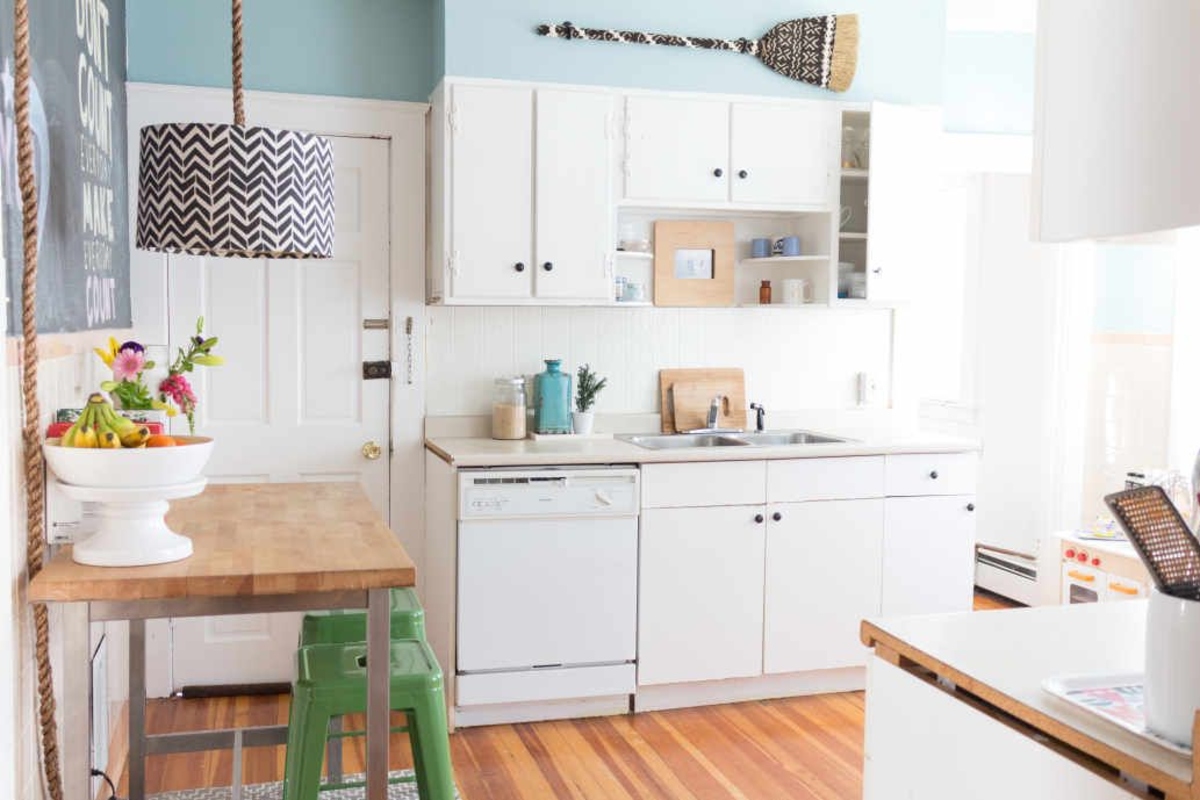
When it comes to home improvement, few projects are as impactful as upgrading your kitchen cabinets. Not only can this enhance the aesthetic appeal of your kitchen, but it can also significantly improve functionality and resale value. However, many homeowners assume that upgrading cabinets means replacing them entirely, which can be costly and time-consuming. Fortunately, there are several ways to upgrade your kitchen cabinets without replacing them, and in this article, we will explore these options in detail.
Refacing Your Cabinets
One of the most popular methods for upgrading kitchen cabinets without replacing them is refacing. This process involves removing the existing doors and drawer fronts and replacing them with new ones. The old cabinet boxes remain intact, but they are given a fresh new look with updated hardware and finishes.
Steps Involved in Refacing:
-
Preparation:
- Measure and Plan: Measure your cabinets carefully to determine the size and type of new doors and drawer fronts you need.
- Remove Hardware: Take off all hardware such as knobs, handles, and hinges.
- Cover Surfaces: Cover the countertops, floors, and any adjacent surfaces to protect them from dust and debris.
-
Removing Old Doors and Drawer Fronts:
- Use a screwdriver or pry bar to carefully remove the old doors and drawer fronts from the cabinet boxes.
- Set aside any reusable hardware like hinges and drawer slides.
-
Preparing New Doors and Drawer Fronts:
- Install new hinges and drawer slides if necessary.
- Attach the new doors and drawer fronts to the cabinet boxes using screws or nails.
-
Finishing Touches:
- Reattach any hardware like knobs or handles.
- Apply a finish coat to match the new doors and drawer fronts with the rest of your kitchen.
Benefits of Refacing:
- Cost-Effective: Refacing is generally less expensive than replacing entire cabinets.
- Quick Turnaround: The process can be completed in a few days, depending on the complexity of the job.
- Environmental Friendly: It reduces waste by reusing existing cabinet boxes.
Painting Your Cabinets
Another effective way to upgrade your kitchen cabinets is by painting them. This method is particularly useful if you want to change the color or style of your cabinets without replacing them entirely.
Steps Involved in Painting:
-
Preparation:
- Clean the Cabinets: Thoroughly clean the cabinets to remove grease, grime, and old finishes.
- Sand the Surface: Use a fine-grit sandpaper to smooth out any rough spots and create a better surface for painting.
-
Priming (Optional):
- If your cabinets have a glossy finish or are made of a material that doesn’t hold paint well (like MDF), apply a primer first.
-
Painting:
- Apply two coats of high-quality paint specifically designed for cabinets.
- Allow each coat to dry completely before applying the next one.
-
Finishing Touches:
- Apply a clear coat of polyurethane to protect the paint and give it a glossy finish.
- Reattach any hardware like knobs or handles.
Benefits of Painting:
- Customization: You can choose any color you like to match your kitchen’s theme.
- Cost-Effective: Painting is generally cheaper than refacing or replacing cabinets.
- Easy DIY Project: If you’re comfortable with painting, this can be a DIY project that saves you money on labor costs.
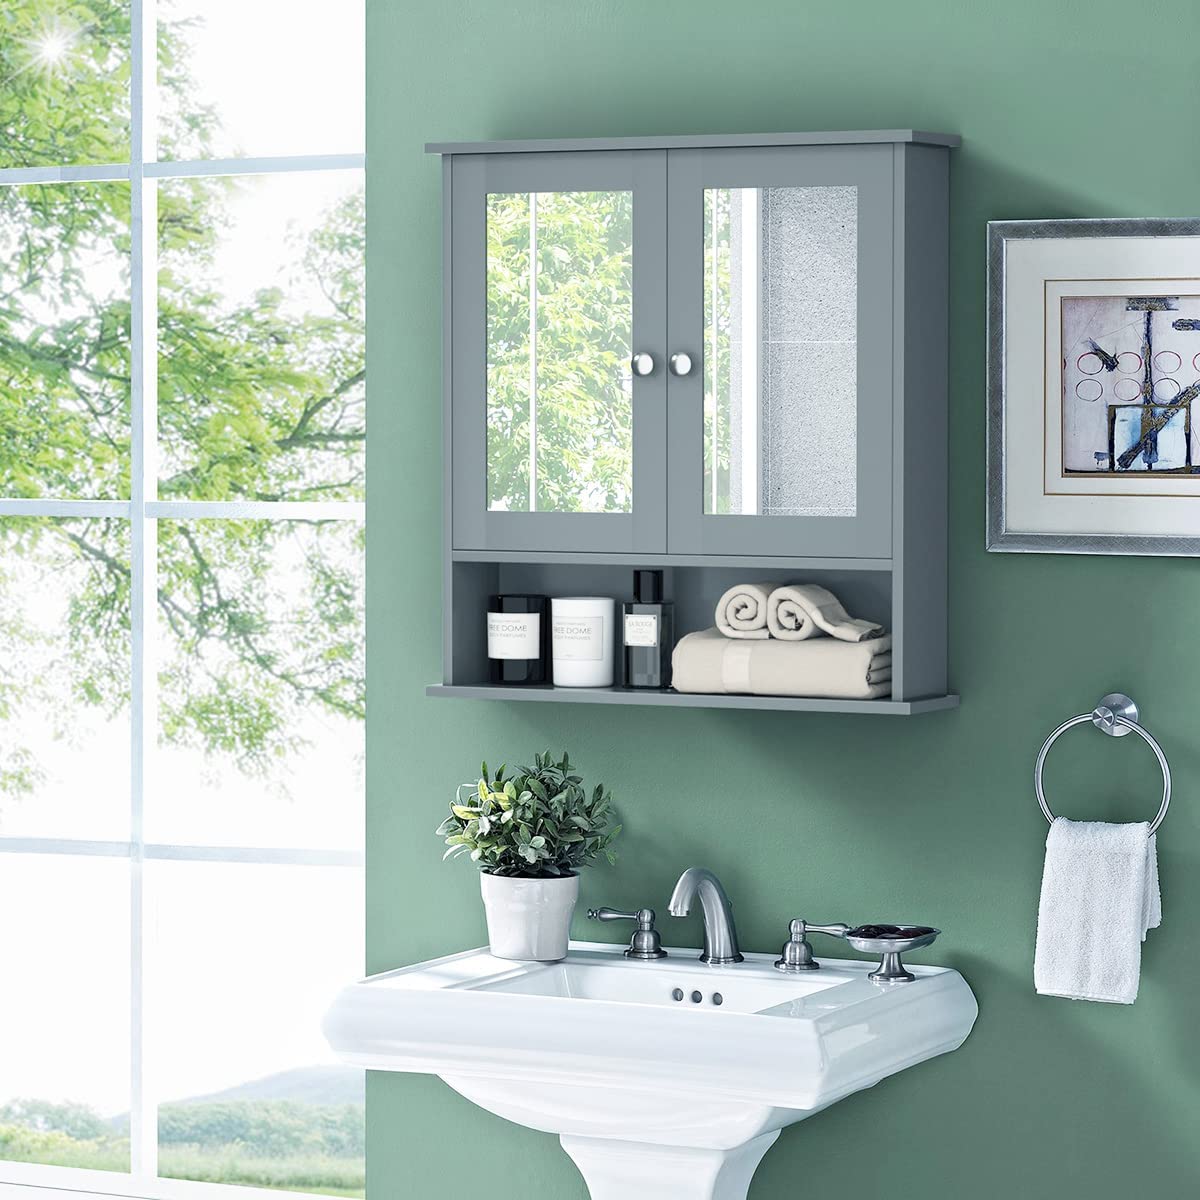
Updating Hardware
Sometimes, all it takes is a simple update in hardware to give your kitchen cabinets a fresh new look. New knobs, handles, or hinges can make a significant difference in the overall appearance of your cabinets.
Steps Involved in Updating Hardware:
- Remove Old Hardware: Take off all old knobs, handles, and hinges from the doors and drawers.
- Measure New Hardware: Measure the new hardware to ensure it fits properly on your doors and drawers.
- Install New Hardware: Attach the new knobs, handles, or hinges using screws or nails.
Benefits of Updating Hardware:
- Quick Fix: Updating hardware is quick and easy, requiring minimal effort or cost.
- Customization: You can choose from various styles and materials to match your kitchen’s theme.
- Enhanced Functionality: New hardware can improve functionality by making it easier to open and close doors and drawers.
Adding Decorative Trim
Decorative trim can add a touch of elegance to your kitchen cabinets without requiring extensive renovations. You can add trim around the edges of the doors or drawers for a more polished look.
Steps Involved in Adding Decorative Trim:
- Measure Trim: Measure the edges of your doors or drawers where you want to add trim.
- Cut Trim: Cut the trim pieces according to your measurements using a miter saw or hand saw.
- Attach Trim: Use nails or adhesive to attach the trim pieces around the edges of the doors or drawers.
Benefits of Adding Decorative Trim:
- Aesthetic Appeal: Decorative trim enhances the visual appeal of your kitchen cabinets.
- Easy Installation: It’s relatively easy to install decorative trim if you have basic DIY skills.
- Cost-Effective: This method is budget-friendly compared to other renovation options.
Using Contact Paper
For a more temporary solution or if you’re on a tight budget, using contact paper can be an effective way to give your cabinets a fresh new look without committing to a long-term renovation project.
Steps Involved in Using Contact Paper:
- Measure Cabinets: Measure each cabinet door and drawer front to determine how much contact paper you need.
- Apply Contact Paper: Apply the contact paper to each door and drawer front using a credit card or similar tool to smooth out any air bubbles.
- Trim Excess: Trim any excess contact paper around the edges using scissors or a craft knife.
Benefits of Using Contact Paper:
- Temporary Solution: It’s ideal for renters who want to make temporary changes without damaging the property.
- Budget-Friendly: Contact paper is very affordable compared to other renovation materials.
- Easy Installation: It’s quick and easy to apply, requiring minimal effort or skill.
Conclusion
Upgrading your kitchen cabinets without replacing them is a viable option that can save you money and time while still achieving significant aesthetic and functional improvements. Whether you choose refacing, painting, updating hardware, adding decorative trim, or using contact paper, each method offers unique benefits that cater to different needs and budgets. By following these steps and tips outlined above, you can transform your kitchen into a beautiful and functional space that enhances your daily life without breaking the bank.
Was this page helpful?
At Storables.com, we guarantee accurate and reliable information. Our content, validated by Expert Board Contributors, is crafted following stringent Editorial Policies. We're committed to providing you with well-researched, expert-backed insights for all your informational needs.


0 thoughts on “Upgrading Your Kitchen Cabinets Without Replacing Them”