Articles
How To Replace Medicine Cabinet
Modified: October 19, 2024
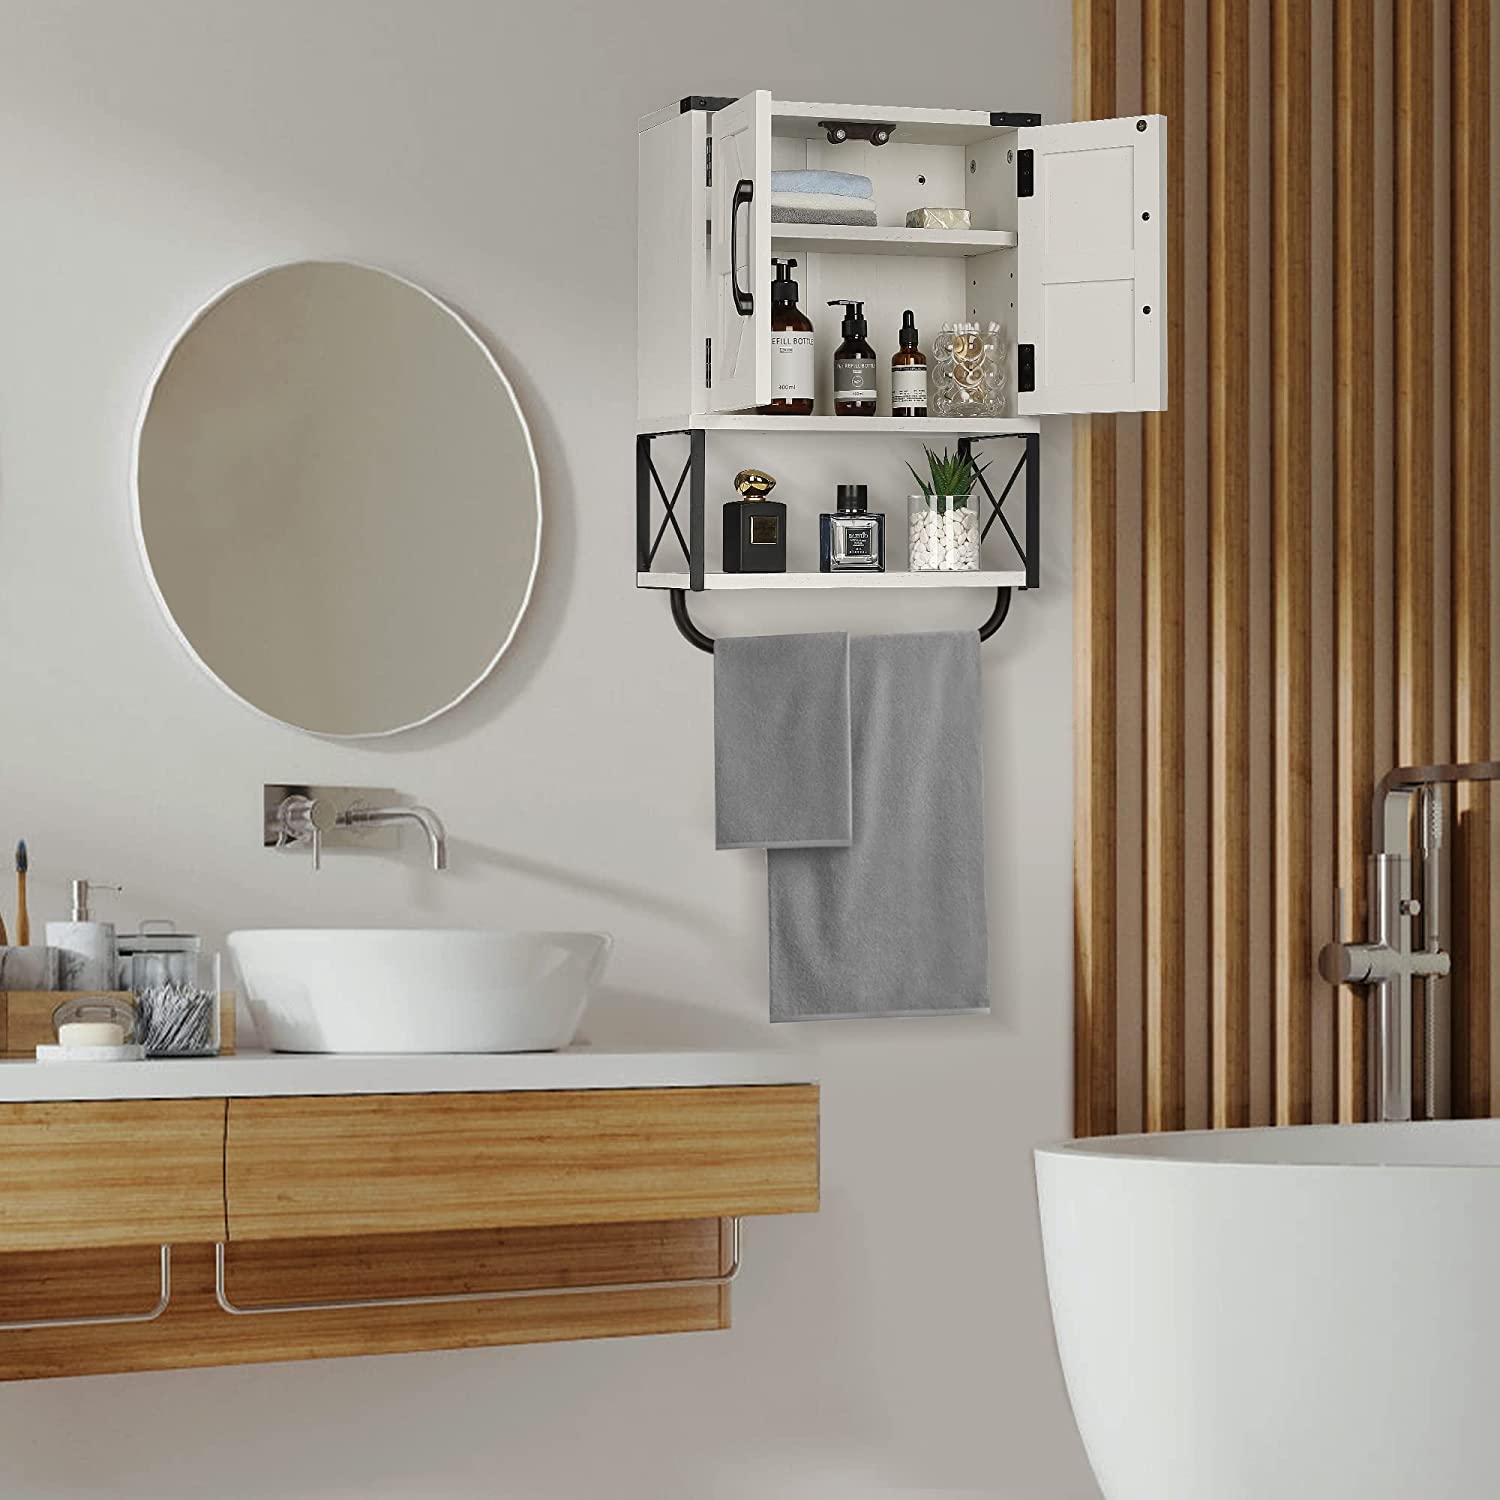
Looking to upgrade your bathroom storage? Learn how to replace your medicine cabinet with functional and stylish bathroom storage solutions.
(Many of the links in this article redirect to a specific reviewed product. Your purchase of these products through affiliate links helps to generate commission for Storables.com, at no extra cost. Learn more)
Introduction
Welcome to our comprehensive guide on how to replace a medicine cabinet! Whether you’re looking to upgrade your bathroom storage or simply need to replace a worn-out cabinet, we’ve got you covered. With the right tools and a little bit of patience, you’ll be able to successfully install a new medicine cabinet and give your bathroom a fresh look.
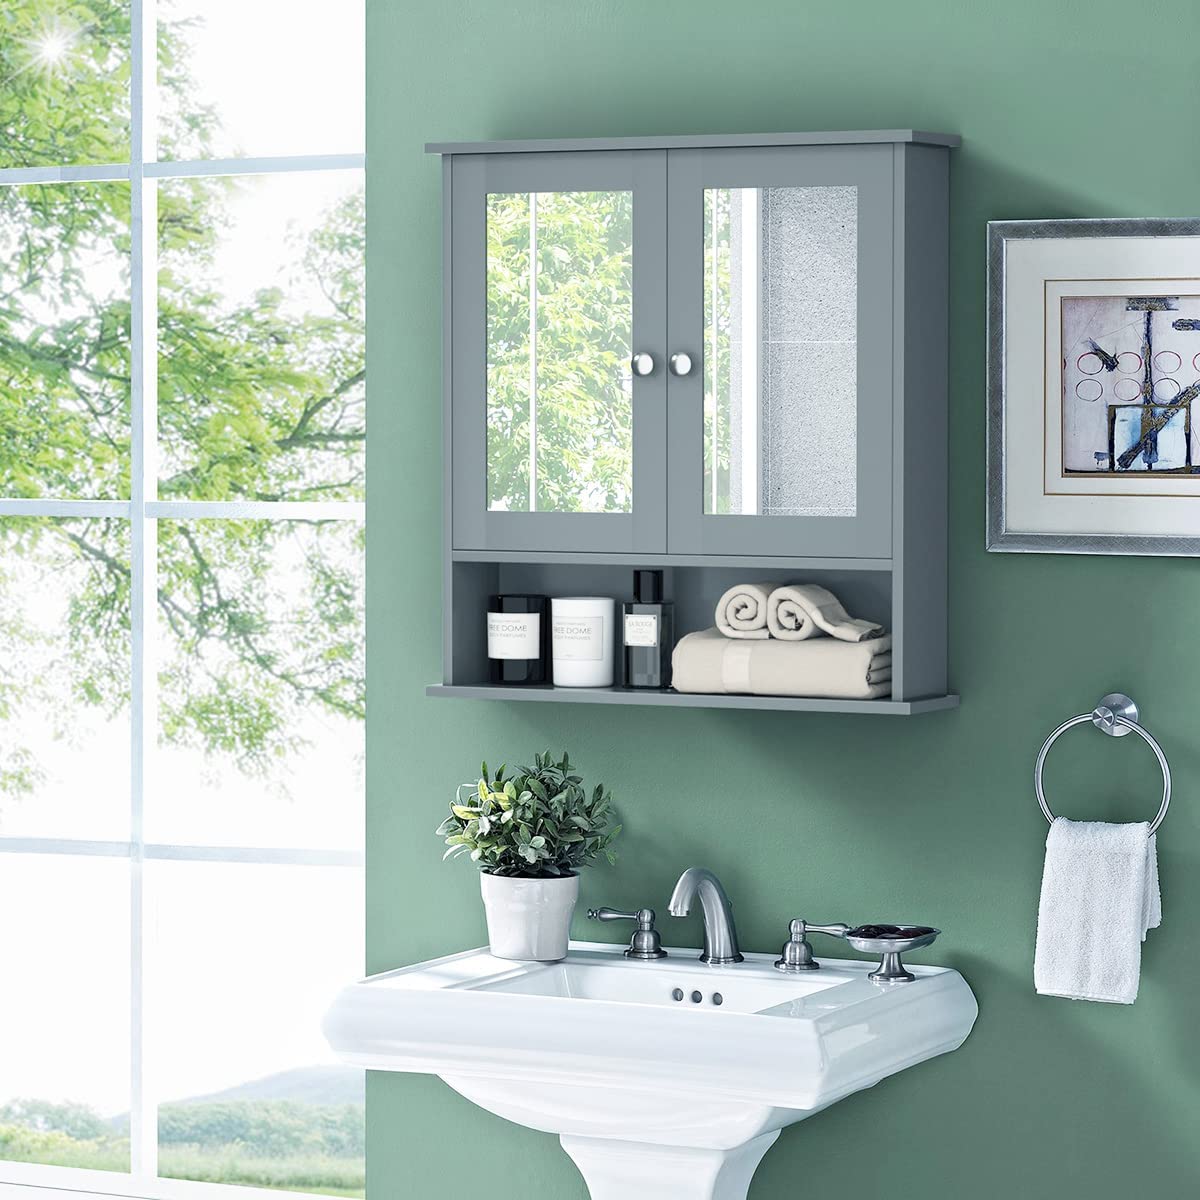
A medicine cabinet is an essential piece of bathroom storage. It not only provides a convenient place to store medications, toiletries, and other essentials, but it also adds a touch of style to your bathroom decor. Over time, however, the cabinet itself may become worn or outdated, and you may find the need to replace it.
Before you begin the process, it’s important to gather all the necessary tools and materials to ensure a smooth installation. You’ll also need to prepare your workspace and take some measurements to select the right size and style of cabinet for your bathroom. Once you have everything you need, you can proceed with removing the old cabinet and installing the new one.
In this guide, we’ll take you through each step of the process, providing detailed instructions and tips to help you successfully replace your medicine cabinet. So let’s get started and transform your bathroom storage with a brand new cabinet!
Key Takeaways:
- Upgrade your bathroom storage and give it a fresh look by replacing your old medicine cabinet with a new one. Follow our comprehensive guide for a successful installation process.
- Ensure a smooth and efficient installation by gathering the necessary tools, measuring accurately, and testing the functionality of your new medicine cabinet. Enjoy a refreshed bathroom with enhanced storage space!
Step 1: Gather necessary tools and materials
Before you begin the process of replacing your medicine cabinet, it’s important to gather all the necessary tools and materials. Having everything on hand will save you time and ensure a smooth installation. Here’s a list of items you’ll need:
- Screwdriver (flathead or Phillips depending on your cabinet)
- Drill and drill bits
- Tape measure
- Pencil or marker
- Level
- Hacksaw or reciprocating saw (if needed for cutting pipes)
- Adjustable wrench
- Drywall saw or utility knife
- Caulk gun and silicone caulk
- Wall anchors and screws
- New medicine cabinet
Make sure you have the appropriate tools for your specific cabinet and any additional features or accessories you’ll be installing. It’s also a good idea to have a clean, well-lit workspace and protective gear such as gloves and safety goggles.
If you’re unsure about the type of screws, anchors, or other hardware you’ll need for your specific cabinet, consult the manufacturer’s instructions or check with a hardware store professional. It’s always better to be prepared and have everything you need before you start the project.
Once you have all your tools and materials ready, you can move on to the next step: preparing your workspace.
Step 2: Prepare the workspace
Before you begin the process of replacing your medicine cabinet, it’s important to prepare your workspace to ensure a safe and efficient installation. Here are some steps to follow:
- Clear the area: Remove any items or obstructions from the bathroom countertop or vanity where the medicine cabinet is located. This will give you ample space to work and prevent any accidents or damage to your belongings.
- Cover the countertop: Place a protective covering, such as a drop cloth or old sheet, over the countertop to prevent any scratches or damage during the installation process. This will also make it easier to clean up any debris or dust that may be generated.
- Turn off power: If your medicine cabinet has built-in lights or electrical components, it’s important to turn off the power to the bathroom before starting the installation. This will ensure your safety and prevent any electrical accidents.
- Shut off water supply (if necessary): If your medicine cabinet is located above a sink with water supply lines, shut off the water supply before starting the installation. You may need to turn off the main water valve or the specific valve for your bathroom.
- Remove any existing trim or molding: If your old medicine cabinet has trim or molding around it, carefully remove it using a pry bar or screwdriver. This will make it easier to remove the cabinet and install the new one.
- Take safety precautions: Wear protective gear such as gloves and safety goggles to protect yourself from any sharp edges or debris. If you’re working with an assistant, make sure you both communicate and coordinate your actions to prevent any accidents.
By preparing your workspace properly, you’ll create a safe and organized environment for the installation process. Now that your workspace is ready, you can move on to the next step: removing the old medicine cabinet.
Step 3: Remove the old medicine cabinet
Now that you have prepared your workspace, it’s time to remove the old medicine cabinet. Follow these steps to ensure a smooth removal process:
- Disconnect any electrical connections: If your old medicine cabinet has built-in lights or electrical components, make sure to disconnect the wiring before attempting to remove it. Turn off the power supply to the bathroom and use a screwdriver or pliers to disconnect the wires.
- Remove any shelves or interior components: Empty the contents of the cabinet and remove any shelves, drawers, or other interior components. This will make the cabinet lighter and easier to handle during the removal process.
- Locate and remove the mounting screws: Most medicine cabinets are attached to the wall with mounting screws. These screws are usually located inside the cabinet, either on the sides or at the back. Use a screwdriver or a drill with a suitable bit to remove the screws.
- Carefully detach the cabinet from the wall: Once the mounting screws are removed, the cabinet should be free from the wall. Gently pull the cabinet away from the wall, taking care not to damage the surrounding tiles or drywall. If the cabinet is stuck or difficult to remove, use a utility knife or a putty knife to loosen any caulk or adhesive.
- Disconnect any remaining plumbing connections (if applicable): If your old medicine cabinet is connected to plumbing pipes, such as for a sink or vanity, you may need to disconnect these connections as well. Use an adjustable wrench to loosen and disconnect any nuts or fittings. If necessary, use a hacksaw or reciprocating saw to cut through any pipes.
Once the old medicine cabinet is completely removed, inspect the wall for any damage or repairs that may be needed. Clean the area thoroughly and make any necessary repairs before proceeding to the next step.
Now that the old cabinet is out of the way, you’re ready to move on to selecting a new medicine cabinet in the next step.
Step 4: Measure and select a new medicine cabinet
With the old medicine cabinet removed, it’s time to measure the space and select a suitable replacement. Follow these steps to ensure a proper fit:
- Measure the width: Use a tape measure to measure the width of the opening where the old medicine cabinet was installed. Measure the distance between the two sides of the wall or the space where the cabinet will be placed. Note down the measurement.
- Measure the height: Measure the height of the opening from top to bottom, ensuring you take into account any trim or molding that may be present. Jot down the height measurement.
- Measure the depth: Measure the depth of the opening, determining how far the cabinet can extend into the wall. This will help you select a cabinet that fits properly without protruding too far.
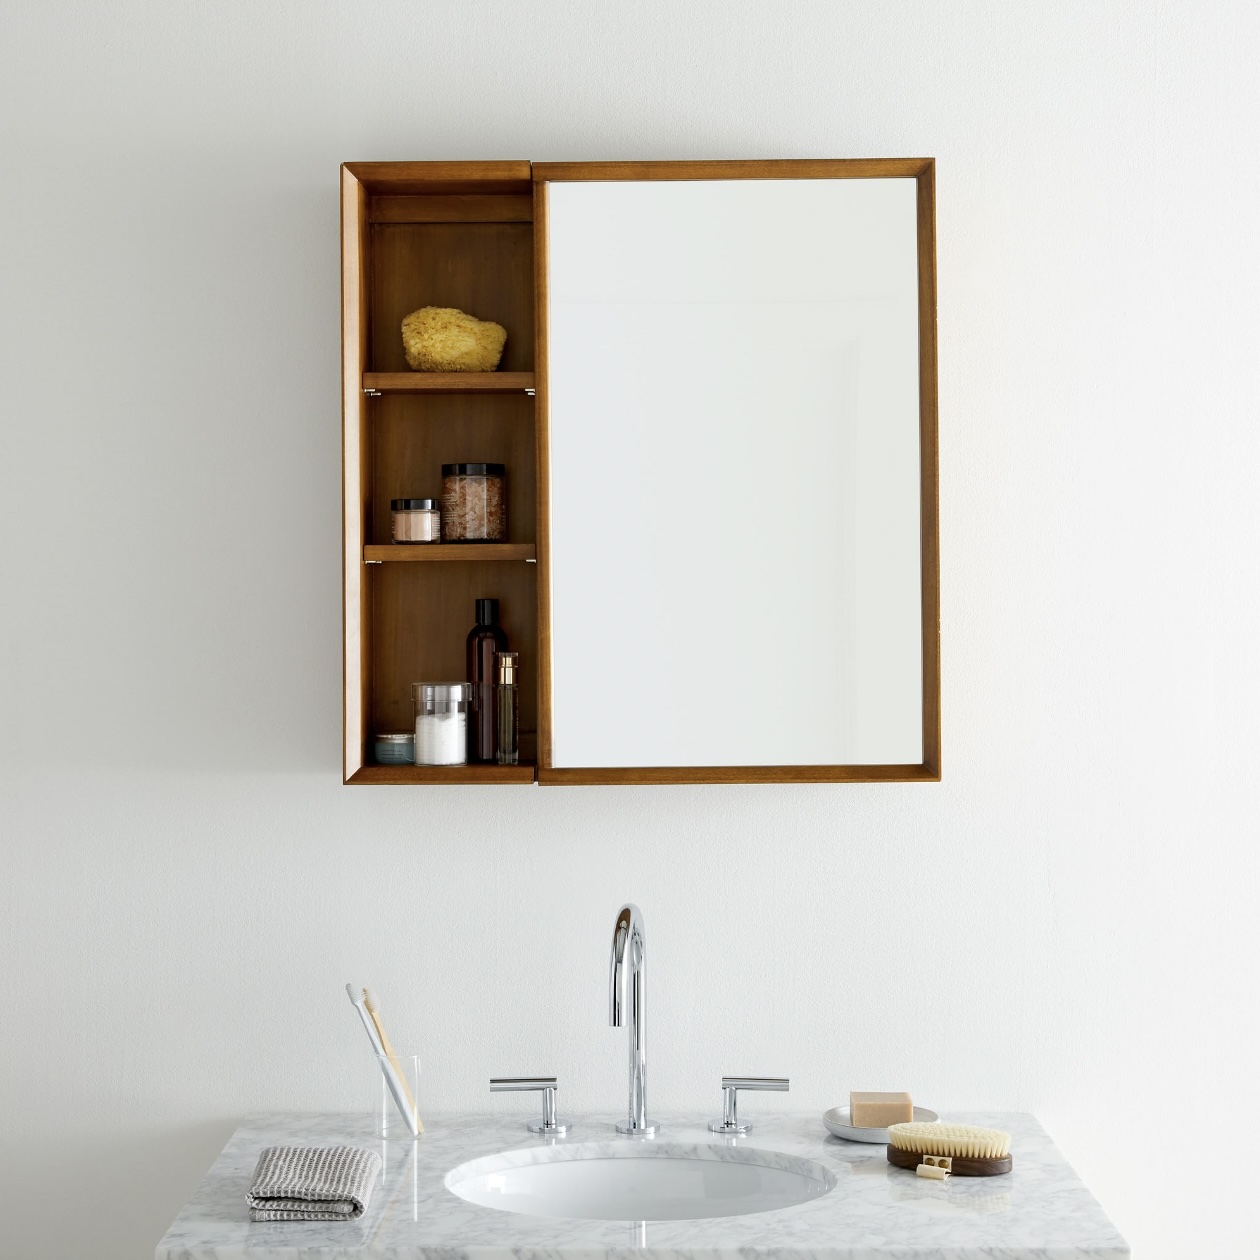
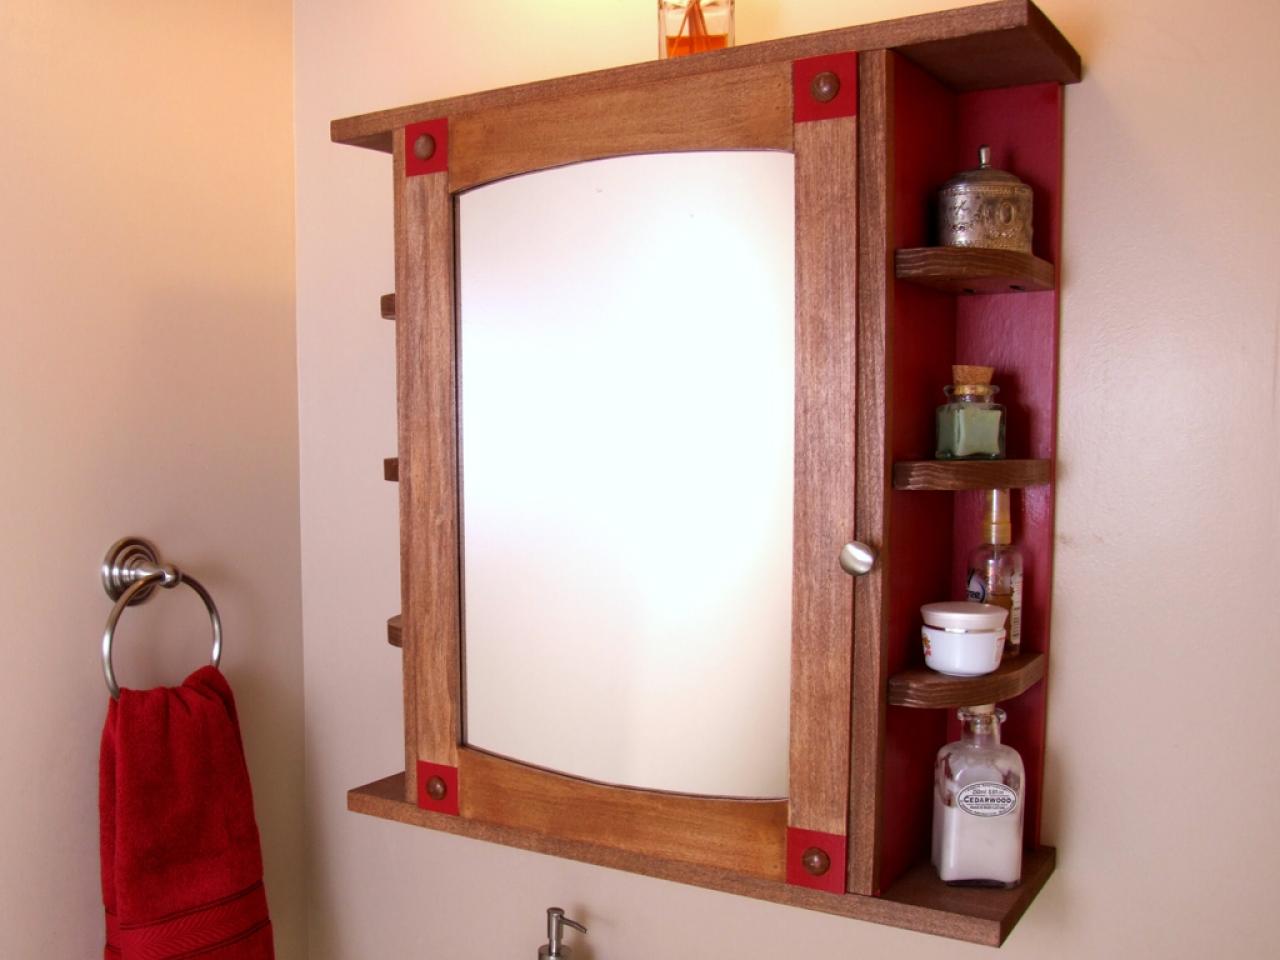
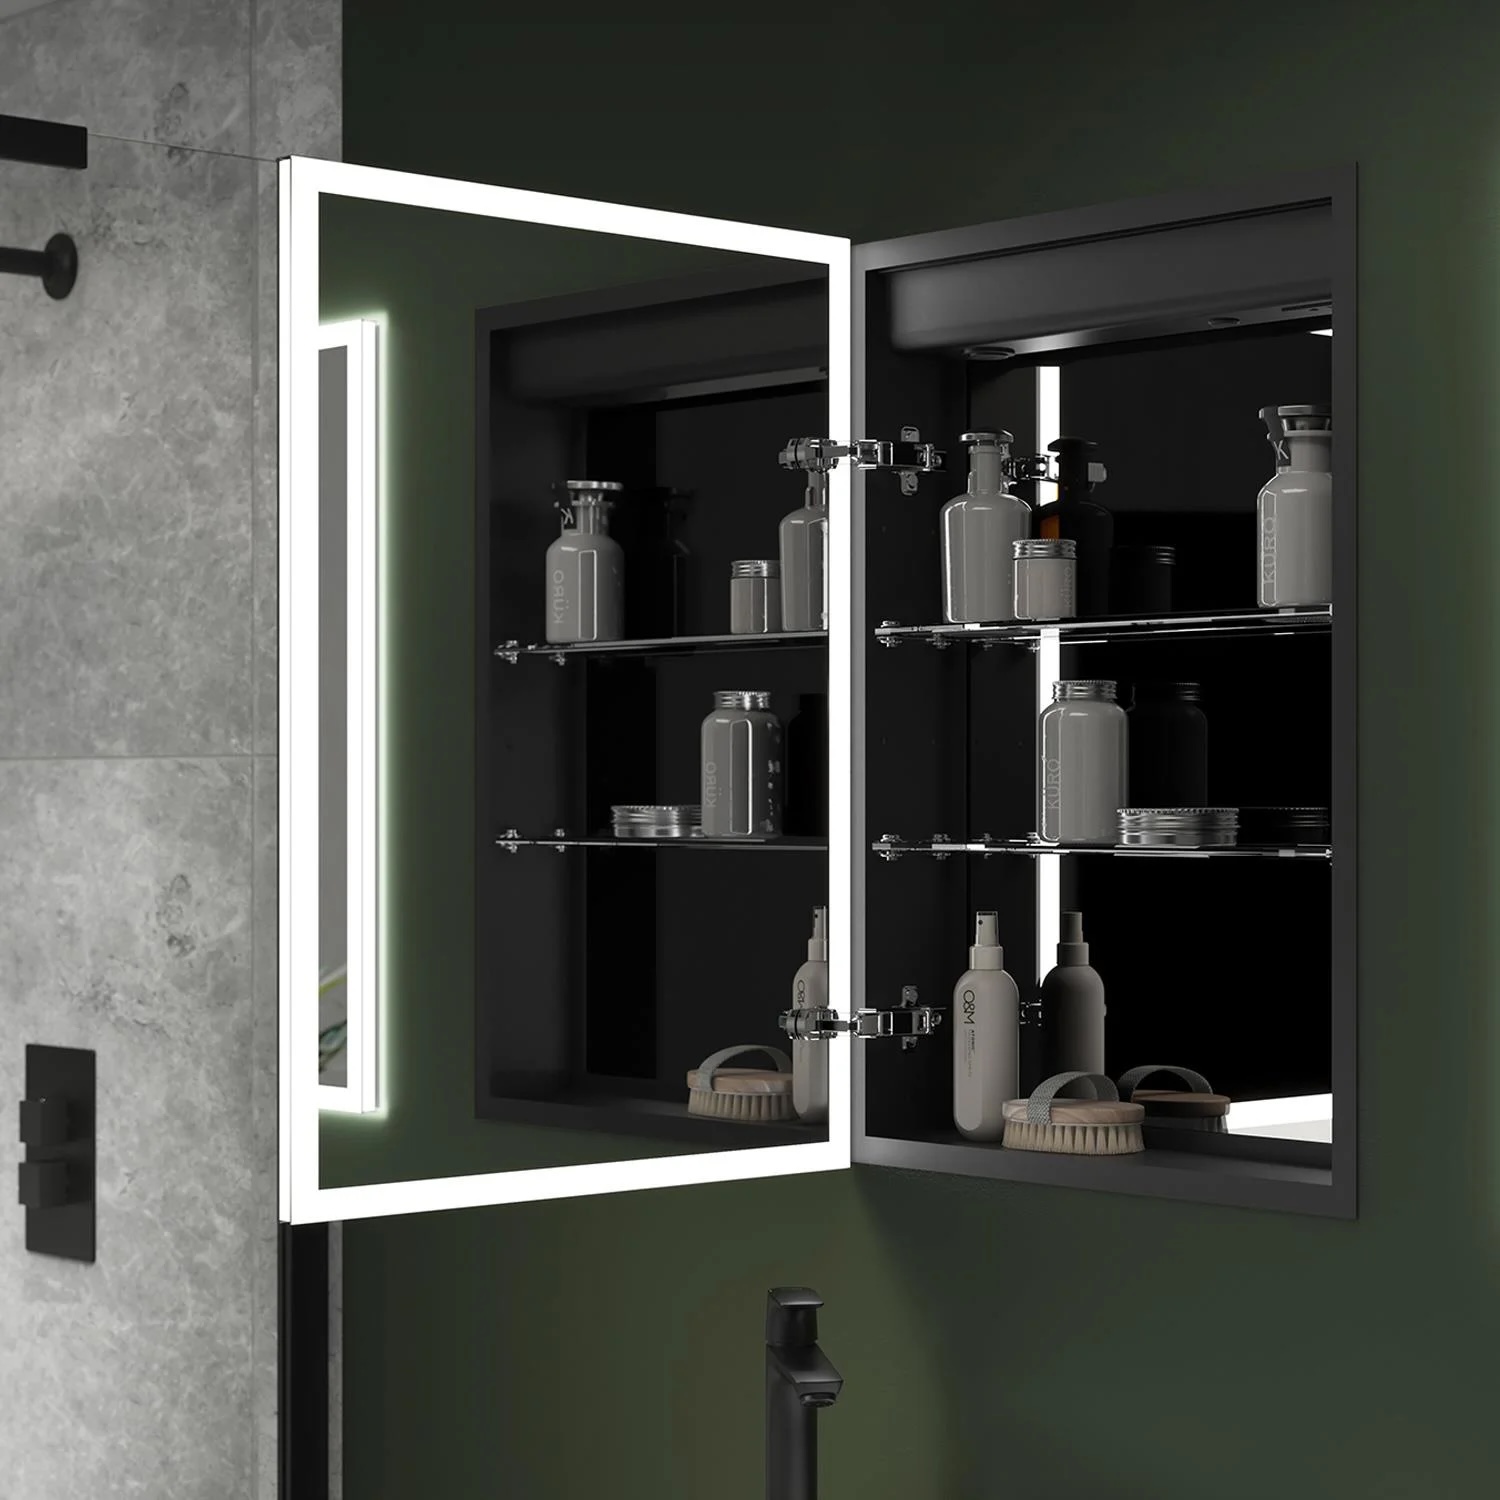
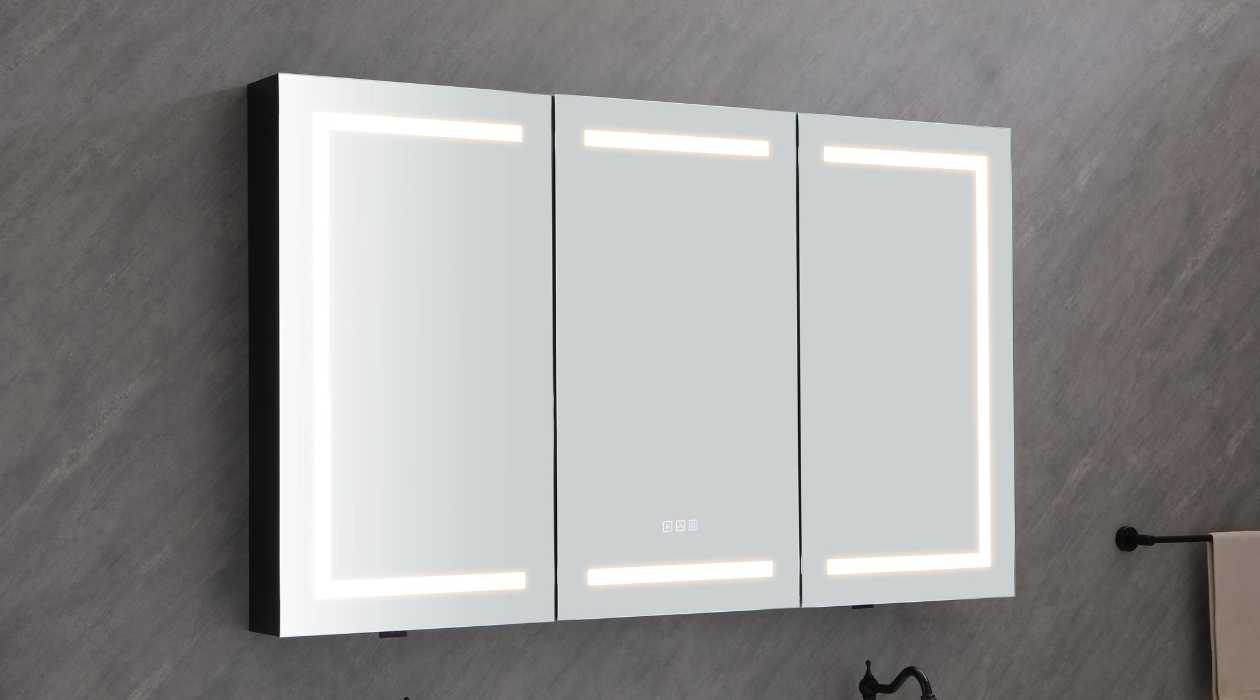
- Consider additional features: Think about any additional features you may want in your new medicine cabinet, such as adjustable shelves, mirrors, or built-in lighting. This will help you make an informed decision when it comes to selecting a new cabinet.
- Take note of plumbing fixtures: If your new medicine cabinet will be installed above a sink or vanity with plumbing fixtures, ensure there is enough space and clearance for the cabinet without interfering with the fixtures.
- Shop for a new medicine cabinet: Armed with your measurements and desired features, start shopping for a new medicine cabinet that meets your needs. Visit home improvement stores, browse online retailers, or consult with a professional to find the perfect fit.
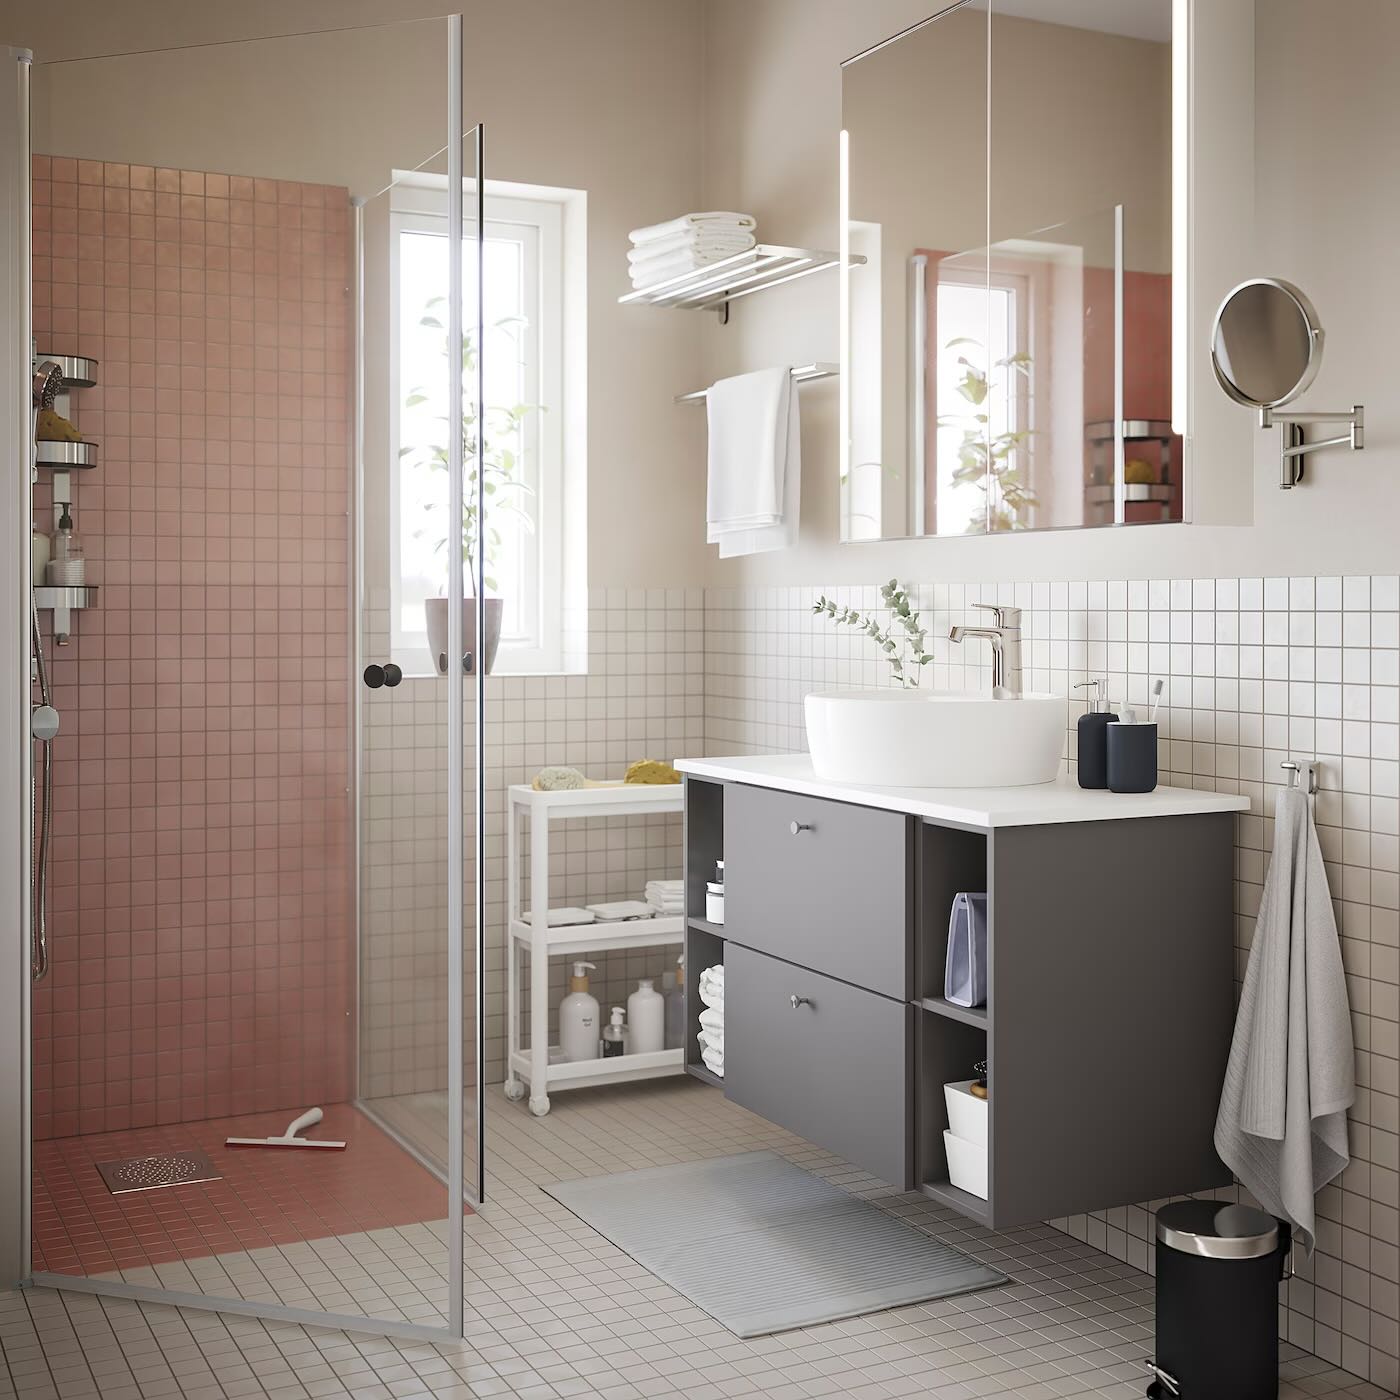
Keep in mind that it’s always better to choose a slightly smaller cabinet than to force a larger one into a tight space. A cabinet that fits snugly will look better and be easier to install. Additionally, consider the overall style and aesthetic of your bathroom to select a cabinet that complements the existing decor.
Once you have selected your new medicine cabinet, double-check the measurements to ensure it matches the dimensions of the space. With your new cabinet in hand, you’re ready to move on to the next step: installing the new medicine cabinet.
When replacing a medicine cabinet, be sure to measure the space carefully to ensure the new cabinet will fit. Also, consider the style and functionality you want in the new cabinet before making a purchase.
Read more: How To Measure A Medicine Cabinet
Step 5: Install the new medicine cabinet
Now that you have measured and selected a new medicine cabinet, it’s time to install it. Follow these steps for a successful installation:
- Position the cabinet: Hold the new medicine cabinet up against the wall, aligning it with the opening. Make sure it is level and centered. Use a pencil or marker to mark the top and bottom corners of the cabinet on the wall so you know where it should be placed.
- Mark the mounting holes: Take the new medicine cabinet down and place it on a flat surface. Locate the mounting holes on the back of the cabinet and transfer those measurements onto the wall. Use a level to ensure the marks are straight and even.
- Secure the mounting brackets: Depending on the design of your medicine cabinet, you may need to attach mounting brackets or a mounting plate to the wall. Follow the manufacturer’s instructions to install these brackets securely, using the appropriate screws and anchors.
- Install any additional features: If your new medicine cabinet has built-in lights or electrical components, now is the time to install them. Follow the manufacturer’s instructions carefully, making sure to connect any wiring properly. If you’re not comfortable working with electricity, it’s best to hire a professional.
- Hang the cabinet: Lift the new medicine cabinet and carefully place it onto the mounted brackets or plate. Make sure the cabinet is level and aligned with the marks on the wall. Secure the cabinet to the brackets or plate using the provided screws.
- Check for stability: Once the cabinet is installed, give it a gentle shake to ensure it is securely attached to the wall. Make any necessary adjustments to ensure the cabinet is sturdy and level.
If your new medicine cabinet has adjustable shelves, now is the time to position them according to your needs. Take advantage of the adjustable features to maximize storage space and organization within your new cabinet.
As a final touch, apply a thin bead of silicone caulk around the edges of the cabinet where it meets the wall. This will help seal any gaps and create a finished, professional look.
With the new medicine cabinet securely in place, you’re ready to move on to the next step: securing and leveling the cabinet.
Step 6: Secure and level the cabinet
Now that you have installed the new medicine cabinet, it’s important to secure it properly and ensure it is level. Follow these steps to complete this important step:
- Tighten mounting screws: Using a screwdriver or drill, double-check all the mounting screws that hold the cabinet in place. Make sure they are tightened securely, but be cautious not to overtighten and damage the cabinet or the wall.
- Use shims if needed: If the cabinet is not completely level or sits unevenly on the wall, you may need to use shims. Shims are thin wooden wedges that can be placed behind one side or corner of the cabinet to level it. Insert the shims gradually until the cabinet is level and stable.
- Check for gaps: Inspect the edges and corners of the cabinet to ensure there are no visible gaps between the cabinet and the wall. If there are any slight gaps, you can use silicone caulk to fill them, creating a seamless and professional finish.
- Test the doors and hinges: Open and close the doors of the medicine cabinet to make sure they operate smoothly. Adjust the hinges if necessary to ensure proper alignment and functionality.
- Check for any loose parts: Give the entire cabinet a thorough inspection to ensure all components are securely attached and there are no loose parts. This includes shelves, knobs, handles, or any other features on the cabinet.
- Double-check stability: Once all adjustments and checks are done, give the cabinet a gentle push and make sure it is stable on the wall. If the cabinet feels wobbly or if there are any concerns about its stability, revisit the previous steps to ensure it is securely mounted.
Securing and leveling the cabinet is crucial to ensure its longevity and functionality. It will also contribute to the overall professional look and feel of your bathroom. Take the time to make any necessary adjustments and ensure the cabinet is solidly in place.
With the cabinet securely secured and properly leveled, you’re ready to move on to the next step: testing the functionality of the cabinet.
Step 7: Test the functionality of the cabinet
After securing and leveling the new medicine cabinet, it’s important to test its functionality to ensure everything is in working order. Follow these steps to complete this final assessment:
- Open and close the doors: Carefully open and close the cabinet doors multiple times to make sure they operate smoothly and without any obstructions. Ensure that the hinges are properly aligned and that the doors close fully.
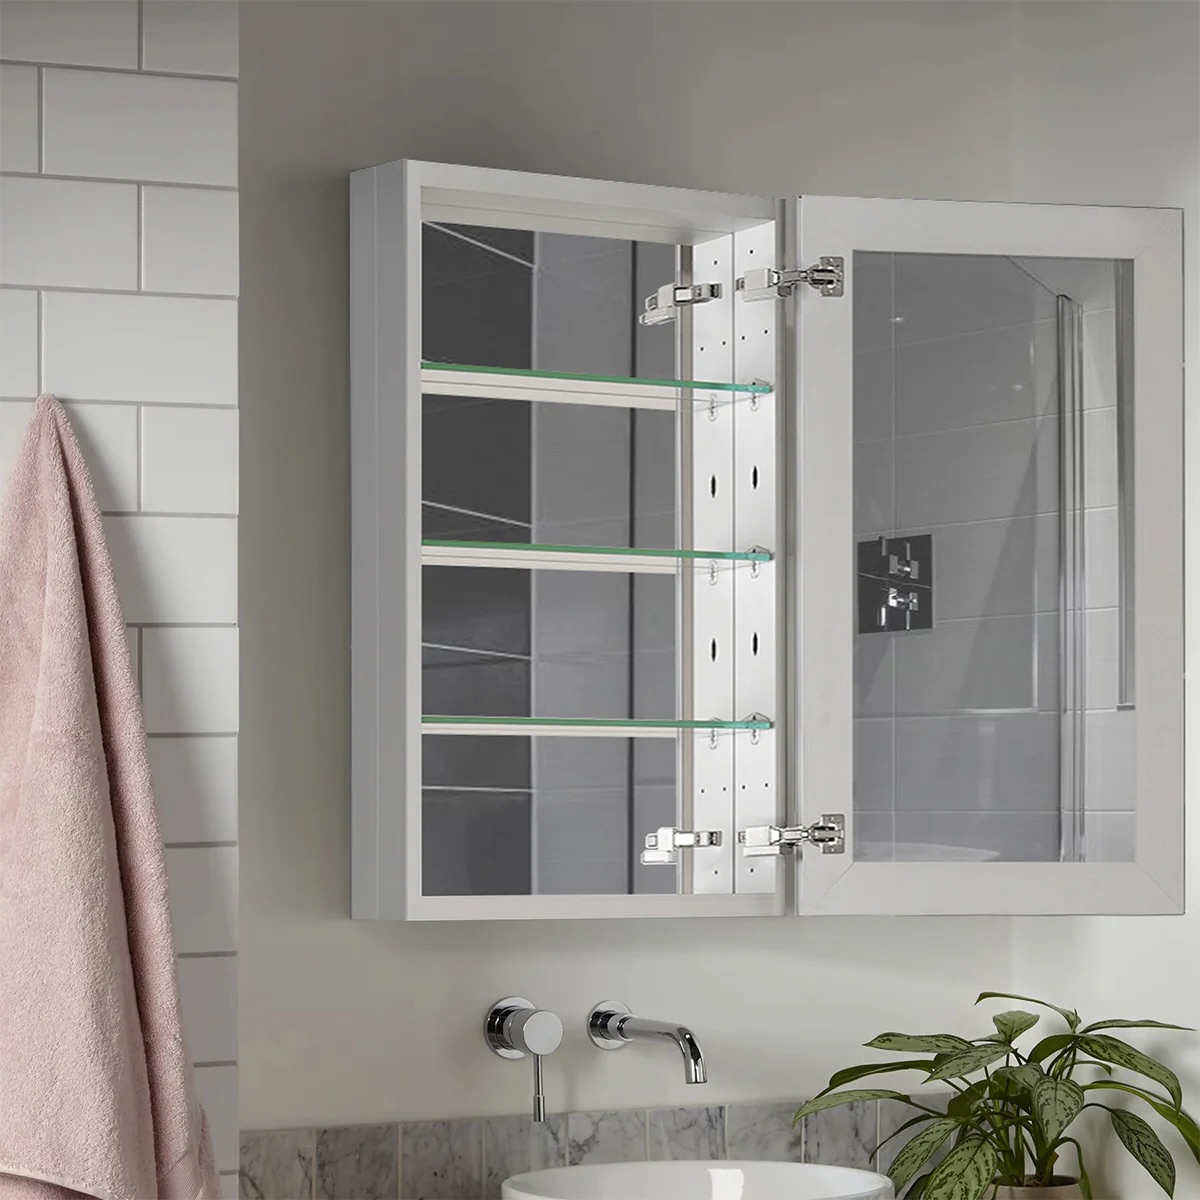
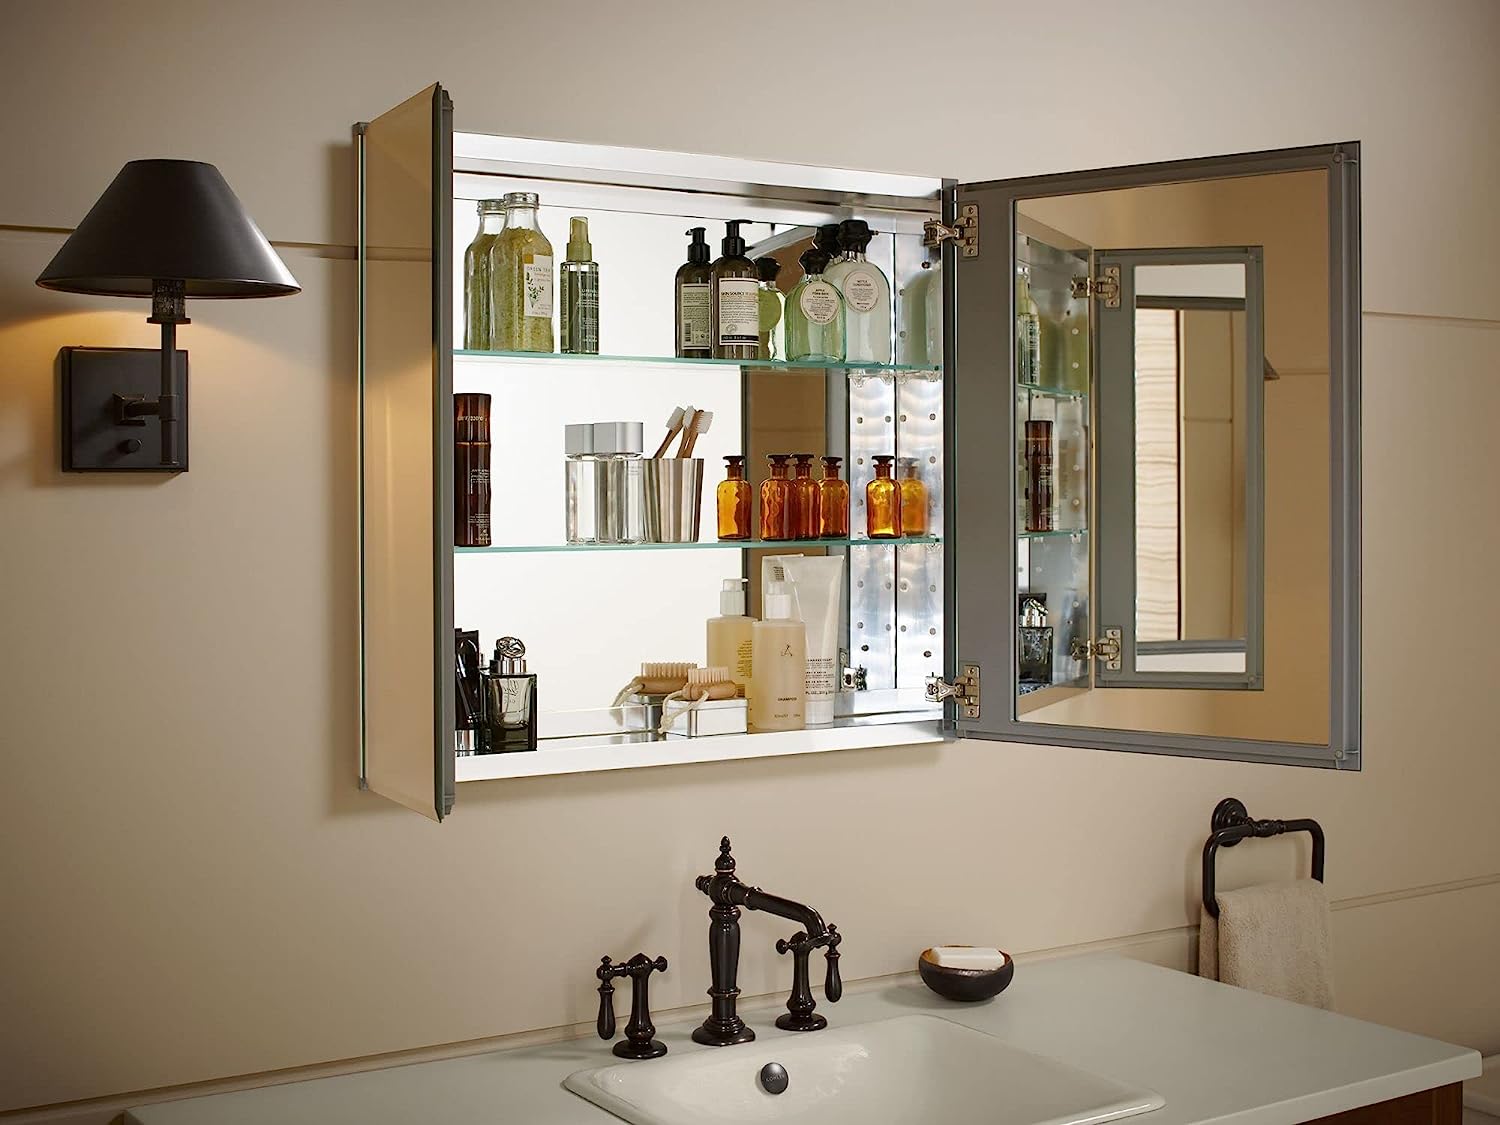
- Adjust the shelves: If your medicine cabinet has adjustable shelves, test their movement and adjust them to your desired positions. Make sure they are sturdy and can support the weight of your items without sagging or tilting.
- Test any additional features: If your new medicine cabinet has built-in lights, electrical outlets, or other features, test them to ensure they are functioning properly. Follow the manufacturer’s instructions for operating and adjusting these features.
- Check the mirrors: If the medicine cabinet has mirrors, inspect them for any cracks, smudges, or imperfections. Ensure that they provide a clear reflection and that they are securely attached to the cabinet.
- Verify the storage capacity: Take the time to organize your bathroom items inside the new cabinet. Check if the storage space is sufficient for your needs and ensure that items can be easily accessed without any hassle.
If you encounter any issues during the functionality testing, refer to the manufacturer’s instructions or contact their customer support for assistance. They may be able to provide helpful troubleshooting tips or solutions.
Once you have confirmed that the new medicine cabinet is fully functional and meets your expectations, you can proceed to the final step: cleaning up the workspace and putting the finishing touches on your bathroom.
Step 8: Clean up the workspace
Congratulations on successfully installing your new medicine cabinet! Now it’s time to clean up the workspace and put the finishing touches on your bathroom. Follow these steps to complete this final step:
- Remove any debris: Clear the area of any debris, packaging materials, or remnants from the installation process. Dispose of these items properly to keep your bathroom clean and clutter-free.
- Wipe down surfaces: Take a damp cloth or sponge and wipe down the surrounding surfaces, including the countertop, vanity, and any adjacent walls. This will remove any dust, fingerprints, or smudges that may have accumulated during the installation.
- Clean the mirror: If your new medicine cabinet has a mirror, use a mirror cleaner or vinegar solution to clean it. Wipe it down with a microfiber cloth or a lint-free towel to ensure a sparkling reflection.
- Inspect for any damage: Take a final look at the surrounding area and inspect for any damage that may have occurred during the installation. If there are any scratches, dents, or marks, consider repairing or touching up the affected areas.
- Reorganize bathroom items: Now that you have a new medicine cabinet, take the opportunity to reorganize your bathroom essentials. Arrange items in a logical and functional manner that makes them easily accessible and neat.
- Add personal touches: Consider adding some personal touches to your newly installed medicine cabinet. This could include placing a decorative tray or small plants on top, hanging a towel hook or a small art piece nearby, or adding some scented candles for a pleasant ambiance.
By cleaning up the workspace and taking care of the final details, you can truly admire the transformation your new medicine cabinet has brought to your bathroom. Enjoy the enhanced storage and refreshed appearance!
With the workspace cleaned and the finishing touches in place, you have successfully completed the installation and cleanup process. Give yourself a pat on the back for a job well done!
Remember, if you encounter any issues with your new medicine cabinet or need further assistance, don’t hesitate to reach out to the manufacturer or a professional for guidance.
Thank you for following our comprehensive guide on how to replace a medicine cabinet. We hope this information has been helpful and that you enjoy your new bathroom storage!
Read more: How To Remove A Medicine Cabinet
Conclusion
Replacing a medicine cabinet can instantly refresh the look of your bathroom while providing you with essential storage space. By following the steps outlined in this comprehensive guide, you can successfully replace your old medicine cabinet with a new one that meets your needs and complements your bathroom decor.
Throughout the process, we have covered everything from gathering the necessary tools and materials to securing the new cabinet and testing its functionality. Each step is crucial to ensuring a smooth and successful installation.
Remember to take accurate measurements of the space and select a cabinet that fits properly. Double-check the mounting and leveling to ensure the cabinet is secure and stable on the wall. Test the functionality of the cabinet, including the doors, shelves, and any additional features or fixtures.
Once you have completed the installation and tested the functionality, take the time to clean up the workspace and put the finishing touches on your bathroom. A clean and organized space enhances the overall appeal of your new medicine cabinet.
We hope that this guide has been informative and helpful in your journey to replace your medicine cabinet. If you encounter any challenges along the way or have any questions, don’t hesitate to consult the manufacturer’s instructions or seek professional assistance.
Now, step back and admire your newly installed medicine cabinet, showcasing its functionality and style. Enjoy the convenience of having your bathroom essentials neatly organized and easily accessible!
Thank you for choosing our guide, and we wish you all the best in your bathroom upgrade!
Frequently Asked Questions about How To Replace Medicine Cabinet
Was this page helpful?
At Storables.com, we guarantee accurate and reliable information. Our content, validated by Expert Board Contributors, is crafted following stringent Editorial Policies. We're committed to providing you with well-researched, expert-backed insights for all your informational needs.

0 thoughts on “How To Replace Medicine Cabinet”