Home>Interior Design>How To Paint Cabinets Without Sanding: In 6 Simple Steps
Interior Design
How To Paint Cabinets Without Sanding: In 6 Simple Steps
Modified: January 19, 2024
Learn how to transform your cabinets without the hassle of sanding. Follow our 6 simple steps for a beautiful interior design upgrade.
(Many of the links in this article redirect to a specific reviewed product. Your purchase of these products through affiliate links helps to generate commission for Storables.com, at no extra cost. Learn more)
Introduction
Are your kitchen cabinets looking dull and worn out? Do you want to give them a fresh new look without the hassle of sanding? You’re in luck! In this article, we’ll walk you through the process of painting cabinets without sanding. This method is a great way to transform the appearance of your cabinets and breathe new life into your kitchen.
Traditionally, sanding is an essential step in the cabinet painting process as it helps to create a smooth surface for the paint to adhere to. However, sanding can be time-consuming, messy, and requires a lot of effort. Luckily, there are alternative methods that can achieve excellent results without the need for sanding.
By following these six simple steps, you’ll be able to paint your cabinets with ease and achieve a professional-looking finish:
Key Takeaways:
- Transform your kitchen cabinets without sanding by following 6 simple steps. Gather materials, prep cabinets, apply bonding primer, paint with care, and enjoy your fresh, personalized kitchen space.
- Say goodbye to dull cabinets and hello to a rejuvenated kitchen. Follow 6 easy steps to paint cabinets without sanding, from gathering materials to adding finishing touches.
Read more: How To Paint Dresser Without Sanding
Step 1: Gather the necessary materials
Before diving into the cabinet painting process, it’s important to gather all the necessary materials. Having everything you need on hand will make the project run smoothly and efficiently. Here’s a list of the items you’ll need:
- Paint of your choice: Look for a high-quality, durable paint that is suitable for cabinets. Opt for a paint with a semi-gloss or satin finish for a sleek and easy-to-clean surface.
- Paintbrushes: Invest in a set of good-quality paintbrushes in various sizes. Synthetic bristle brushes are ideal for smooth application.
- Roller and tray: A small roller and tray will come in handy, especially for painting larger areas such as cabinet doors.
- Drop cloths or plastic sheets: Protect your floors and surrounding surfaces by laying down drop cloths or plastic sheets.
- Tape: Painter’s tape or masking tape can be used to tape off any areas you don’t want to paint, such as hinges or glass inserts.
- Cleaner or degreaser: It’s important to thoroughly clean your cabinets before painting. Look for a cleaner or degreaser specifically designed for kitchen surfaces.
- Lint-free cloths: Use lint-free cloths to wipe down and dry the cabinets after cleaning.
- Primer: A high-quality bonding primer will help ensure proper adhesion of the paint to the cabinet surface.
- Screwdriver: You’ll need a screwdriver to remove the cabinet doors and hardware.
- Optional: If you want to update the look of your cabinet hardware, consider purchasing new knobs or handles to complete the refreshed look.
By having all these materials ready, you’ll be well-prepared to tackle the cabinet painting process. Now that you’re equipped with the necessary tools, let’s move on to the next step: removing the cabinet doors and hardware.
Step 2: Remove the cabinet doors and hardware
Once you have gathered all the necessary materials, it’s time to start prepping your cabinets. The first step is to remove the cabinet doors and hardware. This will allow for easier access and a smoother painting process. Follow these steps:
- Begin by using a screwdriver to remove the screws holding the cabinet doors in place. Set the doors aside in a safe and organized manner to avoid any damage.
- Next, remove any hardware such as knobs, handles, or hinges from the cabinet doors and the cabinet frames. Keep all the hardware in a labeled bag or container to ensure they don’t get lost.
- If you plan to reuse the hardware, consider giving them a thorough cleaning or even a fresh coat of paint to match the new cabinet color.
- Take the time to inspect the cabinet doors and hardware for any damage or repairs that may be needed. This is a great opportunity to fix any loose hinges or replace worn-out hardware.
By removing the cabinet doors and hardware, you’ll have a clear workspace to begin the painting process. It will also allow for easier access to all the nooks and crannies of the cabinets, ensuring a more thorough and professional finish.
Now that the doors and hardware are safely removed, it’s time to move on to the next step: cleaning and prepping the cabinets.
Step 3: Clean and prep the cabinets
Before you start applying paint, it’s essential to thoroughly clean and prep the cabinets. This step will ensure that the paint adheres properly and that you achieve a smooth and long-lasting finish. Follow these steps to clean and prep your cabinets:
- Start by using a gentle cleaner or degreaser specifically designed for kitchen surfaces. Apply the cleaner to a lint-free cloth and wipe down all areas of the cabinet doors and frames. Pay special attention to any greasy or heavily soiled areas.
- Once you have cleaned the cabinets, rinse them with water or wipe them down with a damp cloth to remove any residue from the cleaner.
- Use a dry, lint-free cloth to thoroughly dry the cabinets. It’s important to ensure that no moisture remains on the surface before moving on to the next step.
- Inspect the cabinets for any imperfections, such as dents, scratches, or rough spots. If necessary, use wood filler to repair these imperfections. Allow the filler to dry completely before sanding or proceeding to the next step.
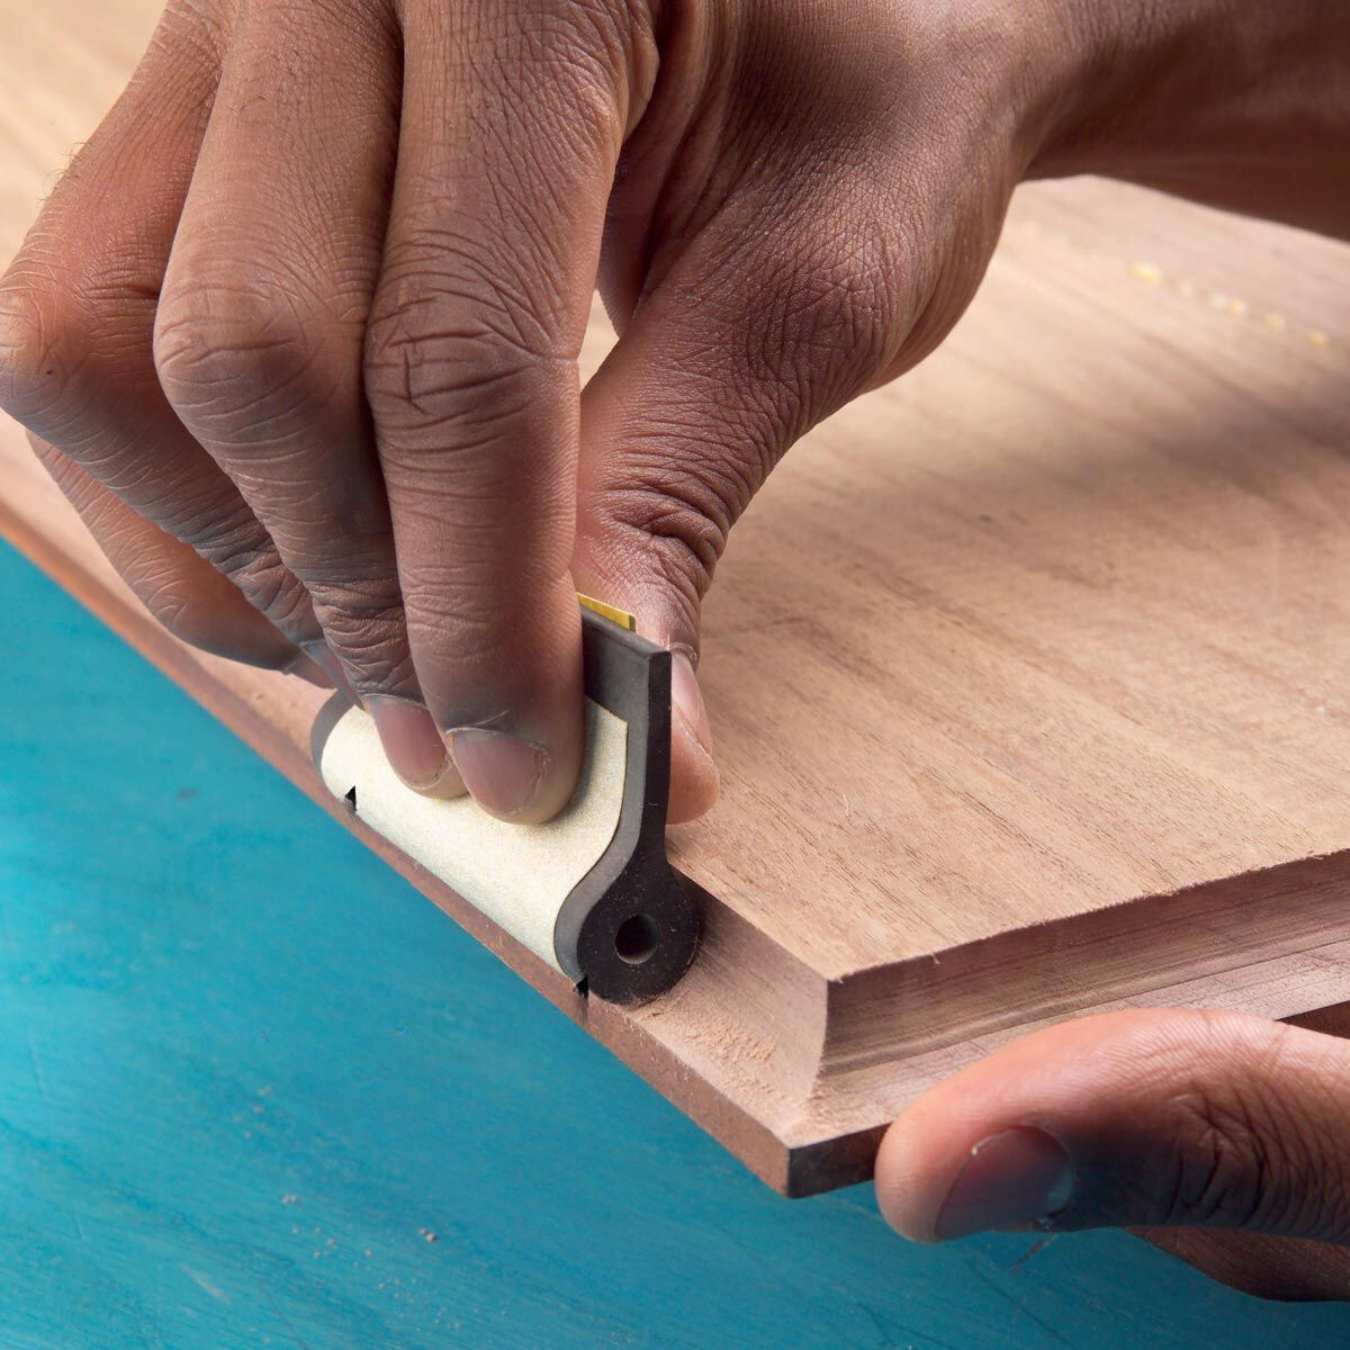
- If the cabinets have a glossy finish or if you’re painting over a dark color, it’s recommended to lightly sand the surface. This will create a rougher texture that allows the paint to adhere better. Use fine-grit sandpaper and sand in the direction of the wood grain.
- After sanding, wipe away any dust with a clean, dry cloth or use a tack cloth to ensure a clean surface for painting.
By thoroughly cleaning and prepping the cabinets, you’ll remove any dirt, grease, or imperfections that can affect the paint’s adhesion and the overall finish. Taking the time to properly prepare the cabinets will ensure a professional-looking result.
Now that your cabinets are clean and prepped, it’s time to move on to the next step: applying a bonding primer.
Use a degreaser to thoroughly clean the cabinets before painting. This will help the paint adhere better and result in a smoother finish.
Step 4: Apply a bonding primer
Once you have cleaned and prepped your cabinets, the next step is to apply a bonding primer. A bonding primer is crucial as it creates a strong foundation for the paint, allowing it to adhere effectively and ensure a long-lasting finish. Follow these steps to apply a bonding primer:
- Start by stirring the bonding primer thoroughly to ensure it is well mixed. This will help activate its adhesive properties.
- Using a high-quality paintbrush or roller, apply a thin and even coat of bonding primer to all the cabinet surfaces, including the doors and frames. Make sure to work in the direction of the wood grain for a smooth finish.
- Pay extra attention to any areas that have been repaired or sanded, as these spots may require additional primer for proper coverage.
- Allow the bonding primer to dry completely according to the manufacturer’s instructions. This typically takes a few hours, but it’s recommended to check the label for specific drying times.
- After the primer is thoroughly dry, lightly sand the surface with fine-grit sandpaper to remove any imperfections such as drips or brush marks. Wipe away any sanding dust with a clean, dry cloth.
- Inspect the cabinets to ensure that the primer has provided good coverage, making any necessary touch-ups with additional primer as needed.
Applying a bonding primer helps to create a strong and durable surface that will allow the paint to adhere properly. It also helps to prevent stains or wood tannins from bleeding through the paint, ensuring a smooth and even finish.
Now that the bonding primer is applied and dried, it’s time to move on to the exciting part: painting the cabinets!
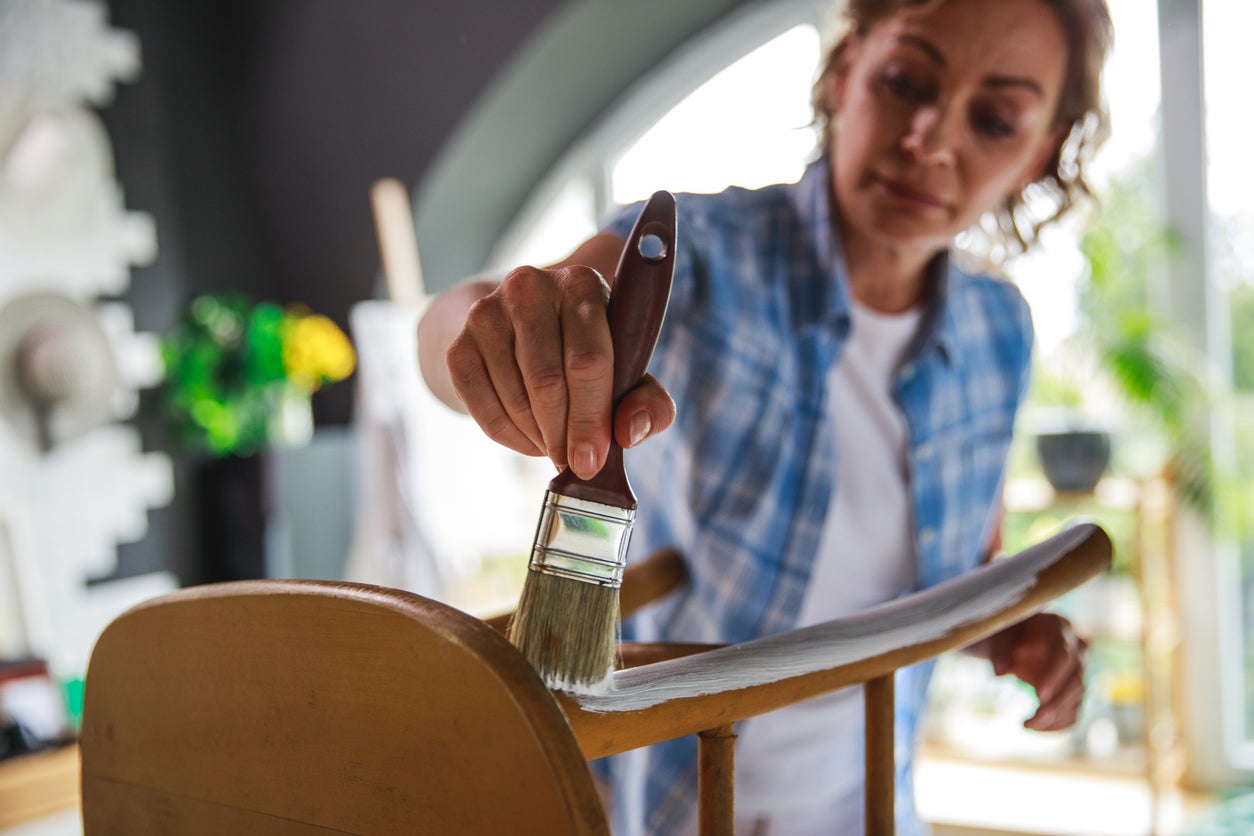
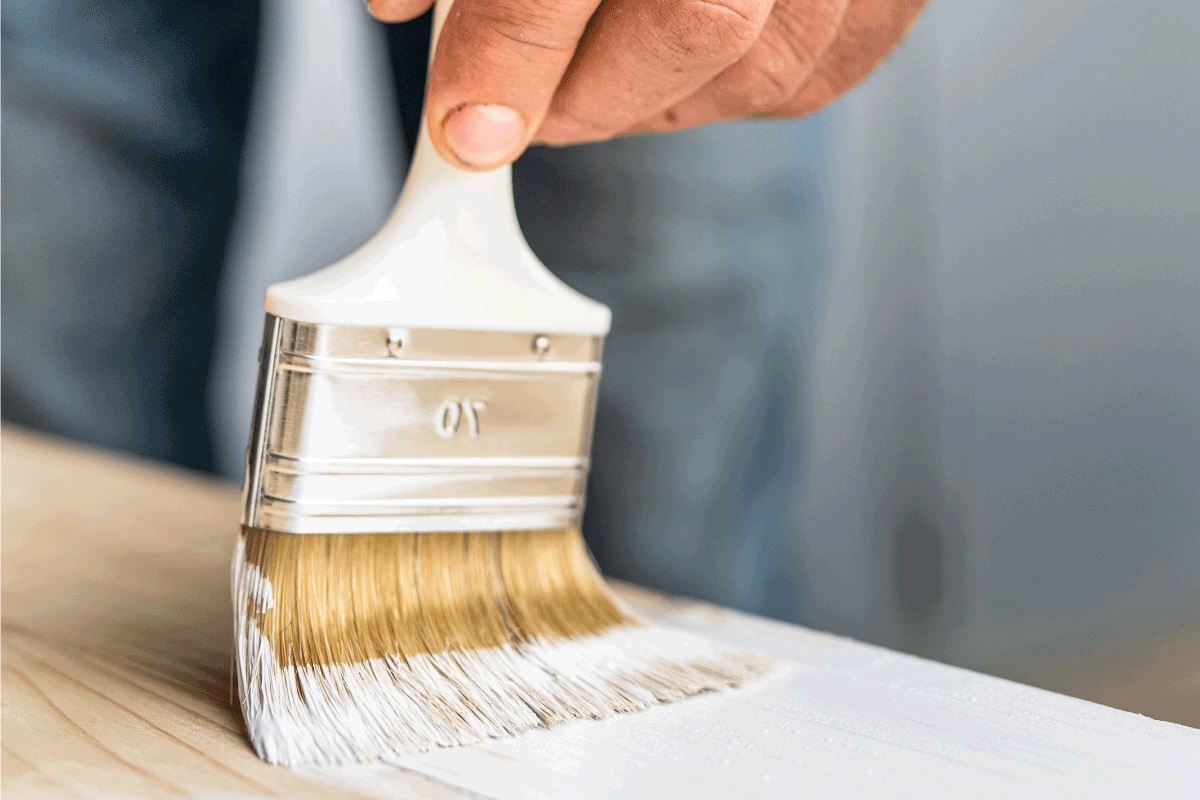
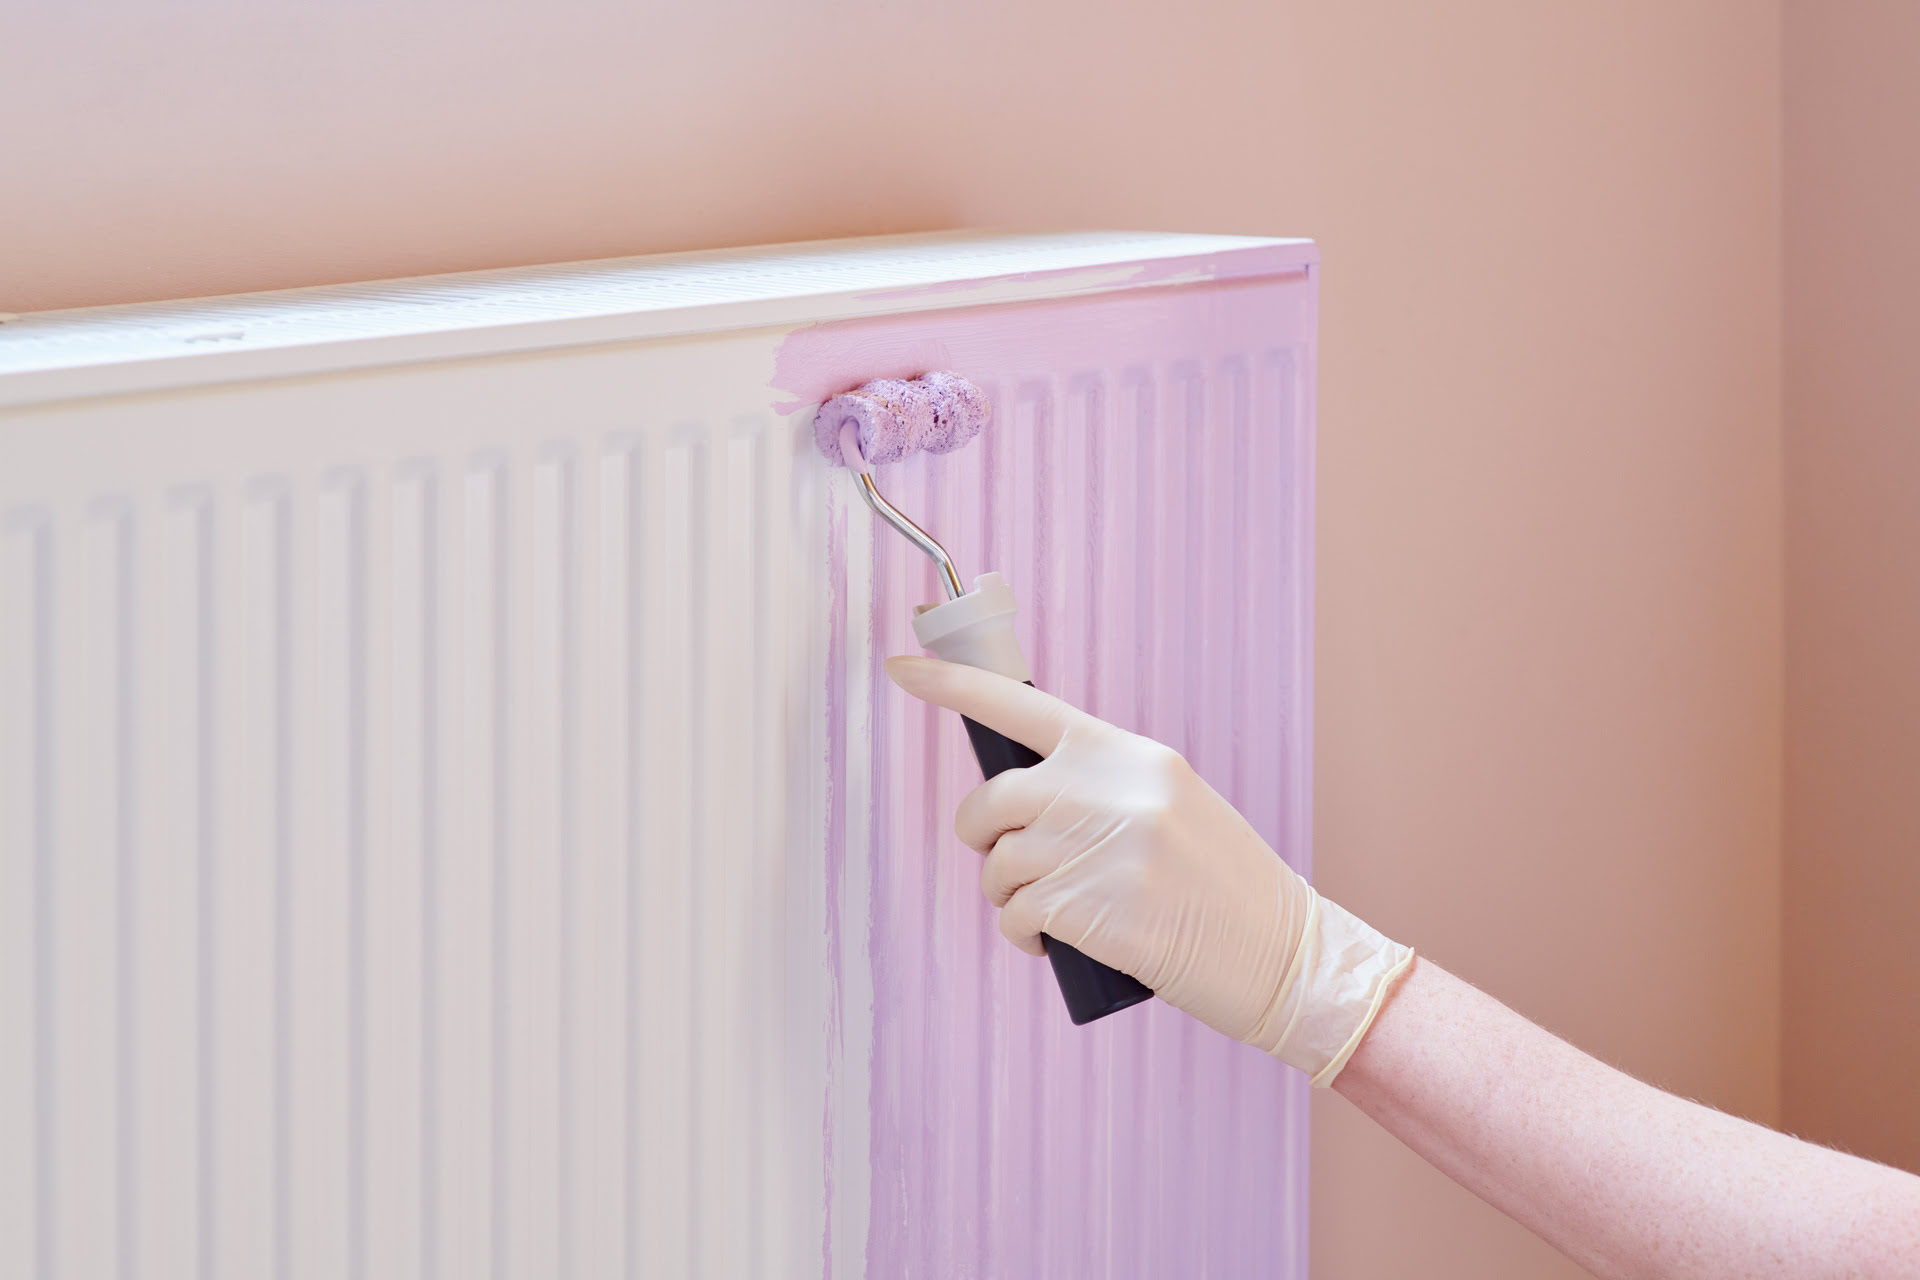
Step 5: Paint the cabinets
Now that your cabinets have been prepped and primed, it’s time to unleash your creativity and give them a fresh new look with paint. Follow these steps to achieve a beautifully painted finish:
- Start by stirring your chosen paint color thoroughly to ensure an even consistency. Pour the paint into a paint tray for easy access.
- Using a high-quality paintbrush or a small roller, begin applying the paint to the cabinet doors and frames. Start with the inner panels and work your way outward, carefully following the wood grain for a smooth application.
- Apply thin, even coats of paint, allowing each coat to dry completely before applying the next. Multiple thin coats are preferable to one thick coat, as they will ensure better adhesion and a more professional finish.
- If needed, lightly sand between coats with fine-grit sandpaper to create a smooth surface and remove any imperfections. Wipe away any sanding dust with a clean, dry cloth.
- Pay extra attention to the corners, crevices, and any intricate details on the cabinet doors and frames. Use a smaller brush or a foam brush to ensure precise coverage in these areas.
- Once you have completed painting all the cabinet surfaces, allow the paint to dry completely according to the manufacturer’s instructions. This may take several hours or even overnight.
- After the cabinets are thoroughly dry, inspect them for any areas that may require touch-ups. Use a small brush to touch up any spots that need additional coverage.
Remember to work in a well-ventilated area and follow the manufacturer’s instructions for the paint you are using. Taking your time and applying multiple thin coats will help ensure a smooth and professional-looking finish.
Now that you have successfully painted your cabinets, it’s time for the final step: reassembling the cabinets and adding the finishing touches.
Step 6: Reassemble the cabinets and add finishing touches
Congratulations on reaching the final step of your cabinet painting project! Now it’s time to put everything back together and add those special finishing touches. Follow these steps to complete the transformation:
- Begin by double-checking that the paint on the cabinet doors and frames is completely dry. You don’t want to risk smudging or damaging the freshly painted surface.
- Once you’re sure the paint is dry, carefully reattach the cabinet doors using the screws you removed earlier. Take your time to ensure that they are aligned properly.
- If you’ve decided to update the cabinet hardware, now is the perfect time to do so. Install the new knobs, handles, or hinges according to the manufacturer’s instructions.
- Give the cabinets a final wipe-down with a clean, damp cloth to remove any dust or debris that may have accumulated during the painting process.
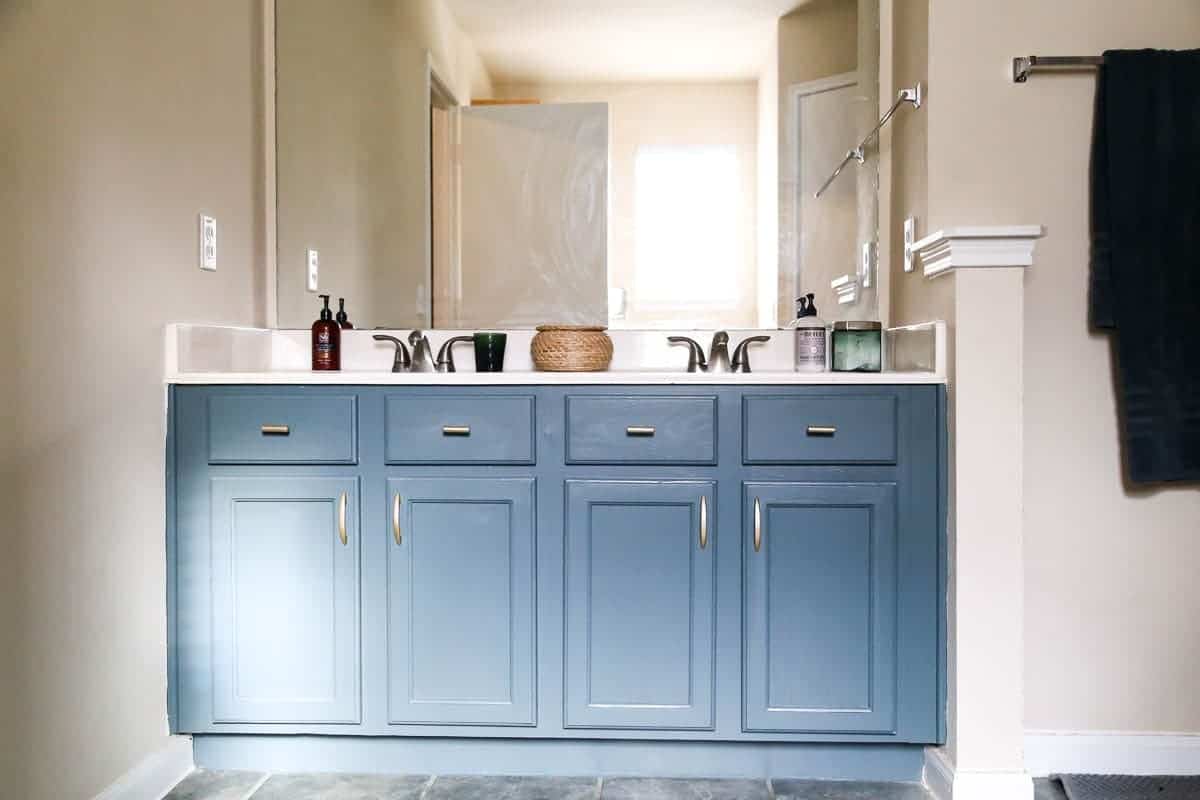
- Take a step back and admire your newly painted cabinets. The fresh color and smooth finish have breathed new life into your kitchen space!
- For an extra touch, consider adding decorative elements such as crown molding or trim to further enhance the overall look of your cabinets.
With the cabinets reassembled and the finishing touches added, you can now fully enjoy your beautifully painted cabinets. They will not only brighten up your kitchen but also give it a personalized touch that reflects your style and creativity.
Remember to maintain your painted cabinets by cleaning them regularly with a mild cleaner and avoiding abrasive scrubbing. This will help preserve the finish and keep them looking fresh for years to come.
Thank you for following these six simple steps to paint your cabinets without sanding. Now, go ahead and enjoy your newly transformed kitchen space!
Conclusion
Transforming your kitchen cabinets without the need for sanding is a great way to give your space a fresh new look. By following these six simple steps, you can achieve a beautifully painted finish that will enhance the overall aesthetic of your kitchen.
From gathering the necessary materials to reassembling the cabinets, each step plays a crucial role in ensuring a successful cabinet painting project. Cleaning and prepping the cabinets, applying a bonding primer, and carefully painting with multiple thin coats will result in a professional-looking finish that is both durable and visually appealing.
Remember to work in a well-ventilated area, use high-quality materials, and follow the manufacturer’s instructions for optimal results. Taking your time and paying attention to detail will yield a transformation that you can be proud of.
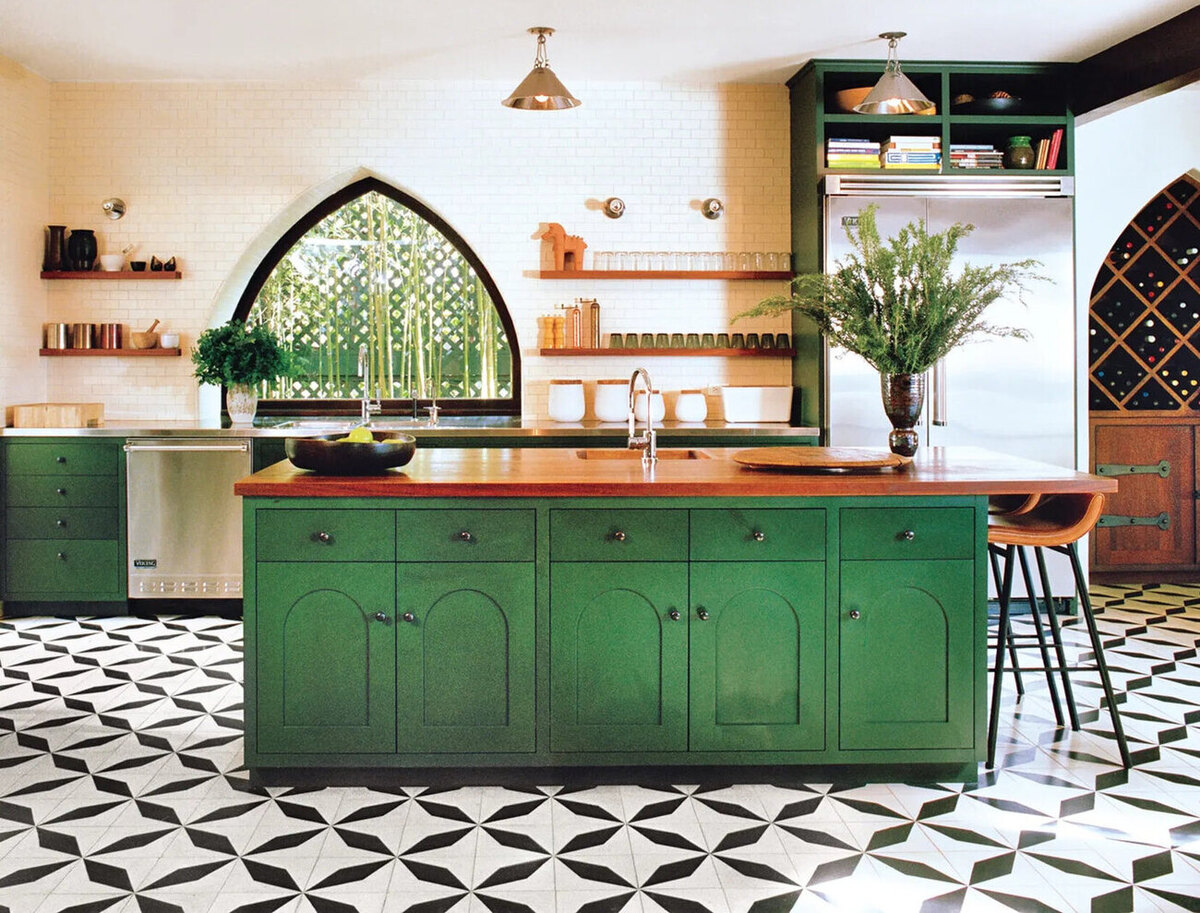
Whether you choose a bold and vibrant color to make a statement or a neutral shade for a timeless look, painted cabinets will breathe new life into your kitchen and create a space that reflects your personal style.
So, say goodbye to dull and worn-out cabinets and hello to a fresh and rejuvenated kitchen. Your updated cabinets will undoubtedly become the focal point of the room and bring joy and satisfaction every time you step into your newly transformed space.
Enjoy the process of painting your cabinets without sanding and revel in the beauty of your revamped kitchen. It’s time to make a statement with your cabinets and create a space that truly reflects your style and personality.
Frequently Asked Questions about How To Paint Cabinets Without Sanding: In 6 Simple Steps
Was this page helpful?
At Storables.com, we guarantee accurate and reliable information. Our content, validated by Expert Board Contributors, is crafted following stringent Editorial Policies. We're committed to providing you with well-researched, expert-backed insights for all your informational needs.


0 thoughts on “How To Paint Cabinets Without Sanding: In 6 Simple Steps”