Articles
How To Replace A Kitchen Cabinet Door
Modified: September 1, 2024
Learn how to easily replace a kitchen cabinet door with this step-by-step guide. Perfect for your home maintenance needs.
(Many of the links in this article redirect to a specific reviewed product. Your purchase of these products through affiliate links helps to generate commission for Storables.com, at no extra cost. Learn more)
Introduction
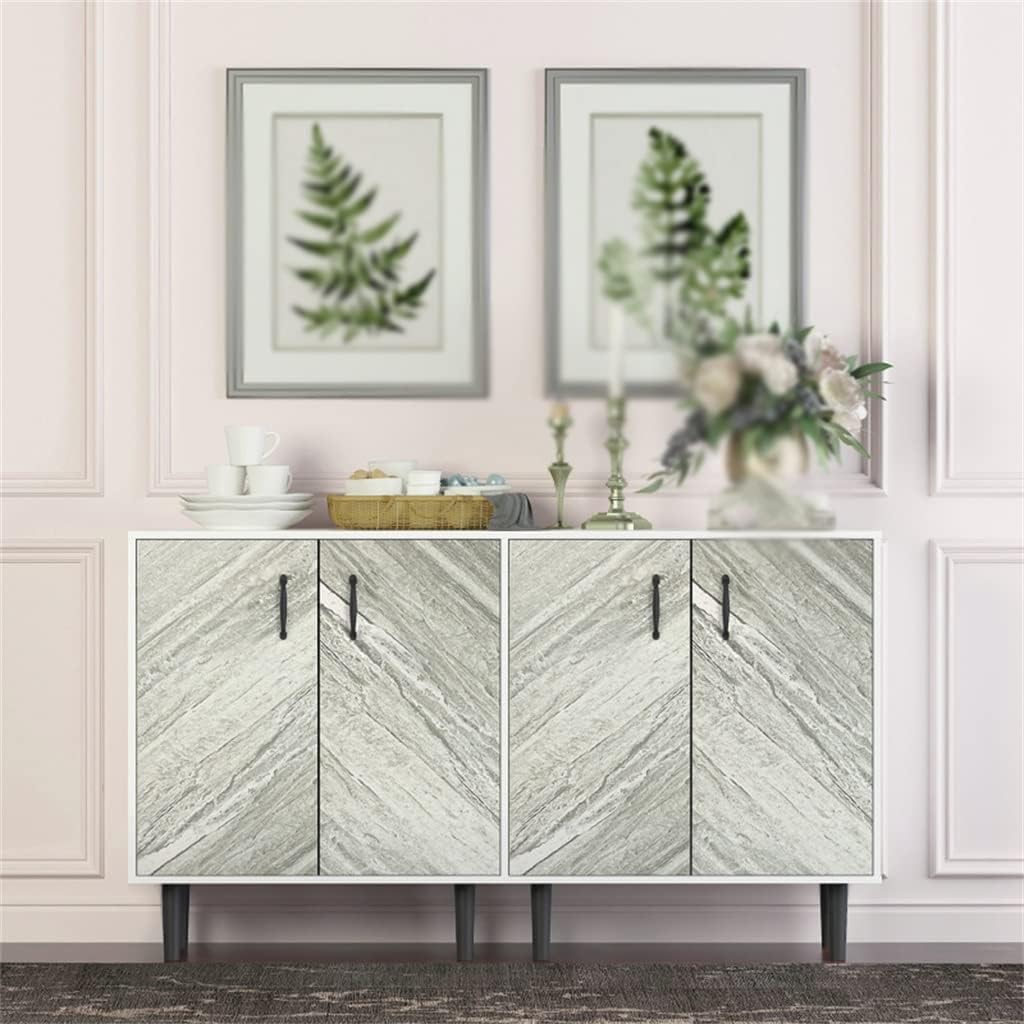
Replacing a kitchen cabinet door is a cost-effective way to update the look of your kitchen without undergoing a full-scale renovation. Whether you’re tired of the old worn-out door or simply want to give your kitchen a fresh new style, replacing the cabinet door can make a significant difference. Don’t worry if you’re not a professional handyman – with the right tools and a little guidance, you can easily tackle this DIY project.
In this step-by-step guide, we will walk you through the process of replacing a kitchen cabinet door. We’ll cover everything from gathering the necessary tools and materials to the final installation and adjustments. So let’s roll up our sleeves and get started!
Key Takeaways:
- Replacing a kitchen cabinet door is a DIY project that can refresh your kitchen’s look. From gathering tools to adjusting hinges, this guide empowers you to achieve a seamless and aesthetically pleasing outcome.
- Attention to detail is crucial when replacing a cabinet door. By measuring accurately, choosing the right replacement, and making necessary adjustments, you can enhance your kitchen’s appearance and functionality.
Read more: How To Replace File Cabinet Lock
Step 1: Gather the necessary tools and materials
Before you begin replacing your kitchen cabinet door, it’s important to gather all the tools and materials you’ll need for the job. This will ensure a smooth and efficient process without constant interruptions. Here’s a list of essential items you’ll need:
- Screwdriver or cordless drill
- Tape measure
- Pencil
- Wood putty
- Sanding block or sandpaper
- Level
- Hinges
- Screws
- Replacement cabinet door
A screwdriver or cordless drill will be necessary for removing the old door and installing the new one. A tape measure is essential for accurate measurements, while a pencil will come in handy for marking the positions of hinges and other hardware.
Wood putty will be used to fill any holes or gaps in the cabinet frame before painting or staining. You may also need a sanding block or sandpaper to smooth out any rough edges. A level is crucial for ensuring that the new door is perfectly aligned.
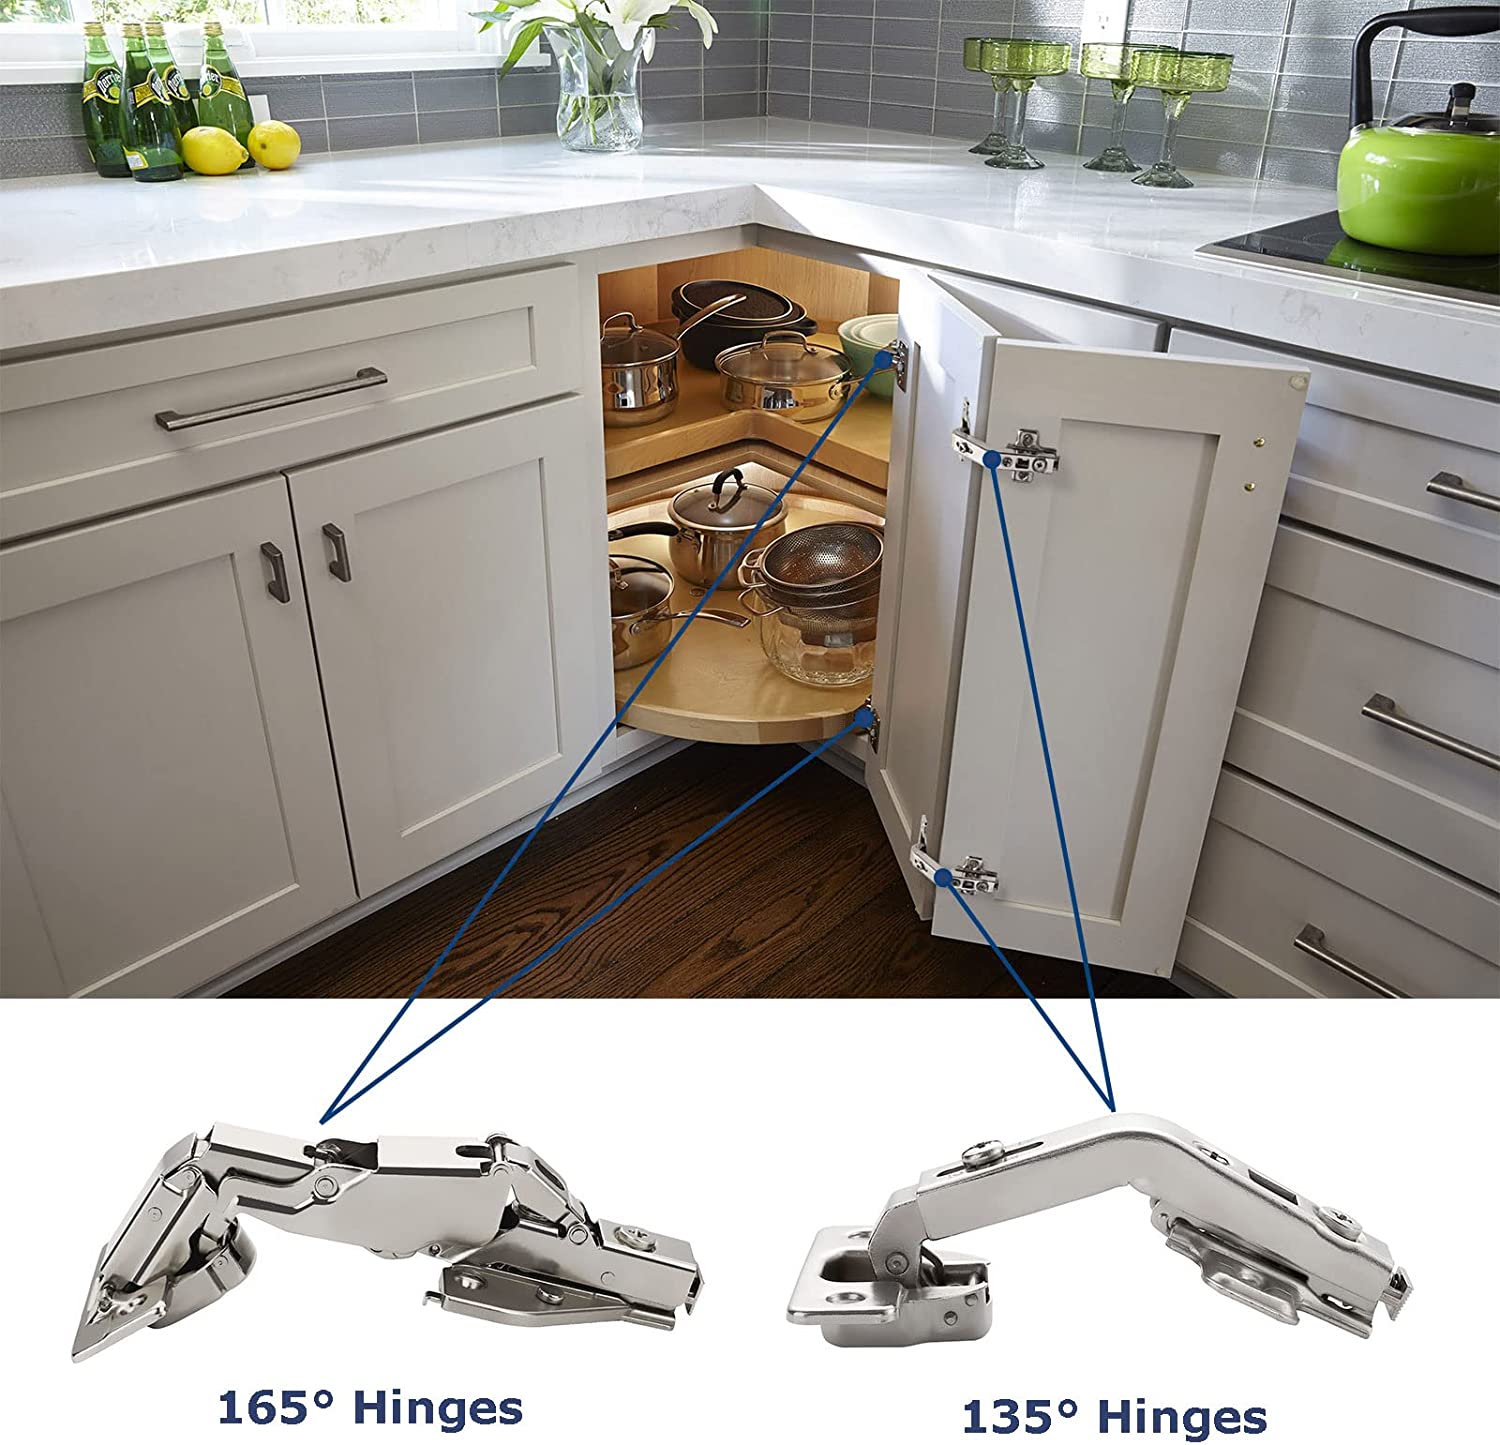
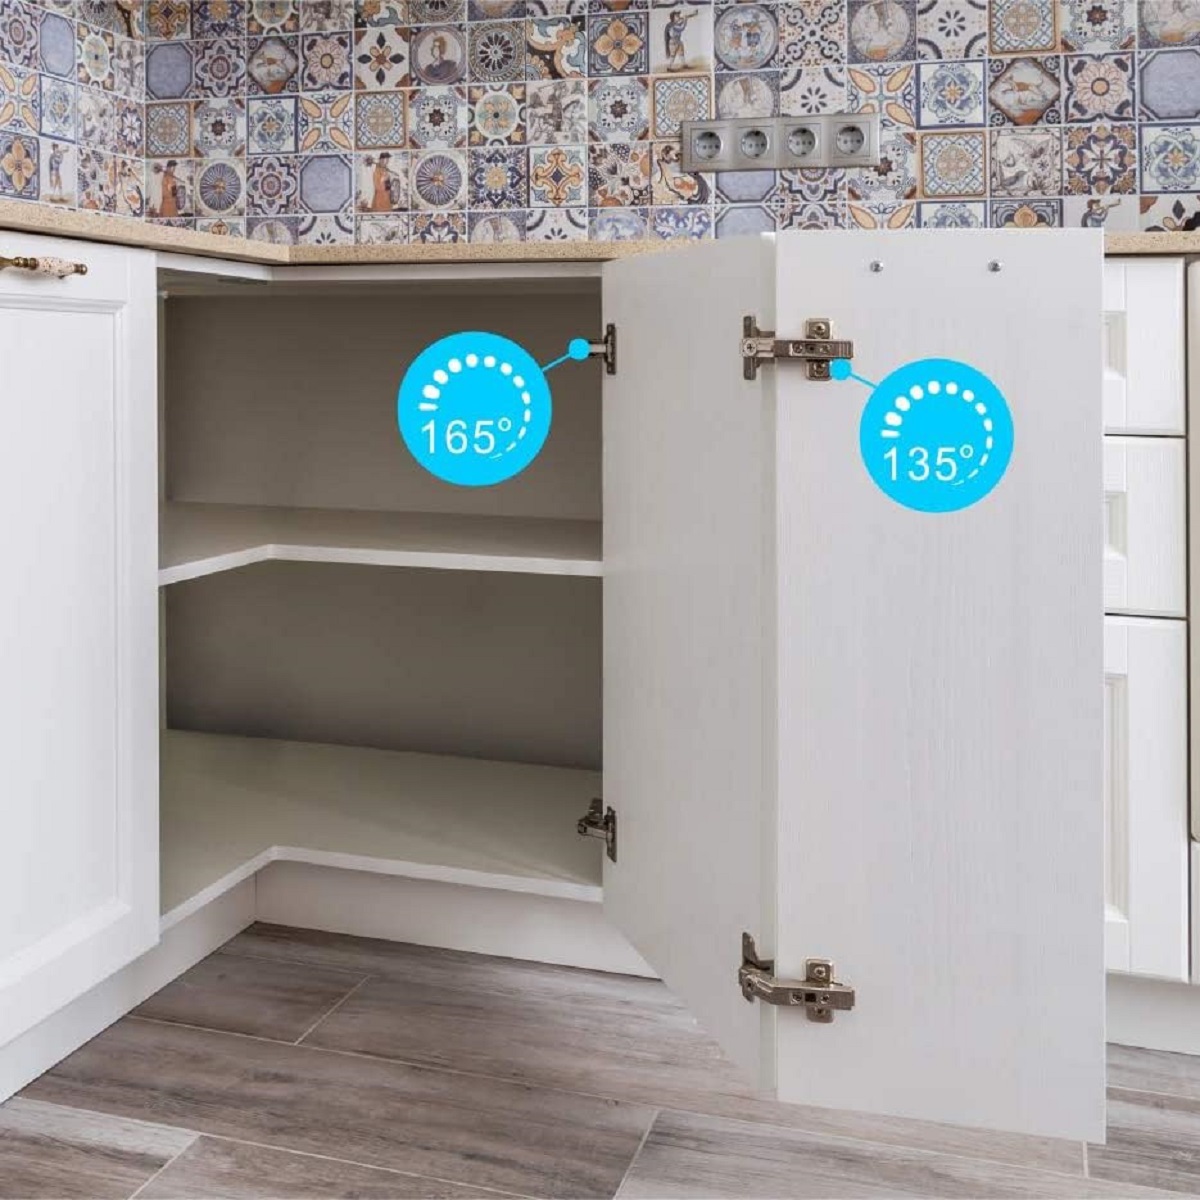
In addition to the tools, you’ll also need hinges and screws for attaching the new door. Make sure to select hinges that are the right size and type for your cabinet. Finally, order or purchase a replacement cabinet door that matches the style and dimensions of your existing cabinet.
It’s important to note that the specific tools and materials needed may vary depending on your cabinet type and the replacement door you choose. Always refer to the manufacturer’s instructions and guidelines to ensure you have everything necessary for the job.
Now that you’ve gathered all your tools and materials, you’re ready to move on to the next step: removing the old cabinet door.
Step 2: Remove the old cabinet door
With your tools and materials on hand, it’s time to remove the old cabinet door. Follow these simple steps to ensure a smooth removal process:
- Start by removing any items or decorations from the cabinet shelves. This will give you clear access to the door and prevent any potential damage or accidents.
- Inspect the old door for any screws or hinges holding it in place. Using a screwdriver or cordless drill, carefully remove any screws that are securing the door to the cabinet frame. Set the screws aside for later use.
- Once all the screws are removed, gently pull the door away from the cabinet frame. Be cautious as it may still be connected by other hardware or adhesive.
- If the door is still attached by hinges, locate the hinge mounting screws on the inside of the cabinet frame. Unscrew these screws and detach the door from the hinges.
- Place the old door in a safe location to avoid any damage or tripping hazards.
During the removal process, take note of any existing hardware or mounting brackets that were used to secure the old door. You may need to remove or replace these items when installing the new door.
Once the old cabinet door is successfully removed, take a moment to clean the cabinet frame and make any necessary repairs. Inspect for any damage, such as chipped paint or holes, and address them accordingly. Sanding any rough areas and applying wood putty to fill holes or gaps will help create a smooth and sturdy surface.
Now that you’ve removed the old cabinet door and prepared the cabinet frame, you’re ready to move on to the next step: measuring and ordering a new cabinet door.
Step 3: Measure and order a new cabinet door
Now that the old cabinet door is out of the way, it’s time to measure and order a new one that perfectly fits your cabinet. Follow these steps to ensure accurate measurements and a seamless replacement process:
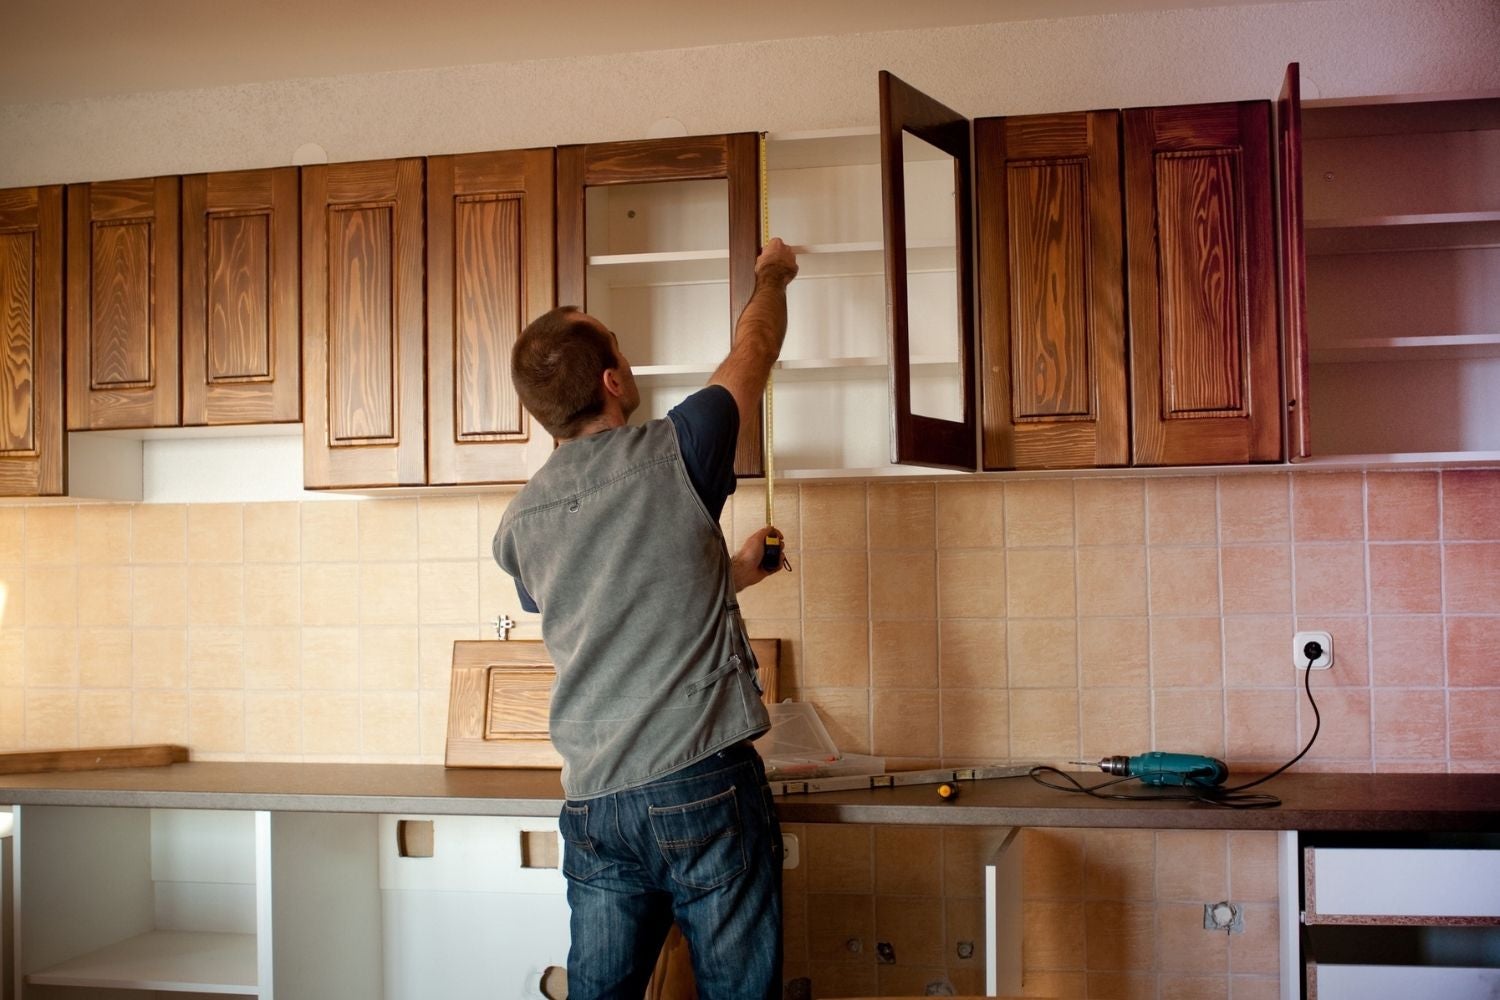
- Start by measuring the width and height of the cabinet opening. Use a tape measure to get precise measurements from edge to edge. Write down these measurements as they will be needed when ordering the new door.
- Next, measure the thickness of the old cabinet door. This will help you select a replacement door that matches the existing one and fits snugly within the frame.
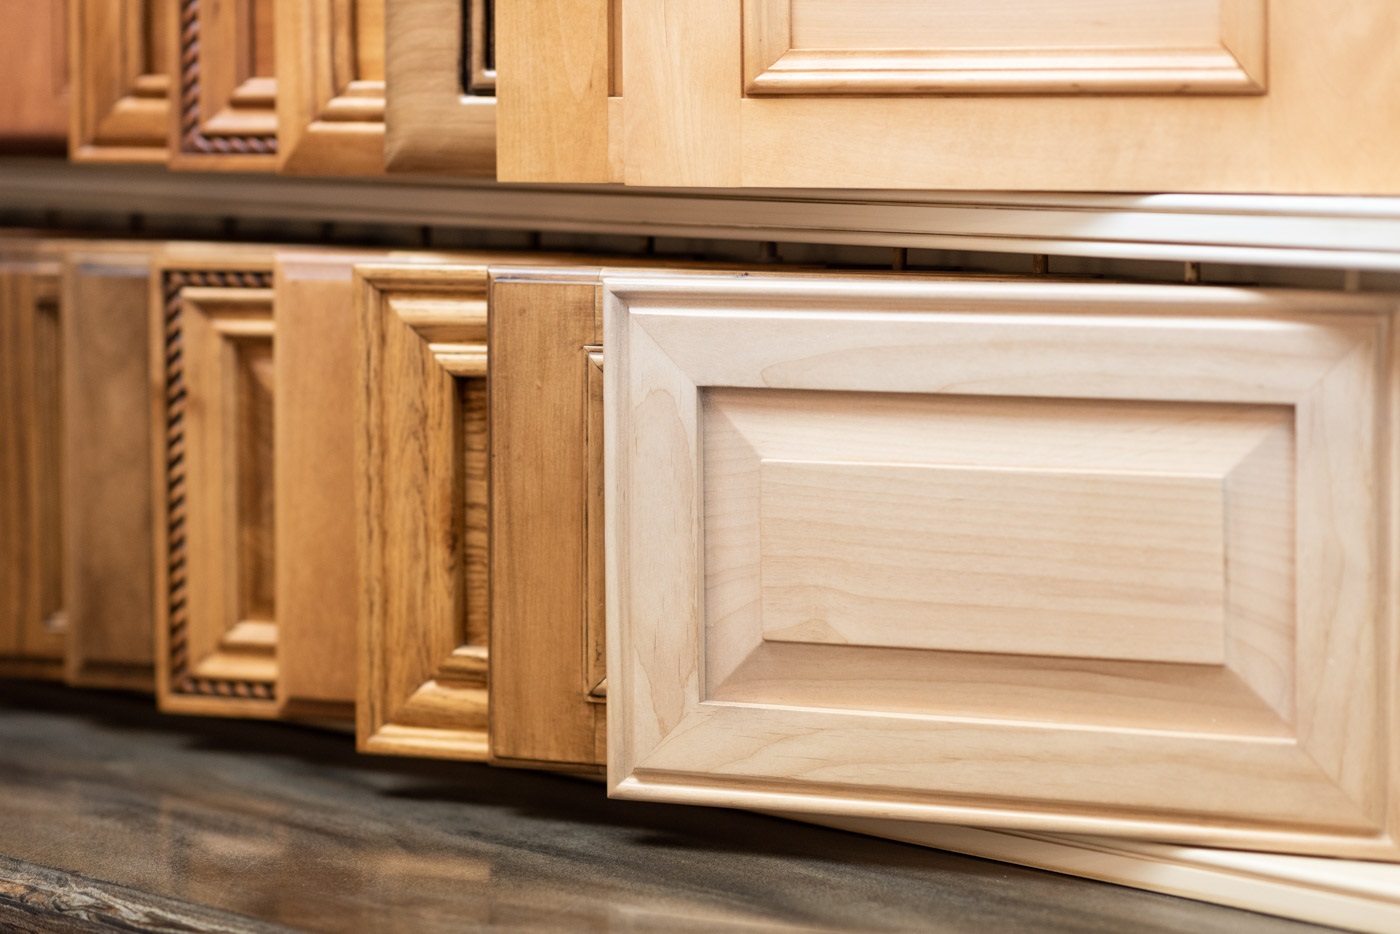
- Consider the style and design of the old door. Take note of any special features, such as paneling or decorative elements, as you’ll want the new door to match the aesthetic of your kitchen.
- Take a photo of the old door and bring it with you when ordering the replacement. This will aid in finding a similar style and ensure that the new door complements the rest of your cabinetry.
- With your measurements and preferences in hand, visit a local home improvement store or browse online to find a suitable replacement door. Many websites offer a variety of styles, finishes, and materials to choose from.
- When ordering the new door, double-check the measurements to ensure accuracy. Specify any additional features or customization options, such as pre-drilled holes for hinges or a specific type of finish.
- Place your order and wait for the new cabinet door to arrive. Be sure to confirm the estimated delivery time and method as this will help you plan the installation process.
By taking precise measurements and selecting a replacement door that matches your existing cabinetry, you’ll achieve a seamless and professional-looking result. Remember, if you have any doubts or questions during the ordering process, don’t hesitate to consult with a store representative or customer service.
With the new door on its way, you’re now ready to move on to the next step: preparing the new cabinet door for installation.
Step 4: Preparing the new cabinet door
Now that you have your new cabinet door on hand, it’s time to prepare it for installation. Follow these steps to ensure that the new door is ready to be fitted into your kitchen cabinet:
- Inspect the new cabinet door for any defects or damage. Check for any dents, scratches, or imperfections that may have occurred during shipping or handling. If you notice any issues, contact the supplier or manufacturer to discuss a possible replacement.
- If the new door is unfinished or requires painting or staining, now is the time to do so. Choose a paint or stain color that matches the existing cabinet finish or complements the overall style of your kitchen. Apply the paint or stain evenly and allow it to dry according to the manufacturer’s instructions.
- If the new cabinet door has pre-drilled holes for hinges, ensure that they align with the corresponding holes on the cabinet frame. If not, use a pencil and tape measure to mark the appropriate positions for drilling.
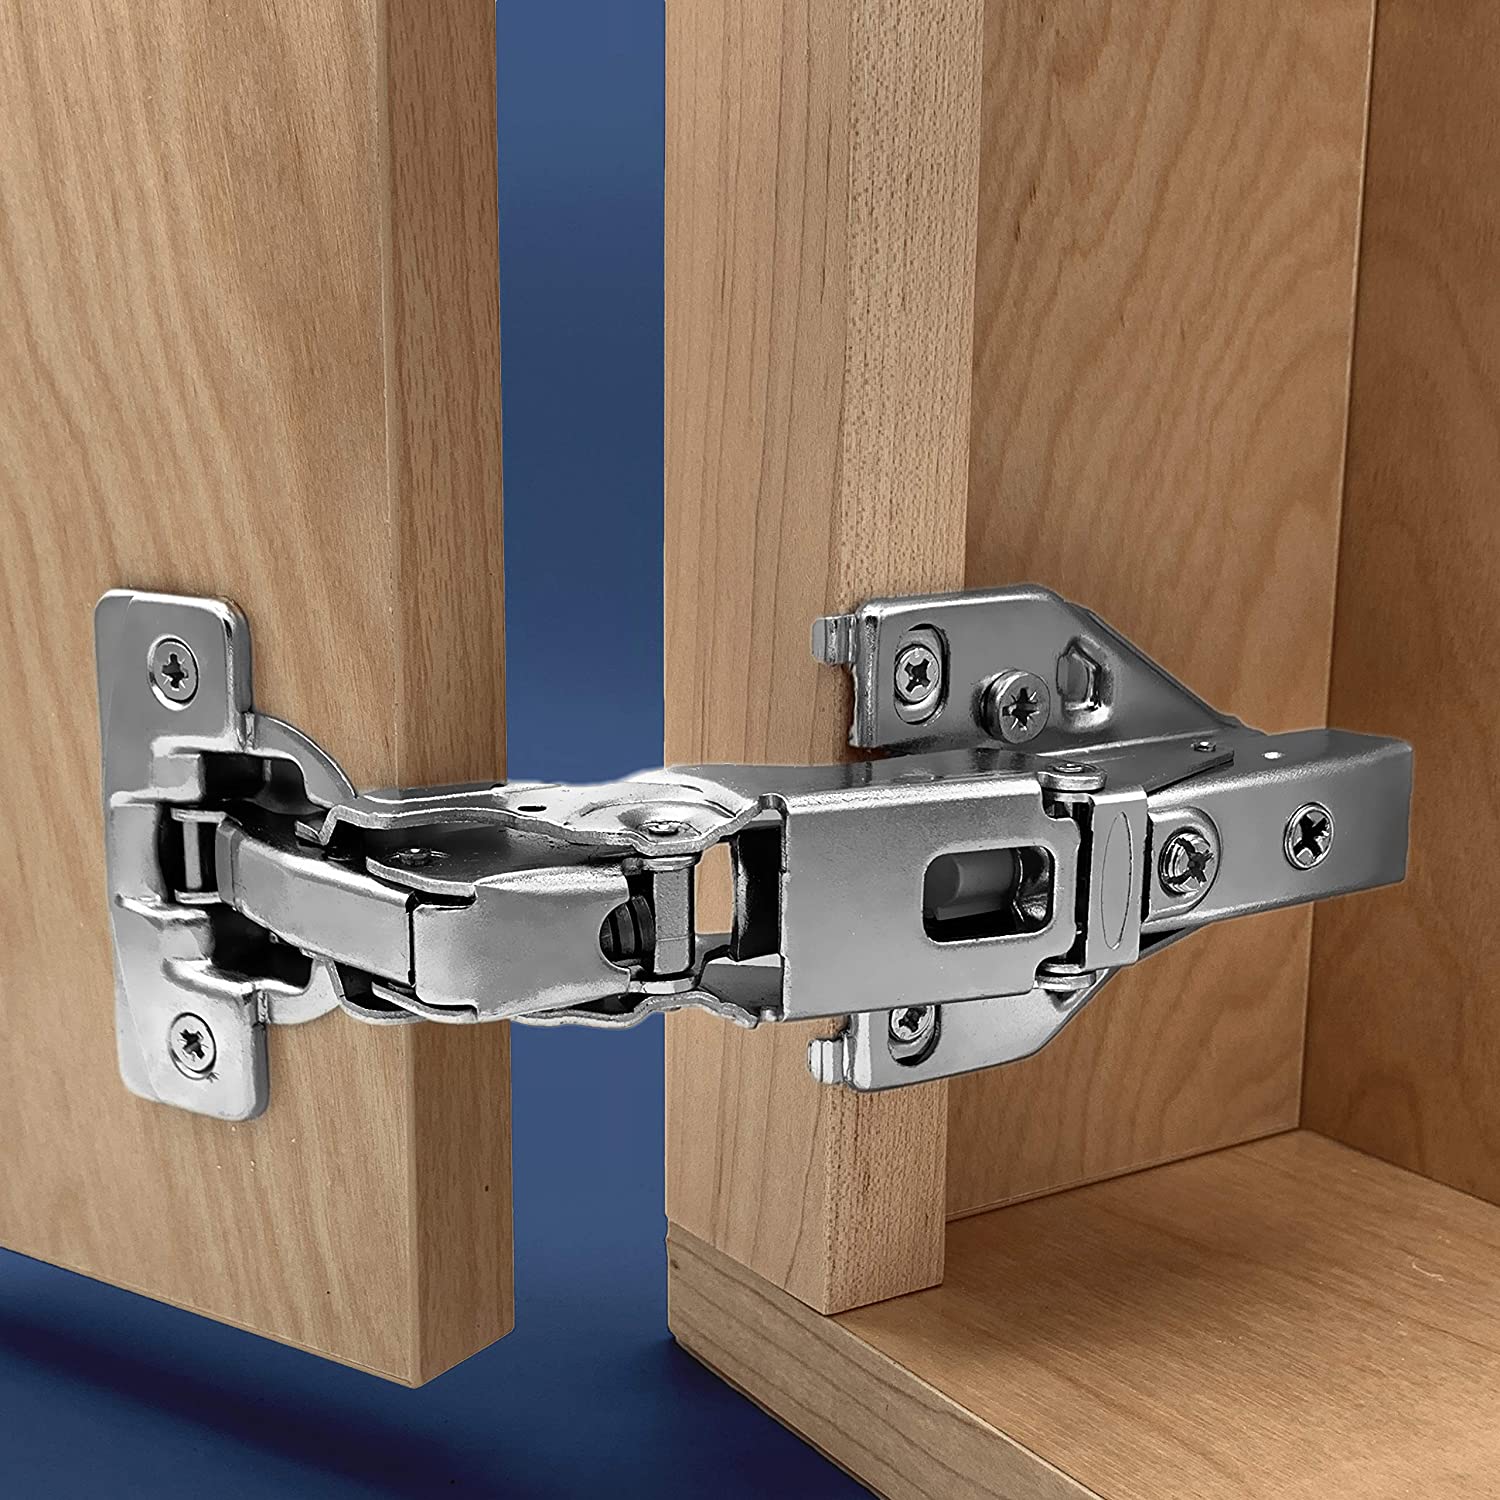
- If necessary, attach the hinges to the new cabinet door according to the manufacturer’s instructions. Use a screwdriver or cordless drill to secure them firmly in place.
- Before installing the new door, double-check the measurements and ensure that it fits within the cabinet opening without any obstructions or misalignment.
- If desired, attach any additional hardware, such as knobs or handles, to the new cabinet door. Choose hardware that complements the style of your kitchen and ensure they are properly aligned and securely fastened.
Take your time during this step to ensure that the new cabinet door is properly prepared and ready for installation. A well-prepared door will not only enhance the overall appearance of the kitchen but also ensure smooth, hassle-free installation.
With the new door prepared, you’re now ready to move on to the next step: installing the new cabinet door.
When replacing a kitchen cabinet door, be sure to measure the existing door accurately before purchasing a new one. Also, consider the style and material of the new door to ensure it matches the rest of the cabinets.
Step 5: Install the new cabinet door
Now that you have prepared the new cabinet door, it’s time to install it in your kitchen cabinet. Follow these steps to ensure a proper and secure installation:
- If you haven’t done so already, remove any items or decorations from the cabinet shelves to provide easy access to the cabinet frame.
- Hold the new door in position, aligning it with the cabinet opening. Double-check the measurements and ensure that the door is centered and level.
- Using a pencil or marker, lightly mark the positions where the hinge screws or mounting hardware will be inserted into the cabinet frame.
- Remove the new door and set it aside in a safe place.
- Using a screwdriver or cordless drill, attach the hinges or mounting hardware to the cabinet frame as indicated by the markings. Make sure the screws are tightened securely but be careful not to over-tighten, as it may damage the door or frame.
- Place the new cabinet door back into position, ensuring that the hinges or mounting hardware align with their respective counterparts on the frame.
- With the door held in place, insert the screws into the pre-drilled holes or through the mounting hardware, securing the door to the cabinet frame.
- Tighten the screws until the new door is securely attached to the cabinet.
- Open and close the cabinet door to test its movement and ensure that it operates smoothly.
During the installation process, take a moment to check the alignment and adjust the hinges if necessary. You may need to tighten or loosen the screws to achieve proper alignment and ensure that the door opens and closes smoothly.
Once the new door is securely installed and operates correctly, you’re almost finished. The next step will guide you on how to adjust and align the cabinet door to perfection.
Step 6: Adjust and align the cabinet door
After installing the new cabinet door, it’s important to make sure that it is properly aligned and adjusted for a seamless fit. Follow these steps to ensure your cabinet door is straight and functions correctly:
- Close the cabinet door and observe the gaps around the edges. Ideally, there should be even and consistent gaps on all sides of the door.
- If the gaps are uneven or the door is not aligned properly, you may need to make adjustments. Start by loosening the screws on the hinges slightly without fully removing them.
- Gently shift the door up, down, or sideways to achieve the desired alignment. Use a level to ensure that the door is perfectly horizontal or vertical, depending on the style of your cabinetry.
- Once you’ve achieved the desired alignment, tighten the screws on the hinges securely. Be cautious not to over-tighten, as it may cause the door to bind or become misaligned.
- Test the door by opening and closing it. Pay attention to how it sits and moves within the frame. It should open and close smoothly, without rubbing or sticking against the cabinet.
- If the door still needs further adjustments, repeat the loosening and shifting process until the desired alignment is achieved. Take your time to ensure a satisfactory result.
- Step back and visually inspect the cabinet door from different angles. Make any final adjustments as needed to ensure that the door sits straight and flush with the cabinet frame.
By taking the time to adjust and align the cabinet door, you’ll not only improve the overall appearance of your kitchen but also ensure that the door functions properly. A well-aligned door not only enhances the aesthetic of the cabinet but also provides a better user experience.
With the cabinet door now carefully adjusted and aligned, you’re almost finished! Just a few more steps to go before you can step back and admire your newly replaced kitchen cabinet door.
Step 7: Finishing touches and final inspection
Congratulations, you’re almost done with replacing your kitchen cabinet door! This final step will guide you through the finishing touches and a final inspection to ensure everything is in place:
- Clean the cabinet door and surrounding area to remove any dust or debris that may have accumulated during the installation process. Use a damp cloth or mild cleaning solution, if necessary.
- Inspect the newly installed cabinet door for any visible defects or issues. Check for smooth operation, proper alignment, and any signs of damage or misalignment.
- If you notice any gaps or imperfections, you may need to adjust the hinges or make minor tweaks to achieve the desired result. Take the time to fine-tune the door until you are satisfied with its appearance and functionality.
- Now is the perfect time to add any additional hardware, such as knobs, handles, or pulls, if you haven’t done so already. Choose hardware that complements the style of your kitchen and screw them securely into place.
- Give the cabinet door a final wipe-down to remove any fingerprints or smudges. This will ensure a clean and polished look.
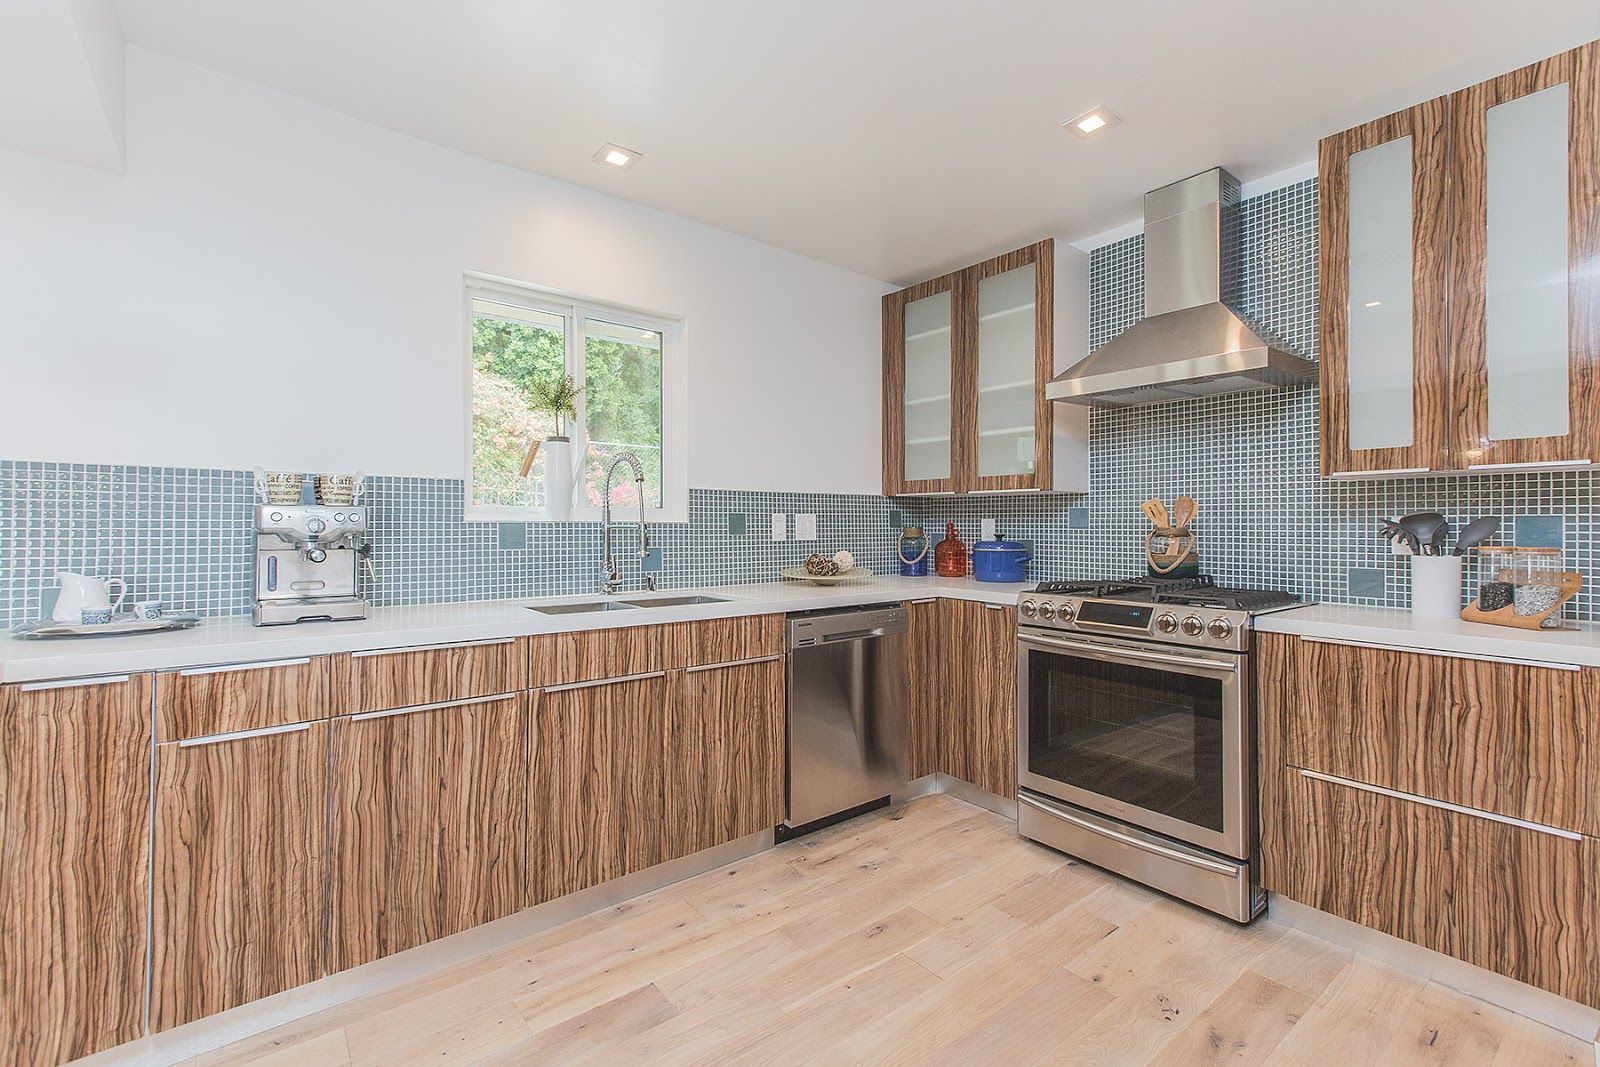
- Stand back and admire your newly replaced kitchen cabinet door! Take a moment to appreciate the transformation it has brought to your kitchen’s overall aesthetic.
Now, step back and give your kitchen cabinet door a final inspection. Open and close the door multiple times to test its functionality and ensure it operates smoothly without any issues. Ensure that the alignment is perfect and all hardware is securely fastened.
If you’re satisfied with the final result, congratulate yourself on a job well done! Your hard work and attention to detail have paid off, and you can now enjoy your refreshed kitchen space with pride.
If you encounter any problems or have concerns during the final inspection, don’t hesitate to seek professional assistance or consult with a knowledgeable expert. They can help troubleshoot any issues you may be facing.
With the finishing touches completed and the final inspection done, you have successfully replaced your kitchen cabinet door. Take a moment to appreciate the difference it has made in transforming your kitchen’s appearance and enjoy the fresh new look!
Finally, don’t forget to properly dispose of the old cabinet door and any leftover packaging materials in an environmentally friendly manner.
Thank you for following this step-by-step guide, and we hope the process has been helpful and successful for you. Happy cooking and enjoy your newly upgraded kitchen!
Conclusion
Replacing a kitchen cabinet door is a rewarding DIY project that can breathe new life into your kitchen space. By following the step-by-step guide outlined above, you have successfully learned how to replace a kitchen cabinet door, from gathering the necessary tools and materials to the finishing touches and final inspection.
Throughout the process, you have acquired the skills and knowledge to remove the old cabinet door, measure and order a new one, prepare it for installation, and install and align it properly. By paying attention to detail and taking the time to make necessary adjustments, you have ensured a seamless fit and an aesthetically pleasing outcome.
Remember, every step is essential, from gathering the right tools and materials to adjusting the hinges and aligning the door. It’s crucial to take measurements accurately, choose the right replacement door, and follow through with careful installation and adjustments. By doing so, you’ve not only enhanced the appearance of your kitchen but also improved its functionality.
We hope that this guide has been useful to you and has empowered you to confidently tackle this project. By following these steps and using your creativity, you can update the look of your kitchen to reflect your personal style without the need for a complete renovation.
As you enjoy your newly replaced cabinet door, take pride in the accomplishment you’ve achieved. Remember to take proper care of your cabinet and maintain its beauty by periodically cleaning and inspecting it for any necessary repairs or adjustments.
Thank you for choosing to embark on this DIY journey with us. We wish you many enjoyable moments cooking and entertaining in your refreshed kitchen space!
Frequently Asked Questions about How To Replace A Kitchen Cabinet Door
Was this page helpful?
At Storables.com, we guarantee accurate and reliable information. Our content, validated by Expert Board Contributors, is crafted following stringent Editorial Policies. We're committed to providing you with well-researched, expert-backed insights for all your informational needs.
0 thoughts on “How To Replace A Kitchen Cabinet Door”