Home>Interior Design>How To Clean Upholstery To Keep Furniture Looking Fresh

Interior Design
How To Clean Upholstery To Keep Furniture Looking Fresh
Modified: February 5, 2024
Learn how to clean upholstery effectively and maintain the fresh look of your furniture. Expert tips and tricks for interior design enthusiasts.
(Many of the links in this article redirect to a specific reviewed product. Your purchase of these products through affiliate links helps to generate commission for Storables.com, at no extra cost. Learn more)
Introduction
Welcome to the wonderful world of interior design! If you’ve recently embarked on a home improvement journey or simply want to refresh your living space, you know that upholstery plays a crucial role in defining the overall aesthetic. Whether it’s your cozy couch, elegant dining chairs, or plush armchair, upholstery adds comfort, style, and personality to any room. However, over time, our beloved furniture can accumulate dirt, stains, and unpleasant odors, requiring regular cleaning to keep it looking fresh.
In this guide, we’ll walk you through the steps of how to clean upholstery effectively. Armed with the right tools and techniques, you’ll be able to maintain the beauty and longevity of your furniture pieces, ensuring they continue to bring joy and comfort for years to come.
Before we dive into the cleaning process, let’s first gather the necessary supplies to make the task easier and more efficient.
Key Takeaways:
- Keep your upholstery looking fresh by gathering essential supplies, vacuuming regularly, and using specific cleaning methods for different stains. Don’t forget to deodorize and maintain your upholstery for a clean and inviting living space.
- Regular care and maintenance of upholstery are crucial for extending its lifespan and preserving its beauty. From deep cleaning to deodorizing, follow these steps to ensure your furniture remains a focal point of comfort and style in your home.
Gathering the Necessary Supplies
Before you begin cleaning your upholstery, it’s important to gather all the necessary supplies. Having everything on hand will make the process smoother and ensure that you’re well-prepared for any type of stain or dirt you may encounter. Here’s a list of essential supplies you’ll need:
- Vacuum cleaner: A vacuum cleaner with upholstery attachments is the first tool you’ll need. It will help remove loose dirt, dust, and debris from the surface of your upholstery.
- Soft-bristled brush: A soft-bristled brush is useful for gently agitating the fabric, helping to loosen any embedded dirt or grime.
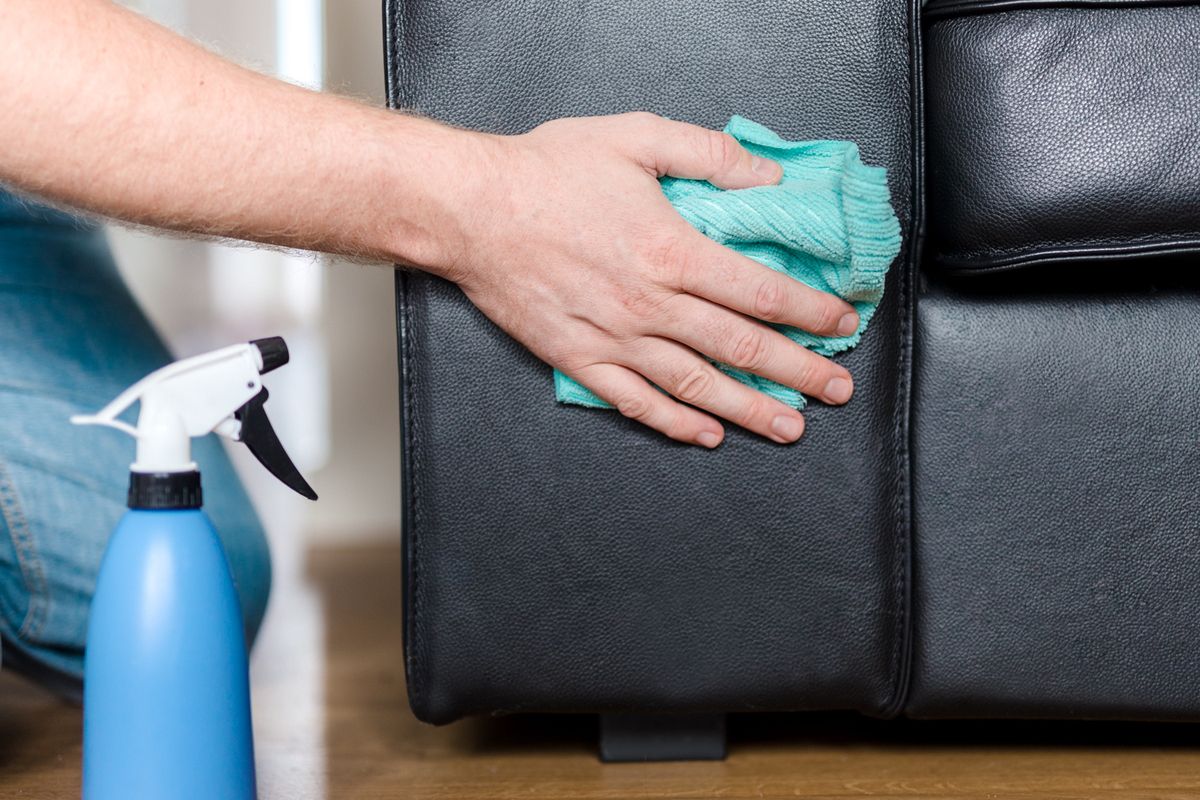
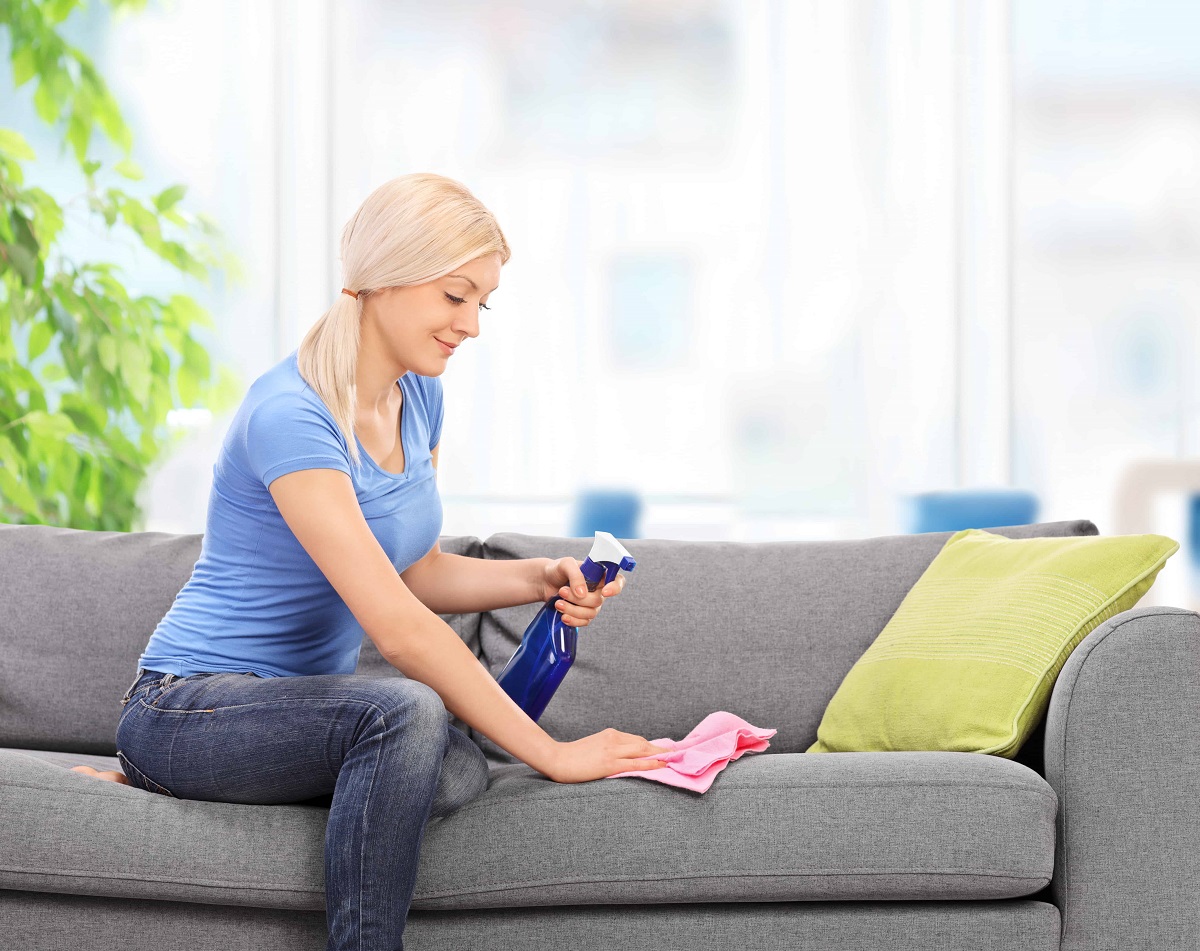
- Microfiber cloths: Microfiber cloths are ideal for wiping away spills, removing stains, and dabbing excess moisture during the cleaning process. These cloths are absorbent and won’t leave lint or residue behind.
- Mild detergent: Choose a mild detergent specifically formulated for upholstery cleaning. Check the manufacturer’s label or consult with a professional to ensure compatibility with your fabric type.
- White vinegar: White vinegar is a versatile cleaning agent that can help remove stains and odors. It’s especially effective for combating pet urine odors.
- Baking soda: Baking soda is another handy cleaning agent known for its ability to neutralize odors. It can help freshen up your upholstery and remove lingering smells.
- Water-based upholstery cleaner: For deeper cleaning, consider using a water-based upholstery cleaner. Be sure to follow the instructions on the product label for best results.
- Gloves: Protect your hands by wearing a pair of gloves, especially if you’ll be using chemical cleaners.
- Bucket: A bucket will come in handy for mixing cleaning solutions and holding water for rinsing the cloth.
- Lint roller: A lint roller is useful for removing pet hair and lint from upholstery before cleaning.
- Optional: Steam cleaner: If you have a steam cleaner specifically designed for upholstery, you can use it to deep clean and remove stubborn stains. Always follow the manufacturer’s instructions when using a steam cleaner.
Having these supplies readily available will make the upholstery cleaning process much more convenient. Now that you’re prepared, it’s time to start cleaning your upholstery. The first step is vacuuming the upholstery to remove loose dirt and debris.
Vacuuming the Upholstery
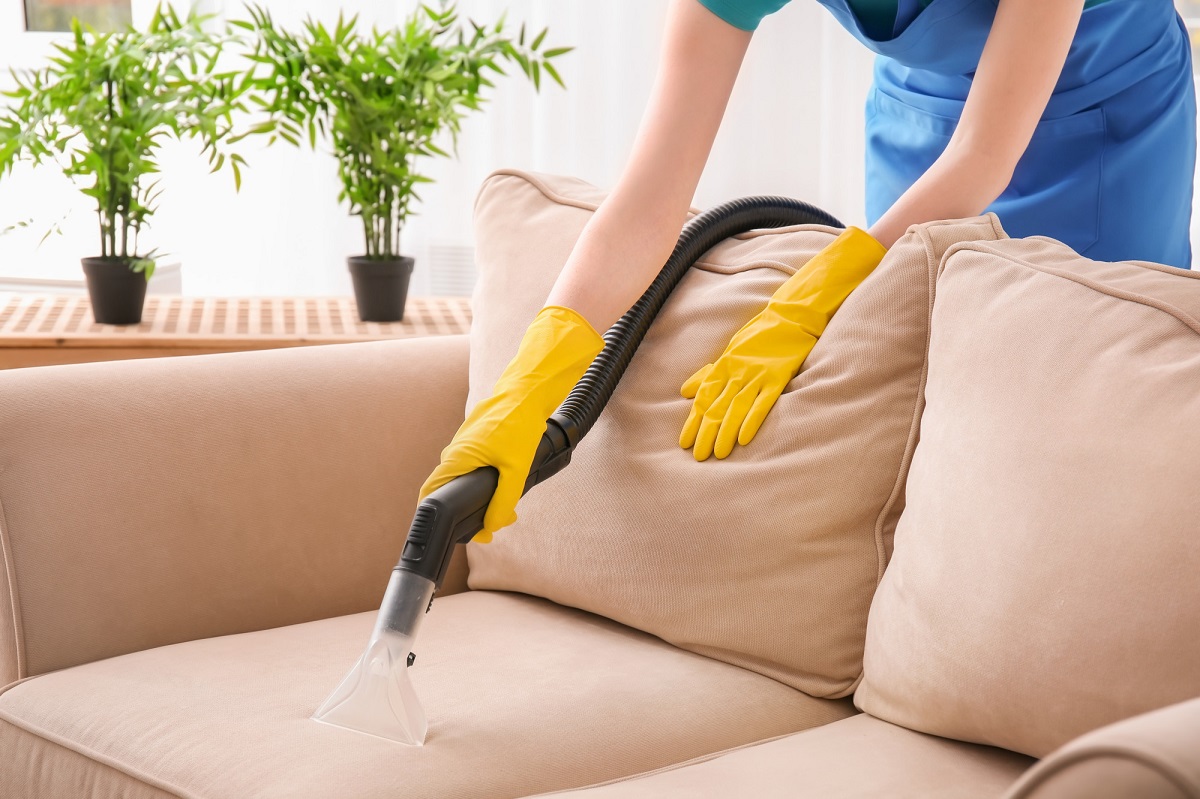
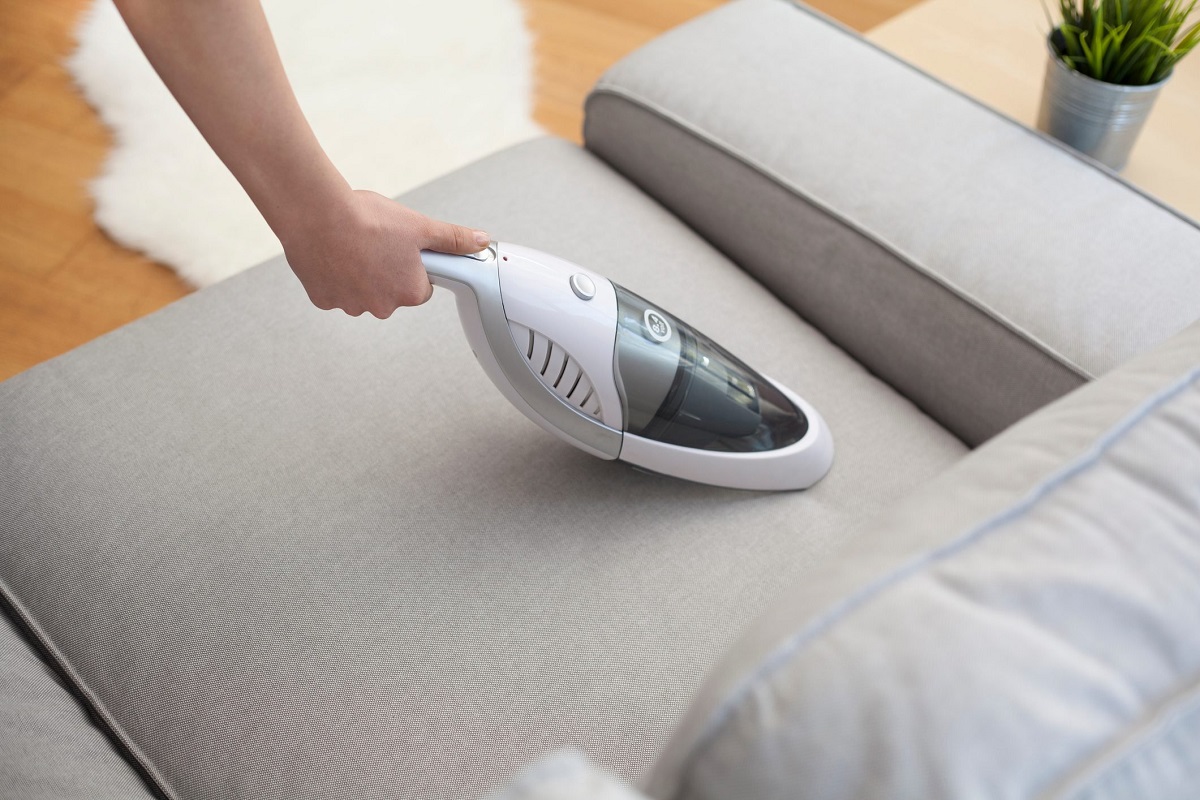
Before diving into the deep cleaning process, it’s important to start by vacuuming the upholstery. Vacuuming not only removes loose dirt and debris from the surface but also helps to prevent these particles from embedding further into the fabric during the cleaning process. Here’s how to effectively vacuum your upholstery:
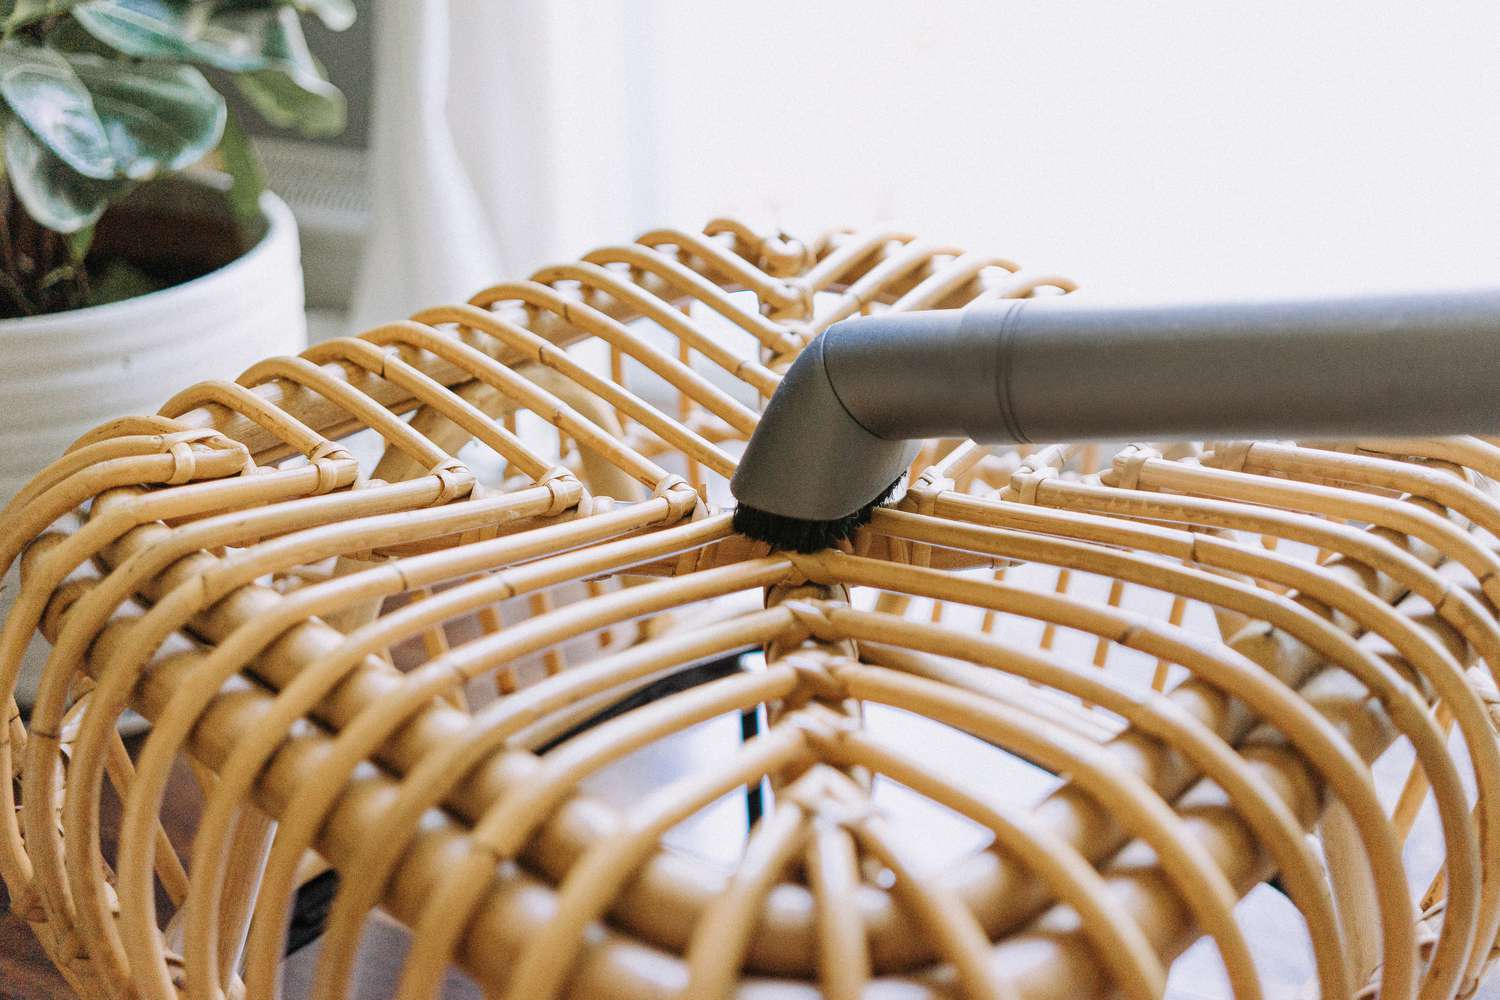
- Prepare the vacuum cleaner: Attach the upholstery brush attachment to your vacuum cleaner. This attachment is designed with soft bristles to gently clean the fabric without causing any damage.
- Remove any loose objects: Before you start vacuuming, remove any loose items such as cushions, pillows, or throws from the upholstery. This will allow you to reach all the nooks and crannies of the furniture.
- Start vacuuming: Begin by using the brush attachment to vacuum the entire surface of the upholstery. Make sure to cover all areas, including the seat cushions, backrests, and arms. Move the brush attachment back and forth in a slow and deliberate motion to effectively remove dirt and dust.
- Pay attention to crevices and seams: Use the crevice tool attachment on your vacuum cleaner to clean hard-to-reach areas, such as the crevices between cushions and seams. These areas are prone to collecting dirt and debris, so it’s essential to give them proper attention.
- Flip and vacuum: If possible, flip the cushions or upholstery fabric to access the underside and vacuum it as well. This will ensure a thorough cleaning and help remove any hidden dirt or pet hair.
- Use a lint roller: After vacuuming, run a lint roller over the upholstery to pick up any remaining pet hair or lint. This step will further enhance the cleanliness and appearance of your upholstery.
Once you’ve finished vacuuming, take a closer look at your upholstery to identify any stains or spots that may require additional attention. We’ll explore how to effectively remove stains in the next section.
Removing Stains and Spots
Accidents happen, and upholstery is no exception to spills, stains, and spots. Whether it’s a glass of wine, a coffee mishap, or a pet-related incident, it’s essential to address stains promptly to prevent them from setting into the fabric. Here’s a step-by-step guide on how to effectively remove stains and spots from your upholstery:
- Identify the stain type: Before treating any stain, it’s crucial to identify the type of stain you’re dealing with. Different stains require different cleaning methods and products. Common types of stains include food and beverage stains, grease or oil-based stains, ink stains, and pet stains.
- Blot the stain: If the stain is still fresh and wet, start by blotting it with a clean, absorbent cloth or paper towel. Gently press down on the stain without rubbing to absorb as much liquid as possible. Avoid applying too much pressure, as this might push the stain deeper into the fabric.
- Test the cleaning solution: Before applying any cleaning solution, it’s essential to test it on a small, inconspicuous area of the fabric. This will help ensure that the cleaning solution doesn’t cause any discoloration or damage to the upholstery. Wait a few minutes and check for any adverse reactions before proceeding.
- Apply the appropriate cleaning method: Depending on the type of stain, you’ll need to use a specific cleaning method. Here are a few effective techniques for common stains:
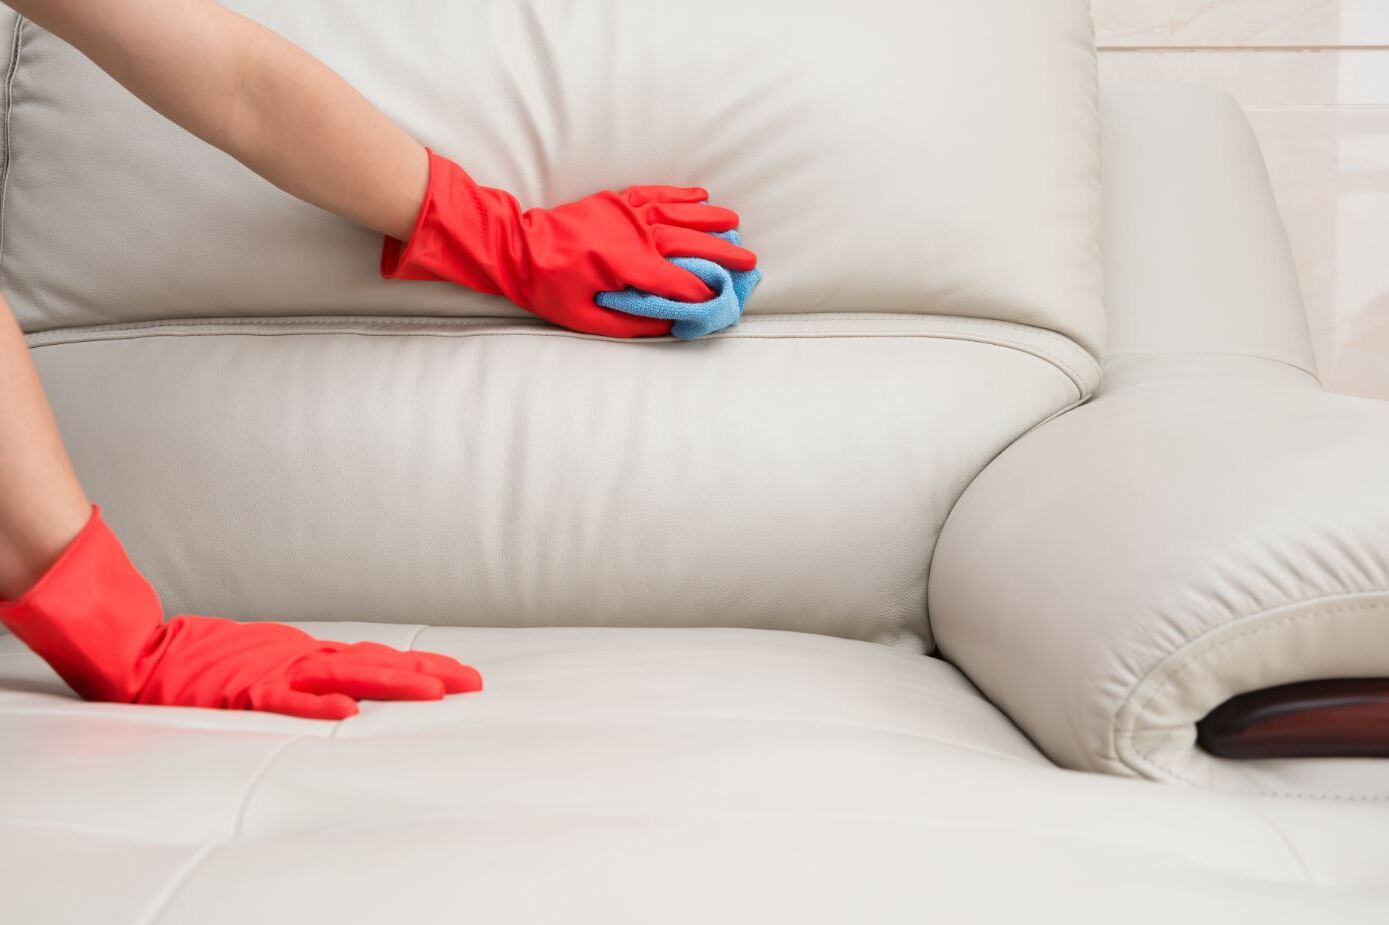
- Mild detergent solution: For general stains, mix a small amount of mild detergent with water to create a gentle cleaning solution. Apply the solution to a clean cloth and dab it onto the stain, working from the outside towards the center. Blot, rather than rub, to avoid spreading the stain.
- Vinegar solution: For stains caused by coffee, tea, or red wine, a solution of equal parts white vinegar and water can be effective. Apply the solution to a cloth and gently blot the stain. Rinse with clean water and blot dry.
- Baking soda paste: For grease or oil-based stains, make a paste with baking soda and a small amount of water. Apply the paste to the stain and let it sit for a few minutes to absorb the oil. Gently brush away the dried paste, and if the stain remains, repeat the process or use a specialized upholstery cleaner.
- Professional stain removers: If you’re dealing with stubborn or specific stains, consider using a professional upholstery stain remover. Follow the instructions on the product label carefully to effectively remove the stain.
- Rinse and dry: After treating the stain, rinse the affected area with a clean, damp cloth to remove any leftover cleaning solution. Blot the area with a dry cloth to absorb excess moisture.
Remember to always read and follow the manufacturer’s instructions for cleaning your specific upholstery fabric. If you’re uncertain about how to handle a particular stain, it’s recommended to seek advice from a professional upholstery cleaner to avoid causing further damage to the fabric.
Now that you know how to remove stains and spots from your upholstery, let’s explore the next step in the cleaning process: deep cleaning.
Vacuum upholstery regularly to remove dust and debris. Use a gentle upholstery cleaner and a soft brush to spot clean any stains. Always check the manufacturer’s instructions before cleaning.
Deep Cleaning the Upholstery
Regular vacuuming and spot cleaning can go a long way in maintaining the cleanliness of your upholstery. However, over time, dirt, allergens, and deep-set stains can accumulate, necessitating a thorough deep cleaning. Deep cleaning helps remove embedded dirt and rejuvenates the fabric, restoring its original beauty. Here’s how to deep clean your upholstery:
- Check the fabric label: Before you begin the deep cleaning process, refer to the fabric label on your upholstery to determine if there are any specific cleaning instructions or limitations. Different fabrics require different cleaning methods and may have specific guidelines to follow.
- Pre-treat stains: If there are any noticeable stains or spots on your upholstery, it’s best to pre-treat them before starting the deep cleaning process. Use the stain removal methods mentioned earlier to treat any problem areas.
- Prepare the cleaning solution: Mix a small amount of mild detergent or water-based upholstery cleaner with water, following the manufacturer’s instructions. Ensure that the solution is well-diluted to avoid any residue or damage to the fabric.
- Test the cleaning solution: Just as with spot cleaning, it’s essential to test the cleaning solution on a small, inconspicuous area of the fabric. Wait a few minutes and check for any adverse reactions before proceeding with the deep cleaning.
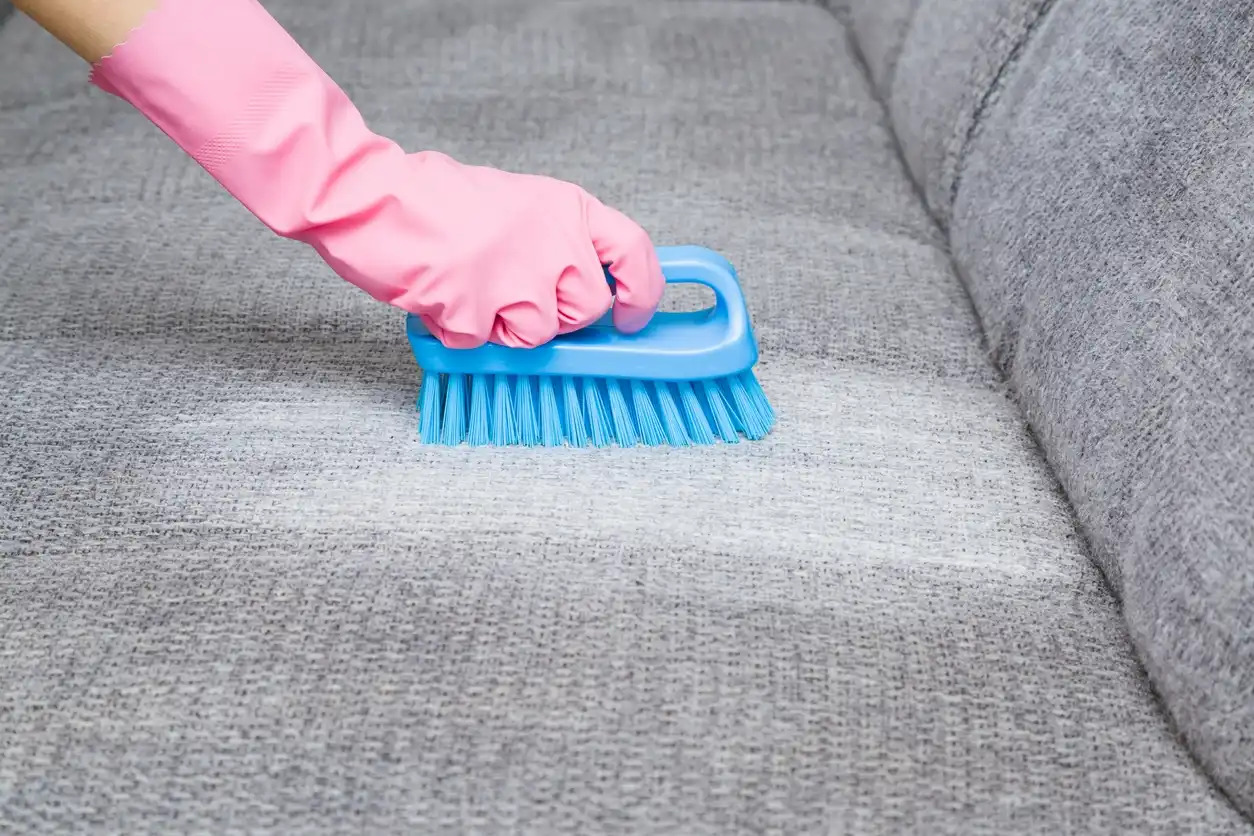
- Apply the cleaning solution: Using a soft-bristled brush or a clean cloth, gently apply the cleaning solution to the upholstery. Work in small sections, starting from the top and moving downward. Use light, circular motions to agitate the fabric and lift dirt and grime.
- Avoid over-saturation: Take care not to oversaturate the upholstery with the cleaning solution. Excessive moisture can lead to damage or mold growth. Use a minimal amount of solution and blot any excess with a clean cloth.
- Pay attention to crevices and seams: Use a soft brush or a toothbrush to clean hard-to-reach areas, such as crevices and seams. Gently scrub these areas to remove any dirt or debris.
- Rinse the fabric: After cleaning, rinse the fabric by wiping it with a damp cloth or using a spray bottle filled with clean water. Ensure that all traces of the cleaning solution are removed.
- Blot dry: Finally, blot the upholstery with a clean, dry cloth to remove excess moisture. Allow the fabric to air dry completely before using the furniture again.
Remember, deep cleaning should be done on a regular basis to keep your upholstery looking its best. However, it’s important to check the manufacturer’s recommendations for your specific upholstery fabric as certain materials may require professional cleaning or have unique care instructions.
Now that your upholstery is clean and refreshed, let’s explore how to deodorize and freshen the fabric in the next section.
Deodorizing and Freshening the Fabric
After thoroughly cleaning your upholstery, it’s time to give it a refreshing boost by eliminating any lingering odors and adding a pleasant scent. Deodorizing and freshening your fabric not only enhances the overall ambiance of your space but also helps maintain a clean and inviting environment. Here’s how to deodorize and freshen your upholstery:
- Baking soda: Baking soda is a natural odor absorber and can effectively neutralize unpleasant smells in upholstery. Sprinkle a generous amount of baking soda over the entire surface of the upholstery and let it sit for at least 15 minutes, or overnight for stronger odors. Vacuum the baking soda thoroughly to remove any residue.
- White vinegar: White vinegar is another excellent natural deodorizer. Mix equal parts white vinegar and water in a spray bottle. Lightly mist the upholstery with the solution, focusing on areas with strong odors. Allow the vinegar to air dry completely, and the smell will dissipate as it dries.
- Fabric refresher spray: Commercial fabric refresher sprays are specifically designed to freshen upholstery and leave a pleasant scent. Follow the instructions on the product label and lightly mist the upholstery to eliminate odors and provide a refreshing fragrance.
- Essential oils: Essential oils can be used to add a pleasing aroma to your upholstery. Fill a spray bottle with water and add a few drops of your favorite essential oil, such as lavender or lemongrass. Shake well, then lightly spritz the upholstery to infuse it with a delightful scent.
- Air circulation: Open windows and doors to allow fresh air to circulate through your space. Fresh air can help eliminate odors and freshen up your upholstery naturally.
By following these methods, you can effectively deodorize and freshen your upholstery, leaving it smelling clean and inviting. However, be cautious when using any products or scents on your upholstery, especially if you have allergies or sensitivities. Always test a small, inconspicuous area before applying any deodorizing products or essential oils to ensure they do not cause any adverse reactions or damage to the fabric.
Now that your upholstery is cleaned, deodorized, and freshened, let’s move on to the final step of drying and maintaining the fabric.
Drying and Maintaining the Upholstery
After completing the cleaning, deodorizing, and freshening process, it’s crucial to allow your upholstery to dry properly to prevent any moisture-related issues. Additionally, implementing regular maintenance practices will help prolong the life of your upholstery and keep it in excellent condition. Here’s how to dry and maintain your upholstery:
- Air drying: Once you’ve finished cleaning and deodorizing your upholstery, allow it to air dry completely. Open windows or turn on fans to encourage air circulation, which will speed up the drying process. Avoid using heaters or direct sunlight, as these can cause fading or damage to certain fabrics.
- Fluffing and reshaping: As the upholstery dries, periodically fluff and reshape the cushions and pillows to prevent them from losing their original shape or becoming lumpy. This will ensure that your furniture retains its comfort and aesthetic appeal.
- Regular vacuuming: Implement a regular vacuuming routine to remove loose dirt, dust, and debris from your upholstery. Aim to vacuum at least once a week or more frequently if you have pets or allergy sufferers in your home. Use the upholstery brush attachment to gently clean the fabric and prevent the accumulation of dirt.
- Avoid direct sunlight: Direct sunlight can cause fading and discoloration of upholstery fabrics. If possible, position your furniture away from direct sunlight or use blinds or curtains to protect it from harmful UV rays.
- Rotate cushions: To prevent uneven wear and ensure even aging of your upholstery, rotate cushions regularly. This will distribute weight and pressure more evenly, prolonging the life of your furniture.
- Address stains promptly: When spills or stains occur, address them promptly to prevent them from setting into the fabric and becoming more difficult to remove. Refer to the earlier section on removing stains and spots for effective stain removal techniques.
- Professional cleaning: Consider having your upholstery professionally cleaned at least once a year, especially if it experiences heavy use or is made from delicate or difficult-to-clean fabrics. Professional cleaning can help remove deep-set dirt and stains and revitalize your upholstery.
By following these drying and maintenance practices, you can keep your upholstery in excellent condition and extend its lifespan. Regular cleaning, maintenance, and prompt attention to stains will ensure that your upholstery continues to look fresh and inviting for years to come.
With the completion of the drying and maintenance process, congratulations! You’ve successfully cleaned and cared for your upholstery, restoring its beauty and comfort. By implementing these steps regularly, you can enjoy a clean and fresh living space that showcases your personal style.
Now it’s time to sit back, relax, and enjoy your revitalized furniture!
Conclusion
Cleaning and maintaining upholstery is an essential part of interior design and home maintenance. Regular care not only keeps your furniture looking fresh and inviting but also helps extend its lifespan. By following the steps outlined in this guide, you can effectively clean, deodorize, and maintain the upholstery, ensuring it remains a focal point of beauty and comfort in your home.
Remember to start by gathering the necessary supplies, including a vacuum cleaner, soft-bristled brush, microfiber cloths, mild detergent, white vinegar, and baking soda. These tools will assist you in effectively removing dirt, stains, and odors from your upholstery.
Begin with vacuuming the upholstery to remove loose dirt and debris. Then, tackle stains and spots using specific cleaning methods and solutions based on the type of stain. For a deeper clean, follow the instructions for deep cleaning, paying attention to the fabric label and testing cleaning solutions beforehand.
To refresh and deodorize the fabric, you can use natural ingredients like baking soda and white vinegar or opt for commercial fabric refresher sprays and essential oils. Ensure that the upholstery is properly dried before using it again to prevent any moisture-related issues.
Maintaining your upholstery involves regular vacuuming, avoiding direct sunlight, rotating cushions, and promptly addressing stains. Additionally, consider professional upholstery cleaning at least once a year to revitalize and restore the fabric’s beauty.
Now that you have the knowledge and know-how to clean and care for your upholstery, you can confidently embark on this task, confident in achieving remarkable results. With regular cleaning and maintenance, your upholstery will continue to enhance your living space, offering both comfort and style for years to come.
So, go ahead, take the first step, and give your upholstery the TLC it deserves. Your furniture will thank you with its renewed beauty and your space will shine with its fresh and inviting atmosphere.
Frequently Asked Questions about How To Clean Upholstery To Keep Furniture Looking Fresh
Was this page helpful?
At Storables.com, we guarantee accurate and reliable information. Our content, validated by Expert Board Contributors, is crafted following stringent Editorial Policies. We're committed to providing you with well-researched, expert-backed insights for all your informational needs.





0 thoughts on “How To Clean Upholstery To Keep Furniture Looking Fresh”