Home>Storage Ideas>Kitchen Storage>How To Clean Stainless-Steel Pans To Keep Them Looking Brand-New
Kitchen Storage
How To Clean Stainless-Steel Pans To Keep Them Looking Brand-New
Modified: August 28, 2024
Discover effective kitchen storage ideas to keep your stainless-steel pans looking brand-new. Learn how to clean them properly and maintain their shine.
(Many of the links in this article redirect to a specific reviewed product. Your purchase of these products through affiliate links helps to generate commission for Storables.com, at no extra cost. Learn more)
Introduction
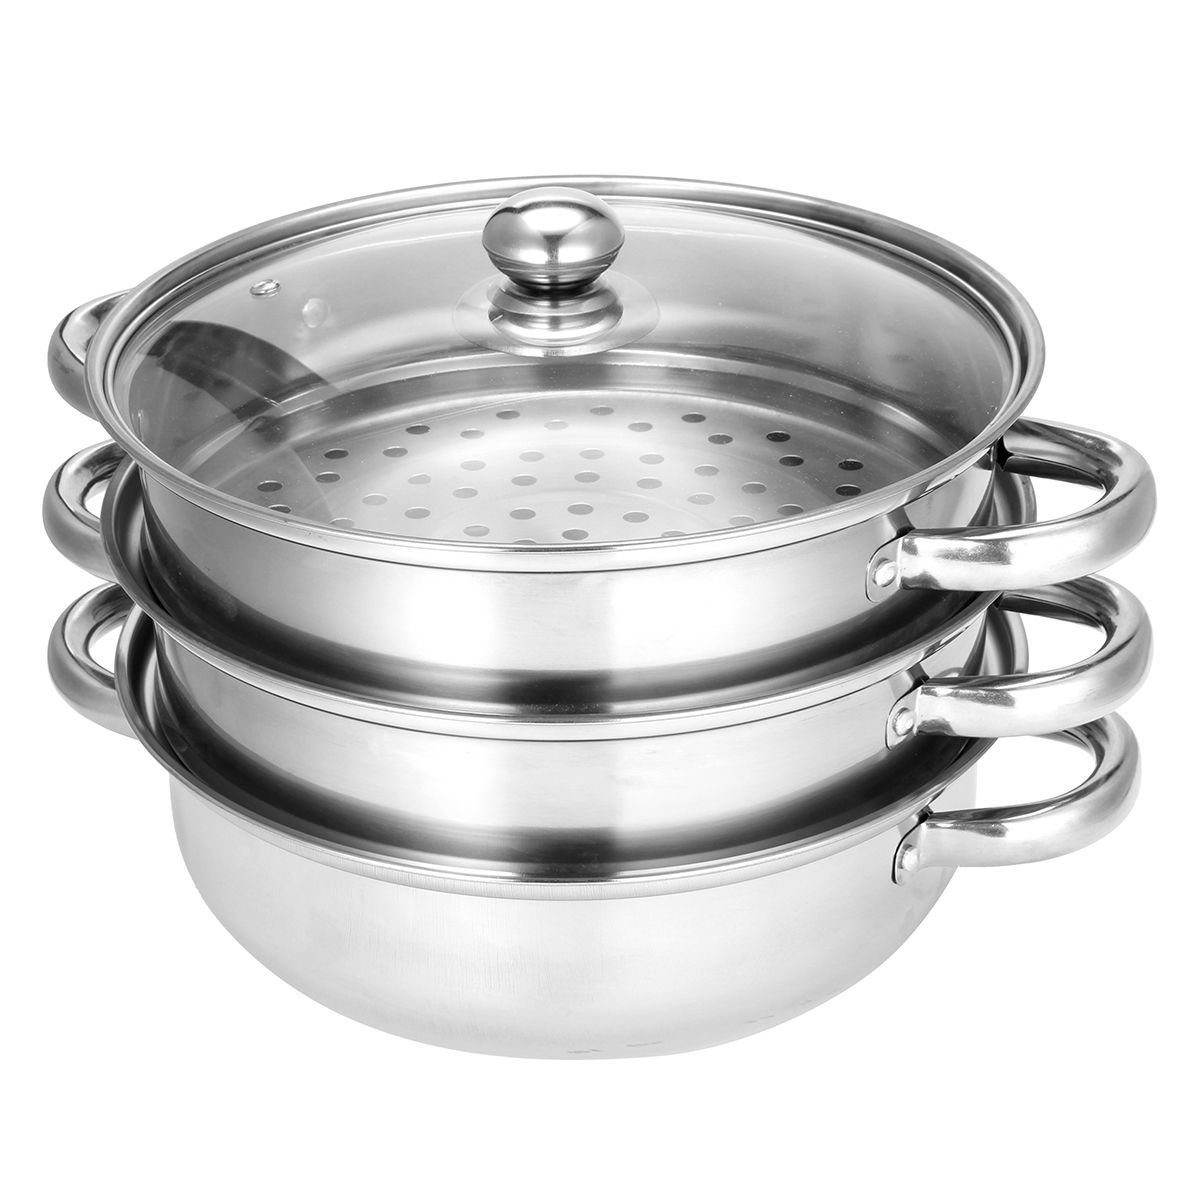
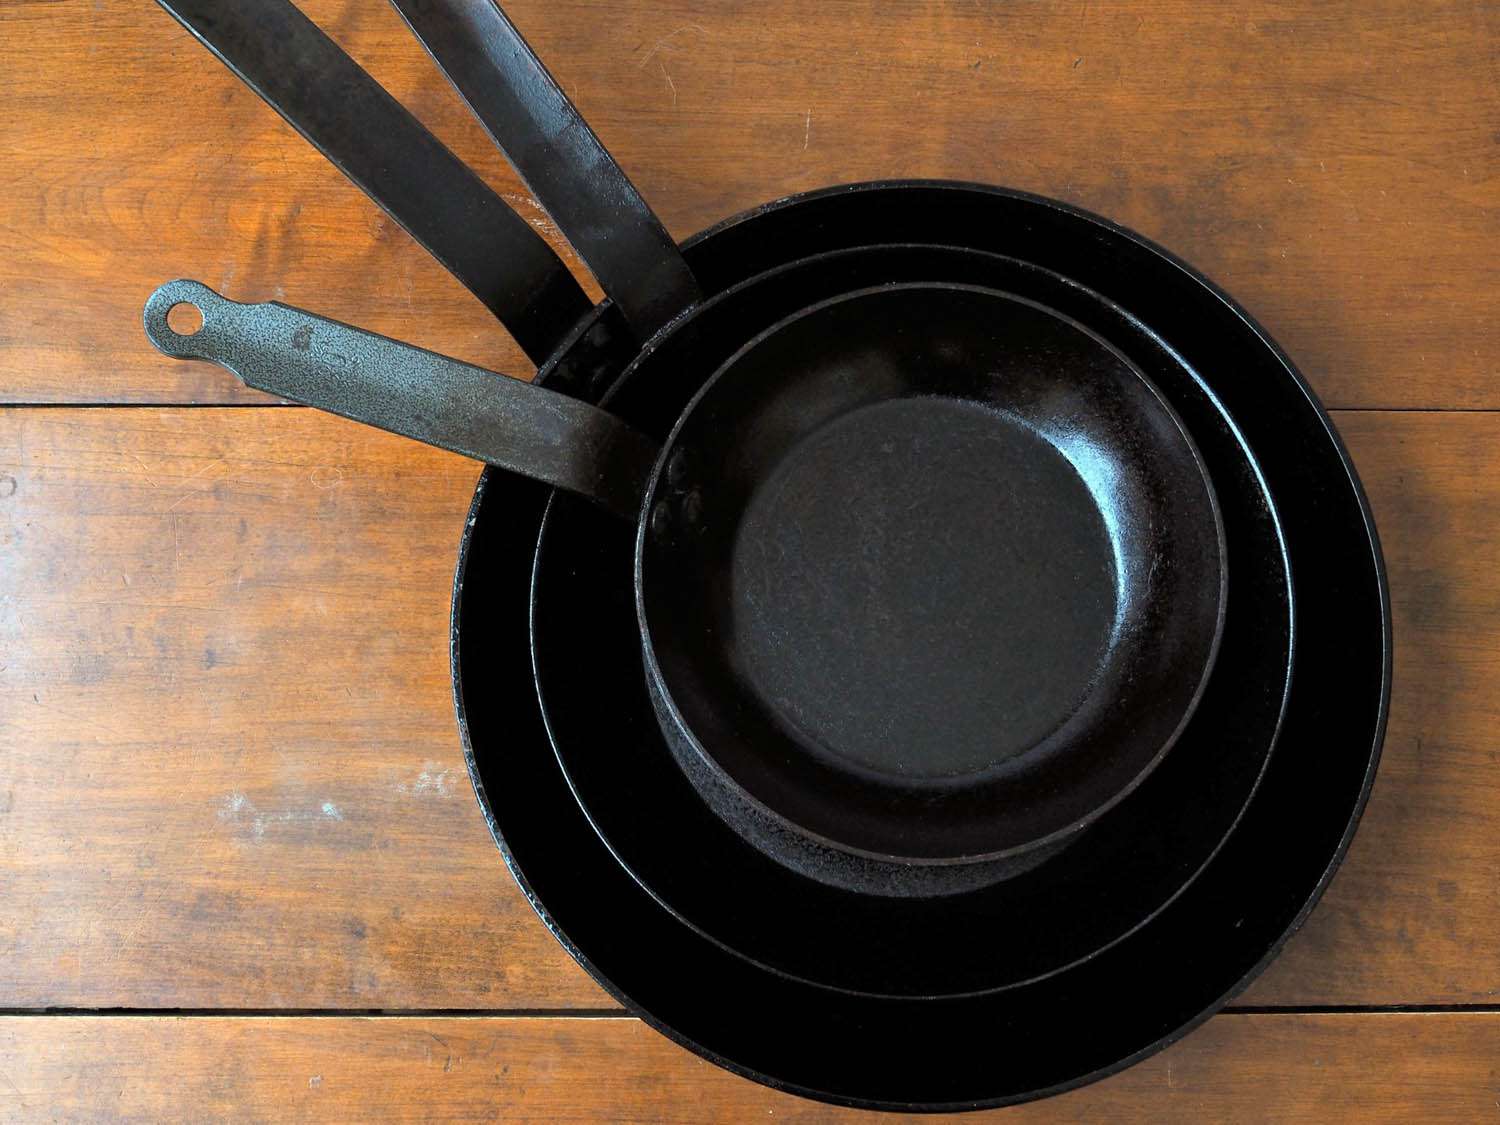
Welcome to the world of stainless-steel pans, where durability meets sleek elegance. These pans are a staple in many kitchens due to their ability to distribute heat evenly and resist corrosion. However, to keep them looking brand-new and performing optimally, regular cleaning is essential.
In this article, we will guide you through the process of cleaning stainless-steel pans with ease. Whether you are dealing with stubborn stains, burnt-on food, or simply want to maintain the shine of your pans, we’ve got you covered. By following our step-by-step instructions and using the right materials, you’ll be able to keep your stainless-steel pans in top shape for years to come.
But why is it so important to clean your stainless-steel pans regularly? Let’s find out.
Key Takeaways:
- Regularly cleaning stainless-steel pans prolongs their lifespan, enhances cooking performance, maintains aesthetics, and prevents unpleasant odors, ensuring a safe and enjoyable cooking experience.
- Using mild dish soap, white vinegar, baking soda, and lemon juice, along with gentle scrubbing, can effectively clean and polish stainless-steel pans, keeping them looking brand-new for years to come.
Reasons to Clean Stainless-Steel Pans Regularly
While it may be tempting to overlook cleaning your stainless-steel pans, maintaining regular cleaning habits can have many benefits. Here are a few reasons why it is important to clean your stainless-steel pans regularly:
- Prolonged Lifespan: Regular cleaning helps to extend the lifespan of your stainless-steel pans. By removing food particles and residue, you prevent the buildup of grime and grease that can lead to corrosion over time. This ensures that your pans retain their original quality and continue to perform optimally.
- Health and Safety: Properly cleaning your stainless-steel pans eliminates any harmful bacteria or contaminants that may result from leftover food remnants. This is especially important if you use your pans for cooking a variety of dishes. Keeping them clean reduces the risk of foodborne illnesses and ensures a safe cooking environment.
- Enhanced Cooking Performance: A clean stainless-steel surface provides better heat distribution and prevents food from sticking. When food sticks to the pan, it can burn and create unpleasant flavors. Regular cleaning ensures that your pans remain smooth, allowing for even cooking and easy food release.
- Maintaining the Aesthetics: Stainless-steel pans are known for their sleek and shiny appearance. Regular cleaning helps to preserve the aesthetically pleasing look of your pans. By removing stains, discoloration, and burn marks, you can keep your pans looking brand new and enhance the visual appeal of your kitchen.
- Preventing Unpleasant Odors: When leftover food particles remain on your pans, they can emit unpleasant odors, especially when exposed to high heat during subsequent cooking sessions. Regularly cleaning your pans eliminates any lingering odors, ensuring that your food always tastes fresh and delicious.
Now that we understand the importance of regular cleaning, let’s dive into the materials you’ll need to effectively clean your stainless-steel pans.
Materials Needed for Cleaning
Before you begin the cleaning process, it’s important to gather the necessary materials. Having the right tools at hand will make the cleaning process much more efficient. Here’s a list of the materials you’ll need:
- Mild Dish Soap: Opt for a mild, non-abrasive dish soap that is safe for use on stainless steel. Avoid using harsh cleansers, as they can damage the surface of your pans.
- Soft Sponge or Cloth: Choose a soft sponge or cloth that won’t scratch the stainless-steel surface. Avoid using abrasive materials, such as steel wool or rough scouring pads, as they can leave scratches or marks on your pans.
- White Vinegar: White vinegar is a natural cleaning agent that is effective at removing stains and grease. It’s a safe and gentle option for cleaning your stainless-steel pans.
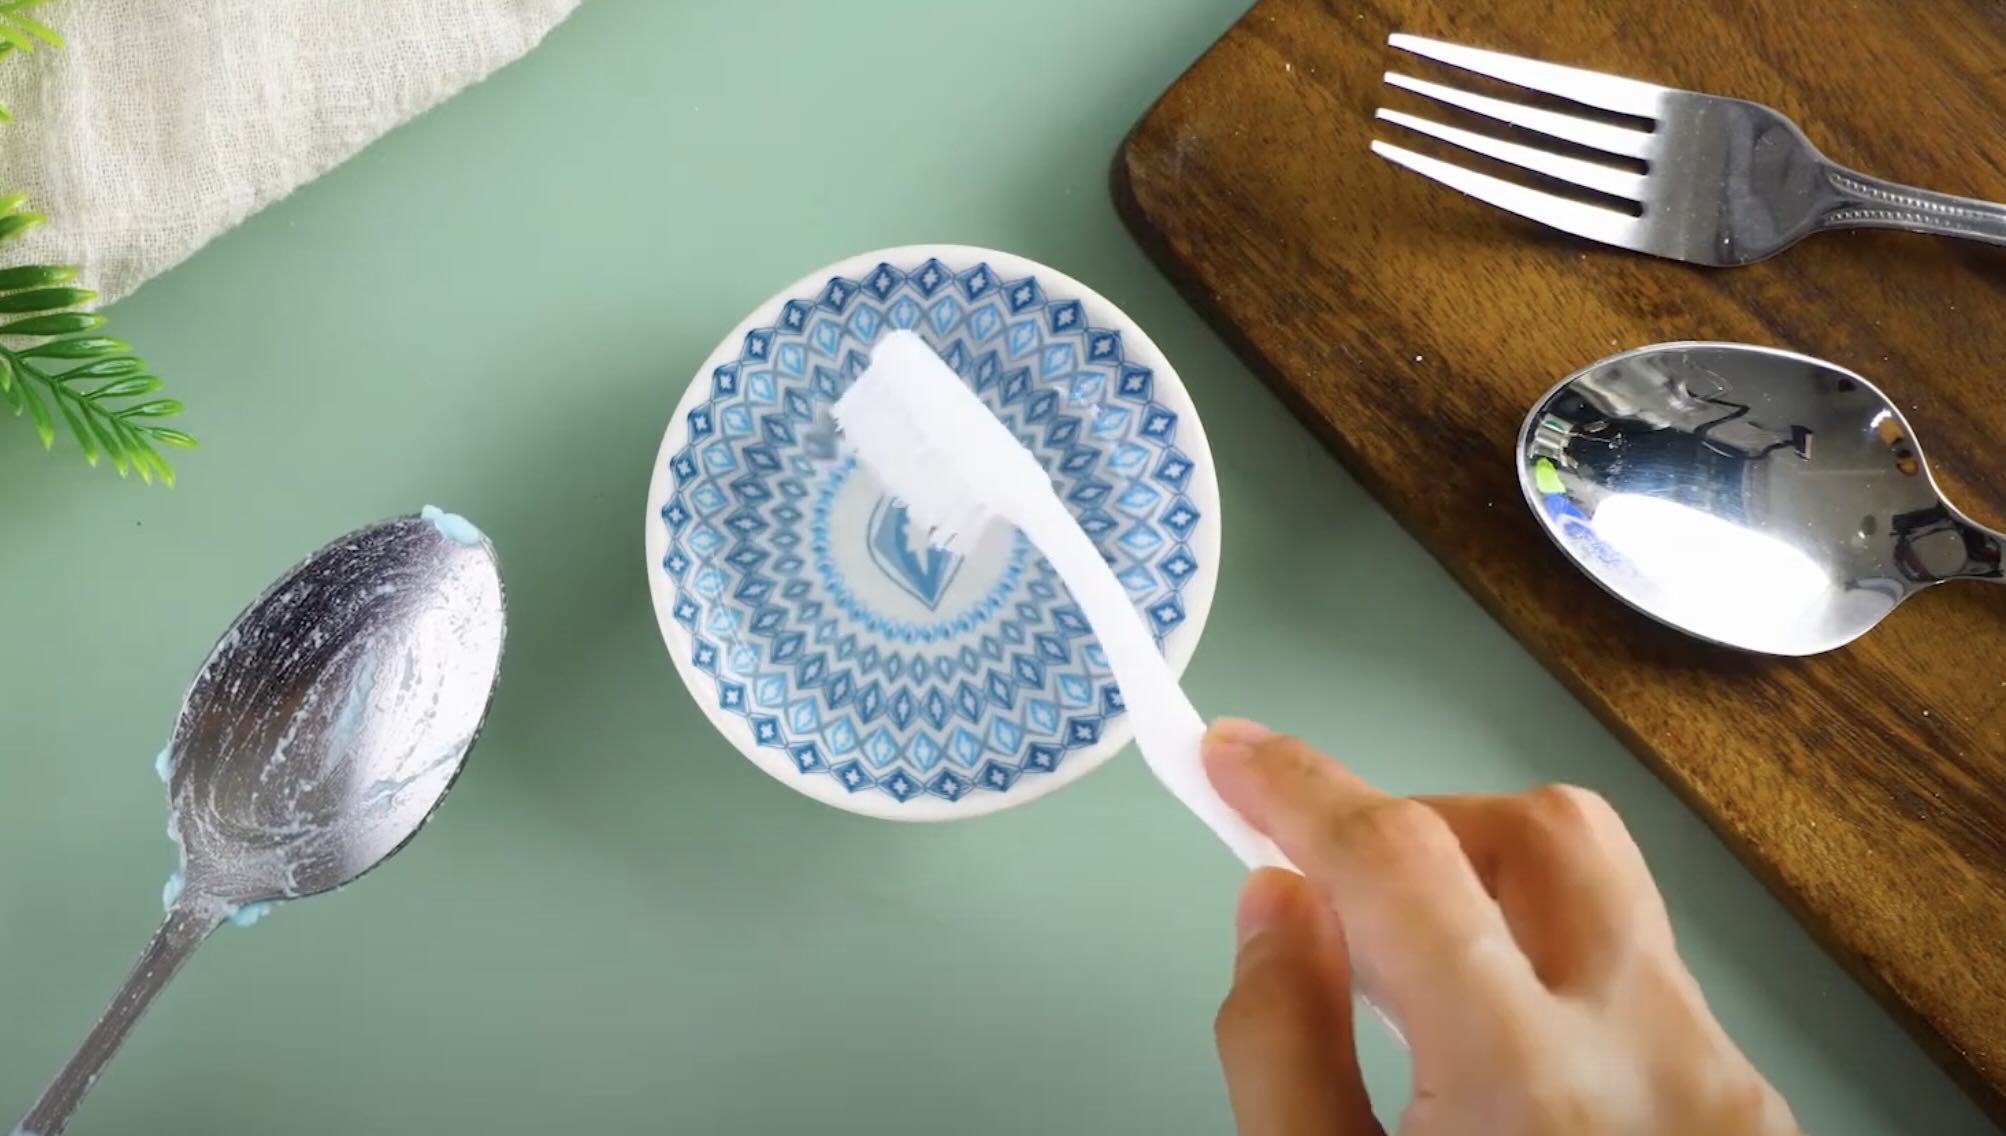
- Baking Soda: Baking soda is another natural cleaning agent that can help remove stubborn stains and burnt-on food. It also acts as a gentle abrasive, making it perfect for tackling tougher stains without scratching the surface of your pans.
- Lemon Juice: Lemon juice is a natural acid that can help remove stains and add a fresh scent to your pans. It’s a great alternative to white vinegar if you prefer a citrus fragrance.
- Paper Towels or Microfiber Cloth: These materials are handy for drying your pans after cleaning. They are absorbent and won’t leave lint behind.
- Stainless-Steel Polish (Optional): If you want to restore the shine of your stainless-steel pans, you can use a stainless-steel polish. This will help remove any remaining stains or marks and leave your pans looking polished and brand new.
With these materials ready, you’re now equipped to start cleaning your stainless-steel pans. In the next section, we’ll guide you through the step-by-step process of preparing the pan for cleaning.
Step 1: Preparing the Pan for Cleaning
Before diving into the actual cleaning process, it’s important to prepare your stainless-steel pan. Follow these steps to ensure the best cleaning results:
- Cool Down: Allow the pan to cool down completely before starting the cleaning process. This will prevent any accidental burns or injuries.
- Remove Excess Food: Use a spatula or a soft cloth to remove any excess food particles from the pan. Discard these remnants in the trash or compost bin.
- De-grease: If the pan is greasy, you can wipe off the excess grease with a paper towel or use a mild dish soap to remove the grease buildup. This step will make it easier to tackle any stains or burnt-on food.
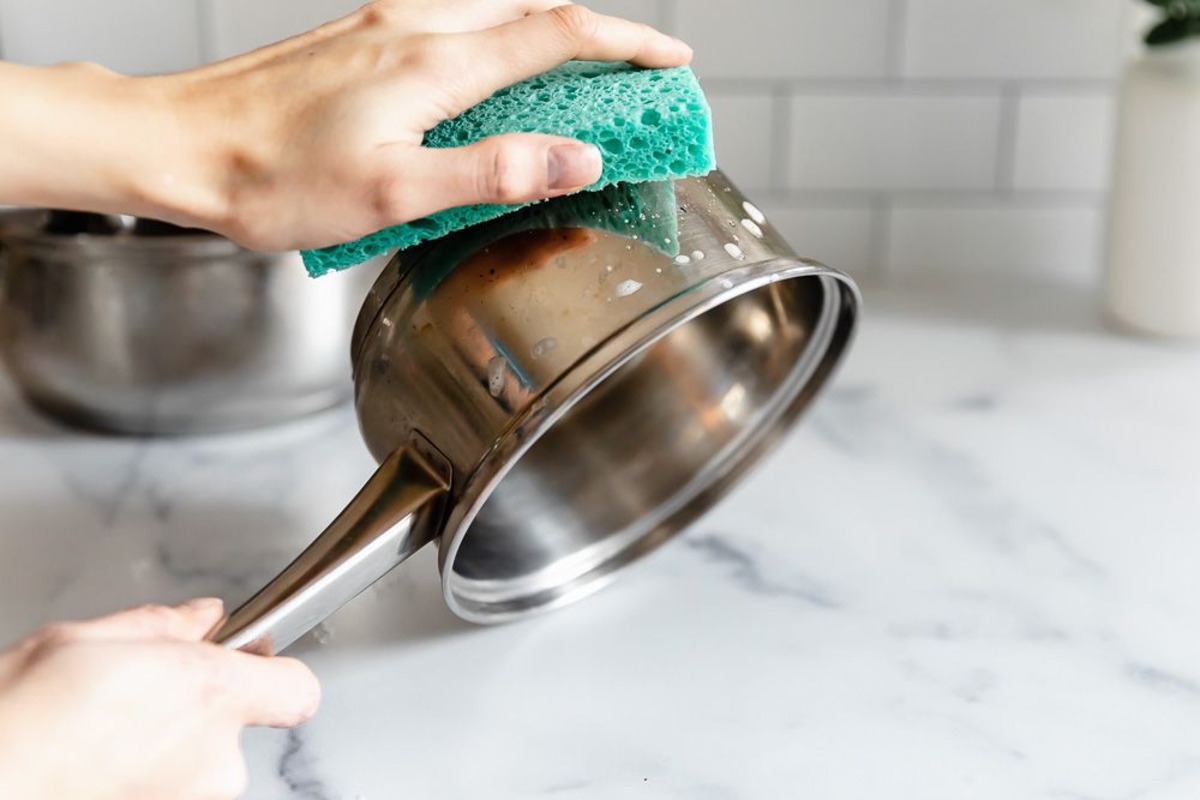
- Fill with Soapy Water: Fill your sink or a basin with warm water and add a few drops of mild dish soap. Submerge the stainless-steel pan in the soapy water, allowing it to soak for a few minutes. This will loosen any stubborn residue and make it easier to clean.
- Scrubbing: After soaking, use a soft sponge or cloth to scrub the pan gently. Pay attention to any areas with stains or burnt-on food. Avoid using abrasive materials as they can scratch the surface of the pan.
- Rinse: Thoroughly rinse the pan with warm water, removing any soap residue. Make sure to wash off all the soap and suds to prevent any unwanted flavors in your food.
By following these steps, you’re ensuring that your stainless-steel pan is properly prepared for the actual cleaning process. Now, let’s move on to the next step: removing stains and burnt-on food.
Step 2: Removing Stains and Burnt-on Food
Stains and burnt-on food can be stubborn to remove from stainless-steel pans, but with the right approach, you can restore your pans to their pristine condition. Follow these steps to tackle stains and burnt-on food effectively:
- Make a Paste: Create a paste by combining equal parts baking soda and water in a small bowl. The paste should have a thick consistency.
- Apply the Paste: Using a soft sponge or cloth, apply the baking soda paste to the stained or burnt areas of the pan. Make sure to cover the entire affected area.
- Gently Scrub: With the baking soda paste applied, gently scrub the stained or burnt areas using circular motions. Apply slight pressure as needed, but be careful not to scratch the surface of the pan.
- Leave to Sit: Once you’ve scrubbed the stains and burnt-on food, allow the baking soda paste to sit on the pan for around 10 to 15 minutes. This will help loosen the residue.
- Rinse Thoroughly: After the paste has had time to work its magic, thoroughly rinse the pan with warm water. Ensure that all the baking soda residue has been washed away.
- Repeat if Necessary: If the stains or burnt-on food persist, you may need to repeat the process. Apply the baking soda paste once more and scrub gently. Remember to rinse thoroughly after each attempt.
By following these steps, you can effectively remove stains and burnt-on food from your stainless-steel pans. Once you’ve achieved a clean surface, it’s time to move on to the next step: cleaning the exterior of the pan.
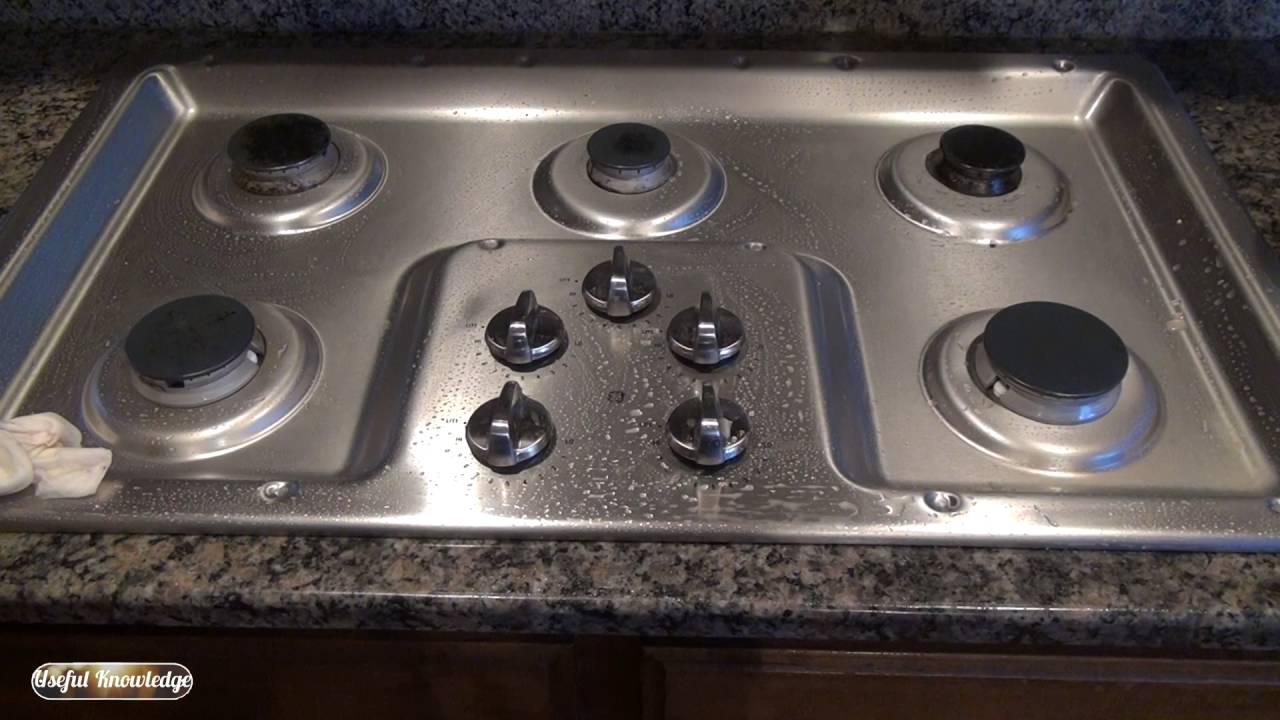
After cooking, soak the pan in warm, soapy water to loosen any stuck-on food. Use a non-abrasive sponge or cloth to scrub the pan, then dry it thoroughly to prevent water spots. To remove stubborn stains, create a paste with baking soda and water, apply it to the pan, and scrub gently.
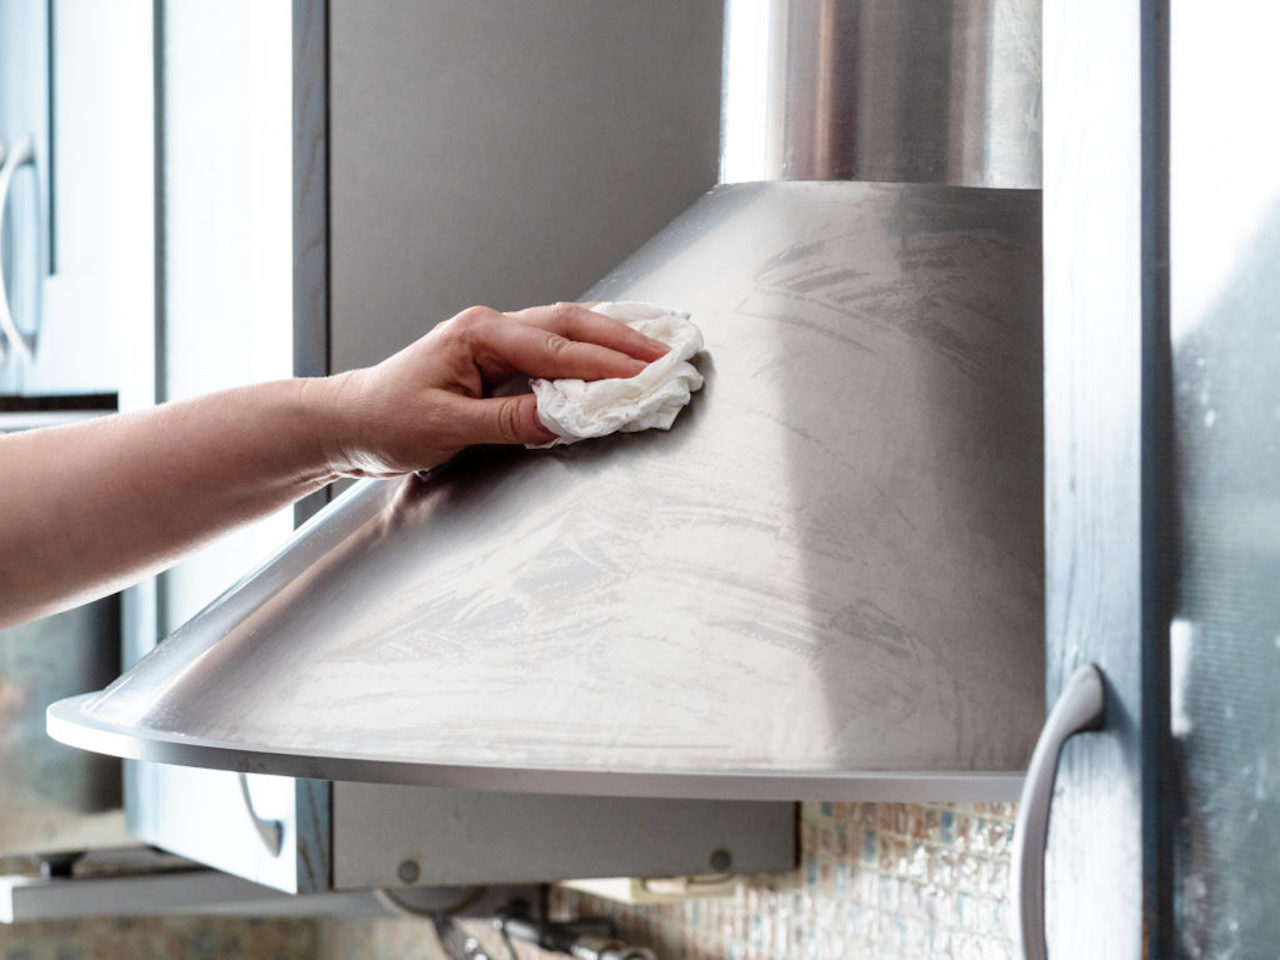
Step 3: Cleaning the Exterior of the Pan
While it’s important to focus on the interior of your stainless-steel pan, don’t forget about the exterior. The exterior of the pan can accumulate dirt, grease, and stains over time. Follow these steps to effectively clean the exterior of your pan:
- Prepare a Cleaning Solution: Fill your sink or a basin with warm water and add a few drops of mild dish soap. Ensure that the water is enough to submerge the pan’s exterior.
- Submerge the Pan: Submerge the pan’s exterior in the soapy water, allowing it to soak for a few minutes. This will help loosen any dirt or grease buildup.
- Scrub Gently: Using a soft sponge or cloth, gently scrub the exterior of the pan. Pay attention to any areas with visible stains, using extra pressure if needed. Avoid using abrasive materials that may scratch the surface.
- Rinse Thoroughly: Rinse the pan’s exterior with warm water, ensuring that all the soap residue is removed. Thorough rinsing will prevent any unwanted flavors when cooking with the pan.
- Dry Completely: Use a clean, dry cloth to wipe the exterior of the pan thoroughly. Make sure to dry all surfaces, including the handles and base, to prevent the formation of water spots.
By following these steps, you can effectively clean the exterior of your stainless-steel pan. Now, let’s move on to the next step: polishing the stainless-steel surface.
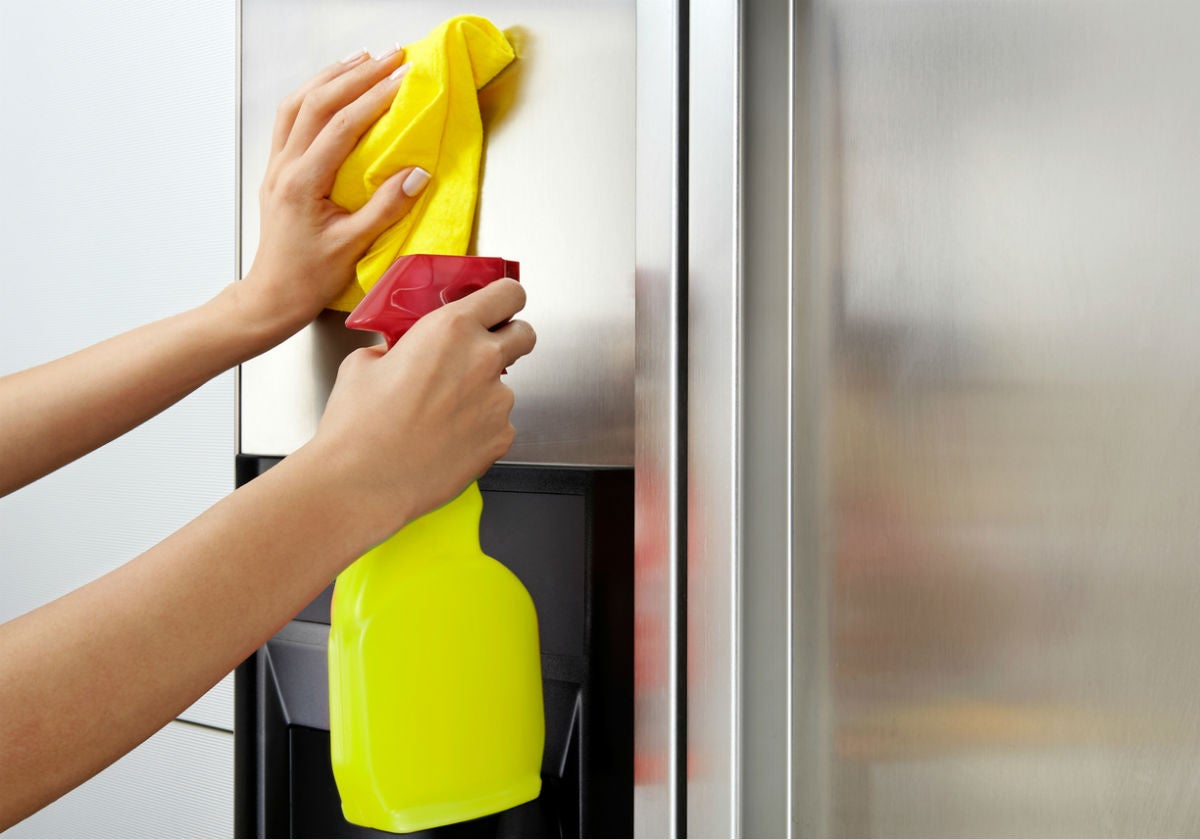
Step 4: Polishing the Stainless-Steel Surface
Now that you’ve cleaned both the interior and exterior of your stainless-steel pan, it’s time to give it a shiny finish by polishing the stainless-steel surface. Follow these steps to bring back the luster of your pan:
- Choose a Stainless-Steel Polish: Select a stainless-steel polish that is safe for use on cookware. Look for one specifically designed for stainless steel to ensure the best results.
- Apply a Small Amount: Put a small amount of the polish onto a soft cloth or paper towel. You don’t need a lot of polish; a little goes a long way.
- Buff the Surface: Gently rub the polish onto the stainless-steel surface using circular motions. Focus on areas with any remaining stains, marks, or dullness. Continue buffing until you achieve the desired shine.
- Remove Excess Polish: After buffing, use a clean part of the cloth or a separate cloth to remove any excess polish from the pan. Ensure that the surface is smooth and free from any residue.
- Inspect the Pan: Take a moment to inspect the pan and make sure that there are no remaining stains or marks. If necessary, repeat the polishing process on specific areas until you are satisfied with the appearance.
- Final Touches: Once you are done polishing, give your pan a final wipe-down with a clean cloth to remove any fingerprints or smudges. This will leave your stainless-steel pan looking shiny and brand-new.
By following these steps, you can polish the stainless-steel surface of your pan and restore its original shine. Now, let’s move on to the final step: drying and storing the pan properly.
Step 5: Drying and Storing the Pan
After you have thoroughly cleaned and polished your stainless-steel pan, it’s important to properly dry and store it to maintain its pristine condition. Follow these steps to ensure the best care for your pan:
- Dry Thoroughly: Use a clean, dry cloth or paper towel to thoroughly dry the pan, both inside and out. Ensure that all moisture is removed to prevent water spots or potential rusting.
- Air-Dry (Optional): If you prefer, you can also allow your pan to air-dry naturally. Place it in a well-ventilated area or on a drying rack to let the remaining moisture evaporate.
- Store in a Dry Location: Find a cool, dry place to store your stainless-steel pan. Avoid storing it in a humid environment, as this can encourage the growth of bacteria and cause rusting.
- Consider Using Pan Protectors: To prevent scratches and maintain the pan’s surface, you may want to use pan protectors. These are soft fabric or foam pads that can be placed between stacked pans to provide cushioning and protection.
- Avoid Stacking Heavy Items: When storing your pan, avoid stacking heavy items on top of it. This can cause dents, scratches, or other damage to the pan’s surface. If stacking is necessary, place a soft cloth or paper towel between each pan to provide a buffer.
- Regularly Check for Signs of Wear: Periodically inspect your pan for any signs of wear, such as scratches, discoloration, or loose handles. Address any issues immediately to prevent further damage and ensure the longevity of your pan.
By following these steps, you can ensure that your stainless-steel pan remains in optimal condition and ready for your next culinary adventure. Remember, proper care and maintenance are key to keeping your pan looking and performing at its best.
Congratulations! You’ve successfully completed the process of cleaning, polishing, and storing your stainless-steel pan. With regular cleaning and care, your pan will continue to be a valuable and durable tool in your kitchen for years to come.
Now go ahead and enjoy the cooking experience with your sparkling clean stainless-steel pans!
Conclusion
Cleaning stainless-steel pans doesn’t have to be a daunting task. With the right materials and a simple step-by-step process, you can keep your pans looking brand-new and maintain their optimal performance. Regular cleaning not only enhances the lifespan of your pans but also ensures a safe and enjoyable cooking experience.
We discussed the reasons why cleaning stainless-steel pans regularly is important, including prolonging their lifespan, maintaining health and safety, enhancing cooking performance, preserving aesthetics, and preventing unpleasant odors. By understanding the benefits, you can prioritize cleaning your pans and reap the rewards in your kitchen.
We also provided a comprehensive guide on the materials needed for cleaning, including mild dish soap, soft sponges or cloths, white vinegar, baking soda, lemon juice, and stainless-steel polish. Equipped with these materials, you’re ready to embark on the cleaning journey.
The step-by-step process we outlined in this article, including preparing the pan for cleaning, removing stains and burnt-on food, cleaning the exterior, polishing the stainless-steel surface, and drying and storing the pan properly, ensures that every aspect of your pan is taken care of. Following these steps will help you achieve sparkling, good-as-new stainless-steel pans.
Remember to approach the cleaning process with patience and care, making sure to avoid using abrasive materials that could damage the surface of your pans. Regularly inspect your pans for signs of wear and address any issues promptly to maintain their longevity.
By incorporating these cleaning practices into your kitchen routine, you can enjoy the benefits of clean and well-maintained stainless-steel pans for years to come. So, roll up your sleeves, gather your cleaning materials, and give your pans the tender loving care they deserve.
Happy cooking!
Frequently Asked Questions about How To Clean Stainless-Steel Pans To Keep Them Looking Brand-New
Was this page helpful?
At Storables.com, we guarantee accurate and reliable information. Our content, validated by Expert Board Contributors, is crafted following stringent Editorial Policies. We're committed to providing you with well-researched, expert-backed insights for all your informational needs.
0 thoughts on “How To Clean Stainless-Steel Pans To Keep Them Looking Brand-New”