Home>Interior Design>Organizing Makeup: 10 Ways To Keep Cosmetics In Order
Interior Design
Organizing Makeup: 10 Ways To Keep Cosmetics In Order
Modified: October 20, 2024
Discover 10 brilliant ideas for organizing your makeup and keeping your cosmetic collection in order with these interior design tips.
(Many of the links in this article redirect to a specific reviewed product. Your purchase of these products through affiliate links helps to generate commission for Storables.com, at no extra cost. Learn more)
Introduction
When it comes to makeup, organization is key. A cluttered and disorganized makeup collection can make it difficult to find what you need, leading to unnecessary stress and wasted time. Plus, improperly stored cosmetics can degrade and become unusable faster, costing you money in the long run. To avoid these pitfalls, it’s essential to have a system in place to keep your cosmetics in order.
In this article, we will explore ten practical and creative ways to organize your makeup collection. From utilizing makeup organizers to decluttering and cleaning regularly, these tips will help you maintain a well-organized and visually appealing makeup collection.
Key Takeaways:
- Transform your makeup collection into a well-structured and visually appealing system by utilizing organizers, sorting by category, and taking advantage of wall space. Regular decluttering and cleaning ensure a streamlined and efficient beauty routine.
- Infuse creativity and personal style into your makeup organization efforts, from using decorative containers to arranging products in a visually pleasing manner. Keep your collection organized and well-maintained to fully appreciate and access your favorite cosmetics.
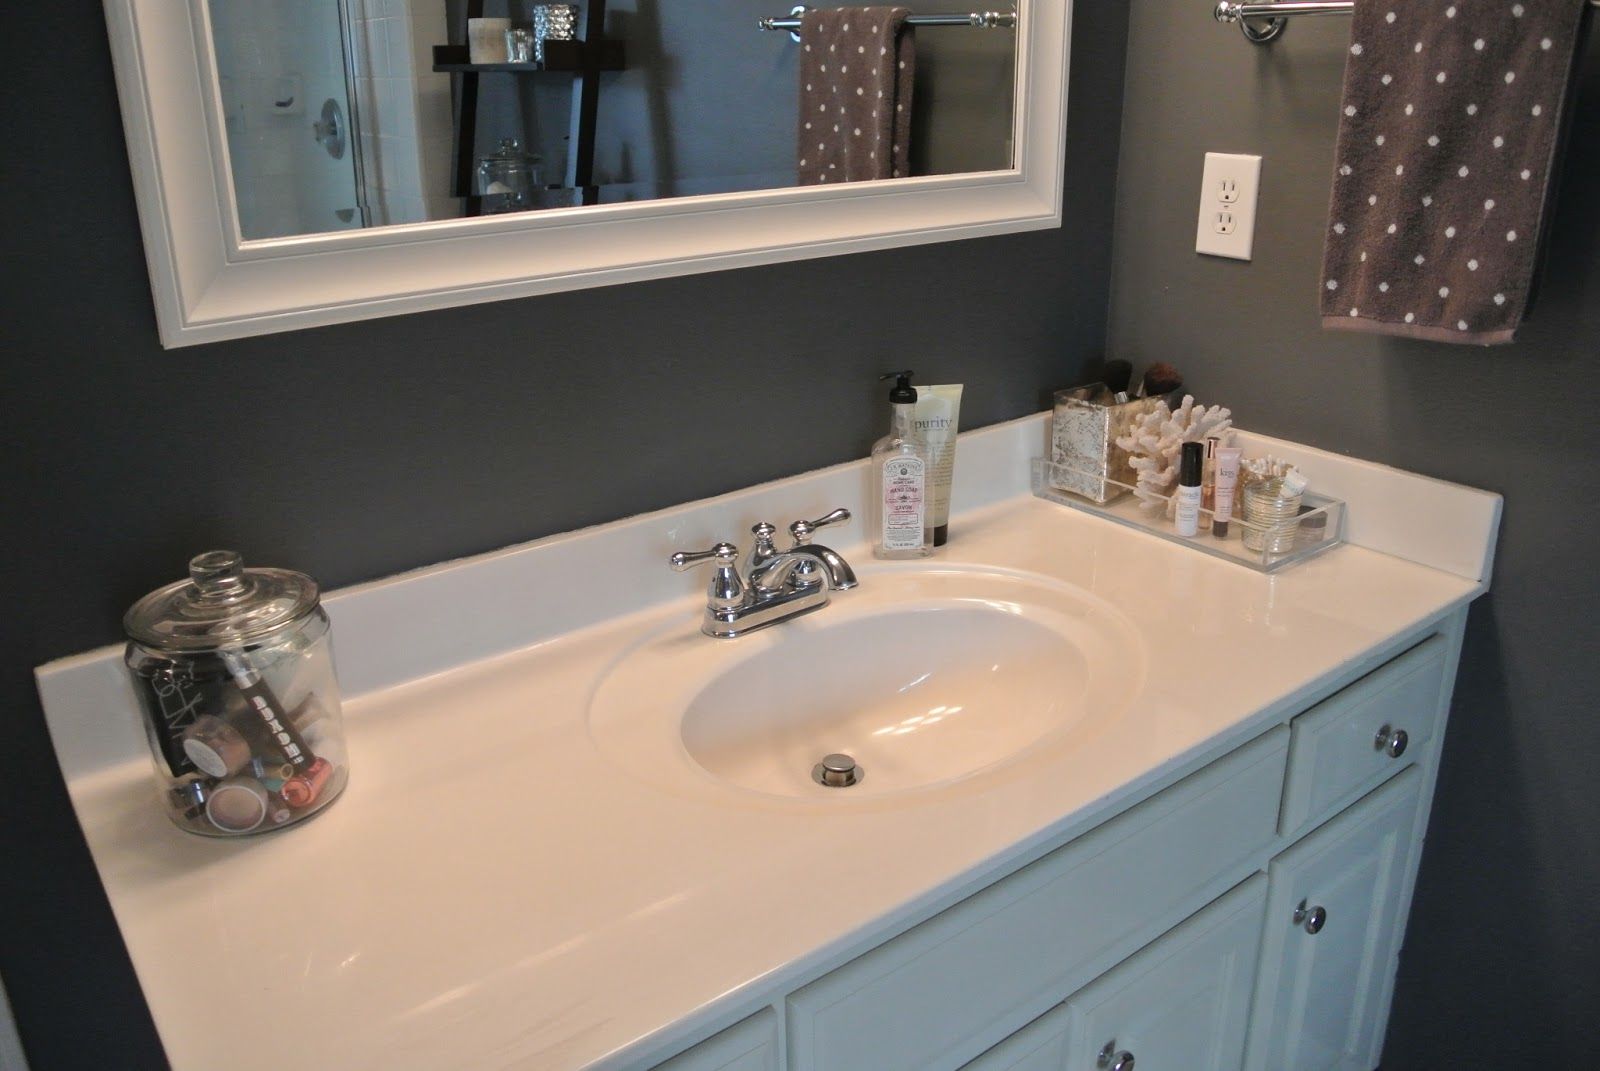
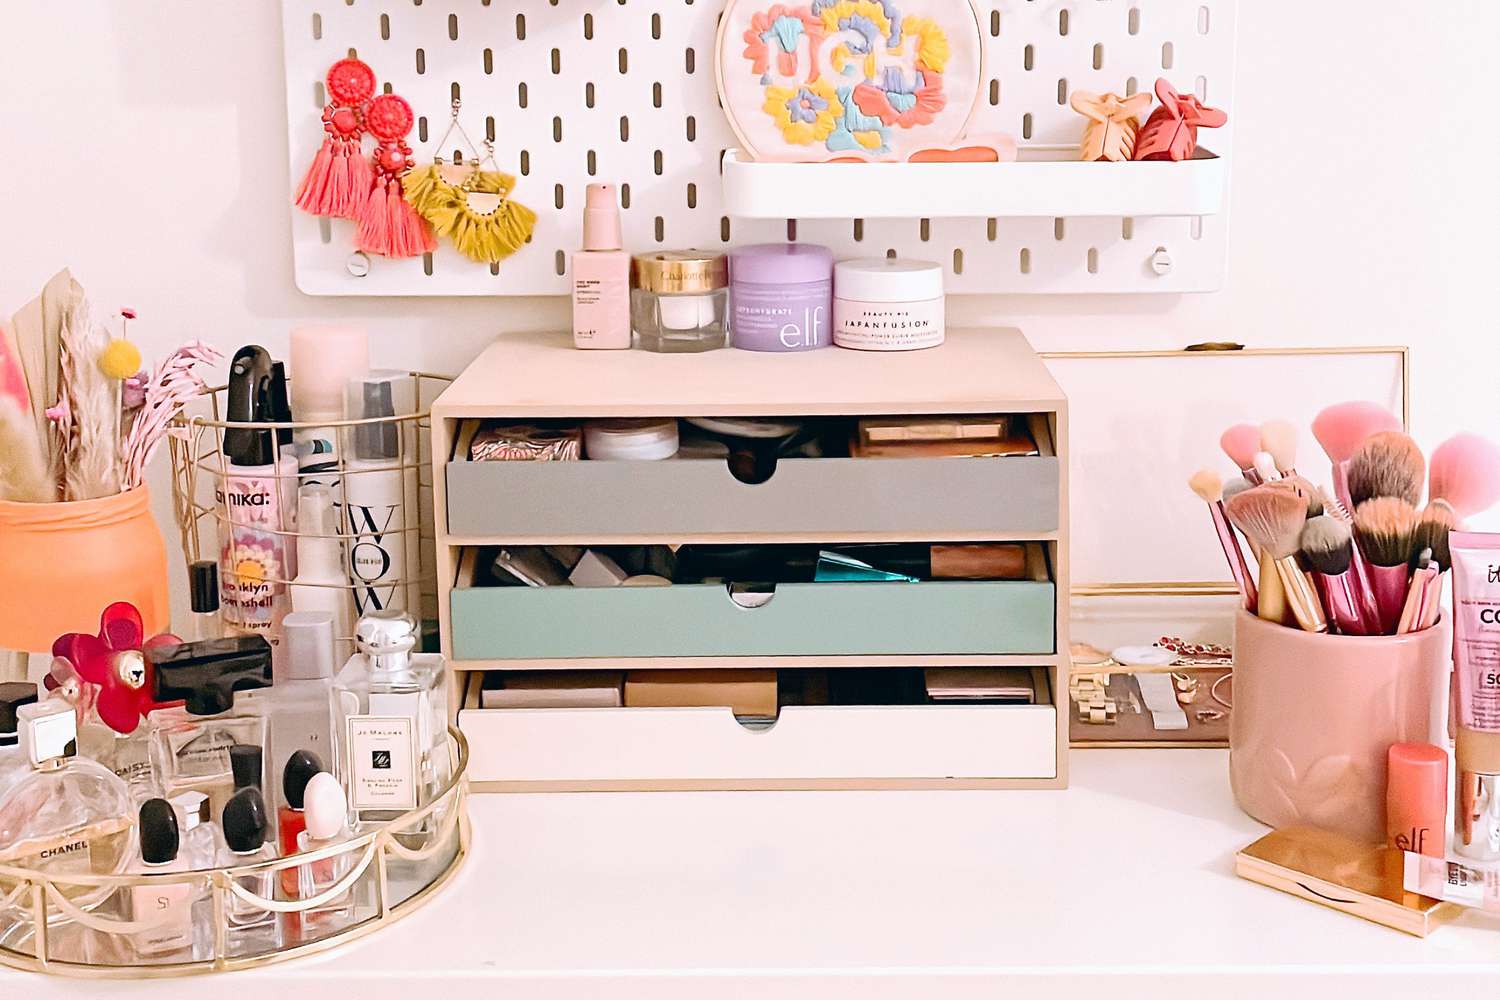
Using Makeup Organizers
Makeup organizers are a must-have when it comes to keeping your cosmetics in order. These handy storage solutions come in various shapes and sizes, allowing you to customize your organization system to suit your needs.
There are different types of makeup organizers available on the market. One popular option is a clear acrylic organizer with multiple compartments, drawers, and slots. This type of organizer allows you to see all your products at a glance, making it easy to find what you’re looking for.
If you have limited counter space, consider using a rotating makeup organizer. This type of organizer has multiple tiers that spin, allowing you to access all your products without taking up too much space.
Another useful makeup organizer is a brush holder. Investing in a brush holder will not only keep your brushes organized but also protect them from damage. Look for a holder with multiple compartments to separate your brushes based on their size and function.
When selecting makeup organizers, think about the size and shape of your cosmetics collection. Consider factors such as the number of products you have, their sizes, and how you prefer to store them (vertically or horizontally).
Remember to keep your makeup organizers clean and free from dust or product residue. Regularly wipe them down with a damp cloth or disinfecting wipe to maintain a hygienic and visually appealing storage solution.
Using makeup organizers not only keeps your cosmetics in order but also adds a touch of elegance to your vanity or bathroom countertop. They make it easy to find the products you need, saving you time and frustration during your daily beauty routine.
Sorting by Category
Sorting your makeup collection by category can significantly enhance your organization system. By grouping similar products together, you can easily locate specific items and streamline your beauty routine.
Start by categorizing your makeup into broad categories such as face products, eye products, lip products, and tools. Within each category, you can further organize by subcategories, such as foundations, concealers, and blushes within the face products category.
There are a few ways you can physically separate and categorize your makeup. One option is to use individual containers or compartments for each category. Clear acrylic dividers and trays work well for this purpose. Alternatively, you can use separate cosmetic bags or pouches for each category if you prefer a portable and travel-friendly setup.
Labeling can be another useful tool when sorting your makeup collection by category. Attach labels to the containers or bags representing each category to make it even easier to find what you’re looking for. You can use labels with pre-printed categories or create your own using a label-maker or adhesive labels.
Sorting your makeup by category not only helps you find products quickly but also allows you to assess your collection more effectively. Having a clear visual representation of all your products in one category can help you identify duplicates or areas where you might be lacking.
Remember to periodically reassess your categories and make adjustments as needed. As your collection grows and your makeup preferences change, you may find it necessary to reorganize and modify your categories to fit your current needs.
By sorting your makeup collection by category, you’ll have a well-organized system that makes it easy to locate and use your favorite beauty products. It minimizes clutter and ensures that you’re aware of what you have, making the most out of your makeup collection.
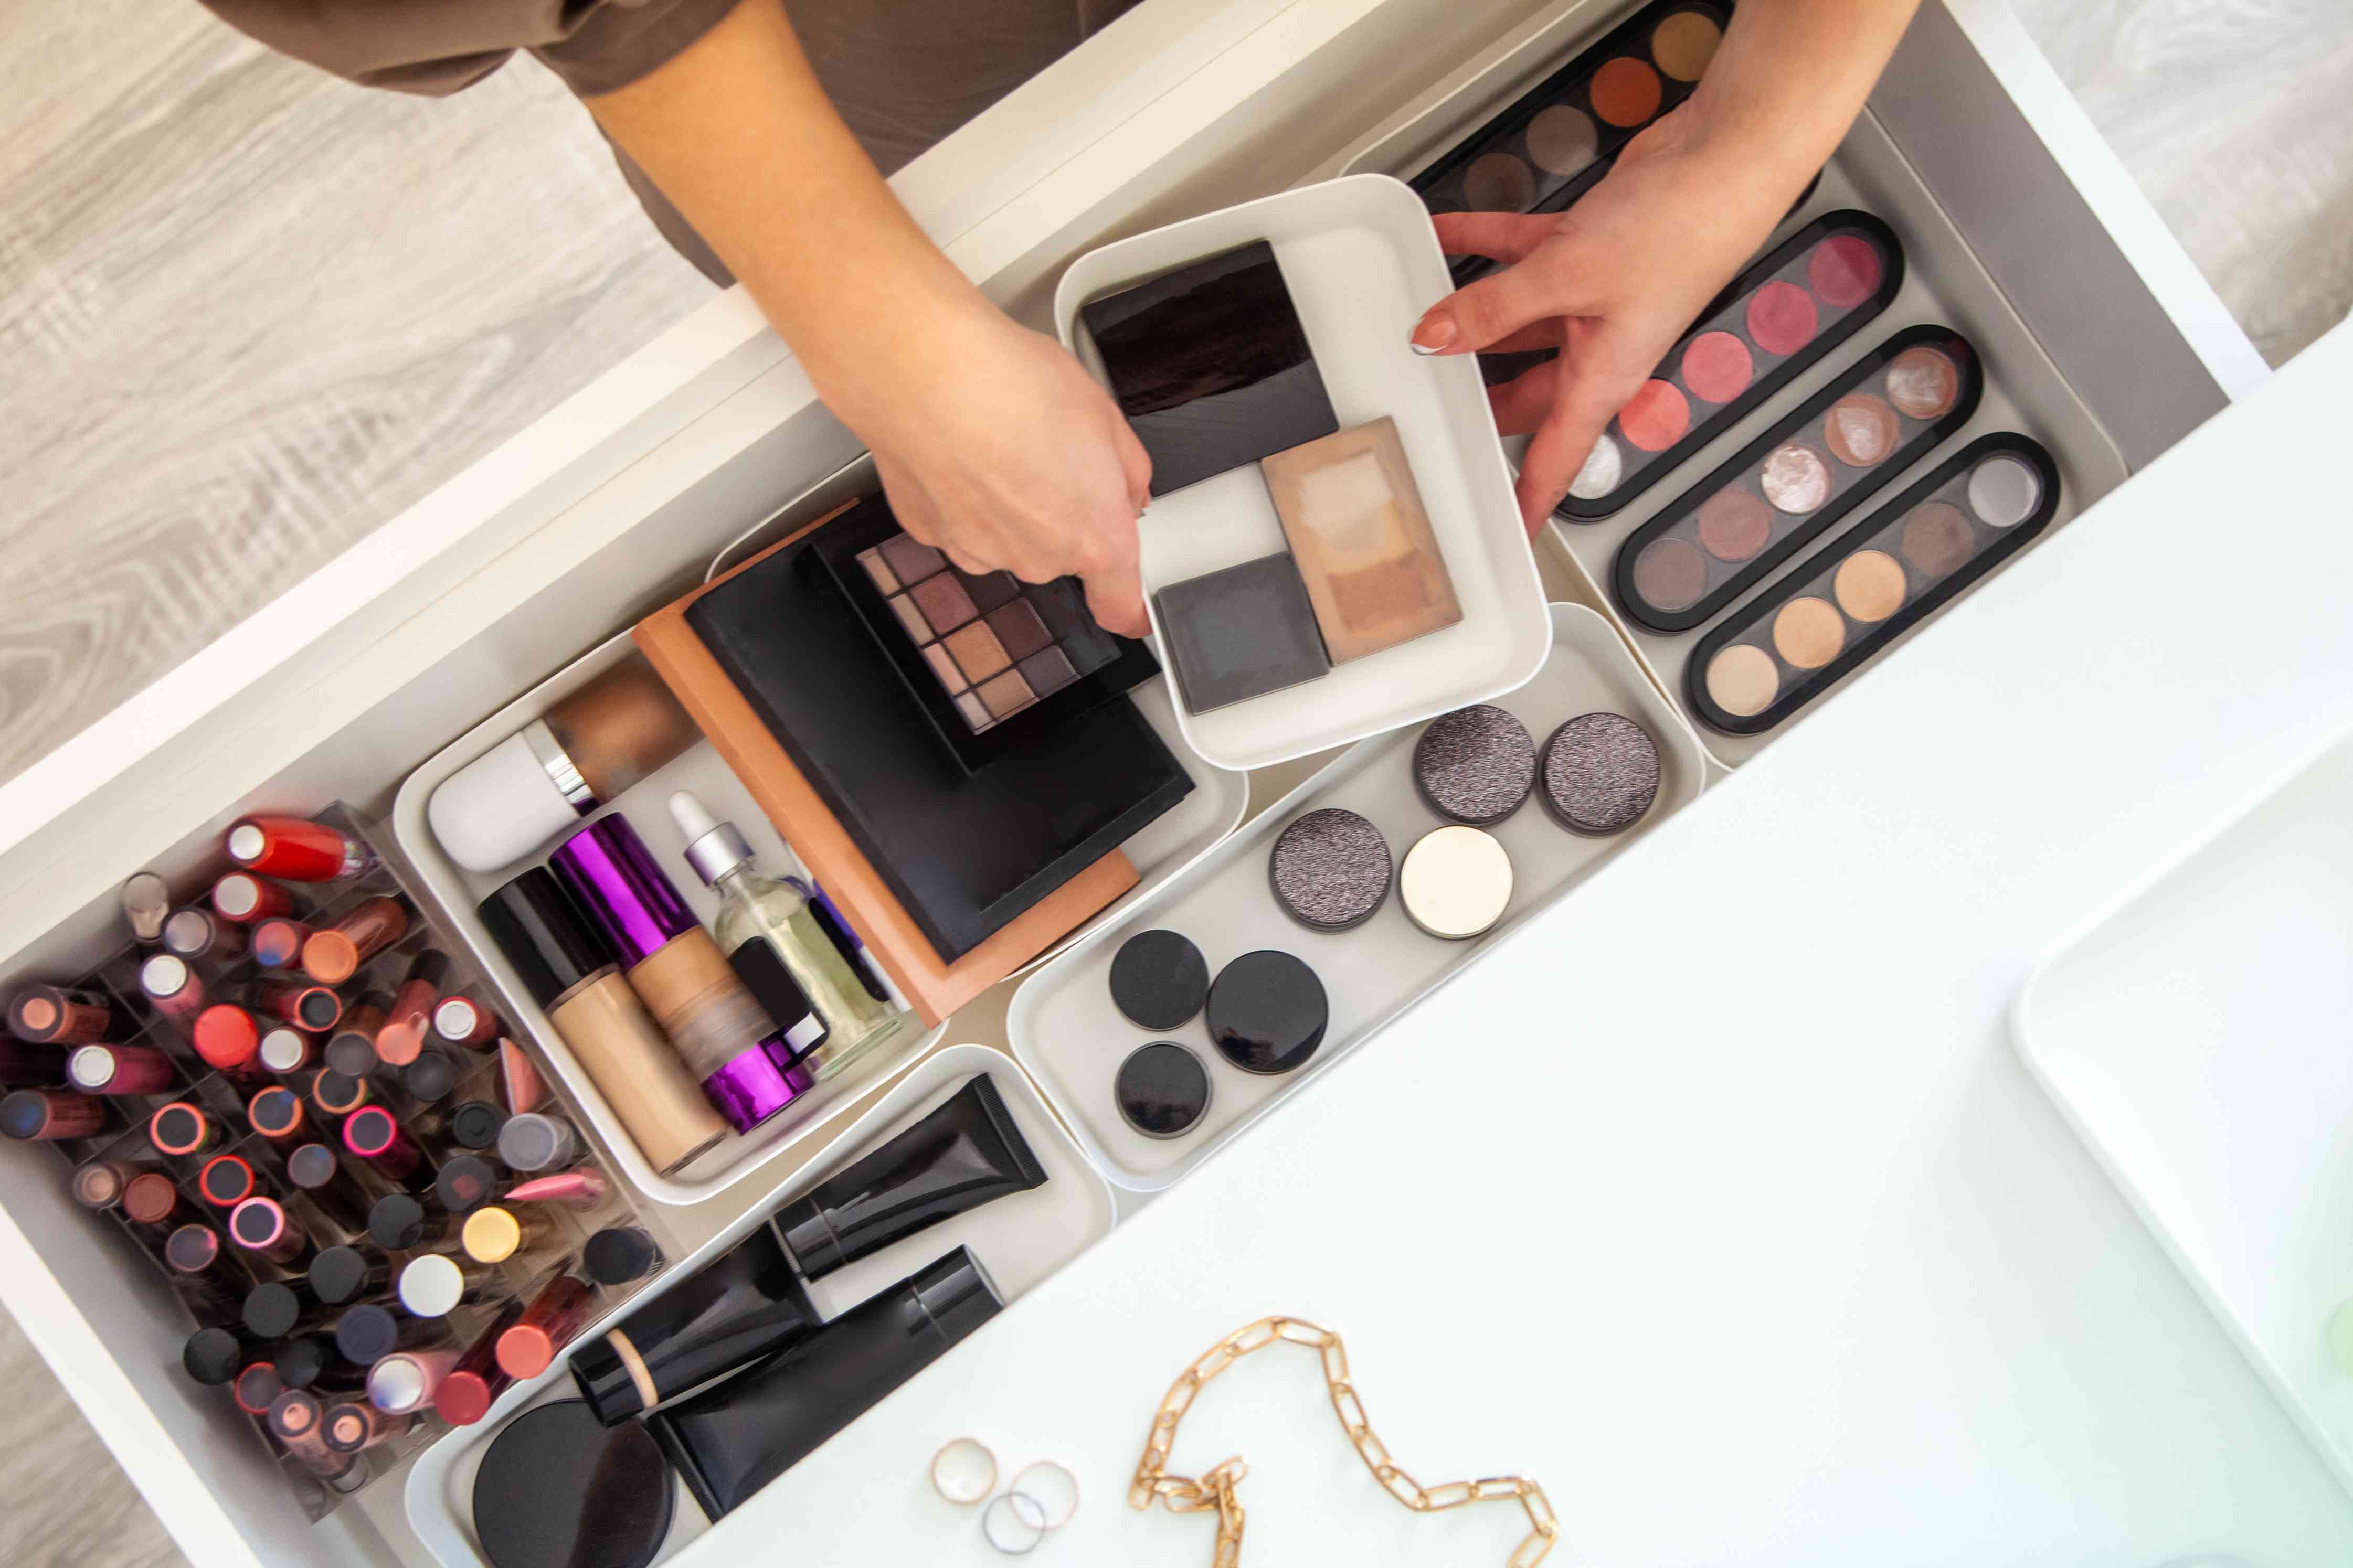
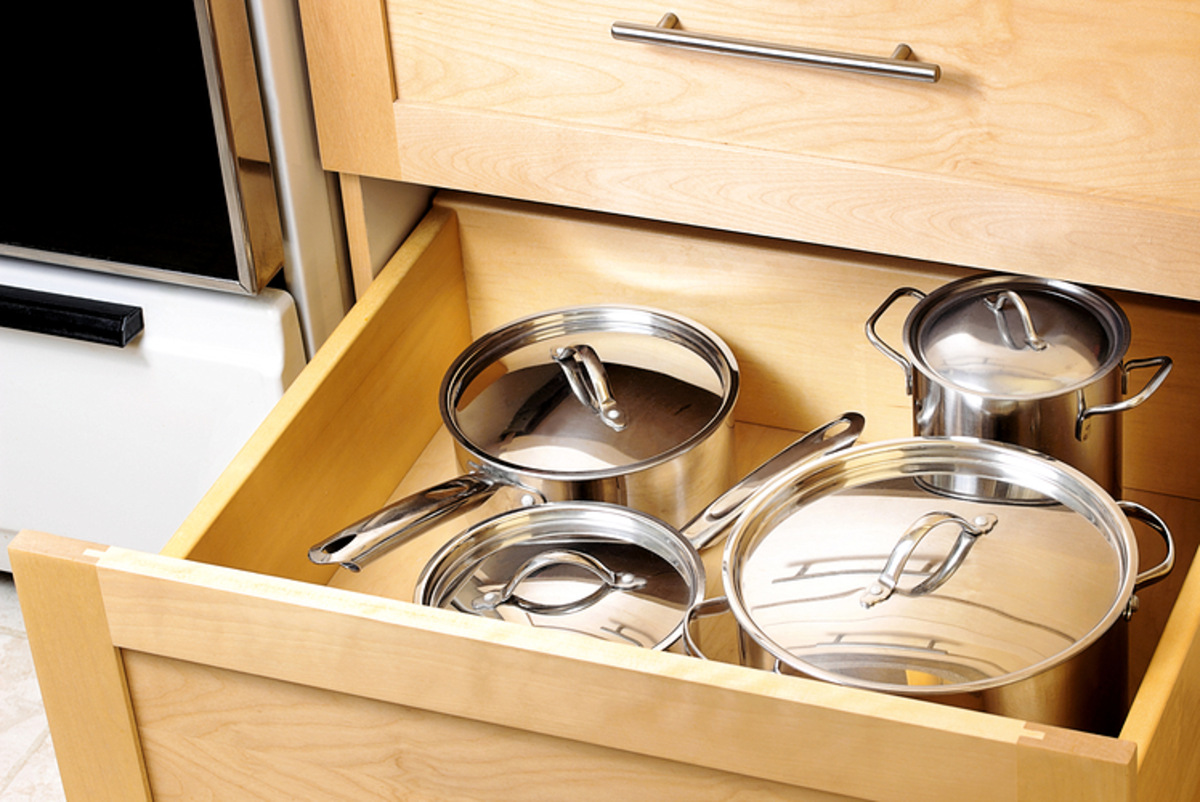
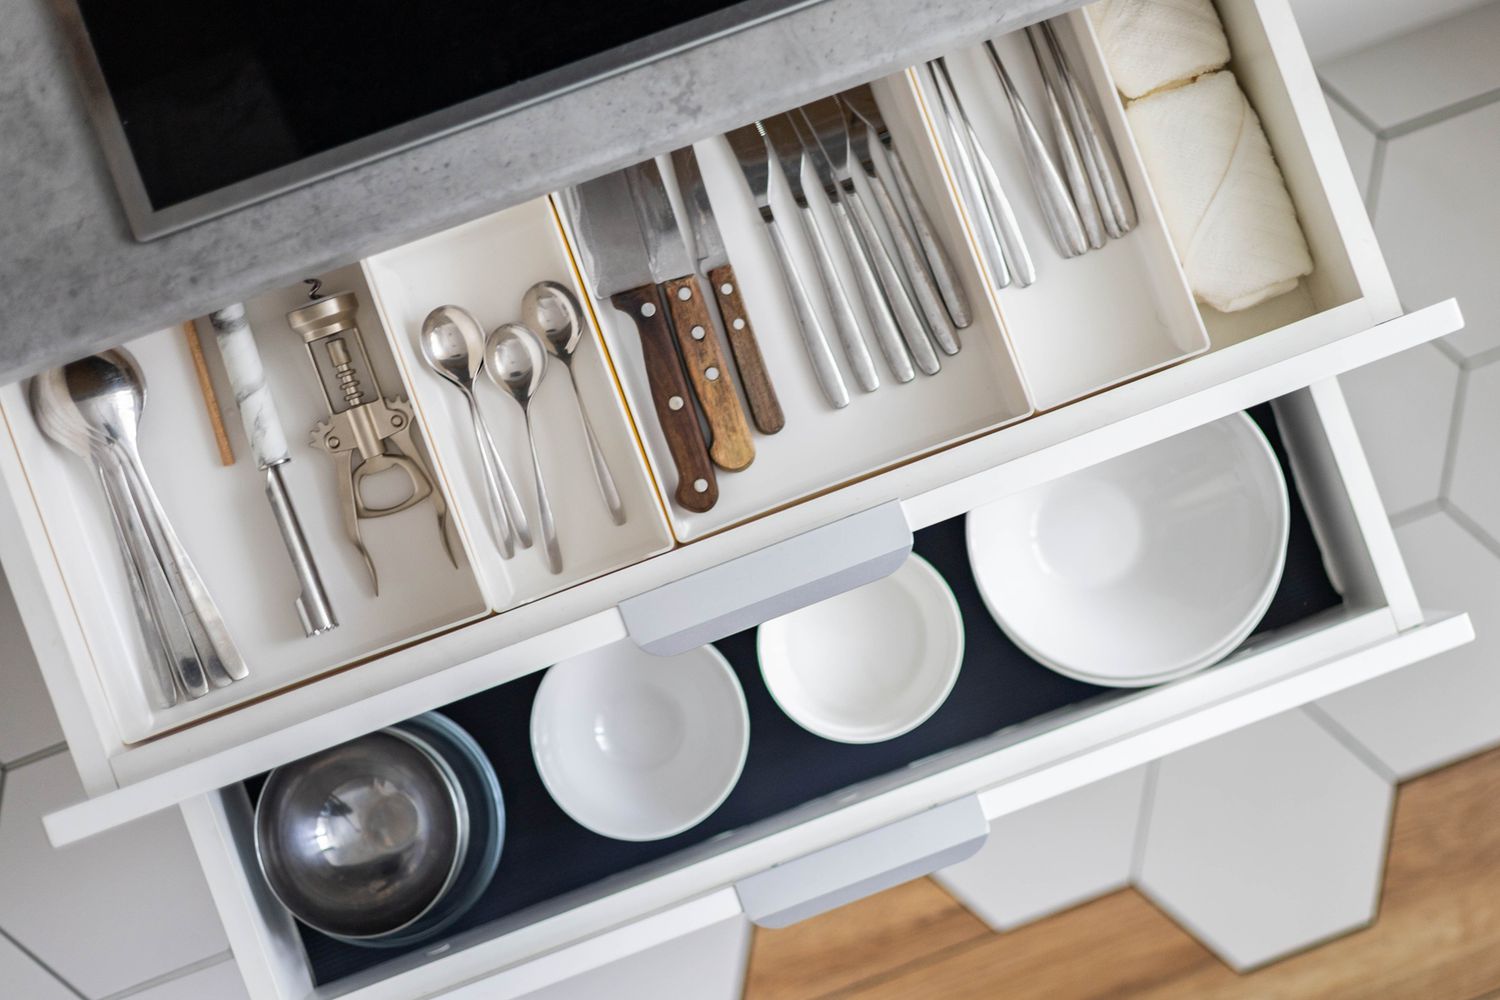
Utilizing Drawer Dividers
If you have a vanity or a drawer dedicated to storing your makeup, utilizing drawer dividers is an excellent way to keep your cosmetics in order. Drawer dividers help maximize space and prevent products from getting mixed up or tangled.
Start by measuring the dimensions of your drawer to determine the size and number of dividers you need. You can find a variety of drawer dividers in different materials, such as plastic, bamboo, or metal. Choose dividers that suit your style and budget.
Divide your drawer into sections based on your makeup categories or personal preferences. You can have sections for foundations, eyeshadows, lipsticks, and brushes, for example. Place the dividers in the drawer to create separate compartments for each category.
Make sure to arrange your makeup products neatly within their designated compartments. Avoid stacking products on top of each other, as this can lead to disorganization and difficulty in finding specific items. Instead, place items upright or side by side for easy visibility and access.
Drawer dividers are also useful for organizing smaller items like eyeliners, lip liners, and mascaras. Use narrow dividers or small containers to keep these items in an organized and upright position, making it easier to locate and retrieve them.
Another benefit of using drawer dividers is that they provide protection for your makeup products. By keeping them separated and preventing them from shifting during drawer movements, dividers can help prevent breakage or damage to your cosmetics.
Remember to periodically clean out your makeup drawer and reassess the layout of your dividers. Over time, you may accumulate new products or change your makeup routine, requiring adjustments to the organization system.
Utilizing drawer dividers is an efficient and visually appealing way to keep your makeup collection organized. It eliminates clutter and ensures that you can easily find and access your favorite products without any hassle.
Labeling Containers
Labeling containers is a simple yet effective way to maintain a well-organized makeup collection. By clearly labeling your makeup containers, you can quickly identify the products you’re looking for, saving you time and effort.
There are various ways to label your makeup containers, depending on your preferences and the type of storage solution you’re using. Here are a few labeling options to consider:
- Adhesive Labels: Adhesive labels are a convenient and versatile option for labeling containers. You can find pre-made labels specifically designed for makeup storage, or you can create your own using a label maker. Attach the labels to the front or top of each container, making sure they are clearly visible.
- Chalkboard or Dry Erase Labels: Chalkboard or dry erase labels are a great option if you frequently change the contents of your containers. These labels allow you to erase and rewrite the labels as needed. They work well on containers made of materials like glass or plastic that have a smooth surface.
- Permanent Marker: If you prefer a more permanent labeling method, you can use a fine-tip permanent marker to write directly on your containers. This option works best on containers that won’t be easily damaged or require frequent label changes.
When labeling your containers, be specific and clear with your descriptions. Use names or abbreviations that you will easily recognize and understand. For example, you can label a container as “Foundation” or “FDN” for short.
For added visual appeal, consider using decorative labels or different colors to differentiate between categories or types of products. This can make your makeup collection look more aesthetically pleasing and organized.
Remember to update your labels whenever you add new products to your collection or if you change the contents of a container. Regularly reviewing and updating your labels will help maintain an organized system and prevent confusion.
Labeling your makeup containers is a small but impactful step towards creating a well-organized and visually pleasing makeup collection. It ensures that you can easily find and access your products, making your beauty routine more efficient and enjoyable.
Creating a DIY Magnetic Board
A DIY magnetic board is a creative and practical way to organize your makeup collection, especially if you have limited counter space. By utilizing magnetic containers, you can easily display and access your cosmetics with ease.
To create a DIY magnetic board, you will need the following materials:
- Sheet metal or a magnetic whiteboard
- Magnetic tape or adhesive magnets
- Decorative fabric or wrapping paper
- Double-sided tape or adhesive glue
- Scissors
- Marker or pen
Start by measuring and cutting the sheet metal or magnetic whiteboard to your desired size. Ensure that it fits the area where you plan to hang or display your magnetic board. If necessary, you can trim it down to fit smaller spaces.
Next, cut the decorative fabric or wrapping paper slightly larger than the measurement of the sheet metal. This will allow you to wrap the fabric or paper around the edges of the metal, creating a clean and polished look.
Using double-sided tape or adhesive glue, attach the fabric or paper to the front of the sheet metal, ensuring it is smooth and wrinkle-free. Fold the excess fabric or paper over the edges of the metal and secure it in place.
Once the decorative surface is attached, flip the sheet metal over to the backside. Measure and cut strips of magnetic tape or adhere adhesive magnets to the back of your cosmetic containers. Make sure to place the magnets evenly and securely to ensure they hold the containers properly.
After attaching the magnets to your cosmetic containers, use a marker or pen to label the corresponding containers. This step will help you keep track of which products go where and maintain an organized system.
Finally, hang or mount your DIY magnetic board on a wall using nails, hooks, or adhesive strips. Ensure that it is secure and level, ready to hold your magnetic cosmetic containers.
Arrange your makeup products on the magnetic board, placing them in a way that makes sense for your organization system. You can group them by category, color, or frequency of use. Experiment with different arrangements until you find the most functional and visually appealing setup.
A DIY magnetic board not only keeps your makeup organized, but it also adds a stylish and unique touch to your vanity or bedroom. It allows you to display your collection like an art installation while keeping your products easily accessible and visual.
Remember to periodically review and rearrange your magnetic board as you add new makeup items to your collection. This will ensure that your organization system remains effective and visually pleasing over time.
Use drawer dividers to separate different types of makeup and keep them organized. This will make it easier to find what you need and prevent items from getting mixed up.
Hanging Makeup Organizers
Hanging makeup organizers are a fantastic option for those who want to save counter space and keep their cosmetics easily accessible. These organizers can be hung on a wall, door, or inside a closet, providing a convenient and efficient storage solution.
There are several types of hanging makeup organizers to choose from, including:
- Hanging Pockets: Hanging pockets are made of fabric or plastic and have multiple compartments to store your makeup. They usually have clear pockets, allowing you to see your products at a glance. You can hang them on a hook or a closet rod for easy access.
- Over-the-Door Organizers: Over-the-door organizers are designed to be hung on the back of a door, utilizing the space behind it. These organizers typically have pockets, shelves, or hooks to store your makeup products. They are a great option if you have limited wall space.
- Hanging Shelves: Hanging shelves are perfect for displaying and storing your makeup collection. They come in various sizes and designs, allowing you to customize your storage based on the number and size of your cosmetics. Hang them on a wall or inside a closet for a clutter-free space.
When selecting a hanging makeup organizer, consider the size and layout of your cosmetics collection. Choose one that has enough compartments or shelves to accommodate your products and any additional items you may add in the future.
To hang your makeup organizer, you can use hooks, adhesive strips, or nails, depending on the weight and design of the organizer. Make sure to secure it properly to prevent any accidents or damage.
When organizing your makeup in a hanging organizer, sort your products by category or personal preference. Place frequently used items in easily accessible pockets or shelves for quick and convenient access.
Hanging makeup organizers are not only practical but also visually appealing. They can add a stylish and organized touch to your beauty space, elevating the overall aesthetic.
Remember to periodically review and declutter your hanging makeup organizer to ensure that it remains organized and efficient. Remove any expired or unused products to make room for new additions to your collection.
By using a hanging makeup organizer, you can maximize your storage space and keep your cosmetics easily accessible. It’s a great solution for those who want to declutter their counters and create a functional and visually pleasing makeup storage system.
Storing Brushes Properly
Properly storing your makeup brushes is essential to keep them clean, organized, and in good condition. Storing brushes properly not only extends their lifespan but also makes it easier to find the one you need when applying makeup.
There are several ways you can store your makeup brushes:
- Brush Holder: Investing in a brush holder is a popular and effective way to store your brushes. There are various types of brush holders available, ranging from simple glass containers to decorative holders with multiple compartments. Choose one that suits your style and has enough room to hold all your brushes.
- Drawer Dividers: If you prefer to keep your brushes unseen, you can store them in a drawer using dividers. Use narrow dividers or small containers to separate and organize your brushes based on size or function. This method keeps your brushes protected and easily accessible when you open the drawer.
- Roll-up Brush Organizer: A roll-up brush organizer is a compact and travel-friendly option. It typically consists of slots or compartments to hold your brushes and rolls up for easy storage. This type of organizer is convenient if you need to take your brushes on-the-go or have limited counter space.
When storing your brushes, it’s important to keep them upright with the bristles facing upward. This helps maintain the shape and integrity of the bristles, preventing them from bending or flattening over time.
Furthermore, it’s crucial to clean your brushes regularly to remove any product buildup and bacteria. Store clean brushes separately from dirty ones to prevent contamination and maintain hygiene.
When selecting a storage method for your brushes, consider the size and number of brushes you have. Choose a solution that provides enough space to keep your brushes organized and easily accessible. It’s also a good idea to leave some room between brushes to avoid crushing the bristles.
Remember to clean your brush storage containers or dividers periodically to remove any dust or debris. This ensures that your brushes stay clean and free from any unwanted particles.
Properly storing your makeup brushes not only keeps them organized but also helps them maintain their quality and performance. By adopting a suitable storage method, you can ensure that your brushes are always in good condition, making your makeup application smooth and effortless.
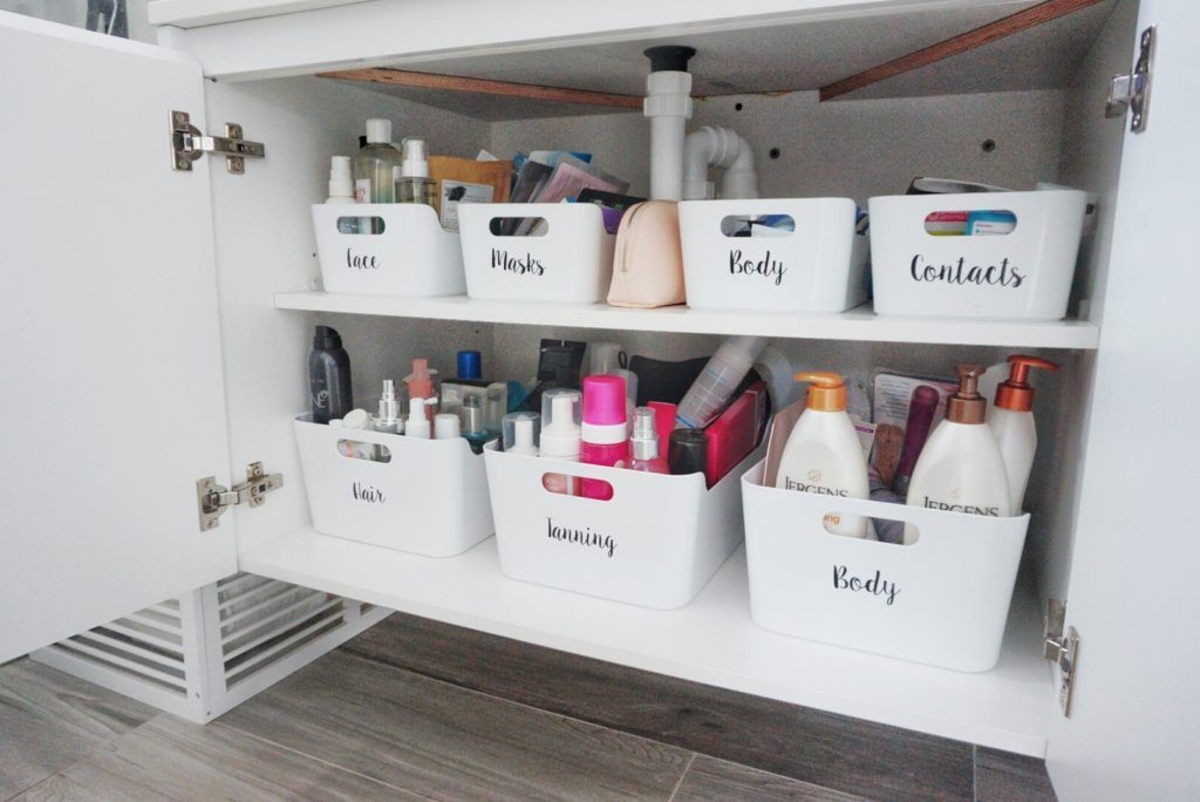
Utilizing Clear Storage Bins
Clear storage bins are a practical and convenient solution for organizing your makeup collection. These transparent containers allow you to easily see and access your cosmetics while keeping them neatly organized. Utilizing clear storage bins can streamline your beauty routine and save you time searching for specific products.
Here are some tips for effectively utilizing clear storage bins for your makeup:
- Categorize Your Makeup: Before placing your cosmetics into clear storage bins, categorize them by type or function. Group together items such as foundations, blushes, eyeshadows, and lip products. This categorization will help you easily locate the items you need.
- Choose the Right Size Bins: Select clear storage bins that are appropriate for the size and quantity of your makeup collection. Consider the dimensions of your cosmetics and how you prefer to store them—vertically or horizontally. Utilizing bins of different sizes can help maximize the space and accommodate various products.
- Arrange Your Bins: Once you have categorized your makeup and chosen the right size bins, arrange them in a way that makes sense for your routine. You can stack the bins or line them up in a drawer or on a shelf. Ensure that the labels or front of the bins are visible so that you can easily identify the contents.
- Label Your Bins: Although the clear bins provide visibility, it can still be helpful to label them to quickly locate products. You can use adhesive labels or a label maker to clearly mark the contents of each bin. This helps maintain an organized system and minimizes the time spent searching for specific items.
- Consider Travel-Friendly Options: Clear storage bins also come in portable sizes suitable for travel. These smaller bins can hold your essential makeup items and fit easily into a suitcase or overnight bag. Having dedicated travel bins ensures that you have everything you need for beauty touch-ups while on the go.
Clear storage bins not only keep your makeup collection organized but also protect your cosmetics from dust, spills, and damage. Additionally, they provide a clean and visually appealing aesthetic to your vanity or storage area.
To maintain the organization, periodically reassess and declutter your clear storage bins. Discard expired products or items you no longer use. This helps keep your collection condensed and accessible.
By utilizing clear storage bins, you can create an efficient and visually pleasing storage system for your makeup collection. You’ll have easy access to your cosmetics and be able to maintain a clutter-free beauty space.
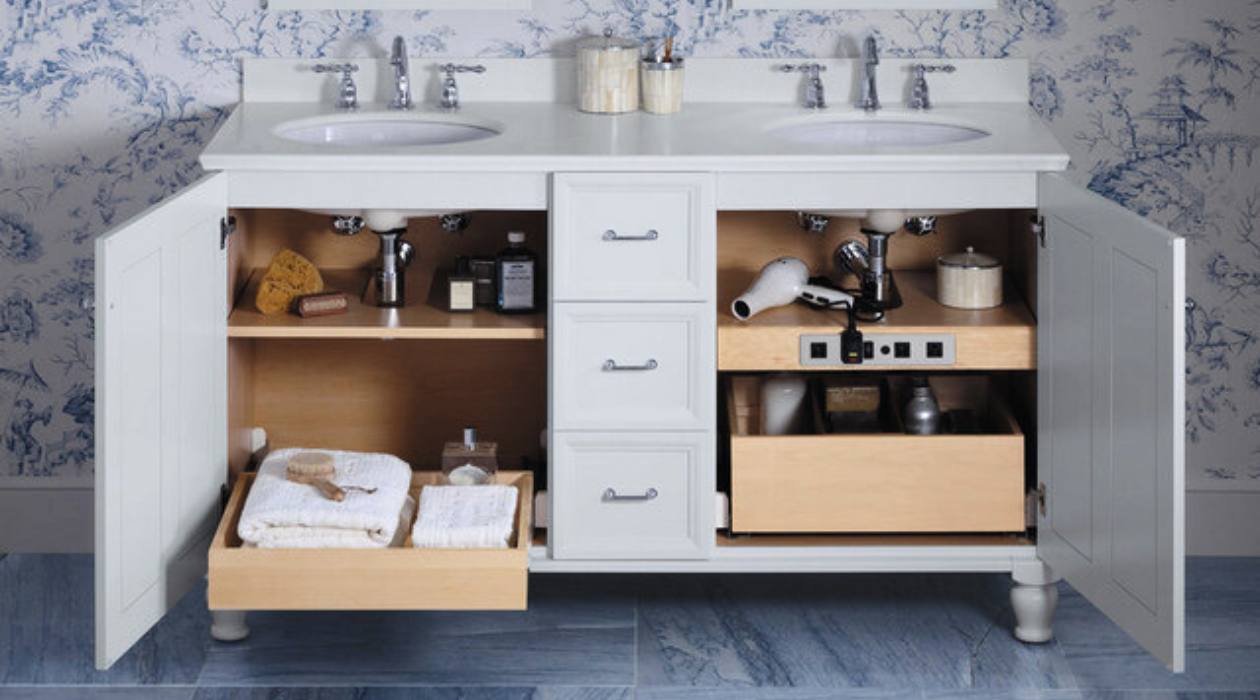
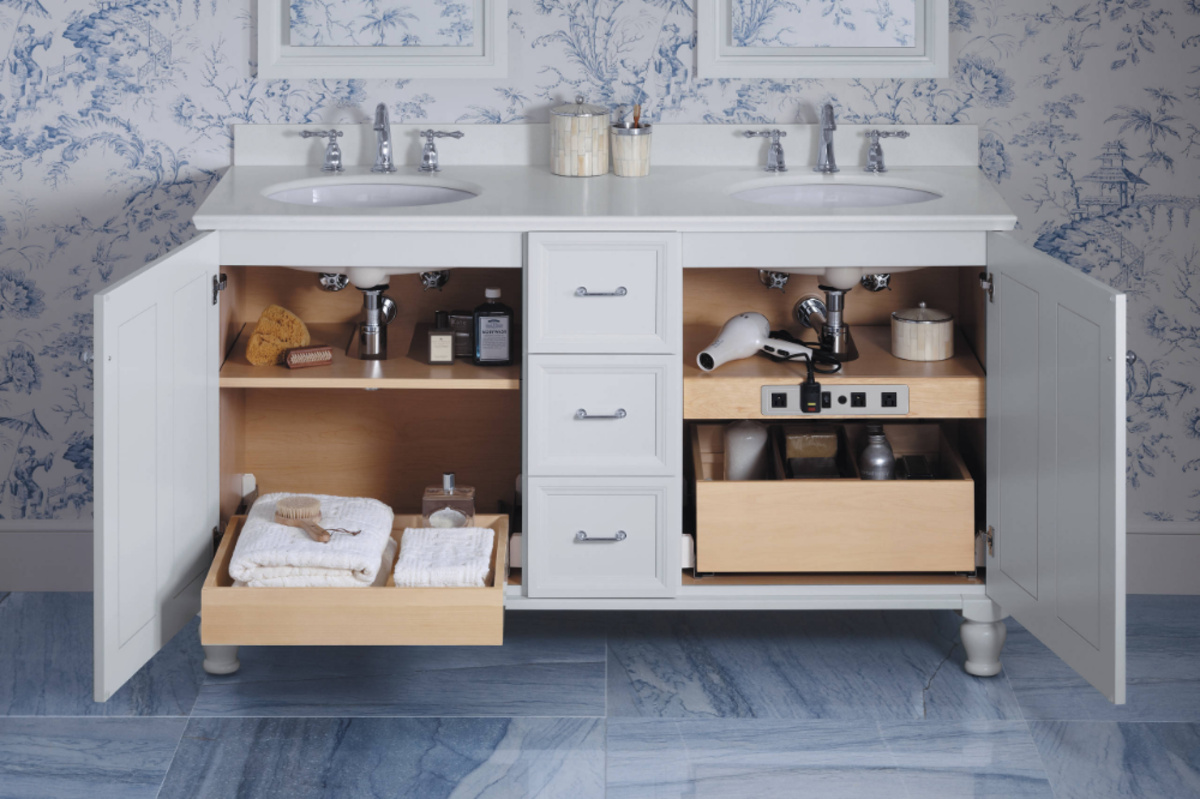
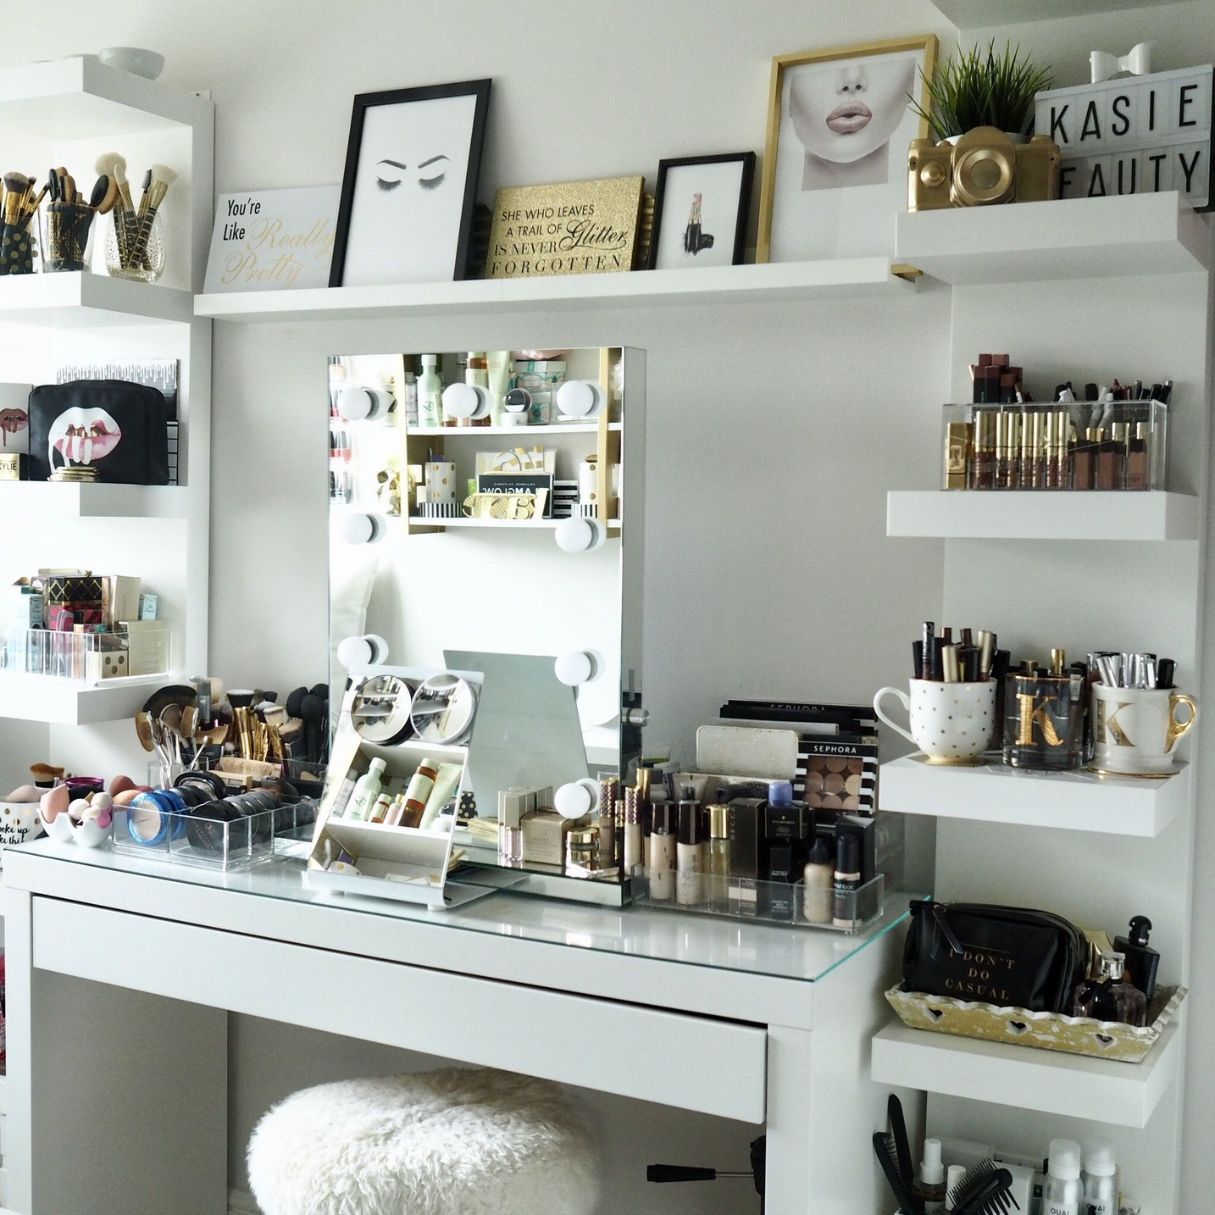
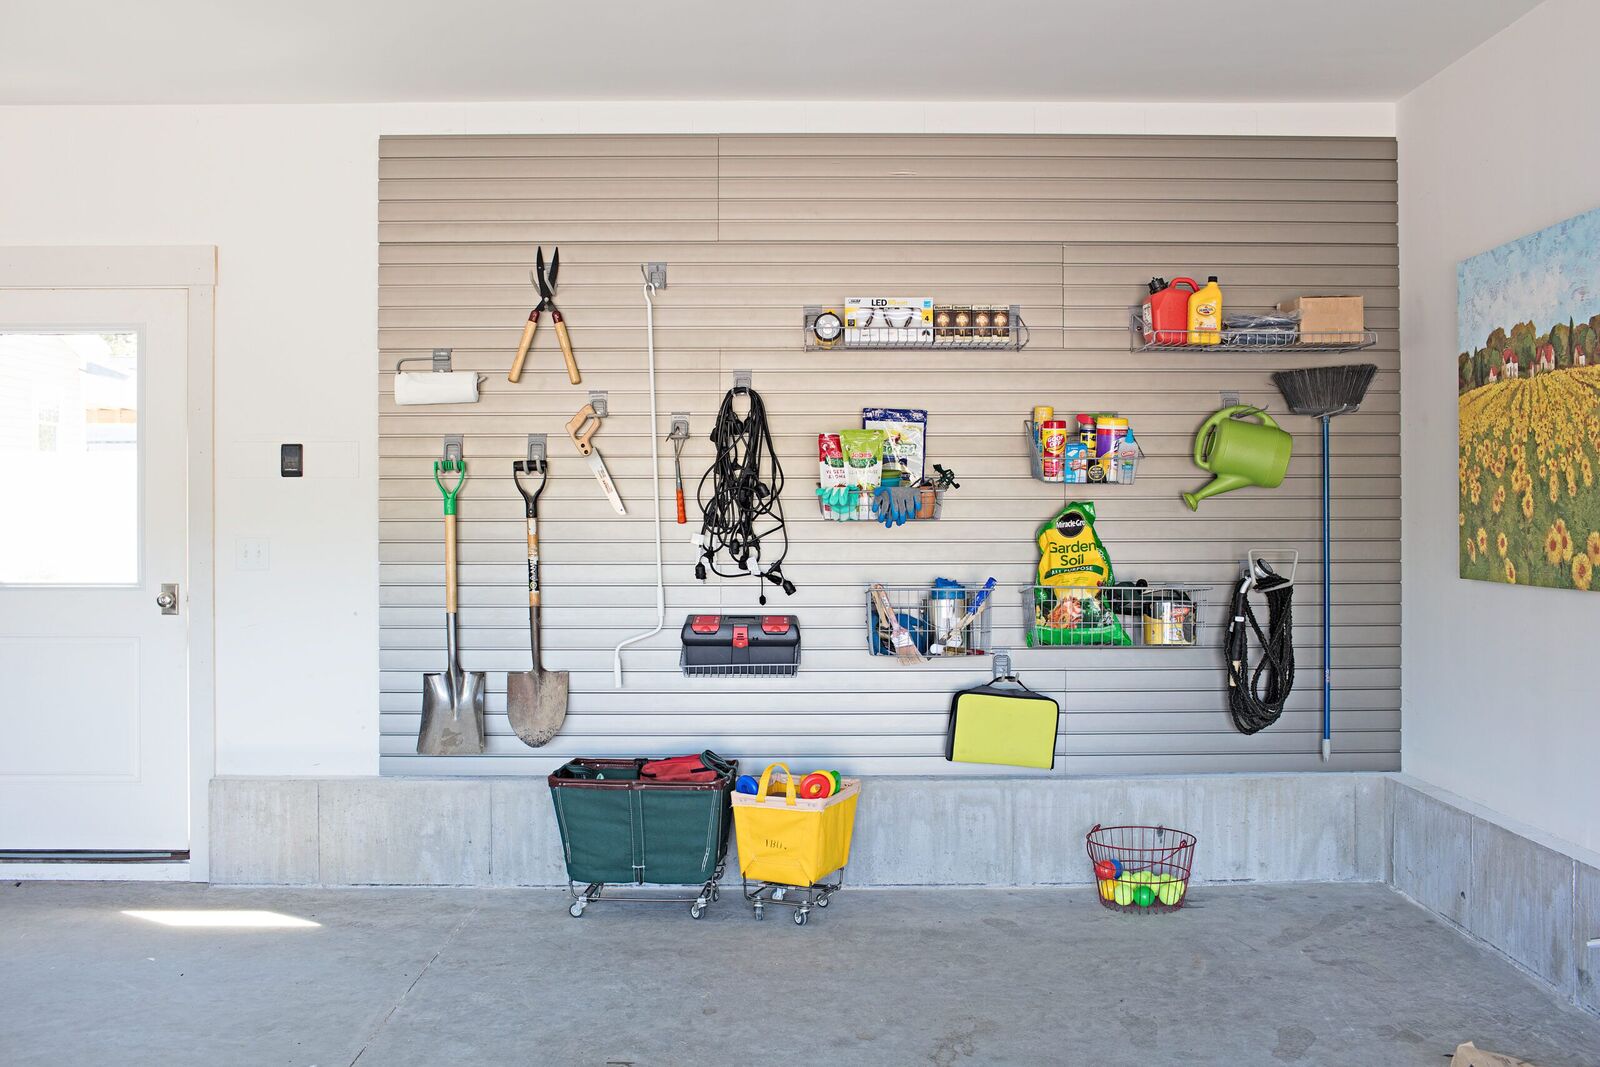
Taking Advantage of Wall Space
When it comes to organizing your makeup, don’t overlook your wall space. Utilizing walls for storage not only maximizes space but also adds a stylish and functional element to your beauty area. Here are some tips for taking advantage of wall space in your makeup organization:
- Wall Shelves: Install floating shelves or wall-mounted shelves to create additional storage space for your makeup collection. These shelves can hold various-sized containers, such as clear acrylic organizers or decorative jars, where you can store your cosmetics. Arrange your products in an aesthetically pleasing way, grouping them by category or color.
- Pegboards: Install a pegboard on your wall to create a customizable and versatile storage solution. Attach hooks or pegs to hang your makeup brushes, tools, and even small containers for your products. Pegboards allow you to easily rearrange your storage setup as your collection evolves.
- Magnetic Strips or Boards: Mount magnetic strips or boards on your wall to store metal makeup products, such as eyelash curlers, tweezers, or small metal palettes. Attach adhesive magnets to the back of your cosmetics, and they will stick to the magnetic surface, keeping them easily accessible and organized.
- Wall-Mounted Makeup Organizers: Opt for wall-mounted makeup organizers that come with compartments, hooks, or slots for different cosmetics. These organizers can be mounted directly on the wall, saving countertop space while keeping your products visible and within reach.
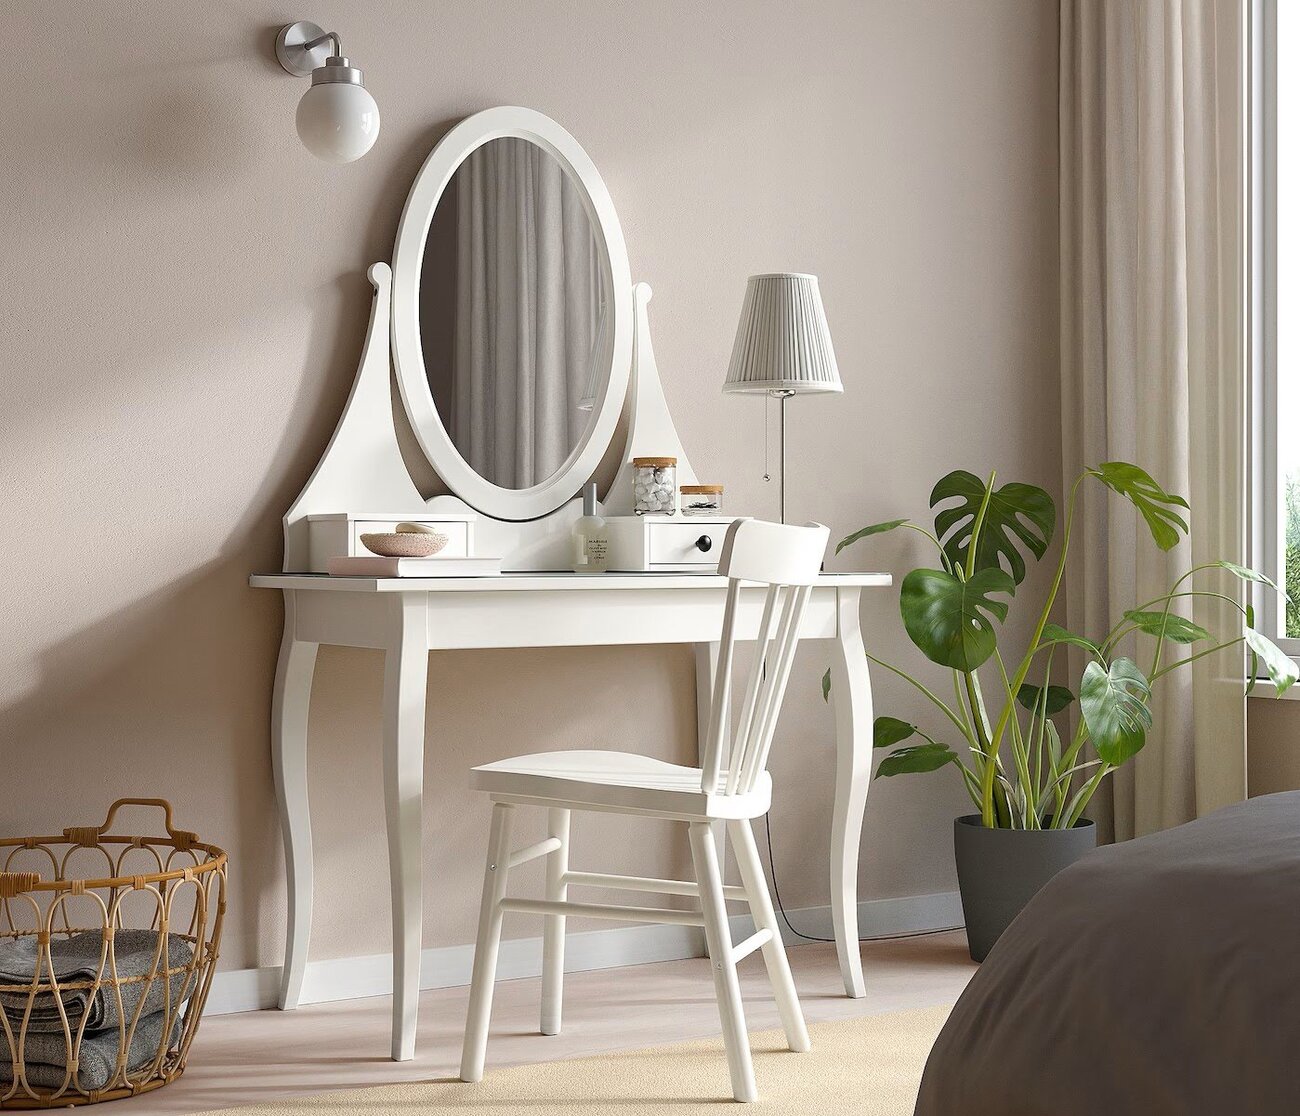
- Vanity Mirrors with Storage: Consider installing a vanity mirror with built-in storage behind it. These mirrors often have hidden compartments or shelves where you can store your makeup items. This space-saving solution keeps your beauty essentials close at hand while also providing a functional mirror for your beauty routine.
When utilizing wall space for your makeup organization, make sure to consider the weight-bearing capacity of your walls and choose appropriate mounting hardware. Consult a professional if you’re unsure about the installation process.
Remember to keep wall-mounted storage clean and free from dust or product residue. Regularly wipe down shelves, hooks, or magnetic boards to maintain a tidy and hygienic storage solution.
Taking advantage of wall space not only frees up valuable counter space but also adds a decorative element to your beauty area. By utilizing walls for storage, you can create a personalized and functional makeup organization system that suits your style and needs.
Regularly Decluttering and Cleaning
Regular decluttering and cleaning are essential steps in maintaining an organized and functional makeup collection. By periodically assessing and purging your cosmetics, you can free up space, optimize your organization system, and ensure that your products remain fresh and usable.
Here are some tips for effectively decluttering and cleaning your makeup collection:
- Check Expiration Dates: Review the expiration dates of your cosmetics and dispose of any products that are past their prime. Expired makeup can be ineffective or even harmful to your skin. Look for the Period After Opening (PAO) symbol on the packaging to determine how long a product is safe to use after opening.
- Assess Usage: Consider how often you use each product. If you haven’t reached for a particular item in several months, it’s likely that you won’t use it in the future. Donate or give away gently used products that no longer serve you or your makeup preferences.
- Consider Product Dupes: Identify any duplicate products you may have in your collection. If you have multiple items that serve the same purpose and are similar in color or formulation, keep only the one you prefer or use more frequently. This reduces redundancy in your collection and avoids clutter.
- Organize and Clean Brushes: Take time to clean your makeup brushes regularly. Use a gentle brush cleanser or mild shampoo to remove buildup and bacteria. Also, assess the condition of your brushes and discard any that are shedding bristles or showing signs of wear and tear. Clean and organize your brush storage containers or holders as well.
- Wipe Down Containers and Storage: Dust and product residue can accumulate on containers, organizers, and storage solutions over time. Periodically wipe them down with a damp cloth or disinfecting wipe to keep them clean and visually appealing. This also helps maintain a hygienic environment for your products.
- Reassess and Rearrange: As you declutter and clean your makeup collection, take the opportunity to reassess and rearrange your organization system. Consider if there are any changes or improvements you can make to enhance the functionality and efficiency of your setup.
Regularly decluttering and cleaning your makeup collection not only keeps your space tidy but also ensures that you’re using fresh and safe products. It allows you to focus on the cosmetics you love and avoid the frustration of searching through cluttered or expired items.
Make it a habit to incorporate decluttering and cleaning into your beauty routine. Set a regular schedule, such as once every few months, to go through your makeup collection and assess what needs to be decluttered or cleaned.
By maintaining a well-organized and clean makeup collection, you’ll have a more enjoyable and efficient beauty routine, and you’ll be able to make the most out of your cosmetics for a longer period.
Conclusion
Organizing your makeup collection is not just about tidying up, but also about creating an efficient and visually appealing space where you can easily access and enjoy your beauty products. By implementing these ten tips for organizing your makeup, you can transform your collection into a well-structured and functional system.
Using makeup organizers, sorting by category, and utilizing drawer dividers are effective ways to keep your cosmetics in order. Labeling containers and creating a DIY magnetic board add an extra level of organization and personalization to your setup. Hanging makeup organizers and properly storing brushes make your beauty routine more streamlined and efficient.
Clear storage bins, taking advantage of wall space, and regularly decluttering and cleaning your collection help maintain a clean and organized makeup area. These practices not only save you time and minimize stress but also prolong the life of your products.
Remember to infuse creativity and personal style into your organization efforts. Whether it’s choosing decorative containers, using colorful labels, or arranging products in a visually pleasing manner, make your makeup storage a reflection of your personal taste.
By implementing these tips and making organization an ongoing habit, you can create a makeup collection that sparks joy and makes your beauty routine more enjoyable. Ultimately, an organized and well-maintained makeup collection allows you to fully appreciate and access the cosmetics you love.
Frequently Asked Questions about Organizing Makeup: 10 Ways To Keep Cosmetics In Order
Was this page helpful?
At Storables.com, we guarantee accurate and reliable information. Our content, validated by Expert Board Contributors, is crafted following stringent Editorial Policies. We're committed to providing you with well-researched, expert-backed insights for all your informational needs.


0 thoughts on “Organizing Makeup: 10 Ways To Keep Cosmetics In Order”