Home>Interior Design>What To Cook In A Toaster Oven? 10 Foods To Prepare On The Countertop

Interior Design
What To Cook In A Toaster Oven? 10 Foods To Prepare On The Countertop
Modified: October 19, 2024
Looking for delicious and easy recipes to cook in a toaster oven? Discover 10 mouthwatering foods you can prepare on your countertop. Perfect for small kitchens and quick meals.
(Many of the links in this article redirect to a specific reviewed product. Your purchase of these products through affiliate links helps to generate commission for Storables.com, at no extra cost. Learn more)
Introduction
Welcome to the world of toaster ovens! These versatile countertop appliances are a must-have for any kitchen, especially if you love the convenience and efficiency of cooking on a smaller scale. Whether you have limited space, want to save energy, or simply prefer a quicker cooking method, a toaster oven can be your go-to solution.
But what exactly can you cook in a toaster oven? You might be surprised to learn that it’s not just for making toast or reheating leftovers. In fact, you can prepare a wide variety of delicious foods that go well beyond the basics.
In this article, I’ll introduce you to 10 mouthwatering dishes that you can easily whip up using your toaster oven. From simple snacks to hearty meals, these recipes will make your taste buds sing and your kitchen a hub of culinary creativity.
So, dust off your toaster oven and get ready to embark on a gastronomic adventure!
Key Takeaways:
- Elevate your toaster oven game with these 10 mouthwatering recipes, from toasted sandwiches to chocolate chip cookies. Enjoy quick, flavorful meals and desserts right on your countertop!
- Discover the versatility of your toaster oven and unleash your culinary creativity. From roasted vegetables to cheesy quesadillas, savor delicious dishes with convenience and efficiency.
Toasted Sandwiches
One of the simplest yet most satisfying meals you can make in a toaster oven is a toasted sandwich. The beauty of this dish lies in its versatility—you can customize your sandwich to suit your taste preferences with an endless array of fillings and toppings.
Start by choosing your favorite type of bread. Whether it’s whole wheat, sourdough, or a classic white loaf, pick the one that tickles your taste buds. Next, layer on your desired fillings. You can go with classic combinations like ham and cheese, turkey and avocado, or get creative with vegetarian options like roasted vegetables and hummus.
Once your sandwich is assembled, place it in the toaster oven and toast it to perfection. The hot oven will melt the cheese, warm the fillings, and give the bread a delightful crispy texture. In just a few minutes, you’ll have a delicious, toasty sandwich ready to be devoured.
For an extra touch of flavor, you can spread some butter or mayonnaise on the outside of the bread before toasting. This will give your sandwich a golden, buttery crust that adds an irresistible dimension to each bite.
In addition to traditional grilled cheese sandwiches, you can experiment with different breads, spreads, and fillings to create unique flavor combinations. Some popular options include pesto chicken with sun-dried tomatoes, Caprese with fresh mozzarella and basil, or even a sweet s’mores sandwich with chocolate and marshmallows.
So, the next time you’re craving a quick and delicious meal, grab some bread, your favorite fillings, and fire up your toaster oven. Whether it’s for breakfast, lunch, or a midnight snack, toasted sandwiches are sure to satisfy your hunger and tantalize your taste buds.
Roasted Vegetables
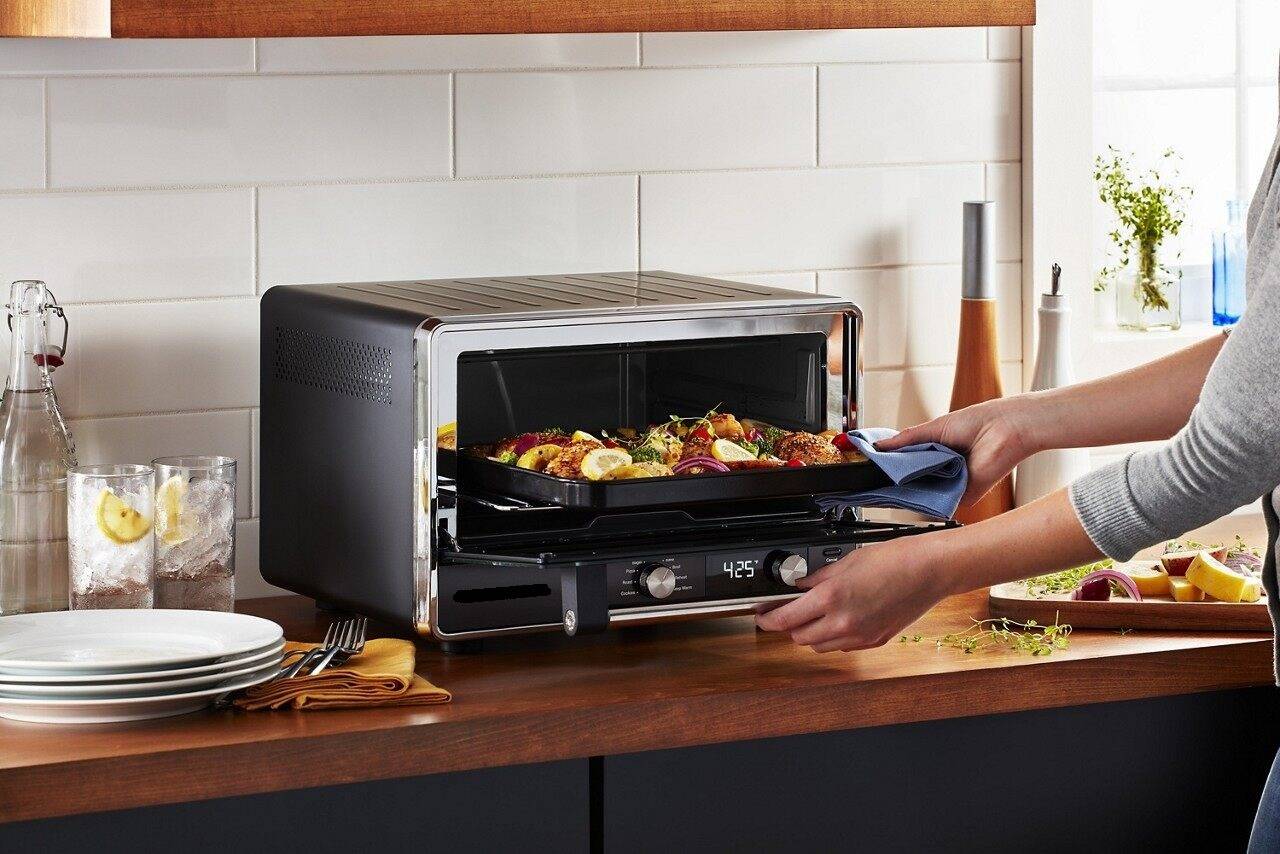
If you’re looking for a nutritious and flavorful side dish or a tasty addition to your main course, look no further than roasted vegetables. The toaster oven is the perfect tool to achieve perfectly cooked veggies with a caramelized and slightly crispy exterior.
To get started, choose an assortment of your favorite vegetables. Popular options include carrots, bell peppers, zucchini, broccoli, cauliflower, and sweet potatoes. Cut them into bite-sized pieces to ensure even cooking.
Next, toss the vegetables in some olive oil and season them with salt, pepper, and any other herbs or spices you desire. You can add garlic powder, paprika, rosemary, or thyme to enhance the flavors and give them a delicious aroma.
Spread the seasoned vegetables in a single layer on a baking sheet or a parchment-lined tray. Pop them into your preheated toaster oven and roast at a high temperature, usually around 400°F (200°C), for about 15-20 minutes or until they are tender and slightly browned.
The result? A medley of perfectly roasted vegetables with a beautiful mix of textures and flavors. The high heat of the toaster oven helps to caramelize the natural sugars in the vegetables, bringing out their sweetness and creating a delightful crunch on the outside.
Roasted vegetables can be enjoyed as a simple side dish, added to salads, or used as a filling in wraps and sandwiches. You can also mix them with cooked grains like quinoa or couscous for a hearty vegetarian meal. The possibilities are endless!
With just a few simple steps, you can elevate the humble vegetable to a whole new level of deliciousness. So don’t be afraid to experiment with different combinations and seasonings to find your perfect roasted vegetable medley in your toaster oven.
Mini Pizzas
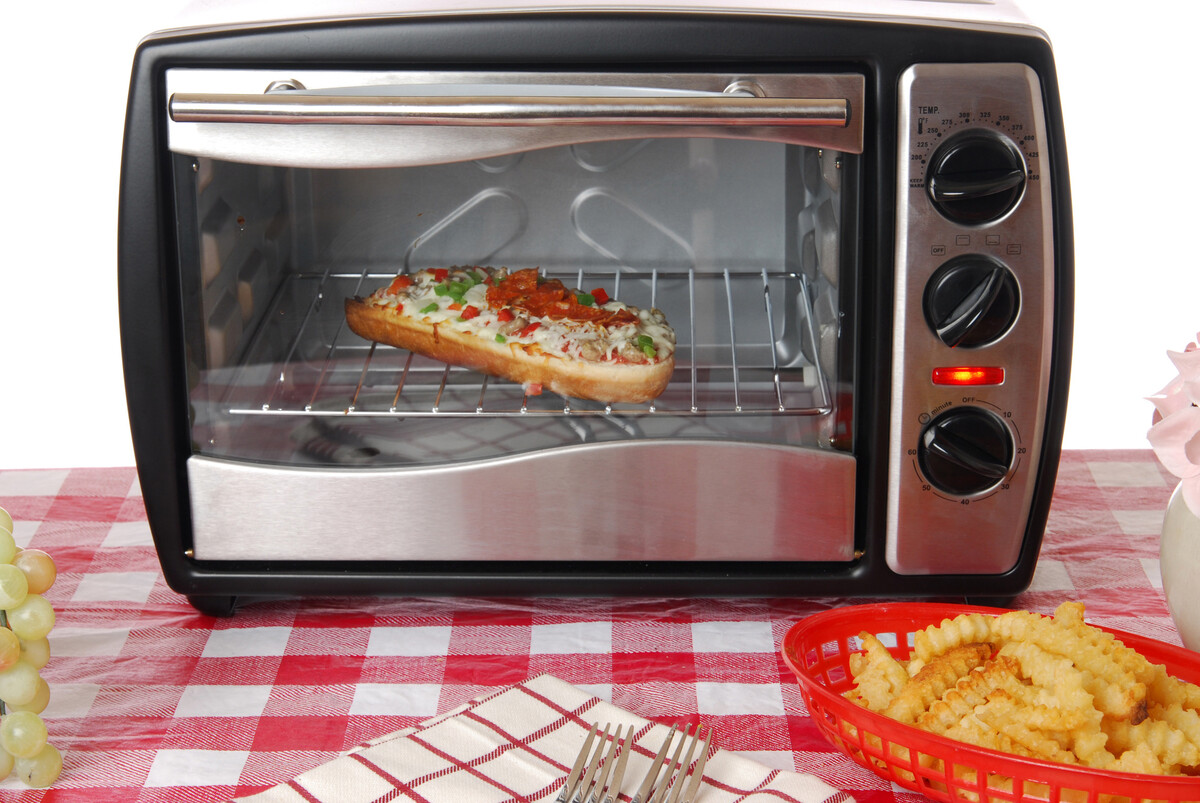
Who doesn’t love pizza? And when it comes to toaster oven cooking, mini pizzas are a fun and satisfying option. These personal-sized pies are a great way to indulge in your pizza cravings without the need for a full-sized oven.
To make mini pizzas in your toaster oven, start by prepping the crust. You can use store-bought ready-to-bake pizza dough, pre-made pizza crusts, English muffins, or even slices of bread as the base. Choose your preferred option and place it on a baking sheet or a toaster oven-safe pan.
Next, get creative with your toppings! Spread a layer of tomato sauce or pesto on the crust, and then let your imagination run wild. Add shredded cheese, diced vegetables, sliced meats, and herbs to create your favorite flavor combinations. Popular choices include classic Margherita with mozzarella and basil, pepperoni and mushroom, or BBQ chicken with red onions.
Once you’ve assembled your mini pizzas, place them in your preheated toaster oven and bake at around 400°F (200°C) for about 10-12 minutes, or until the cheese is melted and bubbly and the crust is golden brown.
When your mini pizzas are done, let them cool for a few minutes before diving in. The crust will be crispy, the cheese will be gooey, and the flavors will be perfectly melded together into a mouthwatering bite-sized delight.
Mini pizzas are not only a fantastic option for a quick and easy meal but also a great idea for parties or gatherings. You can make a variety of different toppings and let your guests personalize their own mini pizzas, ensuring there’s something for everyone’s taste.
So, the next time you’re craving pizza and don’t want to go through the hassle of ordering takeout or firing up a large oven, give mini pizzas in your toaster oven a try. They’re quick, customizable, and downright delicious!
Baked Potatoes
When it comes to comfort food, baked potatoes are a classic favorite. And guess what? You can easily achieve that fluffy interior and crispy skin right in your toaster oven.
To start, select your potatoes. Russet or Idaho potatoes work best for baking due to their high starch content. Scrub the potatoes clean and pat them dry with a towel. Poke a few holes in the skin with a fork to allow steam to escape during cooking.
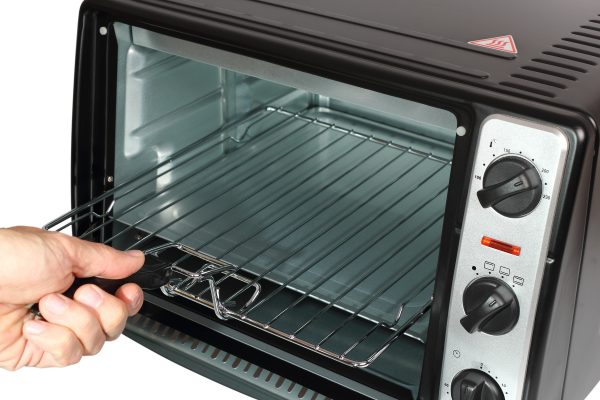
Next, rub olive oil all over the potatoes, coating them evenly. Sprinkle them with salt and pepper for flavor and place them directly on the oven rack or on a baking dish.
Preheat your toaster oven to around 400°F (200°C) and bake the potatoes for approximately 45-60 minutes, depending on their size. To check if they’re done, insert a knife or fork into the center. If it goes in without resistance and the flesh is tender, they’re ready to be enjoyed.
Once the potatoes are cooked, you can get creative with the toppings. Classic options include sour cream, cheddar cheese, chives, and bacon bits. However, feel free to experiment with different combinations such as broccoli and cheese, chili con carne, or even a Mediterranean-inspired topping with feta, olives, and diced tomatoes.
The result? Perfectly baked potatoes with a crispy skin and a soft, fluffy interior. They make a satisfying and versatile meal on their own or can be served as a side dish alongside grilled meats or roasted vegetables.
Baked potatoes in a toaster oven are not only delicious but also a quick and easy option for busy weeknight dinners. They require minimal preparation and the toaster oven does all the work, leaving you with a comforting and hearty dish in no time.
So, the next time you’re craving a warm and comforting meal, don’t hesitate to bake some potatoes in your toaster oven. It’s a simple and satisfying option that will leave you wanting more.
Garlic Bread
No pasta dinner is complete without a side of flavorful garlic bread. And the good news is, you can easily make delicious garlic bread in your toaster oven for a quick and satisfying addition to any meal.
To get started, slice a baguette or a loaf of your favorite bread into thick slices. You can choose a crusty French baguette for a traditional garlic bread flavor or opt for a softer bread like ciabatta or Italian bread.
In a small bowl, combine softened butter with minced garlic, chopped parsley, and a pinch of salt. You can also add some grated Parmesan cheese for an extra kick of flavor. Mix everything together until well combined.
Spread the garlic butter generously onto each bread slice, making sure to cover the entire surface. Place the slices on a baking sheet or a toaster oven-safe pan.
Preheat your toaster oven to around 375°F (190°C). Once heated, place the pan with the garlic bread slices in the toaster oven and bake for about 8-10 minutes or until the bread is toasted and the garlic butter is melted and aromatic.
The result? Golden-brown, crispy bread with a rich garlic and buttery flavor. Serve the garlic bread alongside pasta dishes, soups, or even as an appetizer to impress your guests.
Garlic bread variations are endless. You can add shredded mozzarella cheese on top and broil it for a minute or two for a cheesy and gooey twist. Or you can sprinkle some dried herbs like oregano or basil for an additional burst of aroma.
Whether you’re hosting a dinner party or simply craving a comforting side dish, making garlic bread in your toaster oven is a quick, easy, and delicious option. It adds a delightful touch to any meal and takes your taste buds on a flavorful journey.
So, why settle for store-bought when you can enjoy homemade garlic bread in minutes? Fire up your toaster oven and get ready to savor the irresistible combination of garlic, butter, and bread.
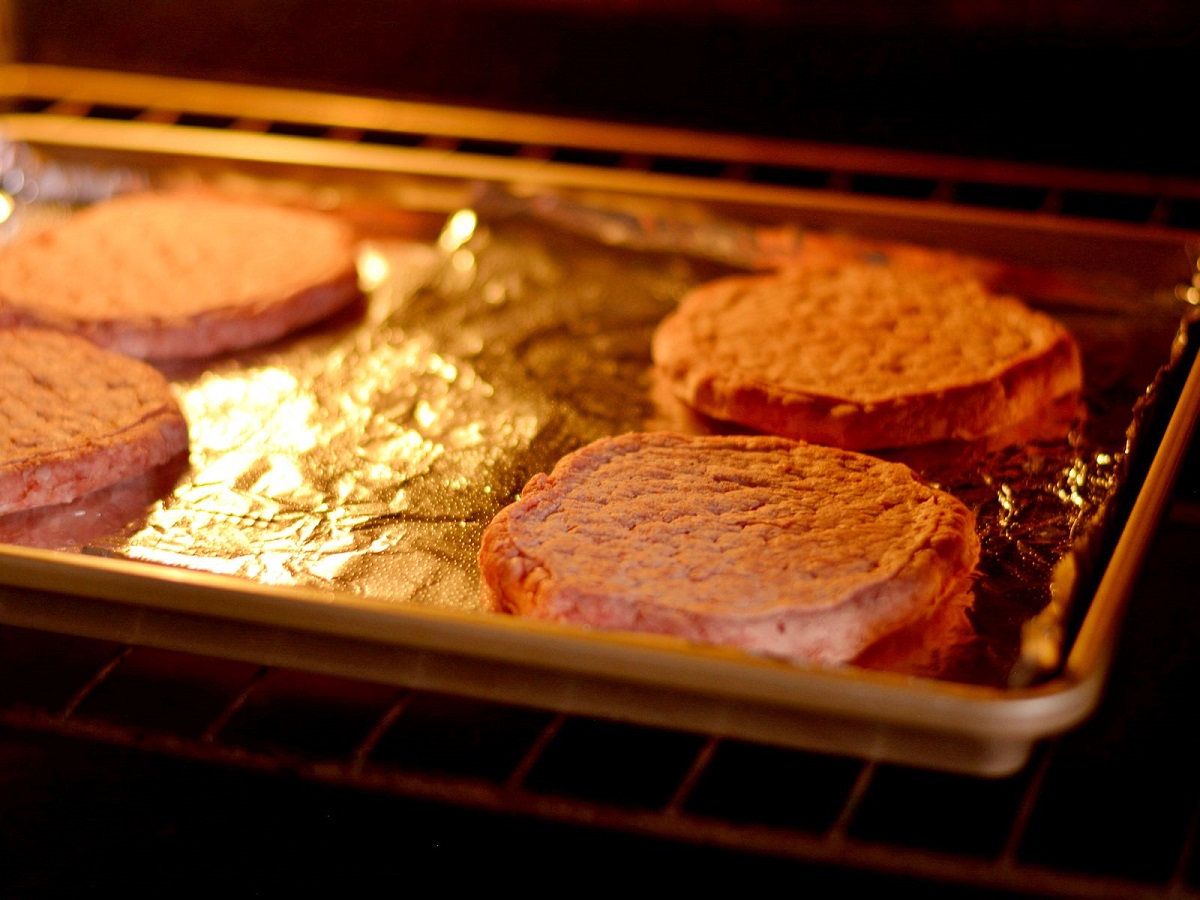
When cooking in a toaster oven, use a baking sheet or aluminum foil to prevent drips and make cleaning easier. This will also help distribute heat more evenly for better cooking results.
Fish Fillets
If you’re a seafood lover, you’ll be pleased to know that you can easily prepare perfectly cooked fish fillets in your toaster oven. This method is not only quick and convenient but also yields moist and flavorful results.
To start, choose your preferred type of fish fillet. Whether it’s salmon, tilapia, cod, or something else, make sure the fillets are fresh and of high quality.
Pat the fish fillets dry with a paper towel to remove any excess moisture. This step is important as it helps to achieve a crispy skin and prevents the fish from becoming watery during cooking.
Next, season the fillets with salt, pepper, and any other herbs or spices you desire. Lemon juice, garlic powder, and dill are popular choices that pair well with fish.
Line a baking sheet or a toaster oven-safe pan with aluminum foil or parchment paper to make cleanup easier. Place the seasoned fish fillets on the lined pan.
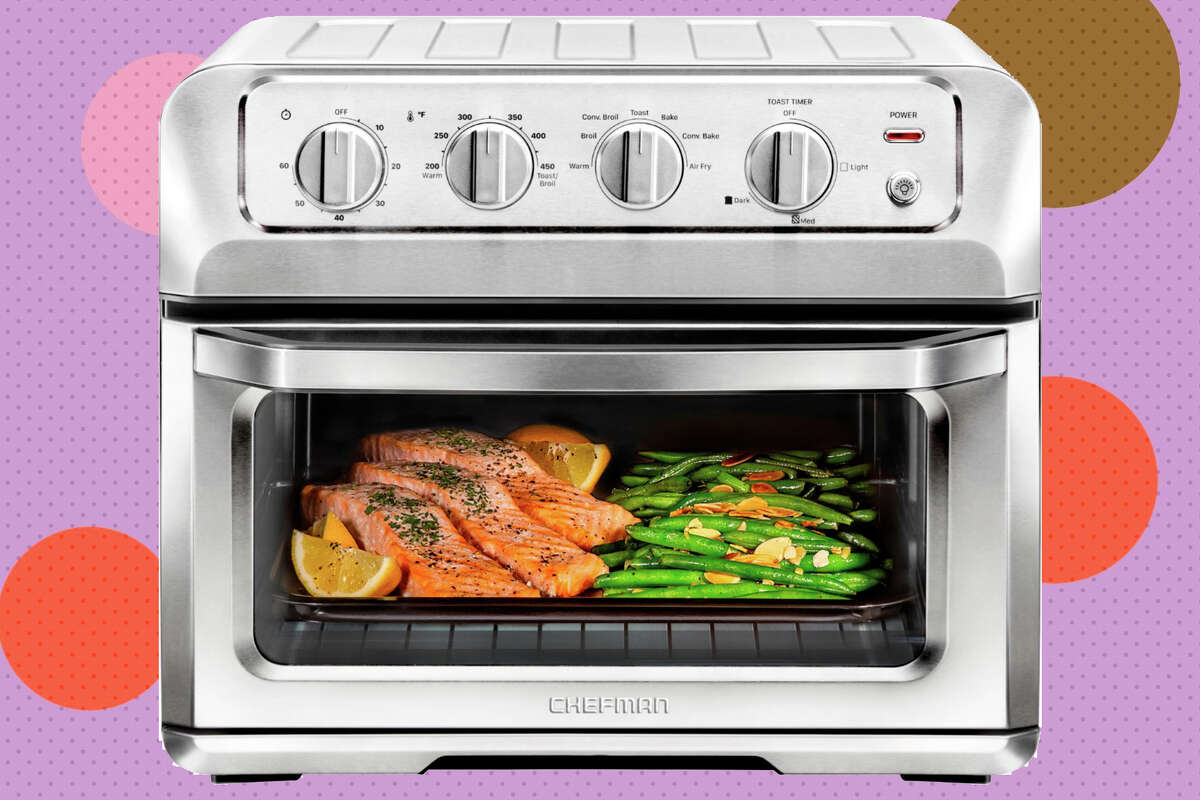
Preheat your toaster oven to around 400°F (200°C) and bake the fish for approximately 10-12 minutes, or until it flakes easily with a fork. Cooking time may vary depending on the thickness of the fillets, so keep a close eye on them to avoid overcooking.
When the fish is done, remove it from the toaster oven and let it rest for a few minutes before serving. This allows the juices to redistribute and ensures a moist and tender result.
Fish fillets cooked in a toaster oven offer a healthier alternative to frying while still providing a delicious and satisfying meal. The high heat of the oven helps to seal in the fish’s natural flavors and gives it a delicate and flaky texture.
You can enjoy the fish fillets as is or pair them with a side of steamed vegetables, a salad, or a serving of rice. Add a squeeze of lemon juice or a drizzle of tartar sauce for some extra zing.
So, the next time you’re in the mood for a nutritious and delicious seafood dinner, give fish fillets in your toaster oven a try. It’s a simple and fuss-free way to enjoy perfectly cooked fish without the need for a full-sized oven.
Chicken Wings
When it comes to finger-licking appetizers, chicken wings are a crowd favorite. And guess what? You can achieve crispy and flavorful chicken wings right in your toaster oven. Whether you’re hosting a game night, having friends over, or simply craving some delicious wings, this method is a game-changer.
To get started, pat dry the chicken wings with a paper towel to remove any moisture. This is important as it helps to achieve a crispy skin.
Season the wings with your favorite spices and seasonings. You can go with a classic combination of salt, pepper, and garlic powder, or get creative with flavors like BBQ, buffalo, or teriyaki by using ready-made marinades or sauces.
Line a baking sheet or a toaster oven-safe pan with aluminum foil or parchment paper. Arrange the seasoned chicken wings on the lined pan, making sure they are evenly spaced and not touching each other.
Preheat your toaster oven to around 400°F (200°C). Once heated, place the pan with the chicken wings in the toaster oven and bake for approximately 25-30 minutes, flipping them halfway through. The wings should be golden brown and crispy on the outside and cooked through on the inside.
Remove the wings from the toaster oven and let them cool for a few minutes before serving. This allows the flavors to settle and enhances their deliciousness.
Serve the chicken wings as is or with your favorite dipping sauces like ranch, blue cheese, or honey mustard. You can also garnish them with chopped parsley or green onions for added freshness and visual appeal.
With your toaster oven, you can easily prepare a small batch of chicken wings for a quick snack or a larger batch for a party. It’s a convenient and hassle-free method that still delivers crispy, juicy, and flavorful wings.
So, whether you’re hosting a gathering or simply want to enjoy a tasty appetizer, give chicken wings in your toaster oven a try. It’s a surefire way to satisfy your craving and leave your guests wanting more.
Baked Apples
When it comes to comforting desserts, baked apples are a classic choice. The combination of tender apples, warm spices, and sweet filling is a delightful treat for your taste buds. And the best part? You can easily make them in your toaster oven.
To start, choose firm apples such as Granny Smith or Honeycrisp, as they hold their shape well during baking. Wash and core the apples, removing the seeds and creating a hollow space in the center.
In a small bowl, combine your desired fillings. You can use a mixture of brown sugar, cinnamon, nutmeg, and chopped nuts or experiment with flavors like raisins, cranberries, or even a dollop of caramel sauce.
Stuff the filling mixture into the cored apples, firmly packing it inside. Place the filled apples on a baking sheet or a toaster oven-safe dish.
Preheat your toaster oven to around 375°F (190°C). Once heated, place the baking sheet with the apples in the toaster oven and bake for about 20-25 minutes, or until the apples are tender and the filling is caramelized.
When the baked apples are done, remove them from the toaster oven and let them cool slightly before serving. The apples will be soft and juicy, with the filling oozing out and creating a sweet and fragrant aroma.
You can enjoy the baked apples as is or serve them with a scoop of vanilla ice cream or a dollop of whipped cream for an extra indulgence. The warm, spiced apples pair perfectly with the creamy and cold accompaniment, creating a heavenly dessert experience.
Baked apples in a toaster oven are not only delicious but also a healthier dessert option compared to pies or cakes. They are naturally sweetened with the flavors of the apples and the filling, making them a guilt-free treat that satisfies your sweet tooth.
So, the next time you’re craving a cozy and comforting dessert, give baked apples in your toaster oven a try. They’re simple to make and will fill your home with the delightful scents of cinnamon and warmth.
Cheese Quesadillas
Cheese quesadillas are a quick and delicious meal that you can easily prepare in your toaster oven. With just a few ingredients and a short cooking time, you’ll have a gooey and satisfying dish that’s perfect for lunch, dinner, or a snack.
To make cheese quesadillas, start by choosing your preferred type of tortillas. Flour tortillas work well for a softer and more pliable quesadilla, while corn tortillas add a slightly crispy texture. You can also opt for whole wheat or spinach tortillas for added flavor and nutritional value.
Place one tortilla on a toaster oven-safe pan or directly on the toaster oven rack. Sprinkle your desired shredded cheese evenly over the tortilla. Cheddar, Monterey Jack, or a combination of different cheeses all work beautifully for quesadillas.
If you’d like to add some extra flavor and texture, you can also include additional fillings such as sliced jalapeños, diced bell peppers, thinly sliced onions, or cooked chicken or beef.
Place another tortilla on top of the cheese and filling to create a sandwich-like construction. Press down gently to ensure the quesadilla is compact and the cheese will melt evenly.
Preheat your toaster oven to around 375°F (190°C). Once heated, place the pan with the assembled quesadilla in the oven and bake for about 5-7 minutes, or until the cheese has melted and the tortilla is crispy to your liking.
Remove the quesadilla from the toaster oven and let it cool for a minute or two before slicing it into wedges. This allows the cheese to set slightly, making it easier to handle without losing its cheesy goodness.
Serve the cheese quesadilla as is or with your favorite toppings and accompaniments. Salsa, guacamole, sour cream, or even a squeeze of lime juice all pair wonderfully with this classic dish.
Cheese quesadillas are not only delicious but also highly customizable. You can play around with different cheese blends, add various fillings to create unique flavor combinations, and even experiment with dipping sauces to elevate your quesadilla experience.
So, the next time you’re in need of a quick and satisfying meal, whip up some cheese quesadillas in your toaster oven. They’re a delicious comfort food that will surely satisfy your cravings.
Chocolate Chip Cookies
Who can resist the warm, gooey goodness of chocolate chip cookies? Making these classic treats in your toaster oven is not only easy but also ensures a freshly baked batch whenever you’re craving something sweet.
To start, gather your ingredients: butter, sugar, brown sugar, eggs, vanilla extract, all-purpose flour, baking soda, salt, and of course, chocolate chips. You can also add chopped nuts or other mix-ins for extra texture and flavor, if desired.
In a mixing bowl, cream together the softened butter, sugar, and brown sugar until light and fluffy. Add the eggs one at a time, followed by the vanilla extract, and mix until well combined.
In a separate bowl, whisk together the flour, baking soda, and salt. Gradually add the dry ingredients to the wet ingredients, mixing until just combined. Be careful not to overmix, as this can lead to dry and tough cookies.
Finally, fold in the chocolate chips and any additional mix-ins. Cover the dough and refrigerate for at least 30 minutes, or until the dough is firm and chilled.
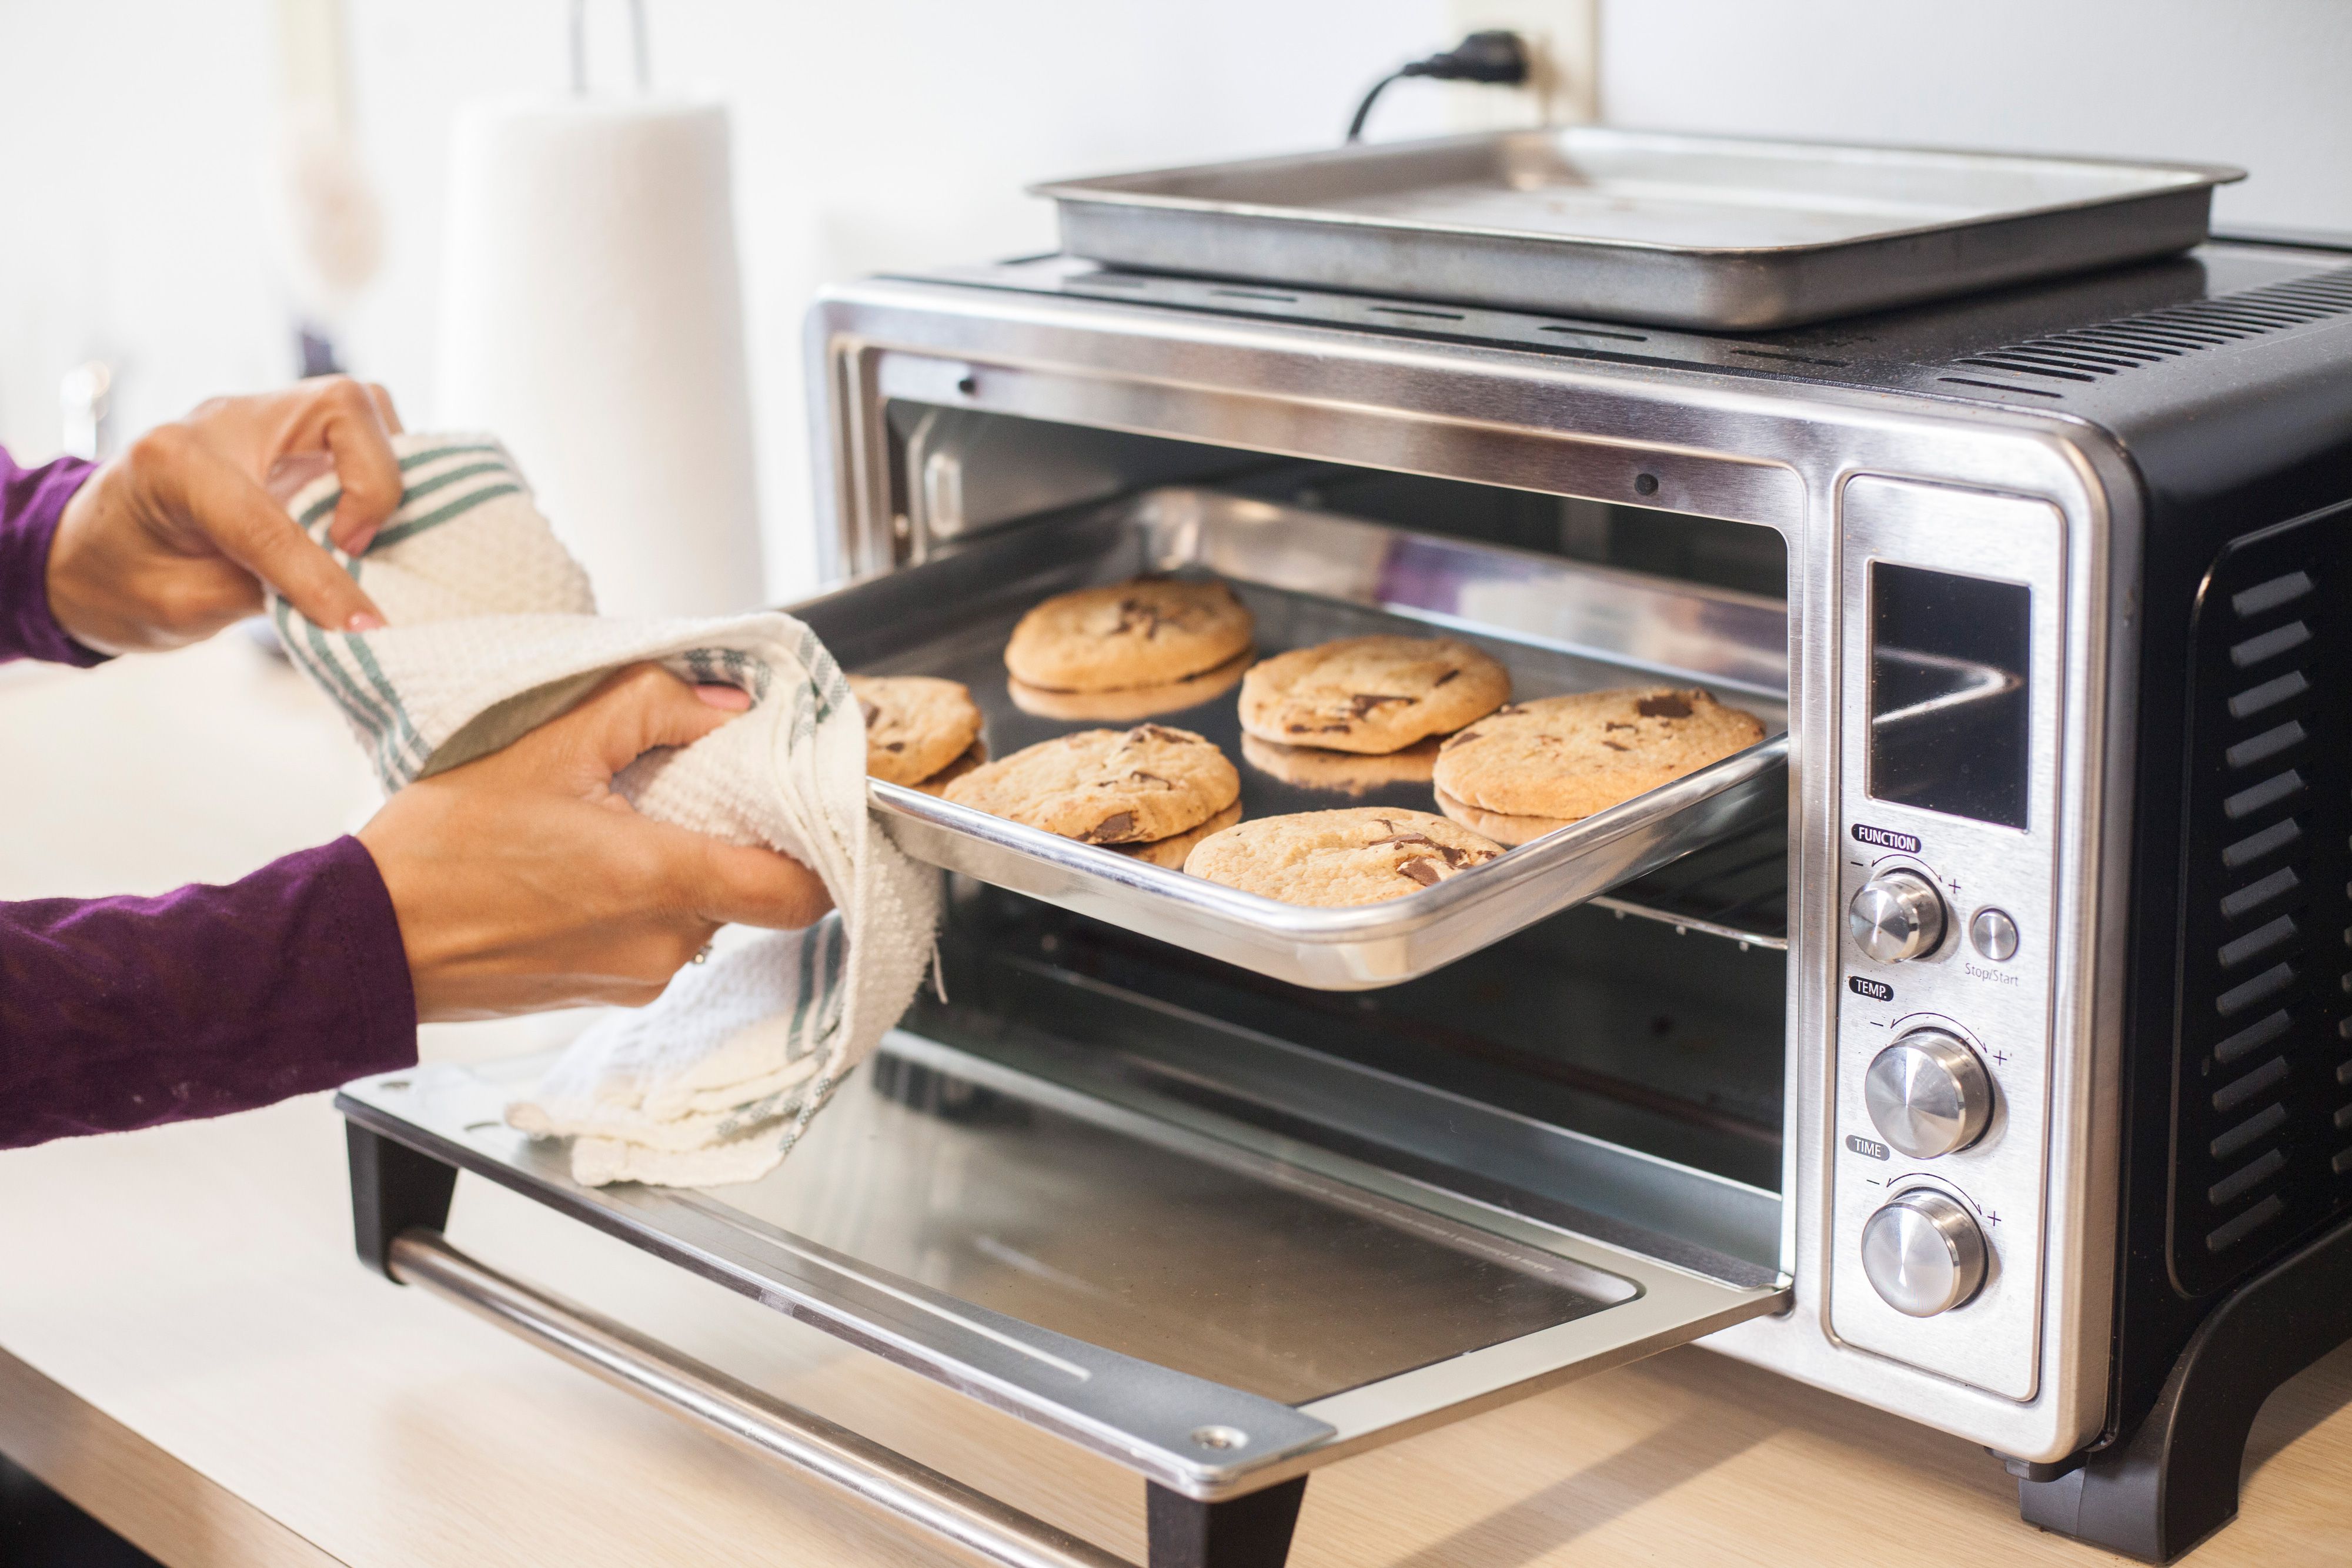
Preheat your toaster oven to around 350°F (175°C). Line a baking sheet or a toaster oven-safe pan with parchment paper. Scoop out rounded tablespoons of dough and place them on the lined pan, spacing them a few inches apart to allow for spreading.
Bake the cookies in the toaster oven for approximately 10-12 minutes, or until they are golden brown around the edges. The centers may still appear slightly undercooked, but they will firm up as they cool.
Remove the cookies from the toaster oven and let them cool on the pan for a few minutes before transferring them to a wire rack to cool completely. This allows them to set and maintain their chewy texture.
Enjoy the freshly baked chocolate chip cookies warm or at room temperature. Serve them with a glass of milk for a classic pairing that will take you back to your childhood.
Whether you’re indulging in a sweet treat for yourself or baking a batch to share with loved ones, making chocolate chip cookies in your toaster oven is a delightful way to satisfy your cravings for homemade goodies.
So, grab your ingredients, preheat your toaster oven, and get ready to enjoy the irresistible aroma and taste of freshly baked chocolate chip cookies right in your own kitchen.
Conclusion
In conclusion, your toaster oven is a versatile tool that can unleash your creativity in the kitchen. From simple snacks to hearty meals and delicious desserts, there are countless options for cooking a variety of tasty foods right on your countertop.
Whether you’re toasting sandwiches, roasting vegetables, baking potatoes, making garlic bread, or indulging in cheese quesadillas or chocolate chip cookies, your toaster oven can do it all. It offers convenience, efficiency, and the ability to achieve flavorful and satisfying dishes in a fraction of the time it takes to use a traditional oven.
By exploring the possibilities with your toaster oven, you can save energy, maximize space in your kitchen, and still enjoy mouthwatering meals. It’s a great solution for those with limited kitchen space or those who are looking for an alternative cooking method.
Remember to get creative with your recipes and experiment with different flavors, fillings, and seasonings. Don’t be afraid to try new combinations or put your own twist on traditional dishes.
Whether you’re cooking for yourself, your family, or entertaining guests, these toaster oven recipes will impress and tantalize everyone’s taste buds. So, dust off your toaster oven, explore the endless possibilities, and embark on a culinary journey right in your own home.
Happy cooking!
Frequently Asked Questions about What To Cook In A Toaster Oven? 10 Foods To Prepare On The Countertop
Was this page helpful?
At Storables.com, we guarantee accurate and reliable information. Our content, validated by Expert Board Contributors, is crafted following stringent Editorial Policies. We're committed to providing you with well-researched, expert-backed insights for all your informational needs.



0 thoughts on “What To Cook In A Toaster Oven? 10 Foods To Prepare On The Countertop”