Home>Kitchen & Cooking>Kitchen Gadgets & Utensils>How To Use A Weber Kettle Grill
Kitchen Gadgets & Utensils
How To Use A Weber Kettle Grill
Modified: February 18, 2024
Learn how to use a Weber Kettle Grill to elevate your outdoor cooking experience. Discover essential tips and techniques for mastering this versatile kitchen gadget.
(Many of the links in this article redirect to a specific reviewed product. Your purchase of these products through affiliate links helps to generate commission for Storables.com, at no extra cost. Learn more)
Introduction
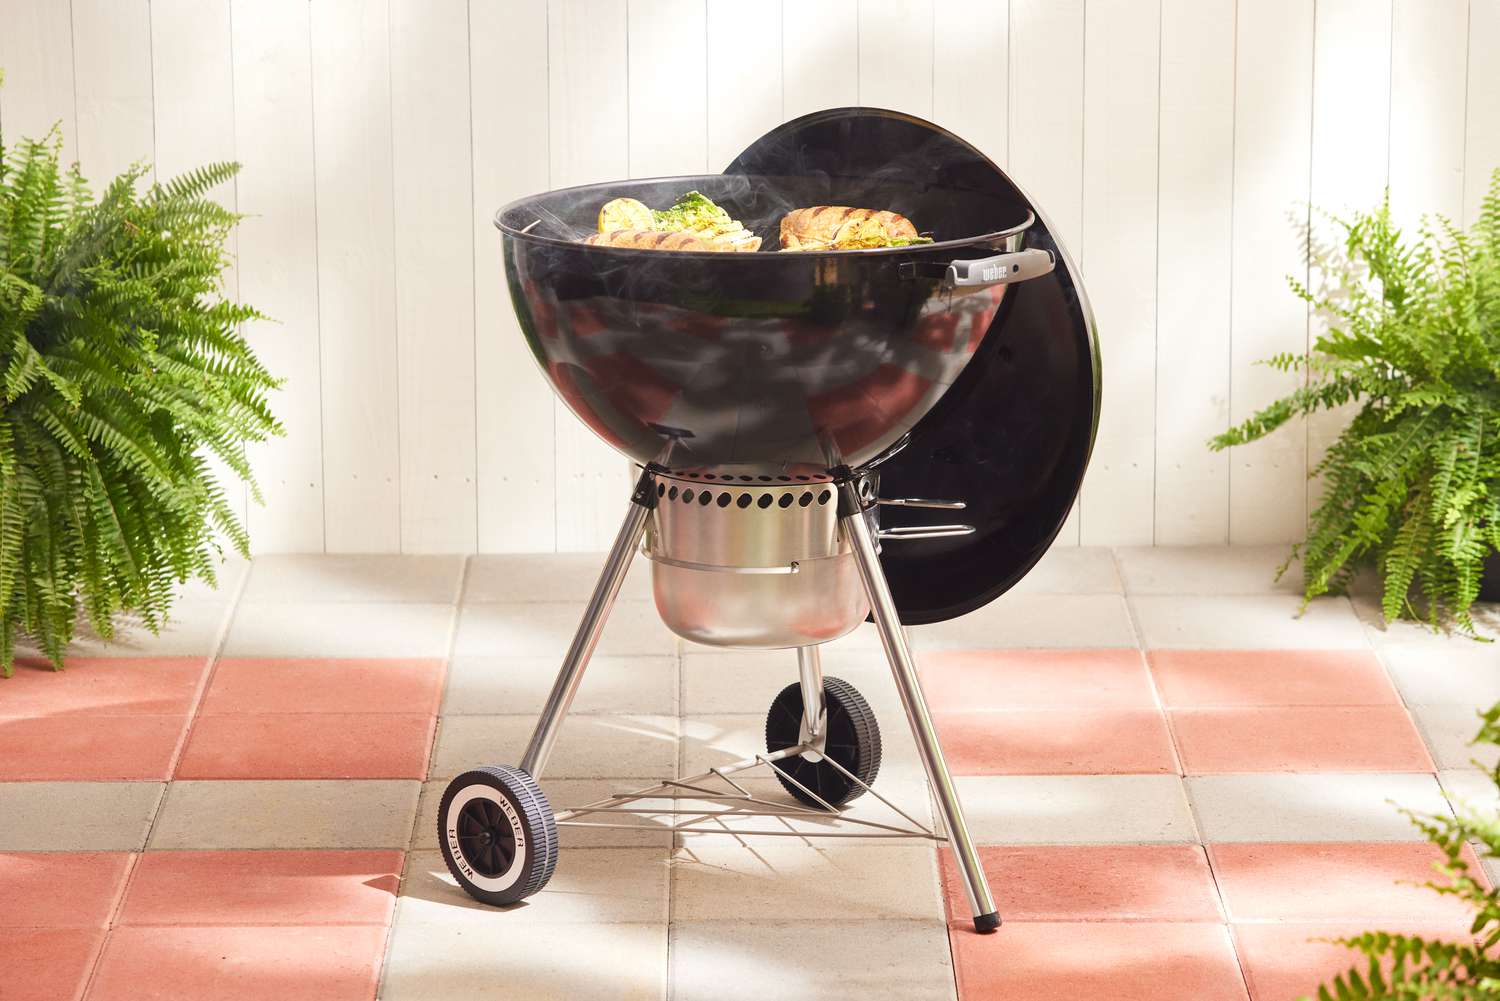
Welcome to the world of grilling with the iconic Weber Kettle Grill! Whether you're a seasoned grill master or a novice outdoor cook, the Weber Kettle Grill is a versatile and reliable tool that can elevate your culinary experience. In this comprehensive guide, we'll delve into the ins and outs of using a Weber Kettle Grill, from the initial setup to mastering the art of charcoal grilling.
The Weber Kettle Grill has been a staple in backyards, patios, and campsites for decades, and for good reason. Its simple yet effective design, featuring a round kettle shape and a convenient lid, makes it a beloved choice for barbecue enthusiasts. With the ability to impart smoky flavors to a variety of foods, the Weber Kettle Grill offers a classic grilling experience that is hard to replicate with other types of grills.
In this guide, we'll cover everything you need to know to make the most of your Weber Kettle Grill. From assembling and lighting the charcoal to controlling the temperature and achieving perfect grill marks on your favorite cuts of meat, we've got you covered. Additionally, we'll explore essential tips for cleaning and maintaining your grill to ensure its longevity and optimal performance.
Whether you're planning a casual weekend cookout with friends and family or aiming to expand your outdoor cooking skills, the Weber Kettle Grill is a fantastic companion for creating memorable meals. So, grab your apron, gather your ingredients, and let's embark on a flavorful journey through the art of grilling with the legendary Weber Kettle Grill.
Key Takeaways:
- Master the art of grilling with the iconic Weber Kettle Grill by setting up, lighting charcoal, and controlling temperature for delicious, smoky dishes.
- Keep your Weber Kettle Grill in top condition by cleaning regularly and maintaining its parts, ensuring it remains a reliable companion for outdoor cooking adventures.
Read more: How To Clean A Weber Kettle Grill
Getting Started with Your Weber Kettle Grill
Before diving into the grilling process, it’s essential to familiarize yourself with your Weber Kettle Grill and its components. The grill consists of several key elements, including the kettle itself, a lid with a handle, cooking grates, charcoal grates, and vents for airflow control. Familiarize yourself with these parts to understand how they contribute to the grilling experience.
Assembling your Weber Kettle Grill is typically straightforward, with clear instructions provided in the user manual. Once assembled, it’s crucial to choose the right location for your grill. Select a level, stable surface away from any flammable materials, and ensure that the grill is positioned at a safe distance from buildings or overhanging structures.
When it comes to choosing the right charcoal for your Weber Kettle Grill, quality matters. Opt for high-quality charcoal, such as lump charcoal or briquettes, to achieve optimal heat and flavor. Additionally, consider investing in essential grilling accessories, including long-handled tongs, a reliable meat thermometer, and a chimney starter for efficient charcoal lighting.
Understanding the basics of fire safety is paramount before igniting the grill. Keep a fire extinguisher or a bucket of sand nearby as a precaution. It’s also advisable to review the safety guidelines provided by Weber to ensure a secure and enjoyable grilling experience.
With your Weber Kettle Grill assembled, positioned, and equipped with the necessary tools, you’re ready to embark on a culinary adventure. The next steps will guide you through the process of setting up your grill, lighting the charcoal, controlling the temperature, and ultimately savoring the delicious results of your grilling endeavors.
Setting Up Your Weber Kettle Grill
Setting up your Weber Kettle Grill for a successful grilling session involves several important steps. Let’s walk through the process to ensure that your grill is ready to deliver mouthwatering results.
1. Positioning the Grill: Choose a well-ventilated outdoor area for grilling. Ensure that the grill is placed on a stable, level surface, away from any flammable materials. Additionally, consider the direction of the wind to prevent any potential issues with smoke or ash.
2. Assembling the Charcoal Grate: The charcoal grate serves as the foundation for your charcoal arrangement. Place it at the bottom of the kettle, ensuring that it sits securely in place.
3. Adding Charcoal: Depending on your grilling needs, arrange the charcoal in a manner that suits your cooking style. Whether you opt for the two-zone cooking method or prefer a concentrated pile of charcoal for direct heat, ensure that the charcoal is evenly distributed to facilitate consistent heat distribution.
4. Adjusting the Vents: The vents on the Weber Kettle Grill play a crucial role in regulating airflow and, consequently, the temperature inside the grill. Before lighting the charcoal, adjust the vents according to your desired cooking temperature. Opening the vents allows for increased airflow and higher temperatures, while closing them restricts airflow and lowers the heat.
5. Placing the Cooking Grate: Once the charcoal is arranged and the vents are adjusted, position the cooking grate on top of the grill. This step prepares the grill for the cooking process, allowing the grates to preheat along with the charcoal.
By following these steps, you’ll have your Weber Kettle Grill set up and prepared for the next crucial phase: lighting the charcoal. Mastering the setup process lays the foundation for a seamless and enjoyable grilling experience, setting the stage for delectable meals hot off the grill.
Lighting the Charcoal
Lighting the charcoal is a pivotal step in the grilling process, as it sets the stage for achieving the perfect cooking temperature and infusing your food with delicious smoky flavors. Whether you prefer the convenience of a chimney starter or the traditional method of using lighter fluid, the goal is to ignite the charcoal evenly and safely.
Chimney Starter Method: Using a chimney starter is a popular and efficient way to light charcoal without the need for lighter fluid. Simply fill the chimney starter with the desired amount of charcoal and place crumpled newspaper or fire starter cubes beneath it. Ignite the newspaper or cubes, and within 10-15 minutes, the charcoal should be glowing and ready to be carefully poured into the grill.
Lighter Fluid Method: If you opt for lighter fluid, arrange the charcoal in a pyramid shape within the grill. Once in position, carefully drizzle the appropriate amount of lighter fluid over the charcoal. Allow the fluid to soak in for a few minutes before igniting the charcoal with a long match or lighter. Exercise caution and follow the recommended safety guidelines when using lighter fluid to avoid accidents.
Electric Charcoal Starters: An electric charcoal starter is another convenient option for igniting the charcoal. Simply bury the tip of the starter in the charcoal and switch it on. Within a few minutes, the charcoal will begin to glow, indicating that it’s ready for cooking.
Regardless of the method you choose, it’s essential to prioritize safety during the lighting process. Avoid using excessive lighter fluid, and never add it to already-lit charcoal. Once the charcoal is lit, allow it to ash over, resulting in a grayish appearance, before spreading it out for cooking. This ensures that any residual fuel has burned off, preventing undesirable flavors from tainting your food.
By mastering the art of lighting charcoal, you’ll be well on your way to creating delectable grilled dishes that showcase the irresistible smokiness and charred perfection that the Weber Kettle Grill is renowned for.
When using a Weber Kettle Grill, make sure to evenly distribute the charcoal for even heat distribution. This will help ensure that your food cooks evenly and thoroughly.
Controlling the Temperature
Mastering temperature control is a fundamental aspect of achieving culinary excellence with your Weber Kettle Grill. Whether you’re aiming for a high-heat sear on steaks or a slow and steady roast for tender, succulent meats, understanding how to regulate the grill’s temperature is essential for optimal cooking results.
Vent Management: The vents on the Weber Kettle Grill are instrumental in controlling the airflow, which directly impacts the temperature inside the grill. The bottom vent, located beneath the charcoal grate, serves as the primary air intake, while the top vent, situated on the lid, functions as the exhaust. By adjusting these vents, you can fine-tune the temperature to suit your specific cooking needs.
To increase the heat, open both the top and bottom vents fully to allow maximum airflow. This is ideal for achieving high temperatures suitable for searing meats or achieving a crisp exterior on vegetables. Conversely, to lower the temperature for slower cooking or smoking, partially close the vents to restrict airflow, reducing the intensity of the heat inside the grill.
Two-Zone Cooking: Creating two distinct heat zones within the grill offers versatility for various cooking techniques. By arranging the charcoal to concentrate on one side of the grill, you establish a direct heat zone for searing, while the other side provides an indirect heat zone for gentle, even cooking. This setup is ideal for accommodating different types of food simultaneously, such as searing a steak over direct heat while allowing a roast to cook indirectly.
Using a Thermometer: Monitoring the internal temperature of the grill is crucial for precision cooking. A reliable grill thermometer allows you to gauge the heat accurately, ensuring that your culinary creations are cooked to perfection. Additionally, using a meat thermometer to monitor the internal temperature of your food guarantees that it reaches the desired level of doneness.
By honing your ability to control the temperature on your Weber Kettle Grill, you’ll have the flexibility to execute a wide range of cooking techniques with precision and confidence. From high-heat grilling to low-and-slow smoking, your mastery of temperature management will elevate your outdoor culinary pursuits to new heights.
Read more: How To Smoke With A Weber Kettle
Cooking on Your Weber Kettle Grill
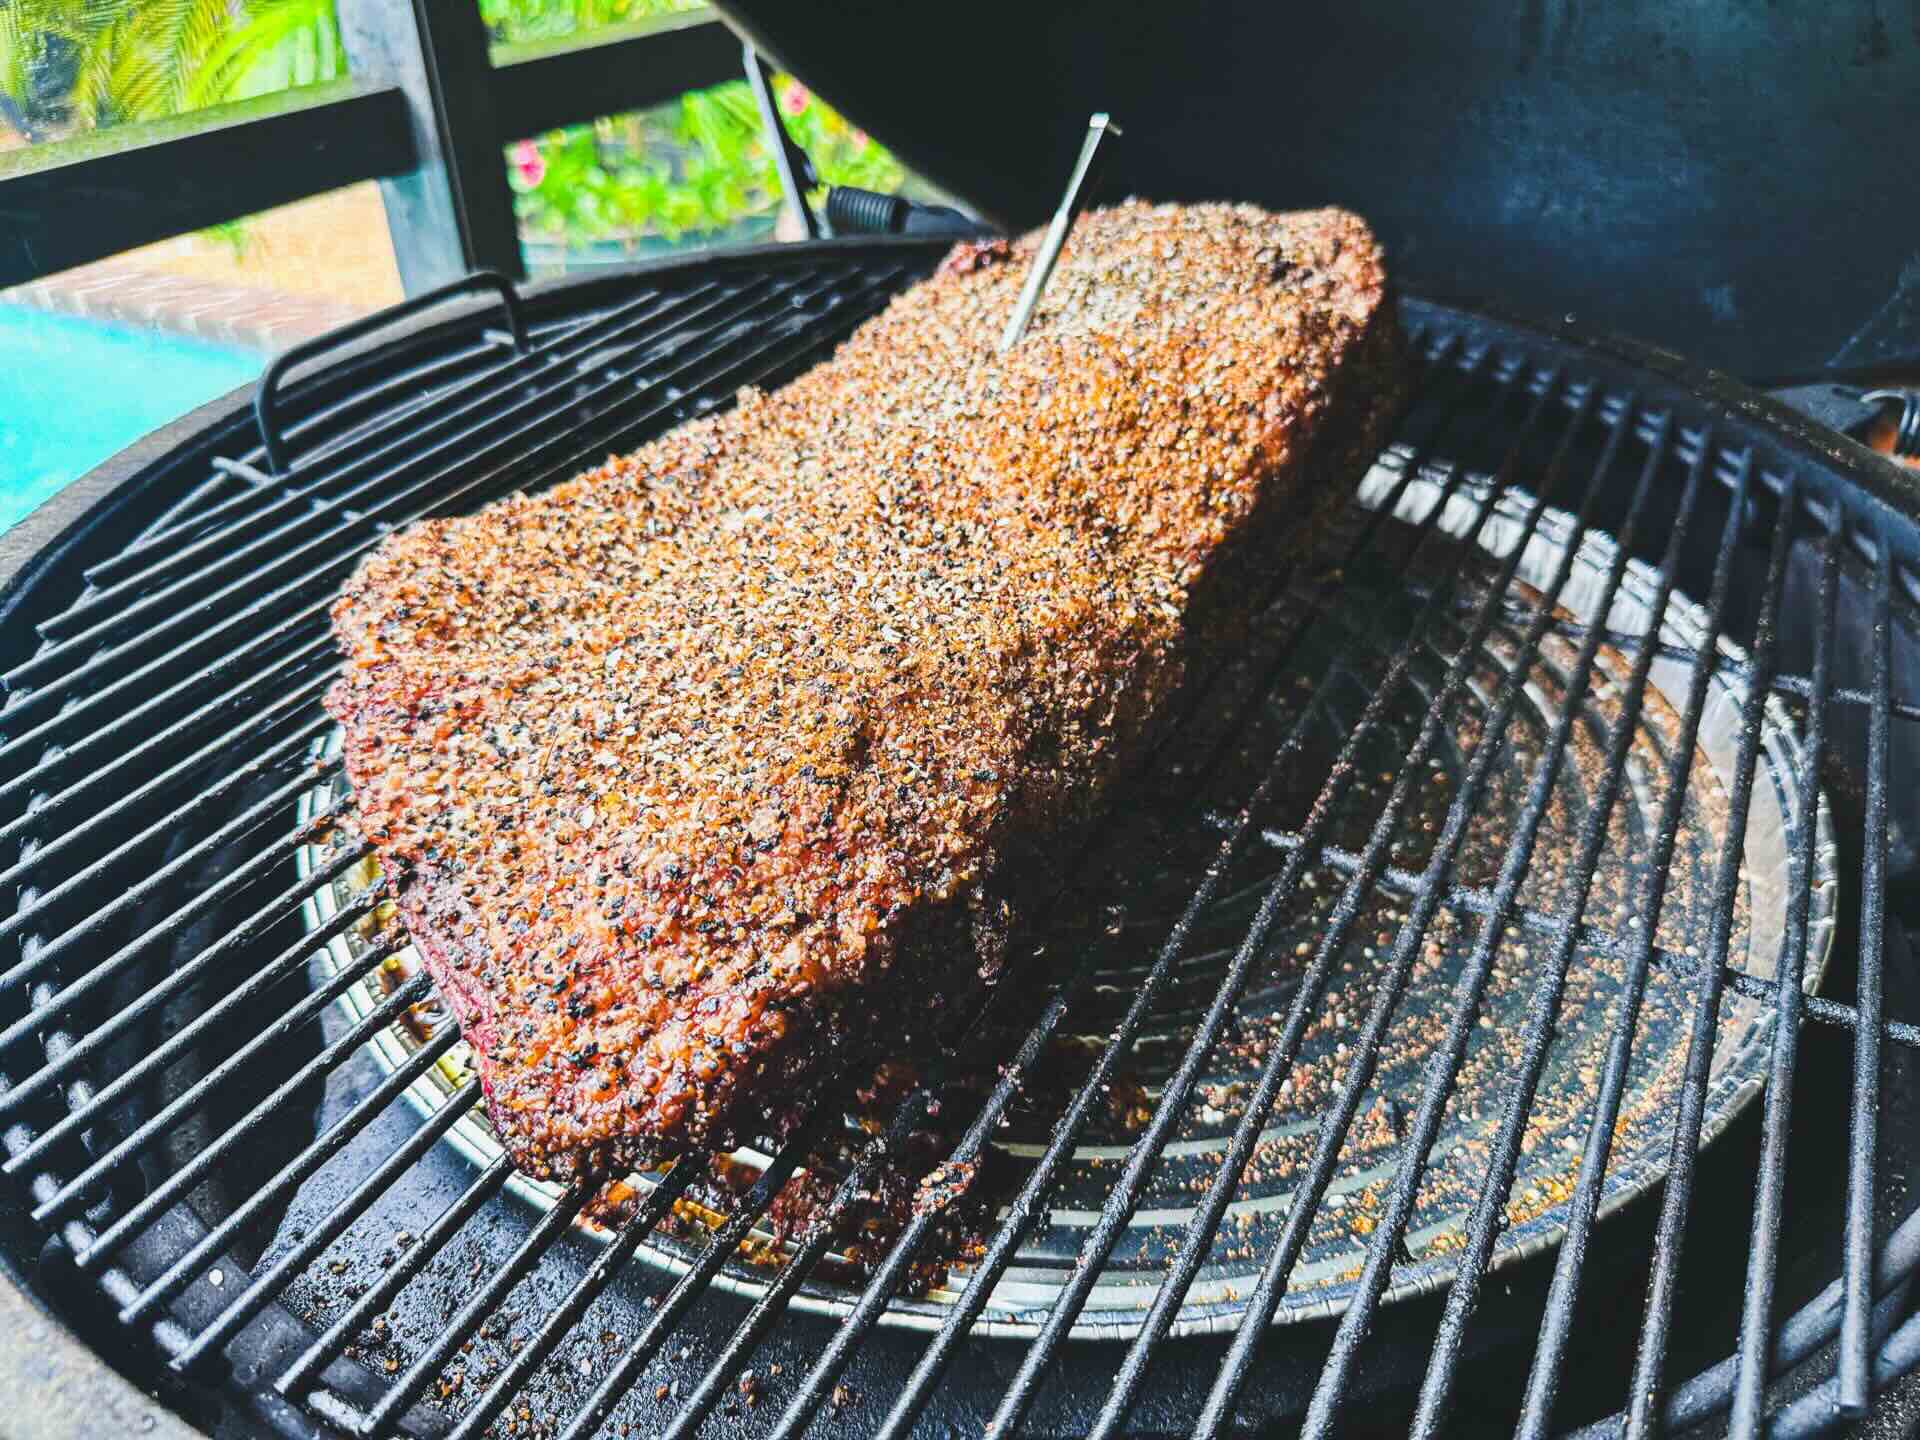
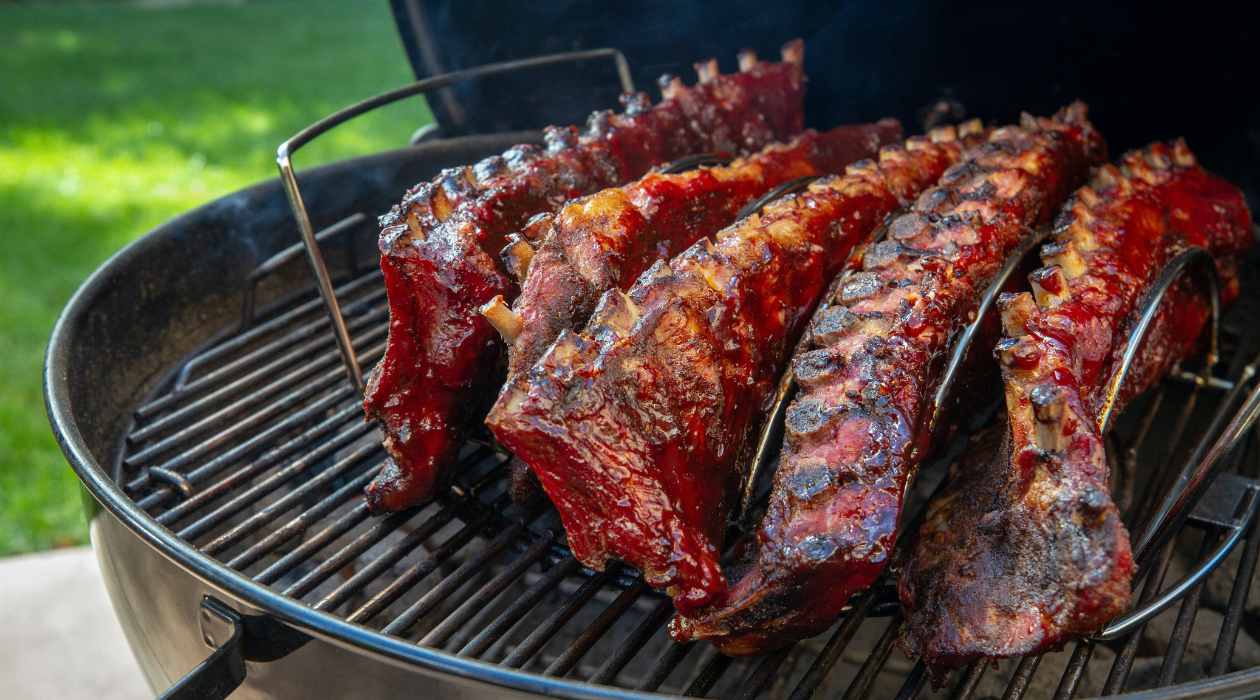
Now that your Weber Kettle Grill is set up, the charcoal is lit, and the temperature is under control, it’s time to unleash your culinary creativity and embark on a flavorful journey of outdoor cooking mastery. Whether you’re grilling juicy burgers, searing marinated chicken, or slow-smoking a tender rack of ribs, the Weber Kettle Grill offers a versatile platform for bringing your favorite recipes to life.
Direct vs. Indirect Heat: Understanding the nuances of direct and indirect heat is pivotal for achieving the desired results with different types of food. Direct heat is ideal for searing meats, creating caramelization and grill marks, while indirect heat is perfect for roasting, smoking, and slow-cooking larger cuts of meat or delicate foods that benefit from gentle, even heat.
Grill Marks and Flipping: When grilling meats, achieving those coveted grill marks adds visual appeal and enhances the flavor. To achieve distinct grill marks, place the food on the grill grates at a diagonal angle and avoid moving it until it’s time to flip. Once one side is seared to perfection, gently rotate the food to create an eye-catching crosshatch pattern.
Adding Smoke Flavor: The Weber Kettle Grill excels at infusing foods with irresistible smoky flavors. Enhance your grilling experience by incorporating wood chunks or chips, such as hickory, mesquite, or applewood, into the charcoal. Soak the wood in water beforehand to create a steady, aromatic smoke that permeates your culinary creations.
Grilling Vegetables and Fruits: The versatility of the Weber Kettle Grill extends beyond meats to include an array of vegetables and fruits. From charred bell peppers and caramelized pineapple slices to smoky grilled corn and tender asparagus, the grill offers endless possibilities for elevating the flavors and textures of plant-based ingredients.
With the Weber Kettle Grill as your culinary canvas, the art of outdoor cooking becomes an immersive and rewarding experience. Embrace experimentation, savor the process, and delight in the delectable results that emerge from your grilling endeavors. Whether you’re hosting a casual gathering or simply enjoying a meal al fresco, the Weber Kettle Grill empowers you to create memorable culinary moments that celebrate the joys of outdoor living.
Cleaning and Maintenance
Properly maintaining and cleaning your Weber Kettle Grill is essential for preserving its performance, extending its lifespan, and ensuring that each grilling session is a seamless and enjoyable experience. By incorporating routine maintenance into your grilling routine, you’ll safeguard the grill’s functionality and keep it in prime condition for countless culinary adventures.
Removing Ash and Debris: After each grilling session, allow the grill to cool completely before removing the ashes and debris from the charcoal chamber. Using a high-quality ash tool, carefully scoop out the ashes and dispose of them in a safe manner. Clearing out the ash prevents airflow obstructions and maintains the grill’s efficiency.
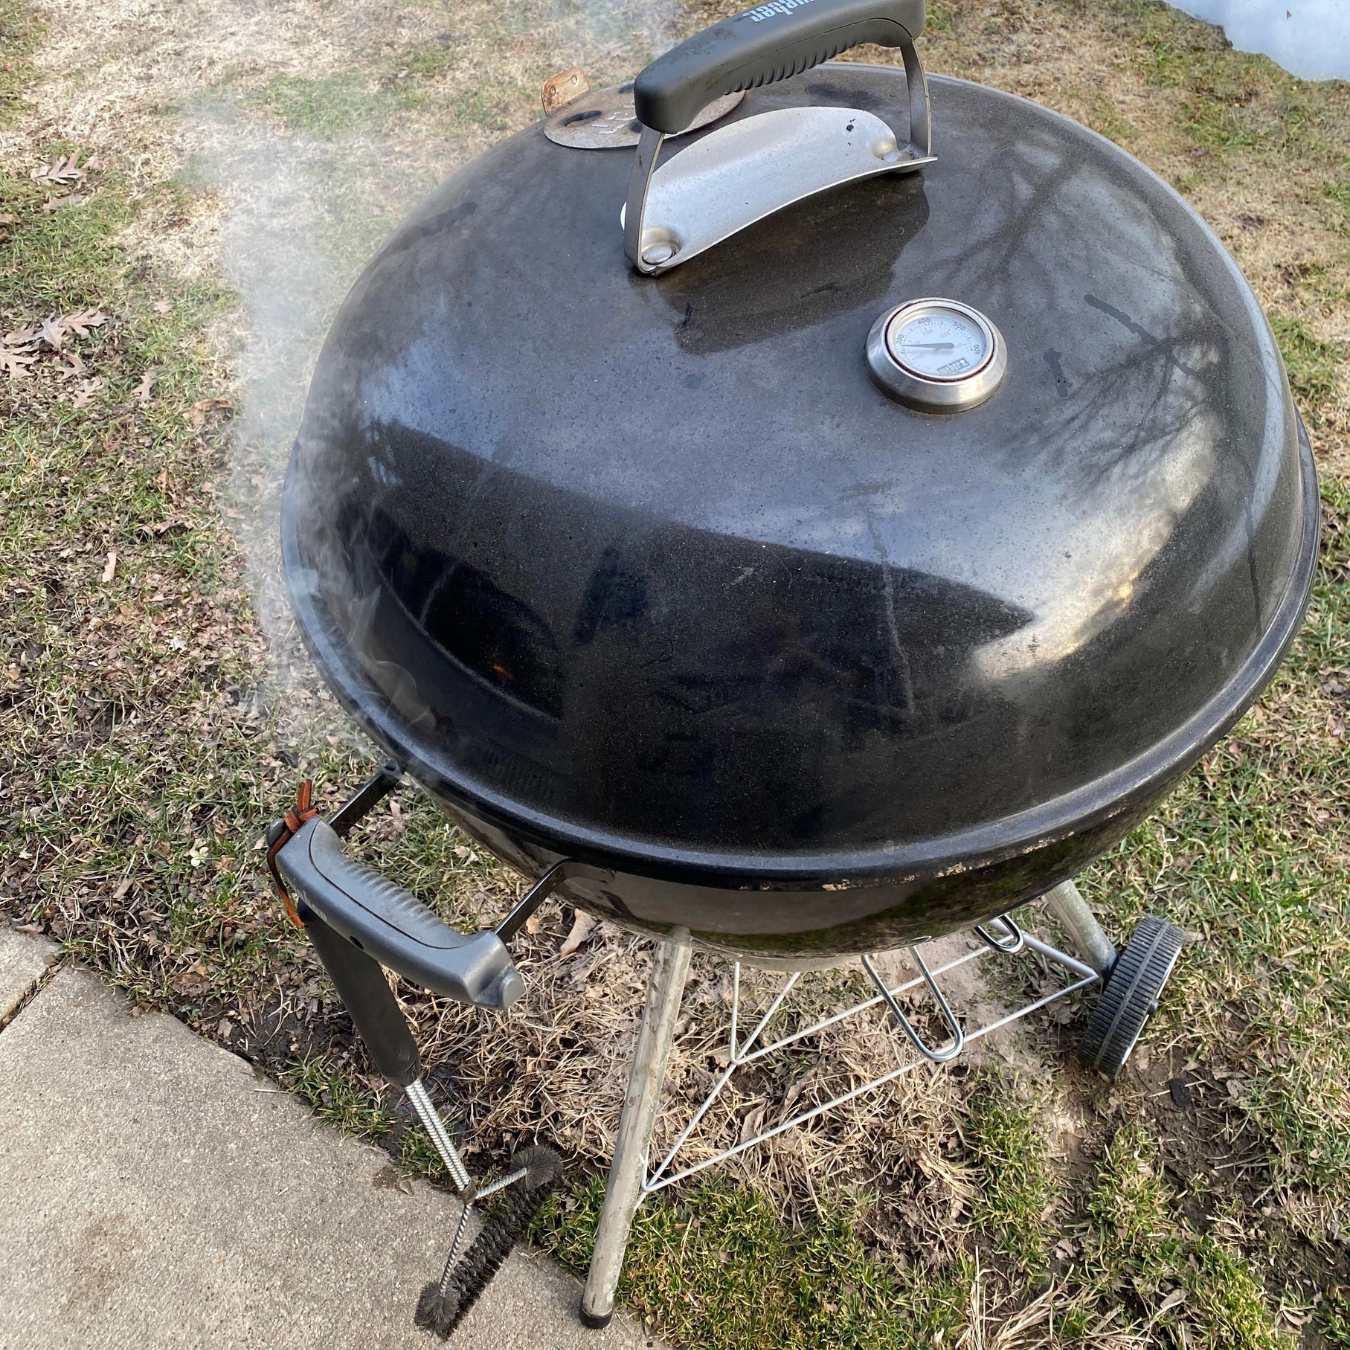
Cleaning the Grates: The cooking grates should be cleaned regularly to prevent the buildup of residue and ensure that your food cooks evenly. After preheating the grill, use a grill brush to scrub the grates thoroughly, removing any food particles or residue. For a deeper clean, consider soaking the grates in warm, soapy water and scrubbing them with a brush before rinsing and drying them thoroughly.
Wiping Down the Exterior: The exterior of the grill, including the lid and bowl, should be wiped down periodically to remove dust, grease, and any other debris. Use a mild detergent and a soft cloth to clean the surfaces, taking care to rinse and dry them afterward to prevent water spots or corrosion.
Inspecting and Replacing Parts: Regularly inspect the various components of the grill, including the vents, handles, and wheels, for signs of wear or damage. Replace any worn-out or malfunctioning parts to maintain the grill’s safety and functionality. Additionally, consider investing in a high-quality grill cover to protect the grill from the elements when not in use.
Seasonal Maintenance: Before stowing the grill away for an extended period, such as during winter, conduct a thorough cleaning and inspection. Remove any remaining charcoal, clean the interior and exterior, and ensure that all parts are in good condition. Store the grill in a dry, sheltered area, and cover it with a durable grill cover to shield it from the elements.
By incorporating these cleaning and maintenance practices into your grilling routine, you’ll preserve the integrity of your Weber Kettle Grill and ensure that it continues to be a reliable companion for creating exceptional outdoor meals. With proper care, your grill will remain a beloved fixture in your culinary adventures for years to come.
Conclusion
Congratulations on embarking on a journey through the art of grilling with the iconic Weber Kettle Grill! As you’ve discovered, this beloved grill is not just a cooking tool; it’s a gateway to a world of culinary exploration, outdoor gatherings, and the creation of unforgettable dining experiences. By mastering the setup, lighting, temperature control, and cooking techniques, you’ve unlocked the potential to elevate everyday meals into extraordinary feasts.
As you continue to hone your grilling skills, remember that the Weber Kettle Grill is not just a means to prepare food; it’s a catalyst for fostering connections, sparking conversations, and indulging in the simple pleasures of outdoor living. Whether you’re grilling for a crowd or savoring a quiet evening meal, the Weber Kettle Grill empowers you to infuse every dish with the unmistakable essence of smoky, flame-kissed perfection.
From perfectly seared steaks to tender, slow-smoked ribs, the versatility of the Weber Kettle Grill allows you to unleash your creativity and experiment with a diverse array of flavors and cooking styles. As you explore the world of outdoor cooking, don’t hesitate to push the boundaries, try new recipes, and embrace the joy of culinary discovery.
Remember that the journey doesn’t end with the perfect meal. Embrace the cleaning and maintenance rituals that ensure your grill remains in top condition, ready to accompany you on countless more grilling adventures. By caring for your Weber Kettle Grill, you’re preserving not just a cooking appliance, but a cherished companion that enriches your outdoor lifestyle.
As you bask in the warmth of the grill’s glow and savor the fruits of your labor, relish the moments shared with loved ones, the laughter that fills the air, and the satisfaction of creating delicious memories. The Weber Kettle Grill isn’t just a vessel for cooking; it’s a catalyst for crafting experiences that linger in the hearts and minds of those who gather around it.
So, fire up the grill, savor the aromas, and revel in the joy of outdoor cooking with your Weber Kettle Grill. Here’s to many more delectable meals, countless shared stories, and the enduring delight of the grill’s timeless allure.
Frequently Asked Questions about How To Use A Weber Kettle Grill
Was this page helpful?
At Storables.com, we guarantee accurate and reliable information. Our content, validated by Expert Board Contributors, is crafted following stringent Editorial Policies. We're committed to providing you with well-researched, expert-backed insights for all your informational needs.


0 thoughts on “How To Use A Weber Kettle Grill”