Home>Maintenance & Safety>Child & Elderly Safety at Home>How To Assemble Nuby 360 Sippy Cup
Child & Elderly Safety at Home
How To Assemble Nuby 360 Sippy Cup
Modified: August 17, 2024
Learn how to assemble the Nuby 360 Sippy Cup for child and elderly safety at home. Follow our step-by-step guide for easy and secure assembly.
(Many of the links in this article redirect to a specific reviewed product. Your purchase of these products through affiliate links helps to generate commission for Storables.com, at no extra cost. Learn more)
Introduction
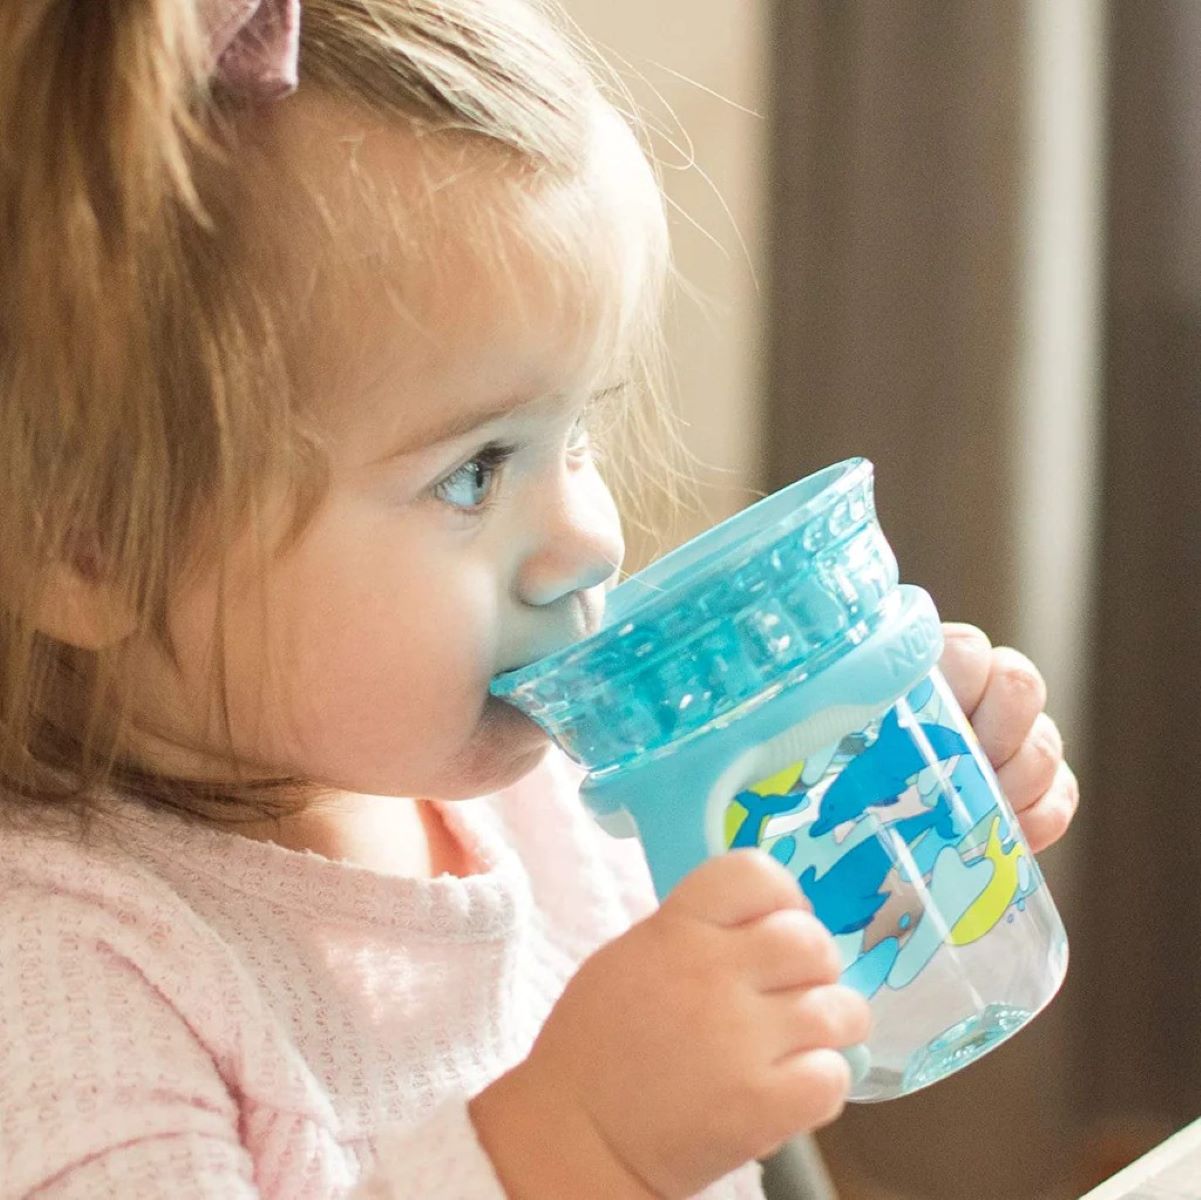
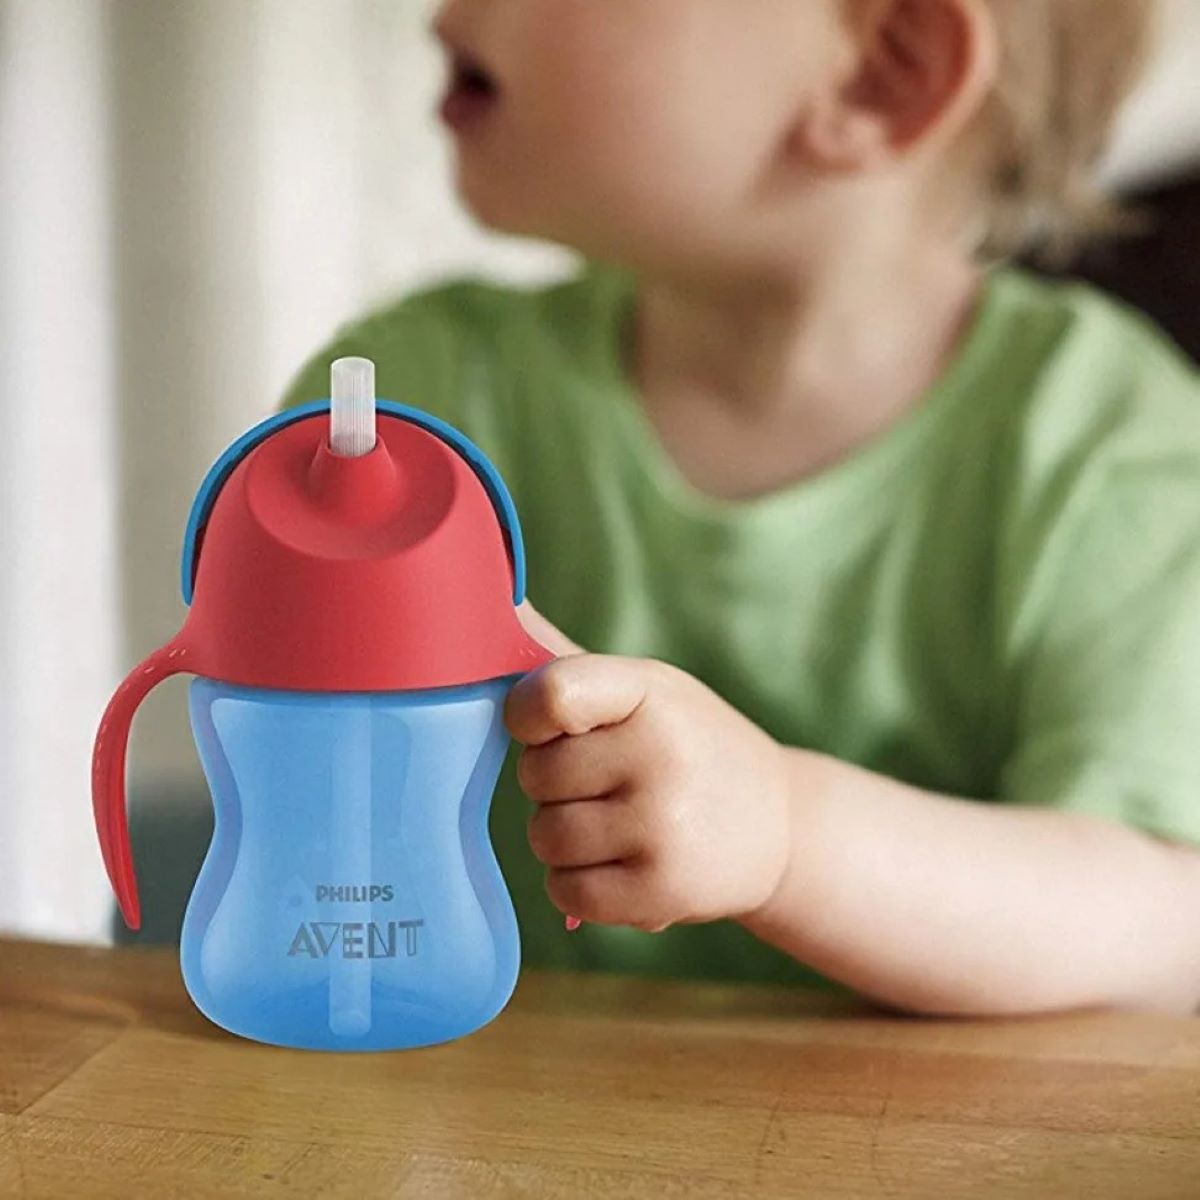
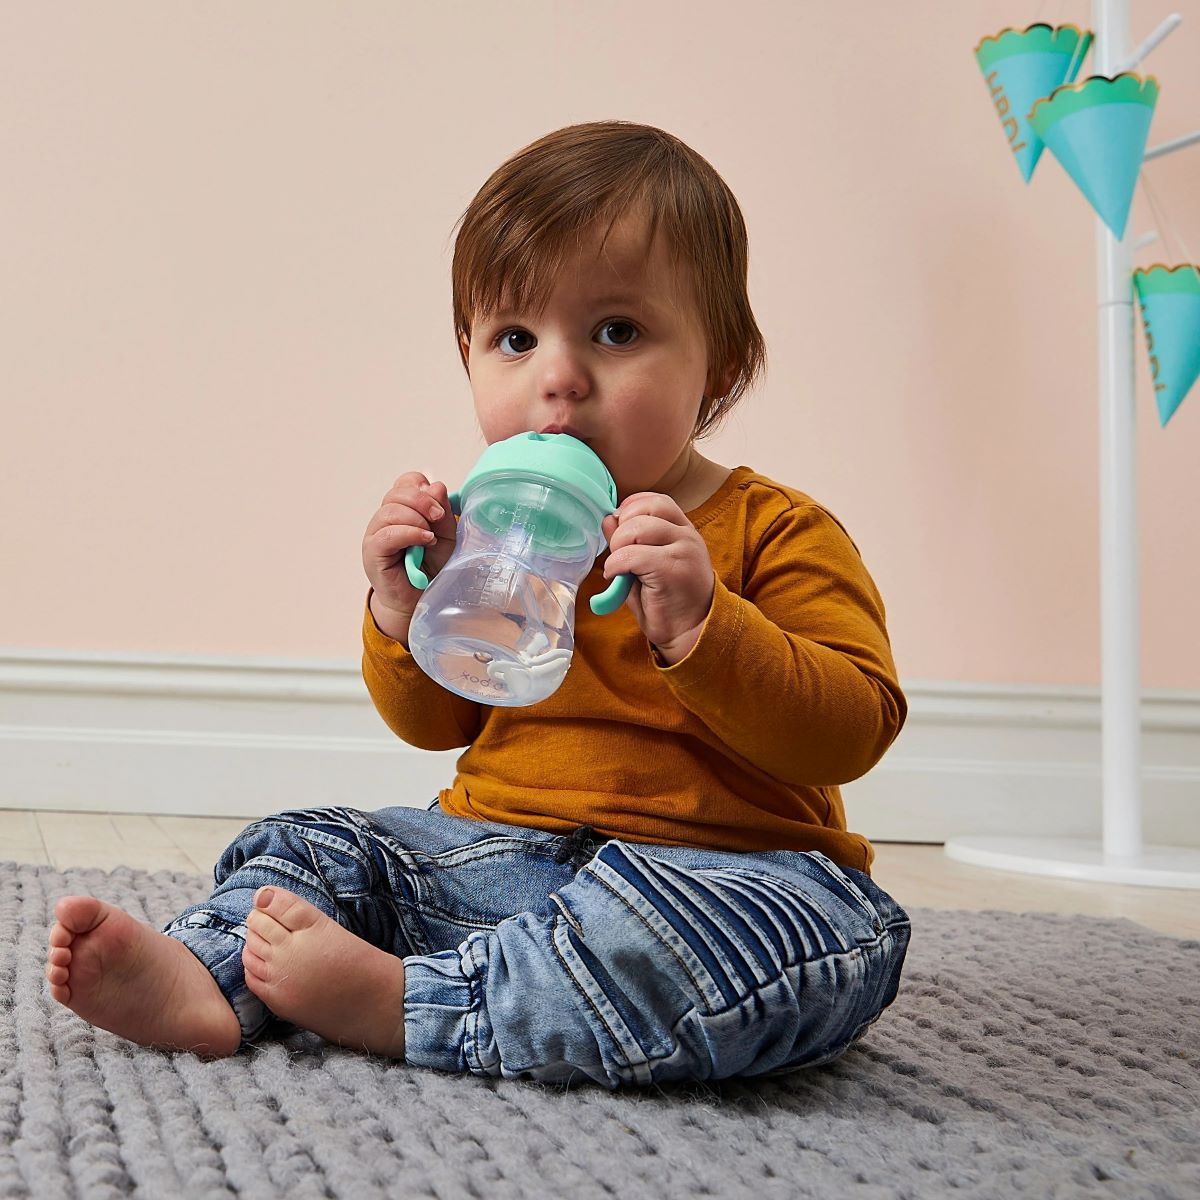
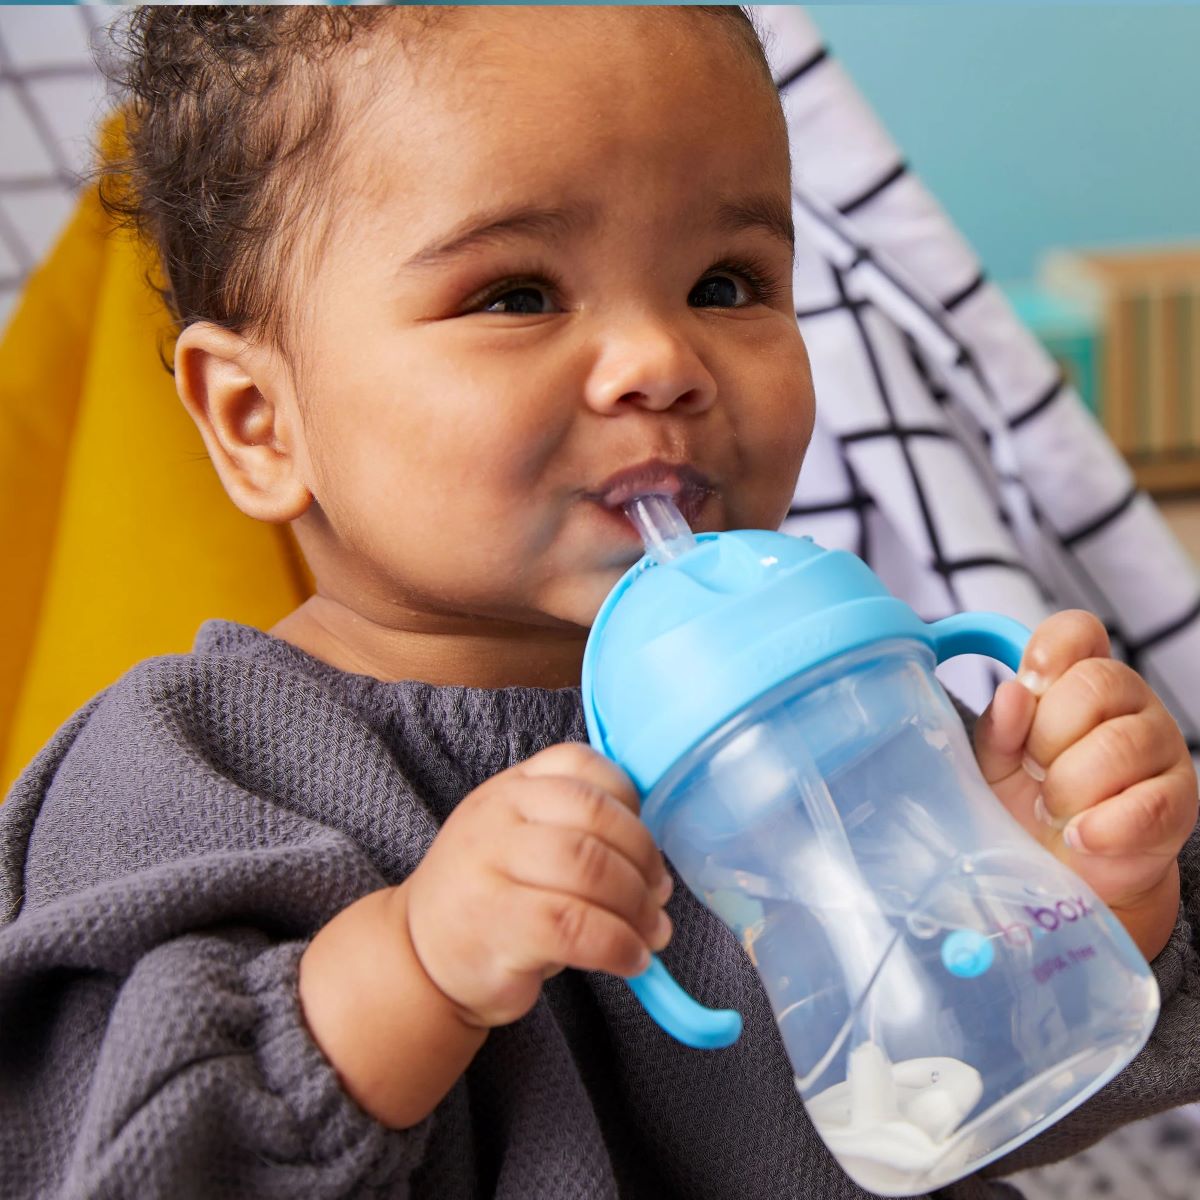
As a parent or caregiver, ensuring the safety of children and the elderly at home is a top priority. One essential aspect of this responsibility is providing them with safe and secure drinking vessels, such as the Nuby 360 Sippy Cup. This innovative sippy cup is designed to prevent spills and leaks, making it an ideal choice for both young children and the elderly.
In this comprehensive guide, we will walk you through the step-by-step process of assembling the Nuby 360 Sippy Cup. By following these instructions, you can ensure that the cup is properly assembled and ready for use, providing a reliable and secure drinking experience for your little ones or elderly loved ones.
The Nuby 360 Sippy Cup is not only a practical solution for preventing spills but also a versatile and durable option for everyday use. Its unique design allows children and the elderly to drink from any angle, promoting independent drinking while minimizing messes. By understanding how to assemble this sippy cup correctly, you can harness its full potential and provide a safe and enjoyable drinking experience for your loved ones.
Whether you are a parent introducing your child to their first sippy cup or a caregiver seeking a reliable drinking solution for an elderly individual, mastering the assembly of the Nuby 360 Sippy Cup is a valuable skill. With the right guidance and attention to detail, you can ensure that the cup is assembled securely, allowing for worry-free hydration in various settings, from the comfort of home to on-the-go adventures.
Now, let's dive into the step-by-step process of assembling the Nuby 360 Sippy Cup, empowering you to provide a safe and reliable drinking experience for your little ones or elderly family members.
Key Takeaways:
- Assemble the Nuby 360 Sippy Cup step-by-step to ensure spill-free drinking for kids and the elderly. Gather parts, insert spout, attach handles, secure lid, and test for leaks to provide a reliable drinking solution.
- The Nuby 360 Sippy Cup’s thoughtful design and assembly process prioritize safety, independence, and peace of mind for children and the elderly. Mastering its assembly ensures a secure and trustworthy drinking experience.
Read more: How To Use A Nuby Sippy Cup
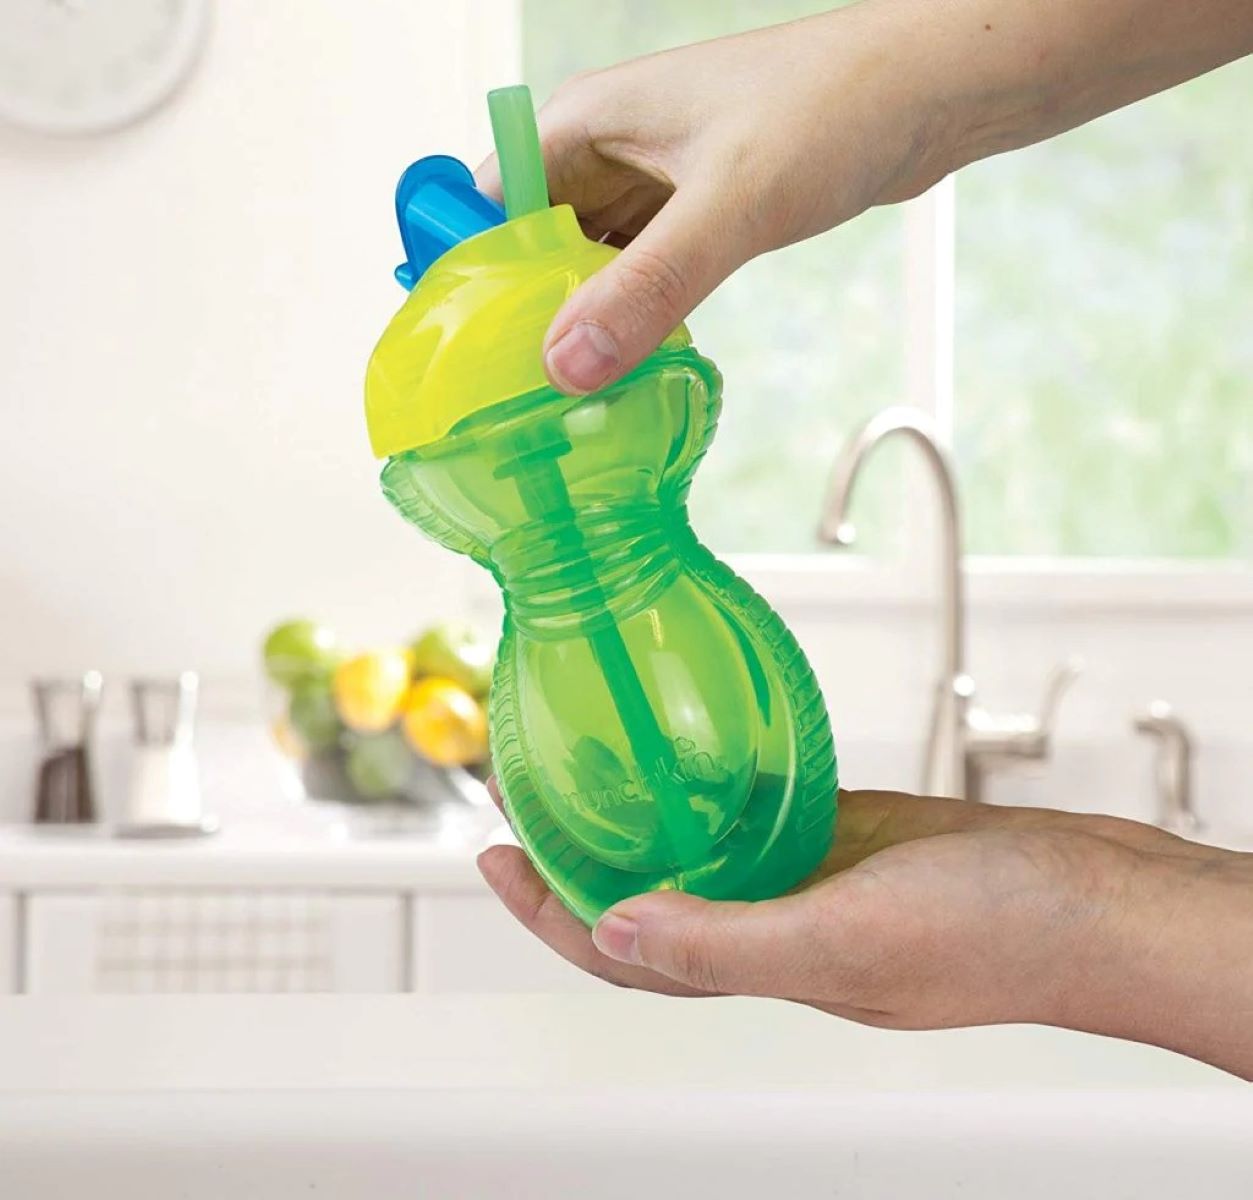
Step 1: Gather the Parts
Before assembling the Nuby 360 Sippy Cup, it's essential to gather all the necessary parts to ensure a smooth and efficient assembly process. The Nuby 360 Sippy Cup typically consists of several components, including the cup base, silicone spout, handles, and lid. By carefully collecting these parts, you can streamline the assembly process and avoid any potential delays or interruptions.
Start by locating the cup base, which serves as the foundation of the sippy cup. The cup base is designed to hold the liquid and forms the main body of the sippy cup. Next, identify the silicone spout, a crucial component that allows for spill-free drinking from any angle. The silicone spout is designed to fit securely onto the cup base, creating a reliable seal to prevent leaks.
Additionally, locate the handles that are designed to be attached to the cup base, providing a comfortable grip for little hands or elderly individuals. The handles play a key role in promoting independent drinking and enhancing the overall usability of the sippy cup. Lastly, ensure that you have the lid, which serves as the final piece of the assembly puzzle, securing the contents of the cup and preventing spills during use.
By gathering all these components in advance, you can set the stage for a seamless assembly process, allowing you to focus on putting the sippy cup together without any interruptions. Taking the time to gather the parts also enables you to inspect each component, ensuring that they are clean, free of damage, and ready for use.
As you gather the parts, take a moment to appreciate the thoughtful design and functionality of the Nuby 360 Sippy Cup. Each component is carefully crafted to contribute to the cup's overall effectiveness in preventing spills and promoting independent drinking. By understanding the role of each part, you can gain a deeper appreciation for the sippy cup's innovative design and its potential to enhance the daily lives of children and the elderly.
With the parts in hand, you are now ready to proceed to the next step of assembling the Nuby 360 Sippy Cup, bringing you one step closer to providing a reliable and secure drinking solution for your loved ones.
Step 2: Insert the Spout
Once you have gathered all the necessary components, it's time to move on to the next step: inserting the silicone spout into the cup base. This step is crucial in ensuring that the Nuby 360 Sippy Cup functions as intended, providing a spill-free drinking experience for children and the elderly.
Begin by taking the cup base and examining the opening where the spout will be inserted. The silicone spout is designed to fit securely into this opening, forming a tight seal to prevent leaks. Before proceeding, it's important to ensure that the spout is clean and free of any debris that could compromise its functionality.
Next, take the silicone spout and carefully align it with the opening on the cup base. The spout is designed to fit snugly into place, so gentle pressure may be required to insert it fully. As you press the spout into the opening, pay attention to any resistance or misalignment, making any necessary adjustments to ensure a proper fit.
Once the spout is inserted, give it a gentle tug to confirm that it is securely in place. The spout should sit flush with the cup base, with no gaps or loose areas that could compromise the seal. This step is crucial in preventing leaks and spills during use, so take the time to ensure that the spout is properly inserted.
As you complete this step, take a moment to appreciate the thoughtful design of the Nuby 360 Sippy Cup. The silicone spout plays a pivotal role in the cup's functionality, allowing for spill-free drinking from any angle. By understanding the importance of this component, you can gain a deeper appreciation for the sippy cup's innovative design and its potential to enhance the daily lives of children and the elderly.
With the spout securely inserted, you have successfully completed this step of the assembly process. The next step will involve attaching the handles to the cup base, further enhancing the usability of the Nuby 360 Sippy Cup. By following these step-by-step instructions, you are well on your way to providing a reliable and secure drinking solution for your loved ones.
Step 3: Attach the Handles
Attaching the handles to the Nuby 360 Sippy Cup is a pivotal step in the assembly process, as it enhances the cup's usability and promotes independent drinking for children and the elderly. The handles are designed to provide a comfortable grip, allowing little hands or elderly individuals to hold the cup securely while enjoying their favorite beverages.
To begin, take the cup base with the inserted silicone spout and examine the designated areas where the handles will be attached. The Nuby 360 Sippy Cup is thoughtfully designed with ergonomic handle attachment points, ensuring that the handles fit seamlessly and securely onto the cup base.
Next, locate the handles and identify the corresponding attachment points on the cup base. The handles are typically designed to be symmetrical, allowing for versatile placement on either side of the cup base. This thoughtful design accommodates both left-handed and right-handed users, catering to a diverse range of preferences and needs.
Carefully align the handles with the attachment points on the cup base, ensuring that they fit snugly into place. The handles are crafted to provide a secure connection, enhancing the overall stability of the cup during use. As you position the handles, apply gentle pressure to secure them onto the cup base, taking care to maintain an even alignment for optimal functionality.
Once the handles are attached, give them a gentle tug to confirm that they are firmly in place. The handles should sit securely on the cup base, allowing for confident handling without the risk of detachment. This step is crucial in ensuring that the Nuby 360 Sippy Cup is ready for use, providing a reliable and comfortable drinking experience for children and the elderly.
As you complete this step, take a moment to appreciate the thoughtful design and functionality of the Nuby 360 Sippy Cup. The ergonomic handles are a testament to the cup's user-centric design, prioritizing comfort and ease of use for young children and the elderly. By understanding the significance of this component, you can further recognize the sippy cup's potential to enhance the daily lives of your loved ones.
With the handles securely attached, you have successfully advanced in the assembly process, bringing you closer to providing a dependable and secure drinking solution for your little ones or elderly family members.
When assembling the Nuby 360 Sippy Cup, make sure to align the handles with the spout and twist them on securely. Check that the silicone valve is properly in place to prevent leaks.
Step 4: Secure the Lid
Securing the lid of the Nuby 360 Sippy Cup is the final step in the assembly process, ensuring that the cup is ready for practical use. The lid serves as the ultimate safeguard, preventing spills and leaks while preserving the contents of the cup. This critical component completes the sippy cup's construction, culminating in a reliable and secure drinking vessel for children and the elderly.
To begin, take the assembled cup base with the inserted silicone spout and attached handles. The lid is designed to fit snugly onto the cup base, forming a tight seal to prevent any liquid from escaping. Carefully examine the inner rim of the lid, which is engineered to interlock with the cup base, creating a secure closure.
Next, position the lid directly over the cup base, ensuring that it is aligned correctly for a proper fit. The Nuby 360 Sippy Cup is thoughtfully designed with an intuitive lid placement, allowing for effortless assembly without the need for excessive force or adjustments. As you lower the lid onto the cup base, apply gentle pressure to secure it in place, taking care to maintain even contact around the entire circumference.
Once the lid is in position, give it a gentle twist to lock it onto the cup base securely. The twisting motion engages the interlocking mechanism, creating a reliable seal that prevents any potential leaks. This final step is crucial in ensuring that the Nuby 360 Sippy Cup is fully assembled and ready for use, providing a spill-free drinking experience for children and the elderly.
As you complete this step, take a moment to appreciate the meticulous engineering behind the Nuby 360 Sippy Cup's lid. The secure closure mechanism reflects the cup's dedication to safety and reliability, offering peace of mind for parents and caregivers. By understanding the significance of this final component, you can further recognize the sippy cup's potential to enhance the daily lives of your loved ones.
With the lid securely in place, you have successfully completed the assembly of the Nuby 360 Sippy Cup, bringing you one step closer to providing a dependable and secure drinking solution for your little ones or elderly family members.
Read more: What Is A Sippy Cup?
Step 5: Test for Leaks
After assembling the Nuby 360 Sippy Cup, it's essential to perform a thorough leak test to ensure that the cup is ready for practical use. This step is crucial in verifying the integrity of the assembly and confirming that the cup is capable of delivering a spill-free drinking experience for children and the elderly.
To begin the leak test, fill the Nuby 360 Sippy Cup with water or a preferred beverage, ensuring that the liquid reaches a level suitable for testing. As you pour the liquid into the cup, take note of any immediate leaks or drips, which may indicate a potential assembly issue. It's important to conduct this test over a suitable surface to contain any potential spills during the evaluation.
Once the cup is filled, secure the lid in place by ensuring a proper twist-lock mechanism engagement. This step is essential in simulating real-world usage conditions and confirming that the lid effectively prevents leaks when the cup is in an upright position. With the lid securely fastened, proceed to hold the cup at various angles, including upright, tilted, and upside down, to assess its leak resistance from all orientations.
Observe the cup closely for any signs of leakage, paying particular attention to the areas where the silicone spout meets the cup base and the lid interface. Gently shake the cup to simulate handling during everyday use, allowing you to detect any potential leaks that may occur when the cup is in motion. By conducting this comprehensive evaluation, you can gain confidence in the Nuby 360 Sippy Cup's ability to deliver a reliable and spill-free drinking experience.
As you perform the leak test, consider involving your child or the elderly individual in the process, allowing them to interact with the cup and experience its functionality firsthand. This collaborative approach not only provides an opportunity for engagement but also allows you to observe how the cup performs under real-world usage scenarios, further validating its leak resistance and overall effectiveness.
Upon completing the leak test and confirming the absence of leaks or spills, you can proceed with confidence, knowing that the Nuby 360 Sippy Cup is fully assembled and ready for use. This meticulous evaluation ensures that the cup meets the highest standards of safety and reliability, providing peace of mind for parents and caregivers while offering a dependable drinking solution for children and the elderly.
With the leak test successfully completed, you have taken the final step in assembling the Nuby 360 Sippy Cup, bringing you one step closer to providing a secure and trustworthy drinking vessel for your loved ones.
Conclusion
In conclusion, mastering the assembly of the Nuby 360 Sippy Cup is a valuable skill for parents, caregivers, and anyone responsible for the well-being of children and the elderly. By following the step-by-step process outlined in this guide, you can ensure that the sippy cup is assembled securely, ready to provide a reliable and spill-free drinking experience for your loved ones.
Assembling the Nuby 360 Sippy Cup is not just a practical task; it is an opportunity to appreciate the thoughtful design and functionality of this innovative drinking vessel. From gathering the parts to conducting a thorough leak test, each step in the assembly process contributes to the cup's overall effectiveness in preventing spills and promoting independent drinking.
The Nuby 360 Sippy Cup's unique design, featuring a silicone spout that allows for drinking from any angle, ergonomic handles for comfortable gripping, and a secure lid to prevent leaks, reflects a commitment to safety and usability. Understanding the significance of each component and the meticulous engineering behind the cup's construction allows for a deeper appreciation of its potential to enhance the daily lives of children and the elderly.
By involving your child or the elderly individual in the assembly process and the subsequent leak test, you can create an engaging and interactive experience while validating the cup's functionality under real-world usage scenarios. This collaborative approach not only fosters a sense of involvement but also provides valuable insights into the cup's performance, further instilling confidence in its reliability.
Upon completing the assembly and leak test, you can proceed with confidence, knowing that the Nuby 360 Sippy Cup is equipped to deliver a secure and trustworthy drinking solution. Whether it's for use at home, during outings, or in caregiving settings, the assembled sippy cup stands as a testament to safety, reliability, and thoughtful design.
In essence, the assembly of the Nuby 360 Sippy Cup transcends a mere mechanical process; it represents a commitment to providing a safe and enjoyable drinking experience for the ones who matter most. With the cup fully assembled and validated for leak resistance, you are empowered to embrace everyday moments with peace of mind, knowing that your loved ones can hydrate independently and securely.
Mastering the assembly of the Nuby 360 Sippy Cup is not just about putting together a drinking vessel; it's about nurturing safety, independence, and peace of mind for your little ones or elderly family members. As you witness the cup in action, providing a spill-free and reliable drinking experience, you can take pride in knowing that you have contributed to enhancing their daily lives in a meaningful and practical way.
Frequently Asked Questions about How To Assemble Nuby 360 Sippy Cup
Was this page helpful?
At Storables.com, we guarantee accurate and reliable information. Our content, validated by Expert Board Contributors, is crafted following stringent Editorial Policies. We're committed to providing you with well-researched, expert-backed insights for all your informational needs.


0 thoughts on “How To Assemble Nuby 360 Sippy Cup”