Home>Gardening & Outdoor>Outdoor Structures>How To Assemble A Pergola
Outdoor Structures
How To Assemble A Pergola
Modified: August 20, 2024
Learn how to assemble a beautiful pergola for your outdoor space with our step-by-step guide. Create a stunning outdoor structure with ease.
(Many of the links in this article redirect to a specific reviewed product. Your purchase of these products through affiliate links helps to generate commission for Storables.com, at no extra cost. Learn more)
Introduction
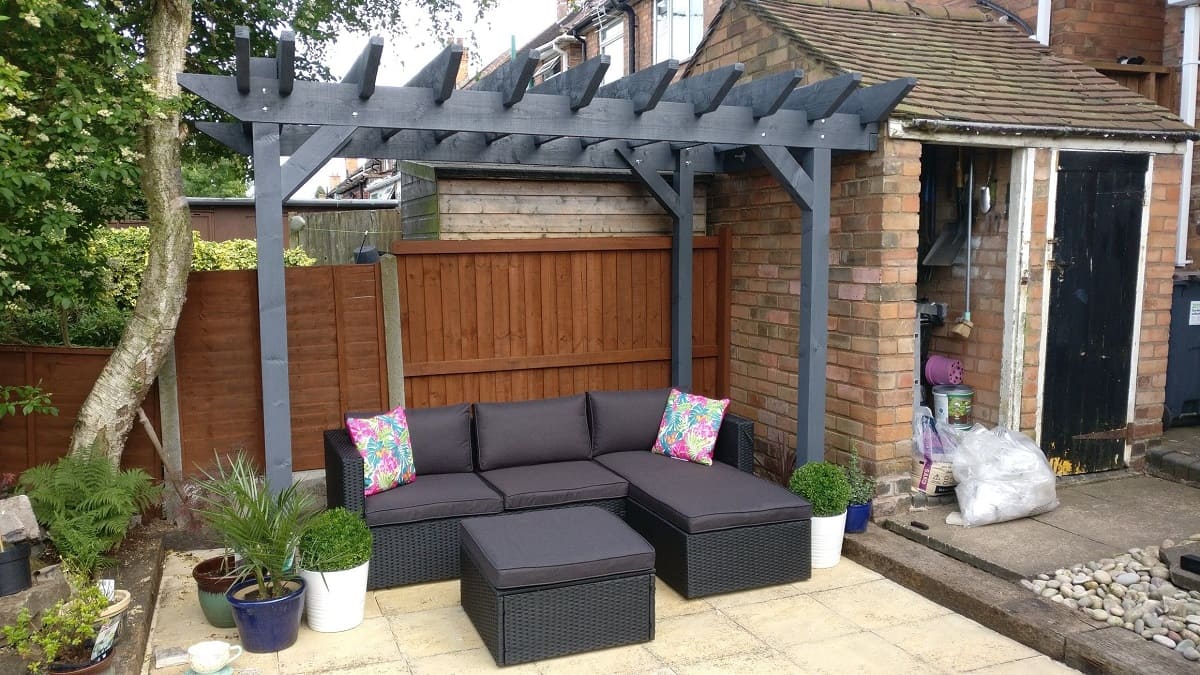
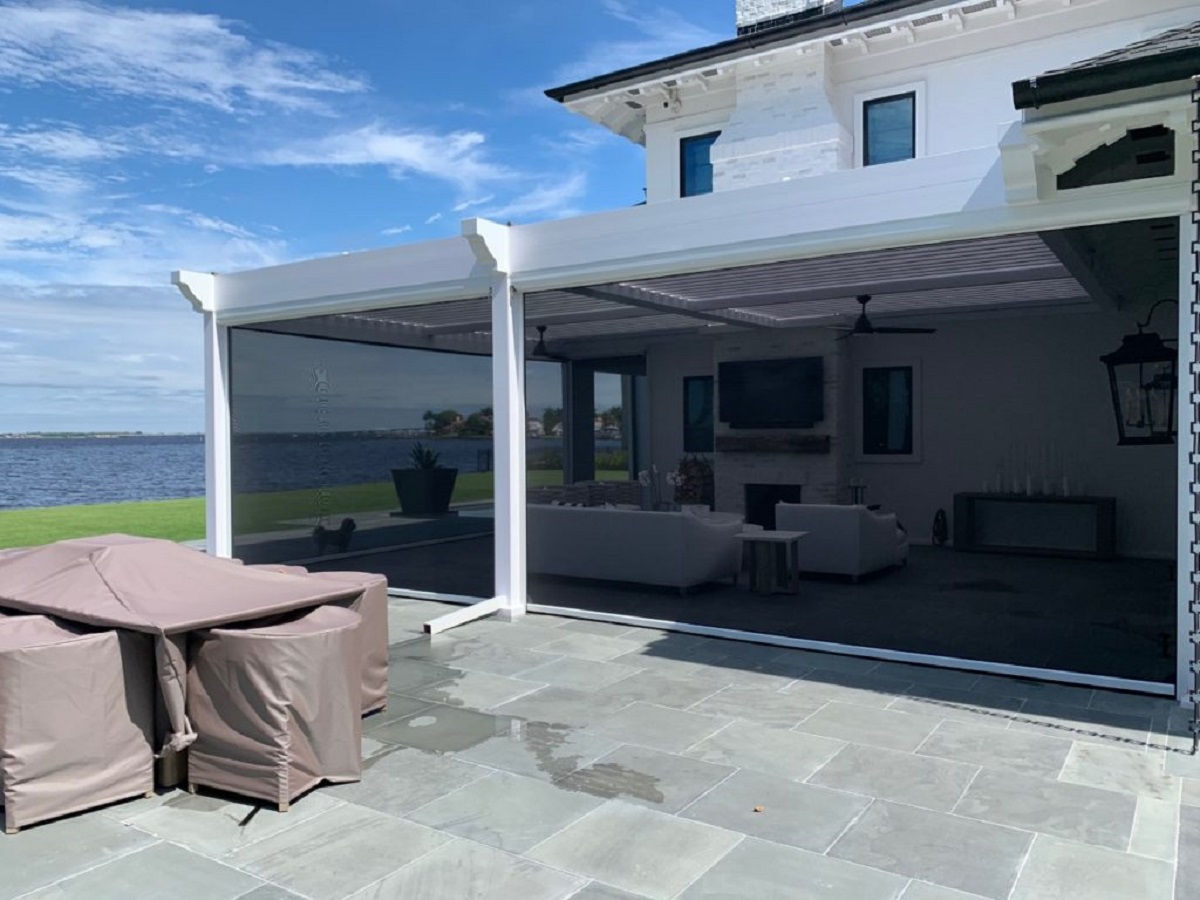
Welcome to the world of outdoor living, where the gentle embrace of nature meets the artful craftsmanship of human hands. A pergola is not just a structure; it’s an invitation to create a haven of tranquility in your own backyard. Whether you envision it as a focal point for social gatherings, a shaded retreat for solitary contemplation, or a picturesque frame for climbing plants, assembling a pergola is a gratifying endeavor that adds both beauty and functionality to your outdoor space.
In this comprehensive guide, we will walk you through the step-by-step process of assembling a pergola, from gathering the necessary tools and materials to adding the finishing touches. By the end of this journey, you will have the knowledge and confidence to bring your vision to life, creating a captivating outdoor sanctuary that reflects your personal style and enhances your lifestyle.
Key Takeaways:
- Assembling a pergola involves gathering tools, preparing the site, and constructing the frame, posts, and roof. It’s a gratifying endeavor that adds beauty and functionality to outdoor spaces.
- The finishing touches, such as wood sealer, decorative elements, and outdoor lighting, elevate the pergola from a framework to a captivating outdoor sanctuary, reflecting personal style and enhancing outdoor lifestyle.
Read more: How To Assemble A Coffee Table
Step 1: Gather Necessary Tools and Materials
Before embarking on the assembly of your pergola, it’s essential to gather all the tools and materials required for the project. The specific items needed may vary depending on the design and size of the pergola, but there are some fundamental essentials that apply to most installations.
Tools:
- Measuring tape
- Level
- Drill with bits
- Socket wrench set
- Hammer
- Screwdriver
- Saw (if custom cuts are required)
- Ladder
- Work gloves and safety goggles
Materials:
- Pergola kit or individual lumber pieces
- Concrete mix or anchor kits for securing posts
- Galvanized or stainless-steel screws and bolts
- Wood sealer or paint (if desired for finishing)
- Post mounts or brackets (if not included in the kit)
- Decorative caps for the posts (optional)
Ensuring that you have all the necessary tools and materials at the outset will streamline the assembly process and minimize interruptions. Additionally, it’s advisable to carefully review the assembly instructions provided by the pergola manufacturer to confirm that you have all the required components and to familiarize yourself with the recommended tools for the specific model.
By meticulously preparing for the task at hand, you set the stage for a smooth and efficient assembly process, laying the groundwork for a stunning addition to your outdoor living space.
Step 2: Prepare the Site
Before diving into the physical assembly of the pergola, it’s crucial to prepare the site where the structure will be installed. This preparatory phase sets the foundation for a sturdy and visually appealing end result.
Site Selection:
Choose the location for your pergola thoughtfully, considering factors such as sunlight exposure, proximity to the house, and the surrounding landscape. Ensure that there are no underground utilities or obstacles that could impede the installation process.
Site Preparation:
Begin by marking the perimeter of the pergola footprint using stakes and string. Use a shovel to remove any grass, rocks, or debris from the area. If the ground is not level, you may need to excavate and add a bed of gravel to create a stable base. Verify the dimensions and angles of the site to confirm that they align with the intended design of the pergola.
Check Local Regulations:
Before proceeding with the installation, it’s essential to check local building codes and regulations. Some areas may require a permit for the construction of a pergola, particularly if it exceeds a certain size or height. Compliance with these regulations is crucial to avoid potential issues in the future.
Foundation Preparation:
Depending on the type of pergola and the local soil conditions, you may need to install footings or anchors to provide a stable foundation. This may involve pouring concrete footings or using anchor kits designed for the specific soil type and load requirements. Follow the manufacturer’s recommendations and any applicable building codes when preparing the foundation.
By meticulously preparing the site for your pergola, you establish a solid groundwork for the assembly process, ensuring that the structure is not only visually appealing but also structurally sound and long-lasting. With the site ready, you are now poised to move forward with assembling the frame of your pergola, bringing your vision one step closer to reality.
Step 3: Assemble the Pergola Frame
With the site prepared, it’s time to delve into the assembly process by constructing the frame of the pergola. This foundational step forms the skeleton of the structure, setting the stage for the addition of posts, crossbeams, and rafters.
Follow the Instructions:
Refer to the assembly instructions provided by the manufacturer, and lay out all the components in an organized manner. Take the time to familiarize yourself with each part and its designated placement within the frame. If you are constructing a custom pergola, ensure that you have a clear plan or design schematic to guide the assembly process.
Frame Assembly:
Begin by constructing the main frame of the pergola, which typically consists of the horizontal beams and support headers. Secure the beams together using the appropriate hardware, such as screws or bolts, as specified in the instructions. Use a level to ensure that the frame is plumb and square as you progress through the assembly process.
Custom Cuts:
If you are building a custom pergola, you may need to make precise cuts to the lumber to achieve the desired dimensions and angles. Take accurate measurements and use a saw to make the necessary cuts, following the design plan meticulously to maintain uniformity and structural integrity.
Teamwork and Safety:
Depending on the size and complexity of the pergola, enlisting the help of a friend or family member can expedite the assembly process and ensure safety. Lift and position the frame components carefully, using proper lifting techniques and personal protective equipment as needed.
As you piece together the pergola frame, envision the transformation taking place in your outdoor space. Each connection made and beam secured brings you one step closer to realizing your vision of an inviting and elegant outdoor retreat. With the frame assembled, the next phase of installing the posts will further solidify the structure and set the stage for the crowning touch of the crossbeams and rafters.
Step 4: Install the Posts
As the frame of the pergola takes shape, the installation of the posts marks a pivotal stage in the assembly process. The posts not only provide structural support but also contribute to the aesthetic appeal of the pergola, defining its form and character.
Positioning the Posts:
With the frame in place, carefully position the posts at the designated locations, ensuring that they align with the layout and dimensions of the pergola. Use a level to confirm that the posts are plumb and make any necessary adjustments to achieve precise vertical alignment.
Attachment Method:
Depending on the design and construction of the pergola, the posts may be attached to the frame using brackets, mounting hardware, or direct fastening methods. Follow the manufacturer’s instructions or your custom design plan to securely affix the posts to the frame, maintaining structural integrity and alignment.
Foundation Connection:
If your pergola requires concrete footings or anchors, ensure that the posts are securely anchored to the foundation, providing stability and resistance to external forces. Verify that the connection between the posts and the foundation is robust, as this forms the cornerstone of the pergola’s structural integrity.
Post Cap Finishing:
Consider adding decorative post caps to enhance the visual appeal of the pergola. These finishing touches not only provide a polished look but also offer protection to the exposed end grain of the posts, contributing to the longevity of the structure.
As the posts take their place within the pergola assembly, envision the transformation of your outdoor space, where each post stands as a testament to the artful fusion of nature and craftsmanship. With the posts securely installed, the subsequent steps of attaching the crossbeams and rafters will further enrich the character and allure of your pergola, bringing you closer to the realization of your outdoor sanctuary.
When assembling a pergola, make sure to carefully follow the manufacturer’s instructions to ensure proper installation and stability. It’s also important to have the necessary tools and equipment on hand before starting the assembly process.
Read more: How To Assemble Dining Chairs
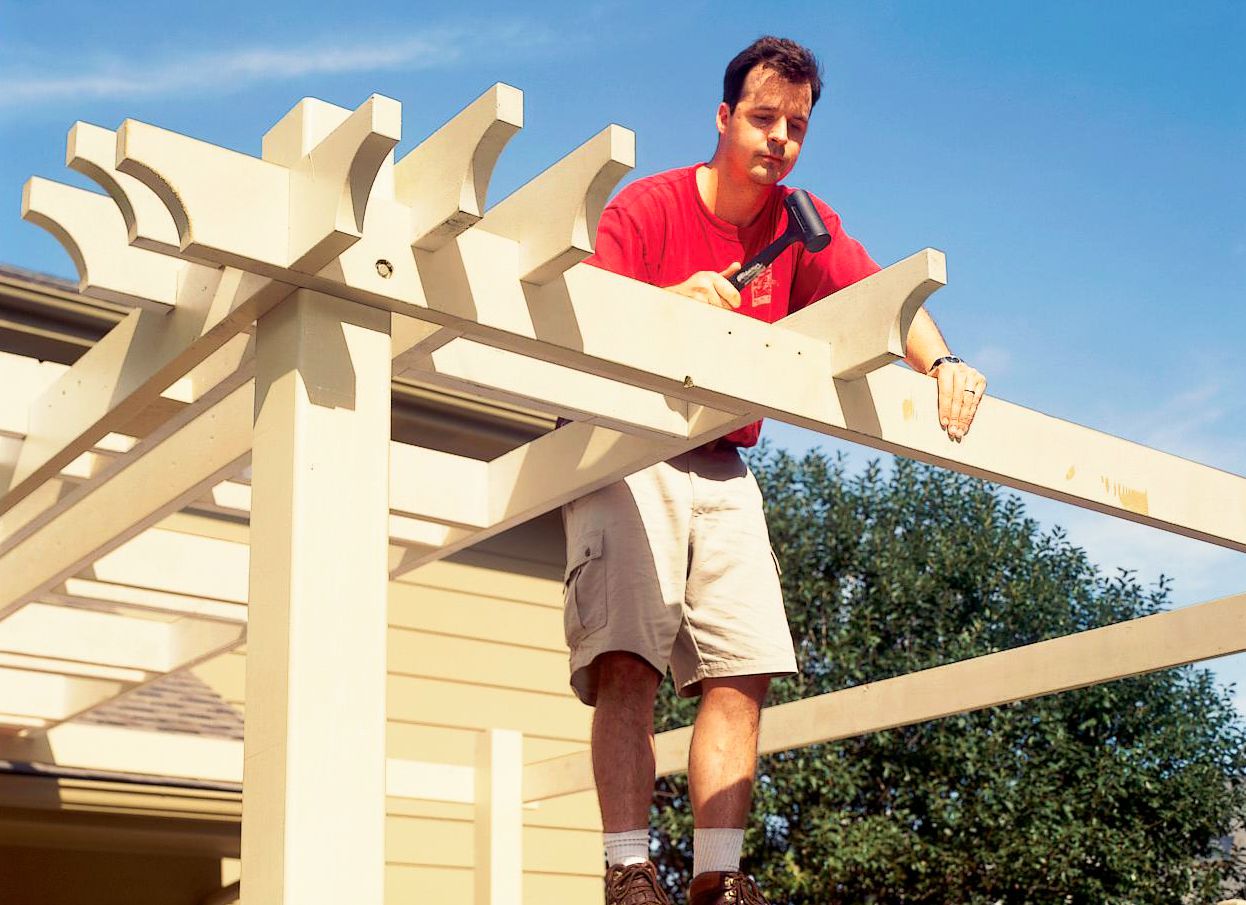
Step 5: Attach the Crossbeams and Rafters
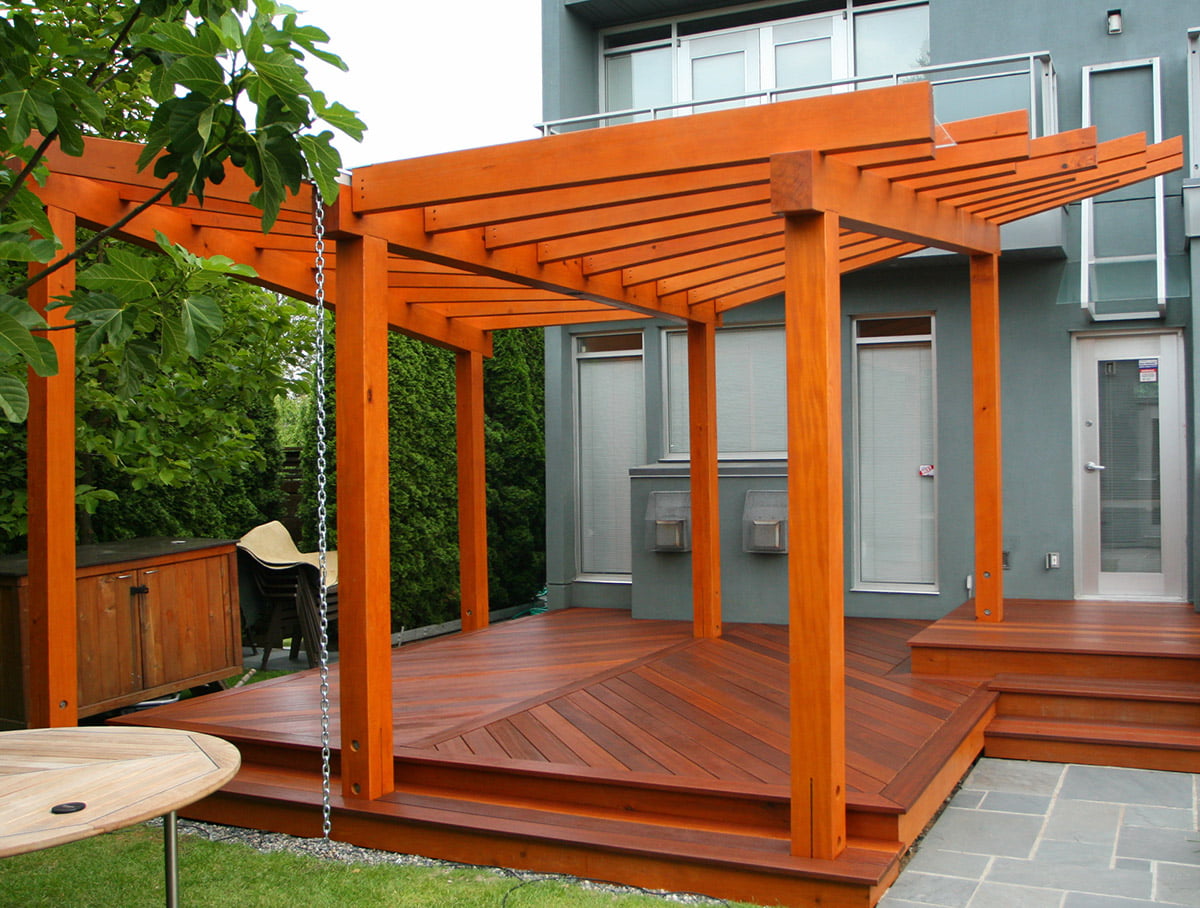
With the frame and posts firmly in place, the addition of crossbeams and rafters elevates the pergola from a skeletal structure to a captivating architectural feature. This phase of the assembly imbues the pergola with character, providing both visual appeal and functional support for the roof and climbing plants.
Crossbeam Placement:
Position the crossbeams across the top of the pergola frame, ensuring that they align with the designated layout and overhang dimensions. Secure the crossbeams to the frame using the recommended fastening method, whether it involves brackets, hardware, or direct attachment, as specified by the manufacturer or your custom design plan.
Rafter Installation:
Once the crossbeams are in place, the next step is to install the rafters, which run perpendicular to the crossbeams, creating the framework for the roof or open lattice. Carefully position and attach the rafters to the crossbeams, maintaining uniform spacing and alignment to achieve a balanced and visually appealing configuration.
Custom Design Considerations:
If you are constructing a custom pergola with intricate design elements, such as decorative end cuts or patterned rafter placements, take the time to execute these details with precision and artistry. Customizing the design adds a personalized touch to the pergola, elevating it from a standard structure to a bespoke outdoor centerpiece.
Enhancing Structural Integrity:
As you attach the crossbeams and rafters, prioritize the structural integrity of the pergola, ensuring that all connections are secure and load-bearing considerations are taken into account. This not only contributes to the longevity of the structure but also provides peace of mind as you envision the countless moments of enjoyment that await beneath the completed pergola.
With the crossbeams and rafters in place, the pergola begins to exude its full charm and allure, providing a captivating interplay of light and shadow, and offering a canvas for nature to weave its verdant tapestry. As you approach the culmination of the assembly process, the final steps of securing the pergola to the ground and adding finishing touches will bring your vision of an idyllic outdoor retreat to fruition.
Step 6: Secure the Pergola to the Ground
As the structural components of the pergola come together, securing the structure to the ground is a critical step in ensuring its stability, resilience, and long-term enjoyment. Anchoring the pergola firmly to the ground safeguards it against external forces and provides a solid foundation for years of outdoor relaxation and entertainment.
Anchor Installation:
Depending on the design and local regulations, the method of securing the pergola to the ground may involve concrete footings, anchor kits, or other approved fastening systems. Follow the manufacturer’s guidelines or engineering recommendations to select and install the appropriate anchors that align with the soil conditions and load requirements of your specific location.
Connection to Posts:
Ensure that the chosen anchoring method effectively connects the pergola to the posts, creating a unified and stable structure. The integrity of this connection is pivotal in fortifying the pergola against wind, inclement weather, and other environmental factors that may exert forces on the structure.
Considerations for Elevated Pergolas:
If your pergola is designed to be elevated, such as a rooftop or balcony installation, consult with a structural engineer or building professional to determine the appropriate methods for securing the structure in accordance with local building codes and safety standards.
Enhancing Aesthetics:
While the primary purpose of securing the pergola to the ground is structural stability, the chosen anchoring method can also contribute to the overall aesthetics of the installation. Concealed or decorative anchor systems can maintain a seamless visual appeal while fulfilling their functional role.
As you secure the pergola to the ground, envision the peace of mind that comes with knowing that your outdoor sanctuary is fortified against the elements, standing as a steadfast refuge for relaxation, gatherings, and cherished moments spent in the embrace of nature. With the pergola firmly grounded, the final step of adding finishing touches will complete the transformation, culminating in a captivating outdoor space that reflects your vision and craftsmanship.
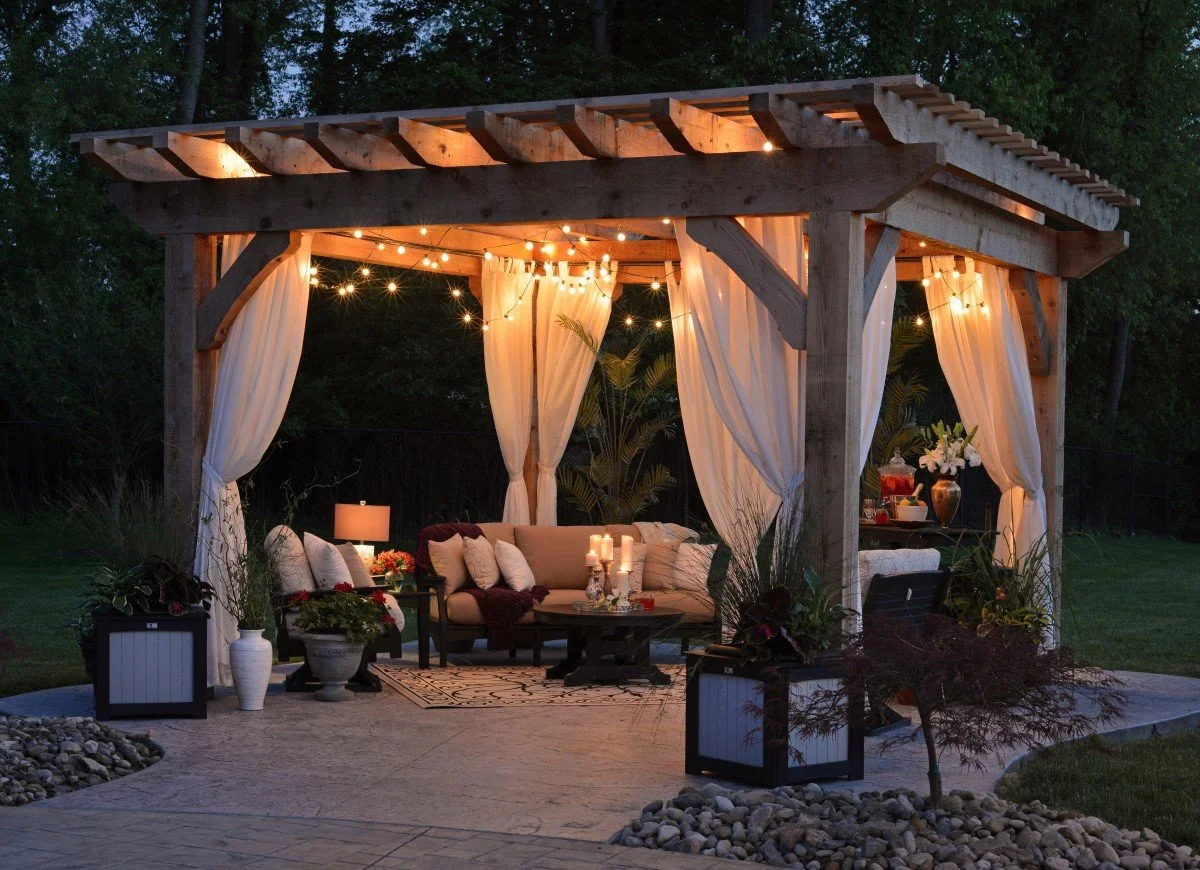
Step 7: Add Finishing Touches
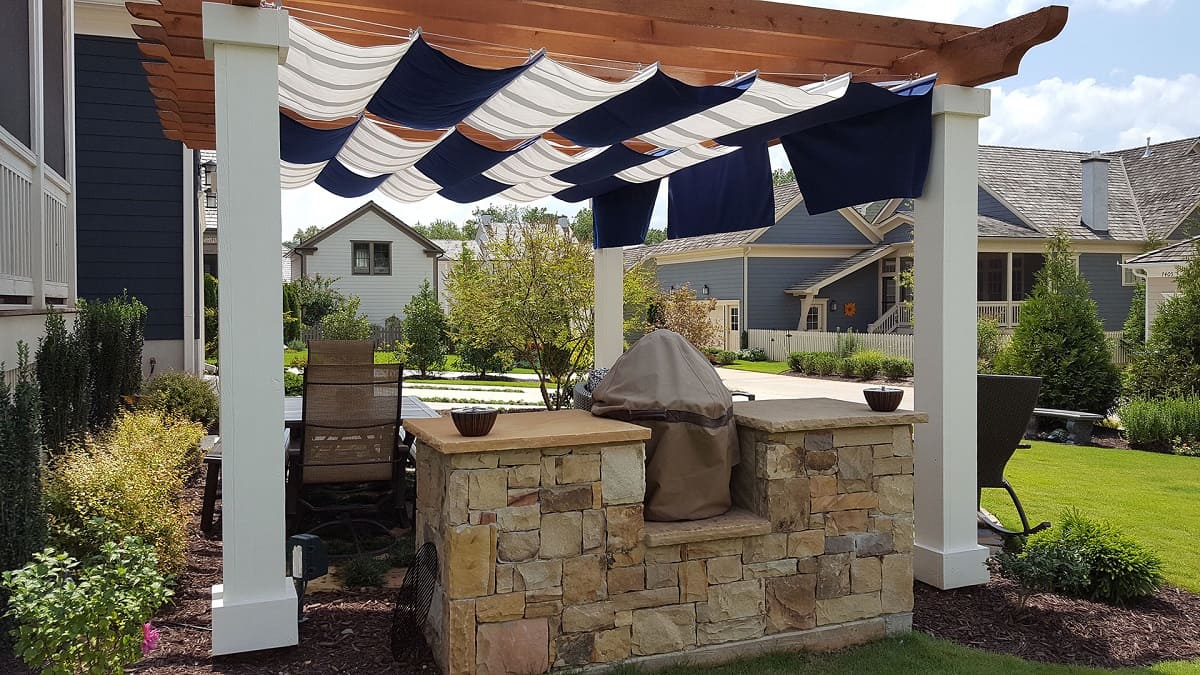
As the assembly of the pergola nears completion, adding the finishing touches is a transformative step that elevates the structure from a framework to a captivating outdoor sanctuary. These final embellishments not only enhance the visual appeal but also contribute to the functionality, longevity, and personalized charm of the pergola.
Finishing Options:
Consider applying a wood sealer, stain, or paint to the pergola to protect the lumber from the elements and imbue it with a lustrous finish. Select a finish that complements the existing aesthetics of your outdoor space and aligns with your personal style preferences.
Decorative Elements:
Embellish the pergola with decorative elements such as ornamental end cuts, lattice panels, or climbing plants to infuse character and visual interest. These embellishments can impart a sense of artistry and create a harmonious integration with the surrounding landscape.
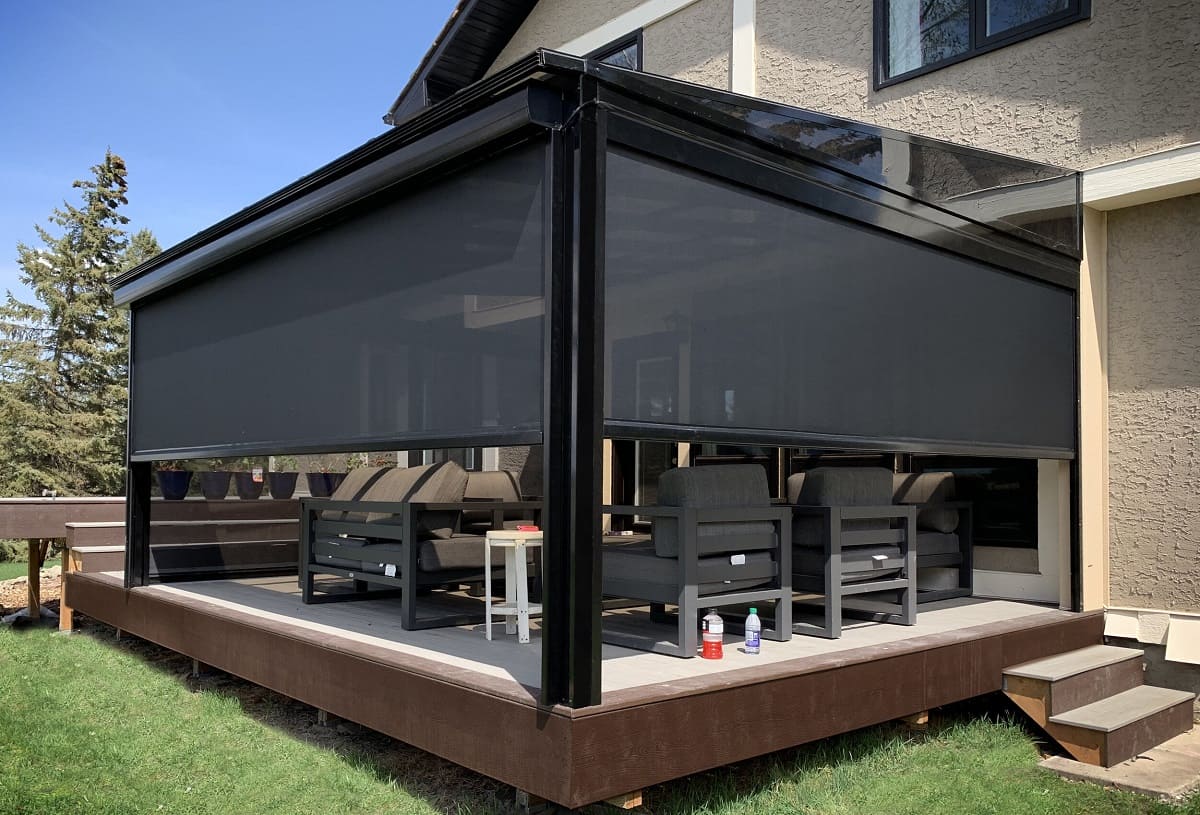
Outdoor Lighting:
Integrate outdoor lighting fixtures, such as string lights, lanterns, or sconces, to extend the functionality of the pergola into the evening hours. Thoughtfully placed lighting not only enhances the ambiance but also extends the utility of the outdoor space for nighttime gatherings and relaxation.
Furniture and Accessories:
Complete the pergola ensemble with outdoor furniture, cushions, and accessories that invite comfort and leisure. Whether it’s a cozy seating arrangement, a dining set, or a hammock, the addition of furnishings transforms the pergola into an inviting retreat for leisure and socializing.
Climbing Plants:
If your vision includes a verdant canopy enveloping the pergola, consider planting climbing vines or flowering plants that will ascend and intertwine with the structure over time. This living adornment adds a dynamic and ever-evolving element to the pergola, creating a seamless union with nature.
As you add the finishing touches to the pergola, envision the culmination of your outdoor oasis, where craftsmanship, nature, and personal style converge to create a captivating haven. With each detail meticulously attended to, the pergola becomes a reflection of your vision and a testament to the art of outdoor living.
With the completion of the finishing touches, your pergola stands as a testament to the artful fusion of craftsmanship and nature, offering a captivating retreat in your outdoor space. Whether it’s a tranquil haven for solitary reflection, a picturesque setting for social gatherings, or a canvas for climbing plants to weave their verdant tapestry, the assembled pergola embodies both beauty and functionality, enriching your outdoor lifestyle.
Conclusion
Congratulations on successfully assembling your pergola, a testament to your vision, craftsmanship, and commitment to enhancing your outdoor living space. The journey from a collection of materials to a captivating architectural feature has not only added aesthetic allure but has also expanded the possibilities for relaxation, entertainment, and communion with nature in your own backyard.
As you stand beneath the completed pergola, surrounded by the artful interplay of light and shadow, you are poised to embark on a multitude of memorable experiences. Whether it’s basking in the dappled sunlight that filters through the lattice, hosting convivial gatherings within its welcoming embrace, or simply finding solace in its tranquil shelter, the pergola stands as a versatile and enduring addition to your outdoor sanctuary.
Every step of the assembly process, from preparing the site to adding the finishing touches, has been a testament to your dedication and creativity. The meticulous attention to detail, the artful fusion of materials, and the seamless integration of form and function have culminated in a pergola that not only enhances your outdoor space but also enriches your lifestyle.
As you revel in the completion of your pergola, take a moment to appreciate the transformation that has taken place. What was once a collection of components has blossomed into a captivating structure, a stage for cherished moments, and a canvas for the beauty of nature to weave its enchanting tapestry.
May your pergola be a source of joy, relaxation, and inspiration, inviting you to savor the simple pleasures of outdoor living and serving as a backdrop for countless memories yet to be made. Whether it’s the laughter of loved ones, the serenity of a quiet afternoon, or the symphony of nature’s melodies, the pergola stands ready to embrace and enrich every moment.
With the completion of your pergola assembly, you have not only created a stunning architectural feature but have also cultivated a space that embodies the essence of outdoor living—a harmonious blend of beauty, functionality, and the boundless possibilities of al fresco living.
Embrace the allure of your pergola, and may it be a cherished sanctuary that beckons you to savor the splendor of the outdoors, creating indelible moments and forging lasting connections with nature and loved ones alike.
Frequently Asked Questions about How To Assemble A Pergola
Was this page helpful?
At Storables.com, we guarantee accurate and reliable information. Our content, validated by Expert Board Contributors, is crafted following stringent Editorial Policies. We're committed to providing you with well-researched, expert-backed insights for all your informational needs.


0 thoughts on “How To Assemble A Pergola”