Home>Maintenance & Safety>Child & Elderly Safety at Home>How To Clean Munchkin Click Lock Sippy Cup
Child & Elderly Safety at Home
How To Clean Munchkin Click Lock Sippy Cup
Modified: August 17, 2024
Learn how to safely clean Munchkin Click Lock Sippy Cup for child and elderly safety at home. Follow these easy steps for a hygienic and secure sippy cup.
(Many of the links in this article redirect to a specific reviewed product. Your purchase of these products through affiliate links helps to generate commission for Storables.com, at no extra cost. Learn more)
Introduction
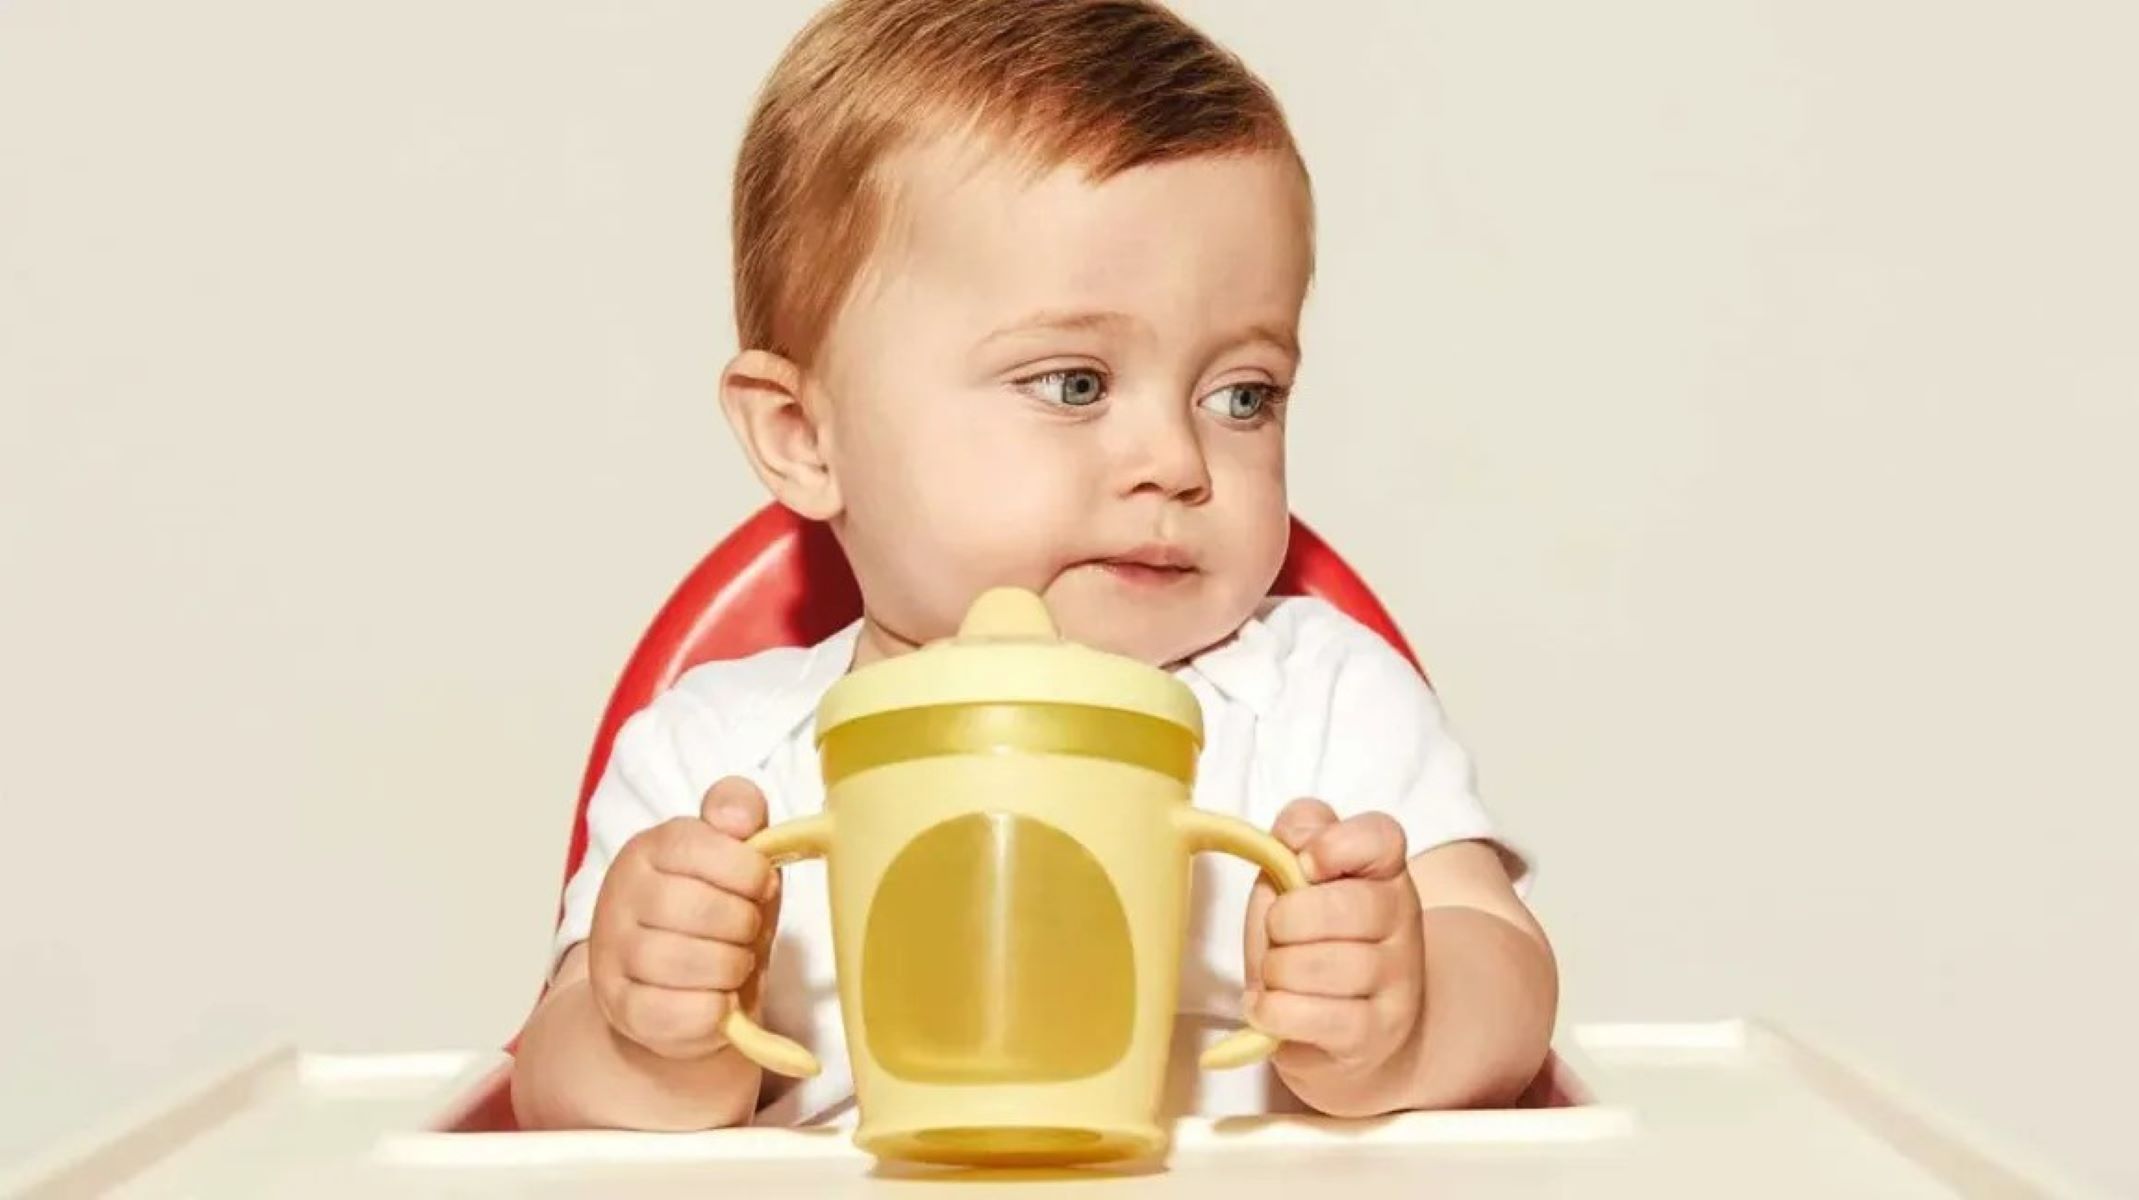
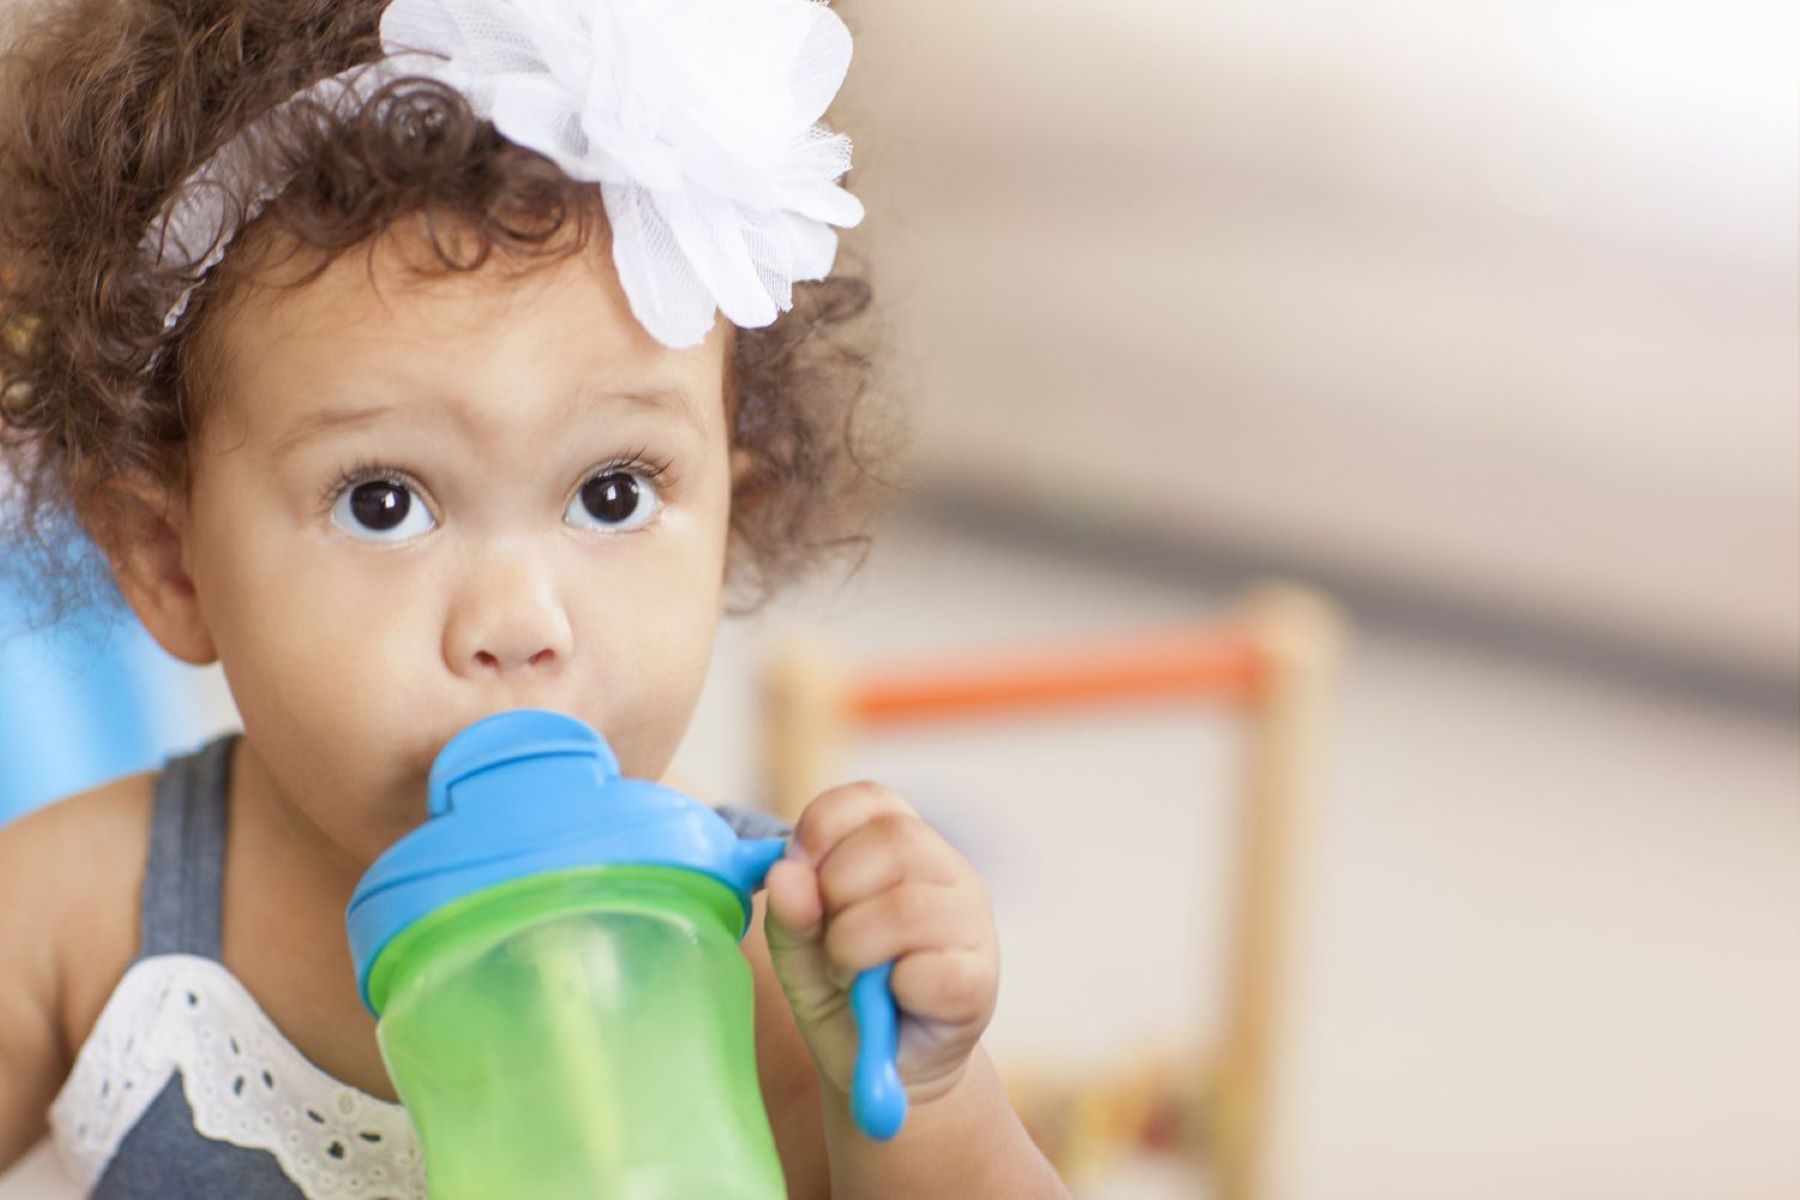
Cleaning a Munchkin Click Lock Sippy Cup is an essential aspect of maintaining your child's health and safety. Sippy cups are a staple in many households, providing a convenient way for toddlers to transition from bottles to cups while minimizing spills. However, without proper cleaning, these beloved vessels can become breeding grounds for harmful bacteria and mold. As a parent or caregiver, ensuring that your child's sippy cup is thoroughly cleaned is crucial for safeguarding their well-being.
In this comprehensive guide, we will walk you through the step-by-step process of effectively cleaning a Munchkin Click Lock Sippy Cup. By following these simple yet vital cleaning procedures, you can rest assured that your little one's sippy cup remains hygienic and safe for everyday use. Let's delve into the essential steps that will help you maintain a clean and healthy sippy cup for your child's enjoyment and well-being.
Key Takeaways:
- Keep your child’s Munchkin Click Lock Sippy Cup clean by disassembling, rinsing, soaking, scrubbing, and drying the parts. Regular maintenance ensures a safe and hygienic drinking experience for your little one.
- Thoroughly clean and reassemble your child’s Munchkin Click Lock Sippy Cup to maintain its functionality and safety. By following these steps, you can provide a clean and reliable drinking solution for your little one’s well-being.
Read more: How Does A Munchkin Sippy Cup Work?
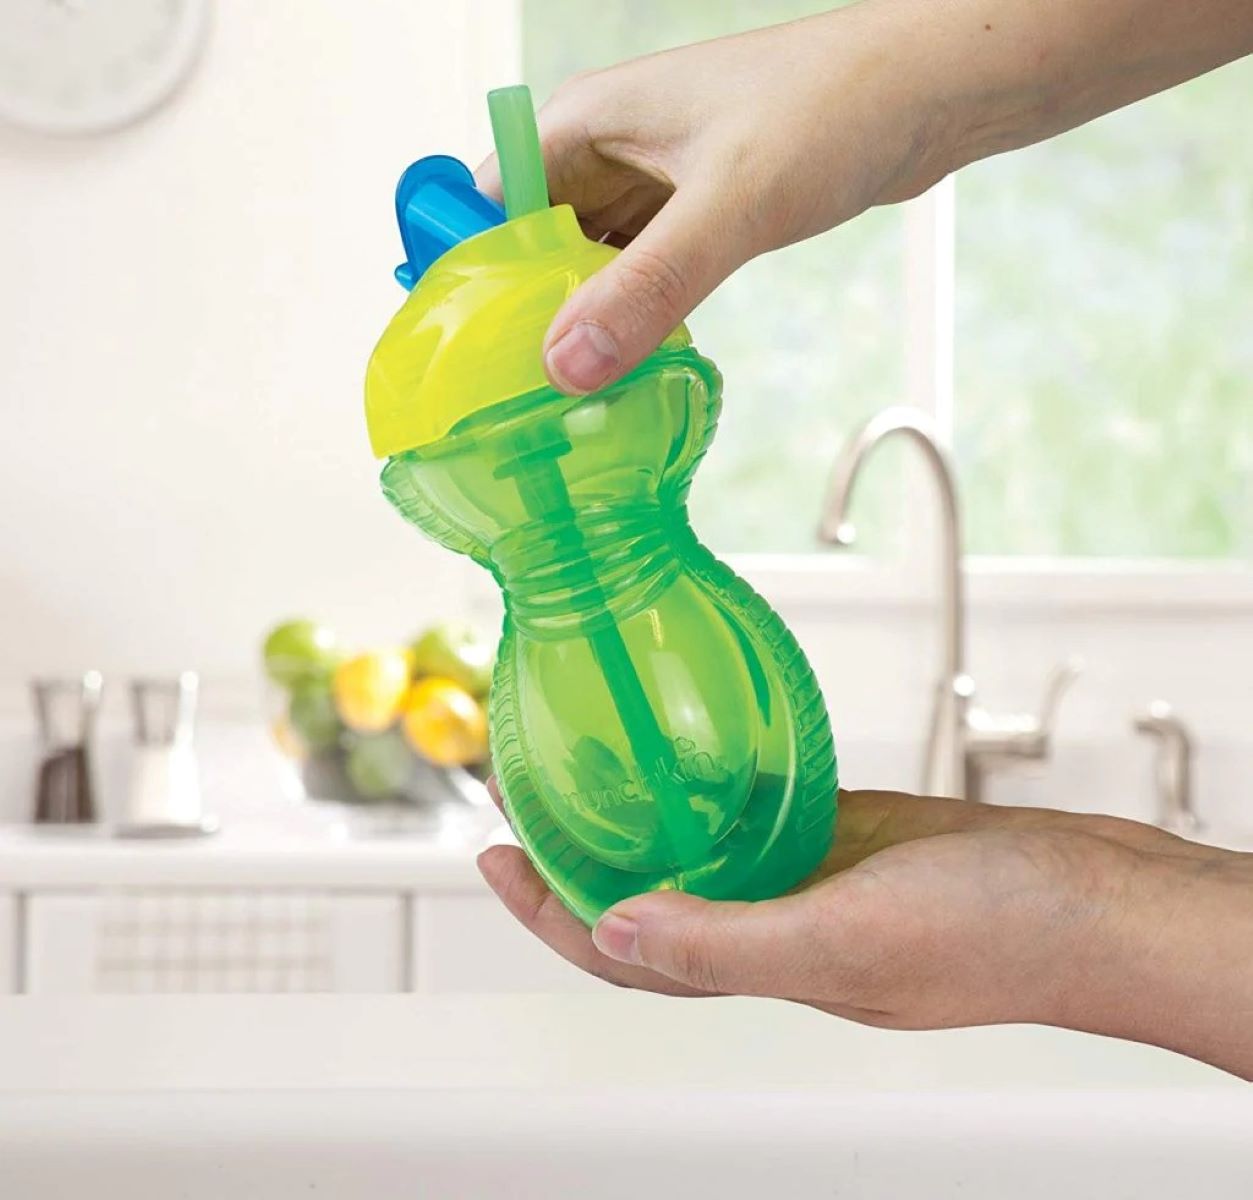
Step 1: Disassemble the sippy cup
To initiate the cleaning process for your Munchkin Click Lock Sippy Cup, the first step is to carefully disassemble the various components. Start by separating the cup's lid from the body, ensuring that all detachable parts are removed. This typically includes the silicone spout, valve, and any additional components specific to your sippy cup model.
Once the lid and all detachable parts have been removed, take a moment to inspect each component for any lingering liquid or residue. It's not uncommon for small amounts of liquid to remain trapped in the crevices of the cup, so thorough disassembly is crucial for a comprehensive cleaning process.
By disassembling the sippy cup, you create access to all the nooks and crannies that may harbor bacteria or leftover fluids. This step sets the stage for a thorough cleaning, allowing you to address each individual component with precision and care.
Remember, proper disassembly also facilitates a more effective cleaning process, ensuring that no part of the sippy cup is overlooked. By taking the time to disassemble the cup completely, you set the foundation for a meticulous cleaning routine that prioritizes your child's health and safety.
As you disassemble the sippy cup, take note of any signs of wear or damage on the components. Regularly inspecting the cup's parts can help you identify when it's time for replacements, ensuring that your child's sippy cup remains in optimal condition.
By meticulously disassembling the sippy cup, you pave the way for a thorough and effective cleaning process, setting the stage for the subsequent steps in maintaining a hygienic and safe sippy cup for your little one.
Step 2: Rinse the parts
After disassembling the Munchkin Click Lock Sippy Cup, the next crucial step in the cleaning process is to thoroughly rinse each component under running water. Rinsing serves as the initial stage of removing any residual liquids, milk, or juice that may have accumulated within the cup's various parts. This simple yet vital step sets the foundation for a more comprehensive cleaning process, ensuring that any visible debris or leftover fluids are effectively eliminated.
Begin by holding each component, such as the lid, silicone spout, and valve, under a stream of running water. As you rinse each part, pay close attention to the intricate details and crevices where liquid or residue may linger. Use your fingers to gently rub the surfaces, helping to dislodge any stubborn remnants and promote thorough rinsing.
For the silicone spout and valve, it's essential to carefully inspect and manipulate the components to ensure that no trapped liquids or particles remain. Squeezing the silicone spout and pressing the valve under running water can help dislodge any trapped debris, allowing for a more effective rinsing process.
While rinsing, take a moment to visually inspect each component for any signs of discoloration, mold, or mildew. If you notice any concerning issues, such as mold growth in the valve or discoloration on the silicone spout, it may indicate a need for more intensive cleaning or potential replacement of the affected parts.
Additionally, as you rinse the parts, consider using a mild, baby-safe dish soap to further aid in the removal of stubborn residues. A small amount of gentle dish soap applied to a soft-bristled brush or your fingertips can help dislodge any remaining debris, ensuring that the components are thoroughly cleansed.
By diligently rinsing each part under running water and inspecting for any lingering residues or issues, you lay the groundwork for a comprehensive cleaning process that prioritizes the hygiene and safety of your child's sippy cup. This meticulous approach to rinsing sets the stage for the subsequent cleaning steps, ensuring that the sippy cup is thoroughly cleansed and ready for safe everyday use.
Step 3: Soak in warm soapy water
After thoroughly rinsing the disassembled components of the Munchkin Click Lock Sippy Cup, the next pivotal step in the cleaning process involves soaking the parts in warm, soapy water. This step serves as a crucial intermediary stage, harnessing the cleansing power of gentle soap to further eliminate any lingering residues and bacteria that may be present on the cup's components.
To begin, prepare a basin or container filled with warm water. The water should be comfortably warm to the touch, as excessively hot water may compromise the integrity of the sippy cup's components. Once the basin is filled with warm water, add a small amount of mild, baby-safe dish soap to create a gentle yet effective cleaning solution. The addition of soap helps to break down and lift away any remaining residues, ensuring a thorough cleansing of the sippy cup's parts.
Carefully place the disassembled components, including the lid, silicone spout, valve, and any other detachable parts, into the basin of warm, soapy water. Ensure that each part is fully submerged, allowing the cleansing solution to penetrate into crevices and hard-to-reach areas. This soaking process serves as a gentle yet potent method for loosening and dislodging any stubborn residues that may have persisted after the initial rinsing stage.
As the components soak, the warm, soapy water works to effectively break down and dissolve any remaining milk, juice, or other liquids that may have accumulated within the sippy cup. The gentle action of the soap helps to lift away residues while also inhibiting the growth of bacteria and mold, further contributing to the overall cleanliness and hygiene of the cup.
While the components soak, consider gently agitating the water to encourage the dispersion of the soap and facilitate thorough cleansing. This gentle agitation can help to dislodge any trapped particles and ensure that the cleaning solution reaches all surfaces of the sippy cup's parts.
Allow the components to soak in the warm, soapy water for a duration of approximately 10 to 15 minutes. This timeframe provides ample opportunity for the cleansing solution to work its magic, effectively purging the components of any remaining residues and contaminants.
By incorporating this essential soaking step into the cleaning process, you elevate the thoroughness of the sippy cup's cleansing routine, ensuring that each component is meticulously cleansed and primed for the subsequent stages of the cleaning process. This pivotal step harnesses the combined power of warm water and gentle soap to promote a hygienic and safe sippy cup for your child's everyday use.
To clean a Munchkin Click Lock Sippy Cup, disassemble the cup and wash all parts with warm soapy water. Use a bottle brush to clean the inside of the spout and rinse thoroughly. Allow all parts to air dry before reassembling.
Step 4: Scrub with a bottle brush
Following the soaking stage, the next critical step in the meticulous cleaning process of the Munchkin Click Lock Sippy Cup involves scrubbing the components with a bottle brush. This pivotal stage serves as a hands-on approach to thoroughly cleanse and dislodge any remaining residues or particles that may have persisted after the soaking process.
To commence this step, equip yourself with a clean bottle brush specifically designed for infant feeding equipment. The soft, flexible bristles of a dedicated bottle brush are adept at reaching into the intricate contours and narrow openings of the sippy cup's components, ensuring a comprehensive cleaning process.
Begin by carefully removing each component from the basin of warm, soapy water, taking care to inspect for any lingering residues or discolorations. With the disassembled parts at hand, take the bottle brush and apply a small amount of baby-safe dish soap directly to the bristles. This additional application of soap enhances the cleaning efficacy of the brush, aiding in the removal of any stubborn residues or contaminants.
Gently scrub each component, including the lid, silicone spout, valve, and any other detachable parts, using the bottle brush. Pay particular attention to the interior surfaces, crevices, and intricate details of the components, ensuring that the brush reaches into all areas where residues may be concealed. Employing a circular or back-and-forth motion, delicately maneuver the bottle brush to dislodge any trapped particles and promote thorough cleansing.
For the silicone spout and valve, consider using the bristle end of the bottle brush to access and cleanse the interior channels and openings. This meticulous approach ensures that all aspects of the components are diligently scrubbed, leaving no room for lingering residues or contaminants.
As you scrub each component, periodically rinse them under running water to remove dislodged residues and assess the progress of the cleaning process. This intermittent rinsing allows you to gauge the effectiveness of the scrubbing and identify any areas that may require additional attention.
By employing a bottle brush to scrub the sippy cup's components, you elevate the cleaning process to a meticulous and thorough level, ensuring that each part is diligently cleansed and primed for the subsequent stages of the cleaning routine. This hands-on approach serves as a vital component in maintaining a hygienic and safe sippy cup for your child's everyday use.
Read more: What Is A Sippy Cup?
Step 5: Rinse and dry the parts
After the meticulous scrubbing process, the next crucial step in the comprehensive cleaning routine for the Munchkin Click Lock Sippy Cup involves thoroughly rinsing and drying the disassembled components. This pivotal stage serves as the final cleansing phase, ensuring that any remaining residues or soap are effectively eliminated, and the components are primed for safe everyday use.
To initiate the rinsing process, hold each scrubbed component under a stream of running water, ensuring that all traces of soap and dislodged residues are thoroughly washed away. Pay close attention to the intricate details and crevices of the components, using your fingers to gently rub the surfaces and confirm that no lingering residues persist.
As you rinse each part, take a moment to visually inspect for any signs of discoloration, mold, or mildew. This visual assessment allows you to verify the effectiveness of the scrubbing process and ensure that the components are free from any potential contaminants.
Following the thorough rinsing, it is imperative to proceed with the drying phase to prevent the accumulation of moisture, which can create an environment conducive to bacterial growth. Utilize a clean, lint-free cloth to carefully dry each component, ensuring that all surfaces, including the interior of the silicone spout and valve, are completely free of moisture.
For the silicone spout and valve, consider using a specialized drying rack or allowing the components to air dry thoroughly. This approach facilitates the complete evaporation of any residual moisture, further enhancing the cleanliness and hygiene of the sippy cup's parts.
As you dry each component, take a moment to inspect for any remaining moisture or signs of incomplete drying. Thoroughly dried components are essential for preventing the potential growth of bacteria or mold, safeguarding the sippy cup against hygiene-related concerns.
By diligently rinsing and drying the sippy cup's components, you complete the final stages of the comprehensive cleaning process, ensuring that each part is meticulously cleansed and prepared for safe and hygienic everyday use. This meticulous approach to rinsing and drying sets the stage for the subsequent reassembly of the sippy cup, culminating in a thoroughly cleansed and safe vessel for your child's enjoyment and well-being.
Step 6: Reassemble the sippy cup
With the disassembled components thoroughly cleansed and dried, the final step in the comprehensive cleaning process of the Munchkin Click Lock Sippy Cup involves reassembling the various parts to restore the cup to its functional state. This pivotal stage marks the culmination of the meticulous cleaning routine, ensuring that the sippy cup is primed for safe and hygienic everyday use.
To commence the reassembly process, carefully gather all the cleaned components, including the lid, silicone spout, valve, and any additional detachable parts specific to your sippy cup model. Take a moment to visually inspect each component, confirming that they are free from residues, moisture, or any signs of wear or damage.
Begin by reattaching the silicone spout to the lid, ensuring a secure and snug fit to prevent leaks or spills during use. Pay close attention to aligning the spout properly with the corresponding openings on the lid, promoting a seamless and functional assembly.
Next, insert the valve into its designated placement within the lid, ensuring that it is positioned correctly to maintain the sippy cup's leak-proof functionality. The valve plays a crucial role in regulating the flow of liquids and preventing spills, making its proper reassembly essential for the cup's optimal performance.
As you reassemble the sippy cup, take care to handle the components gently, avoiding excessive force that may compromise their integrity. The reassembly process should proceed smoothly, with each part fitting snugly and securely to restore the cup to its original form.
Once all the components have been successfully reassembled, take a moment to perform a visual inspection of the sippy cup, confirming that each part is securely in place and free from any potential issues. This final assessment ensures that the cup is ready for immediate use, providing a reliable and hygienic vessel for your child's hydration needs.
By meticulously reassembling the sippy cup's components, you complete the comprehensive cleaning process, culminating in a thoroughly cleansed and functional vessel for your child's everyday use. This final step solidifies the hygiene and safety of the sippy cup, allowing you to confidently provide a clean and reliable drinking solution for your little one.
This meticulous approach to reassembly ensures that the sippy cup is primed for safe and hygienic everyday use, reflecting your commitment to maintaining a clean and healthy drinking vessel for your child's well-being.
Conclusion
In conclusion, the process of cleaning a Munchkin Click Lock Sippy Cup is an essential aspect of ensuring the health and safety of your child. By following the comprehensive steps outlined in this guide, you have equipped yourself with the knowledge and techniques necessary to maintain a hygienic and safe sippy cup for your little one's everyday use.
The meticulous approach to disassembling the sippy cup sets the stage for a thorough cleaning process, allowing you to address each component with precision and care. By carefully rinsing and inspecting the parts, you ensure that any lingering residues or contaminants are effectively eliminated, laying the groundwork for a comprehensive cleansing routine.
The soaking stage harnesses the combined power of warm water and gentle soap to further cleanse the components, promoting a hygienic environment within the sippy cup. The subsequent scrubbing with a bottle brush serves as a hands-on approach to dislodge any remaining residues, ensuring that each part is diligently cleansed.
Thorough rinsing and drying of the components are essential for preventing the potential growth of bacteria or mold, safeguarding the sippy cup against hygiene-related concerns. The final step of reassembling the sippy cup restores the various components to their functional state, culminating in a thoroughly cleansed and safe vessel for your child's enjoyment and well-being.
By incorporating these cleaning practices into your routine, you demonstrate a steadfast commitment to prioritizing your child's health and safety. A clean and hygienic sippy cup not only provides a reliable drinking solution for your little one but also offers you peace of mind, knowing that you have taken proactive measures to safeguard their well-being.
Remember, regular cleaning and maintenance of the Munchkin Click Lock Sippy Cup are essential for upholding its functionality and ensuring a safe drinking experience for your child. By integrating these cleaning practices into your caregiving routine, you contribute to creating a healthy and nurturing environment for your little one to thrive.
With the knowledge and insights gained from this guide, you are well-prepared to uphold the cleanliness and safety of your child's sippy cup, fostering a hygienic and secure drinking experience that aligns with your dedication to their well-being.
Frequently Asked Questions about How To Clean Munchkin Click Lock Sippy Cup
Was this page helpful?
At Storables.com, we guarantee accurate and reliable information. Our content, validated by Expert Board Contributors, is crafted following stringent Editorial Policies. We're committed to providing you with well-researched, expert-backed insights for all your informational needs.
0 thoughts on “How To Clean Munchkin Click Lock Sippy Cup”