
Articles
How To Build A Fence With Pallets
Modified: October 20, 2024
Learn how to build a fence using pallets in our informative articles. Discover cost-effective and eco-friendly methods for creating a stylish and functional fence for your outdoor space.
(Many of the links in this article redirect to a specific reviewed product. Your purchase of these products through affiliate links helps to generate commission for Storables.com, at no extra cost. Learn more)
Overview
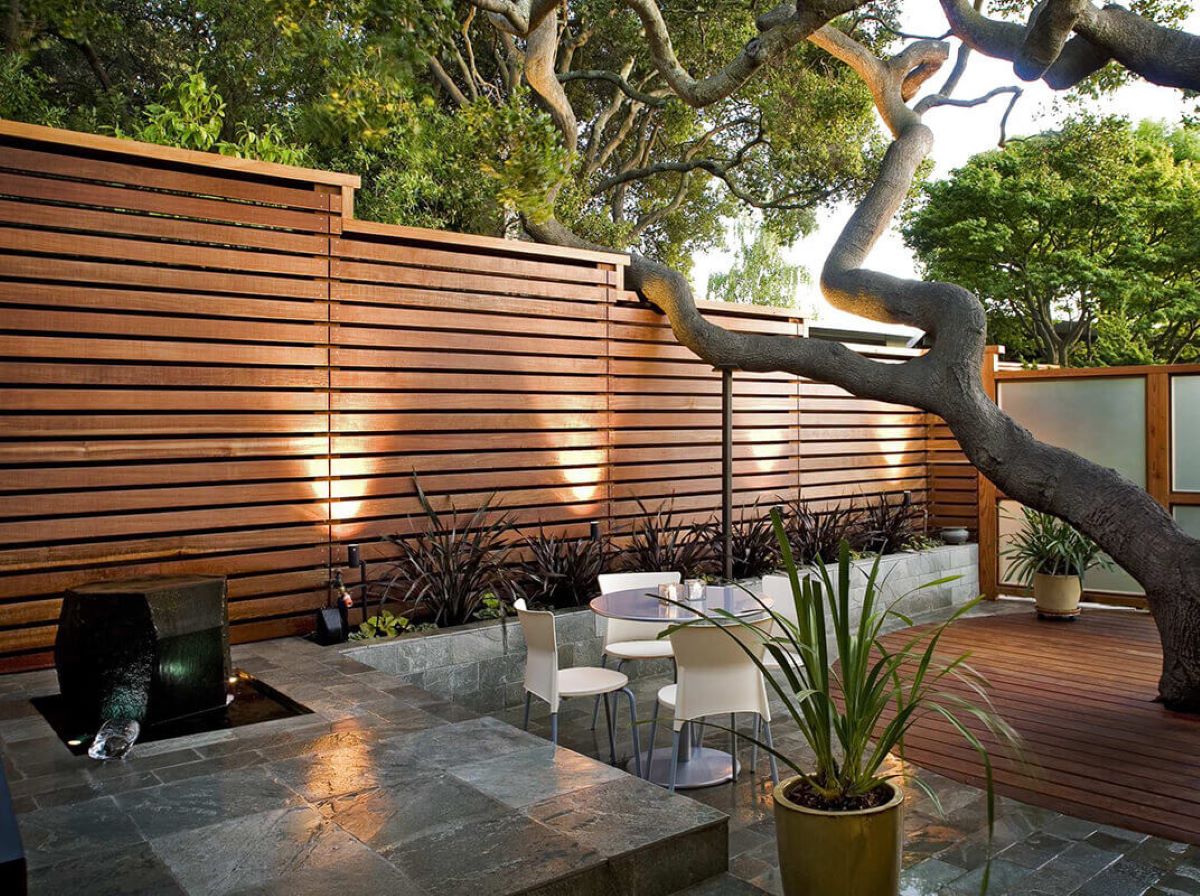
Building a fence with pallets is a cost-effective and eco-friendly way to create a functional and unique barrier around your property. Pallets, which are typically used to transport goods, can be repurposed into sturdy and stylish fence panels. This DIY project allows you to showcase your creativity while adding privacy and security to your outdoor space.
In this article, we will guide you through the step-by-step process of building a fence with pallets. From gathering the materials to the final touches, we will cover everything you need to know to successfully complete this project.
Before starting the construction, it’s important to note that building codes and regulations vary by location. Make sure to check with your local authorities for any specific requirements or permits needed for constructing a fence.
Now, let’s dive into the materials you’ll need to gather before getting started.
Key Takeaways:
- Create a unique and eco-friendly fence using repurposed pallets. Follow the step-by-step guide to add privacy and security to your outdoor space while showcasing your creativity.
- Ensure the longevity of your pallet fence with regular maintenance. Inspect, clean, and protect your fence to enjoy its charm and functionality for years to come.
Read more: How Much Is A Pallet Of Fence Pickets
Materials Needed
Before you begin building your fence with pallets, make sure you have the following materials:
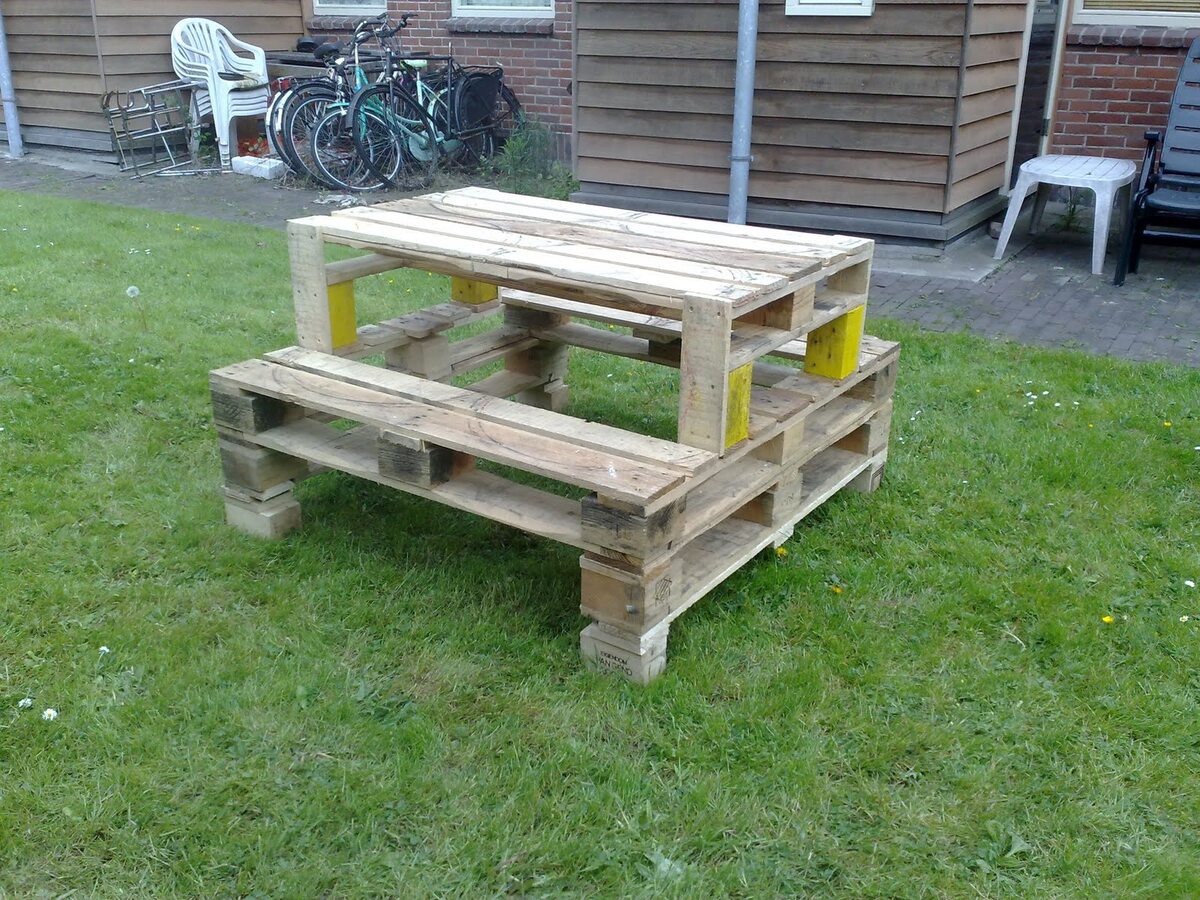
- Wooden pallets: Look for pallets in good condition, free from rot and damage. The number of pallets you’ll need depends on the desired height and length of your fence.
- Measuring tape: Use a measuring tape to determine the dimensions and layout of your fence.
- Fence posts: These will serve as the support for your fence panels. Choose sturdy, weather-resistant posts that are suitable for the size and weight of the pallets.
- Concrete mix and post hole digger: If you’re installing fence posts, you’ll need concrete mix and a post hole digger to securely anchor them into the ground.
- Nails or screws: Choose appropriate nails or screws that are long enough to securely attach the pallets to the fence posts.
- Hammer or screwdriver: Use a hammer or screwdriver to fasten the nails or screws.
- Saw or jigsaw: A saw or jigsaw will be needed to trim the pallets to the desired size or shape.
- Paint or stain (optional): If you want to give your fence a new look or protect it from the elements, you may choose to paint or stain the pallets.
- Paintbrush or roller: Use a paintbrush or roller to apply paint or stain to the pallets.
- Protective gear: Wear gloves, safety goggles, and a dust mask when working with pallets and tools.
Once you have gathered all the necessary materials, you’re ready to move on to the next step: preparing the pallets.
Step 1: Gather Your Pallets
The first step in building a fence with pallets is to gather the necessary pallets. Look for pallets that are in good condition, free from rot or damage. You can often find pallets for free or at a low cost from local businesses, warehouses, or online classifieds.
When selecting pallets, keep in mind the desired height and length of your fence. Choose pallets that are similar in size and shape to create a cohesive look. It’s also a good idea to inspect the pallets for any signs of treated wood, as this can affect the safety and durability of your fence.
If possible, opt for pallets made of hardwood such as oak or beech, as they are more resilient and long-lasting. Avoid pallets made of softwood, as they may not withstand outdoor conditions as well.
Once you have gathered a sufficient number of pallets for your fence project, you’re ready to move on to the next step: preparing the pallets.
Step 2: Prepare the Pallets
Before you start attaching the pallets to the fence posts, it’s important to prepare them properly. Follow these steps to ensure that your pallets are ready for construction:
- Inspect the pallets: Carefully examine each pallet and remove any loose or damaged boards. Check for any protruding nails or staples and remove them to prevent injuries during the assembly process.
- Clean the pallets: Sweep or brush off any dirt, debris, or cobwebs from the pallets. You can also use a mild detergent mixed with water to clean the pallets if necessary. Allow them to dry completely before proceeding.
- Trim the pallets (optional): If the pallets are larger than your desired fence panel size, you may need to trim them to the appropriate dimensions. Use a saw or jigsaw to cut the excess length or width, ensuring that the pallets are uniform in size.
- Sand the pallets (optional): If the pallets have rough or splintered surfaces, you may choose to sand them for a smoother finish. This step is especially important if you plan to paint or stain the pallets.
By properly preparing the pallets, you will ensure that they are safe to work with and will result in a more polished and professional-looking fence. Once the pallets have been prepared, the next step is to measure and mark the fence line.
Step 3: Measure and Mark the Fence Line
Once you have prepared the pallets, it’s time to measure and mark the fence line where you will install the fence posts. Follow these steps for accurate measurements:
- Determine the layout: Decide where you want to place your fence and mark the corners of the area. Use stakes and string to outline the perimeter of the fence line.
- Measure the distance between posts: Calculate the distance between each fence post, keeping in mind the width of your pallets. Ideally, the distance between posts should be slightly less than the width of a pallet to ensure a snug fit.
- Mark the post locations: Measure and mark the exact spots where the fence posts will be installed along the fence line. Use spray paint or flags to ensure visibility.
It’s important to note that the number of fence posts required will depend on the length of your fence and the desired spacing between posts. Typically, a fence post should be installed every 6 to 8 feet.
By accurately measuring and marking the fence line, you will ensure that the fence posts are positioned correctly and the fence panels will fit seamlessly. In the next step, we will cover how to install the fence posts.
Read more: How To Build A Dresser Out Of Pallets
Step 4: Install Fence Posts
Installing sturdy fence posts is crucial for the stability and durability of your pallet fence. Follow these steps to properly install the fence posts:
- Dig post holes: Using a post hole digger, dig holes at the marked locations. The depth of the holes should be approximately one-third of the height of the fence posts.
- Set the posts: Place a fence post into each hole and ensure that they are level and plumb. You can use a spirit level and adjust the position of the posts as needed.
- Secure the posts: Mix the concrete according to the manufacturer’s instructions and pour it into each post hole. Make sure the concrete fills the hole completely. Allow the concrete to set and cure according to the instructions.
- Check alignment: Once the concrete has set, double-check the alignment of the fence posts. Adjust their position if necessary before the concrete fully hardens.
Properly installed fence posts will provide the necessary support for your pallet fence panels. Ensure that the posts are securely anchored and aligned to prevent any tilting or leaning over time.
Now that the fence posts are in place, it’s time to attach the pallets to create the fence panels. We will cover this in the next step.
When building a fence with pallets, make sure to choose pallets that are in good condition and of similar size for a more uniform and sturdy fence.
Step 5: Attach Pallets to Fence Posts
With the fence posts securely in place, it’s time to attach the pallets to create the fence panels. Follow these steps to properly attach the pallets:
- Position the pallets: Start by placing a pallet against the first set of fence posts. Ensure that the pallet is aligned vertically and horizontally.
- Secure the pallet: Use nails or screws to attach the pallet to the fence post. Drive the nails or screws through the pallet and into the post, ensuring a strong and secure connection.
- Repeat the process: Move on to the next pallet and position it tightly against the previous one. Secure it to the fence post using nails or screws. Continue this process until all pallets are attached and form a continuous fence panel.
- Check for stability: Once all pallets are attached, check that the fence panels are stable. Give them a gentle shake to ensure they are firmly anchored to the fence posts.
When attaching the pallets, it’s important to evenly distribute the fasteners to ensure a strong and balanced connection. Avoid using excessive force that could damage the pallets or cause them to split.
Continue attaching the pallets in this manner until all fence panels are complete. In the next step, we will discuss how to secure and reinforce the fence panels for added stability.
Step 6: Secure and Reinforce the Fence Panels
After attaching the pallets to the fence posts, it’s important to secure and reinforce the fence panels to ensure durability and stability. Follow these steps to secure and reinforce your pallet fence:
- Add additional support: To provide extra stability, you can attach horizontal or vertical beams between the fence panels. These beams can be attached using nails or screws and should be securely fastened to both the fence posts and the pallets.
- Use cross braces: To prevent the fence panels from sagging or warping over time, consider adding diagonal cross braces to the back of each panel. These braces should be attached in an “X” shape using nails or screws.
- Tighten loose boards: Check for any loose boards within the fence panels and secure them with additional nails or screws. This will help prevent any movement or gaps in the pallets.
By securing and reinforcing the fence panels, you’ll enhance the overall strength and longevity of your pallet fence. This is especially important if you live in an area with high winds or other harsh weather conditions.
Once the fence panels are secure, you can proceed to the optional step of painting or staining your pallet fence to give it a finished and polished look.
Step 7: Paint or Stain the Fence (Optional)
Adding a fresh coat of paint or stain to your pallet fence can enhance its appearance and protect it from the elements. Follow these steps to paint or stain your fence:
- Clean the fence panels: Ensure that the fence panels are clean and free from dust or debris before applying any paint or stain. Use a brush or broom to remove any loose dirt or cobwebs.
- Choose your finish: Decide whether you want to paint or stain your fence. Paint offers a wide range of color options and provides a more opaque finish, while stain allows the natural beauty of the wood to show through.
- Prepare the paint or stain: Follow the manufacturer’s instructions to prepare the paint or stain. Stir well to ensure even color distribution.
- Apply the finish: Use a paintbrush or roller to apply the paint or stain evenly to the fence panels. Apply multiple coats if necessary, allowing each coat to dry completely before applying the next.
- Protect surrounding areas: If you’re painting the fence, use drop cloths or masking tape to protect nearby plants, furniture, or surfaces from unintentional paint splatters.
Painting or staining your pallet fence is optional but can significantly enhance its aesthetic appeal and longevity. Choose a finish that complements your outdoor space and fits your personal style.
After applying the paint or stain, allow the fence panels to dry thoroughly before moving on to the final step: maintaining and caring for your pallet fence.
Read more: How To Build A Compost Bin With Pallets
Step 8: Maintain and Care for Your Pallet Fence
To ensure the longevity and beauty of your pallet fence, regular maintenance and care are essential. Follow these tips to keep your fence in top condition:
- Inspect for damage: Periodically inspect your fence for any signs of damage, such as loose boards, rot, or pests. Address any issues promptly to prevent further deterioration.
- Clean regularly: Keep your fence clean by regularly removing dirt, debris, and vegetation that may accumulate on or around the fence panels. This will help prevent moisture traps and maintain the integrity of the wood.
- Apply protective coatings: Depending on the type of wood and finish you chose, you may need to reapply paint or stain every few years to maintain protection against the elements.
- Repair as needed: If you notice any loose nails, screws, or boards, make the necessary repairs promptly. Tighten or replace any damaged components to keep your fence structurally sound.
- Protect from moisture: Prolonged exposure to moisture can cause the wood to rot or weaken. Take measures to protect your pallet fence from excessive moisture, such as maintaining proper drainage and avoiding direct contact with sprinklers or damp soil.
- Trim vegetation: Keep plants and shrubs near the fence trimmed to prevent them from growing into or against the fence panels. This will minimize the risk of damage and allow air circulation to promote drying.
By incorporating these maintenance practices into your routine, you can extend the lifespan of your pallet fence and ensure that it continues to enhance your outdoor space for years to come.
Congratulations! You have successfully completed the process of building and caring for your pallet fence. Enjoy the privacy, security, and unique charm it brings to your property.
For further inspiration and ideas, feel free to explore different designs and decorative options to customize your pallet fence even further.
Remember, building a fence with pallets is a creative and sustainable way to enhance your outdoor space while reducing waste. Happy DIY-ing!
Conclusion
Building a fence with pallets is a rewarding DIY project that allows you to create a unique and functional barrier around your property. By repurposing pallets, you can reduce waste and add a touch of creativity to your outdoor space. Throughout this article, we have provided a comprehensive step-by-step guide to help you successfully build a pallet fence.
From gathering the necessary materials to the final steps of maintaining and caring for your fence, we have covered everything you need to know. By following the outlined steps, you can construct a sturdy and visually appealing fence that offers privacy and security.
Remember to consider any local regulations and building codes before starting this project. Additionally, always prioritize safety by wearing protective gear and using appropriate tools.
Building and maintaining a pallet fence requires ongoing attention and care. Regular inspections, cleaning, and touch-ups will help to ensure that your fence remains in excellent condition for years to come.
Embrace your creativity and explore various design possibilities to add a personal touch to your pallet fence. Consider painting or staining the fence to complement your outdoor décor and protect the wood from weathering.
By building a fence with pallets, you not only create a functional barrier but also contribute to a more sustainable environment. The use of repurposed materials benefits both your wallet and the planet.
Now that you have the knowledge and guidance, it’s time to roll up your sleeves and get started on your pallet fence project. Enjoy the process, and may your new fence bring beauty and satisfaction to your outdoor space!
Frequently Asked Questions about How To Build A Fence With Pallets
Was this page helpful?
At Storables.com, we guarantee accurate and reliable information. Our content, validated by Expert Board Contributors, is crafted following stringent Editorial Policies. We're committed to providing you with well-researched, expert-backed insights for all your informational needs.


0 thoughts on “How To Build A Fence With Pallets”