Home>Others>Specialized Home Improvement Topics>How To Fix Rattling Car Windows

Specialized Home Improvement Topics
How To Fix Rattling Car Windows
Published: January 9, 2024
Learn how to fix rattling car windows with our specialized home improvement tips. Stop the annoying noise and keep your car windows in top condition!
(Many of the links in this article redirect to a specific reviewed product. Your purchase of these products through affiliate links helps to generate commission for Storables.com, at no extra cost. Learn more)
Introduction
Have you ever been driving peacefully, only to be rudely interrupted by the annoying sound of your car windows rattling? It's a common issue that can turn a pleasant drive into a noisy and frustrating experience. The good news is that you can resolve this problem without having to visit a mechanic. In this comprehensive guide, we'll explore the causes of rattling car windows and provide you with a step-by-step solution to fix this pesky issue on your own.
Rattling windows can not only be a nuisance but also a safety concern. The constant noise can be distracting, affecting your focus on the road. Additionally, loose or misaligned windows may compromise the structural integrity of your car, posing a potential hazard in the event of a collision.
Fortunately, with the right knowledge and tools, you can address this problem effectively. Whether it's loose components, misaligned glass, or other factors contributing to the rattling, you can take matters into your own hands and restore peace and quiet to your drives.
In the following sections, we'll delve into the various causes of rattling car windows, the tools and materials you'll need for the job, and a detailed, step-by-step guide to help you fix the issue. By the end of this article, you'll be equipped with the expertise to tackle this common car annoyance with confidence. So, let's roll up our sleeves and get ready to silence those rattling car windows once and for all!
Key Takeaways:
- Say goodbye to annoying car window rattling by tightening loose components and applying sound deadening material. Enjoy a quieter and safer driving experience with these DIY solutions.
- Don’t let rattling car windows ruin your drive. Identify the source of the issue, tighten loose components, and seek professional help if needed to restore peace and quiet to your car rides.
Read more: Where To Get Car Windows Fixed
Causes of Rattling Car Windows
Before diving into the solution, it’s crucial to understand the potential culprits behind your car windows’ incessant rattling. Identifying the root cause will guide you in effectively addressing the issue and restoring tranquility to your drives.
1. Loose Window Components: One of the most common reasons for rattling car windows is loose components within the window assembly. This can include loose window glass, worn-out weatherstripping, or malfunctioning window regulators. These components can create vibrations and rattling noises, especially when driving on uneven or bumpy roads.
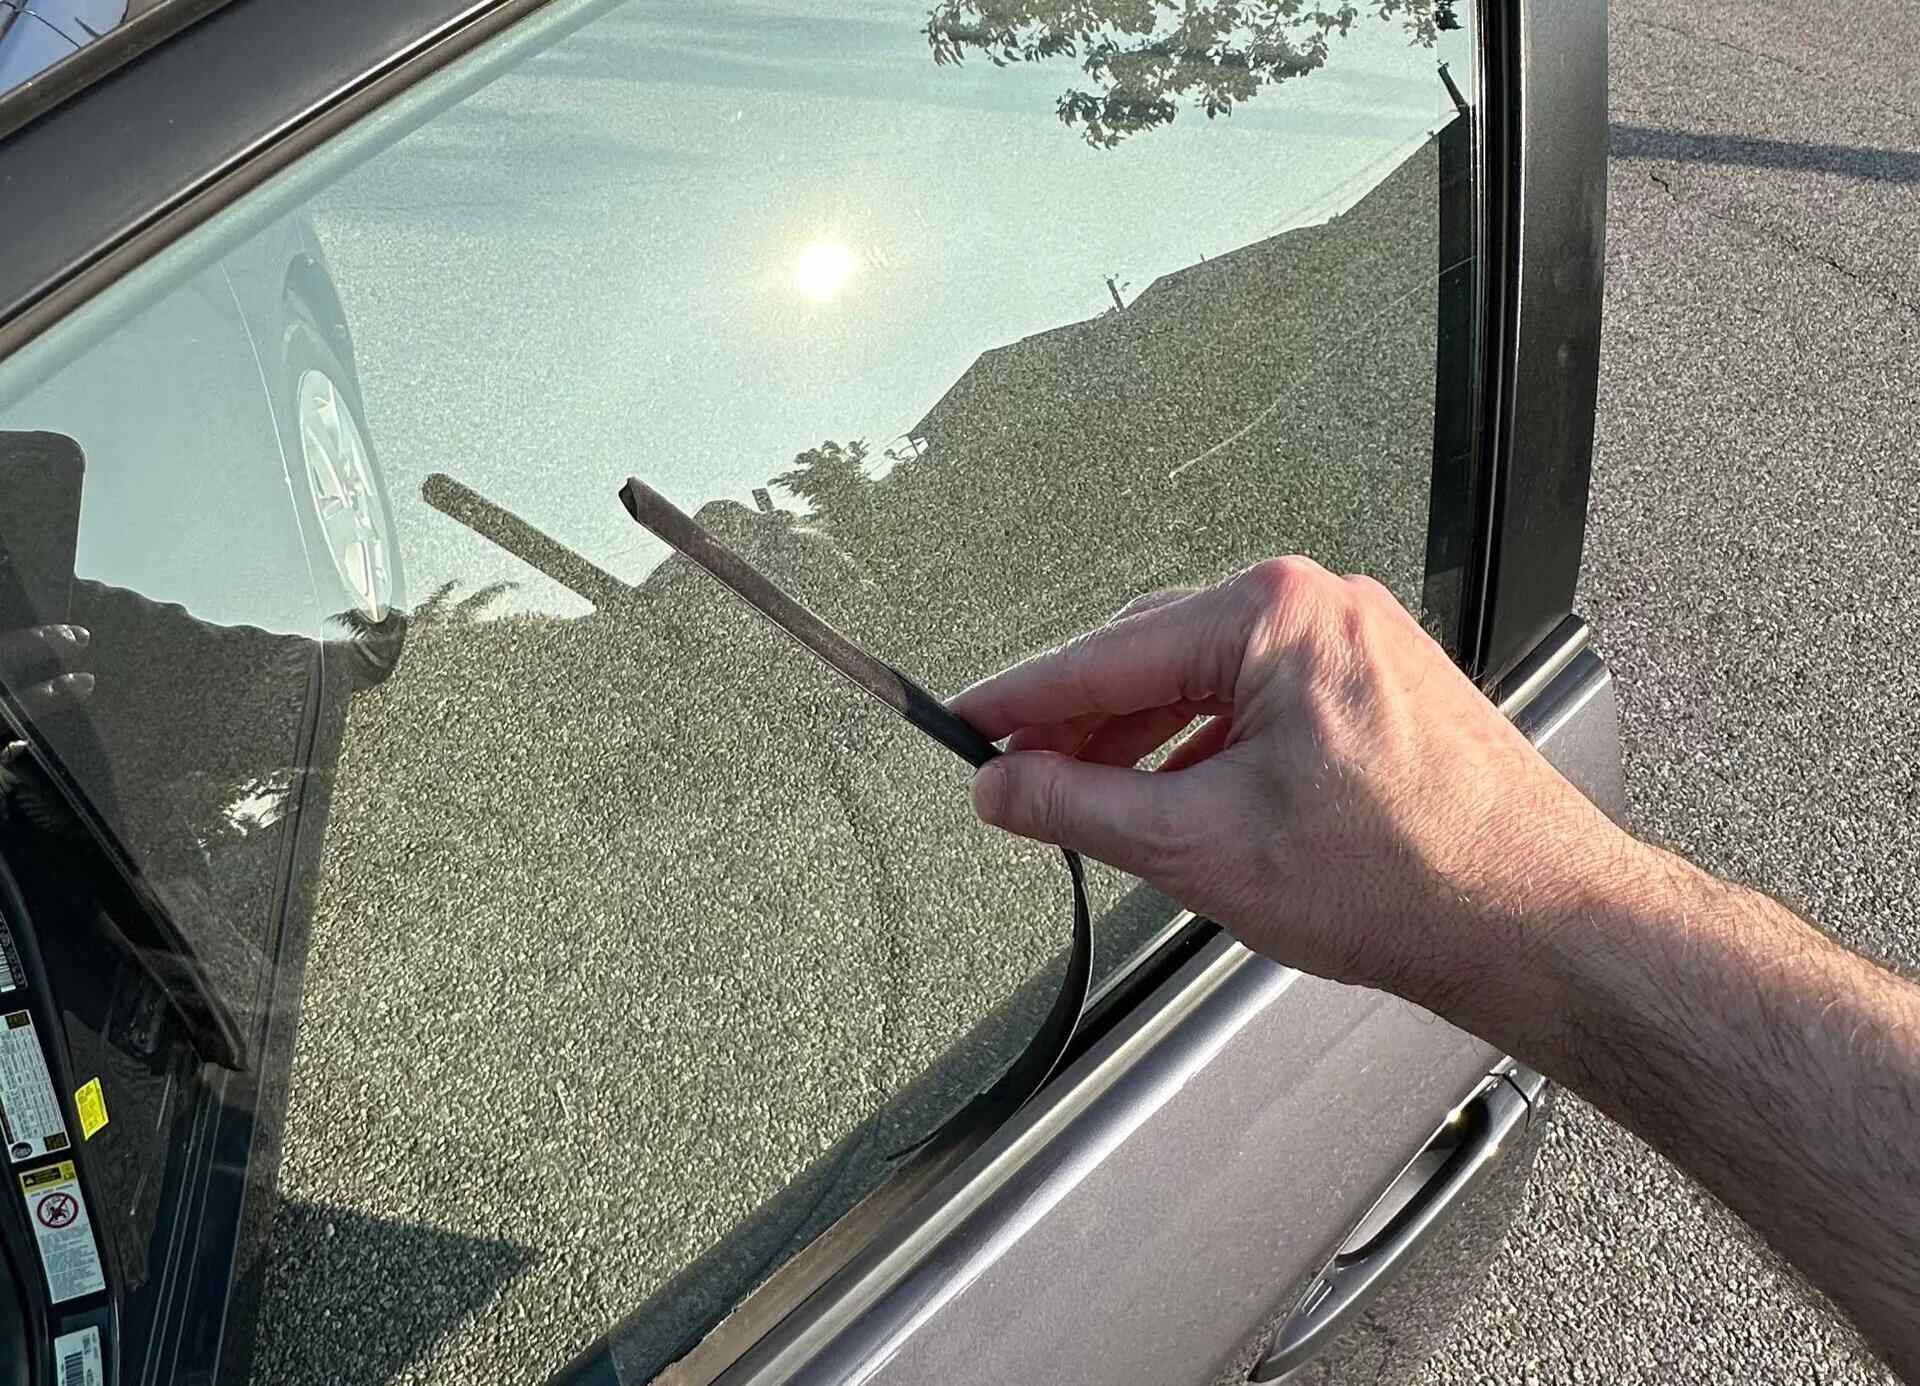
2. Worn Weatherstripping: The weatherstripping around the window frame can degrade over time, leading to gaps and allowing the window to rattle within the frame. This is often noticeable during windy conditions or at higher speeds, as the air pressure exacerbates the rattling.
3. Misaligned Glass: If the window glass is not properly aligned within the window frame, it can rattle as the car moves. Misalignment can occur due to wear and tear, improper installation, or damage to the window mechanism.
4. Loose Exterior Mirrors: In some cases, the rattling may not be directly related to the window itself. Loose or improperly secured exterior mirrors can create vibrations that resonate through the window, causing an audible rattling noise.
5. Worn Suspension Components: While not directly linked to the window assembly, worn suspension components can contribute to overall vehicle vibrations, which can manifest as window rattling. Addressing any issues with the suspension system can help reduce unwanted vibrations and rattling noises.
By understanding these potential causes, you can systematically address each issue to effectively eliminate the rattling and restore peace and quiet to your car rides. With this knowledge in mind, let’s move on to the next steps and equip ourselves with the tools and materials needed to tackle this common annoyance.
Tools and Materials Needed
Before embarking on the journey to silence your rattling car windows, it’s essential to ensure that you have the necessary tools and materials at your disposal. Here’s a comprehensive list to help you prepare for the task:
Tools:
- Screwdriver Set: A set of screwdrivers, including flathead and Phillips head varieties, will be essential for accessing and tightening various components.
- Trim Removal Tools: These specialized tools will aid in safely removing interior door panels and trim without causing damage.
- Socket and Ratchet Set: Depending on your vehicle's make and model, a socket and ratchet set may be needed to access components within the door panel.
- Trim Clip Removal Tool: This tool is particularly useful for removing trim clips without causing breakage or damage.
- Allen Wrench Set: If your car features components secured with hex socket screws, an Allen wrench set will be necessary for adjustments.
- Rubber Mallet: In some cases, gently tapping components back into place may be required, making a rubber mallet a handy tool to have on hand.
Materials:
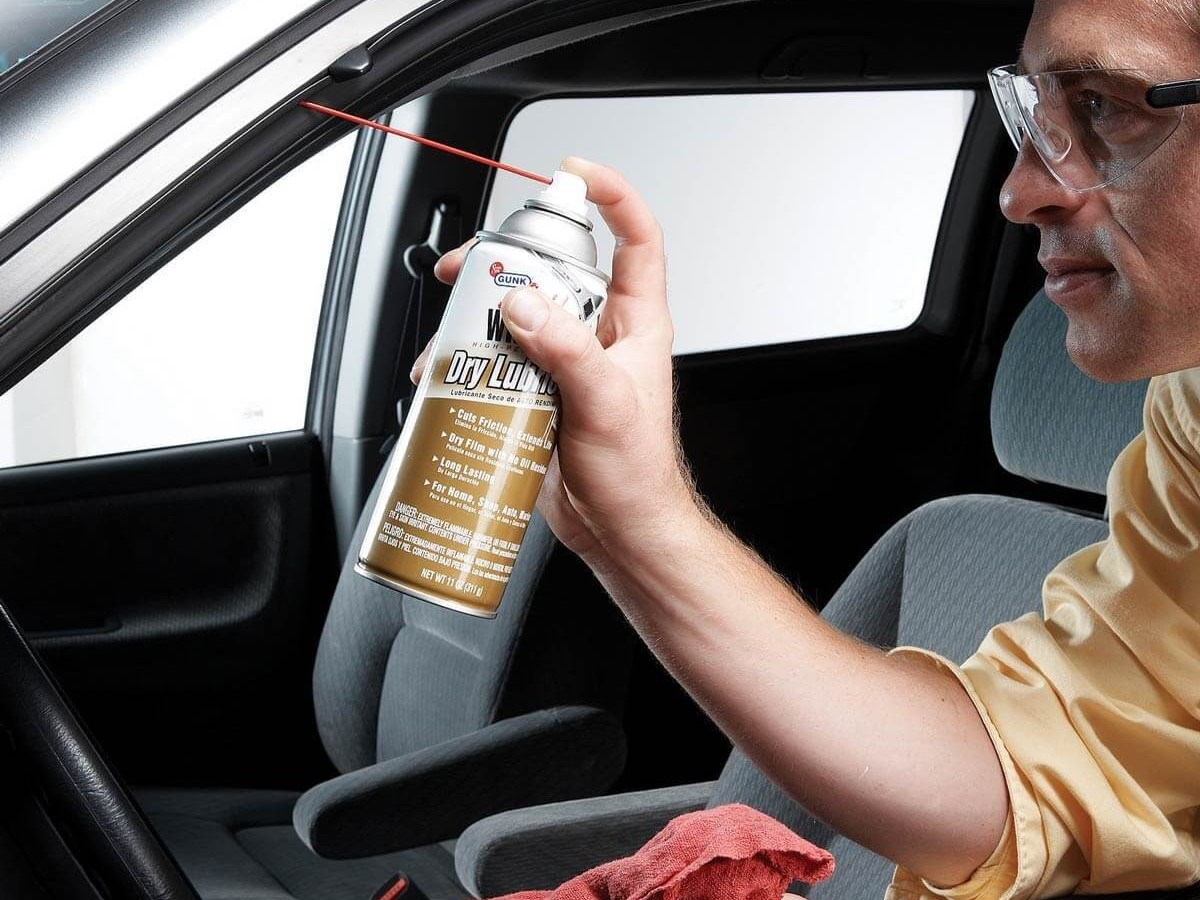
- Sound Deadening Material: Consider investing in sound deadening material, such as butyl rubber sheets or foam insulation, to reduce vibrations and rattling within the door panel.
- Replacement Weatherstripping: If worn weatherstripping is identified as a cause of the rattling, having replacement weatherstripping on hand will facilitate the repair process.
- Adhesive: A high-quality automotive adhesive may be necessary for securing loose components or reattaching weatherstripping.
- Replacement Fasteners: If any fasteners or clips are damaged during the repair process, having replacements available will ensure a seamless repair.
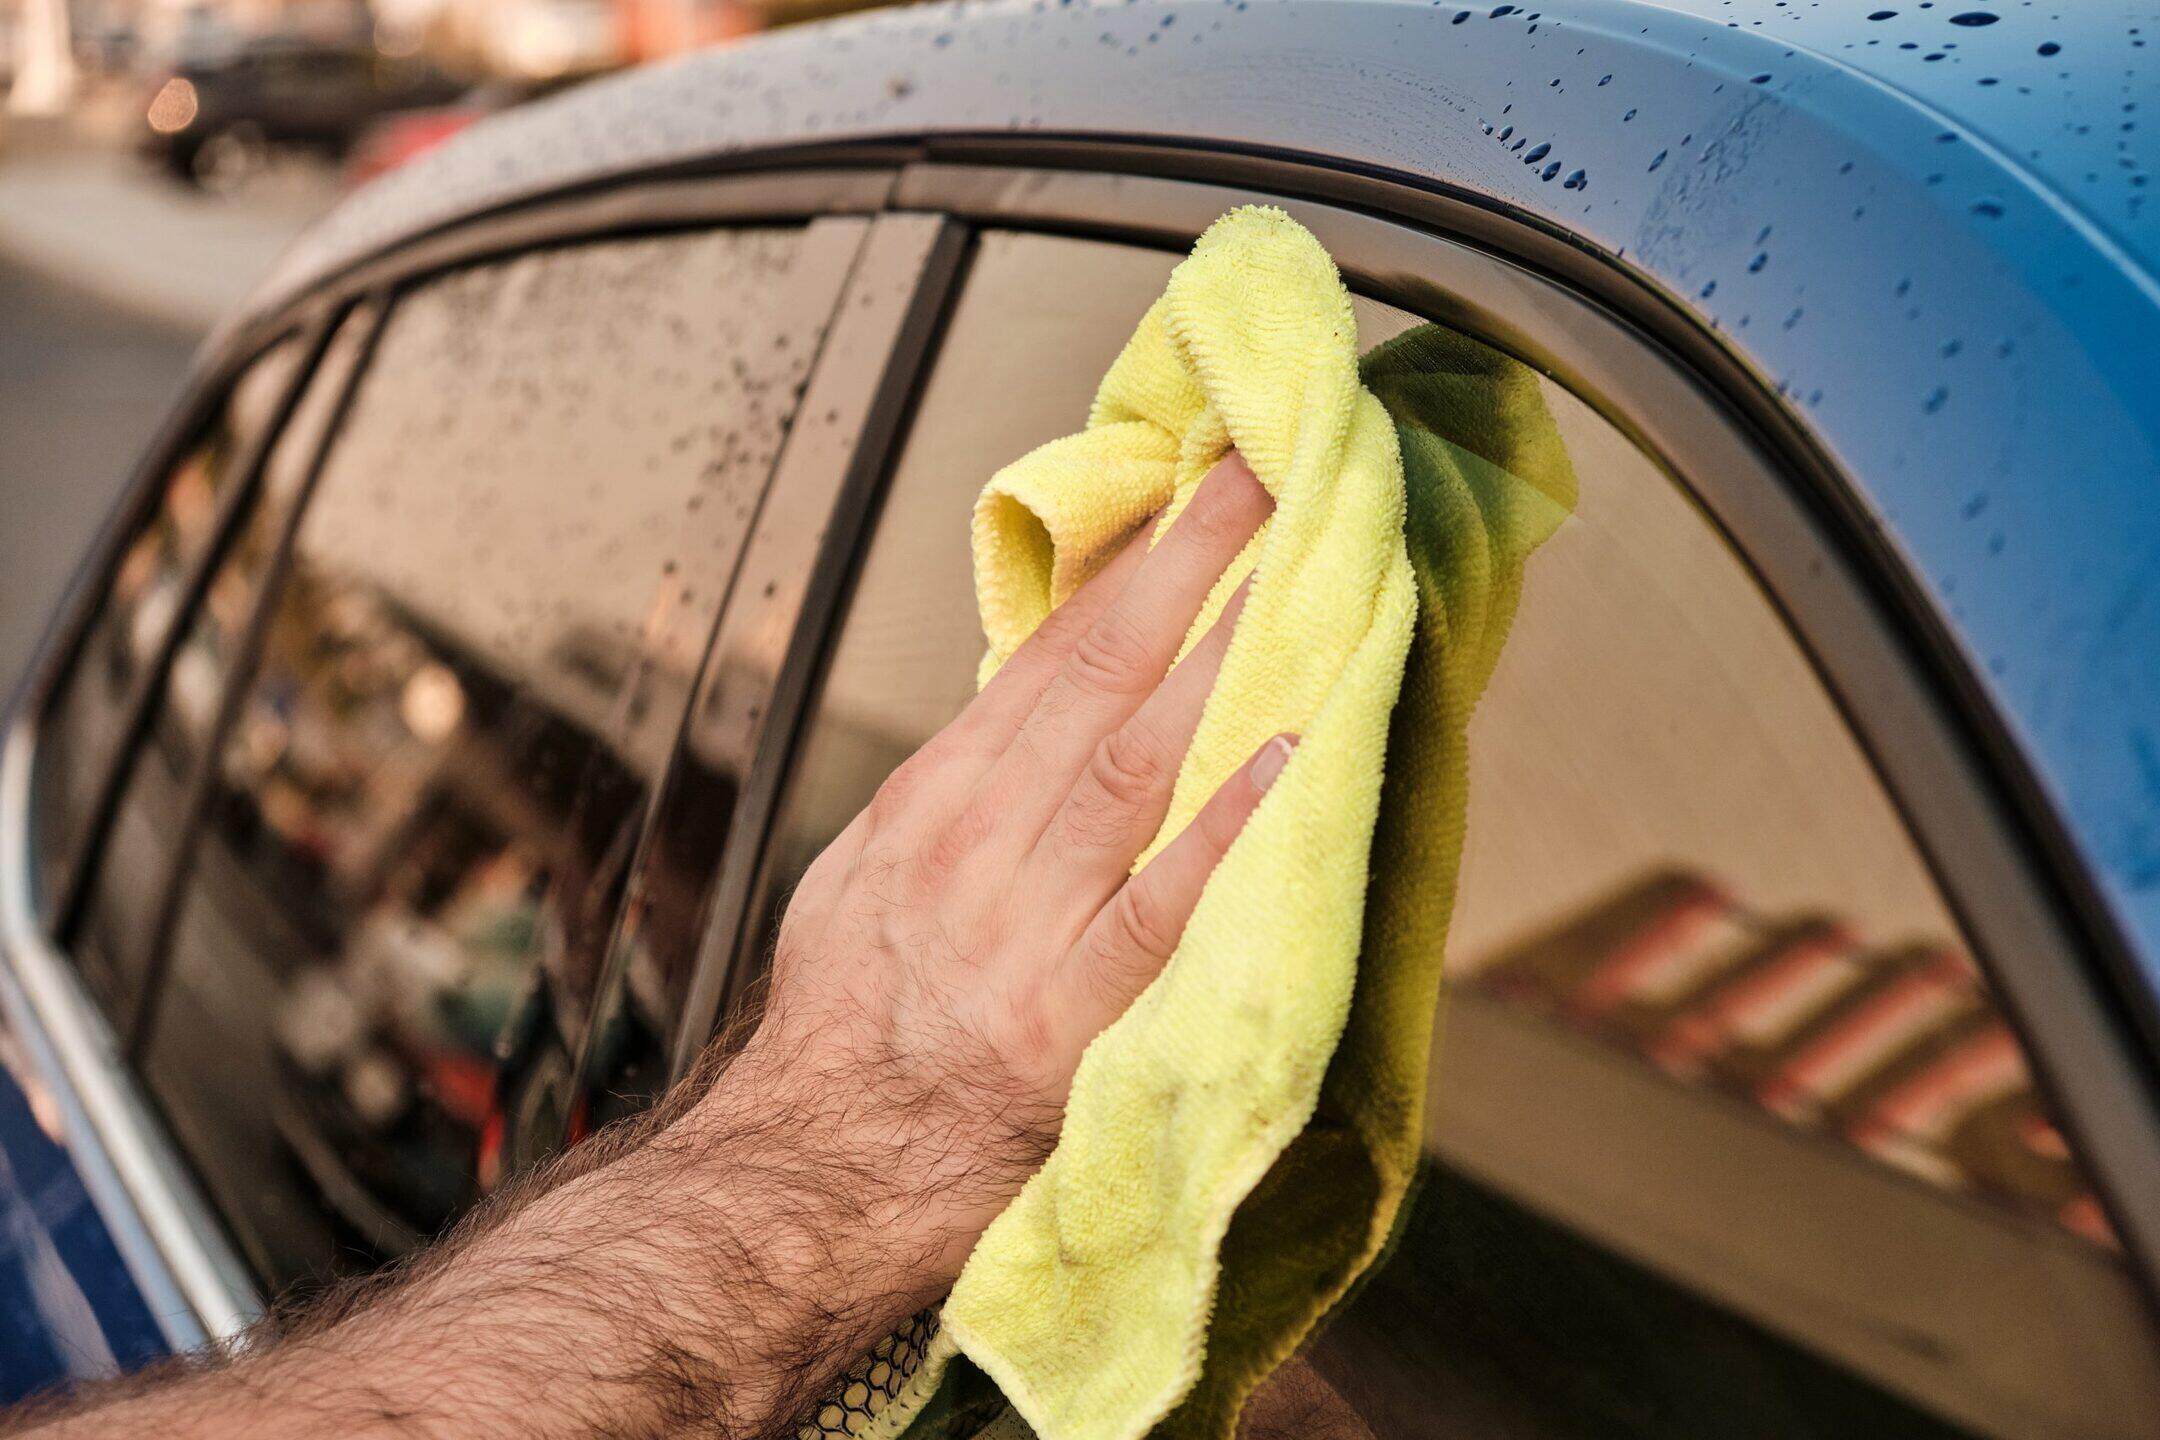
- Clean Cloth and Interior Cleaner: Keeping a clean work environment is essential, and having a cloth and interior cleaner will help tidy up the area as needed.
By gathering these tools and materials, you’ll be well-prepared to tackle the task of addressing the rattling in your car windows. With these essentials in hand, you can confidently proceed to the next steps, where we’ll delve into a detailed guide to identify and resolve the sources of the annoying rattling noise.
Read more: Who Can Fix Broken Car Windows
Step 1: Identify the Source of the Rattling
Before diving into the repair process, it’s crucial to pinpoint the exact source of the rattling to effectively address the issue. Here’s a systematic approach to help you identify the culprit behind the pesky noise:
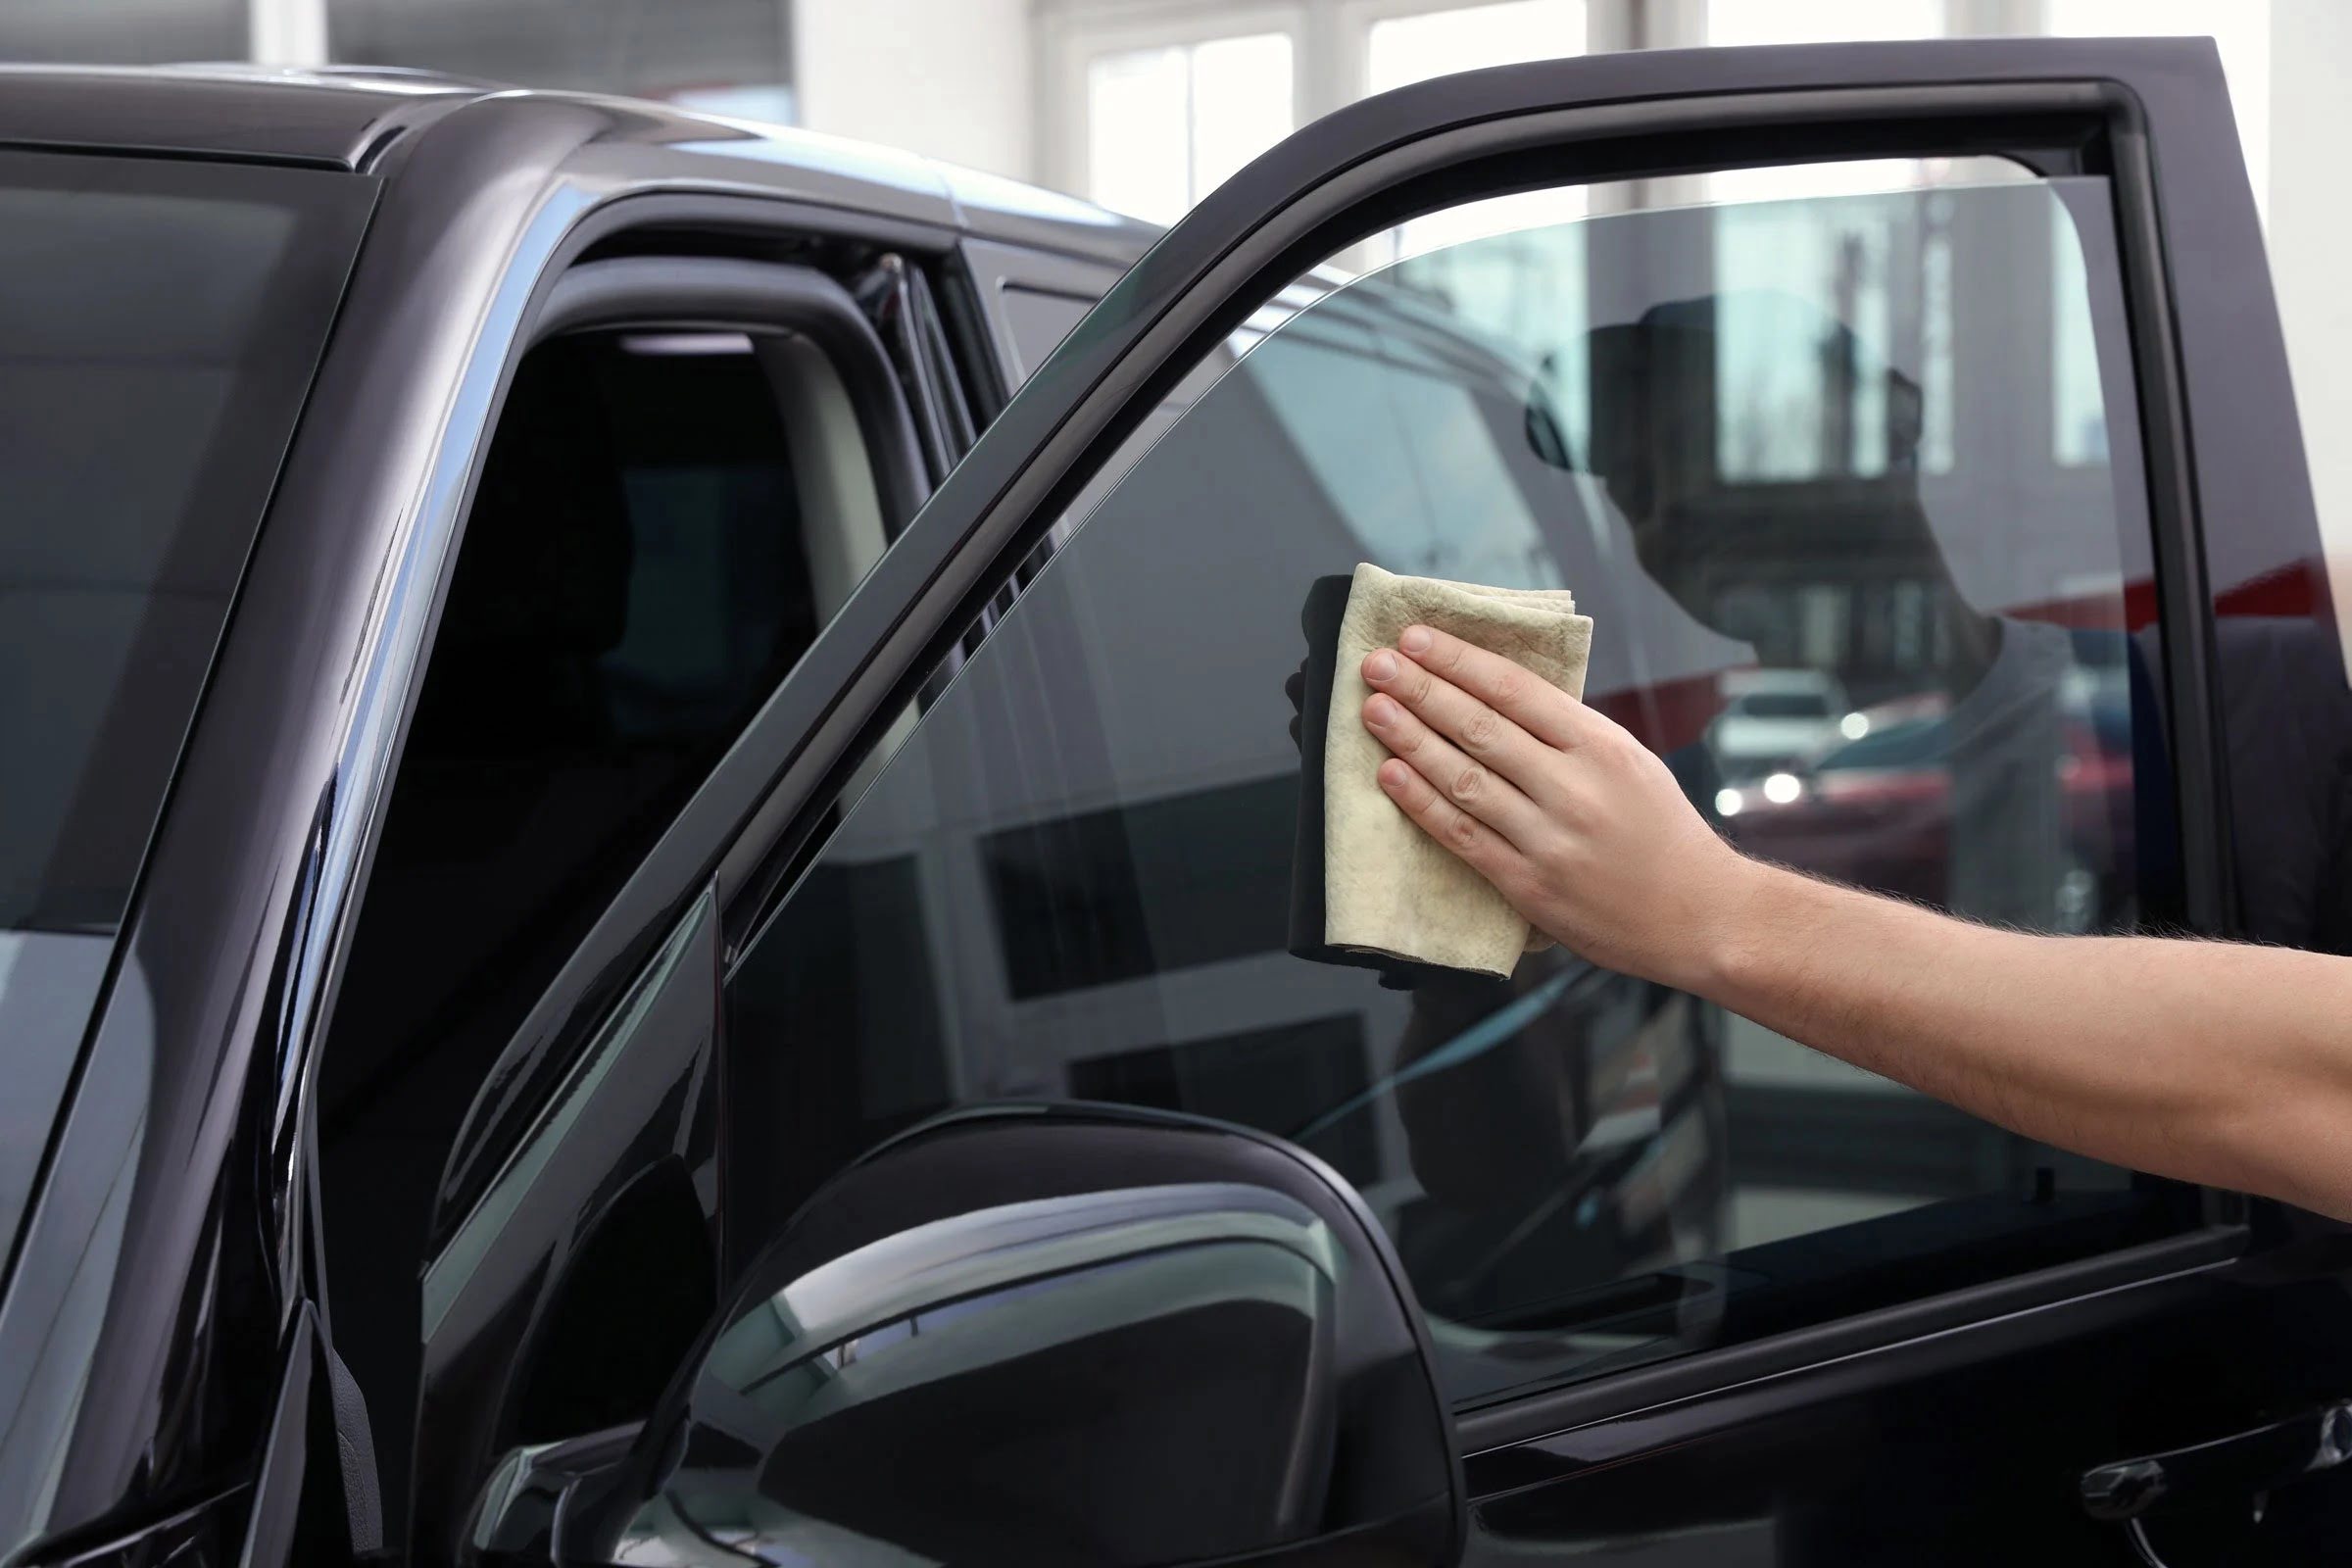
1. Conduct a Visual Inspection: Begin by visually inspecting the window assembly and surrounding components. Look for any visibly loose or misaligned parts, damaged weatherstripping, or signs of wear within the window mechanism. Pay close attention to the exterior mirrors as well, ensuring they are securely in place.
2. Perform a Hands-On Examination: Carefully press and wiggle the window glass within the frame to detect any excessive play or looseness. Additionally, gently shake the exterior mirrors to check for any vibrations that could be contributing to the rattling.
3. Test the Window Operation: Operate the window up and down while listening for any abnormal sounds. Pay attention to the specific points in the window’s movement where the rattling occurs, as this can provide valuable insights into the root cause.
4. Drive on Different Road Surfaces: Take your vehicle for a drive on various road surfaces, including smooth pavement and rougher terrain. Note whether the rattling intensifies or diminishes under different driving conditions, which can help narrow down the source of the issue.
5. Seek Assistance if Needed: If you’re unable to pinpoint the source of the rattling or suspect complex underlying issues, consider seeking assistance from a professional mechanic or automotive specialist. Their expertise can be invaluable in diagnosing and resolving the problem effectively.
By diligently following these steps, you’ll gain a clearer understanding of the specific factors contributing to the rattling in your car windows. This knowledge will serve as a solid foundation as you proceed to the next steps, equipped with the insights needed to tackle the issue head-on. With the source of the rattling identified, you’re ready to move on to the next stage of the repair process.
Step 2: Tighten Loose Components
After identifying the source of the rattling, the next step is to address any loose components that may be contributing to the issue. Here’s a detailed guide to help you tighten loose components and restore stability to your car windows:
1. Remove the Interior Door Panel: Use the appropriate trim removal tools to carefully remove the interior door panel, providing access to the window assembly and related components. Exercise caution to avoid damaging the panel or trim during removal.
2. Inspect and Tighten Fasteners: Once the door panel is removed, visually inspect the window regulator, tracks, and related components for any loose or missing fasteners. Use a suitable screwdriver or socket set to tighten any loose screws, bolts, or nuts securing these components.
3. Check the Window Glass Attachment: Examine the attachment points of the window glass within the window regulator mechanism. If any attachment points are loose or show signs of wear, carefully tighten or secure them as needed to eliminate excess movement and rattling.
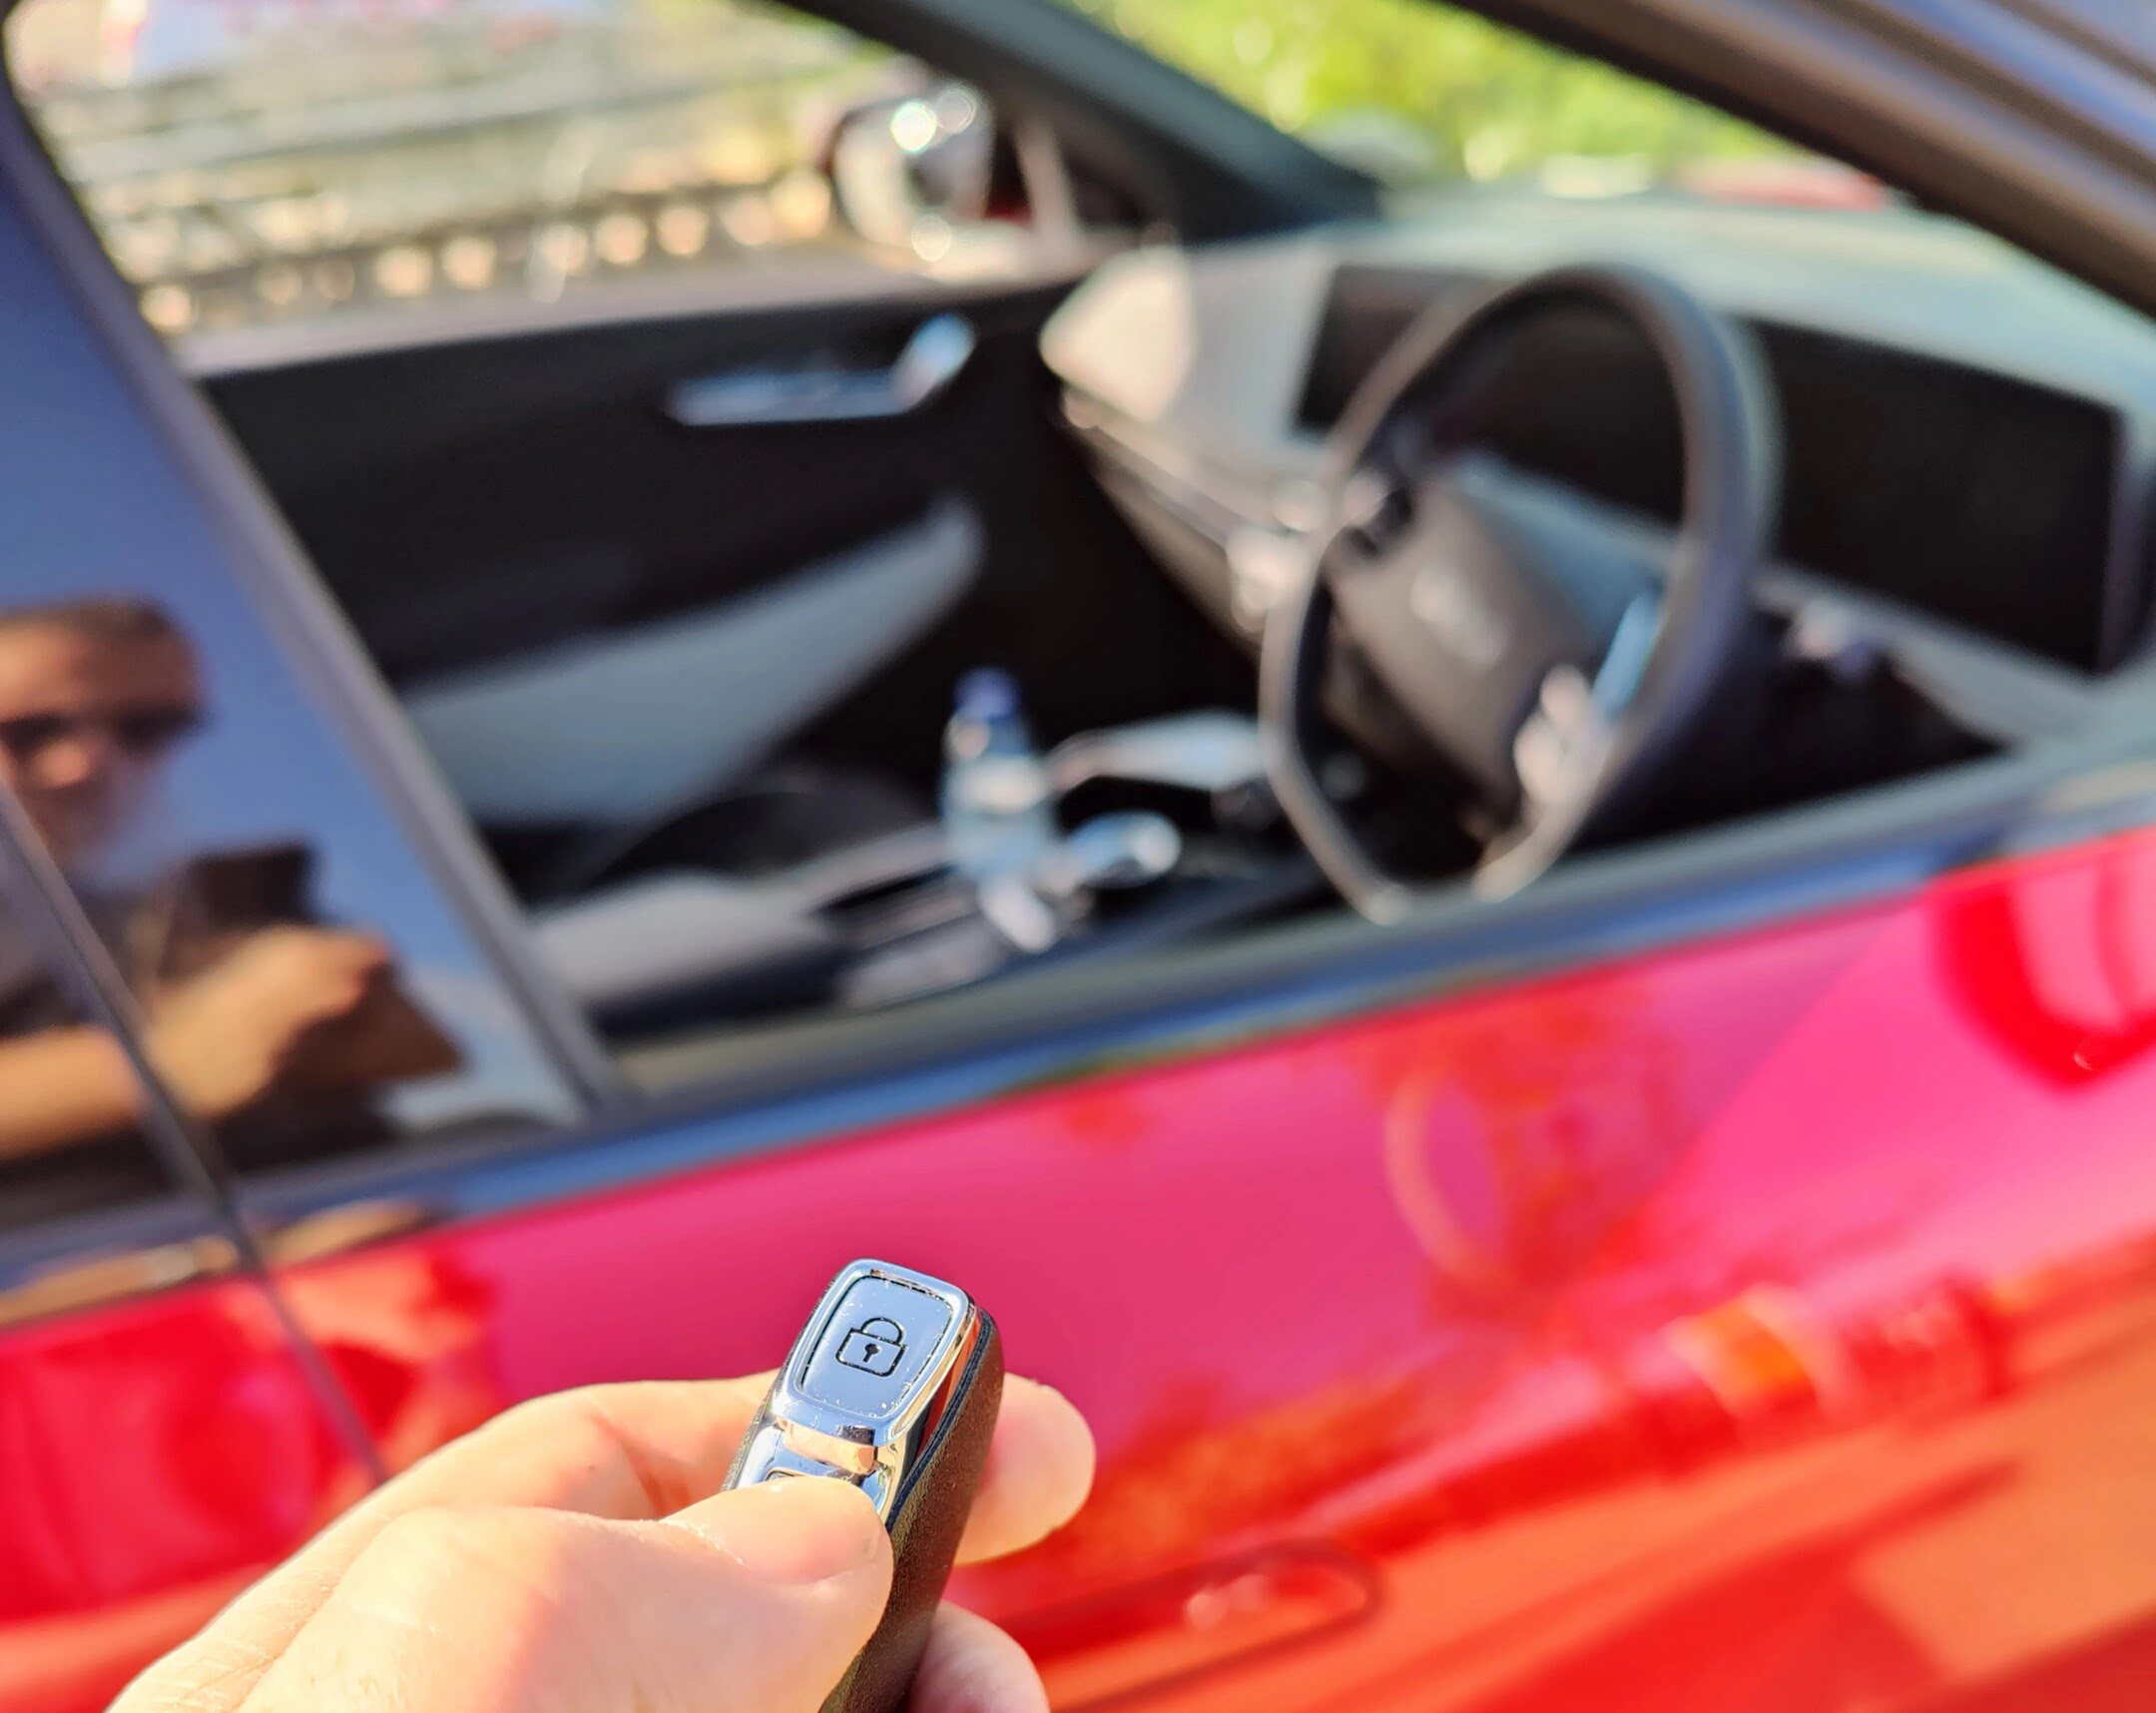
4. Secure Exterior Mirrors: If loose or vibrating exterior mirrors were identified as a potential source of the rattling, ensure that they are securely fastened to the vehicle’s body. Use the appropriate tools to tighten any mounting hardware and eliminate unwanted vibrations.
5. Reinstall the Door Panel: Once all necessary adjustments and tightening have been completed, carefully reinstall the interior door panel, ensuring that all clips and fasteners are securely in place. Test the panel to confirm that it is properly reinstalled and free from any rattling or movement.
6. Test the Window Operation: After reassembly, operate the window to verify that the rattling has been resolved. Pay close attention to any unusual sounds or vibrations during the window’s movement, ensuring that the repairs have effectively addressed the issue.
By diligently tightening loose components and ensuring secure attachment of window-related elements, you can significantly reduce or eliminate the rattling in your car windows. With this step completed, you’re now ready to explore the next stage of the repair process, which involves the application of sound deadening material to further enhance the quietness and stability of your car windows.
Step 3: Apply Sound Deadening Material
Applying sound deadening material is a proactive step to minimize vibrations and rattling within the door panel, contributing to a quieter and more enjoyable driving experience. Here’s a comprehensive guide to effectively apply sound deadening material to address the rattling in your car windows:
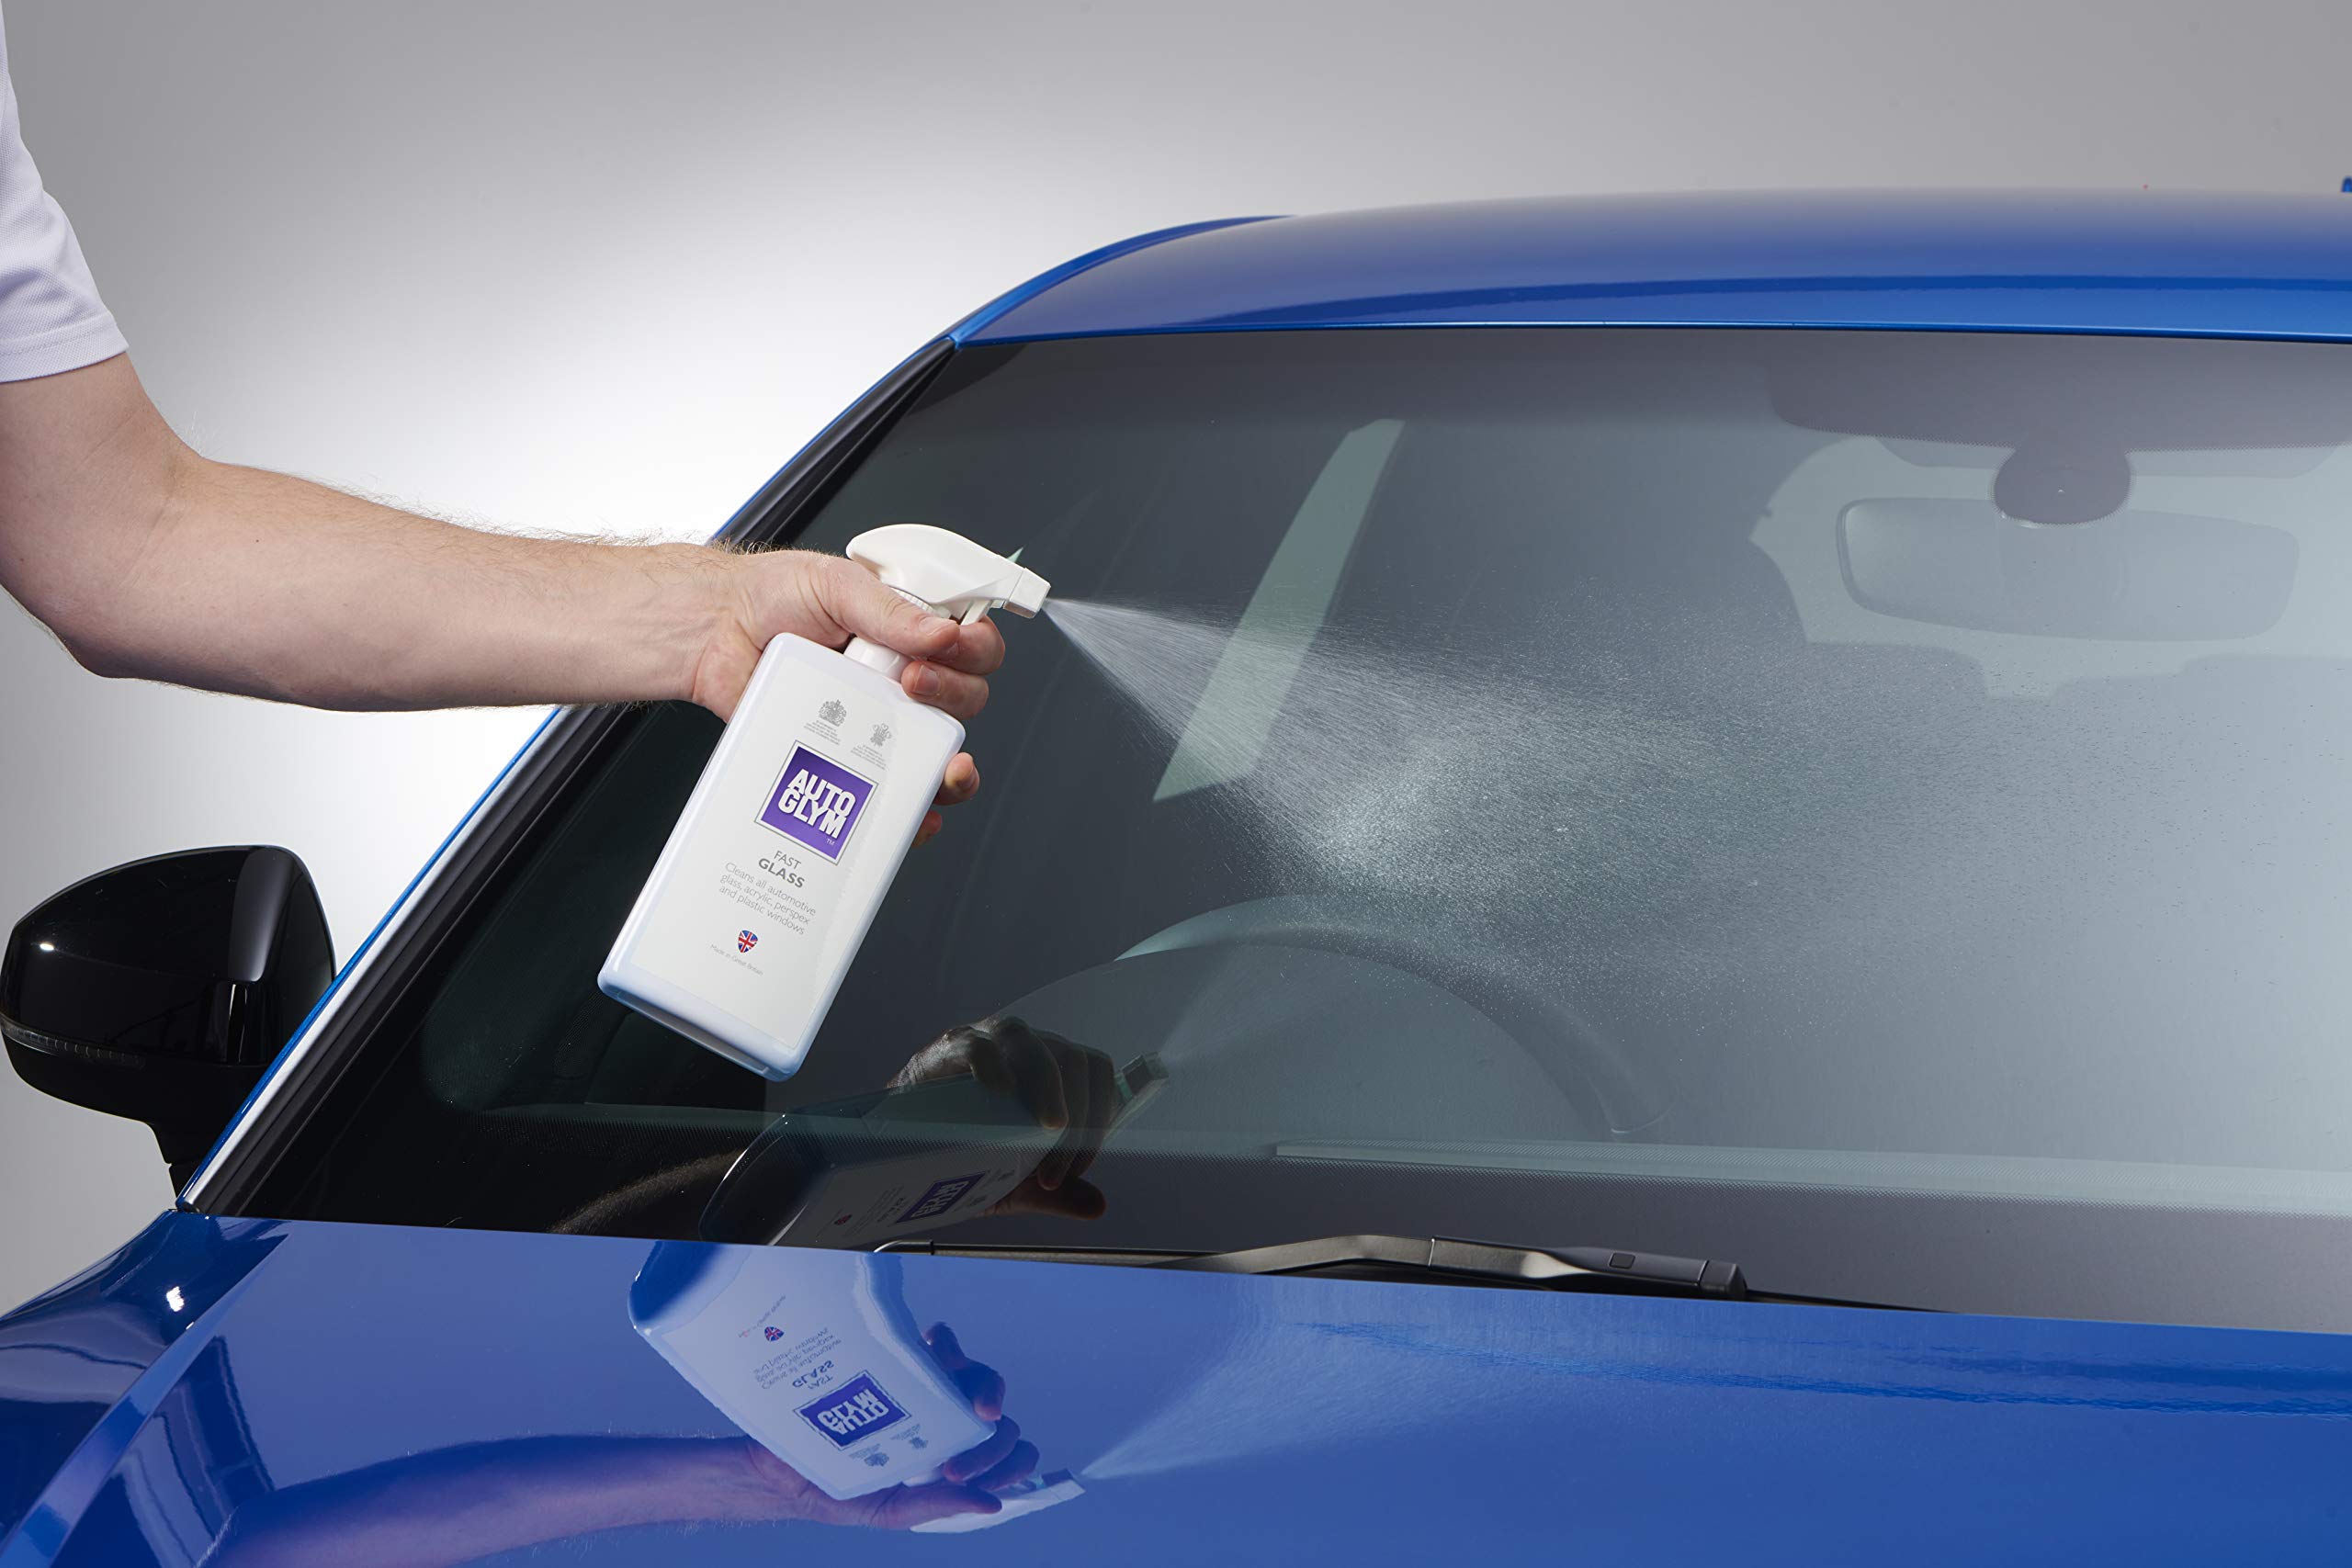
1. Prepare the Work Area: Begin by ensuring that the interior of the door panel is clean and free from any debris or contaminants. Use a clean cloth and interior cleaner to tidy up the area, creating a suitable surface for the application of sound deadening material.
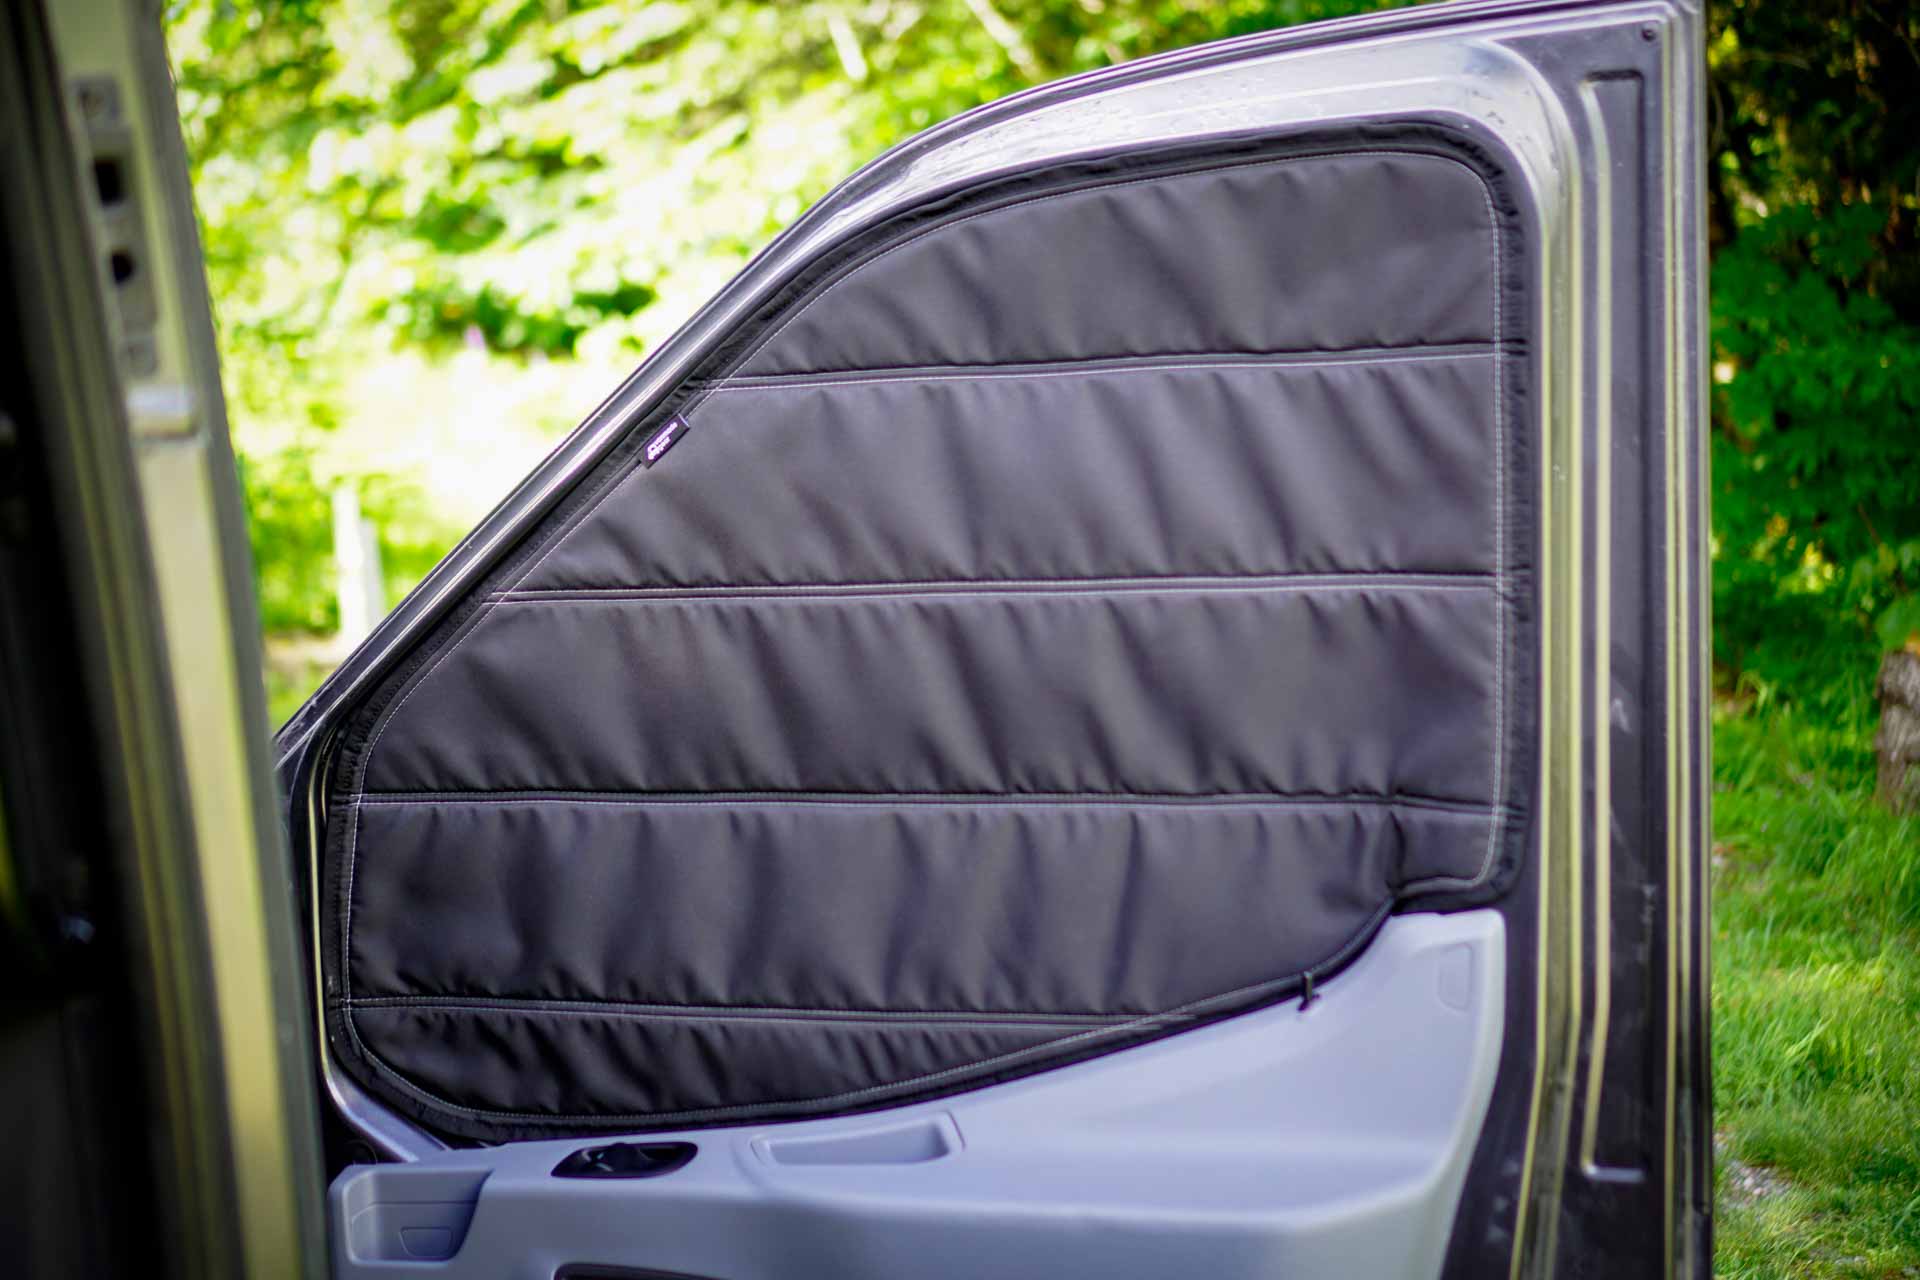
2. Measure and Cut the Material: Measure the areas within the door panel where vibrations and rattling are prominent. Cut the sound deadening material, such as butyl rubber sheets or foam insulation, to fit these specific areas, ensuring complete coverage of potential rattling points.
3. Apply the Material: Carefully adhere the cut sound deadening material to the interior surfaces of the door panel, focusing on areas surrounding the window assembly, the door skin, and any other locations susceptible to vibrations. Ensure that the material is firmly pressed in place for optimal effectiveness.
4. Address Accessible Cavities and Gaps: If accessible, apply sound deadening material within cavities and gaps in the door panel, further reducing the potential for vibrations and rattling. Pay attention to areas where the window regulator and related components are housed.
5. Reassemble the Door Panel: Once the sound deadening material is applied and secured, carefully reassemble the interior door panel, taking care to ensure that the material remains in place and does not interfere with the panel’s reinstallation.
6. Test for Improved Quietness: After reassembly, operate the window and assess the impact of the applied sound deadening material. Note any significant reduction in rattling and vibrations, confirming the effectiveness of the material in enhancing the stability and quietness of your car windows.
By diligently applying sound deadening material, you can significantly reduce the impact of vibrations and rattling within your car windows, creating a more serene and enjoyable driving environment. With this step completed, you’re now prepared to move on to the next stage of the repair process, which involves checking for glass misalignment and making necessary adjustments to ensure optimal window operation and stability.
Check the rubber seals around the windows for wear and tear. If damaged, replace them to stop the rattling.
Step 4: Check for Glass Misalignment
Ensuring proper alignment of the window glass within the frame is essential for minimizing rattling and maintaining the structural integrity of your car windows. Here’s a detailed guide to help you check for glass misalignment and make any necessary adjustments to achieve optimal window operation and stability:
1. Visual Inspection of Window Alignment: Begin by visually inspecting the window glass within the frame. Look for any signs of misalignment, such as uneven gaps between the glass and the window frame, or indications of contact or rubbing against the frame during operation.
2. Operate the Window and Listen for Abnormal Sounds: With the interior door panel reinstalled, carefully operate the window up and down while listening for any abnormal sounds or resistance. Pay attention to any points in the window’s movement where rattling or misalignment-related noises are prominent.
3. Check the Window Regulator and Tracks: Inspect the window regulator and tracks for any signs of wear, damage, or misalignment. Ensure that the regulator operates smoothly and that the window moves within the tracks without binding or excessive play.
4. Make Necessary Adjustments: If misalignment is identified, carefully adjust the window regulator and tracks to ensure proper alignment of the window glass within the frame. Follow the manufacturer’s guidelines for making adjustments, taking care to achieve a balanced and secure fit without compromising the window’s operation.
5. Test Window Operation and Stability: After making adjustments, test the window operation to confirm that the misalignment has been resolved. Operate the window up and down, observing its movement and listening for any signs of rattling or misalignment-related noises.
6. Address Any Remaining Issues: If misalignment persists or if additional rattling is present, reassess the alignment and consider seeking professional assistance if necessary. Addressing any remaining issues promptly will help ensure the long-term stability and quietness of your car windows.
By meticulously checking for glass misalignment and making necessary adjustments, you can optimize the alignment of your car windows, reducing the potential for rattling and ensuring smooth, stable operation. With this step completed, you’re now equipped to move on to the final stage of the repair process, which involves seeking professional help if needed to address any persistent issues and ensure the optimal performance of your car windows.
Read more: How To Bulletproof Car Windows
Step 5: Seek Professional Help if Needed
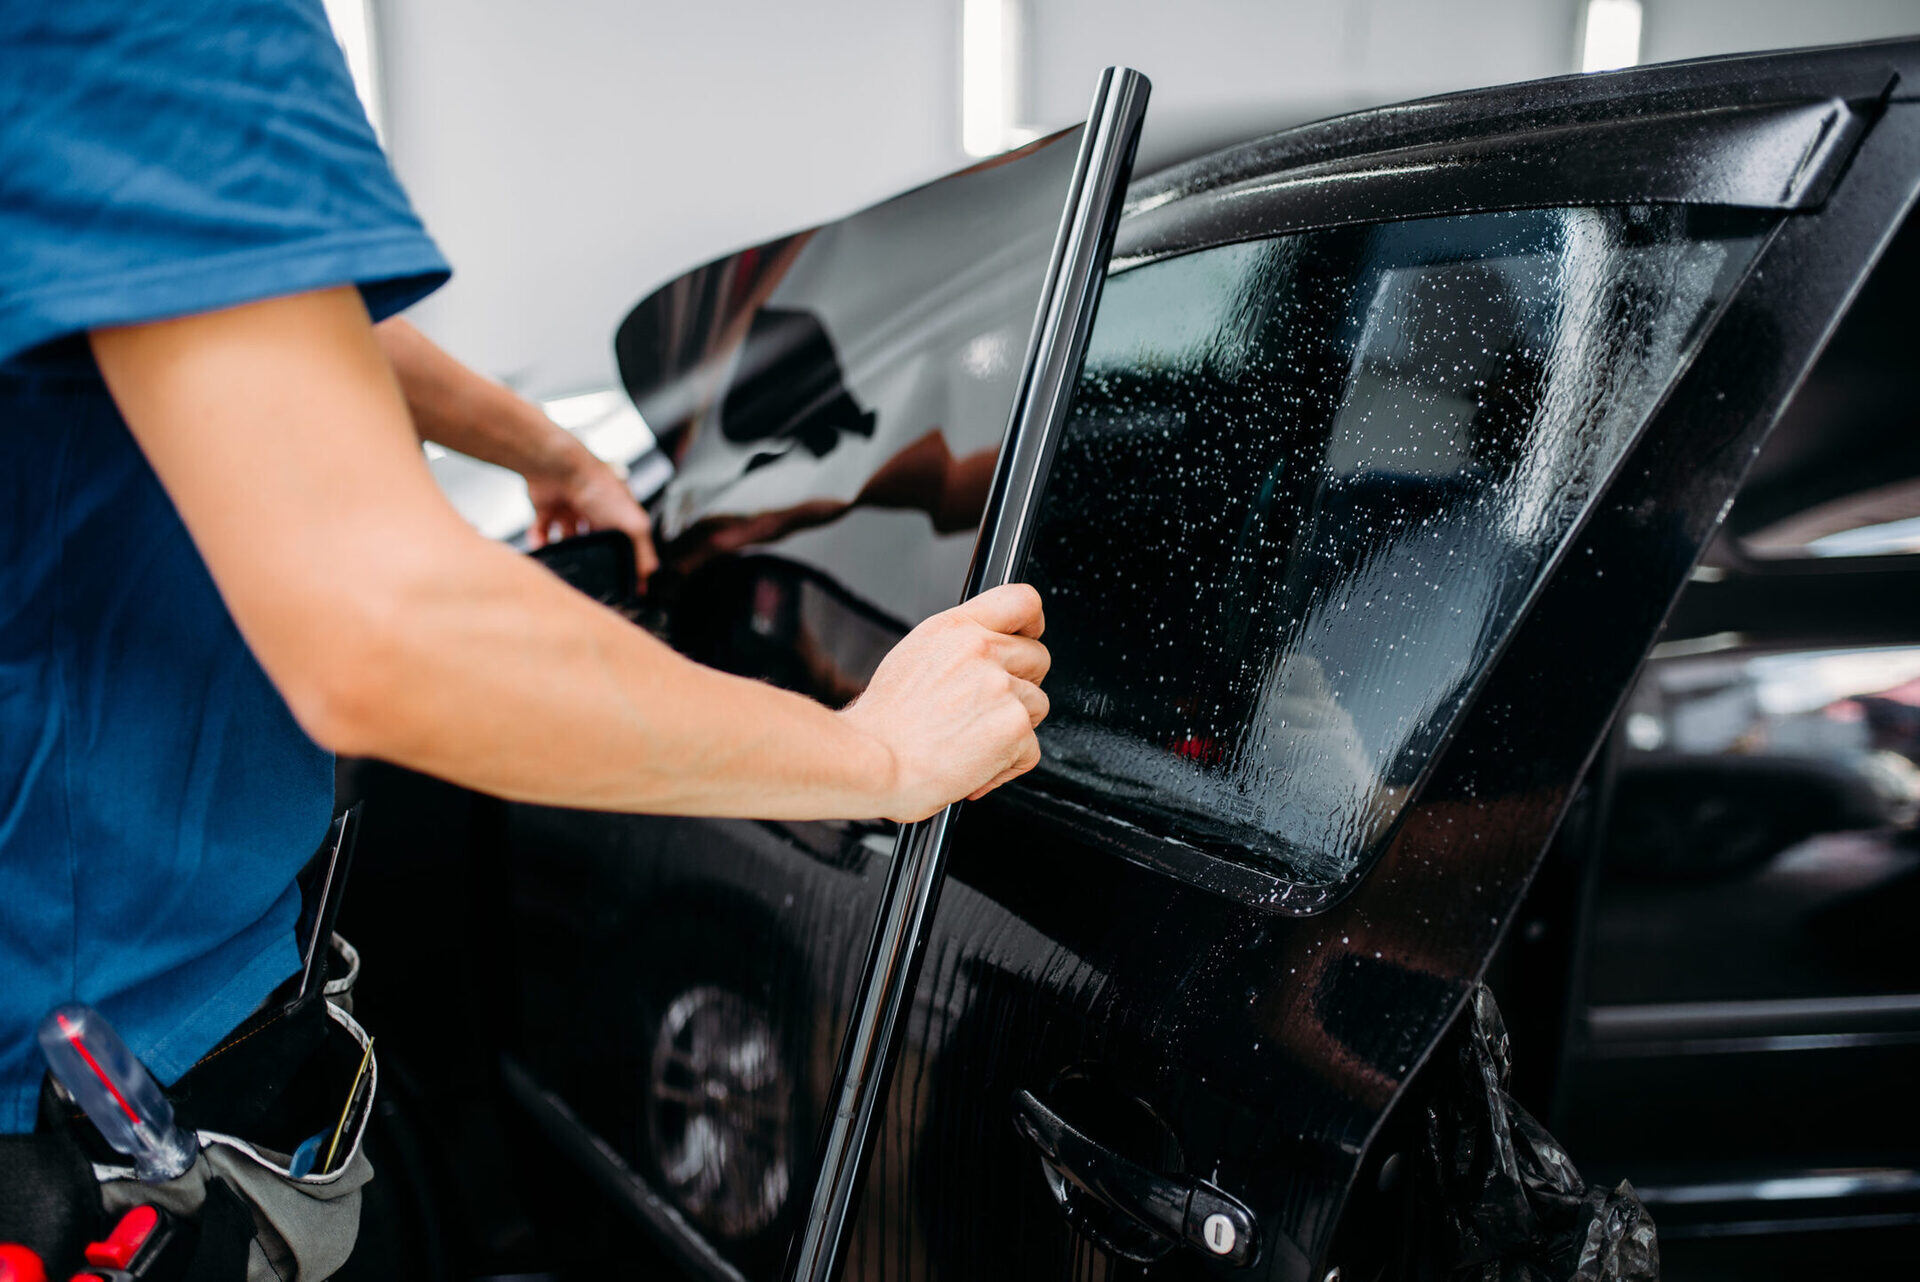
While addressing rattling car windows can often be accomplished through DIY efforts, there are instances where seeking professional assistance becomes necessary. If you encounter persistent issues or complexities beyond your expertise, it’s important to consider the expertise of a professional mechanic or automotive specialist. Here’s a guide to help you navigate the decision to seek professional help and the potential benefits it can offer:
1. Persistent Rattling Despite DIY Efforts: If you’ve diligently followed the previous steps and continue to experience significant rattling or misalignment issues with your car windows, it may indicate underlying complexities that require professional diagnosis and repair.
2. Complex Window Mechanism Concerns: If the window regulator, motor, or other intricate components within the window mechanism exhibit signs of wear, damage, or malfunction, the expertise of a professional can ensure comprehensive assessment and effective resolution of these issues.
3. Structural or Safety Considerations: If the rattling is accompanied by concerns regarding the structural integrity of the car windows or potential safety hazards, professional assistance can provide peace of mind by addressing these critical aspects with precision and expertise.
4. Specialized Diagnostic and Repair Equipment: Professional mechanics have access to specialized diagnostic tools and equipment tailored to assess and repair window-related issues, ensuring thorough and accurate diagnosis of complex rattling concerns.
5. Warranty and Quality Assurance: Seeking professional assistance from authorized service centers or reputable automotive specialists can often provide the assurance of warranty coverage and high-quality repairs, offering long-term reliability and peace of mind.
6. Consultation and Expert Recommendations: Even if you ultimately choose to continue DIY efforts, seeking a professional consultation can offer valuable insights, recommendations, and guidance tailored to your specific rattling concerns, empowering you to make informed decisions and achieve effective resolutions.
By recognizing the potential benefits of seeking professional help when needed, you can ensure that any persistent or complex rattling issues with your car windows are addressed with the highest level of expertise and precision. Whether it’s complex mechanical concerns, structural considerations, or the need for specialized diagnostic tools, professional assistance can offer invaluable support in achieving optimal performance and quietness for your car windows.
With this comprehensive guide, you’re now equipped with the knowledge and insights to confidently address rattling car windows, whether through DIY efforts or with the guidance of automotive professionals. By taking proactive steps to identify and resolve the sources of rattling, you can enjoy a quieter and more serene driving experience, free from the annoyance of window-related vibrations and noises.
Conclusion
Addressing rattling car windows is a task that, with the right knowledge and approach, can be effectively managed to restore tranquility and stability to your driving experience. By understanding the potential causes of rattling, equipping yourself with the necessary tools and materials, and following a systematic repair process, you can confidently resolve this common annoyance. Whether it’s tightening loose components, applying sound deadening material, or ensuring proper glass alignment, each step plays a crucial role in achieving quieter and more stable car windows.
Through diligent inspection, adjustment, and, if necessary, seeking professional assistance, you can navigate the complexities of car window repairs with confidence. By taking a proactive approach to address rattling issues, you contribute to a safer and more enjoyable driving environment, free from the distractions and potential hazards associated with loose or misaligned windows.
Remember, the journey to silence rattling car windows begins with a keen eye for detail, a willingness to roll up your sleeves, and the determination to restore peace and quiet to your drives. Whether you’re a seasoned DIY enthusiast or a novice in the world of car repairs, the steps outlined in this guide provide a comprehensive roadmap to effectively address rattling concerns and achieve optimal performance from your car windows.
So, the next time you hit the road, you can do so with the confidence of knowing that your car windows are stable, quiet, and ready to enhance your driving experience. By addressing rattling issues head-on, you’re not just restoring tranquility; you’re also taking proactive steps to ensure the long-term reliability and safety of your vehicle.
Armed with the insights and expertise gained from this guide, you’re prepared to tackle rattling car windows with precision and confidence, creating a more serene and enjoyable driving environment for yourself and your passengers. With a little patience and a proactive mindset, you can silence those rattling car windows and embark on your journeys with newfound peace and quiet.
Frequently Asked Questions about How To Fix Rattling Car Windows
Was this page helpful?
At Storables.com, we guarantee accurate and reliable information. Our content, validated by Expert Board Contributors, is crafted following stringent Editorial Policies. We're committed to providing you with well-researched, expert-backed insights for all your informational needs.


0 thoughts on “How To Fix Rattling Car Windows”