Home>Others>Specialized Home Improvement Topics>How To Remove Deep Scratches From Car Windows
Specialized Home Improvement Topics
How To Remove Deep Scratches From Car Windows
Modified: February 14, 2024
Learn how to effectively remove deep scratches from car windows with our specialized home improvement tips. Keep your car looking flawless with our expert advice.
(Many of the links in this article redirect to a specific reviewed product. Your purchase of these products through affiliate links helps to generate commission for Storables.com, at no extra cost. Learn more)
Introduction
Welcome to this guide on removing deep scratches from car windows. Your car's windows are essential for visibility and overall safety while driving. Unfortunately, scratches on the windows can obstruct your view and compromise the aesthetics of your vehicle. However, with the right tools and techniques, you can effectively address deep scratches and restore the clarity of your car windows.
In this comprehensive guide, we will walk you through the process of identifying, addressing, and ultimately eliminating deep scratches from your car windows. By following these steps, you can enhance the appearance of your vehicle and ensure optimal visibility while on the road.
Whether the scratches are the result of road debris, accidents, or other unforeseen circumstances, this guide will equip you with the knowledge and skills needed to tackle this common issue. Let's dive into the process of understanding the damage and gathering the necessary tools and materials to get started on restoring your car windows to their original condition.
Key Takeaways:
- Say goodbye to deep scratches on car windows by following a step-by-step process using simple tools and materials. Enjoy improved visibility and a restored vehicle aesthetic.
- With patience and attention to detail, you can effectively remove deep scratches from car windows, enhancing safety and maintaining your vehicle’s pristine condition.
Read more: How To Remove Fog From Car Windows
Understanding the Damage
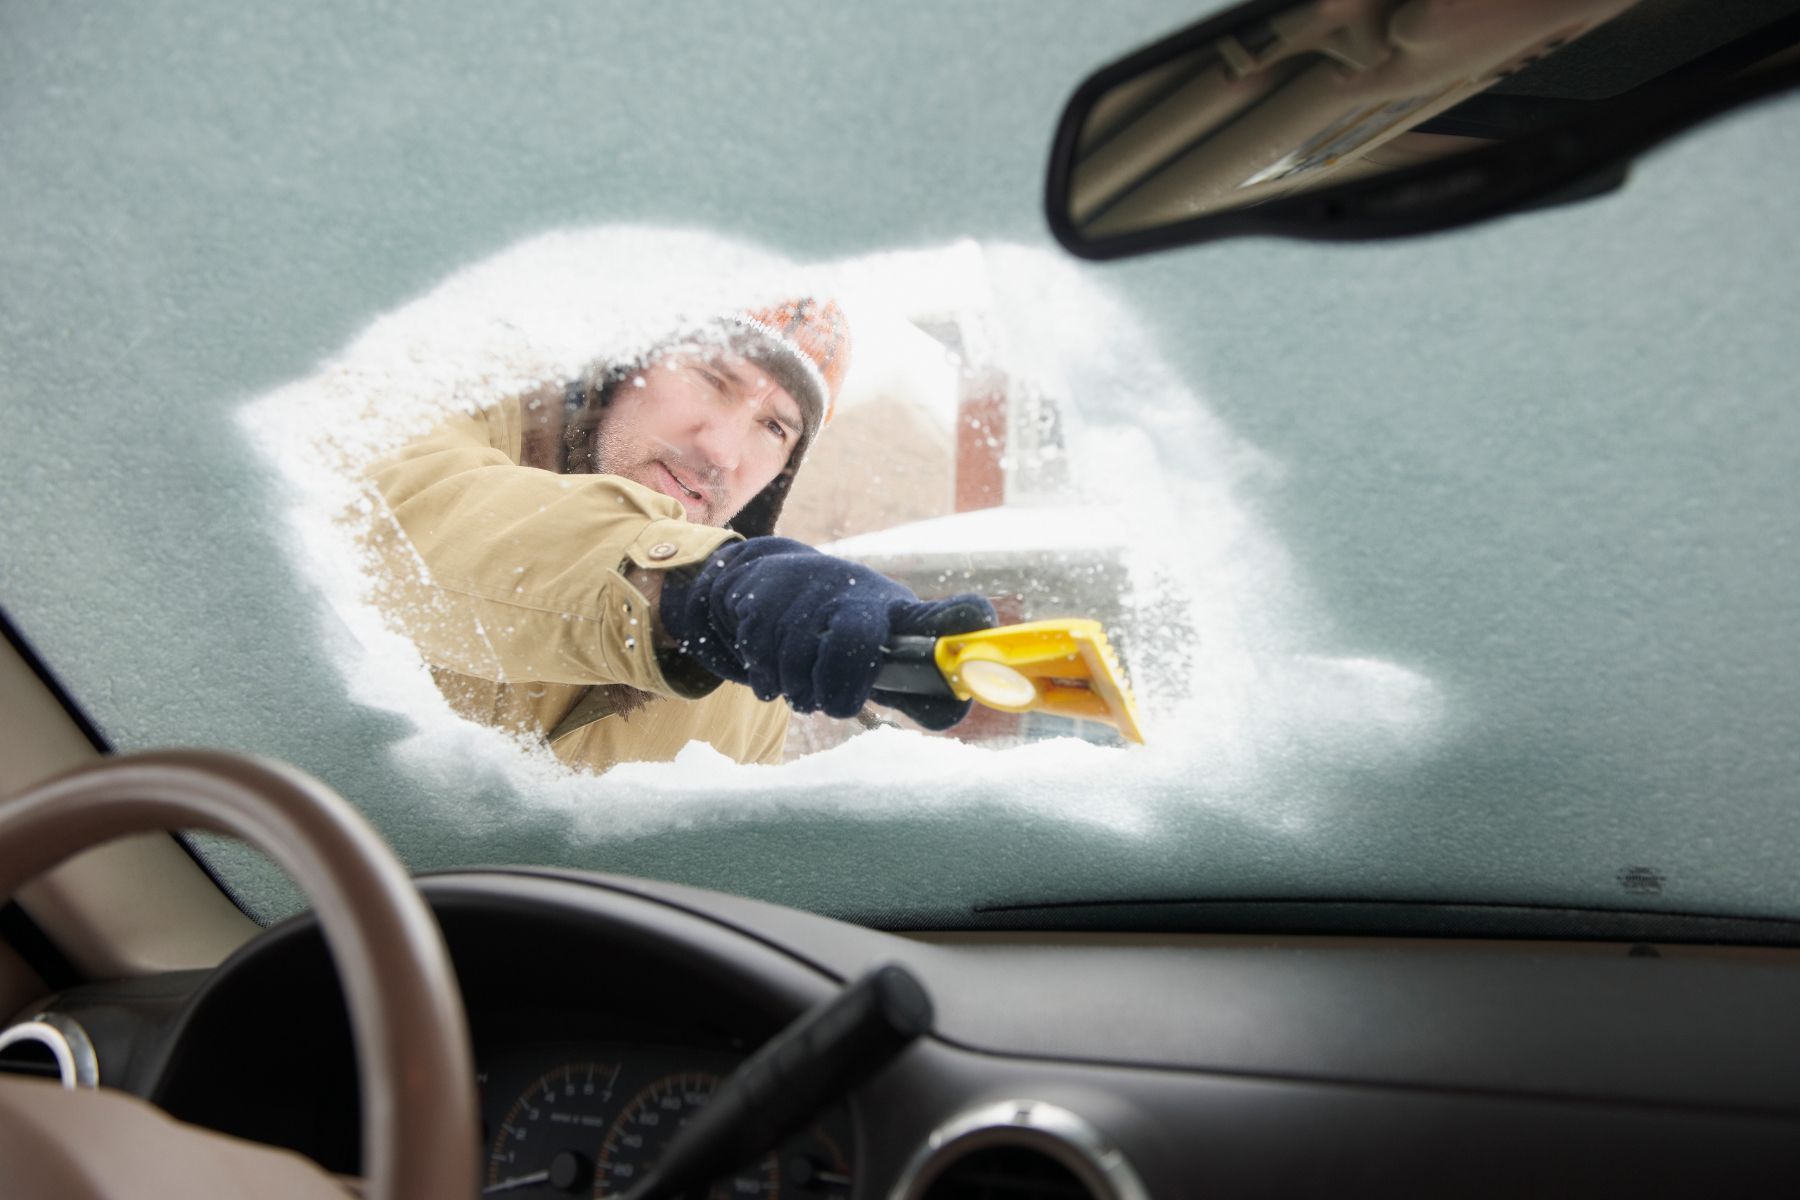
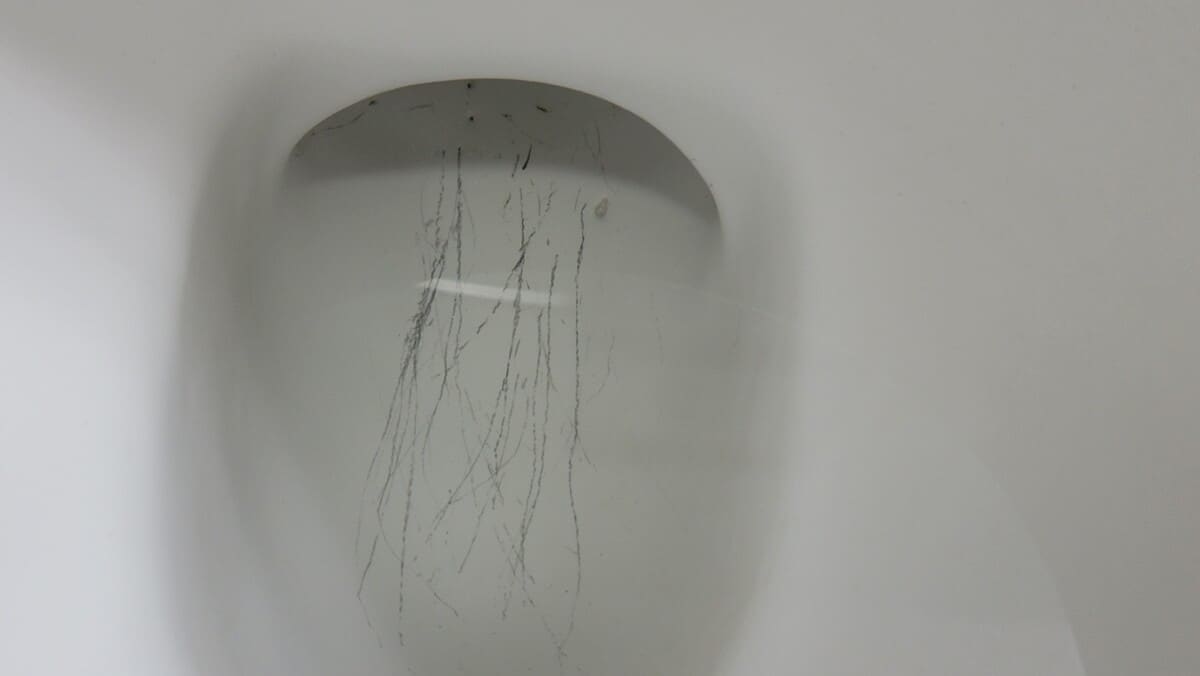
Before embarking on the journey of repairing deep scratches on your car windows, it’s crucial to assess the nature and extent of the damage. Deep scratches are those that can be felt with a fingernail when you run it across the surface of the glass. These scratches not only affect the appearance of your car but also pose a potential safety hazard by impairing your visibility.
It’s important to differentiate between surface-level imperfections and deep scratches. Surface-level blemishes, such as water spots or light swirl marks, can often be addressed with regular cleaning and polishing. However, deep scratches require more intensive treatment to effectively diminish or eliminate their visibility.
When examining the scratches, consider their location and the angle at which they are visible. Scratches that are predominantly on the exterior surface of the window may be more susceptible to environmental elements and abrasive debris. Conversely, interior scratches may be the result of contact with foreign objects within the vehicle.
Furthermore, understanding the depth of the scratches is essential. Superficial scratches may be more manageable to address, while deeper ones may require a more rigorous approach. By evaluating the nature of the damage, you can determine the appropriate course of action and ensure that the repair process yields satisfactory results.
Now that we’ve gained insight into the nature of deep scratches on car windows, let’s move on to the tools and materials needed to effectively address this issue.
Tools and Materials Needed
Before delving into the process of removing deep scratches from car windows, it’s essential to gather the necessary tools and materials to ensure a successful repair. Here’s a list of items you will need:
- Glass Polishing Compound: This specialized compound is designed to diminish the appearance of scratches on glass surfaces. Look for a high-quality product formulated specifically for automotive glass.
- Microfiber Cloths: These soft, lint-free cloths are ideal for cleaning and buffing the affected area without leaving behind any residue or scratches.
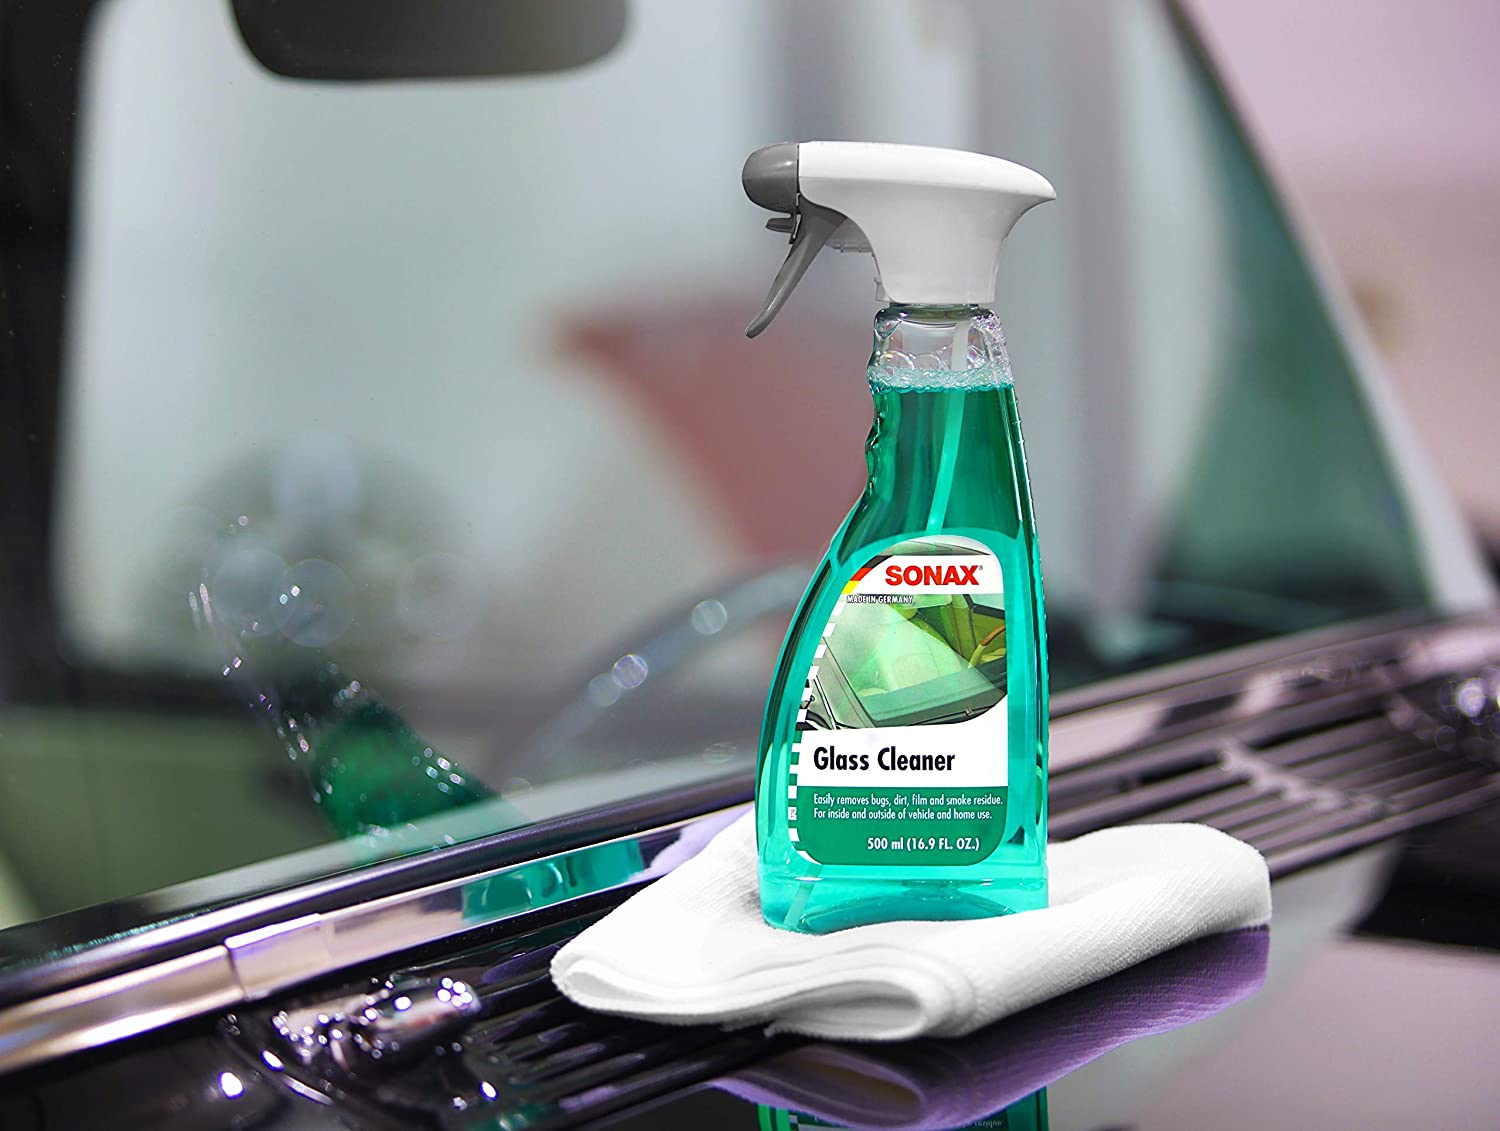
- Glass Cleaner: A gentle, ammonia-free glass cleaner will be used to thoroughly clean the window before and after the repair process.
- Water and Dish Soap: A mild solution of water and dish soap will be used for initial cleaning to remove any surface dirt and grime from the window.
- Polishing Pads: Soft, non-abrasive polishing pads are essential for applying the glass polishing compound evenly and effectively.
- Masking Tape: This will be used to protect the surrounding areas of the window from accidental contact with the polishing compound.
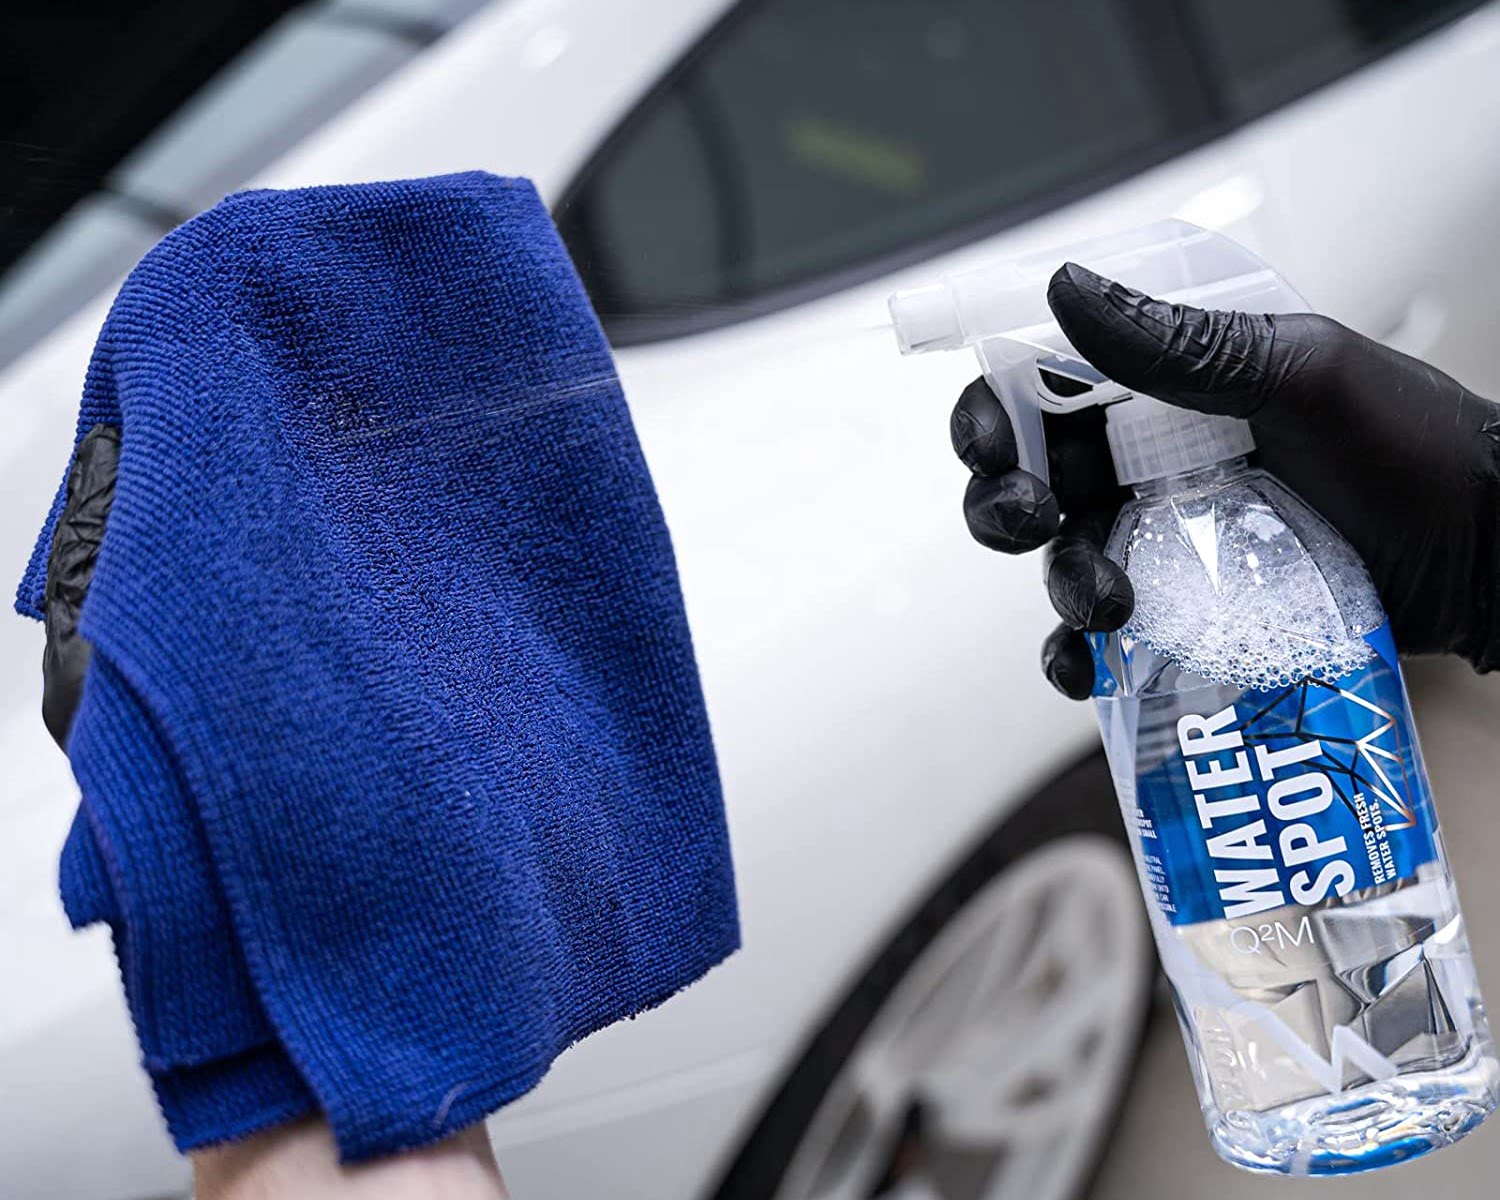
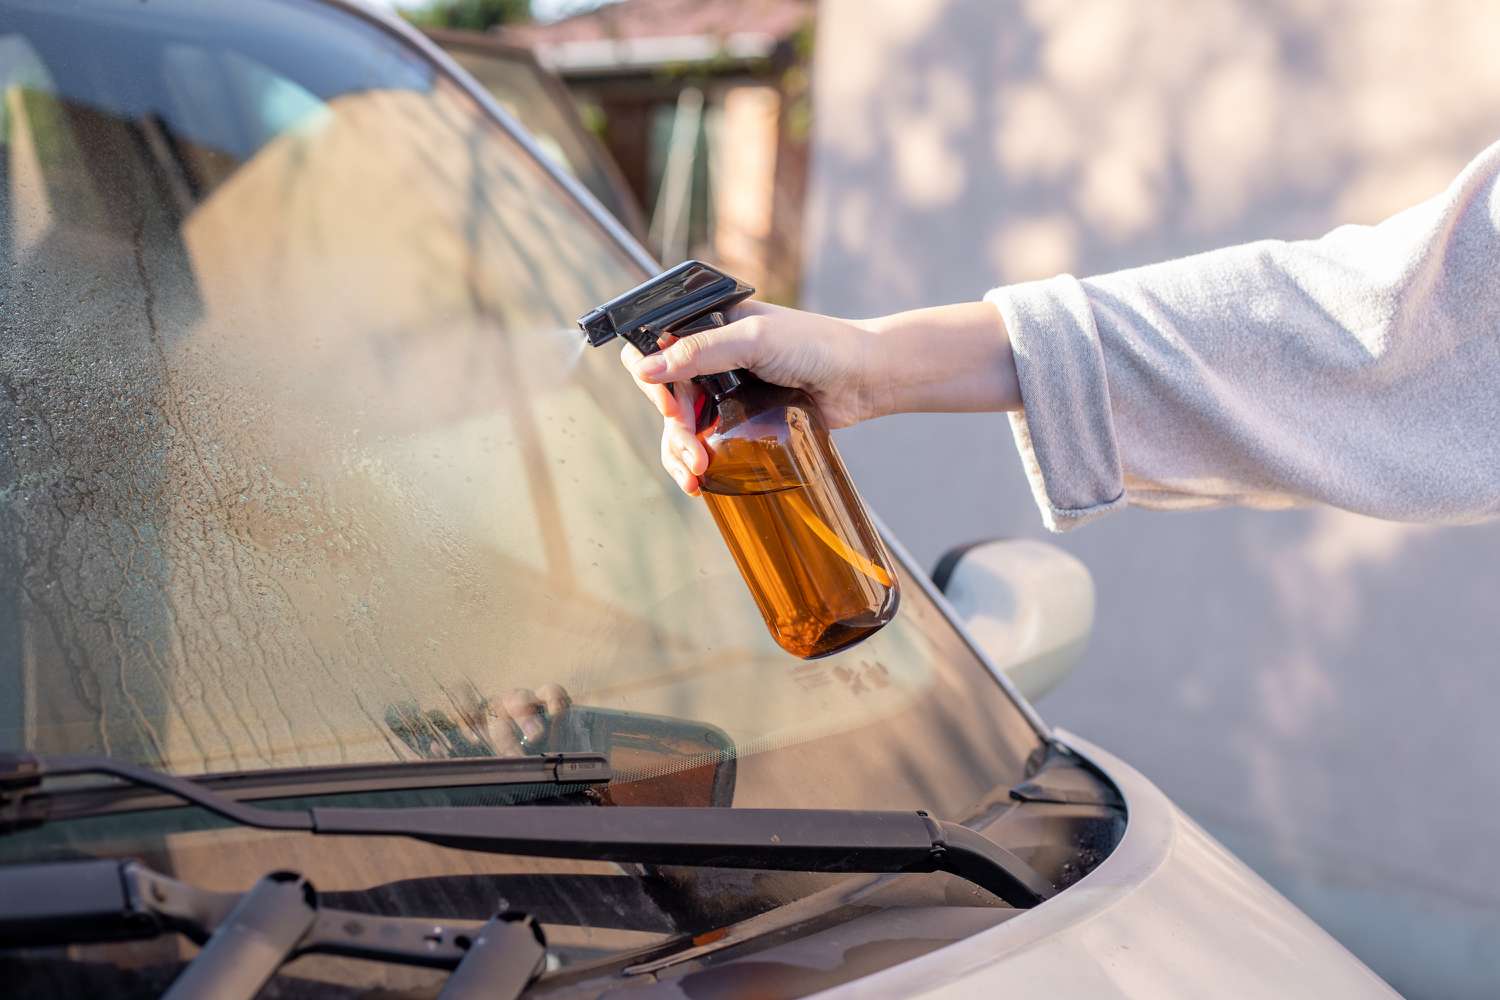
- Water Spray Bottle: Filled with clean water, this will be used to mist the window during the buffing process to keep the surface lubricated.
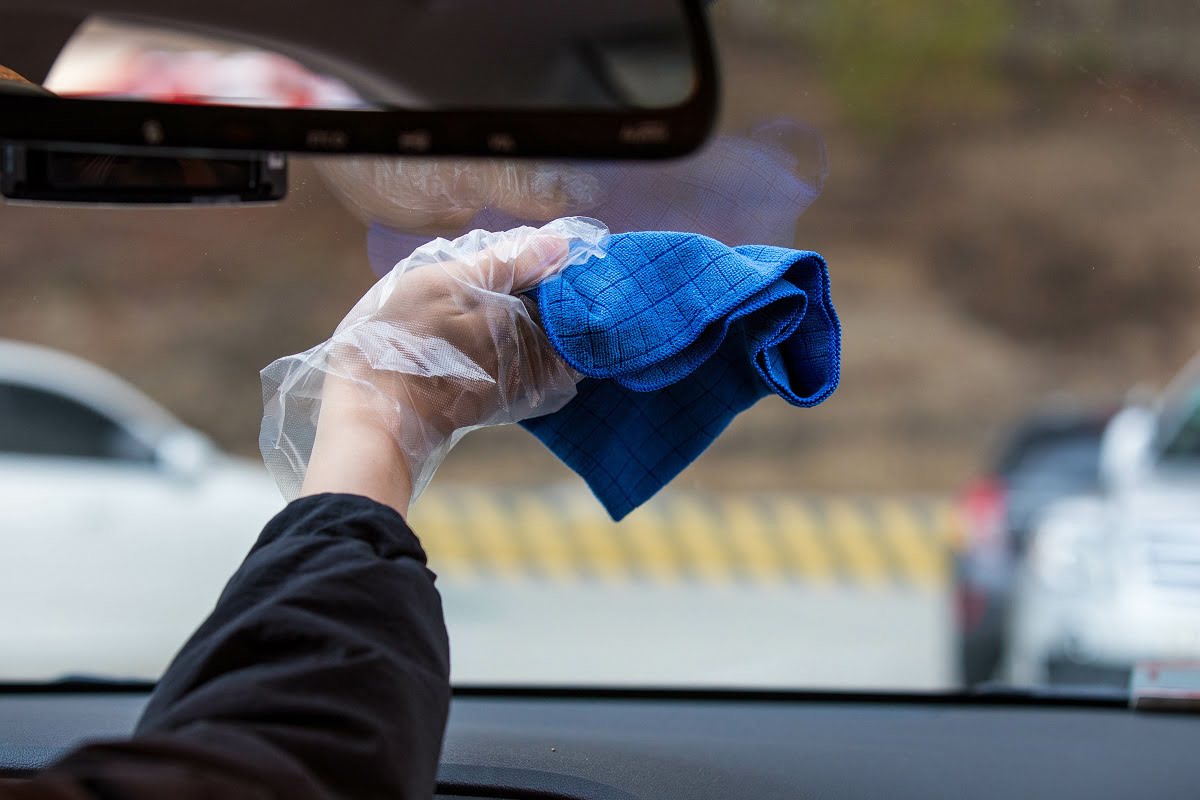
- Protective Gloves: It’s important to protect your hands during the repair process, especially when handling glass and chemical compounds.
- Safety Glasses: To safeguard your eyes from any potential debris or splashes during the repair.
By ensuring that you have these tools and materials on hand, you can proceed with confidence, knowing that you are well-equipped to address the deep scratches on your car windows effectively. Now that we’ve covered the essential items needed for the repair process, let’s move on to the step-by-step instructions for removing deep scratches from car windows.
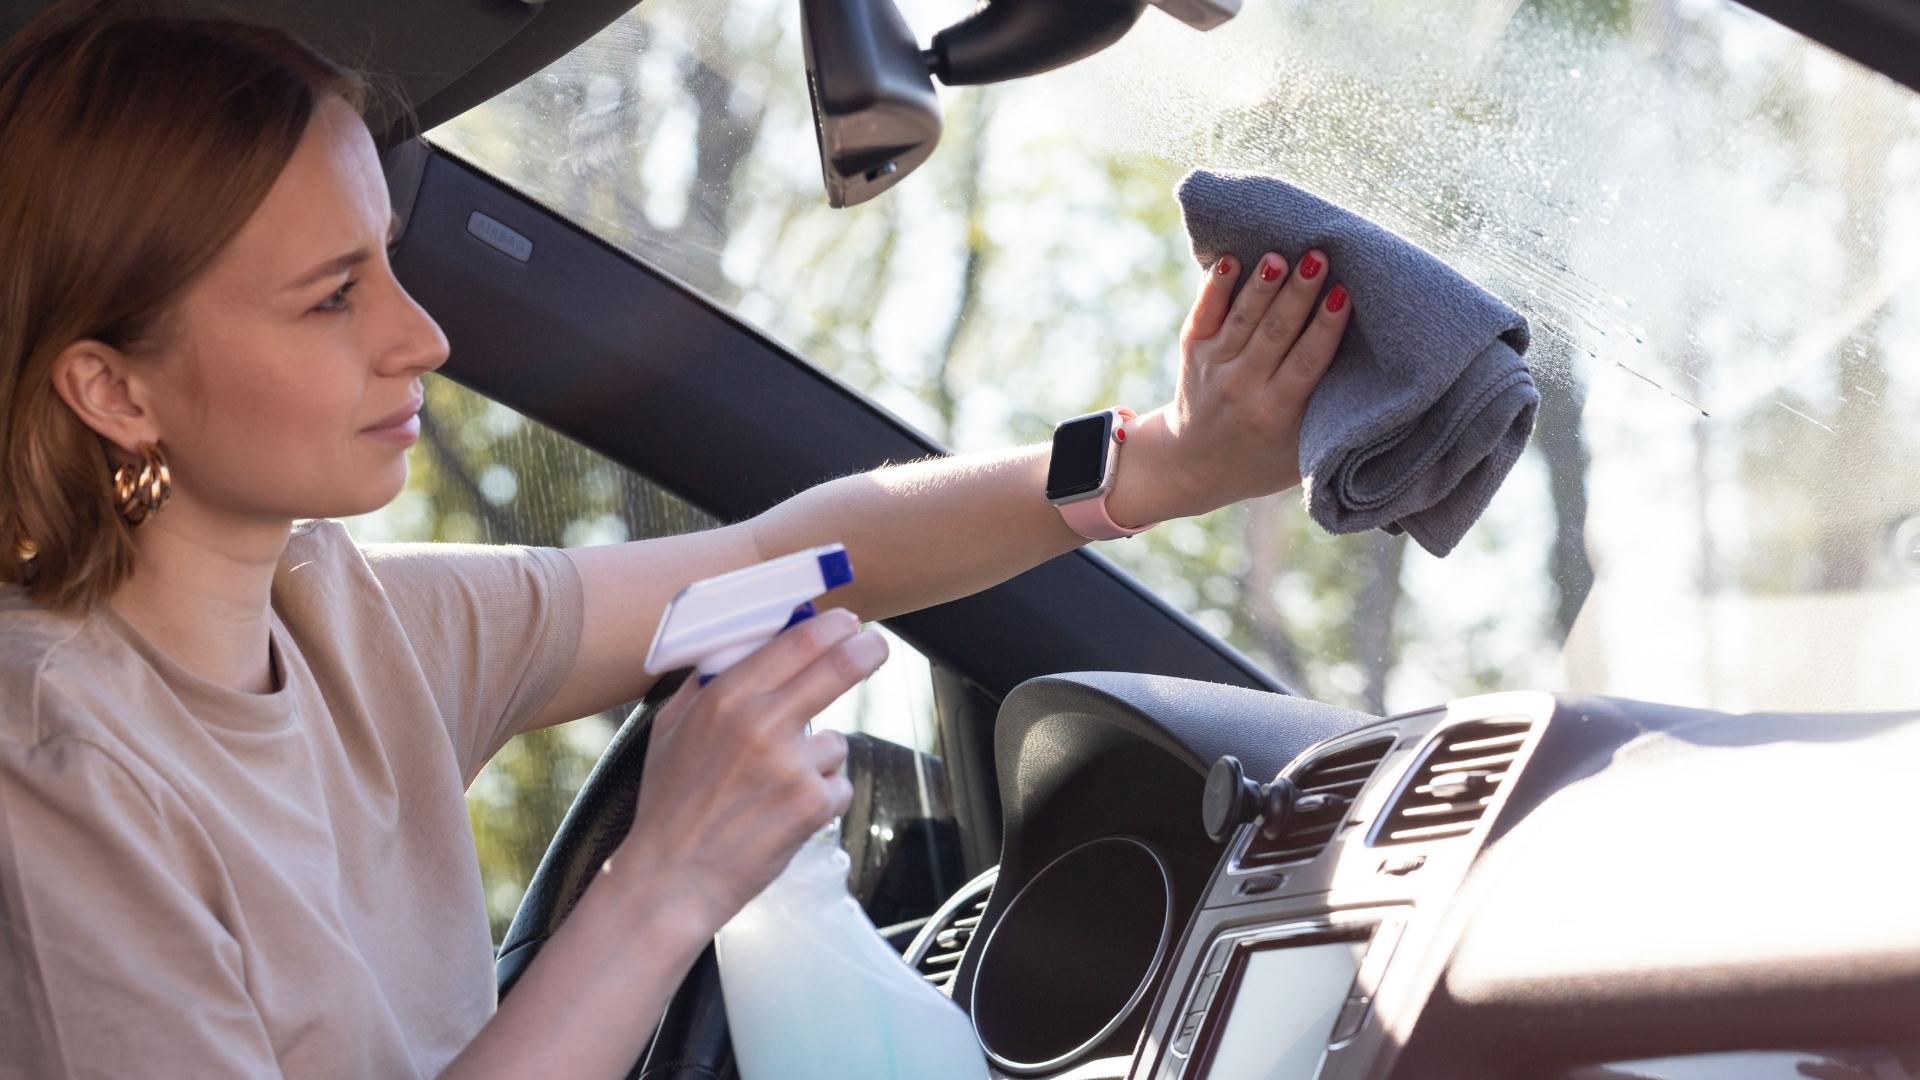
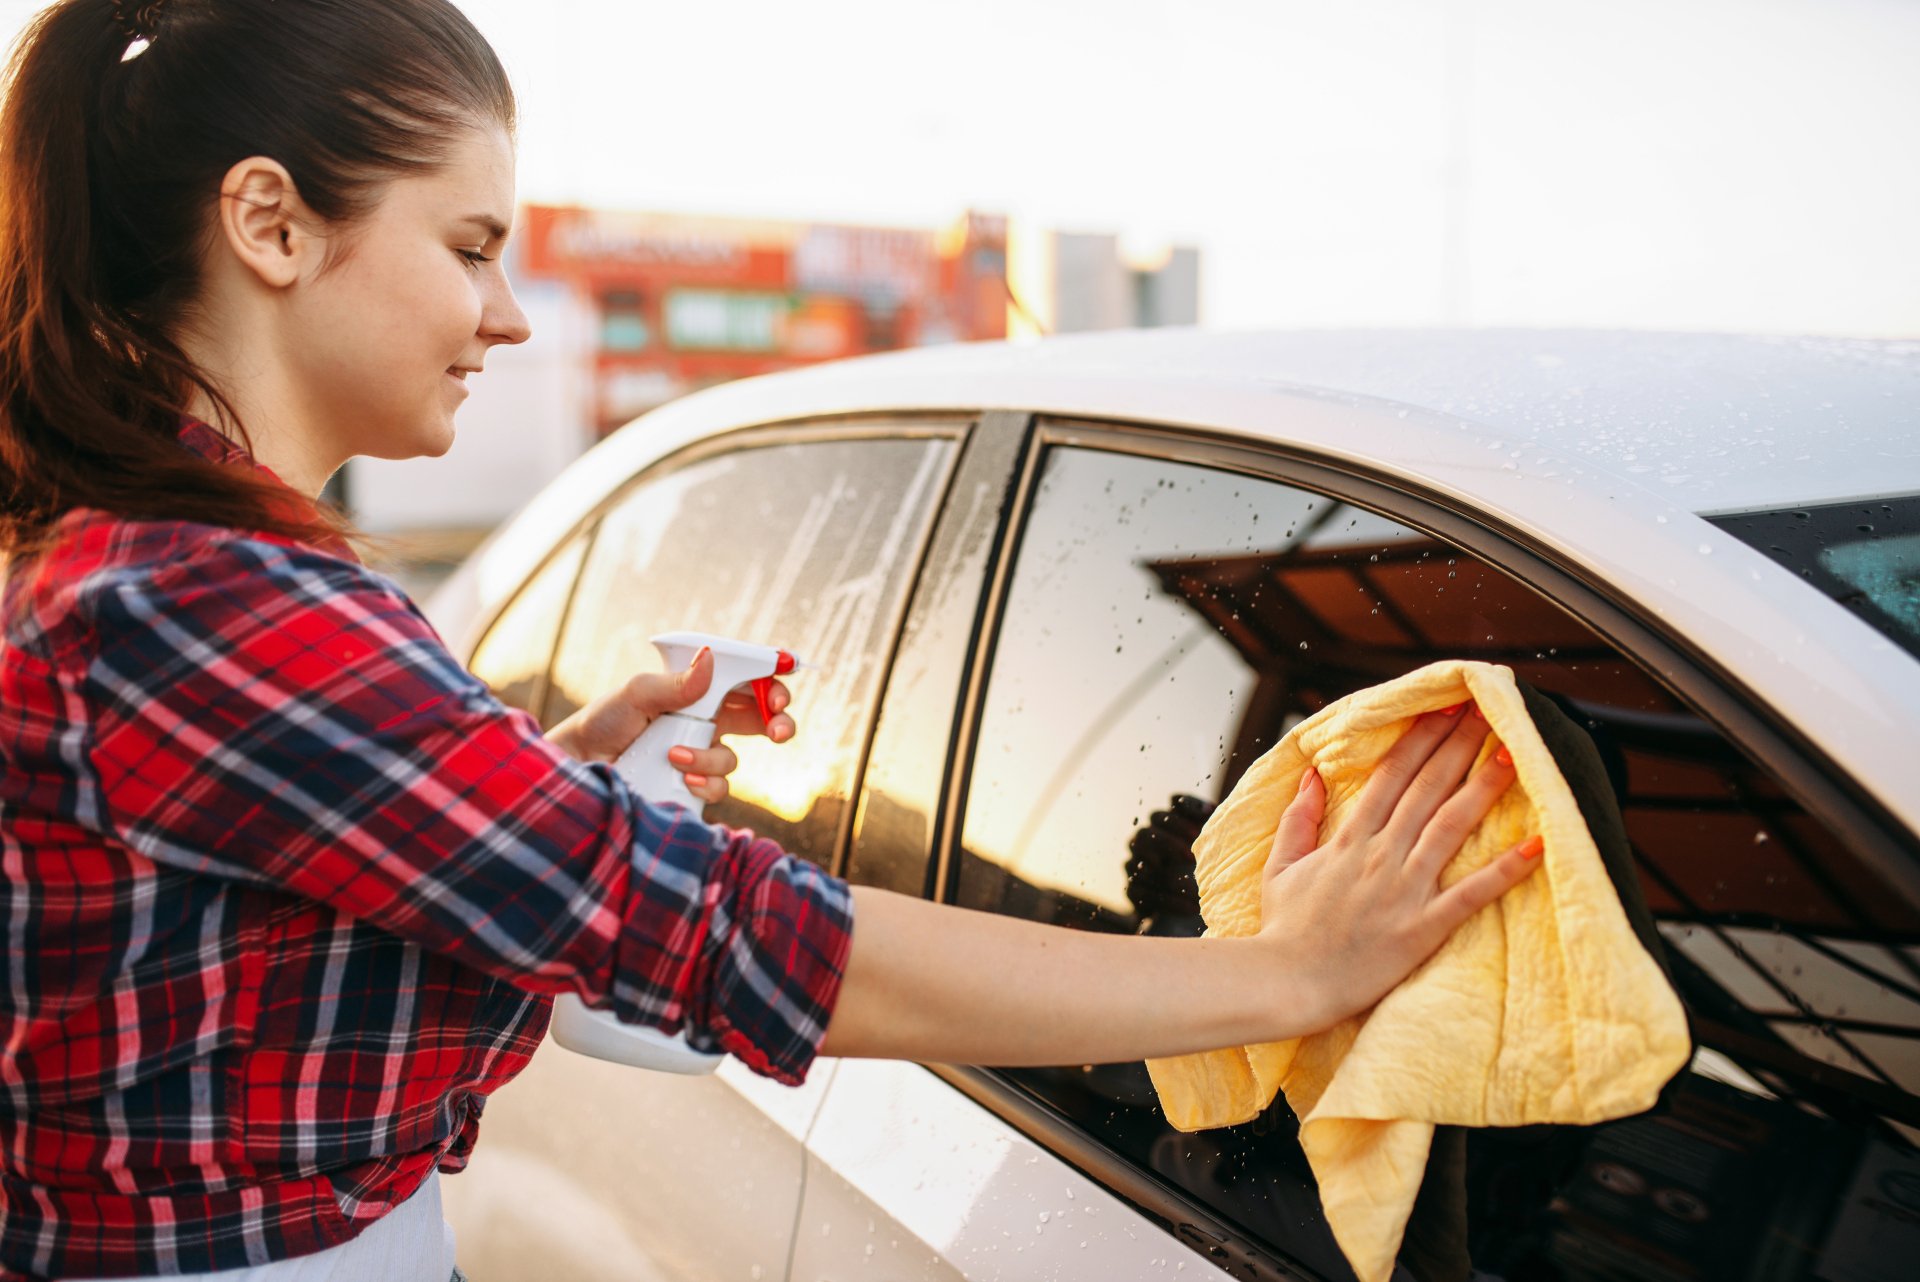
Step 1: Cleaning the Area
Prior to addressing the deep scratches on your car windows, it’s crucial to start with a clean and debris-free surface. Follow these steps to prepare the window for the repair process:
- Wash the Window: Begin by washing the affected window with a mild solution of water and dish soap. Use a soft sponge or cloth to gently remove any dirt, grime, or residue from the surface. Rinse thoroughly with clean water and allow the window to dry completely.
- Protect Surrounding Areas: Use masking tape to carefully cover the surrounding areas of the window, such as the car’s paint and trim, to prevent accidental contact with the glass polishing compound.
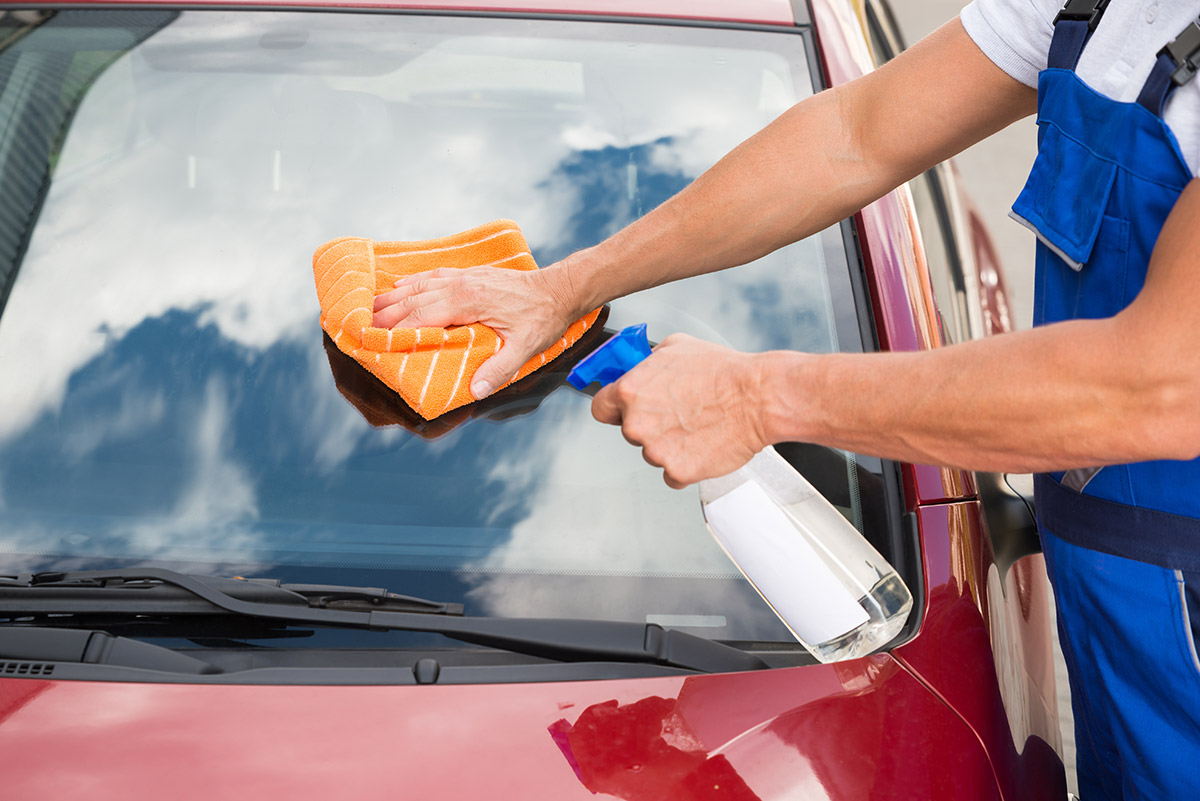
- Apply Glass Cleaner: Once the window is dry, spray a generous amount of glass cleaner onto the surface. Use a clean microfiber cloth to wipe the window thoroughly, ensuring that all remaining residue and contaminants are removed.
- Inspect for Residue: After cleaning, inspect the window carefully to ensure that no residue or particles remain on the surface. Any remaining debris could interfere with the polishing process and affect the final result.
By meticulously cleaning the window and preparing the surrounding areas, you create an optimal environment for the subsequent steps in the repair process. With the surface now free of dirt and debris, you are ready to proceed to the next step of applying the glass polishing compound to diminish the appearance of the deep scratches.
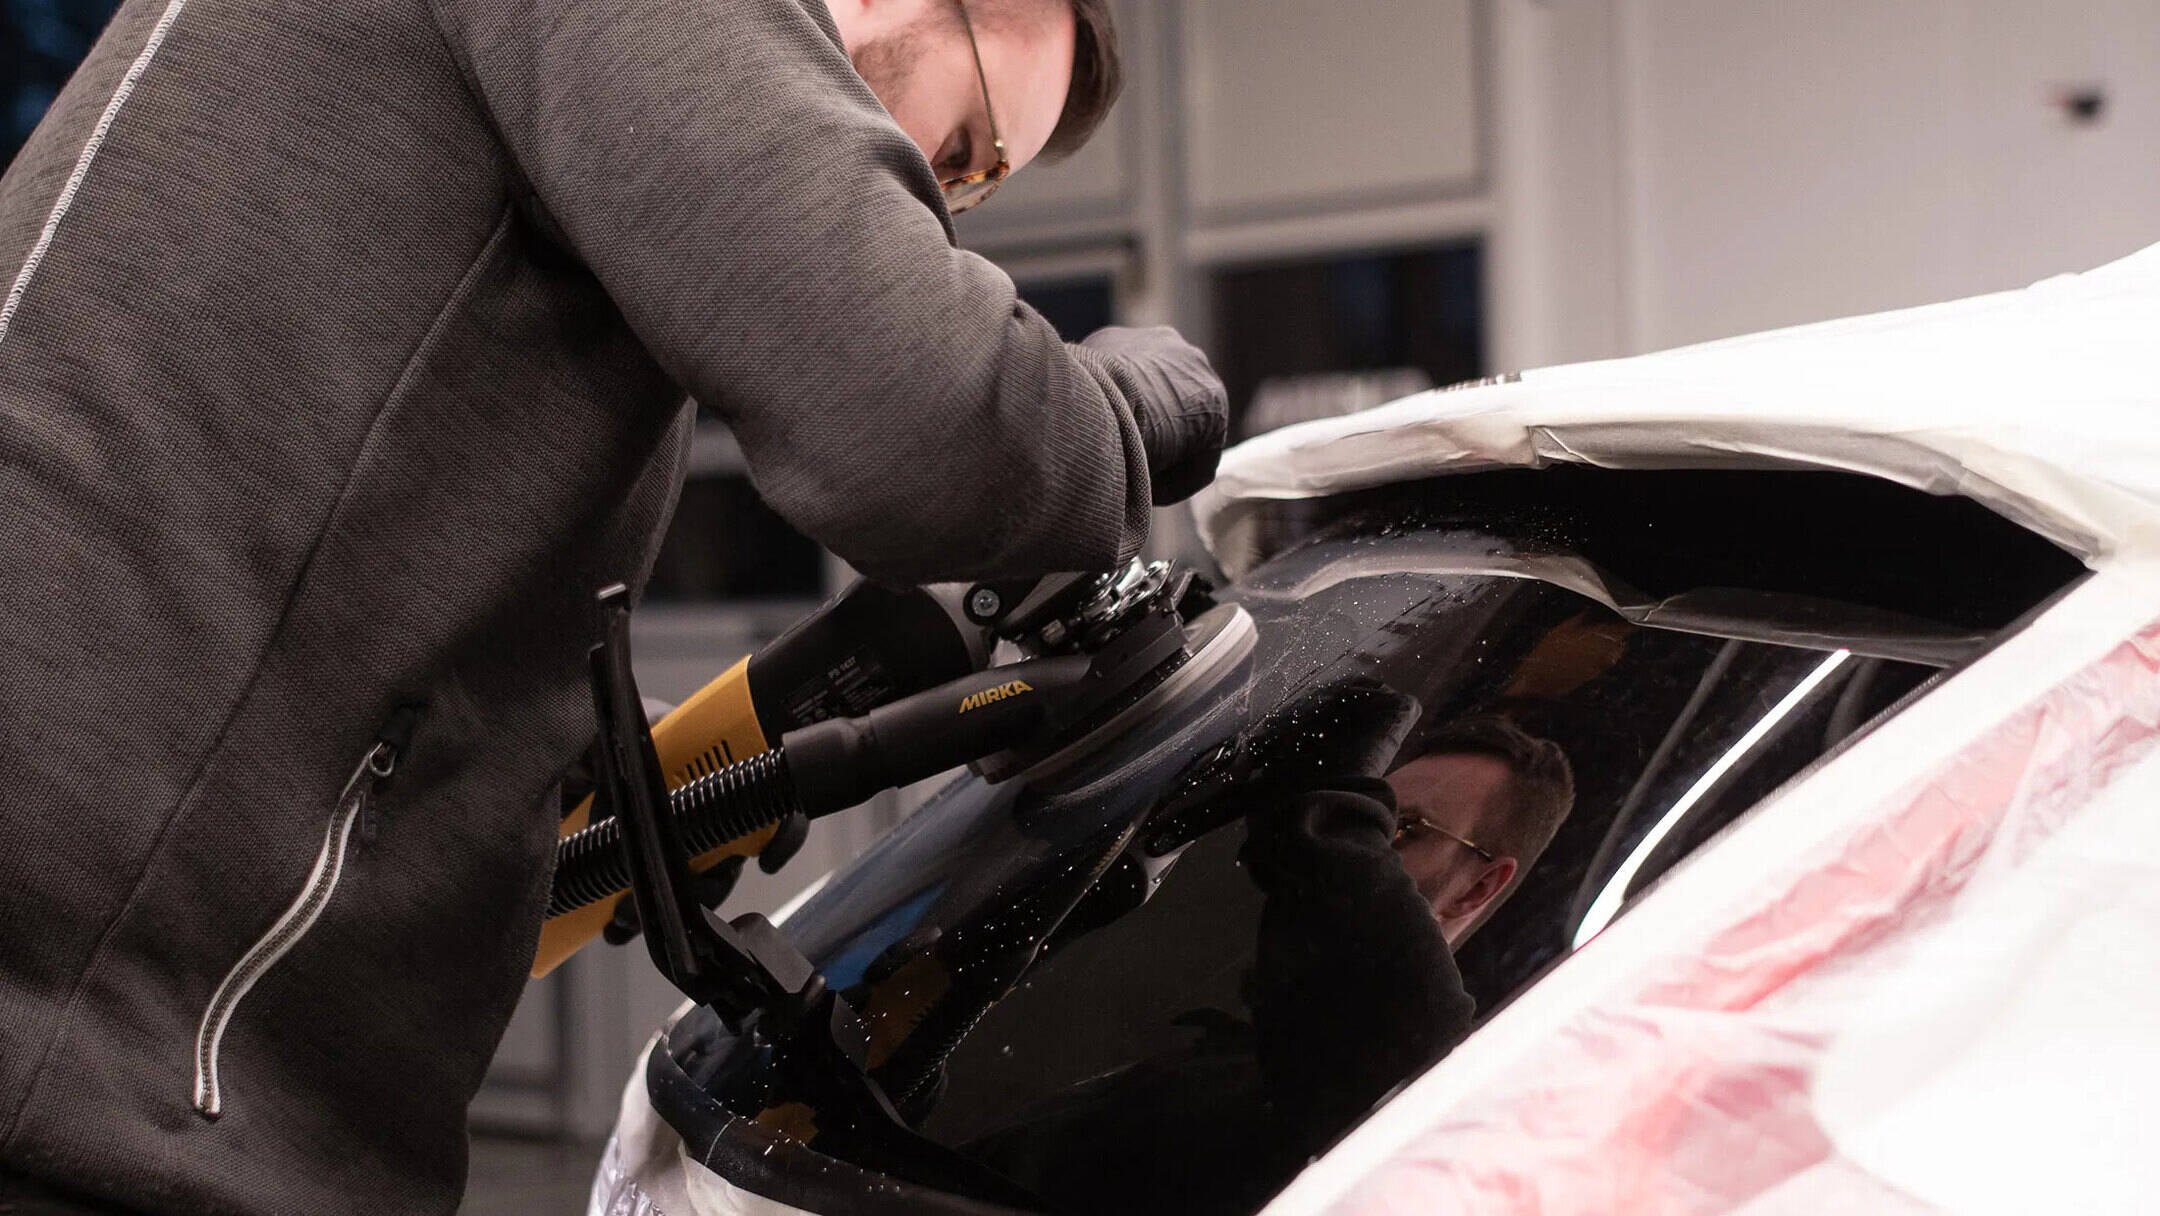
Use a glass polishing compound and a microfiber cloth to buff out deep scratches from car windows. Apply the compound in a circular motion, then wipe off with a clean cloth. Repeat as needed until the scratches are gone.
Step 2: Applying Glass Polishing Compound
Once the window and surrounding areas are thoroughly cleaned and prepared, the next step involves applying the glass polishing compound to begin addressing the deep scratches. Follow these guidelines to effectively apply the compound:
- Shake the Compound: Before use, shake the bottle of glass polishing compound well to ensure that the ingredients are properly mixed.
- Apply a Small Amount: Squeeze a small amount of the glass polishing compound onto a soft, non-abrasive polishing pad. A little goes a long way, so start with a modest amount and add more as needed.
- Spread Evenly: Gently spread the compound onto the scratched area of the window using the polishing pad. Work in a circular motion, ensuring that the compound is applied evenly and covers the entire scratched area.
- Work in Sections: If the scratches span a large area, it may be beneficial to work on one section at a time. This approach allows for focused attention and ensures that the compound is adequately applied to each part of the scratched surface.
- Control the Pressure: Apply gentle pressure as you work the compound into the scratches. Avoid exerting excessive force, as this could lead to further damage to the glass.
By following these steps, you can effectively apply the glass polishing compound to the affected area, setting the stage for the next critical phase of the repair process: buffing the scratched area to diminish the appearance of the deep scratches on your car windows.
Read more: How To Remove Overspray From Car Windows
Step 3: Buffing the Scratched Area
Following the application of the glass polishing compound, the next crucial step in the repair process involves buffing the scratched area to diminish the visibility of the deep scratches. Here’s how to effectively carry out this step:
- Prepare the Buffing Pad: Attach a clean, soft buffing pad to the buffer or polisher, ensuring that it is securely in place and free of any debris that could potentially scratch the glass.
- Mist the Area: Use a water spray bottle to lightly mist the scratched area of the window. This provides lubrication and helps prevent the glass from overheating during the buffing process.
- Set the Speed: Adjust the speed of the buffer to a low to medium setting. High speeds can generate excessive heat, potentially damaging the glass or compromising the effectiveness of the polishing compound.
- Buff the Scratched Area: With the buffer in hand, gently guide the buffing pad across the scratched area in a consistent, overlapping motion. Avoid lingering in one spot for too long, as this could lead to uneven polishing and potential heat buildup.
- Inspect and Repeat if Necessary: After buffing the area, inspect the window to assess the results. If the deep scratches are still visible, repeat the application of the glass polishing compound and the buffing process until the desired outcome is achieved.
By following these steps, you can effectively buff the scratched area, working to diminish the visibility of the deep scratches and restore the clarity of your car windows. With the buffing process complete, it’s time to move on to the final steps of cleaning and inspecting the window to ensure a successful repair.
Step 4: Cleaning and Inspecting the Window
As the final step in the process of removing deep scratches from your car windows, cleaning and inspecting the window is essential to ensure that the repair has been successful. Follow these steps to complete the repair process:
- Clean the Window: Using a gentle, ammonia-free glass cleaner and a clean microfiber cloth, thoroughly clean the entire window to remove any residual polishing compound and to reveal the results of the repair process.
- Inspect for Improvement: Carefully inspect the previously scratched area to assess the effectiveness of the repair. Look for a reduction in the visibility of the deep scratches and evaluate the overall clarity of the window.
- Repeat if Necessary: If the deep scratches are still noticeable, consider repeating the application of the glass polishing compound and the buffing process to further diminish their appearance. Persistence and attention to detail can lead to significant improvements.
- Remove Protective Coverings: If you used masking tape to protect the surrounding areas of the window, carefully remove it, ensuring that no residue is left behind on the car’s paint or trim.
- Admire the Results: Step back and admire the improved clarity and appearance of your car window. Appreciate the effort you’ve invested in restoring its condition and the enhanced visibility it provides.
By completing these final steps, you can ensure that the repair process is thorough and that the deep scratches on your car windows have been effectively addressed. With the window now cleaned and inspected, you can enjoy the improved aesthetics and functionality of your vehicle’s windows.
Congratulations on successfully removing deep scratches from your car windows! Your commitment to this repair process has resulted in enhanced visibility and an improved overall driving experience. With these skills and knowledge, you can confidently address similar issues in the future and maintain the pristine condition of your vehicle’s windows.
Conclusion
Removing deep scratches from car windows is a rewarding endeavor that not only enhances the appearance of your vehicle but also contributes to the safety and visibility while driving. By following the step-by-step process outlined in this guide, you have successfully addressed the deep scratches on your car windows and restored their clarity.
Throughout this journey, you’ve gained valuable insights into the nature of deep scratches, the tools and materials needed for the repair, and the meticulous steps required to diminish their visibility. Your commitment to this process has yielded tangible results, showcasing your dedication to maintaining the optimal condition of your car’s windows.
As you reflect on the successful completion of this repair, remember that attention to detail, patience, and a methodical approach are key elements in achieving favorable outcomes. By incorporating these principles into your maintenance and repair efforts, you can effectively address various issues that may arise, ensuring that your vehicle remains in top-notch condition.
With the deep scratches now diminished and the windows restored to their original clarity, take pride in the accomplishment of this repair. Your commitment to excellence and your willingness to invest time and effort in maintaining your vehicle have paid off, resulting in improved aesthetics and functionality.
As you continue your journey as a car owner, equipped with the knowledge and skills gained from this experience, you can confidently tackle future challenges and uphold the pristine condition of your car’s windows and overall appearance. Your dedication to preserving the quality and safety of your vehicle is truly commendable.
Thank you for joining us on this journey of restoring car windows and for your commitment to achieving outstanding results. We hope this guide has empowered you to address deep scratches on your car windows effectively and has contributed to your confidence in maintaining the impeccable condition of your vehicle.
Frequently Asked Questions about How To Remove Deep Scratches From Car Windows
Was this page helpful?
At Storables.com, we guarantee accurate and reliable information. Our content, validated by Expert Board Contributors, is crafted following stringent Editorial Policies. We're committed to providing you with well-researched, expert-backed insights for all your informational needs.

0 thoughts on “How To Remove Deep Scratches From Car Windows”