Home>Others>Specialized Home Improvement Topics>How To Remove Car Decals From Windows
Specialized Home Improvement Topics
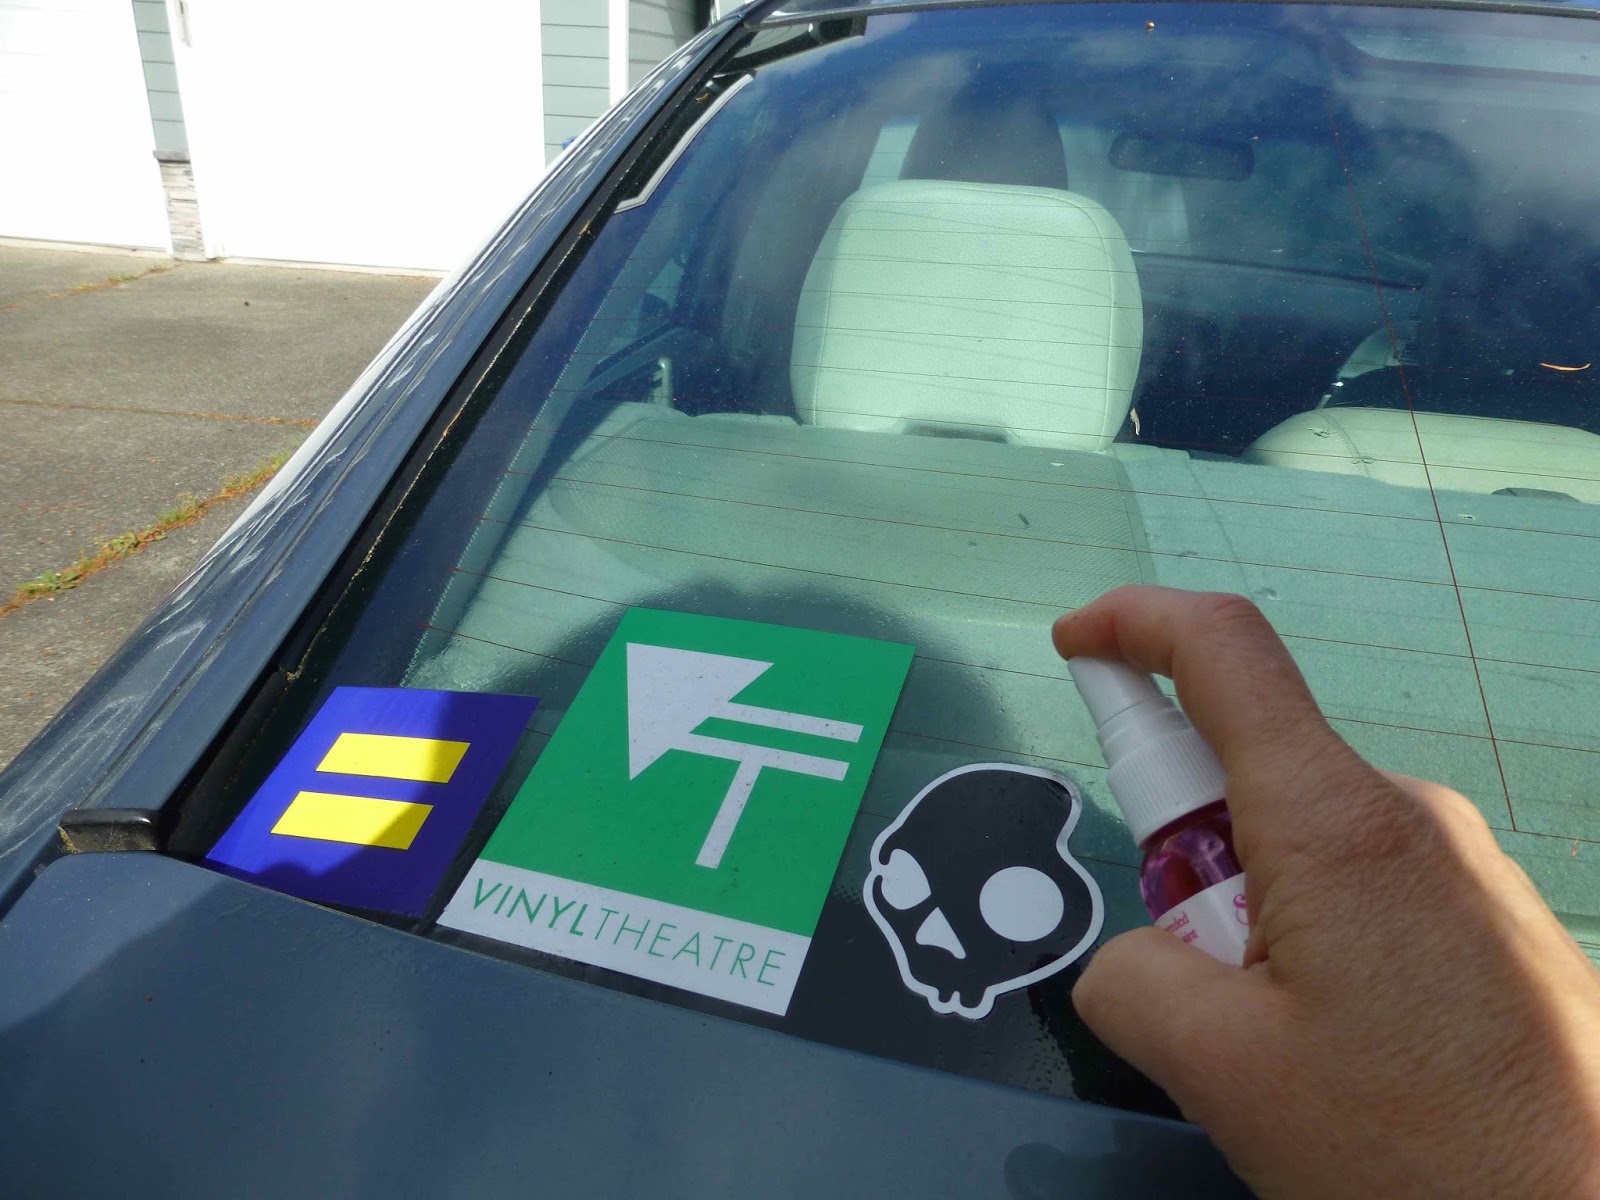
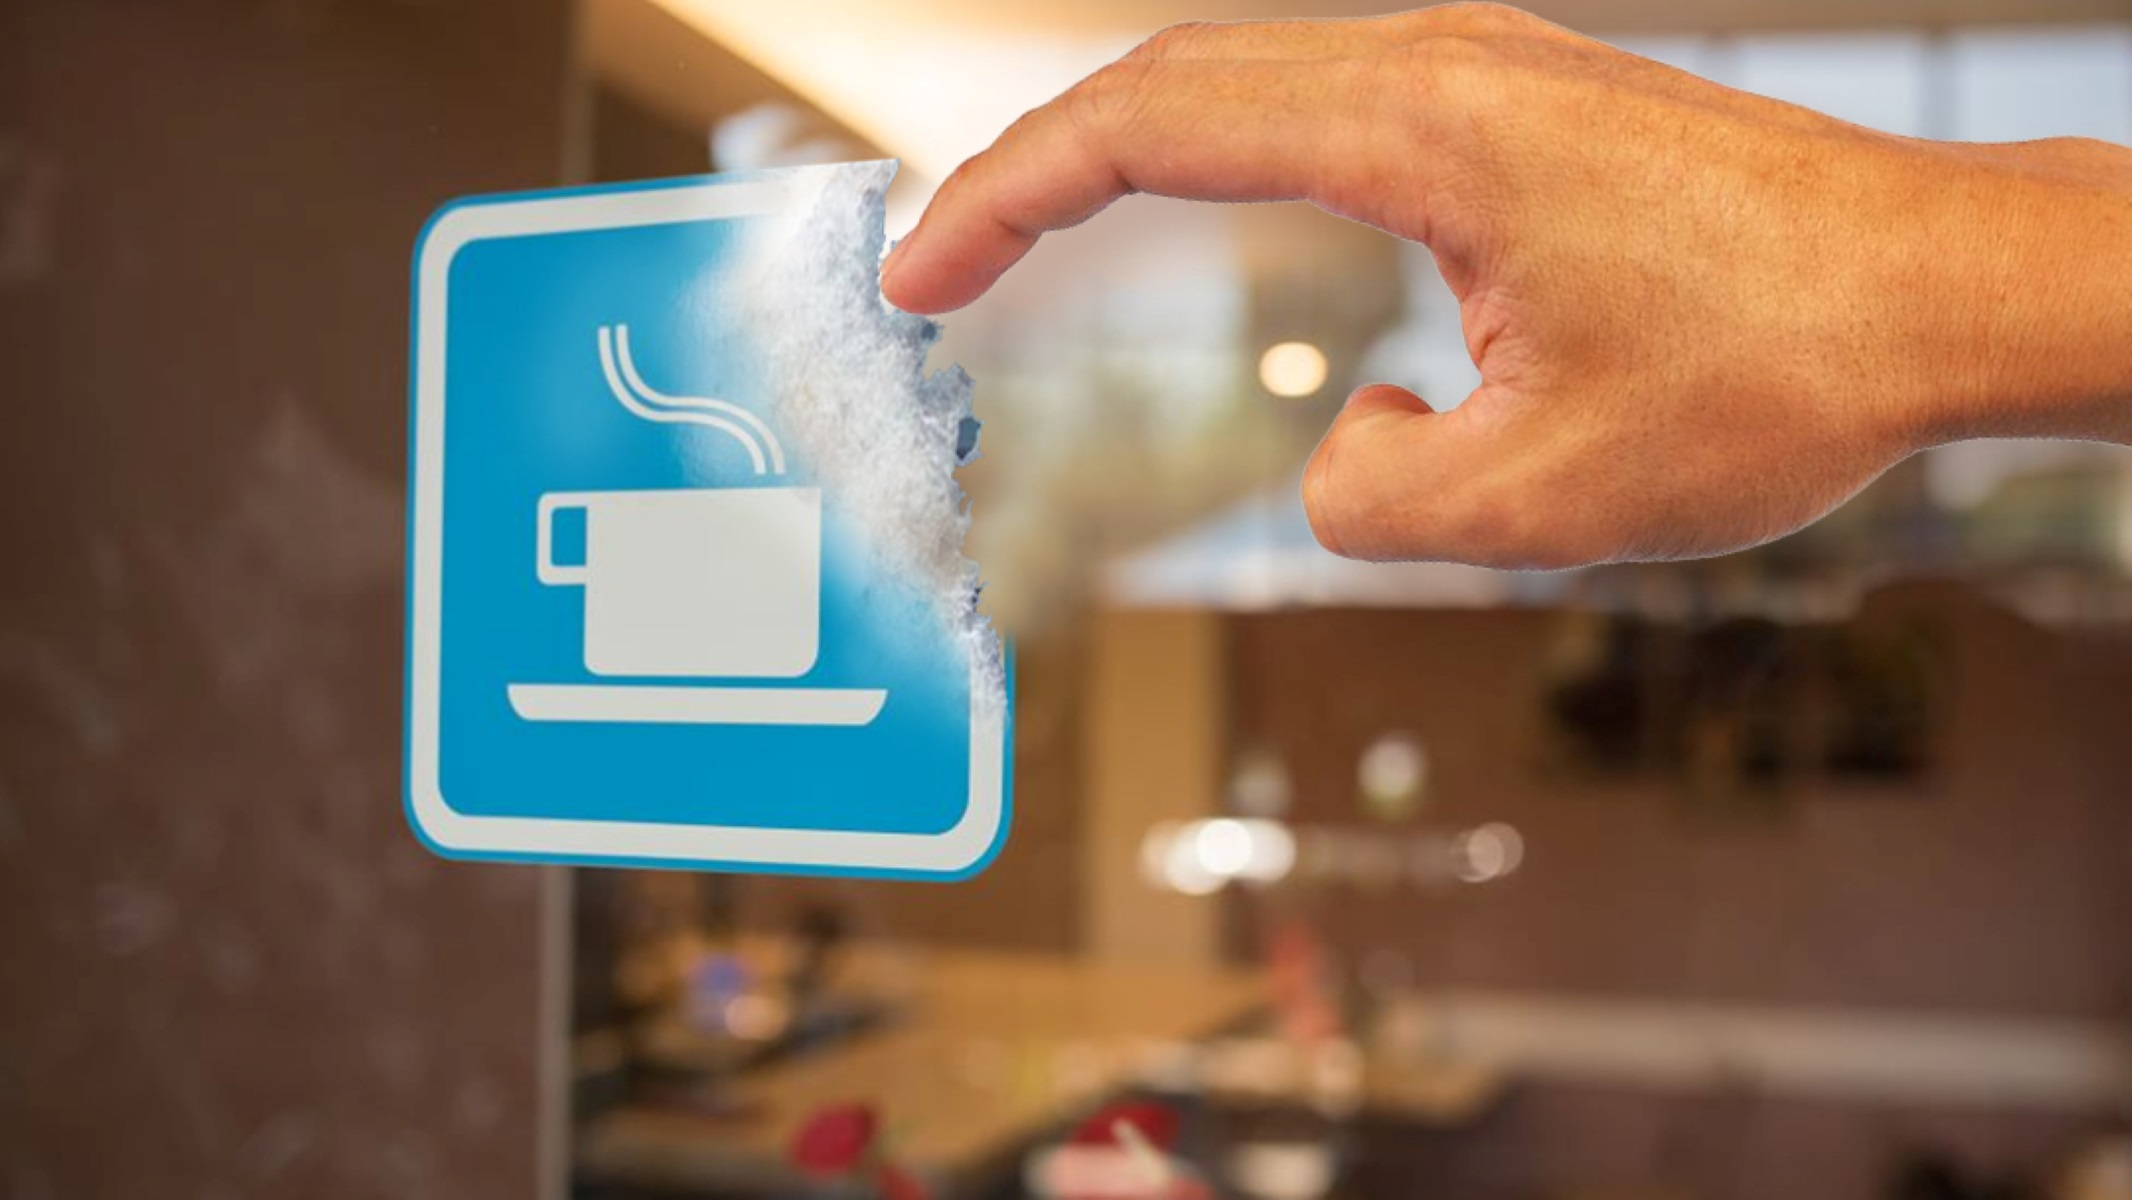
How To Remove Car Decals From Windows
Modified: August 27, 2024
Learn effective techniques for removing car decals from windows with our specialized home improvement tips. Keep your vehicle looking clean and spotless with our expert advice.
(Many of the links in this article redirect to a specific reviewed product. Your purchase of these products through affiliate links helps to generate commission for Storables.com, at no extra cost. Learn more)
Introduction
Removing car decals from windows can be a daunting task, but with the right techniques and tools, it can be done effectively and without damaging the glass. Whether you want to replace an old decal with a new one or simply restore your window to its original state, there are several methods you can use to remove car decals safely and efficiently.
In this comprehensive guide, we will explore various techniques for removing car decals from windows, ranging from using common household items to specialized tools. Each method has its own unique benefits and considerations, so you can choose the one that best suits your needs and resources.
By following the step-by-step instructions and tips provided in this article, you can tackle the task of removing car decals with confidence and achieve professional-looking results. Let's dive into the materials and methods needed to effectively remove car decals from windows.
Key Takeaways:
- Say goodbye to stubborn car decals by using a hair dryer to gently soften the adhesive, making removal a breeze without damaging your windows.
- For a precise approach, a razor blade can effectively remove old decals, but be cautious to avoid scratching delicate or tinted windows.
Read more: How To Remove Fog From Car Windows
Materials Needed
Before embarking on the task of removing car decals from windows, it’s essential to gather the necessary materials to ensure a smooth and efficient process. Here are the key items you’ll need:
- Hair dryer or heat gun: This will be used to soften the adhesive of the decal, making it easier to peel off without leaving residue.
- Razor blade or utility knife: A sharp blade will be handy for carefully lifting the edges of the decal and scraping off any stubborn residue.
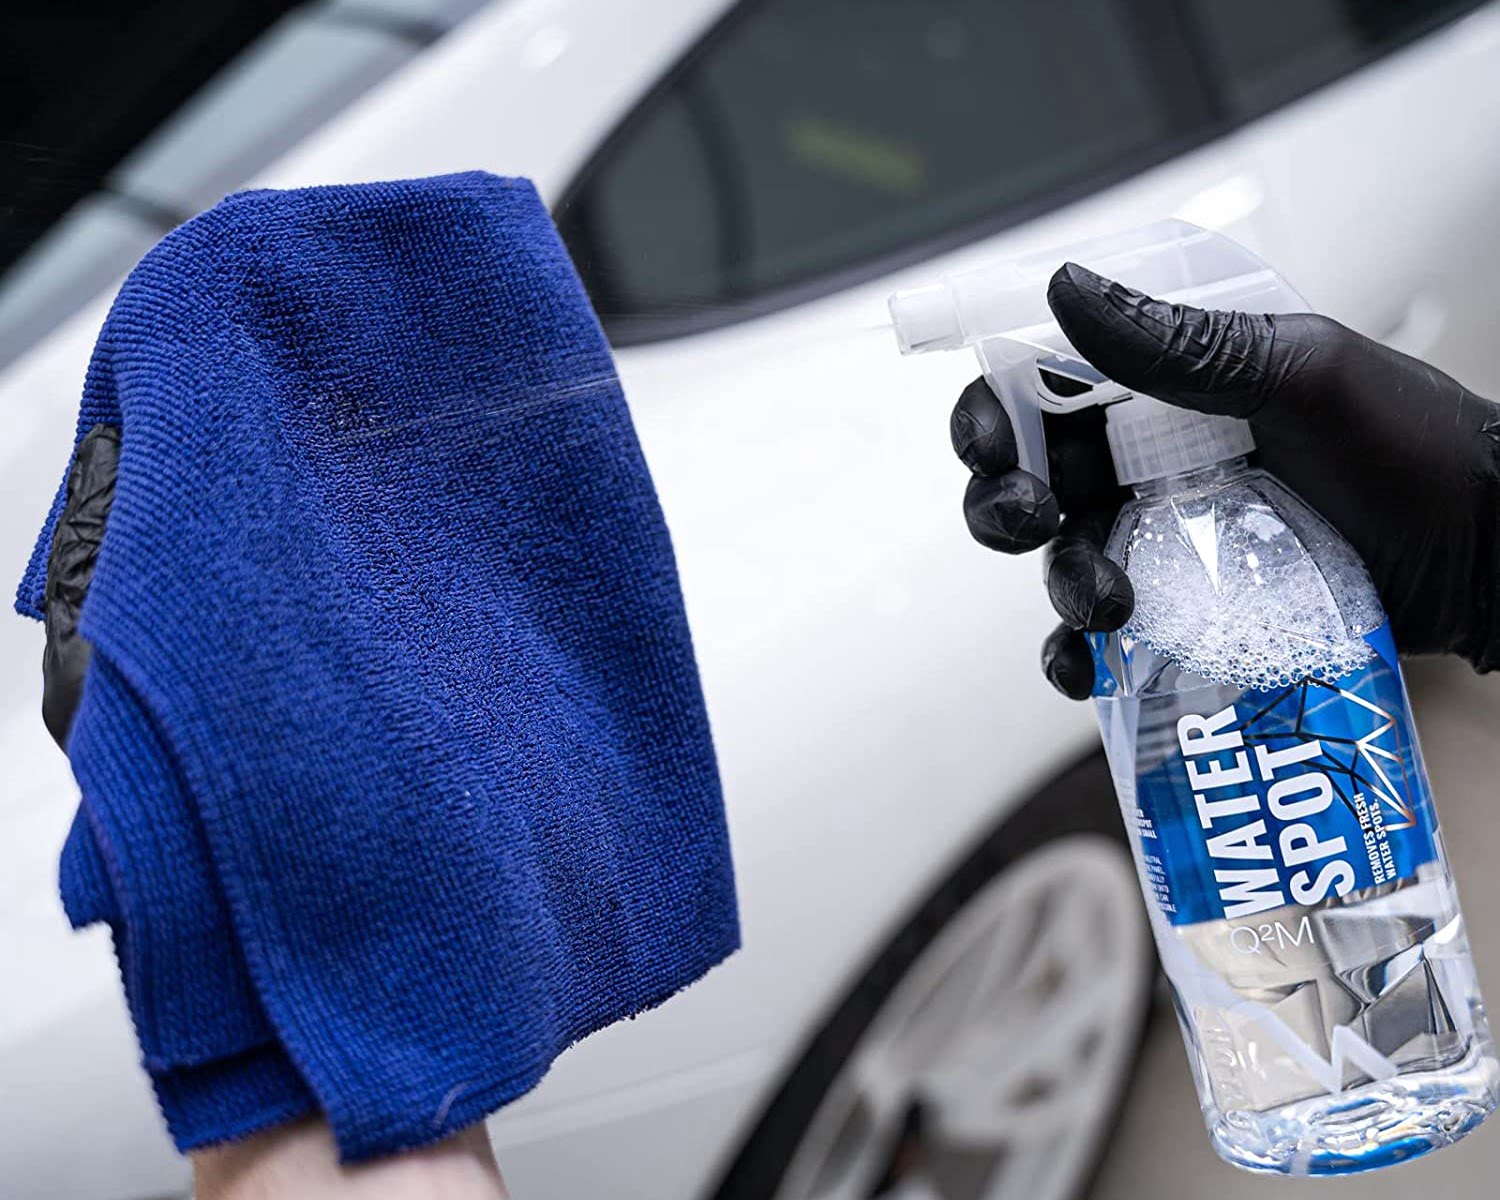
- Commercial adhesive remover: There are various adhesive removers available in the market specifically designed for removing decals and stickers. Look for a product that is safe for use on glass surfaces.
- Vinegar or rubbing alcohol: These household items can be effective in breaking down adhesive and removing any leftover residue.
- Decal removal tool: If you frequently remove decals or stickers, investing in a specialized decal removal tool can make the process quicker and easier.
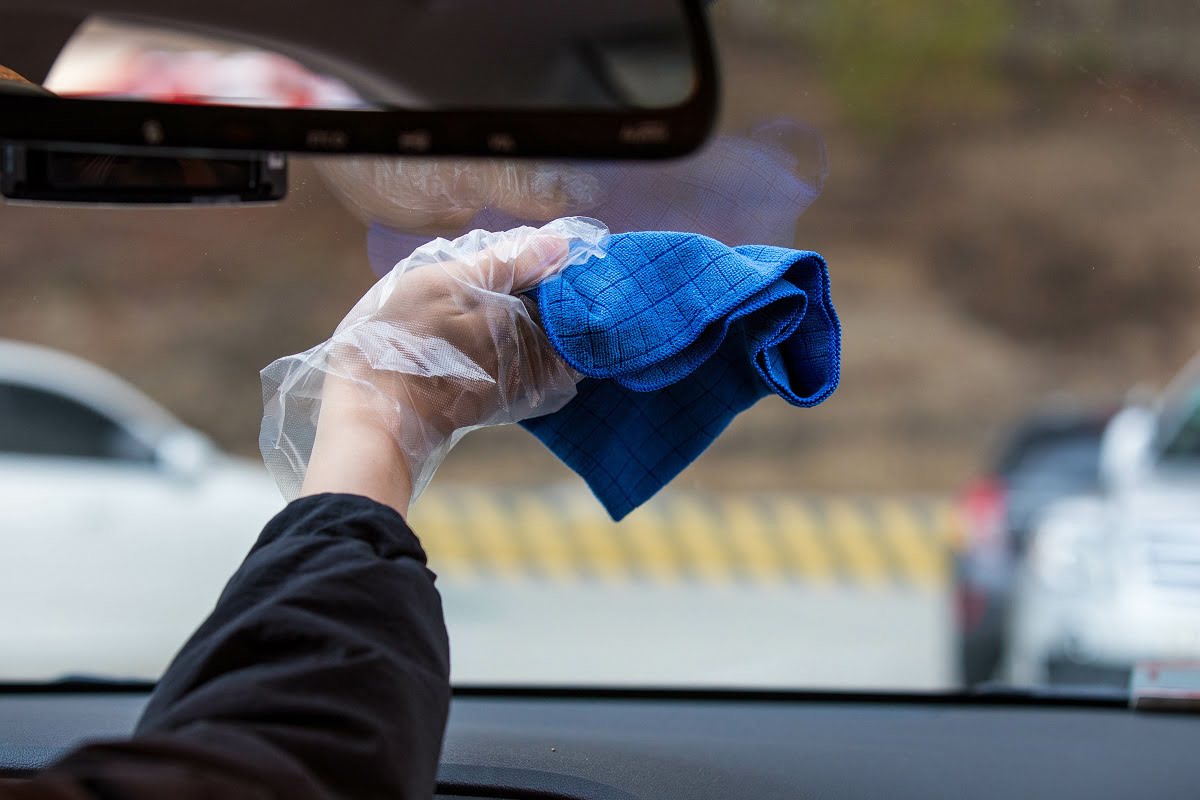
- Clean, soft cloths: These will be used for wiping and cleaning the window surface before and after decal removal.
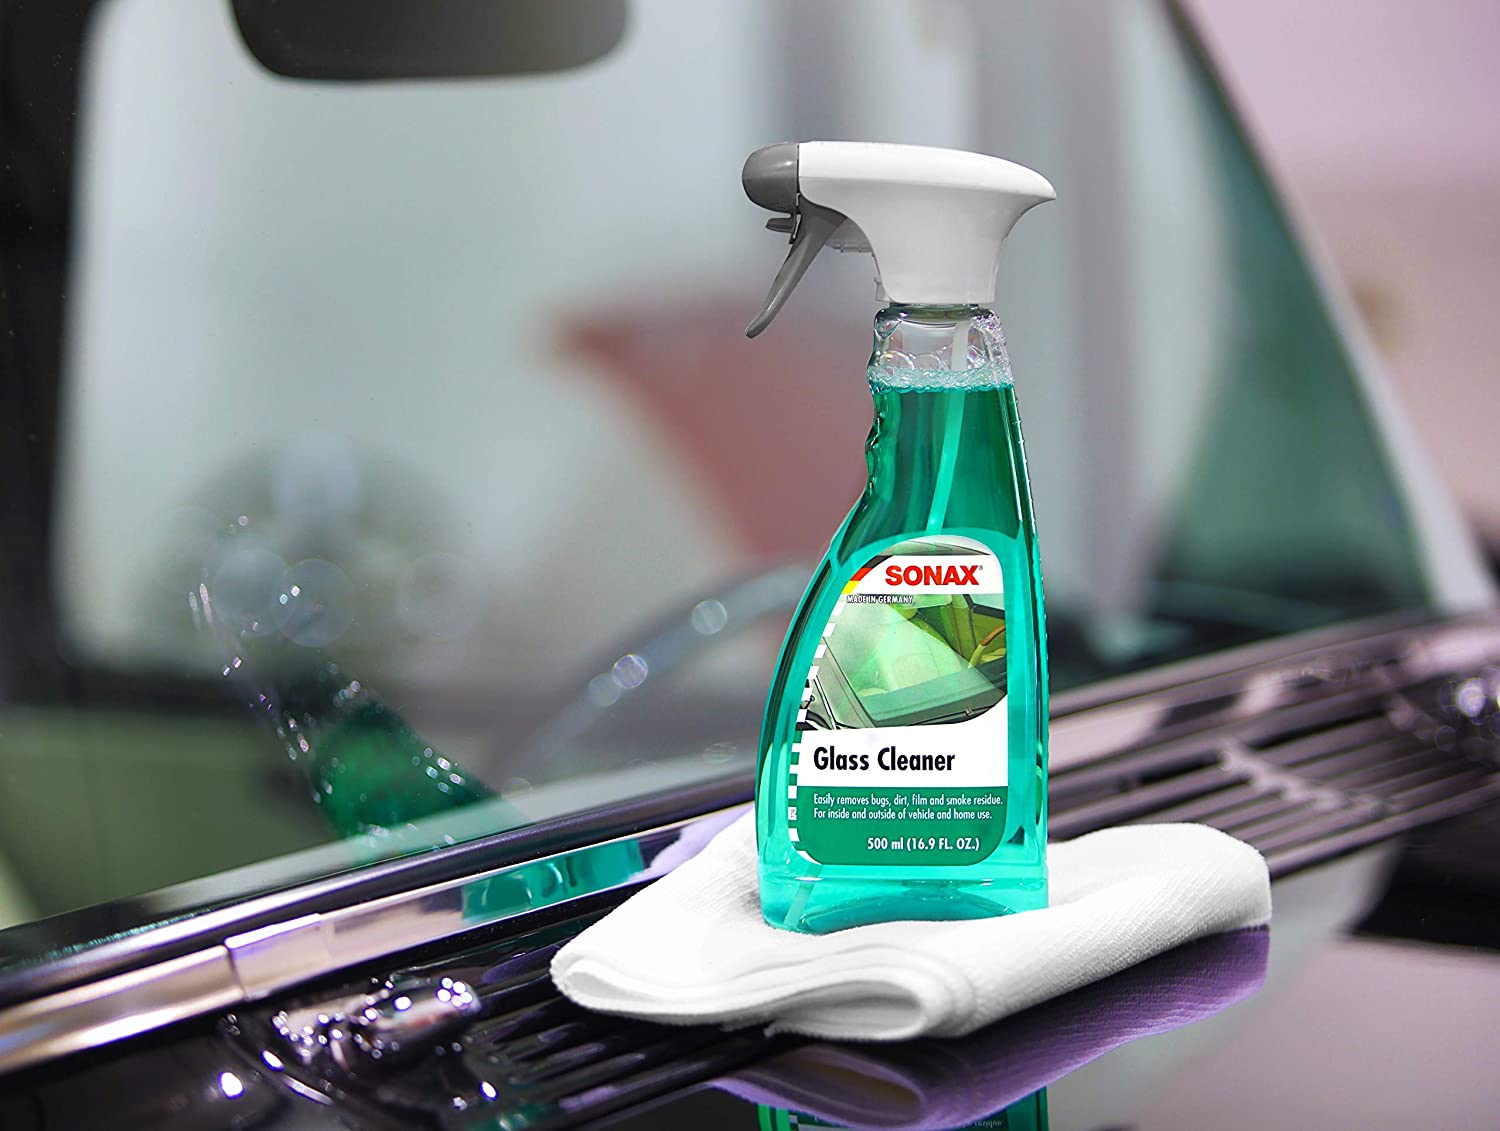
- Mild detergent or glass cleaner: After removing the decal, cleaning the window with a mild detergent or glass cleaner will help eliminate any remaining adhesive and ensure a clear, spotless finish.
Having these materials at your disposal will equip you to tackle the task of removing car decals from windows using various methods, as outlined in the following sections. Now that you have the necessary tools and supplies, let’s delve into the step-by-step methods for effectively removing car decals from windows.
Method 1: Using a Hair Dryer
Using a hair dryer is a popular and effective method for removing car decals from windows, especially when dealing with stubborn adhesive. Here’s a step-by-step guide to using a hair dryer for decal removal:
- Clean the Surface: Begin by cleaning the window surface around the decal with a mild detergent or glass cleaner. This will help remove any dirt or debris that could interfere with the decal removal process.
- Heat the Decal: Plug in the hair dryer and set it to a medium or high heat setting. Hold the hair dryer a few inches away from the decal and move it back and forth, evenly heating the entire decal for 1-2 minutes. The heat will soften the adhesive, making it easier to peel off.
- Peel Off the Decal: Once the decal is heated, use your fingers or a plastic card to gently lift the edges of the decal. Slowly peel the decal off the window, applying more heat with the hair dryer as needed to soften stubborn areas.
- Remove Residue: If any adhesive residue remains on the window after removing the decal, use a mild adhesive remover or a mixture of vinegar and water to clean the area. Apply the remover to a clean cloth and gently rub the residue until it dissolves.
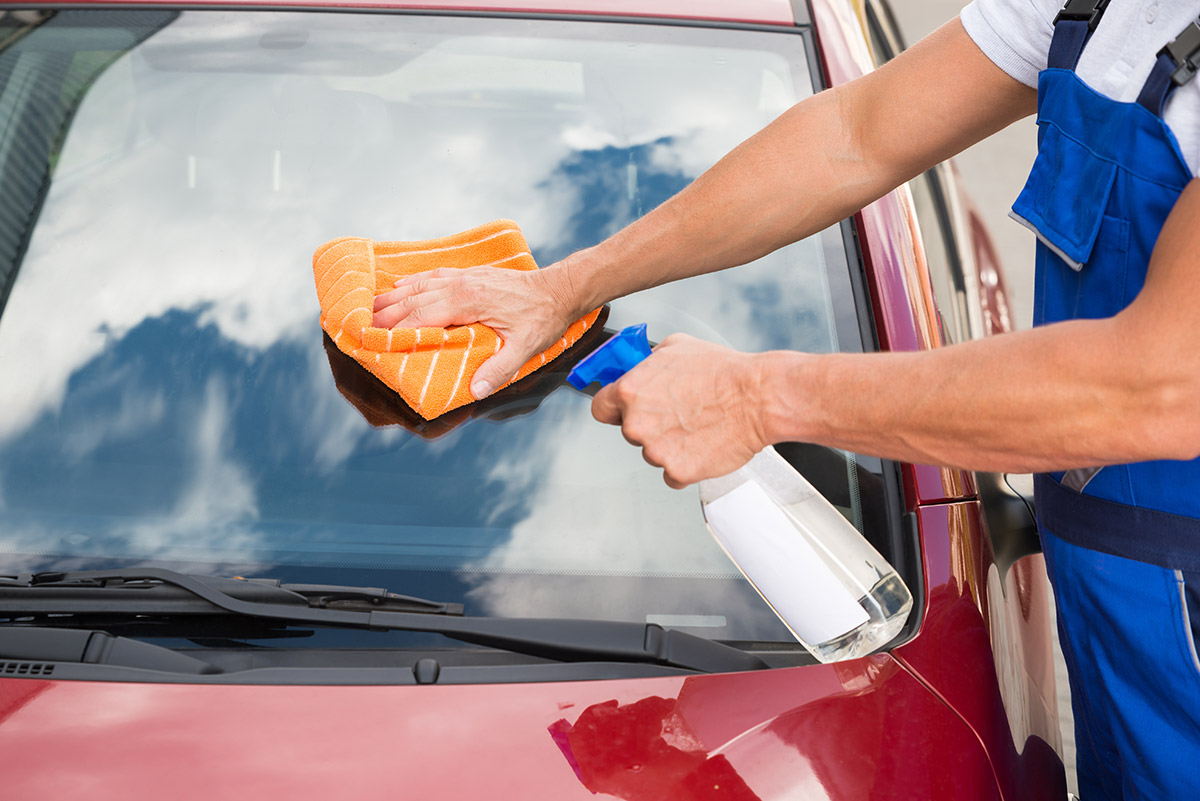
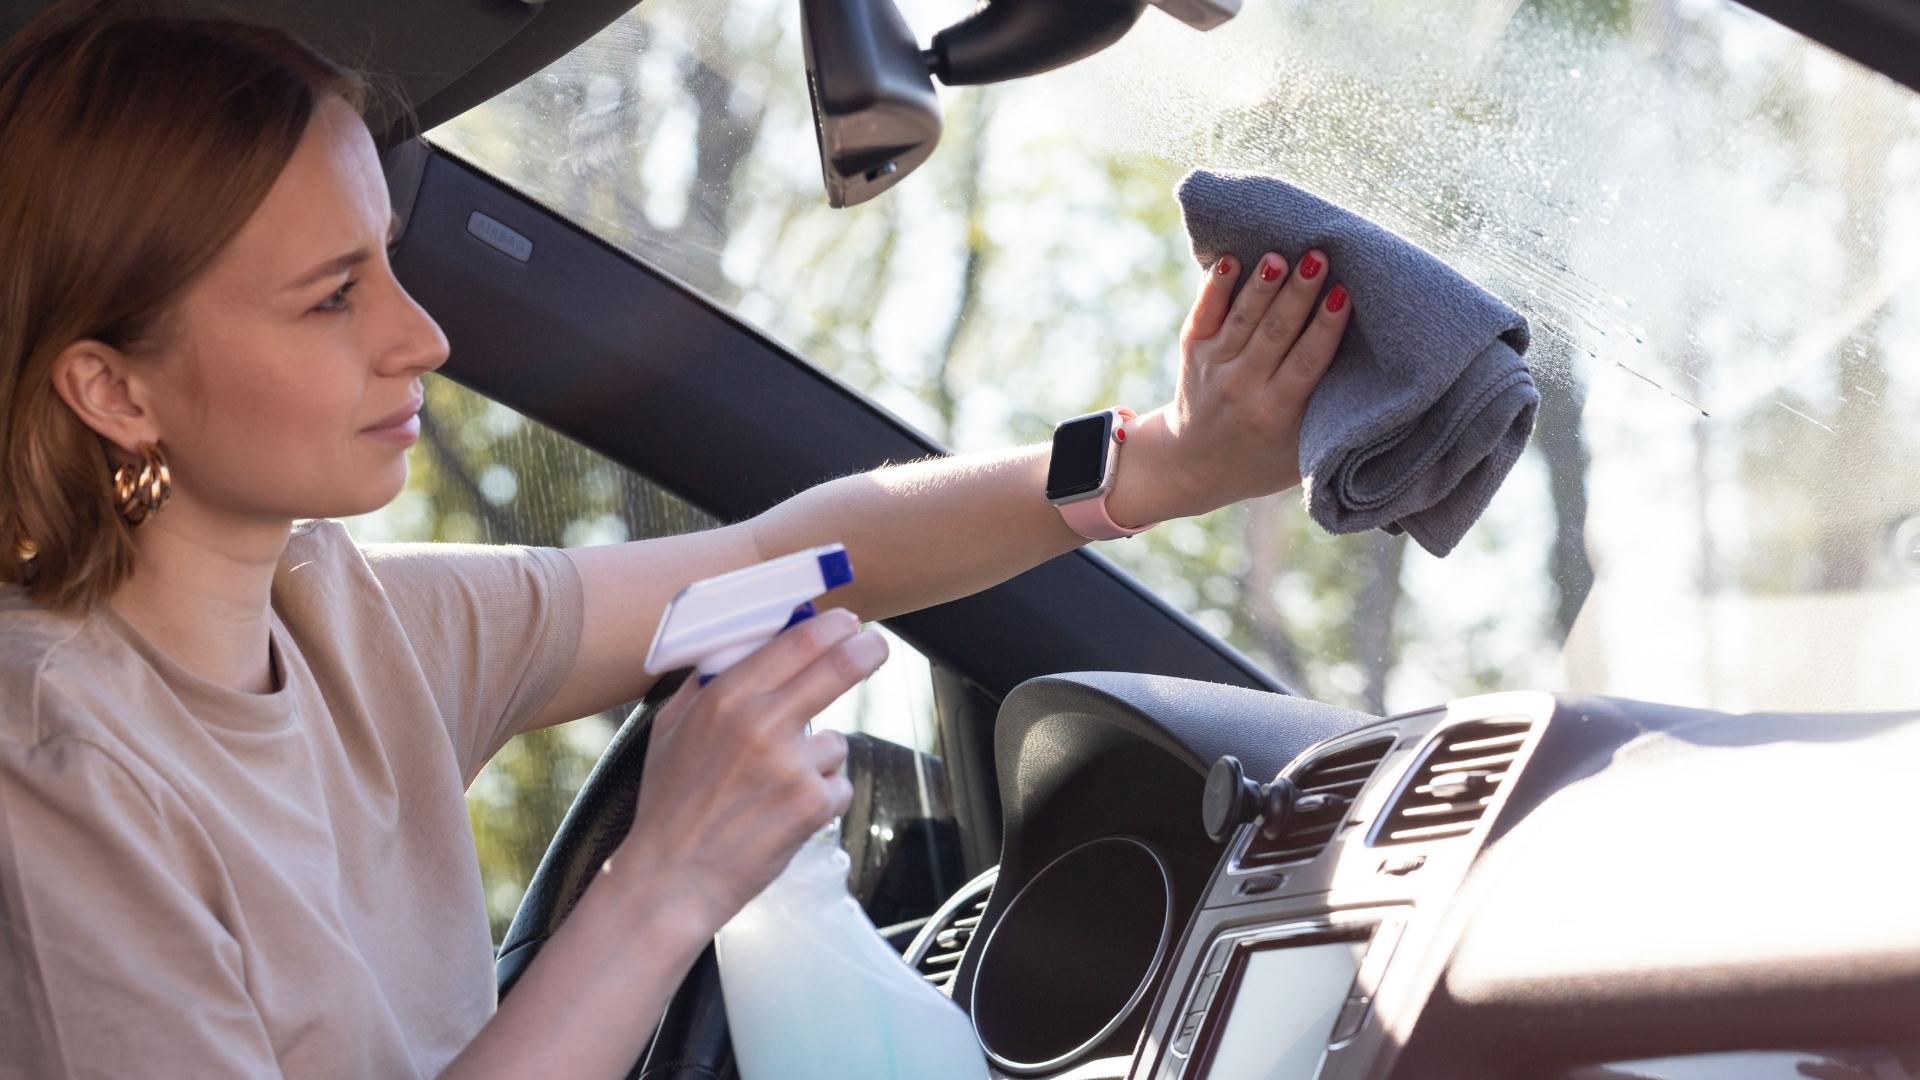
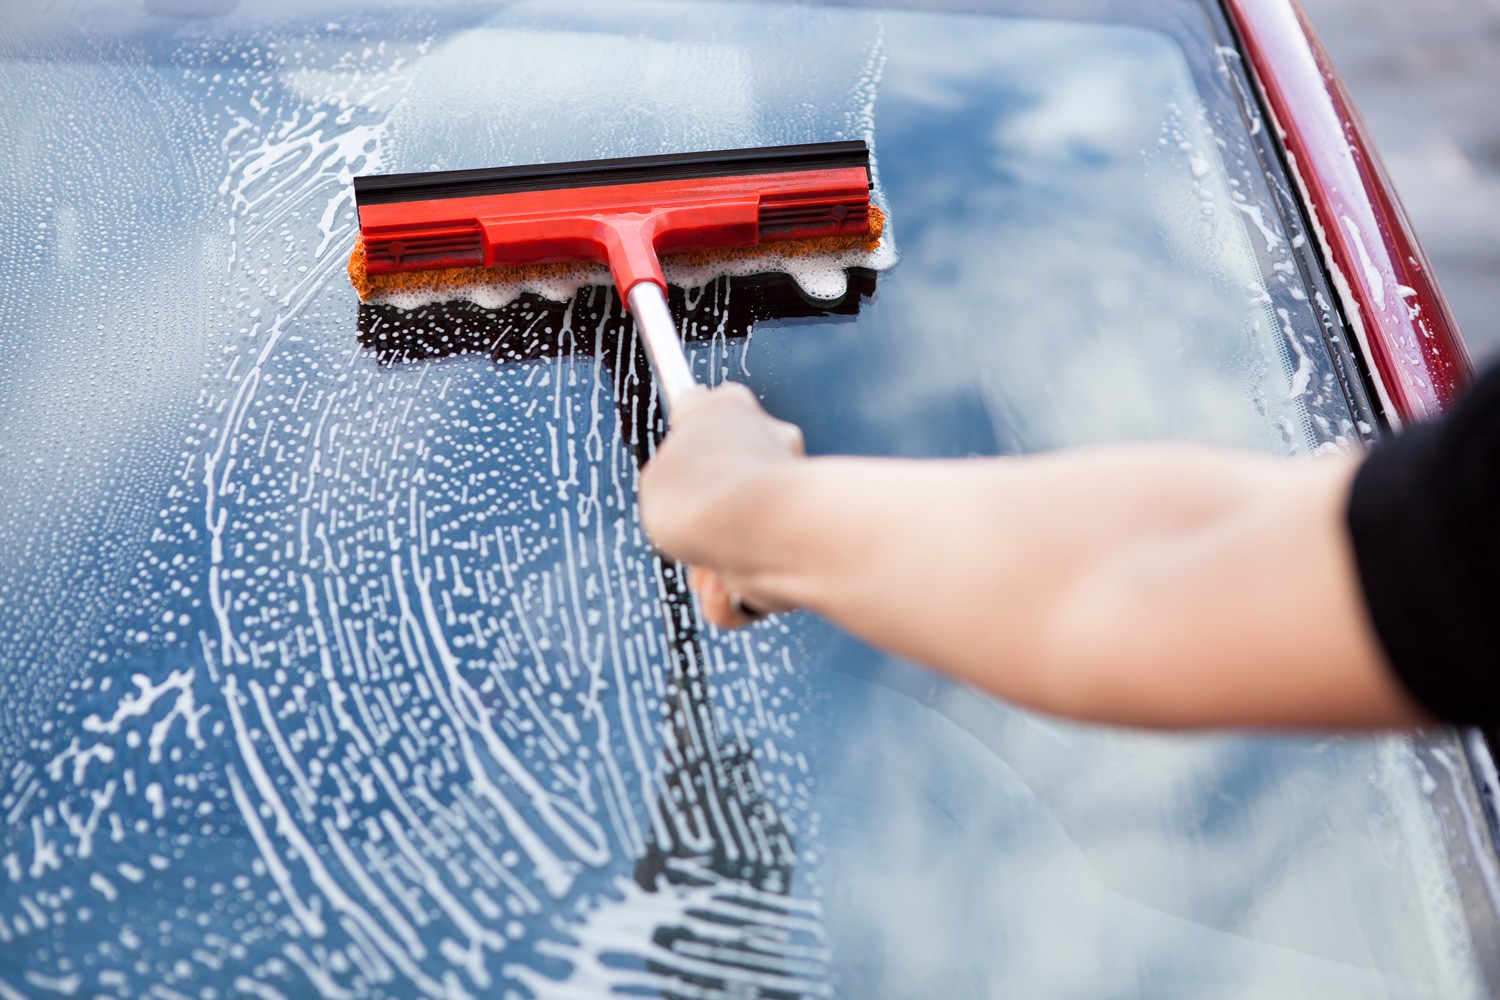
- Clean the Window: Once the decal and residue are removed, clean the window with a glass cleaner to ensure a clear, spotless finish.
Using a hair dryer to remove car decals is a gentle and effective method that minimizes the risk of damaging the window surface. The application of heat softens the adhesive, allowing for easy removal without leaving behind sticky residue. This method is particularly useful for older or weathered decals that may have become more adhered to the glass over time.
By following these steps, you can successfully remove car decals from windows using a hair dryer, achieving professional results without the need for specialized tools or harsh chemicals. Now, let’s explore another method for removing car decals using a razor blade.
Method 2: Using a Razor Blade
When dealing with stubborn or old car decals, using a razor blade can be an effective method for precise removal. Here’s a step-by-step guide on how to use a razor blade to remove car decals from windows:
- Clean the Surface: Start by cleaning the window surface around the decal with a mild detergent or glass cleaner. This will ensure that the area is free from dirt and debris, allowing for better visibility and adhesion.
- Begin at the Edges: Carefully slide the razor blade under the edge of the decal, using a gentle and controlled motion. It’s important to approach this step with caution to avoid scratching or damaging the glass. Once the blade is under the edge, continue to lift and peel the decal off the window.
- Scrape Off Residue: After removing the decal, you may notice adhesive residue remaining on the window. Use the razor blade at a low angle to gently scrape off any stubborn residue. Take care to apply minimal pressure to avoid scratching the glass surface.
- Clean the Window: Once the decal and residue are removed, clean the window with a mild detergent or glass cleaner to ensure a clear, spotless finish. This step will also help remove any remaining adhesive particles.
Using a razor blade for decal removal provides a precise and controlled approach, particularly useful for decals that have been in place for an extended period. It allows for targeted removal of the decal and adhesive residue without the need for heat application or specialized tools.
When using a razor blade, it’s crucial to exercise caution to avoid damaging the glass. Additionally, this method may not be suitable for all types of decals, especially those on delicate or tinted windows. Always test a small, inconspicuous area before proceeding with the full decal removal process.
By following these steps, you can effectively remove car decals from windows using a razor blade, achieving a clean and polished result. Now, let’s explore additional methods for decal removal, including the use of commercial adhesive removers and household items such as vinegar or rubbing alcohol.
Use a hairdryer to heat the decal, then peel it off slowly. Use a razor blade to scrape off any remaining residue, and clean the area with glass cleaner.
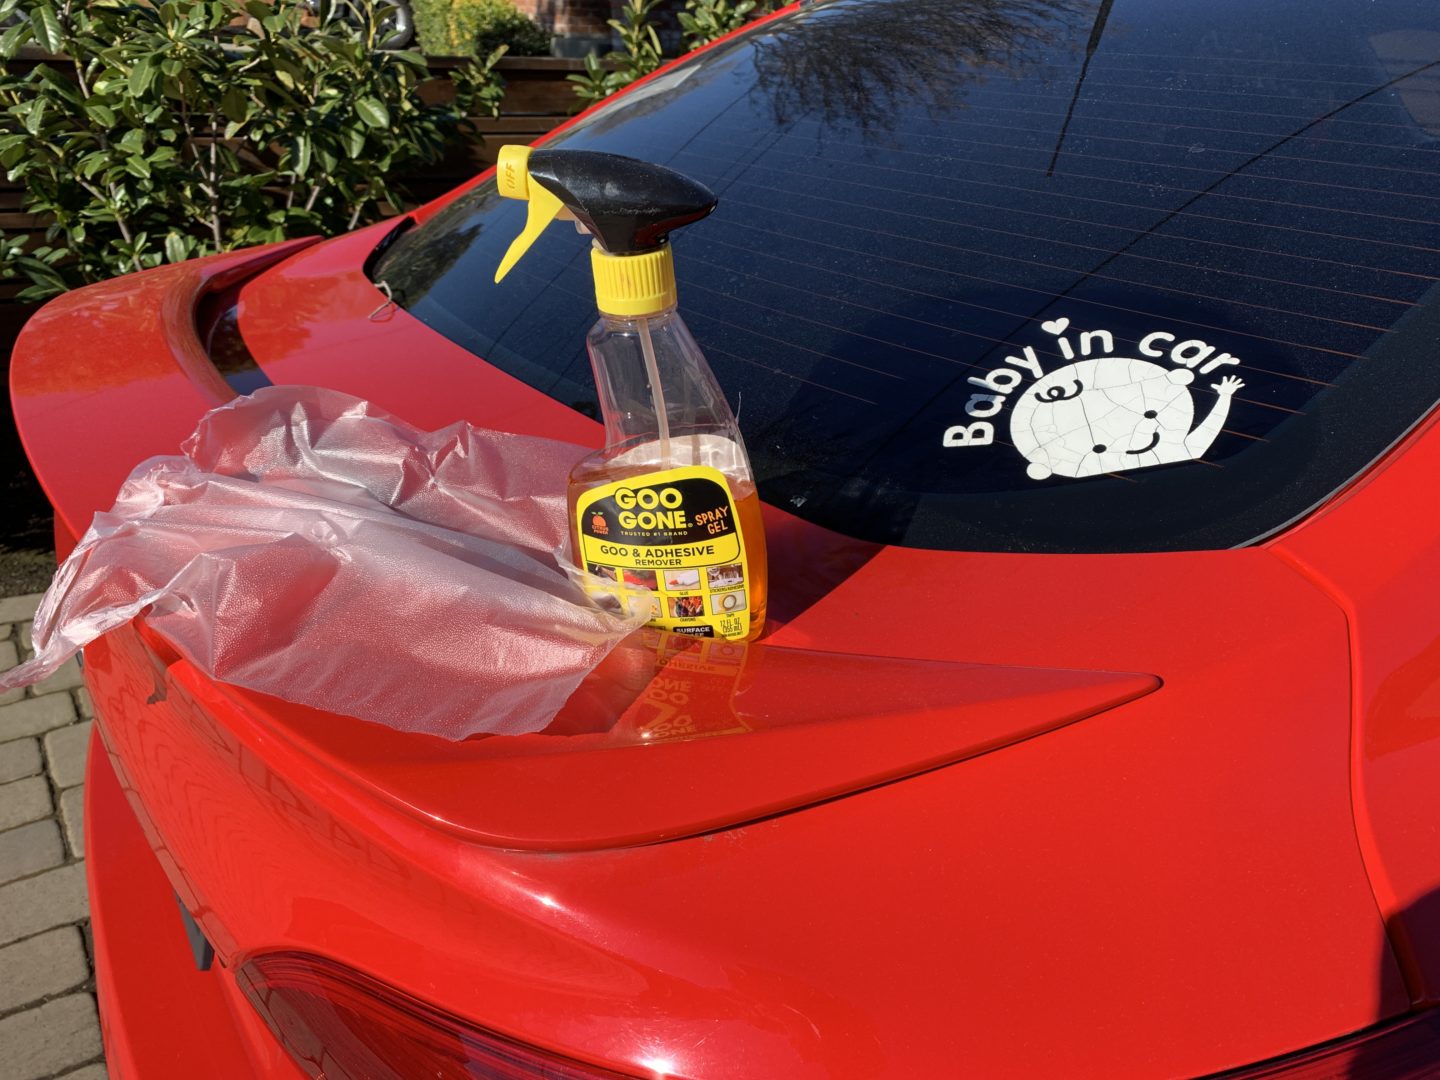
Method 3: Using a Commercial Adhesive Remover
When dealing with stubborn adhesive residue from car decals, a commercial adhesive remover can be a highly effective solution. Here’s a step-by-step guide on how to use a commercial adhesive remover to remove car decals from windows:
- Preparation: Ensure that the window surface is clean and free of any loose debris or dirt. This will allow the adhesive remover to work directly on the stubborn residue without interference.
- Apply the Adhesive Remover: Following the manufacturer’s instructions, apply the commercial adhesive remover to the adhesive residue left behind after removing the decal. Use a clean cloth or sponge to apply the remover evenly over the affected area.
- Allow Dwell Time: Let the adhesive remover sit on the residue for the recommended dwell time specified by the product instructions. This will allow the remover to penetrate and break down the adhesive, making it easier to remove.
- Remove Residue: After the dwell time has elapsed, use a clean cloth or sponge to gently rub and remove the softened adhesive residue. Repeat this process as needed until the residue is completely lifted from the window surface.
- Clean the Window: Once the adhesive residue is removed, clean the window with a mild detergent or glass cleaner to ensure a clear, spotless finish. This final step will also help eliminate any remaining traces of the adhesive remover.
Using a commercial adhesive remover provides a targeted and efficient solution for stubborn adhesive residue, ensuring a thorough and clean removal process. It is particularly useful when dealing with older or weathered decals that may have left behind tenacious residue on the window surface.
Before using a commercial adhesive remover, it’s important to read and follow the manufacturer’s instructions carefully, as some products may have specific application and safety guidelines. Additionally, always test the adhesive remover on a small, inconspicuous area of the window to ensure compatibility and avoid any potential damage.
By following these steps, you can effectively use a commercial adhesive remover to remove car decals from windows, achieving a pristine and adhesive-free surface. Now, let’s explore another method for decal removal using household items such as vinegar or rubbing alcohol.
Read more: How To Remove Overspray From Car Windows
Method 4: Using Vinegar or Rubbing Alcohol
Household items such as vinegar or rubbing alcohol can serve as effective solutions for removing adhesive residue from car decals on windows. Here’s a step-by-step guide on how to use vinegar or rubbing alcohol for decal removal:
- Preparation: Ensure that the window surface is clean and free of any loose debris or dirt. This will allow the vinegar or rubbing alcohol to work directly on the adhesive residue without interference.
- Apply Vinegar or Rubbing Alcohol: Pour a small amount of vinegar or rubbing alcohol onto a clean cloth or sponge. Gently apply the vinegar or rubbing alcohol to the adhesive residue left behind after removing the decal, ensuring that the affected area is thoroughly saturated.
- Allow Soaking Time: Let the vinegar or rubbing alcohol soak into the adhesive residue for a few minutes. This will help break down the adhesive and make it easier to remove.
- Remove Residue: After the soaking time has elapsed, use the cloth or sponge to gently rub and remove the softened adhesive residue. Repeat this process as needed until the residue is completely lifted from the window surface.
- Clean the Window: Once the adhesive residue is removed, clean the window with a mild detergent or glass cleaner to ensure a clear, spotless finish. This final step will also help eliminate any remaining traces of vinegar or rubbing alcohol.
Using vinegar or rubbing alcohol provides a natural and cost-effective approach to removing adhesive residue, particularly suitable for those who prefer non-toxic and environmentally friendly solutions. Both vinegar and rubbing alcohol are known for their adhesive-dissolving properties, making them effective for decal removal on windows.
Before using vinegar or rubbing alcohol, it’s advisable to test a small, inconspicuous area of the window to ensure compatibility and avoid any potential damage. Additionally, exercise caution when working with these substances and ensure proper ventilation in the work area.
By following these steps, you can effectively use vinegar or rubbing alcohol to remove car decals from windows, achieving a clean and residue-free surface without the need for harsh chemicals. Now, let’s explore another method for decal removal using a specialized decal removal tool.
Method 5: Using a Decal Removal Tool
When dealing with frequent decal removal or seeking a specialized approach, using a decal removal tool can streamline the process and provide precise results. Here’s a step-by-step guide on how to use a decal removal tool for removing car decals from windows:
- Preparation: Ensure that the window surface is clean and free of any loose debris or dirt. This will allow the decal removal tool to work effectively on the adhesive residue without interference.
- Position the Tool: Place the edge of the decal removal tool under the edge of the decal, ensuring a secure and controlled grip. The tool is designed to facilitate the lifting and peeling off of the decal without causing damage to the window surface.
- Peel Off the Decal: With the decal removal tool positioned under the edge of the decal, gently apply pressure to lift and peel the decal off the window. The design of the tool allows for precise and targeted removal, minimizing the risk of residue or damage to the glass.
- Remove Residue: If any adhesive residue remains on the window after removing the decal, use the decal removal tool to carefully scrape off the residue. The tool’s edge is designed to effectively lift adhesive without scratching the glass surface.
- Clean the Window: Once the decal and residue are removed, clean the window with a mild detergent or glass cleaner to ensure a clear, spotless finish. This final step will also help eliminate any remaining traces of adhesive.
Using a decal removal tool provides a professional and efficient approach to decal removal, particularly beneficial for individuals who frequently deal with decals or stickers. The tool’s design allows for controlled and targeted removal, minimizing the risk of damage to the window surface.
Before using a decal removal tool, it’s important to familiarize yourself with its proper handling and ensure that the tool is suitable for use on glass surfaces. Additionally, always follow the manufacturer’s guidelines for safe and effective use of the tool.
By following these steps, you can effectively use a decal removal tool to remove car decals from windows, achieving a clean and polished result. Now, let’s summarize the various methods discussed and conclude with key insights for successful decal removal.
Conclusion
Removing car decals from windows can be accomplished using a variety of methods, each offering its own benefits and considerations. Whether you opt for the gentle application of heat from a hair dryer, the precision of a razor blade, the effectiveness of a commercial adhesive remover, the natural properties of vinegar or rubbing alcohol, or the efficiency of a decal removal tool, there’s a suitable approach for every situation.
Regardless of the method chosen, it’s important to prioritize the protection of the window surface and ensure that the removal process is carried out with care and precision. By following the step-by-step guides outlined in this article, you can achieve professional results and restore your window to its original state without leaving behind adhesive residue or causing damage.
Before proceeding with decal removal, always assess the type of decal, the condition of the window, and the resources at your disposal. Additionally, it’s advisable to test any method or product in a small, inconspicuous area to ensure compatibility and avoid potential damage.
By equipping yourself with the necessary materials and following the appropriate method for decal removal, you can achieve a clean, adhesive-free window surface, ready for a new decal or simply restored to its pristine condition. Whether you’re a DIY enthusiast, a car owner, or a professional in the automotive industry, these methods provide effective solutions for decal removal from windows.
Now that you’re armed with the knowledge and techniques for successful decal removal, you can confidently tackle this task and enjoy the satisfaction of achieving professional results. With the right approach and tools, removing car decals from windows becomes a manageable and rewarding endeavor.
Remember to exercise caution, follow the recommended steps, and adapt the methods to suit your specific needs and preferences. With these insights, you’re well-equipped to embark on the journey of removing car decals from windows with confidence and success.
Frequently Asked Questions about How To Remove Car Decals From Windows
Was this page helpful?
At Storables.com, we guarantee accurate and reliable information. Our content, validated by Expert Board Contributors, is crafted following stringent Editorial Policies. We're committed to providing you with well-researched, expert-backed insights for all your informational needs.


0 thoughts on “How To Remove Car Decals From Windows”