Home>Others>Specialized Home Improvement Topics>How To Remove Overspray From Car Windows
Specialized Home Improvement Topics
How To Remove Overspray From Car Windows
Published: January 8, 2024
Learn effective techniques for removing overspray from car windows with our specialized home improvement tips. Keep your car looking its best!
(Many of the links in this article redirect to a specific reviewed product. Your purchase of these products through affiliate links helps to generate commission for Storables.com, at no extra cost. Learn more)
Introduction
Welcome to the comprehensive guide on removing overspray from car windows. Whether you've fallen victim to a paint job gone awry or encountered overspray from nearby construction, dealing with this pesky issue can be frustrating. Fear not, as we'll walk you through the process of effectively removing overspray from your car windows, restoring them to their former crystal-clear glory.
Overspray, typically caused by paint, varnish, or other construction materials, can mar the appearance of your car's windows, obstructing your view and diminishing the overall aesthetic. While it may seem like a daunting task, with the right tools and techniques, you can tackle this challenge with confidence.
In the following sections, we'll delve into the intricacies of overspray removal, equipping you with the knowledge and skills needed to address this issue head-on. From understanding the nature of overspray to the step-by-step process of removing it, this guide will empower you to restore your car windows to a pristine condition.
So, roll up your sleeves, gather your materials, and let's embark on this journey to reclaim the clarity of your car windows. With our expert insights and practical tips, you'll soon be equipped to bid farewell to overspray and revel in the unobstructed view of the road ahead.
Key Takeaways:
- Understanding Overspray
Overspray on car windows can hinder visibility and aesthetics. It comes from paint or construction materials and requires careful removal based on its type and age. - Removal Process
To remove overspray, prepare the area, apply an overspray remover, and carefully remove the softened overspray using a plastic razor blade or clay bar. Finish by cleaning and polishing the windows for a pristine look.
Read more: How To Remove Overspray From Glass
Understanding Overspray
Before delving into the removal process, it's essential to grasp the nature of overspray and its impact on car windows. Overspray refers to the dispersion of paint or other coating materials beyond the targeted surface, often resulting from activities such as painting, varnishing, or construction work in close proximity to vehicles.
When overspray lands on car windows, it can adhere to the glass surface, creating a hazy or speckled appearance that compromises visibility and detracts from the vehicle's aesthetic appeal. Additionally, if left unaddressed, overspray can harden and become increasingly challenging to remove, necessitating prompt and diligent attention.
Understanding the composition of overspray is crucial in determining the most effective removal approach. Overspray particles can vary in size and texture, depending on the type of coating material and the method of application. Water-based overspray, commonly associated with latex paint, may have a softer consistency, while solvent-based overspray, prevalent in automotive and industrial coatings, can exhibit greater resilience and adhesion to surfaces.
Furthermore, the duration of overspray exposure can influence its adherence to car windows. Fresh overspray may be more amenable to removal, whereas aged overspray might require more intensive techniques to achieve optimal results.
By comprehending the characteristics of overspray and its interaction with car windows, you can tailor your approach to effectively eliminate this nuisance. Armed with this knowledge, you'll be better equipped to select the appropriate tools and methods for restoring the clarity and pristine condition of your car windows.
Tools and Materials Needed
Equipping yourself with the right tools and materials is paramount for successfully removing overspray from car windows. Here’s a comprehensive list of what you’ll need:
Tools:
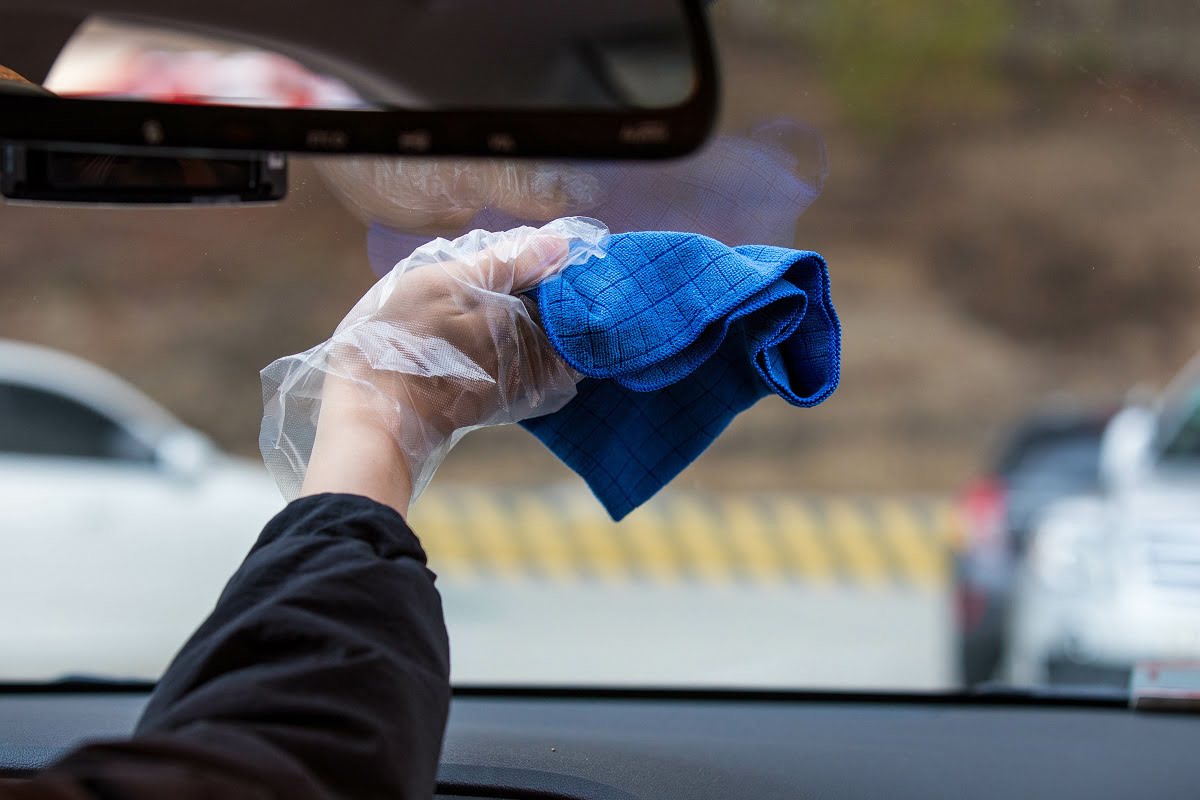
- Microfiber cloths
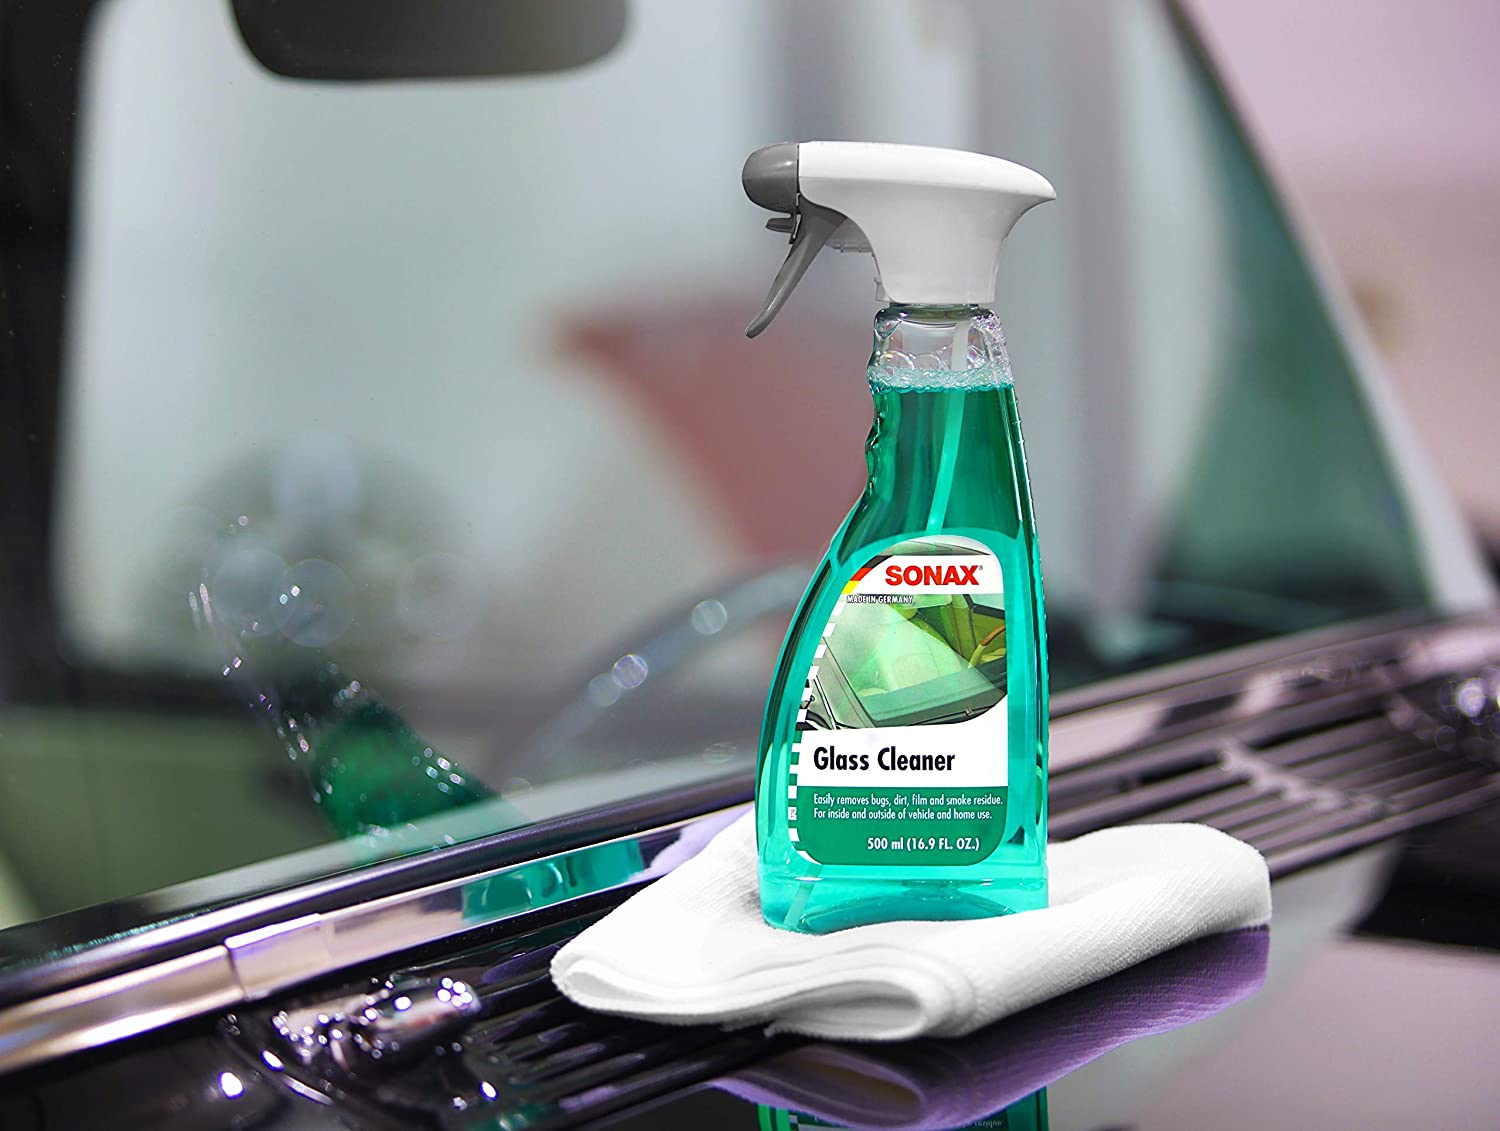
- Glass cleaner
- Plastic razor blade or razor blade holder
- Automotive clay bar
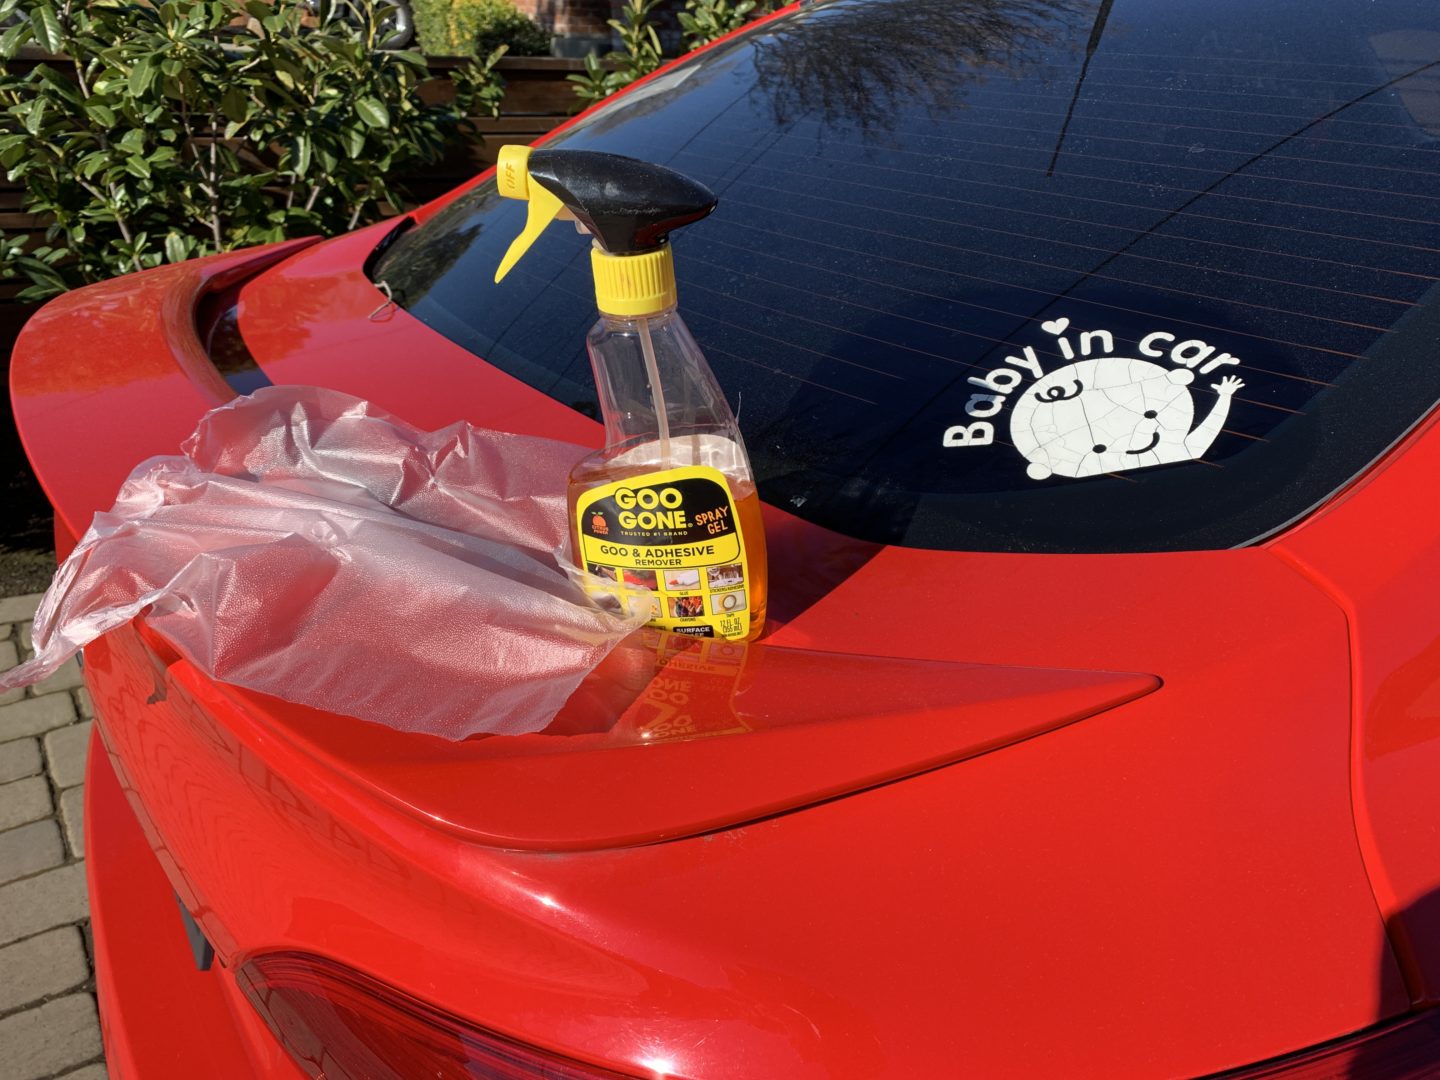
- Automotive overspray remover
- Polishing compound
- Electric buffer (optional)
Materials:
- Protective gloves
- Protective eyewear
- Water and mild soap solution
- Lint-free towels
- Painter's tape (if necessary for masking off surrounding areas)
These tools and materials are essential for executing each step of the overspray removal process, from initial preparation to final polishing. The microfiber cloths and glass cleaner will facilitate the cleaning and drying of the windows, while the plastic razor blade or razor blade holder will aid in the careful removal of overspray without damaging the glass surface.
An automotive clay bar is effective in dislodging stubborn overspray particles, and the automotive overspray remover is specifically formulated to dissolve and eliminate overspray from glass surfaces. Additionally, the polishing compound, along with an electric buffer if available, will contribute to restoring the windows’ clarity and luster after the overspray removal process.
It’s crucial to prioritize safety during the overspray removal process. Protective gloves and eyewear will shield you from any potential hazards, and using a water and mild soap solution will help ensure a safe and clean working environment. Lint-free towels are ideal for drying and applying cleaning solutions without leaving residue or lint behind, while painter’s tape can be utilized to mask off surrounding areas during the removal process.
By gathering these tools and materials, you’ll be well-prepared to tackle the task of removing overspray from your car windows with precision and efficiency.
Read more: How To Remove Fog From Car Windows
Step 1: Preparing the Area
Before commencing the overspray removal process, it’s crucial to prepare the surrounding area and ensure that the car windows are ready for treatment. Follow these essential steps to prepare the area effectively:
1. Park the Vehicle in a Shaded Area: Select a shaded location to park your vehicle. Direct sunlight can cause cleaning solutions to evaporate quickly, potentially leaving streaks or residue on the windows.
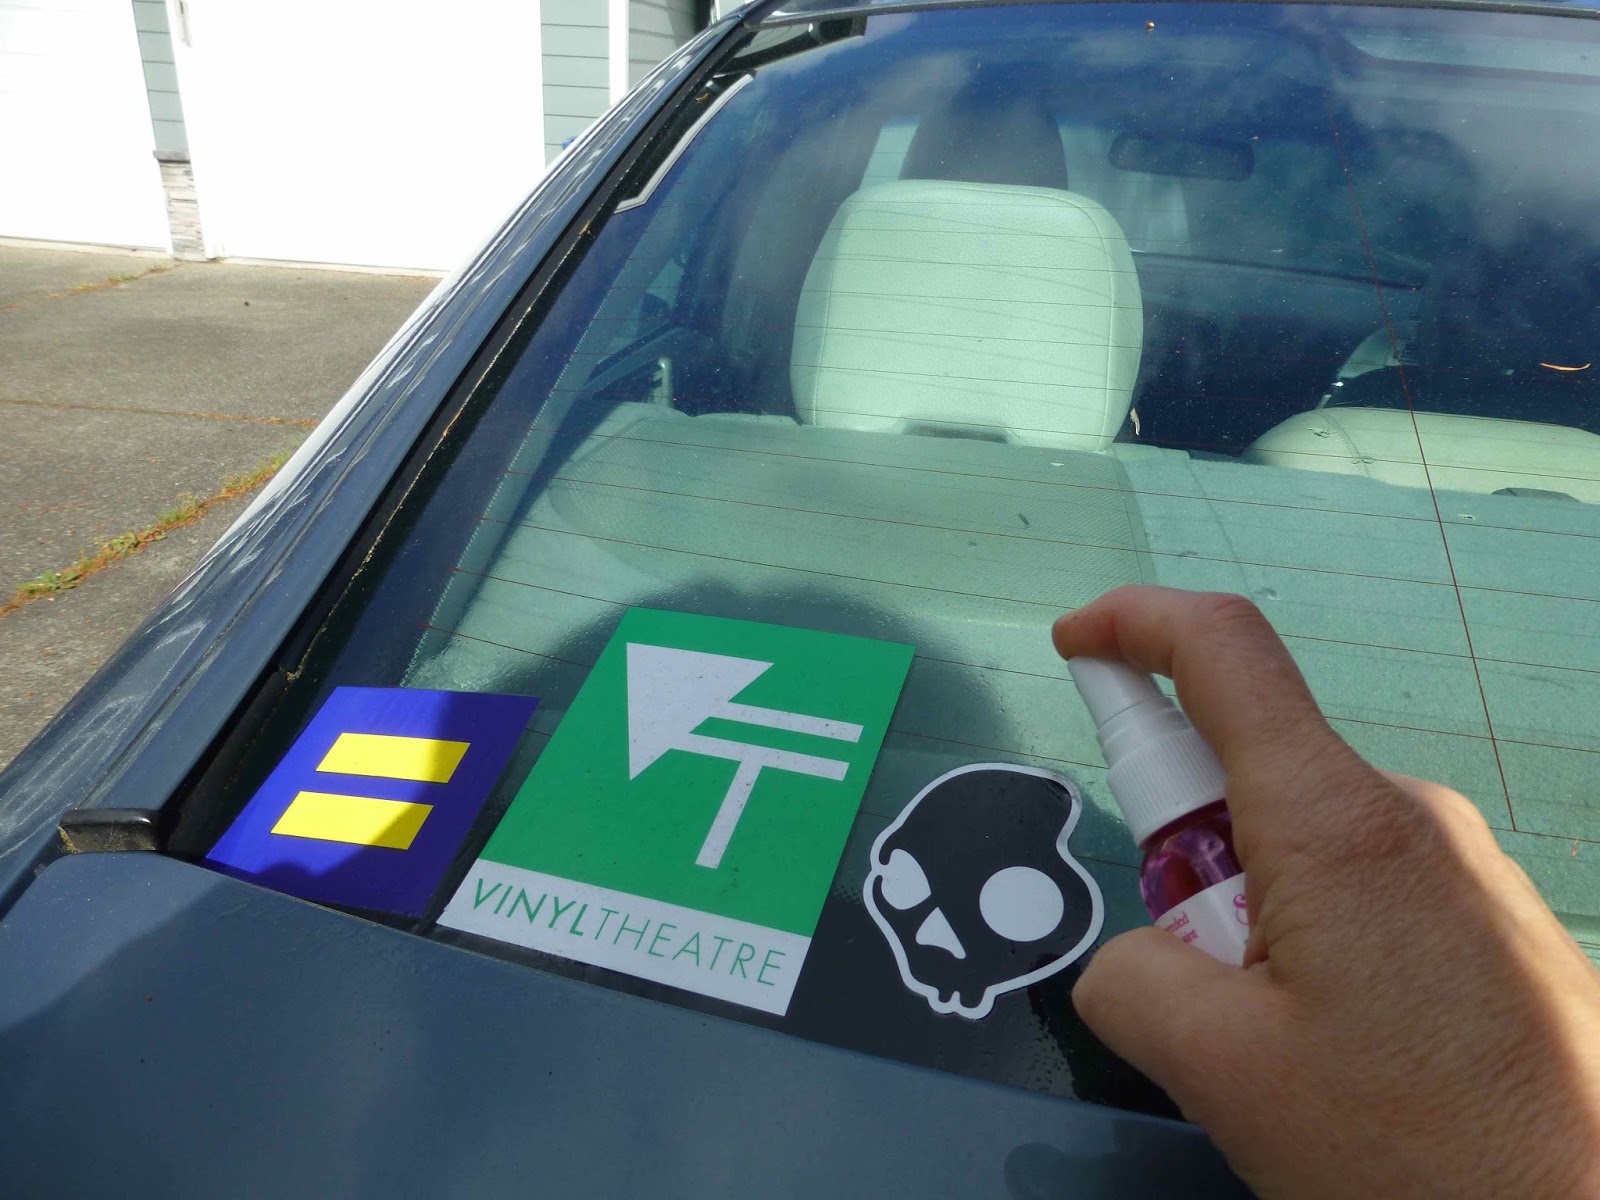
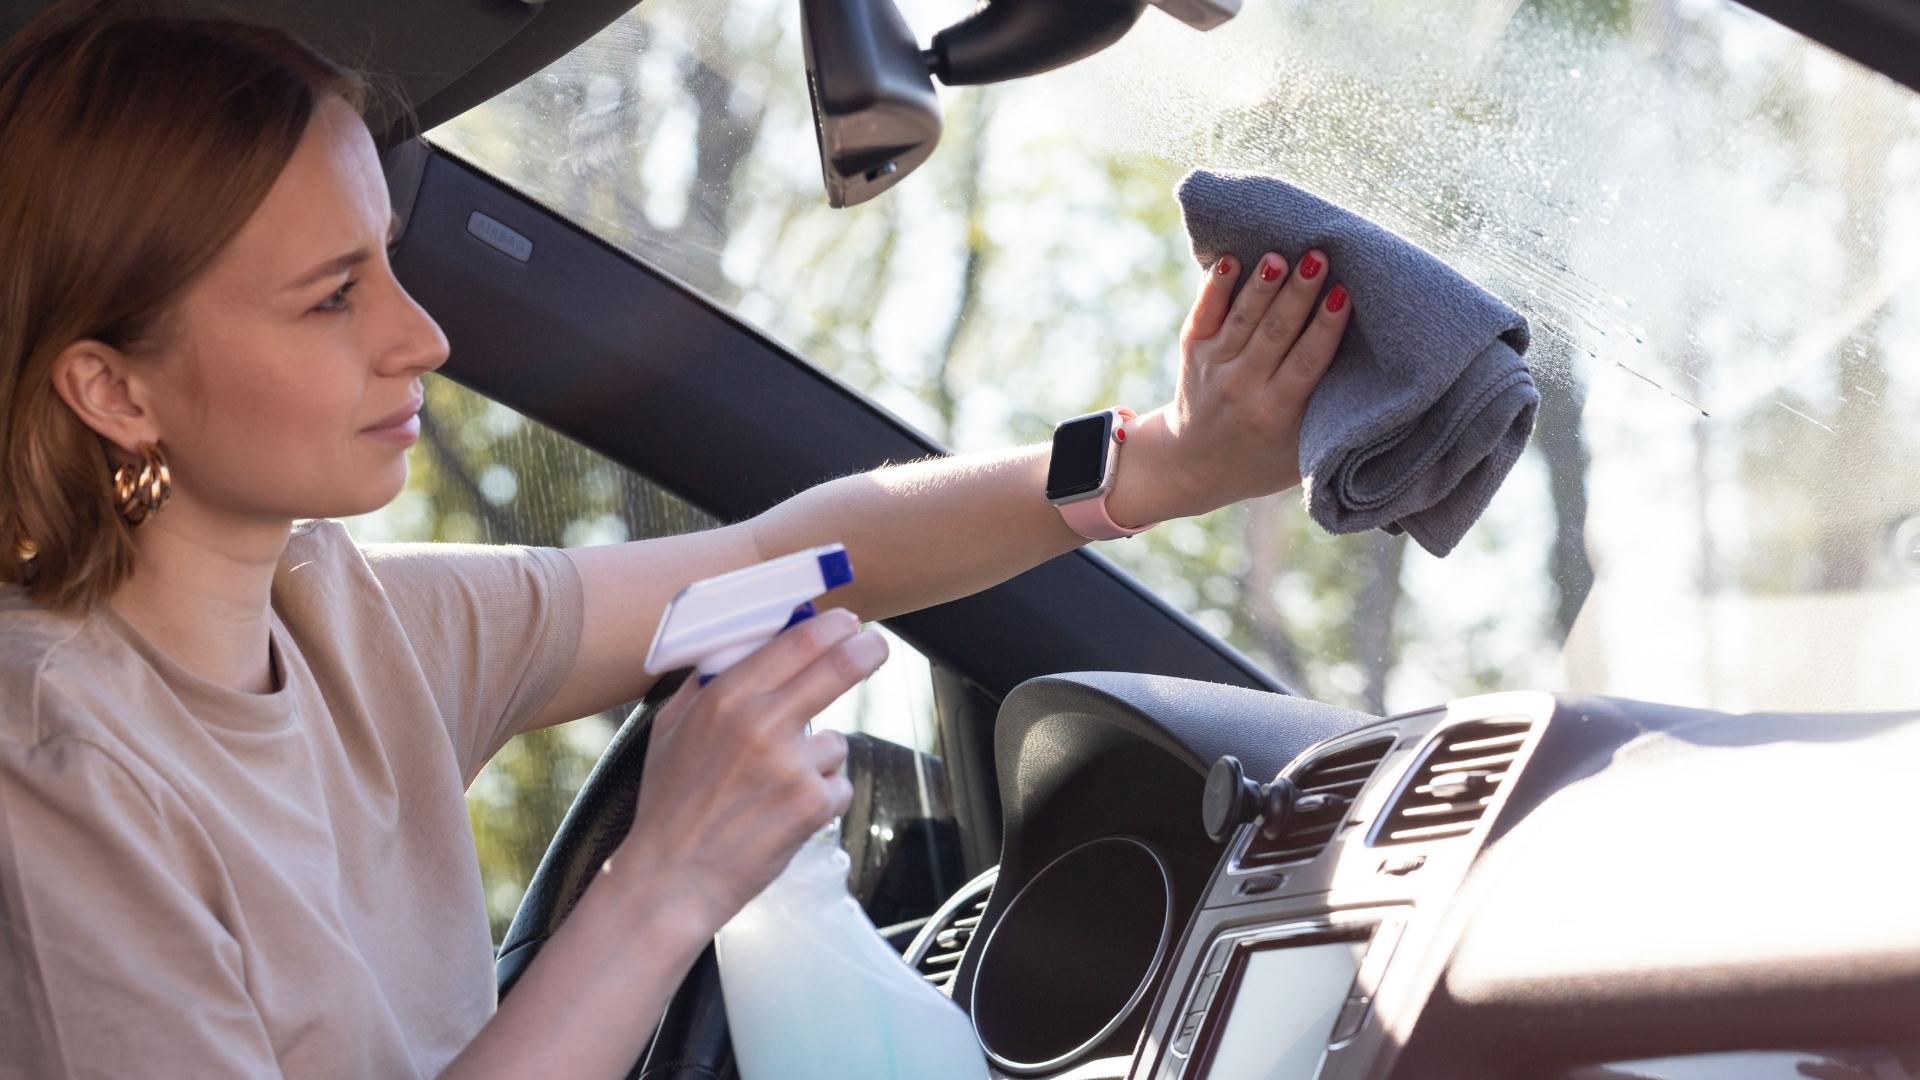
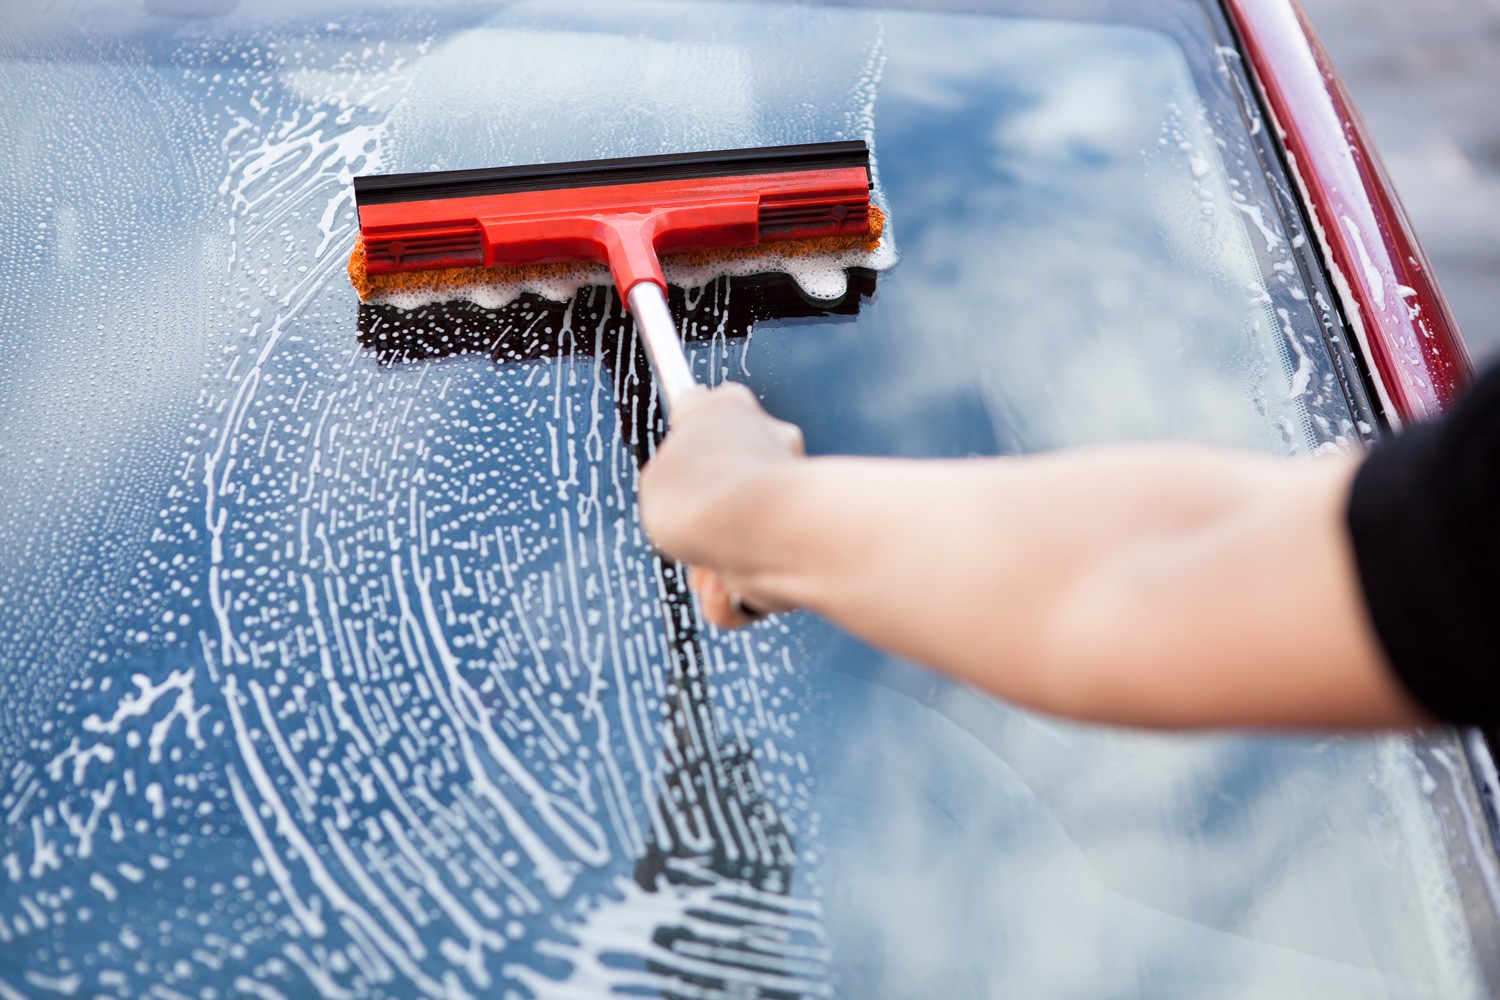
2. Clean the Windows: Begin by thoroughly cleaning the car windows using a glass cleaner and microfiber cloths. Removing any surface dirt and debris will facilitate the overspray removal process and prevent contaminants from interfering with the treatment.
3. Protect Surrounding Surfaces: If necessary, use painter’s tape to mask off surrounding areas, such as the car’s body or rubber trim, to prevent inadvertent contact with cleaning solutions or overspray remover.
4. Wear Protective Gear: Prioritize safety by wearing protective gloves and eyewear to shield yourself from any potential splashes or contact with cleaning solutions and overspray remover.
5. Mix a Mild Soap Solution: Prepare a mild soap solution using water and a gentle automotive soap. This solution can be used to pre-clean the windows and ensure a pristine surface for the overspray removal process.
By meticulously preparing the area and the car windows, you’ll establish a conducive environment for effectively addressing the overspray without risking damage to the vehicle or compromising your safety. With these preparations in place, you’re ready to proceed to the next step of applying the overspray remover and initiating the removal process.
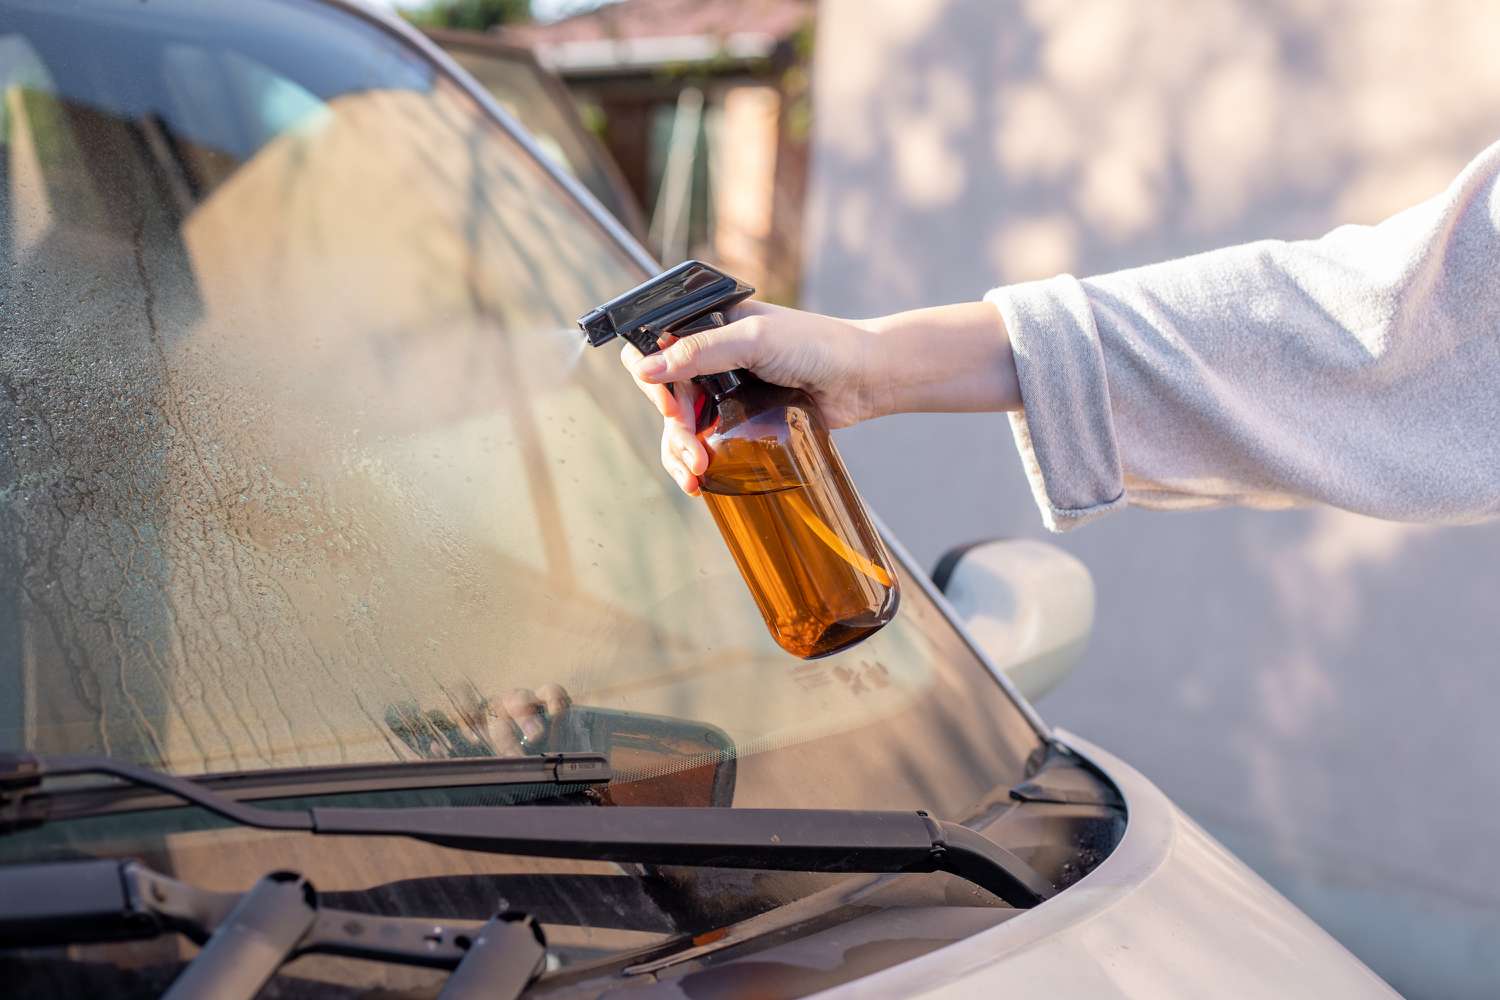
Step 2: Applying the Overspray Remover
With the area prepared and the car windows cleaned, it’s time to apply the overspray remover to begin the removal process. Follow these steps to effectively apply the overspray remover:
1. Shake the Overspray Remover: Ensure the overspray remover is thoroughly shaken before use to homogenize the solution and activate its effectiveness.
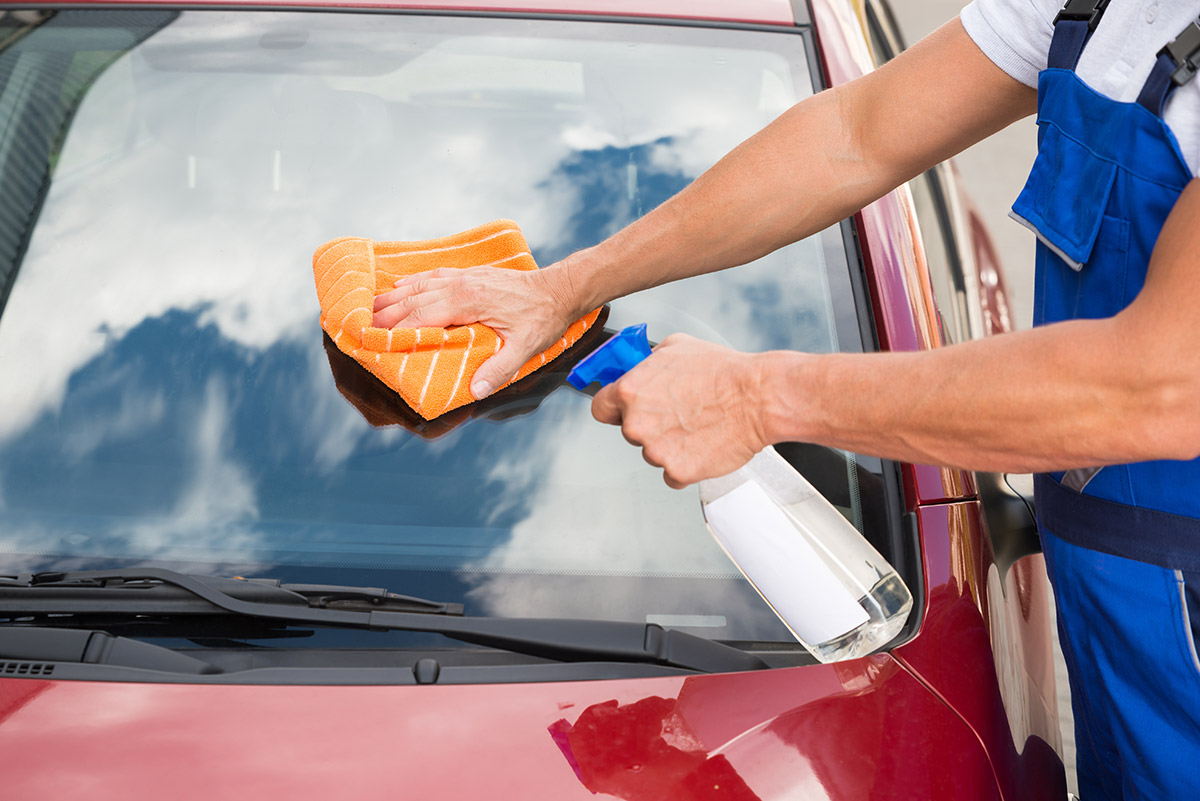
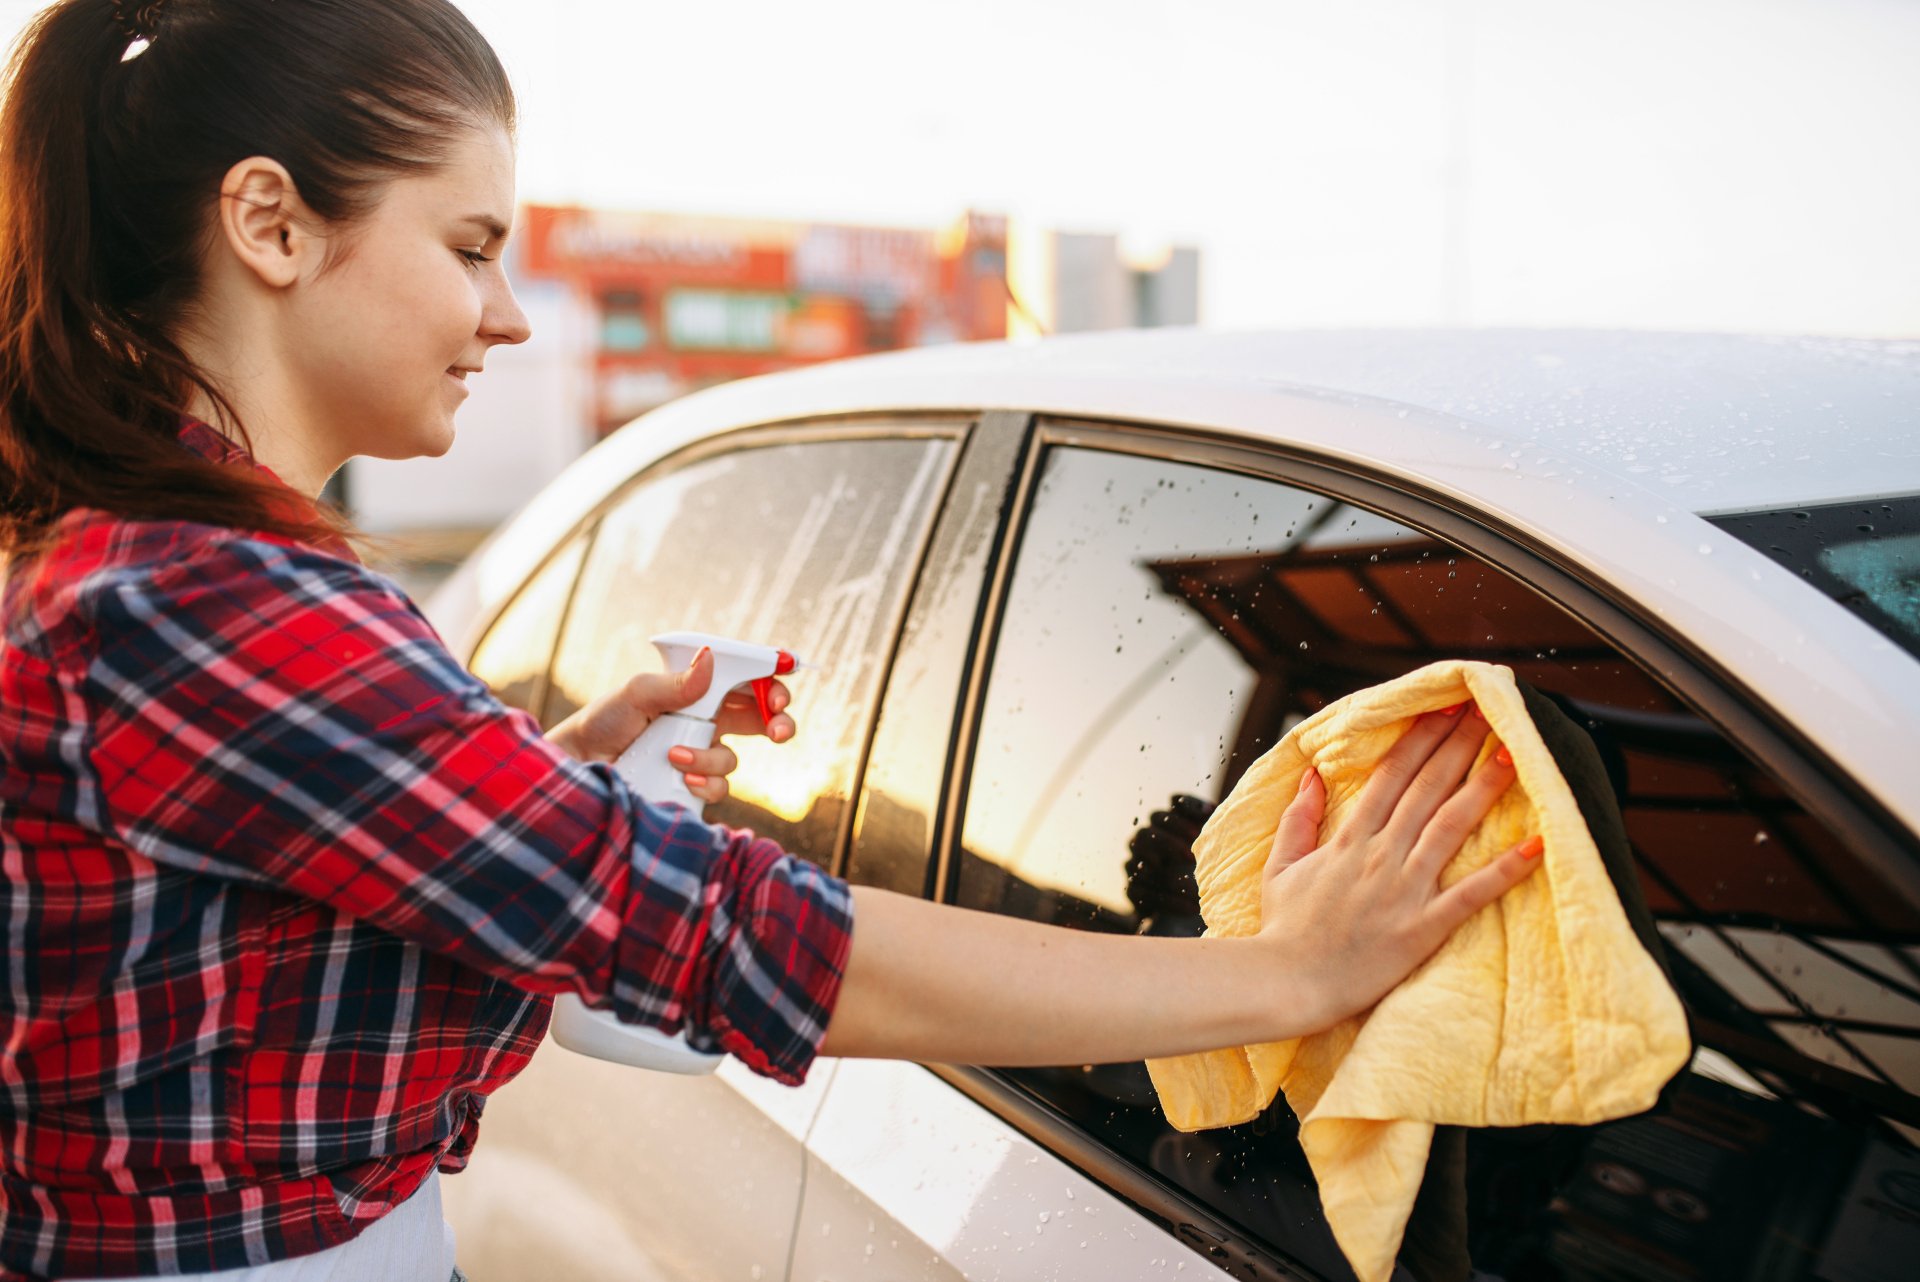
2. Apply the Overspray Remover: Liberally apply the overspray remover to the affected areas of the car windows. Use a clean, lint-free cloth or applicator pad to distribute the remover evenly over the overspray-affected surfaces.
3. Allow Dwell Time: Let the overspray remover dwell on the windows for the specified duration recommended by the product manufacturer. This dwell time allows the remover to penetrate and dissolve the overspray, facilitating its subsequent removal.
4. Work in Sections: If dealing with extensive overspray coverage, work on the windows in manageable sections to ensure thorough and systematic application of the overspray remover.
5. Avoid Drying Out: Prevent the overspray remover from drying out on the windows by working methodically and ensuring that the treated areas remain adequately saturated with the remover throughout the application process.
By diligently applying the overspray remover according to these steps, you’ll initiate the process of breaking down and loosening the overspray from the car windows. This crucial step sets the stage for the subsequent removal of the overspray, bringing you closer to achieving clear and pristine windows once again.
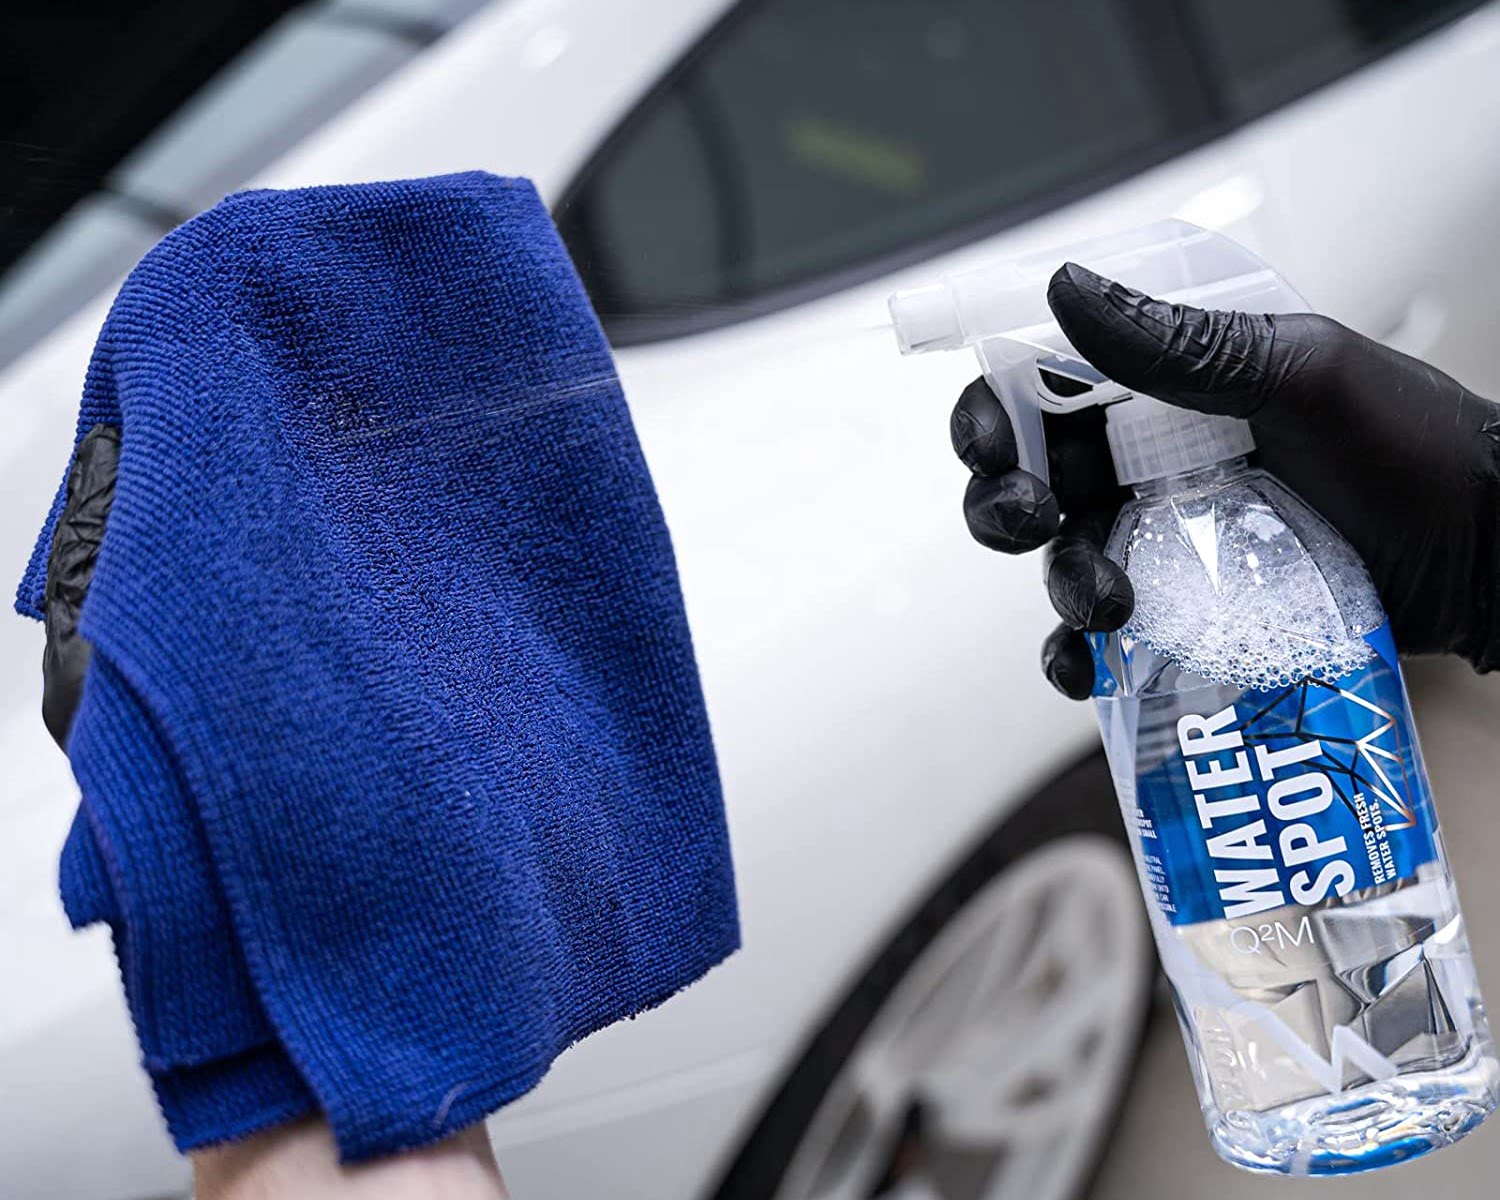
Use a clay bar and lubricant to gently remove overspray from car windows. Spray the lubricant on the window, then glide the clay bar over the affected area to lift the overspray.
Step 3: Removing the Overspray
After applying the overspray remover and allowing sufficient dwell time, it’s time to remove the loosened overspray from the car windows. Follow these steps to effectively eliminate the overspray:
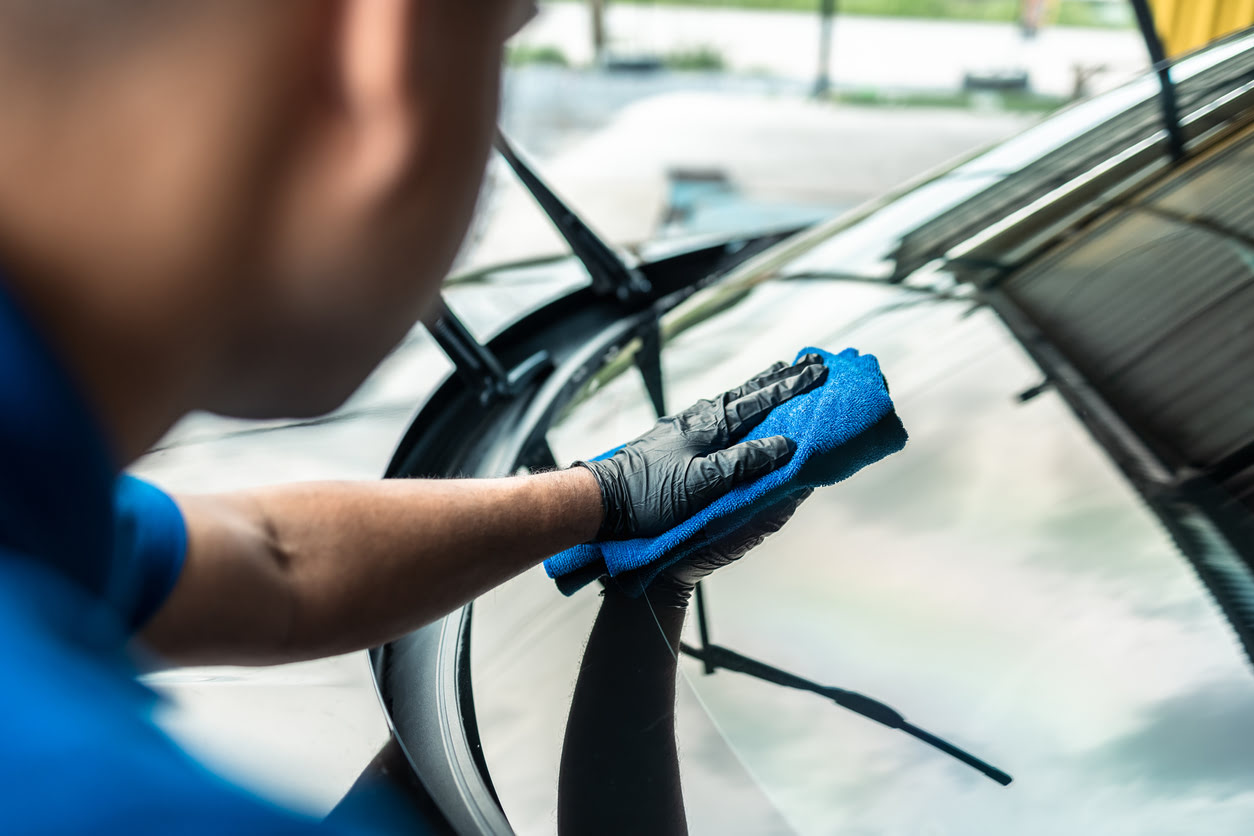
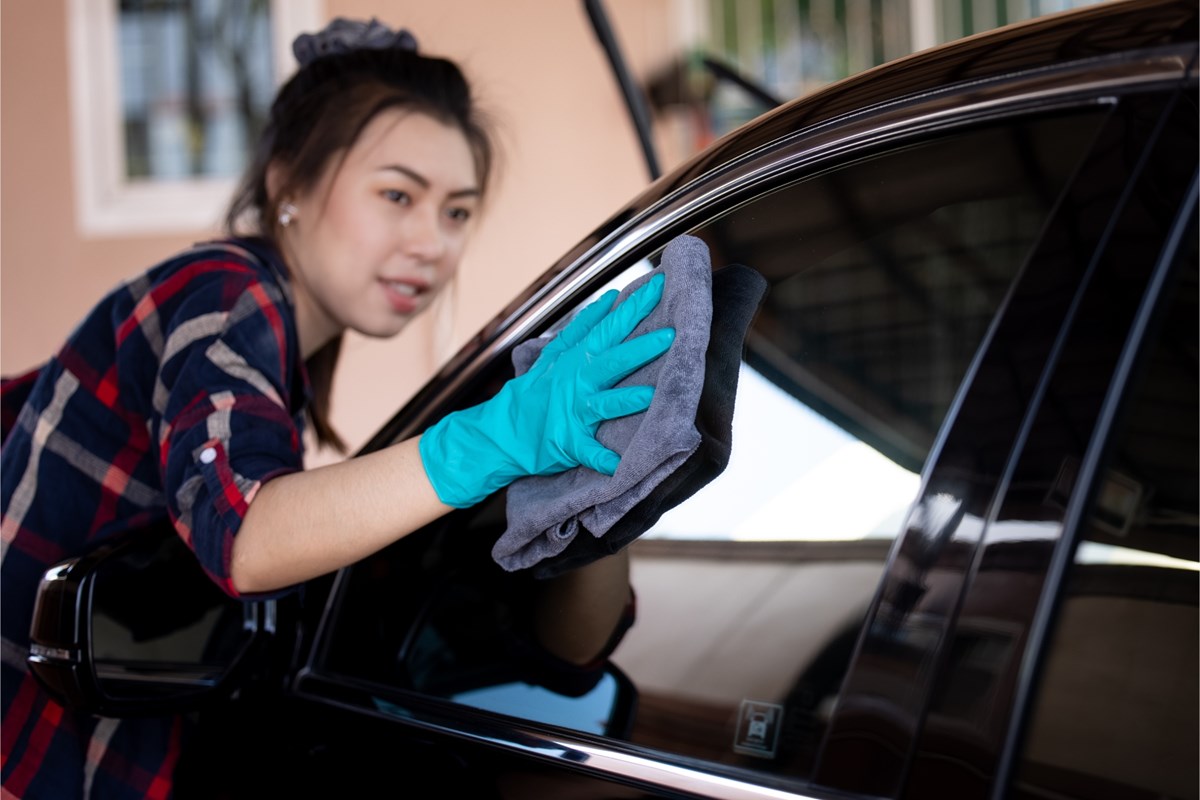
1. Use a Plastic Razor Blade: Gently glide a plastic razor blade or razor blade holder across the treated areas of the windows to carefully lift and remove the softened overspray. Exercise caution to prevent scratching the glass surface, maintaining a consistent angle and applying minimal pressure.
2. Employ Automotive Clay Bar: For stubborn or embedded overspray, utilize an automotive clay bar to further dislodge and remove residual particles. Apply the clay bar with a lubricant, such as a water and soap solution, to facilitate smooth and gentle removal of the remaining overspray.
3. Inspect for Residual Overspray: After the initial removal efforts, inspect the windows under adequate lighting to identify any remaining traces of overspray. Address any residual overspray using the plastic razor blade or clay bar until the windows are free from visible contamination.
4. Repeat as Needed: If necessary, repeat the application of the overspray remover and removal process for persistent or extensive overspray, ensuring thoroughness in addressing all affected areas of the car windows.
5. Clean and Dry the Windows: Once the overspray is successfully removed, clean the windows with a glass cleaner and microfiber cloths to eliminate any residue or remnants of the overspray remover and restoration products used in the removal process.
By following these steps diligently, you’ll effectively remove the overspray from your car windows, restoring their clarity and ensuring unobstructed visibility. With the overspray eradicated, you’re one step closer to revitalizing the appearance and functionality of your vehicle’s windows.
Step 4: Cleaning and Polishing
With the overspray successfully removed, it’s time to elevate the appearance and clarity of the car windows through thorough cleaning and polishing. Follow these steps to achieve a pristine and polished finish:
1. Clean the Windows: Use a high-quality glass cleaner and microfiber cloths to meticulously clean the windows, ensuring the removal of any remaining residues or streaks. Thoroughly dry the windows to reveal a crystal-clear surface.
2. Apply Polishing Compound: Use a suitable automotive polishing compound to enhance the luster and clarity of the windows. Apply a small amount of the compound to a clean applicator pad or cloth and gently polish the windows in circular motions, working the compound into the glass surface.
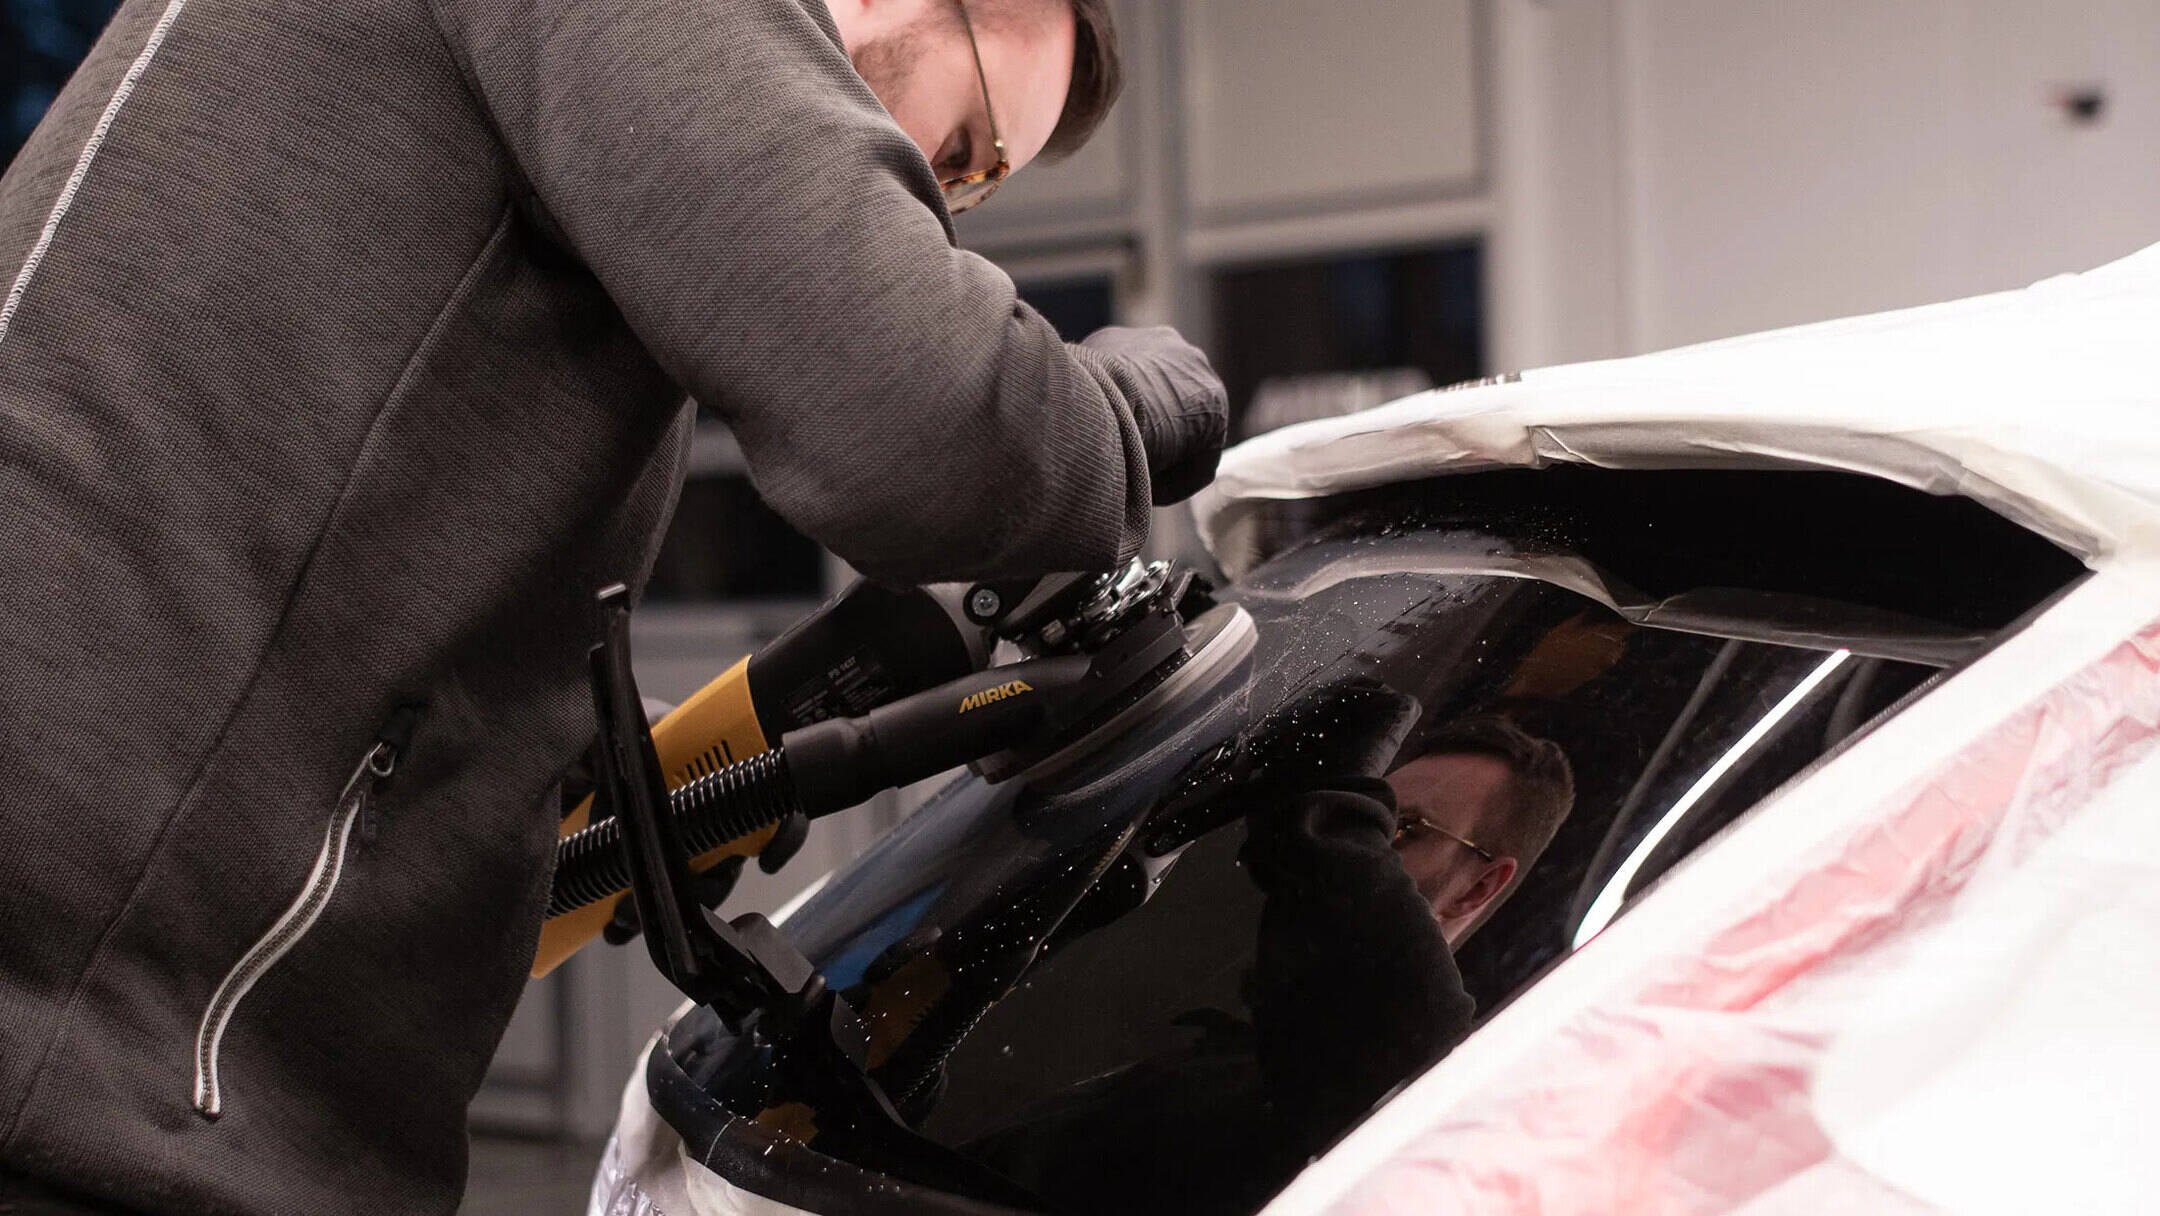
3. Buffing (Optional): If available, utilize an electric buffer with a soft polishing pad to further refine the windows’ appearance. Buff the windows at a low to medium speed, ensuring even and consistent coverage for a refined finish.
4. Inspect for Uniformity: After polishing, inspect the windows from various angles and lighting conditions to ensure a uniform and streak-free finish. Address any remaining imperfections or streaks with additional polishing as needed.
5. Final Cleaning: Once satisfied with the polished appearance, perform a final cleaning of the windows using a fresh microfiber cloth and glass cleaner to remove any residual polishing compound and achieve a flawless, gleaming surface.
By meticulously cleaning and polishing the car windows, you’ll elevate their appearance and transparency, creating a striking visual impact and ensuring optimal visibility. With the removal process culminating in a polished finish, your car windows will exude a renewed radiance, reflecting the care and attention devoted to their restoration.
Read more: How To Remove Ice From Car Windows
Conclusion
Embarking on the journey to remove overspray from your car windows has equipped you with the knowledge and expertise to address this common nuisance effectively. By understanding the nature of overspray and its impact on car windows, as well as gathering the essential tools and materials, you’ve laid a solid foundation for the removal process.
From meticulously preparing the area and applying the overspray remover to delicately removing the overspray and achieving a polished finish, each step has contributed to restoring the clarity and pristine condition of your car windows. The careful execution of these steps, combined with your dedication to achieving optimal results, has culminated in the successful removal of overspray, ensuring unobstructed visibility and a revitalized aesthetic appeal.
As you gaze through your crystal-clear car windows, the sense of accomplishment and satisfaction derived from overcoming the challenge of overspray removal is palpable. Your commitment to excellence and attention to detail have not only revitalized the appearance of your vehicle but also exemplified your dedication to preserving its integrity.
Armed with the insights and skills acquired through this comprehensive guide, you’re now empowered to tackle overspray-related challenges with confidence, ensuring that your car windows remain a testament to your commitment to excellence and meticulous care.
So, as you set forth on your future automotive endeavors, may the clarity and radiance of your car windows stand as a testament to your unwavering dedication to maintaining the pristine condition of your vehicle.
Frequently Asked Questions about How To Remove Overspray From Car Windows
Was this page helpful?
At Storables.com, we guarantee accurate and reliable information. Our content, validated by Expert Board Contributors, is crafted following stringent Editorial Policies. We're committed to providing you with well-researched, expert-backed insights for all your informational needs.

0 thoughts on “How To Remove Overspray From Car Windows”