Home>Renovation & DIY>Tools & Equipment>How To Clean Paint Brushes With Turpentine
Tools & Equipment
How To Clean Paint Brushes With Turpentine
Modified: August 16, 2024
Learn how to effectively clean paint brushes with turpentine and keep your tools and equipment in top condition. Follow our step-by-step guide for best results.
(Many of the links in this article redirect to a specific reviewed product. Your purchase of these products through affiliate links helps to generate commission for Storables.com, at no extra cost. Learn more)
Introduction
Painting can be a therapeutic and fulfilling activity, but cleaning up afterward is often a dreaded task. One of the most essential tools for any painting project is the paintbrush, and knowing how to properly clean it is crucial for maintaining its quality and extending its lifespan. While there are various methods for cleaning paintbrushes, using turpentine is a popular choice due to its effectiveness in removing tough, dried-on paint.
In this guide, we will walk you through the process of cleaning paint brushes with turpentine, providing step-by-step instructions to help you achieve professional results. By following these techniques, you can ensure that your paintbrushes remain in optimal condition for future projects, saving you time and money in the long run.
Key Takeaways:
- Cleaning paintbrushes with turpentine is essential for maintaining their quality and extending their lifespan. By following the step-by-step process, you can ensure your paintbrushes remain in optimal condition for future projects.
- Properly cleaning and caring for your paintbrushes with turpentine not only preserves their functionality but also saves you money by extending their lifespan. It ensures that your brushes consistently deliver the precise strokes and smooth application needed for your artistic endeavors.
Read more: How To Clean Enamel Paint Brushes
Materials Needed
Before you begin the paintbrush cleaning process, it’s important to gather the necessary materials to ensure a smooth and efficient experience. Here’s what you’ll need:
- Clogged paintbrushes
- Turpentine or mineral spirits
- A container or jar
- Protective gloves
- Old rags or paper towels
- Soap and water
- Wire brush or comb
Having these items on hand will streamline the cleaning process and help you achieve the best results when restoring your paintbrushes to their original condition.
Step 1: Preparing the Work Area
Before diving into the paintbrush cleaning process, it’s essential to set up a suitable work area to avoid any mess or damage to surrounding surfaces. Follow these steps to prepare the work area:
- Gather Your Materials: Assemble all the necessary materials, including turpentine, a container or jar, protective gloves, old rags or paper towels, soap and water, and a wire brush or comb.
- Choose a Well-Ventilated Space: Turpentine emits strong fumes, so it’s crucial to work in a well-ventilated area. If possible, perform the cleaning process outdoors or in a room with open windows and good airflow.
- Protect Your Work Surface: Lay down a protective covering, such as a drop cloth or old newspapers, to prevent any accidental spills or splatters from damaging the underlying surface.
- Put on Protective Gear: Before handling turpentine, don a pair of protective gloves to shield your skin from direct contact with the solvent.
By taking these preparatory measures, you can ensure a safe and organized environment for cleaning your paintbrushes with turpentine, setting the stage for a successful restoration process.
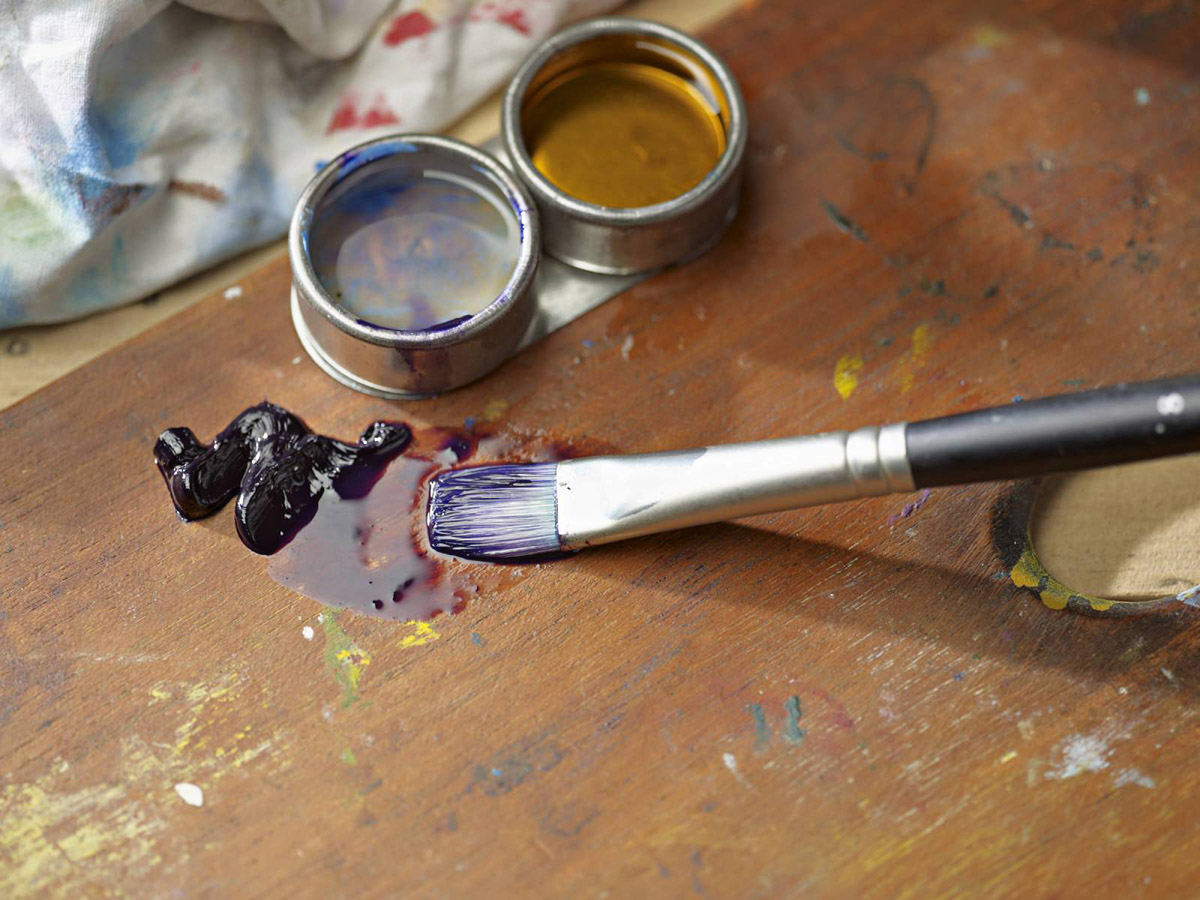
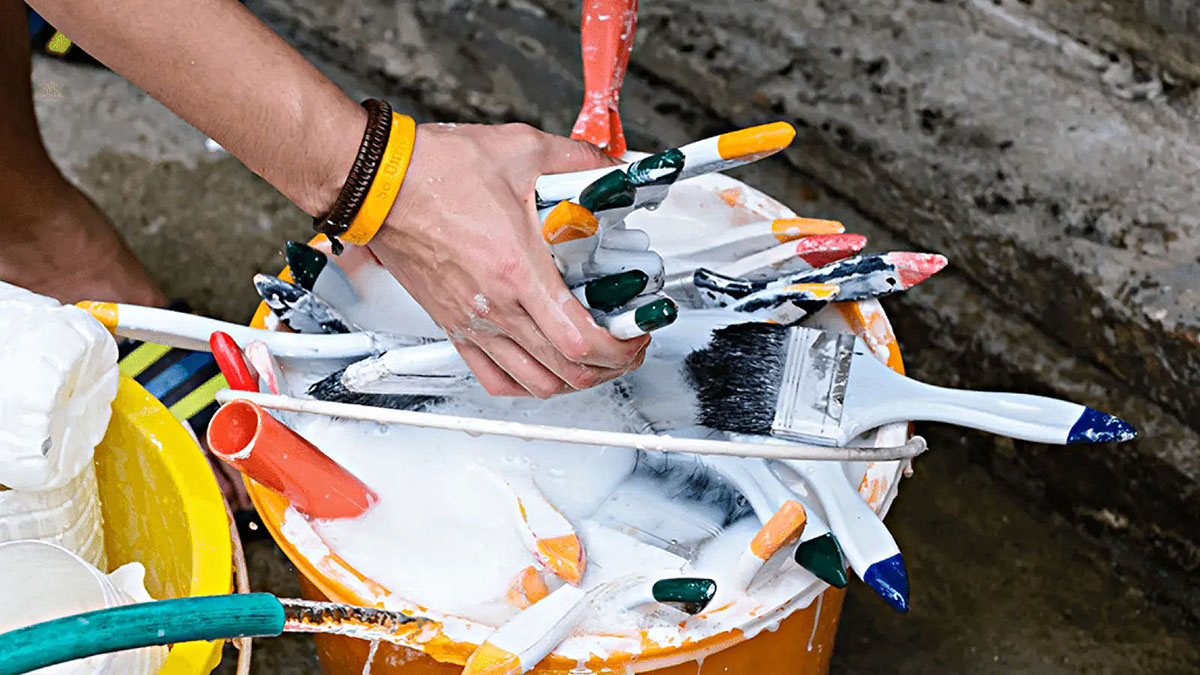
Step 2: Removing Excess Paint
Before immersing your paintbrushes in turpentine, it’s important to remove as much excess paint as possible. This initial step helps prevent the turpentine from becoming saturated with large paint particles, ensuring its effectiveness in dissolving the remaining paint. Here’s how to remove excess paint from your brushes:
- Scrape Off Excess Paint: Use a putty knife or the edge of a paint can to gently scrape off any excess paint from the bristles. Be careful not to apply too much pressure, as this could damage the bristles.
- Squeeze Out Paint: With a gloved hand, gently squeeze the bristles from the ferrule (the metal part that holds the bristles) towards the tip to expel any remaining paint. Repeat this process several times until minimal paint is being released.
- Wipe with a Rag: Take an old rag or paper towel and wipe the bristles to further remove any residual paint. Continue this step until the bristles appear relatively clean.
By diligently removing excess paint from your brushes, you’ll pave the way for a more efficient and thorough cleaning process with turpentine, ultimately preserving the quality of your paintbrushes for future use.
After using turpentine to clean paint brushes, make sure to thoroughly rinse the brushes with soap and water to remove any remaining paint and turpentine residue. Pat them dry with a clean cloth and reshape the bristles before storing.
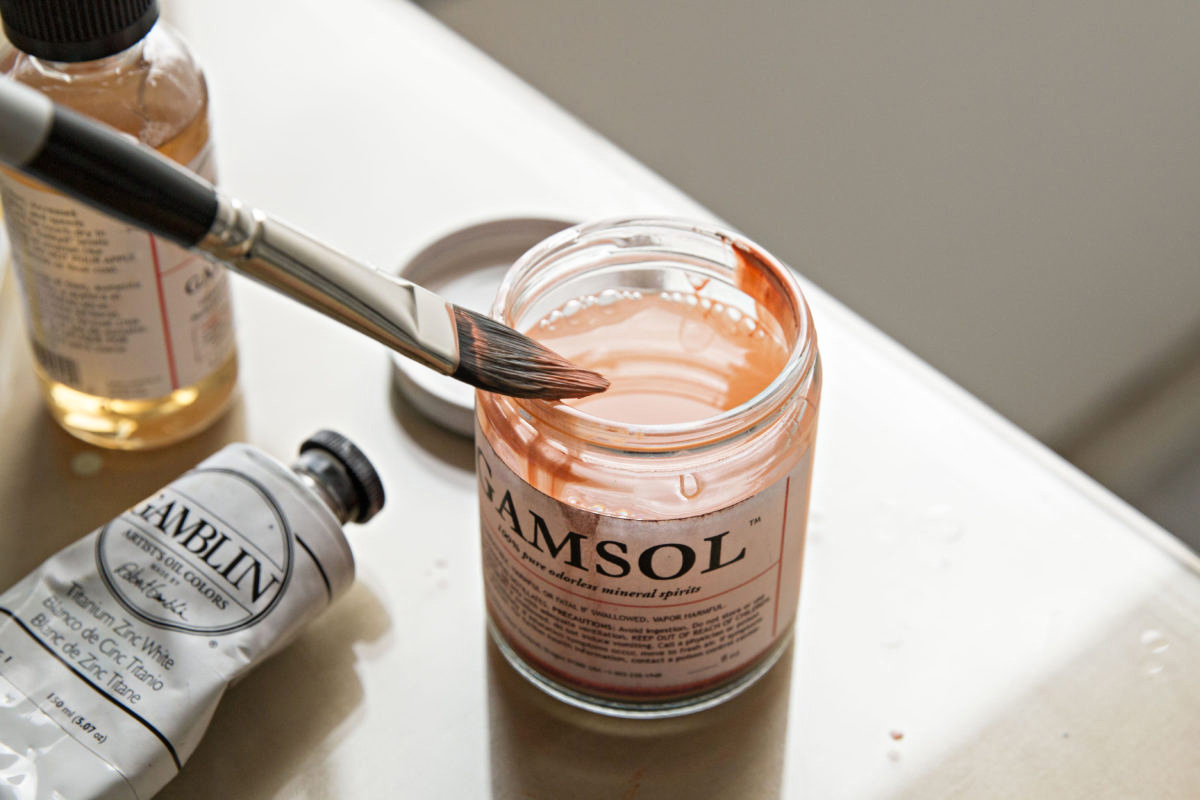
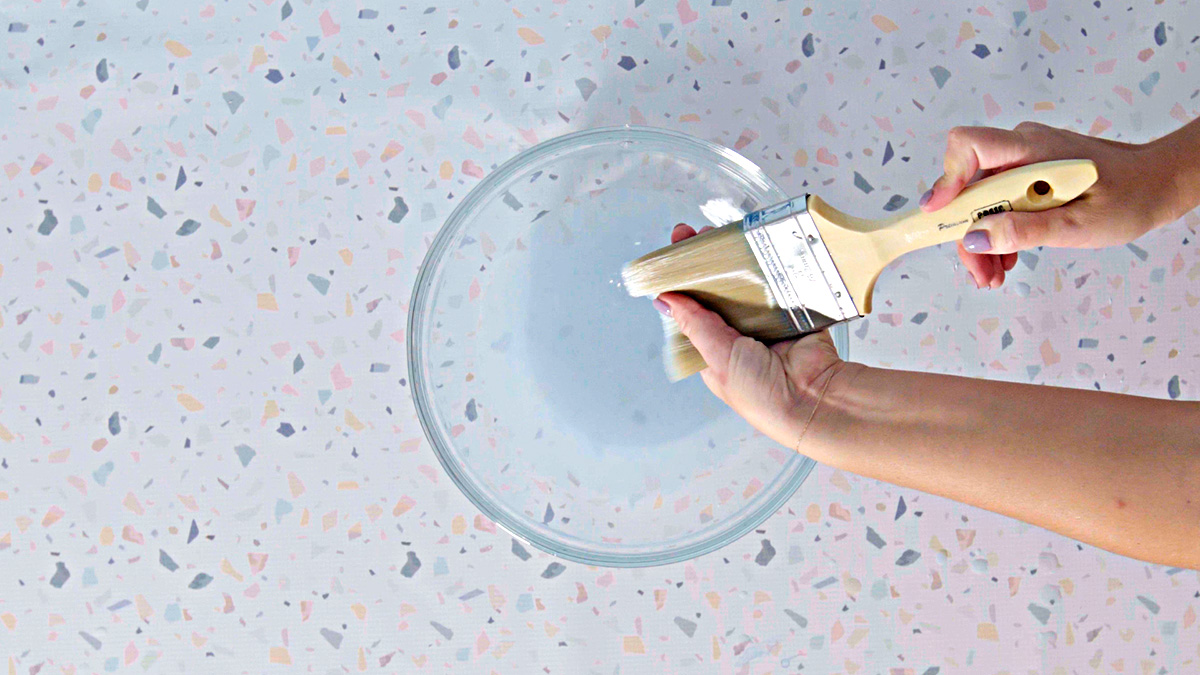
Step 3: Cleaning with Turpentine
Now that you’ve prepared the work area and removed excess paint from your brushes, it’s time to proceed with the main cleaning process using turpentine. Turpentine is a solvent that effectively breaks down oil-based paints, making it an ideal choice for restoring paintbrushes to their pristine condition. Follow these steps to clean your paintbrushes with turpentine:
- Fill a Container: Pour a sufficient amount of turpentine into a container or jar, ensuring that it’s deep enough to fully submerge the bristles of the paintbrush.
- Immerse the Brush: Gently lower the paintbrush into the turpentine, allowing the bristles to become fully immersed in the solvent. Swirl the brush around slightly to ensure that the turpentine reaches all the bristles.
- Soak the Brush: Let the brush soak in the turpentine for several minutes, allowing the solvent to penetrate and loosen any remaining paint within the bristles.
- Agitate the Bristles: After soaking, use a wire brush or comb to gently agitate the bristles, helping to dislodge any stubborn paint particles that may be trapped within the brush. Be careful not to apply excessive force, as this could damage the bristles.
- Inspect and Repeat if Necessary: Remove the brush from the turpentine and inspect the bristles. If any paint residue remains, repeat the soaking and agitating process until the bristles are clean and free of paint.
By following these steps, you can effectively harness the power of turpentine to thoroughly clean your paintbrushes, restoring them to a state ready for your next artistic endeavor.
Read more: How To Clean Foam Paint Brushes
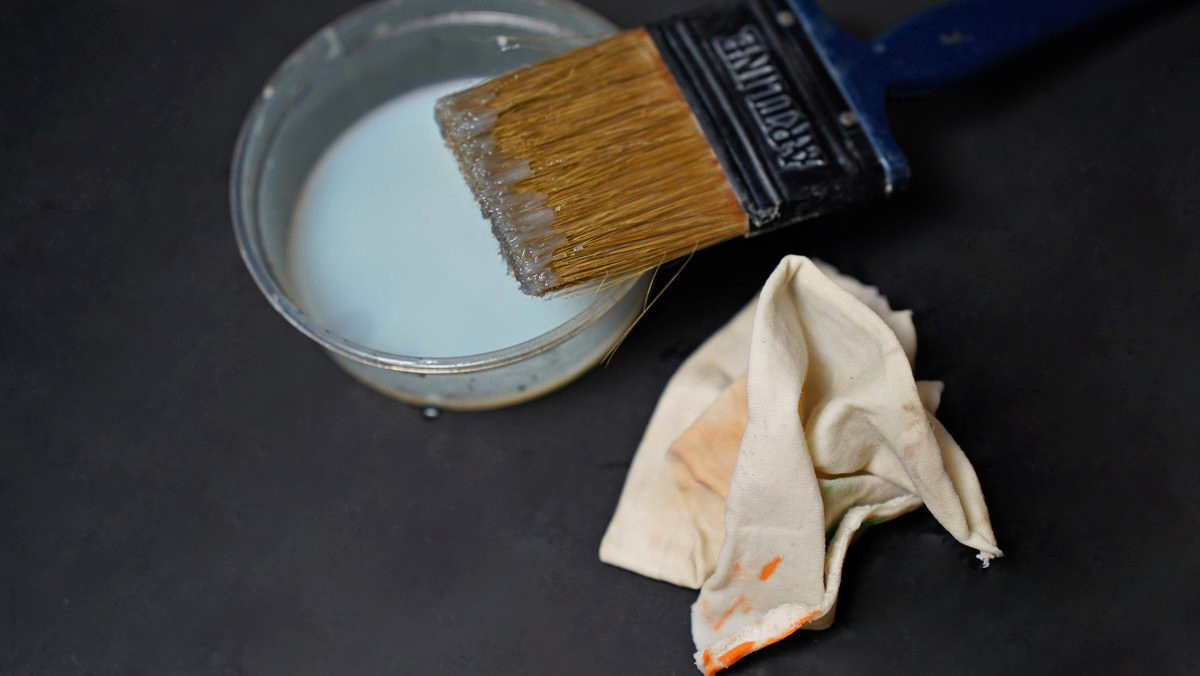
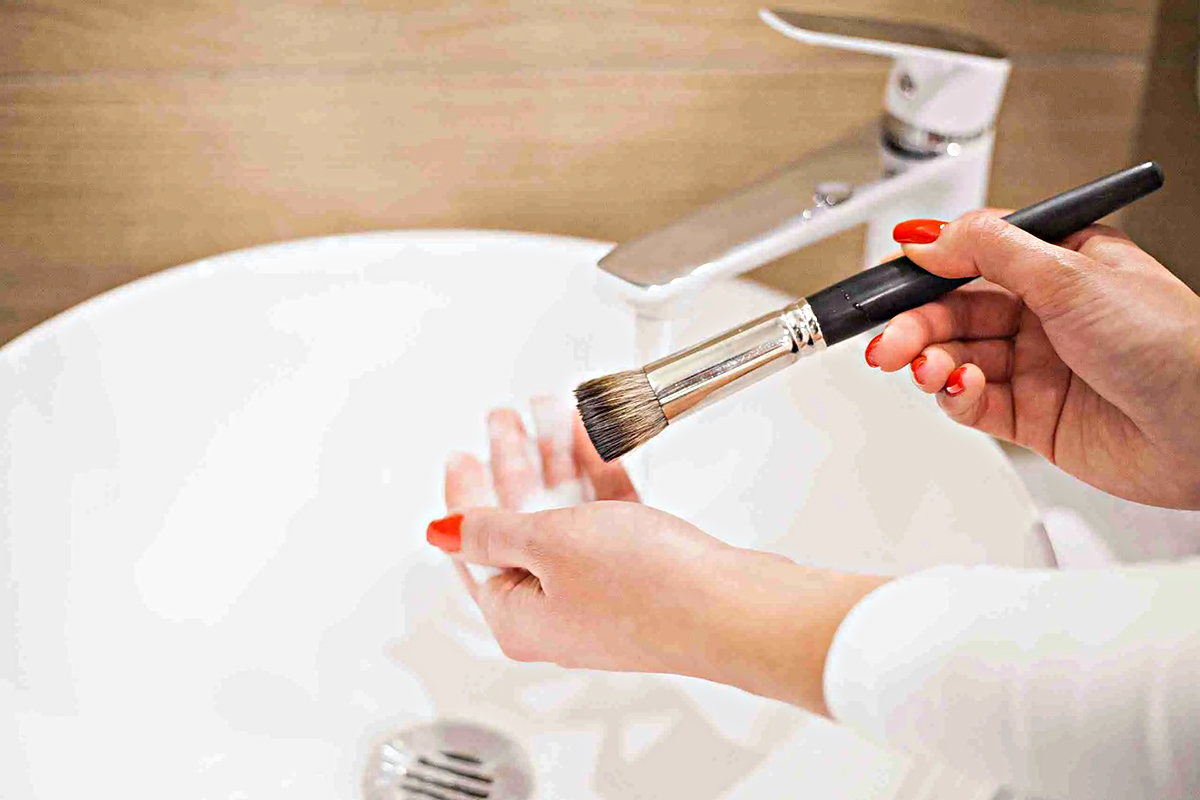
Step 4: Rinsing and Drying
Once you’ve successfully cleaned your paintbrushes with turpentine, it’s essential to complete the process by rinsing and drying the bristles to remove any remaining solvent and ensure the brushes are ready for future use. Follow these final steps to complete the cleaning process:
- Rinse with Soap and Water: Thoroughly rinse the bristles of the paintbrush under running water while using a mild soap, such as dish soap or hand soap. Gently massage the bristles to ensure that all traces of turpentine and paint are removed.
- Shape the Bristles: Once clean, reshape the bristles with your fingers to restore their original form and ensure an even distribution of the bristles.
- Dry the Brush: Shake off any excess water and gently pat the bristles with a clean, dry cloth or paper towel to remove moisture. Allow the paintbrush to air dry fully before storing or using it for your next painting project.
- Store Properly: Once dry, store your clean paintbrushes in a cool, dry place, ensuring that the bristles are protected and the brush is not crushed or distorted.
By completing these final steps, you can rest assured that your paintbrushes are thoroughly cleaned, free of any residual paint or turpentine, and ready to deliver exceptional results in your future artistic endeavors.
Conclusion
Cleaning paint brushes with turpentine is a fundamental skill for artists and DIY enthusiasts alike. By following the step-by-step process outlined in this guide, you can effectively restore your paintbrushes to their original condition, ensuring optimal performance and longevity. From preparing the work area to removing excess paint, cleaning with turpentine, and completing the rinsing and drying process, each step plays a crucial role in maintaining the quality of your paintbrushes.
Properly cleaning and caring for your paintbrushes not only preserves their functionality but also saves you money by extending their lifespan. Additionally, it ensures that your brushes consistently deliver the precise strokes and smooth application needed for your artistic endeavors.
Remember, investing time and effort in cleaning your paintbrushes with turpentine is a worthwhile practice that contributes to the overall success and enjoyment of your painting projects. By incorporating these cleaning techniques into your routine, you can elevate the quality of your artwork and maintain the integrity of your valuable painting tools.
So, the next time you embark on a painting venture, armed with your trusty paintbrushes, rest assured that you have the knowledge and skills to keep them in prime condition through the effective use of turpentine for cleaning.
Happy painting!
Frequently Asked Questions about How To Clean Paint Brushes With Turpentine
Was this page helpful?
At Storables.com, we guarantee accurate and reliable information. Our content, validated by Expert Board Contributors, is crafted following stringent Editorial Policies. We're committed to providing you with well-researched, expert-backed insights for all your informational needs.


0 thoughts on “How To Clean Paint Brushes With Turpentine”