Home>Renovation & DIY>Tools & Equipment>How To Clean Face Paint Brushes Between Clients
Tools & Equipment
How To Clean Face Paint Brushes Between Clients
Modified: October 20, 2024
Learn how to properly clean face paint brushes between clients using the right tools and equipment. Keep your brushes in top condition for flawless makeup application.
(Many of the links in this article redirect to a specific reviewed product. Your purchase of these products through affiliate links helps to generate commission for Storables.com, at no extra cost. Learn more)
Introduction
Face painting is a popular and fun activity that brings joy to people of all ages. Whether you’re a professional face painter or someone who enjoys doing it as a hobby, it’s important to keep your face paint brushes clean and well-maintained.
Cleaning your face paint brushes is crucial for several reasons. First, it ensures that the colors remain vibrant and true, allowing you to create beautiful and precise designs. Second, it helps prevent the transfer of bacteria and germs from one person to another, promoting hygienic practices. Lastly, proper brush maintenance extends the lifespan of your brushes, saving you money in the long run.
However, the process of cleaning face paint brushes can seem daunting, especially if you’re new to it. That’s why this article will guide you through the steps of how to clean face paint brushes between clients, ensuring that your brushes stay in excellent condition and ready for your next artistic endeavor.
Before we dive into the cleaning process, let’s first take a look at the supplies you’ll need.
Key Takeaways:
- Regularly cleaning and conditioning face paint brushes is essential for maintaining vibrant colors, preventing bacterial growth, and ensuring precise application, ultimately prolonging the lifespan of the brushes.
- Proper drying and storage techniques, along with additional maintenance tips such as using separate brushes for different mediums and regular deep cleaning, contribute to the longevity and performance of face paint brushes.
Importance of Cleaning Face Paint Brushes
Cleaning your face paint brushes is more than just a matter of hygiene – it plays a crucial role in maintaining the quality of your artwork. Here are some key reasons why cleaning your face paint brushes between clients is essential:
- Maintains color integrity: Over time, face paint colors can become muddled or contaminated with other colors if brushes aren’t properly cleaned. By cleaning your brushes regularly, you’ll ensure that each color remains vibrant and true, allowing you to create precise and stunning designs for your clients.
- Prevents bacterial growth: Face painting involves direct contact with the skin, which can introduce bacteria, oils, and sweat to the brushes. These factors can create a breeding ground for bacteria and germs if left untreated. Cleaning your brushes thoroughly between clients helps minimize the risk of infections or skin irritations.
- Enhances application precision: A dirty brush can hinder your ability to achieve clean lines and smooth blends. When paint residue builds up on the bristles, it can affect the brush’s ability to hold and distribute paint evenly. Clean brushes result in better control and more precise application, allowing you to create intricate details with ease.
- Prolongs brush lifespan: Face paint brushes can be a significant investment, especially if you opt for high-quality ones. Regular cleaning and proper maintenance can extend the lifespan of your brushes, saving you from frequently replacing them. By removing excess paint, cleaning the bristles, and conditioning them, you’ll help preserve the shape, strength, and overall quality of your brushes.
By understanding the importance of cleaning your face paint brushes, you’ll be equipped with the knowledge and motivation to incorporate regular brush cleaning into your routine. Now that you recognize the significance, let’s move on to the supplies needed for an effective cleaning process.
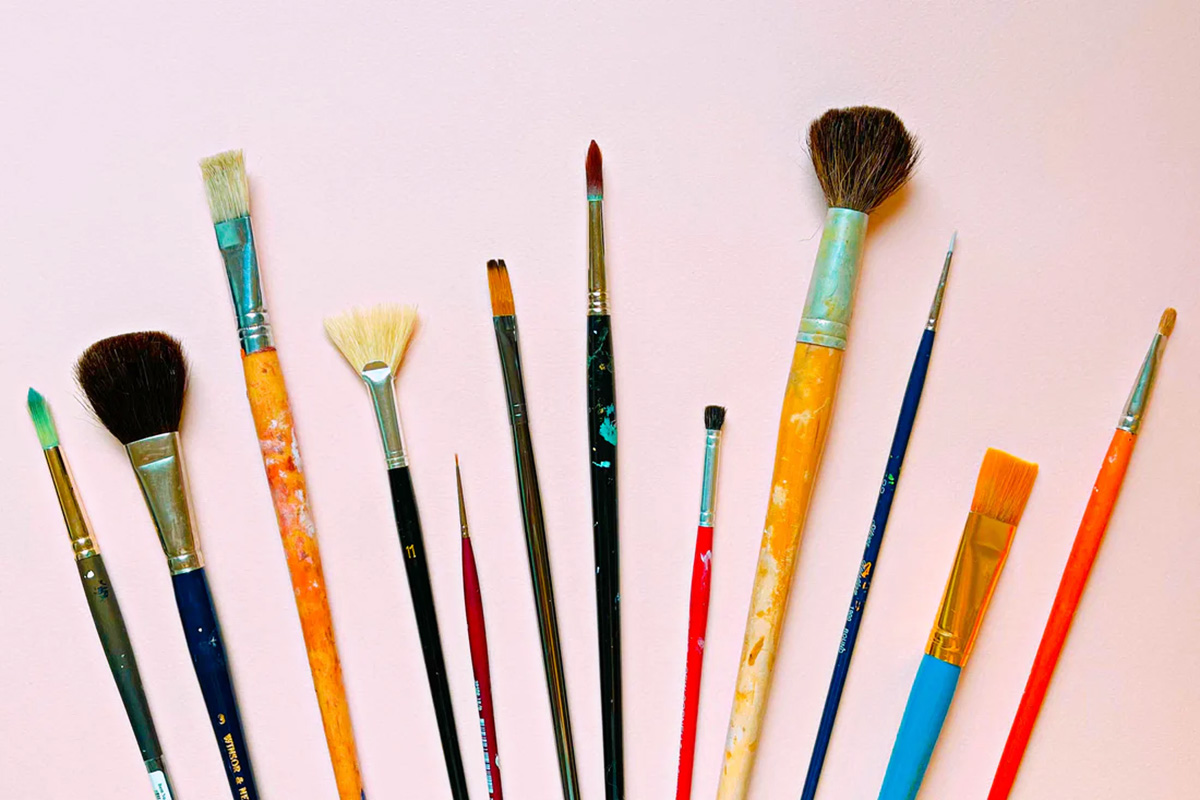
Supplies Needed for Cleaning
Before you embark on the process of cleaning your face paint brushes, it’s important to gather the necessary supplies. Here’s a list of items you’ll need:
- Mild soap: Look for a gentle, unscented soap that is safe for sensitive skin. Avoid harsh detergents or cleansers that can damage the bristles of your brushes.
- Brush cleaner solution: Consider using a specialized brush cleaner solution that is specifically designed to remove face paint residue and sanitize the bristles. These solutions are typically formulated to effectively clean and condition synthetic or natural bristle brushes.
- Clean water: You’ll need clean water for rinsing your brushes thoroughly. Make sure the water is at room temperature to preserve the integrity of the bristles.
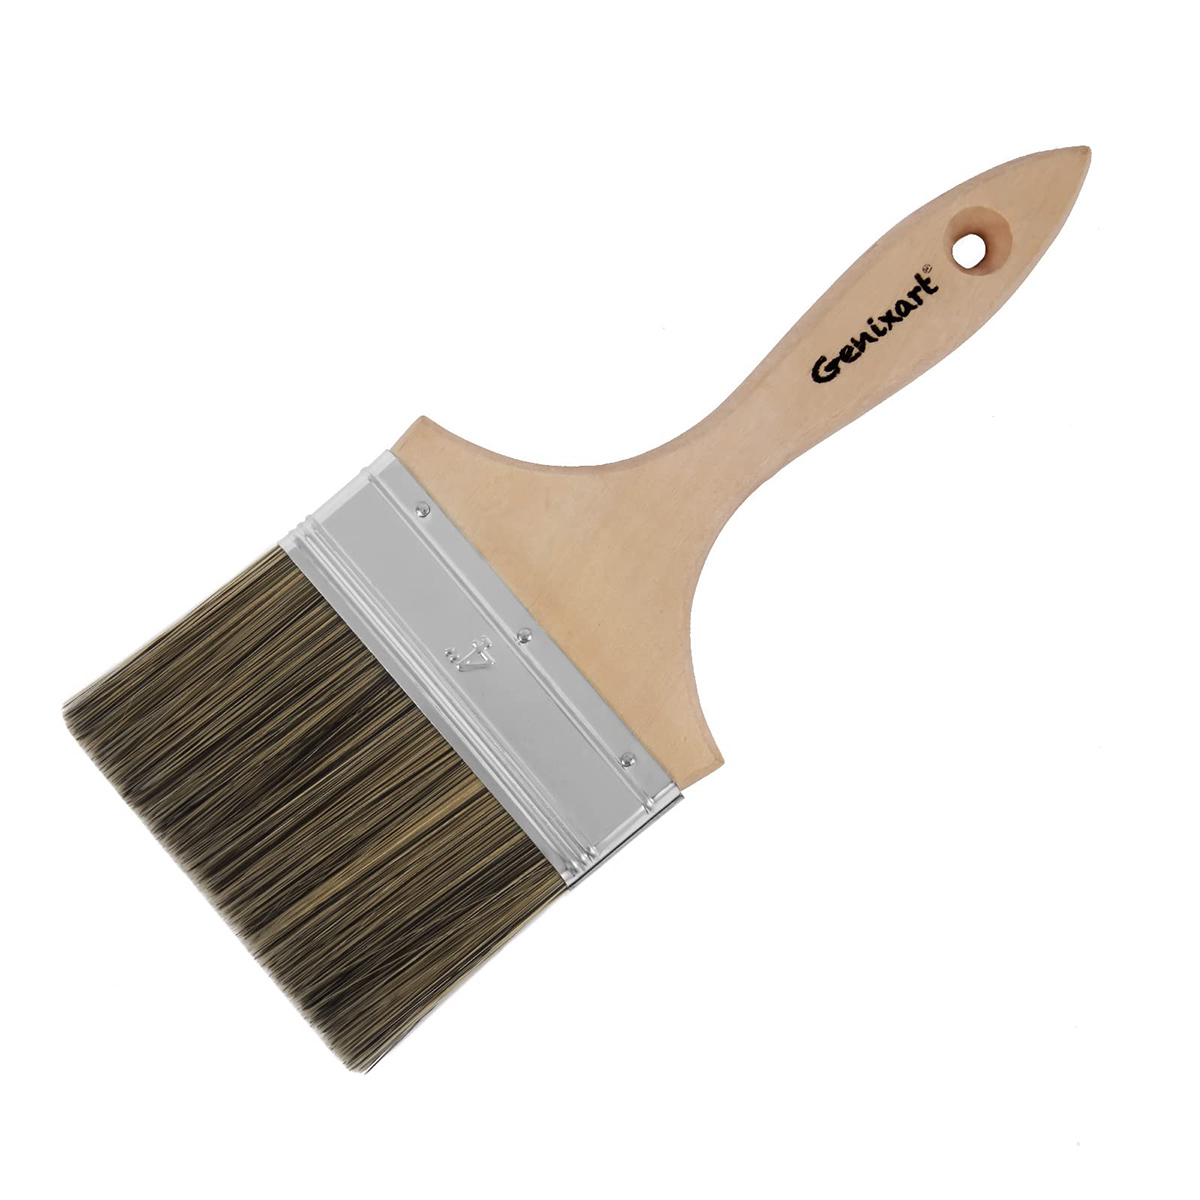
- Brush cleaning mat or palette: A brush cleaning mat or palette with textured surfaces can help you remove stubborn paint from the bristles. These mats are usually made of silicone and feature different ridges and grooves to aid in the cleaning process.
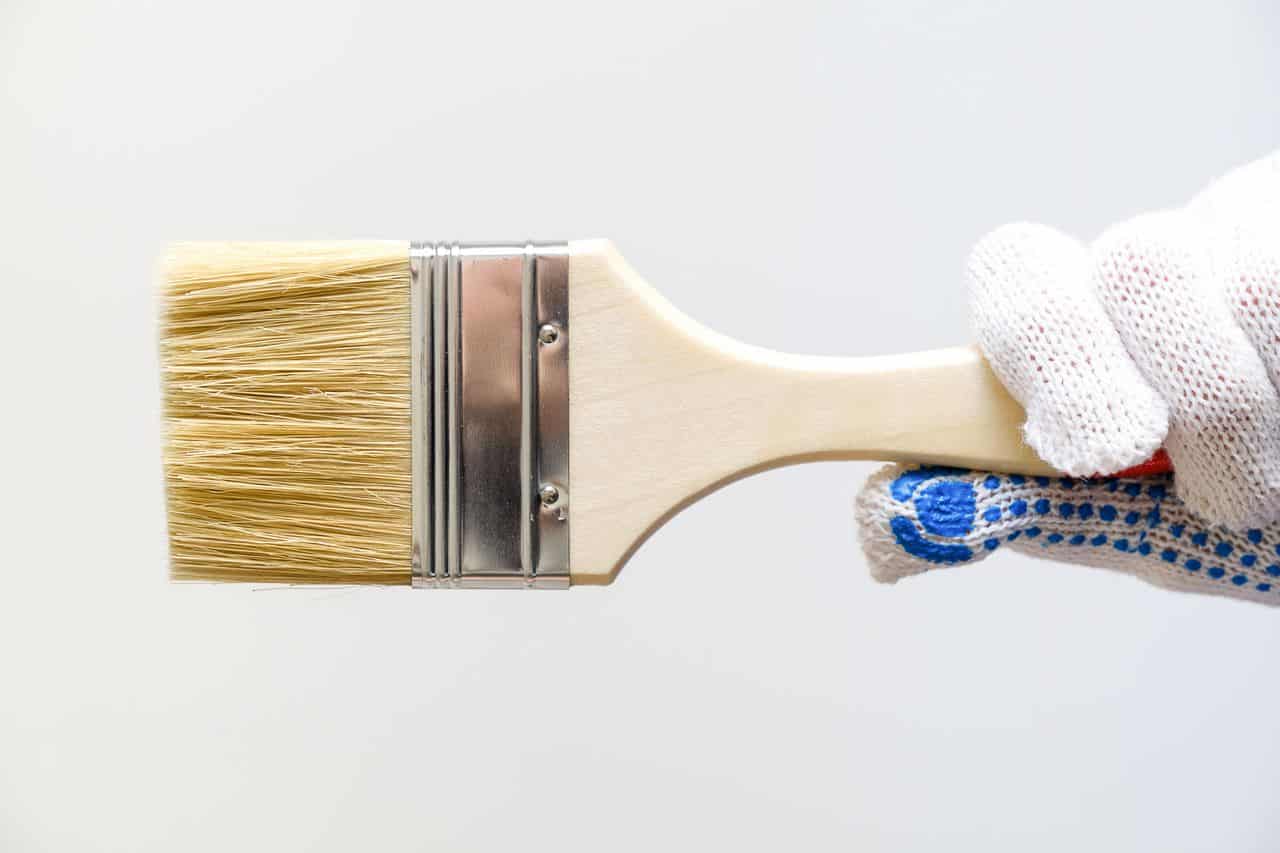
- Lint-free cloth or paper towels: Choose a lint-free cloth or paper towels to dry your brushes after cleaning. They should be absorbent and soft to avoid damaging the bristles.
- Brush holder or stand: It’s important to have a designated space for your brushes to dry. A brush holder or stand with proper ventilation ensures that the bristles can air-dry without getting deformed or developing mildew or mold.
By gathering these supplies, you’ll have everything you need to effectively and safely clean your face paint brushes. With the materials in place, let’s move on to preparing the brushes for the cleaning process.
Preparing the Brushes for Cleaning
Before you begin the actual cleaning process, it’s important to properly prepare your face paint brushes. This step ensures that the cleaning process is more effective and helps to remove any excess paint or residue from the brushes. Here’s how to prepare your brushes for cleaning:
- Remove excess paint: Take a lint-free cloth or paper towel and gently wipe off any excess face paint from the bristles of your brushes. Gently squeeze and press the brush against the cloth to release as much paint as possible. This step helps to minimize the amount of paint that will need to be washed out during the cleaning process.
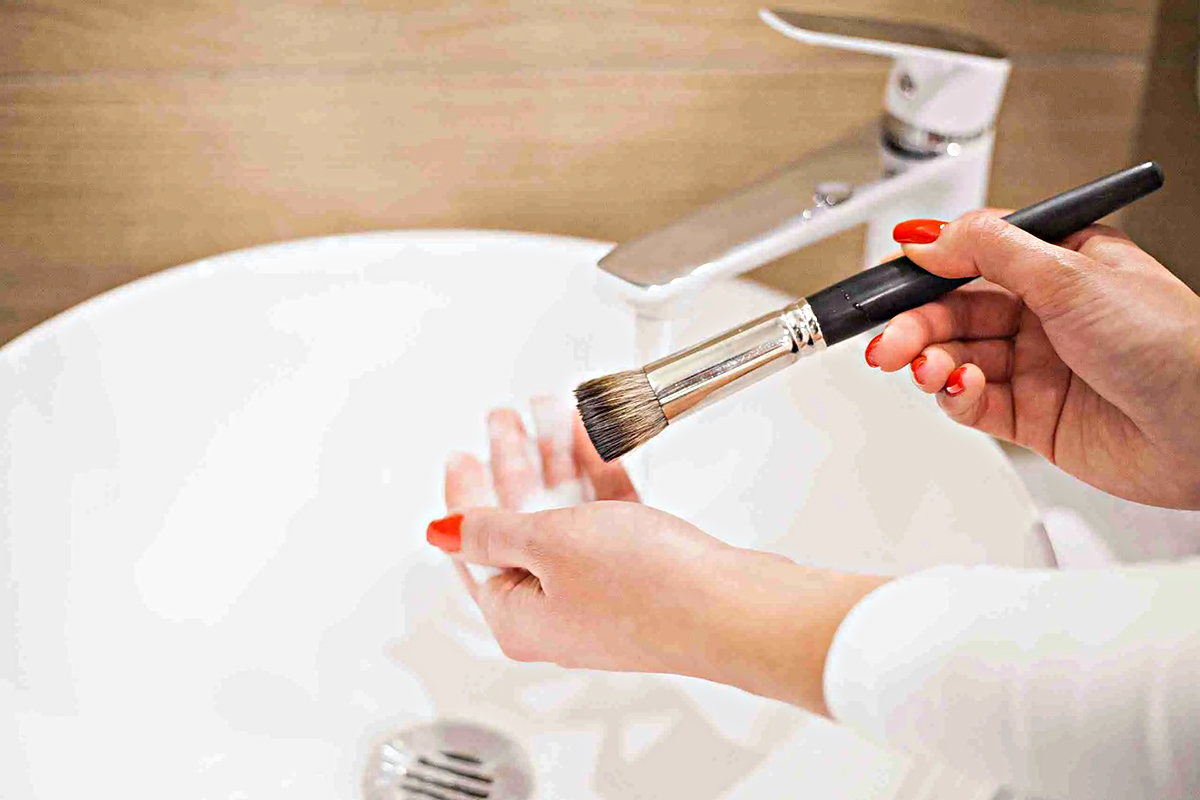
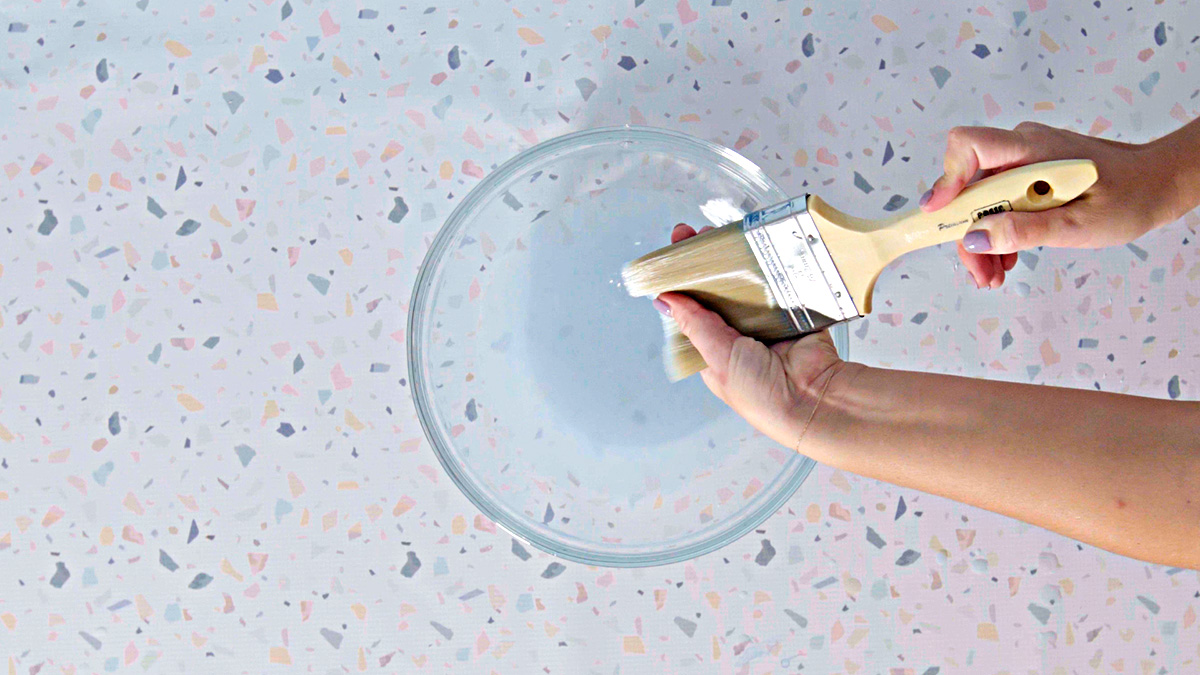
- Rinse with clean water: After removing excess paint, rinse your brushes under clean running water. Hold the brushes with the bristles pointing downwards to prevent water from seeping into the ferrule (the metal part that holds the bristles). Gently massage the bristles with your fingers to ensure thorough rinsing.
- Shape the bristles: While the brushes are still wet, gently reshape the bristles with your fingers. This step is important in maintaining the brush’s original shape and structure. Use your fingers to smooth out any kinks or misshapen bristles.
- Inspect the brushes: Take a moment to inspect each brush for any remaining paint or stubborn spots. If you notice any, gently squeeze the bristles and massage them under the water to try and remove the paint. Avoid pulling or tugging on the bristles too hard, as this can damage them.
By following these preparatory steps, you’ll ensure that your brushes are ready for the thorough cleaning process. With your brushes prepared, it’s time to move on to the actual cleaning process. Let’s get started!
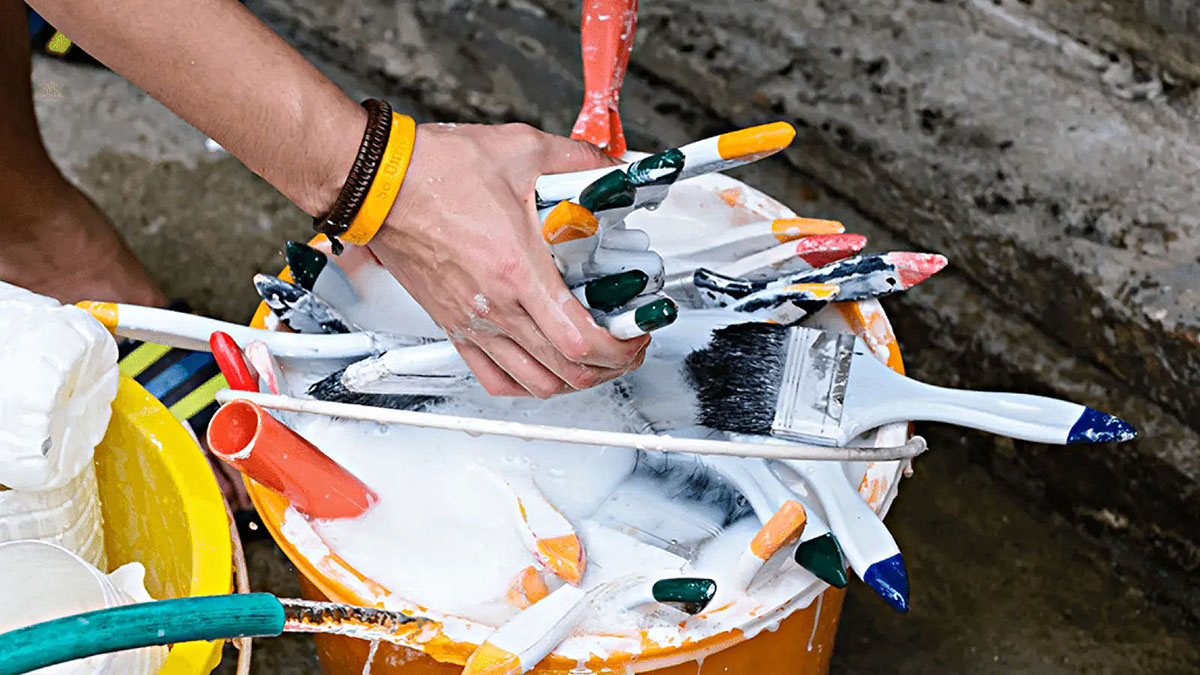
Cleaning Process Step 1: Removing Excess Paint
The first step in the cleaning process is to remove any excess face paint from your brushes. This step helps to minimize the amount of paint that will need to be washed out, making the subsequent cleaning steps more effective. Here’s how to remove excess paint from your face paint brushes:
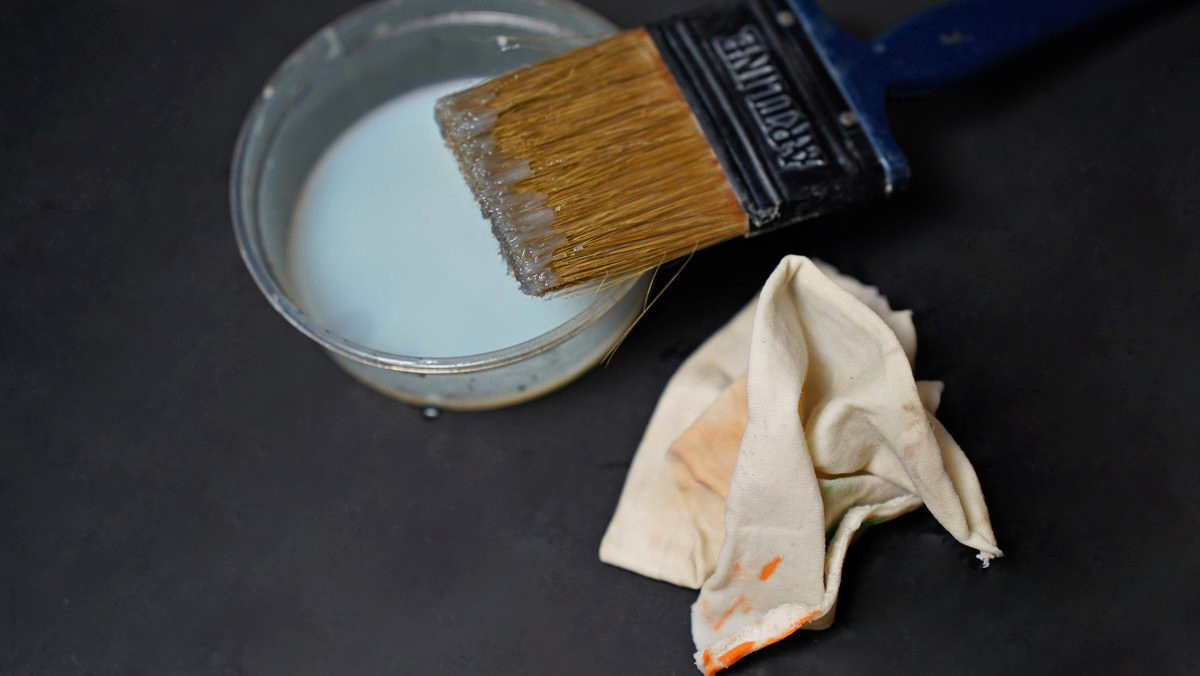
- Use a brush cleaning mat or palette: Place a small amount of mild soap or brush cleaner solution on a brush cleaning mat or palette. Gently swirl the bristles of your brush onto the textured surface to help loosen and remove the paint from the brush.
- Work the paint out: Use circular motions or back-and-forth strokes to work the paint out of the bristles. Continue swirling and massaging the brush against the cleaning surface until you no longer see any paint transferring onto the surface.
- Rinse and repeat: Once you’ve removed as much paint as possible, rinse the brush under clean running water. Gently squeeze the bristles and massage them with your fingers to ensure that any remaining paint is thoroughly rinsed out. Repeat the process of swirling the brush on the cleaning mat or palette if necessary.
- Inspect the bristles: After rinsing the brush, examine the bristles to see if any paint residue is still present. If there are stubborn spots or traces of paint, repeat the process of swirling and rinsing until the bristles are clean.
Removing excess paint is an important step in maintaining the quality and performance of your face paint brushes. By effectively removing the majority of the paint from the bristles, you’ll pave the way for a more thorough cleaning in the next steps. Now that we’ve removed the excess paint, it’s time to move on to the second step of the cleaning process: washing the brushes.
After each client, thoroughly rinse the face paint brushes with warm water to remove excess paint. Then, use a gentle brush cleaner or baby shampoo to deep clean the bristles and remove any remaining residue. Allow the brushes to air dry completely before using them on the next client.
Read more: How To Clean Enamel Paint Brushes
Cleaning Process Step 2: Washing the Brushes
Now that you have removed the excess paint from your face paint brushes, it’s time to move on to the second step of the cleaning process: washing the brushes. This step involves using mild soap or brush cleaner solution to thoroughly clean the bristles and remove any remaining paint, oil, or residue. Here’s how to wash your face paint brushes effectively:
- Apply mild soap or brush cleaner solution: Wet the bristles of your brush with clean water and apply a small amount of mild soap or brush cleaner solution to your palm or a brush cleaning mat.
- Gently swirl the brush: Swirl your brush in the soapy water using circular motions or back-and-forth strokes. Make sure to work the soap or solution into the bristles, ensuring thorough cleaning. Avoid applying excessive pressure, as this can damage the bristles.
- Massage the bristles: Use your fingers to massage the bristles of the brush, focusing on the area where the paint is typically deposited. This helps to dislodge any remaining paint or residue that may be trapped in the bristles.
- Rinse under clean water: Rinse the brush under clean running water, gently squeezing the bristles and massaging them with your fingers to ensure that all soap or solution is removed. Continue rinsing until the water runs clear and there are no signs of paint residue remaining.
- Repeat if necessary: If there are still traces of paint or residue on the brush, repeat the washing process until the bristles are clean. It’s important to be thorough to ensure that your brushes are properly cleaned.
By following these steps, you’ll effectively wash your face paint brushes, removing any remaining paint or residue that may compromise the quality of your artwork. Now that your brushes are clean, let’s move on to the next step: conditioning the brushes.
Cleaning Process Step 3: Conditioning the Brushes
After washing your face paint brushes, it’s important to condition them to keep the bristles soft, pliable, and in optimal condition. Conditioning the brushes helps to prevent drying, fraying, or stiffness, ensuring that they continue to perform at their best. Here’s how to condition your face paint brushes:
- Choose a brush conditioner: Look for a brush conditioner specifically designed for face paint brushes. These conditioners are formulated to nourish and protect the bristles, helping to maintain their shape and flexibility.
- Apply the conditioner: Squeeze a small amount of brush conditioner onto a clean cloth or your palm. Gently swirl the bristles of the brush into the conditioner, ensuring that the conditioner coats the bristles evenly.
- Massage the conditioner into the bristles: Use your fingers to massage the conditioner into the bristles, working it through from the base to the tips. This helps to distribute the conditioner and ensure that each bristle is coated.
- Shape the bristles: While the bristles are still conditioned, gently reshape them with your fingers. Ensure that the bristles are smooth, aligned, and in their original shape. This step is crucial in maintaining the brush’s performance and longevity.
- Remove excess conditioner: Gently squeeze and press the bristles against a clean cloth or paper towel to remove any excess conditioner. Avoid pulling or tugging on the bristles as this can cause damage.
By conditioning your brushes regularly, you’ll help to preserve their quality and prolong their lifespan. Conditioning also makes the brushes more pleasant to use and ensures that they continue to perform at their best. Now that you’ve conditioned your brushes, it’s time to move on to the next step: drying and storing them.
Drying and Storing the Brushes
After cleaning and conditioning your face paint brushes, it’s important to properly dry and store them to maintain their shape, quality, and hygiene. Here’s how to correctly dry and store your brushes:
- Gently squeeze out excess water: Gently squeeze the bristles of your brushes to remove any excess water. Avoid wringing or twisting the bristles, as this can cause them to lose their shape or become damaged.
- Lay the brushes flat or position them upside down: To allow the brushes to air-dry properly, lay them flat on a clean and dry surface or position them upside down with the bristles pointing downwards. This helps to prevent water from collecting in the ferrule and causing damage or mold growth.
- Avoid drying with heat: Avoid using a hairdryer or placing the brushes near a direct source of heat to speed up the drying process. Excessive heat can damage the bristles and affect their performance. Let the brushes air-dry naturally to preserve their quality.
- Protect the bristles: To maintain the shape and protect the bristles, consider using a brush guard or wrapping a piece of tissue around the bristles while they dry. This helps to keep the bristles in their original shape and prevents them from getting misshapen or splayed out.
- Store brushes in a clean and dry environment: Once your brushes are completely dry, store them in a clean and dry environment. Avoid storing them in an airtight container or plastic bag, as this can lead to the growth of mold or mildew. Instead, opt for a brush holder or stand that allows for proper ventilation.
By following these drying and storing techniques, you’ll ensure that your face paint brushes maintain their shape, cleanliness, and performance. Proper drying and storage help to prolong the lifespan of your brushes and reduce the risk of bacterial growth. Now that you’ve learned how to clean, condition, and store your brushes, let’s explore some additional tips for brush maintenance.
Additional Tips for Brush Maintenance
Proper maintenance of your face paint brushes goes beyond just cleaning and conditioning. Here are some additional tips to help you maintain the quality and performance of your brushes:
- Avoid using harsh chemicals: When cleaning your brushes, avoid using harsh chemicals or solvents that can damage the bristles. Stick to mild soap or brush cleaner solutions specifically designed for face paint brushes.
- Clean brushes between color changes: If you’re using different colors during a face painting session, it’s important to clean your brushes between color changes. This prevents color contamination and ensures the integrity of your designs.
- Use separate brushes for different mediums: If you work with different mediums like face paint, body paint, or makeup, consider using separate brushes for each medium. This helps prevent cross-contamination and maintains the quality of your brushes.
- Regularly trim bristles: Over time, the bristles of your brushes may become frayed or uneven. To maintain a sharp and precise application, regularly trim the bristles with a small pair of scissors. Be careful not to cut too much, as it can affect the performance of the brush.
- Replace brushes when necessary: Despite regular maintenance, face paint brushes will eventually wear out. If you notice that a brush is shedding excessively, has bristles that are permanently misshapen, or has become stiff and unusable, it’s time to replace it.
- Store brushes in an upright position: When not in use, store your brushes in an upright position to protect the bristles and maintain their shape. This helps to prevent bending or crushing of the bristles.
- Regularly deep clean your brushes: While regular cleaning between clients is important, it’s also essential to deep clean your brushes on a regular basis. Deep cleaning involves leaving the brushes to soak in mild soap or brush cleaner solution, followed by rinsing and drying. This helps to remove any stubborn residue or buildup that may not be removed through regular cleaning.
By incorporating these additional tips into your brush maintenance routine, you’ll ensure that your face paint brushes remain in excellent condition for a long time. Proper maintenance not only enhances the longevity of your brushes, but also ensures the quality of your artwork. Now that you’re equipped with this knowledge, you’re ready to keep your brushes clean and ready for your next artistic endeavor!
Remember, taking care of your brushes is essential for maintaining their quality and performance. With proper cleaning, conditioning, and storage, your face paint brushes will continue to bring joy and creativity to your face painting experiences.
Read more: How To Clean Foam Paint Brushes
Conclusion
Keeping your face paint brushes clean and well-maintained is crucial for both the quality of your artwork and the safety and satisfaction of your clients. Regular cleaning helps to preserve the vibrancy of the colors, prevent bacterial growth, enhance application precision, and prolong the lifespan of your brushes. With the right supplies, proper cleaning techniques, and careful brush maintenance, you can ensure that your face paint brushes are always in excellent condition.
Remember to start by preparing your brushes, removing excess paint, and rinsing them thoroughly. Then, move on to the washing process, using mild soap or brush cleaner solutions to clean the bristles. Conditioning the brushes helps to keep them soft, pliable, and in optimal condition. Finally, make sure to allow the brushes to dry properly and store them in a clean and dry environment.
Additionally, following the additional tips for brush maintenance, such as avoiding harsh chemicals, using separate brushes for different mediums, trimming bristles, and deep cleaning your brushes, will further contribute to the longevity and performance of your brushes.
By taking the time to care for your brushes, you’ll not only create stunning face painting designs, but also ensure the safety and satisfaction of your clients. Clean and well-maintained brushes are essential tools for every face paint artist, allowing you to create beautiful and memorable experiences for both yourself and those you paint.
So, embrace the process of cleaning and maintaining your face paint brushes. With a little effort and attention, you’ll enjoy the benefits of brushes that perform at their best, lasting you for many exciting face painting adventures to come.
Frequently Asked Questions about How To Clean Face Paint Brushes Between Clients
Was this page helpful?
At Storables.com, we guarantee accurate and reliable information. Our content, validated by Expert Board Contributors, is crafted following stringent Editorial Policies. We're committed to providing you with well-researched, expert-backed insights for all your informational needs.


0 thoughts on “How To Clean Face Paint Brushes Between Clients”