Home>Storage Ideas>Bathroom Storage>Bathroom Layout Ideas: The Best Layouts For Bathrooms
Bathroom Storage
Bathroom Layout Ideas: The Best Layouts For Bathrooms
Modified: October 20, 2024
Discover the best bathroom layout ideas for maximizing space and storage. Transform your bathroom with these practical and stylish bathroom storage solutions.
(Many of the links in this article redirect to a specific reviewed product. Your purchase of these products through affiliate links helps to generate commission for Storables.com, at no extra cost. Learn more)
Introduction
Welcome to our guide on bathroom layout ideas! The layout of a bathroom plays a crucial role in maximizing functionality and optimizing the use of space. Whether you have a small powder room or a spacious master bathroom, choosing the right layout can make a significant difference in both the aesthetics and practicality of your space.
In this article, we will explore a variety of bathroom layout ideas that are suitable for different sizes and shapes of bathrooms. From single-wall layouts to open plan designs, we will provide you with insights and inspiration to create a bathroom that meets your needs and reflects your personal style.
When designing your bathroom layout, it’s important to consider factors such as the available space, plumbing requirements, and your specific needs and preferences. Whether you prioritize storage, accessibility, or creating a spa-like retreat, there is a layout that can fulfill your requirements.
Before diving into specific bathroom layout ideas, it’s worth mentioning that proper planning and organization are essential. Take accurate measurements of your bathroom space and note the locations of existing plumbing fixtures. This will help you make informed decisions and avoid costly mistakes during the remodeling or renovation process.
Additionally, keep in mind the traffic flow and ease of use when choosing a layout. The arrangement of fixtures and storage should be intuitive and convenient for everyday use. Now, let’s explore some of the best bathroom layout ideas that will transform your space into a functional and aesthetically pleasing oasis.
Key Takeaways:
- Transform your bathroom into a functional and visually pleasing oasis with the right layout, smart storage solutions, and thoughtful design choices. Whether it’s a compact space or a spacious retreat, the possibilities are endless.
- Prioritize accessibility, safety, and comfort in your bathroom layout to create an inclusive and user-friendly space for individuals with mobility challenges or disabilities. Incorporate features that promote ease of use and independence.
Single-Wall Layout
The single-wall layout, also known as the one-wall layout, is an ideal option for small bathrooms or narrow spaces. As the name suggests, all the fixtures, including the sink, toilet, and shower or bathtub, are placed along a single wall.
This layout is straightforward and efficient, making the most of limited space. It is commonly found in studio apartments or compact urban homes where space is at a premium. The single-wall layout offers a clean and minimalist look, creating an open and airy feel.
When designing a single-wall bathroom, consider the arrangement of the fixtures. Placing the sink in the center with the toilet and shower or bathtub on either side can create a balanced and visually appealing layout. Installing a narrow vanity or wall-mounted sink can help save space and maintain a streamlined look.
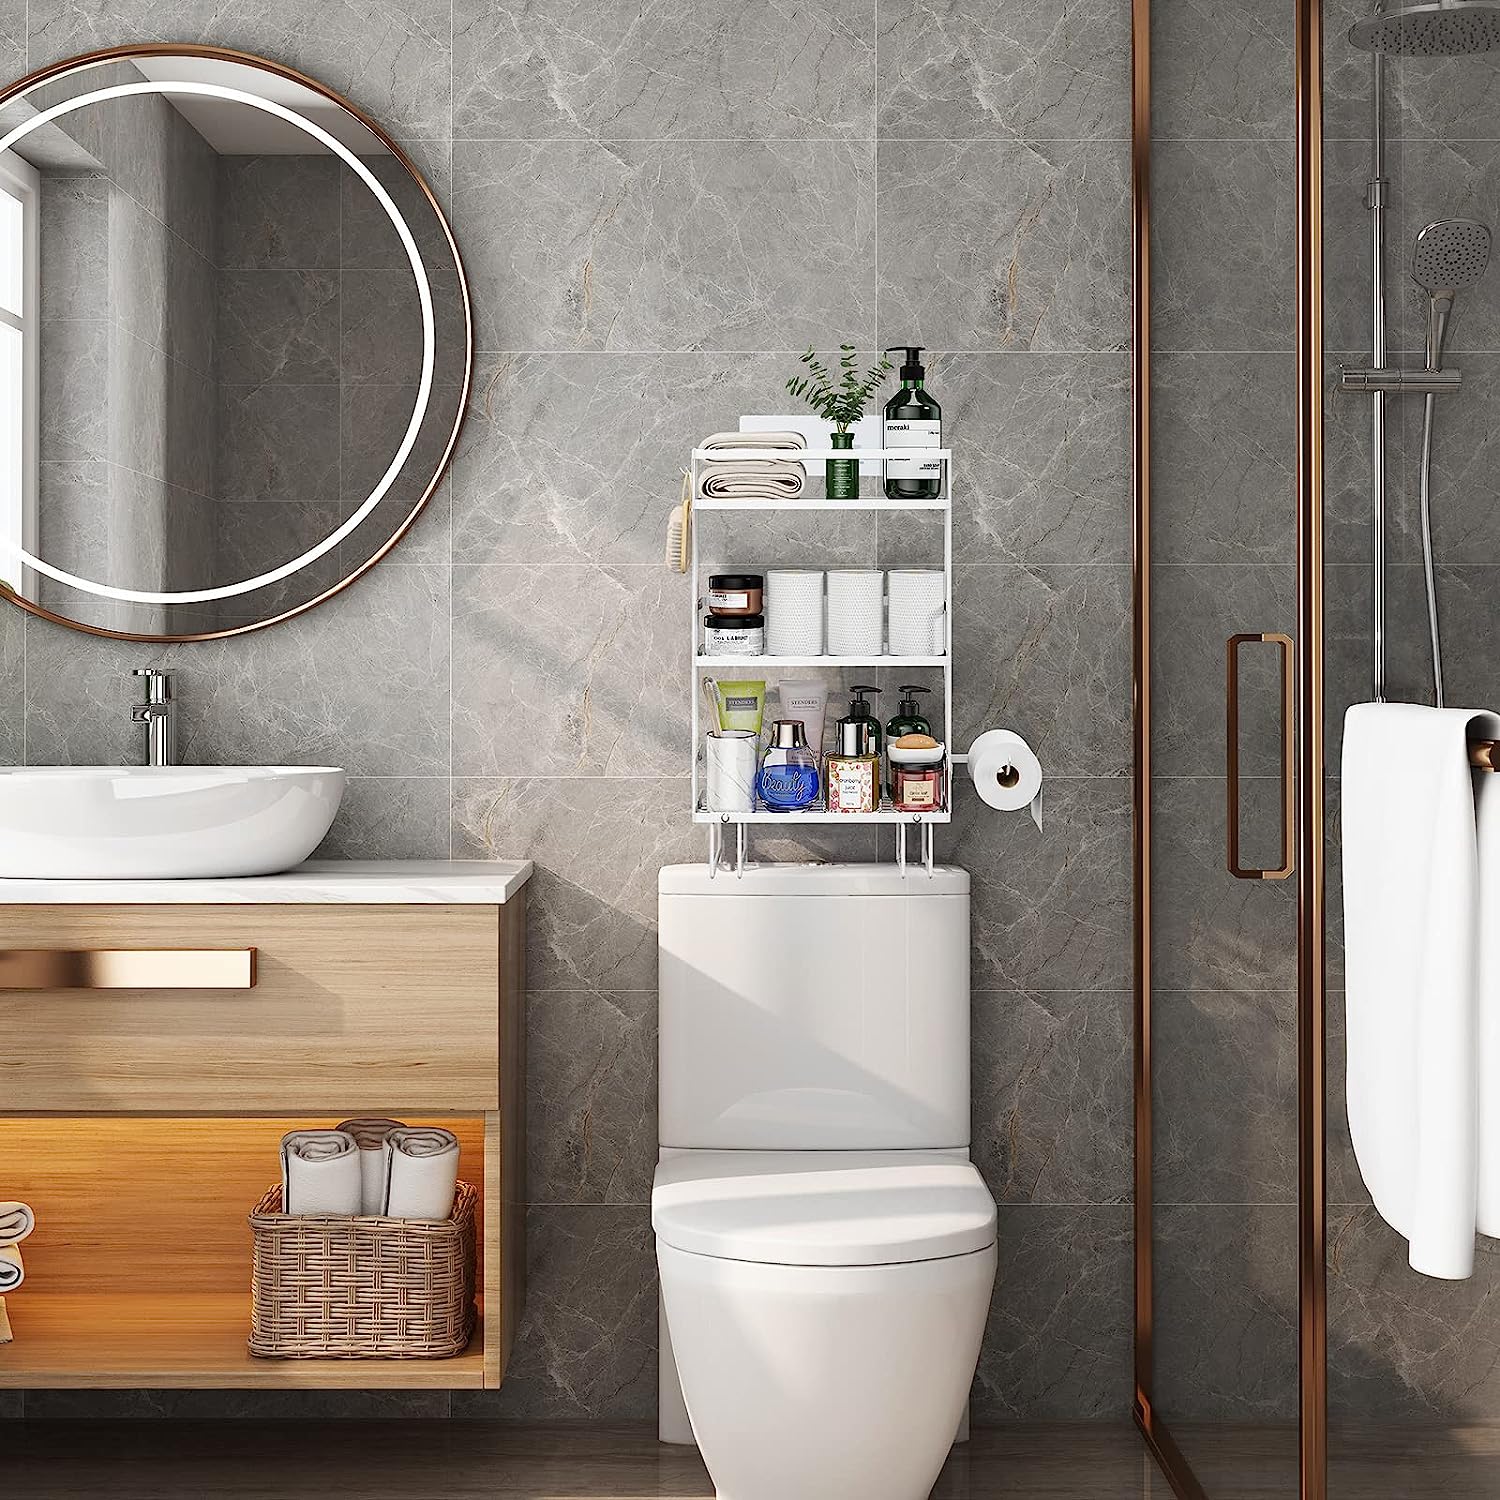
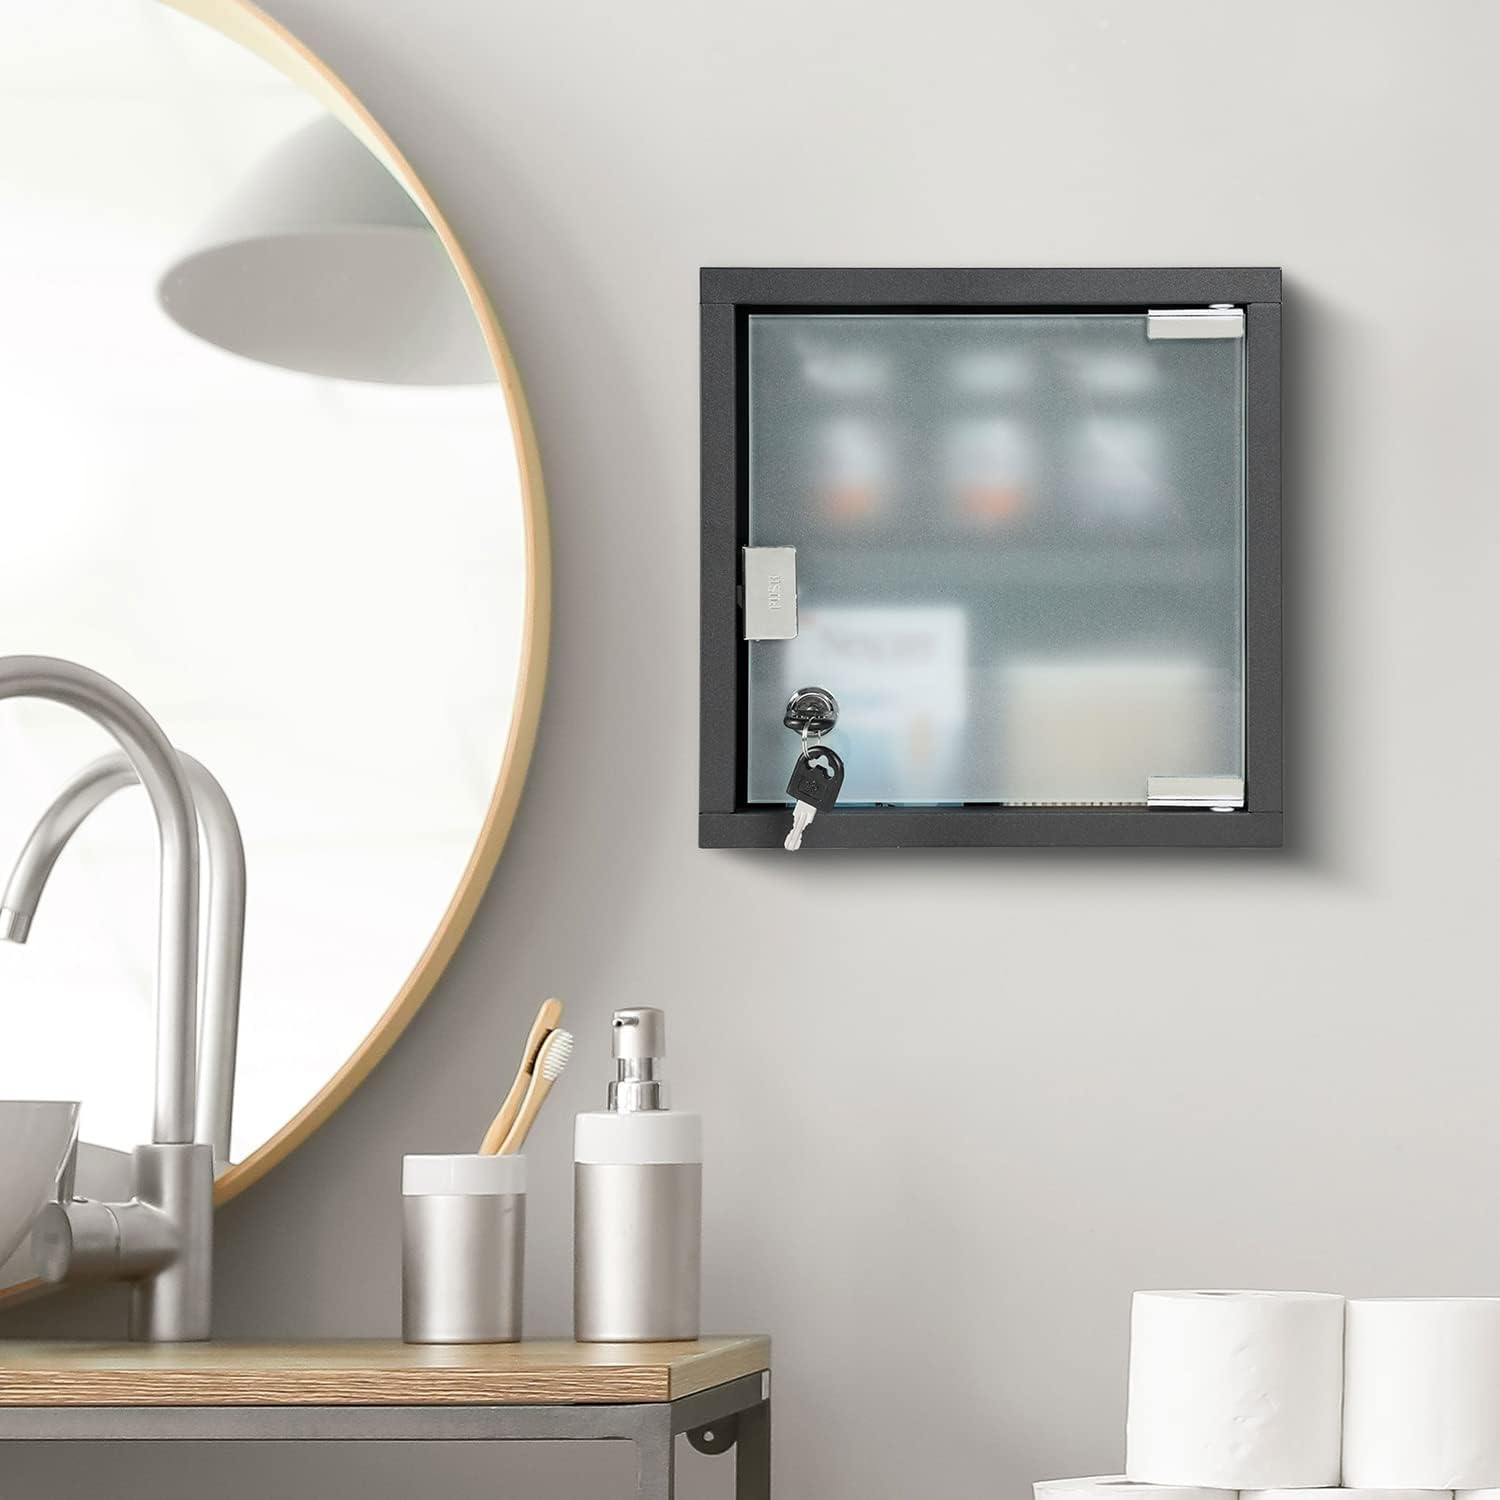
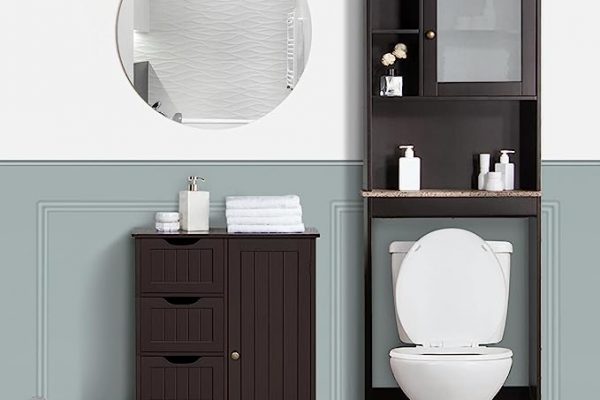
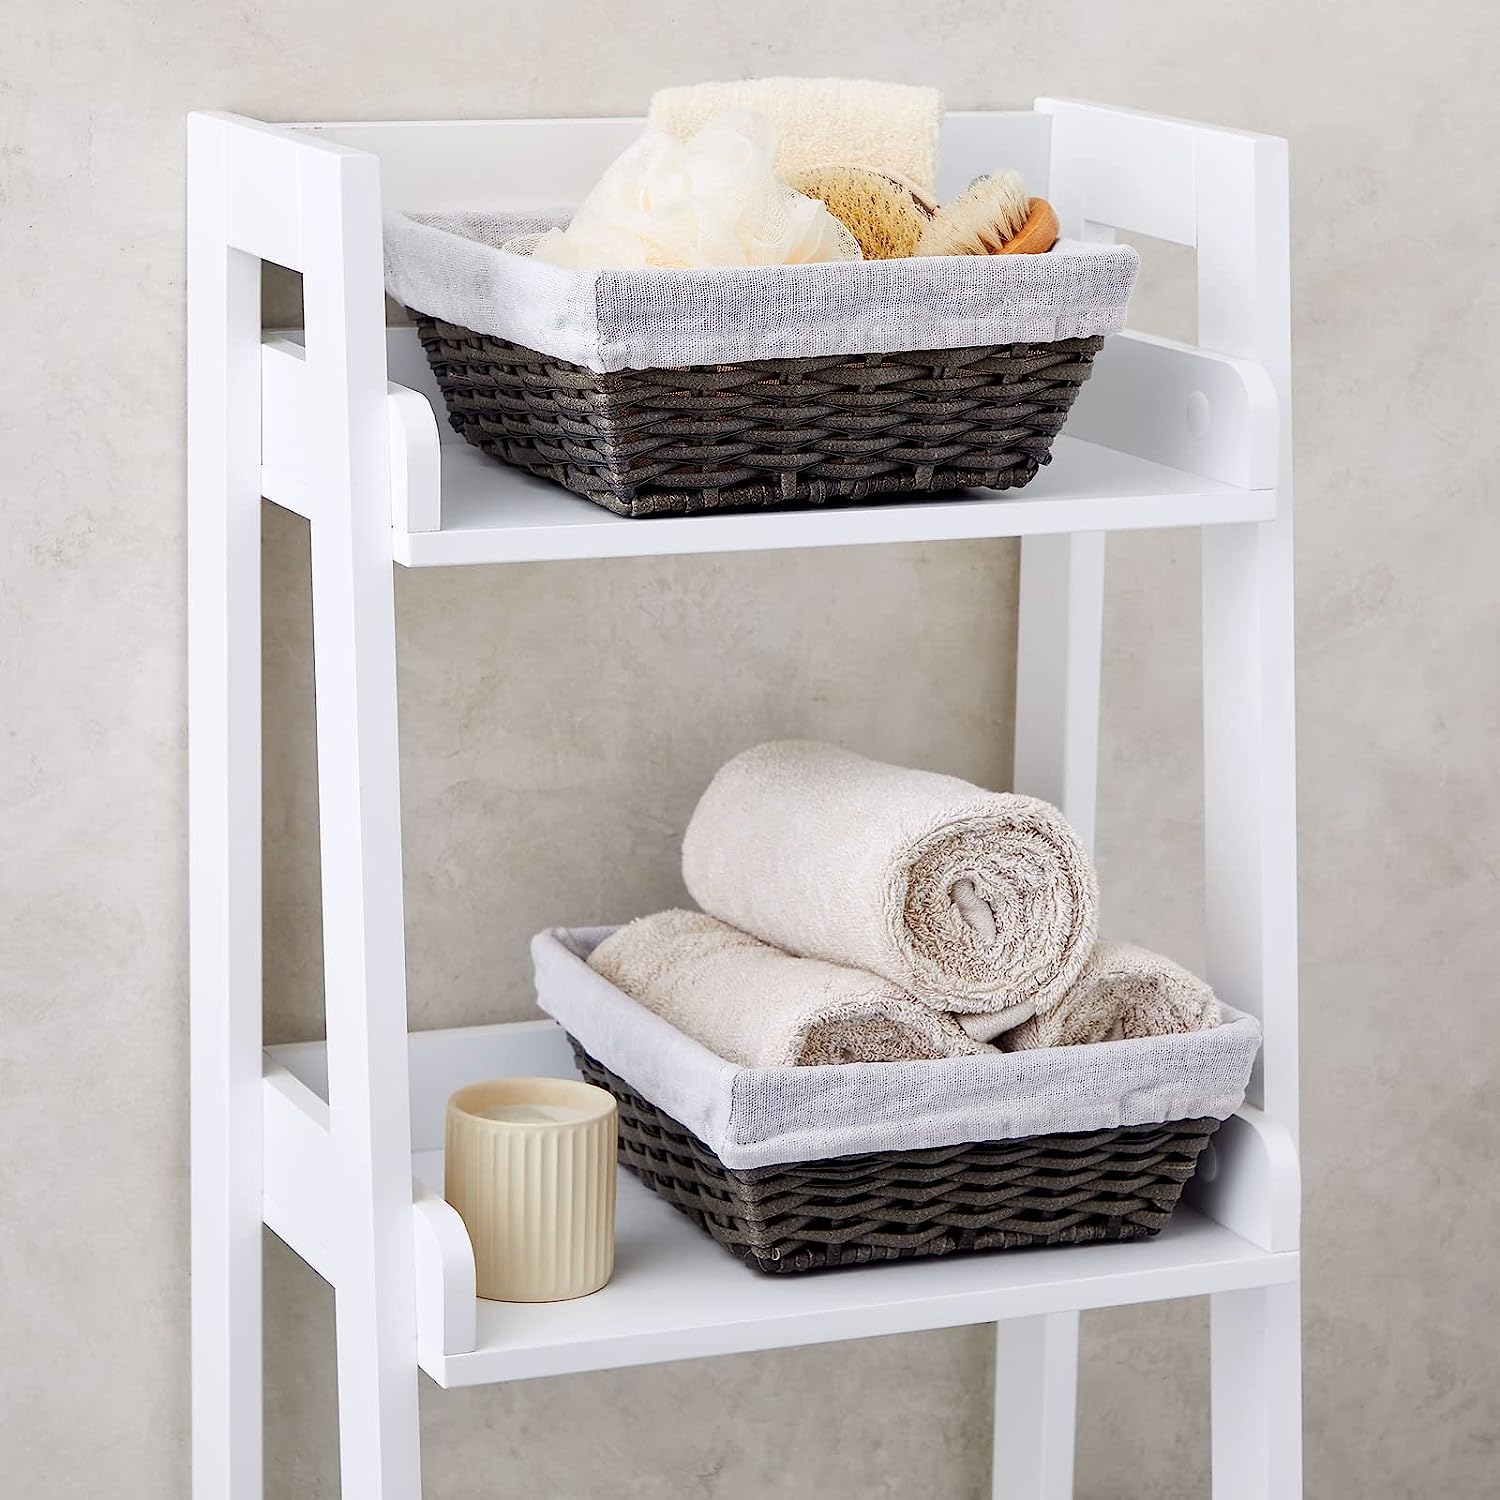
To maximize storage in a single-wall layout, consider adding wall-mounted cabinets or shelves above the toilet or sink. These can provide extra space to store toiletries, towels, and other bathroom essentials. Additionally, utilizing vertical space by installing tall cabinets or shelving units can optimize storage capabilities.
One important consideration with a single-wall layout is plumbing placement. Since all the fixtures are located along one wall, the plumbing can be concealed within the wall or exposed below the sink. Consulting with a professional plumber will ensure that the plumbing is properly installed and meets building codes.
In terms of design and style, a single-wall layout offers flexibility. You can opt for a cohesive look by using matching fixtures and accessories, or mix and match different materials and finishes for added visual interest. Additionally, incorporating proper lighting, such as wall sconces or recessed lights, can enhance the functionality and ambiance of the space.
Overall, a single-wall layout is a practical choice for small bathrooms or narrow spaces. It maximizes the use of limited square footage while maintaining a clean and minimalist aesthetic. By carefully planning the arrangement of fixtures and incorporating smart storage solutions, you can create a functional and visually pleasing bathroom.
Galley Layout
The galley layout, inspired by the design of a ship’s galley kitchen, is a popular choice for bathrooms that have a long and narrow footprint. This layout optimizes space by placing fixtures and storage along two parallel walls.
The galley layout is ideal for bathrooms that are used by multiple people simultaneously or in households with shared bathrooms. It provides a clear division between wet and dry areas, making it easier for multiple users to navigate and use the bathroom efficiently.
When designing a galley bathroom, it’s important to consider the flow and functionality of the space. The sink and vanity are typically placed on one side, while the shower or bathtub is placed on the opposite side. The toilet is often sandwiched between the two, offering privacy and separation.
To maximize storage in a galley bathroom, utilize the vertical space by adding tall cabinets or shelving units along one of the walls. This can provide ample storage for towels, toiletries, and other bathroom essentials. Additionally, using wall-mounted fixtures such as towel racks and hooks can help save space and keep the area organized.
In terms of design, the galley layout offers flexibility and can accommodate various styles. Consider using a cohesive color palette and materials to create a visually harmonious space. Incorporating mirrors can help create an illusion of more space and reflect light, making the bathroom appear brighter and airier.
When working with a galley layout, it’s essential to ensure proper lighting. Since the space can be narrow, adequate lighting is crucial for functionality and ambiance. Install task lighting above the sink and vanity area, and consider adding recessed or track lighting along the length of the ceiling to evenly illuminate the space.
One consideration with a galley layout is the ventilation and air circulation. Since there are fixtures on both sides, it’s important to ensure proper airflow to prevent moisture buildup and maintain a healthy environment. Installing an exhaust fan or incorporating window openings can help promote ventilation.
Overall, the galley layout is a practical and efficient solution for long and narrow bathrooms. It provides clear separation between wet and dry areas, maximizes space utilization, and offers ample storage opportunities. With careful planning and thoughtful design choices, you can create a functional and stylish galley bathroom.
L-shaped Layout
The L-shaped bathroom layout is a versatile option that works well for both small and large bathrooms. This layout utilizes two adjacent walls, forming an L-shape, to accommodate fixtures and create an efficient and visually appealing space.
One of the advantages of an L-shaped layout is that it allows for separate zones within the bathroom. This makes it easier to divide the space into functional areas, such as a bathing area and a vanity area, or a shower area and a toilet area.
When designing an L-shaped bathroom, it’s important to consider the placement of fixtures. The larger part of the L-shape can house the bathtub or shower, while the smaller part can accommodate the sink and vanity. This arrangement creates a clear distinction between the wet and dry areas of the bathroom.
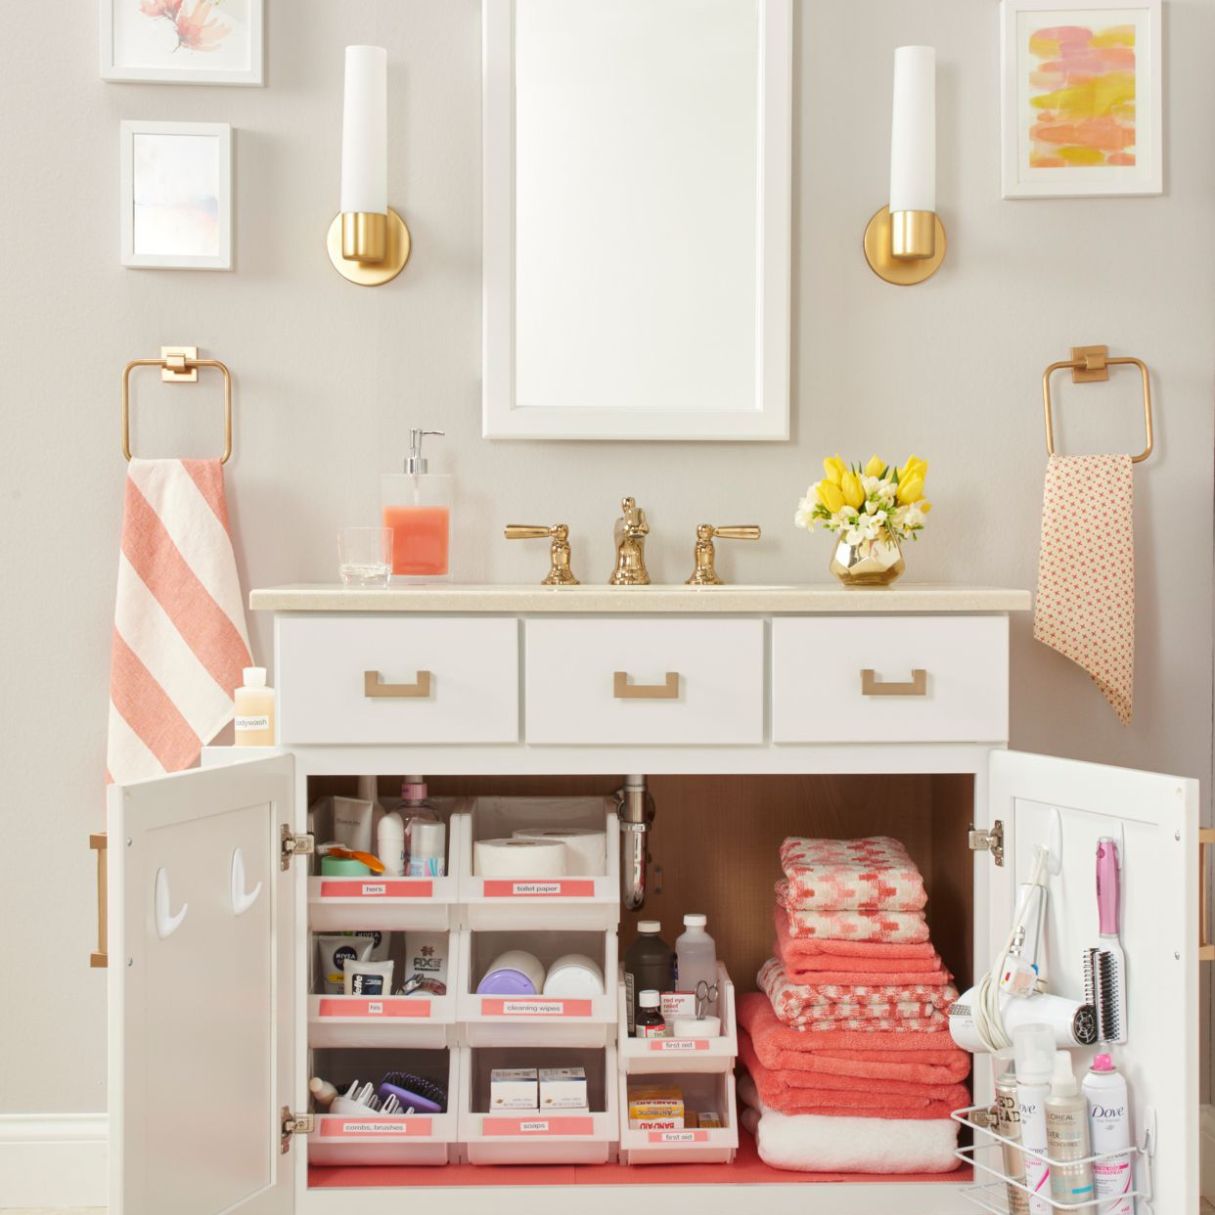
In terms of storage, the L-shaped layout provides ample opportunities. You can install a vanity with built-in cabinets and drawers along the longer wall, offering convenient storage for toiletries and other bathroom essentials. Additionally, utilizing vertical space by adding wall-mounted shelves or cabinets can further maximize storage capabilities.
Aesthetically, the L-shaped layout allows for creativity in design. You can choose to have a cohesive look by using matching fixtures and accessories, or mix and match different materials and finishes for added visual interest. Incorporating accent tiles or a statement mirror can also help elevate the overall aesthetic of the bathroom.
Lighting is essential in an L-shaped bathroom to ensure functionality and enhance the ambiance. Install task lighting above the vanity area for grooming purposes. Consider adding recessed lights or wall sconces to provide even and adequate lighting throughout the space. Natural lighting can be maximized by incorporating windows or skylights, if possible.
One consideration with an L-shaped layout is maintaining proper flow and ease of movement within the space. Ensure there is enough clearance between fixtures and that the door swings open without obstruction. This will enhance the functionality of the bathroom and create a comfortable user experience.
Overall, the L-shaped layout offers practicality and flexibility in bathroom design. It allows for separate functional zones, ample storage options, and various design possibilities. With careful planning and attention to detail, you can create an L-shaped bathroom that is both visually appealing and functional.
U-shaped Layout
The U-shaped bathroom layout is a spacious and efficient design that works well for larger bathrooms. As the name suggests, this layout utilizes three walls to create a U-shape, providing ample space for fixtures and storage.
The U-shaped layout offers a sense of openness and accessibility, making it ideal for families or households with multiple users. The arrangement of fixtures allows for efficient use of space while providing clear divisions between different areas of the bathroom.
In a U-shaped bathroom, the sink and vanity are typically placed on one side, with the toilet and bidet on another side, and the shower or bathtub on the third side. This arrangement creates a flow that promotes easy movement within the space.
One of the advantages of a U-shaped layout is the potential for abundant storage. With three walls available, you can incorporate built-in cabinets, floating shelves, or a combination of both to maximize storage capacity. This allows you to keep your bathroom organized and free from clutter.
In terms of design, the U-shaped layout offers flexibility. You can create a cohesive look by using matching fixtures and accessories or experiment with different materials and finishes to add visual interest. Consider incorporating accent tiles or a statement mirror to elevate the overall aesthetic of the bathroom.
Lighting is crucial in a U-shaped bathroom to ensure functionality and create the right ambiance. Install task lighting above the vanity area for grooming purposes. Consider adding recessed lights or pendant lights to provide even and adequate lighting throughout the space. Natural lighting can be maximized by incorporating larger windows or skylights, if feasible.
One consideration with a U-shaped layout is ensuring proper ventilation. With fixtures on all three walls, it’s important to promote airflow and prevent moisture buildup. Installing an exhaust fan or incorporating window openings can help maintain a healthy and fresh bathroom environment.
When designing a U-shaped bathroom, take into account the overall size and scale of the space. Proper measurement and planning are essential to ensure that the layout fits comfortably within the dimensions of the room without feeling cramped or overwhelming.
Overall, the U-shaped layout offers a versatile and functional design option for larger bathrooms. It provides ample space for fixtures and storage while allowing for clear divisions between different areas of the bathroom. With careful planning and attention to detail, you can create a U-shaped bathroom that is both aesthetically pleasing and highly practical.
Read more: Cryptic Corners Solving Awkward Room Layouts
Peninsula Layout
The peninsula bathroom layout is a unique and stylish design that combines elements of both the single-wall and U-shaped layouts. It features a vanity or countertop that extends from one wall, creating a peninsula-like shape and offering additional space for fixtures and storage.
This layout is particularly suitable for larger bathrooms with an open floor plan or where there is a desire for a designated vanity area. The peninsula serves as a focal point and creates a distinct separation between the vanity space and the rest of the bathroom.
The peninsula can house a sink, vanity, and additional storage like cabinets or shelves. This allows for increased counter space, providing ample room for personal care items and grooming accessories. It also offers a dedicated area for getting ready, making it convenient for individuals or couples who need to use the bathroom simultaneously.
In terms of design, the peninsula layout offers versatility. You can choose to have a seamless, flowing countertop that matches the rest of the bathroom’s aesthetic, or opt for a contrasting material or finish to create visual interest. Incorporating pendant lights or task lighting above the peninsula can enhance the functionality and ambiance of the vanity space.
Storage is an important consideration in the peninsula layout. Utilize the space beneath the countertop by incorporating drawers or cabinets to keep toiletries and other essentials organized and easily accessible. Additionally, you can install wall-mounted cabinets or shelves above the peninsula to maximize vertical storage.
The placement of other fixtures in the bathroom depends on the overall space and plumbing requirements. The toilet and shower or bathtub can be located on one wall, opposite the peninsula, to create a balanced and harmonious layout. Ensure there is enough clearance and flow between the different areas to maintain functionality and ease of movement.
One of the key advantages of the peninsula layout is the ability to incorporate seating. If space allows, consider adding a stool or a small chair near the peninsula to provide a comfortable spot for applying makeup or grooming. This adds a luxurious touch and transforms the bathroom into a personal sanctuary.
Overall, the peninsula layout offers a visually appealing and functional design option for larger bathrooms. It creates a focal point with the vanity peninsula, provides additional counter and storage space, and allows for a dedicated area for personal care activities. By combining style and functionality, the peninsula layout can elevate the overall design of your bathroom.
Consider the size and shape of your bathroom when choosing a layout. A compact bathroom may benefit from a simple and space-saving layout, while a larger bathroom could accommodate a more luxurious and spacious design.
Corner Layout
The corner bathroom layout is a clever and space-saving design that utilizes the corners of the room to accommodate fixtures and storage. This layout is particularly suitable for small or compact bathrooms, where every inch of space matters.
In a corner layout, the fixtures are strategically placed in the corners of the room, creating an efficient use of space. The sink and vanity can be situated in one corner, while the shower or bathtub can be placed in another corner. The toilet can be positioned adjacent to the vanity or shower.
One of the advantages of a corner layout is its ability to maximize floor space. By utilizing the corners, the central area of the bathroom remains open, making the room feel more spacious and less cluttered. This is especially beneficial in small bathrooms where space is limited.
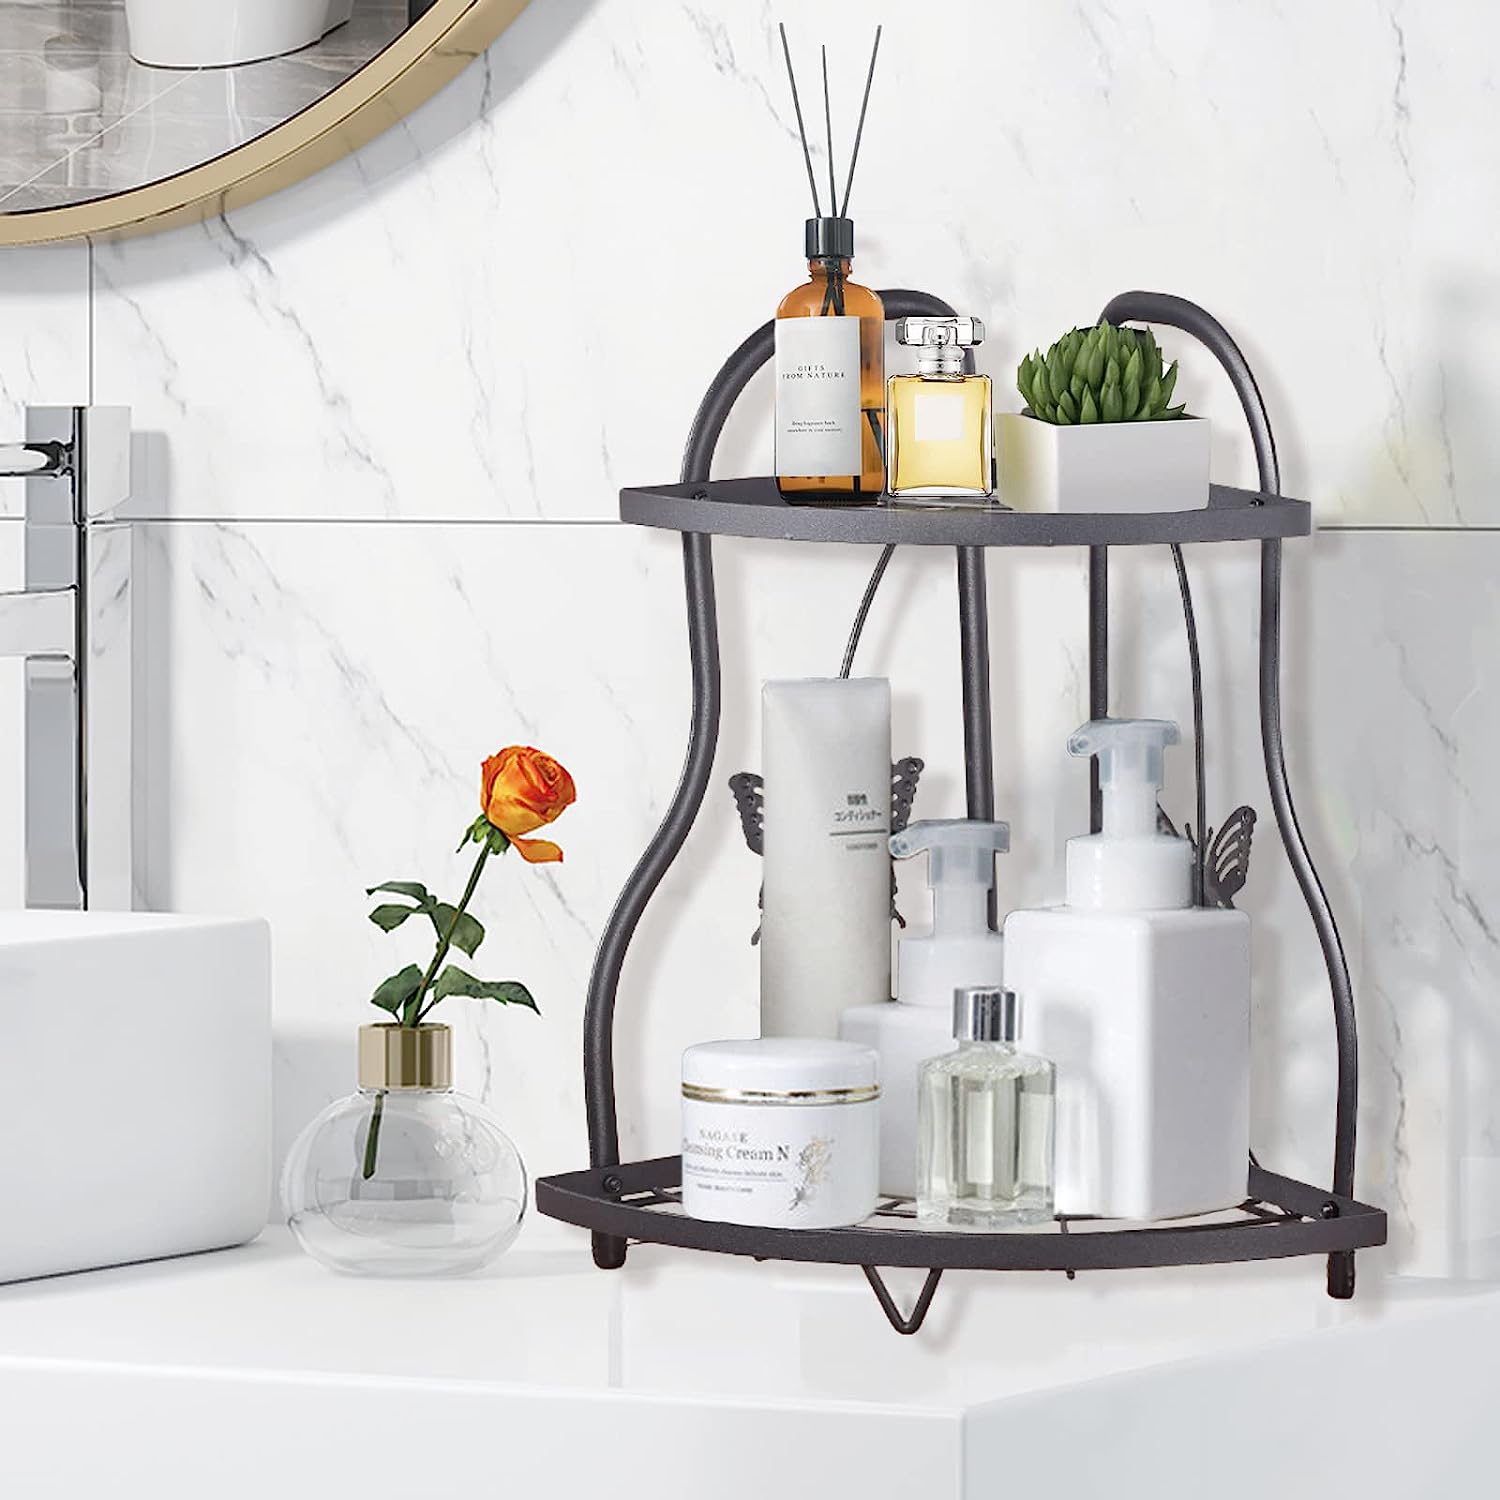
Storage is a crucial consideration in a corner layout. To make the most of the available space, consider installing corner shelves, wall-mounted cabinets, or vanity units with built-in storage. These additions can provide the necessary space to store toiletries, towels, and other bathroom essentials without encroaching on the central area of the room.
Aesthetically, the corner layout offers versatility. You can choose to have a seamless and cohesive look, using matching fixtures and accessories, or mix and match materials and finishes for added visual interest. Consider incorporating mirrors or lighting fixtures to enhance the brightness and ambiance of the space.
Lighting is essential in a corner bathroom to ensure adequate illumination. Install task lighting above the vanity area for grooming purposes. Consider adding recessed or track lighting to evenly light the room. Natural lighting can be optimized by incorporating windows or skylights in the corner walls, if possible.
One consideration with a corner layout is the plumbing configuration. Since the fixtures are placed against the corner walls, careful planning is required to ensure convenient access to plumbing lines and proper installation. Consult with a professional plumber to ensure that the plumbing meets building codes and functions effectively.
The corner layout also offers an opportunity to create a unique design feature. Consider incorporating a corner shower enclosure with glass doors or a freestanding bathtub in the corner. These design elements can add a touch of elegance and create a visually striking focal point in the bathroom.
Overall, the corner layout is an excellent choice for small bathrooms or spaces where efficient use of space is essential. By strategically placing fixtures in the corners and optimizing storage options, you can create a functional and visually appealing bathroom. With proper planning and attention to detail, the corner layout can transform your bathroom into a stylish and efficient space.
Open Plan Layout
The open plan bathroom layout is a modern and spacious design that brings a sense of openness and connectivity to the space. This layout blurs the traditional boundaries between different bathroom areas, creating a seamless and integrated environment.
In an open plan layout, the different functional areas of the bathroom, such as the vanity, shower, and bathtub, are not separated by walls or partitions. Instead, they are all placed within the same open space, often with the use of glass enclosures or minimalistic dividers.
One of the primary advantages of an open plan layout is the feeling of spaciousness it creates. By eliminating walls, the bathroom appears larger and more airy, making it ideal for larger bathrooms or those that have access to natural light.
Design and aesthetics play a crucial role in an open plan bathroom. With the entire space visible, the design elements need to flow seamlessly. Consider using consistent materials, colors, and patterns to create a cohesive and visually pleasing environment. Incorporate statement fixtures, such as a freestanding bathtub or a unique vanity, to add focal points to the space.
Storage is an essential consideration in an open plan bathroom, as there are no separate areas to hide personal items. Explore creative storage solutions, such as recessed shelving, floating vanities with built-in storage, or wall-mounted cabinets, to keep essentials organized and clutter-free. Concealment techniques, such as using frosted glass or textured screens, can also provide a sense of privacy for certain areas.
Lighting is crucial in an open plan bathroom to create a pleasant atmosphere and highlight specific areas. Use a combination of ambient, task, and accent lighting to provide an overall balanced illumination. Incorporate dimmers to adjust the intensity of the lighting based on the desired mood or time of day.
Consider the layout and placement of fixtures in the open plan bathroom. You can position the vanity area near a natural light source to allow for a comfortable and well-lit grooming space. Place the shower or bathtub in a spot where the water splashes won’t interfere with other areas. Ensure that there is proper ventilation to maintain a fresh and dry environment.
It’s worth noting that privacy may be a concern in an open plan bathroom, especially when it comes to sharing the space with other individuals. To address this, options such as frosted or privacy glass, motion-sensor activated dividers, or separate enclosed toilets can provide a level of privacy while maintaining the open and spacious feel.
The open plan layout is a contemporary and visually appealing option that creates a sense of expansiveness in the bathroom. With careful planning, strategic placement of fixtures, and attention to design elements, you can transform your bathroom into a functional and stylish open plan space.
Compact Layout
The compact bathroom layout is specifically designed for small spaces where maximizing functionality and efficiency are of utmost importance. This layout focuses on utilizing every inch of space effectively, ensuring that all essential fixtures and storage are incorporated without compromising on comfort.
In a compact layout, each fixture is strategically placed to optimize space and create a cohesive design. The sink and vanity may be combined into a single unit, allowing for compact storage solutions underneath. A corner shower or a compact bathtub can be installed, making efficient use of limited square footage.
When designing a compact bathroom, it’s essential to utilize every available surface. Consider incorporating wall-mounted cabinets, shelves, or niches to maximize storage space without encroaching on floor space. Utilizing vertical space can help keep the countertop clear and give the illusion of a larger area.
Lighting plays a crucial role in a compact bathroom, as it can create the illusion of more space. Incorporate adequate lighting above the mirror to provide task lighting for grooming activities. Utilize recessed or track lighting to evenly illuminate the space and avoid shadows. Natural light should be maximized by using sheer curtains or frosted glass to allow privacy while still allowing light to enter the room.
Design elements in a compact bathroom should aim for simplicity and minimalism. Choose light colors and materials that reflect light and create a sense of openness. Opt for a streamlined and clutter-free design, avoiding unnecessary decorations or bulky fixtures that can overpower the space.
To enhance the functionality of a compact bathroom, consider installing space-saving features. Compact toilets with concealed cisterns, wall-mounted faucets, and sliding or pocket doors can all optimize space usage. Additionally, incorporating multipurpose fixtures, such as combination shower and bathtub units or vanity cabinets with integrated storage, can provide additional functionality in a limited area.
Efficient ventilation is essential in a compact bathroom to prevent the accumulation of moisture and maintain a healthy environment. Consider installing an extractor fan or ensuring adequate window openings to promote airflow and prevent mold or mildew growth.
When working with a compact layout, it’s crucial to prioritize functionality and comfort. Carefully plan the arrangement of fixtures to ensure ease of movement and accessibility. Avoid overcrowding the space and allow for sufficient room to navigate comfortably.
The compact layout offers a practical and efficient solution for small bathrooms. By incorporating smart design choices, maximizing storage options, and utilizing every inch of space, you can create a functional and stylish compact bathroom that maximizes comfort and convenience.
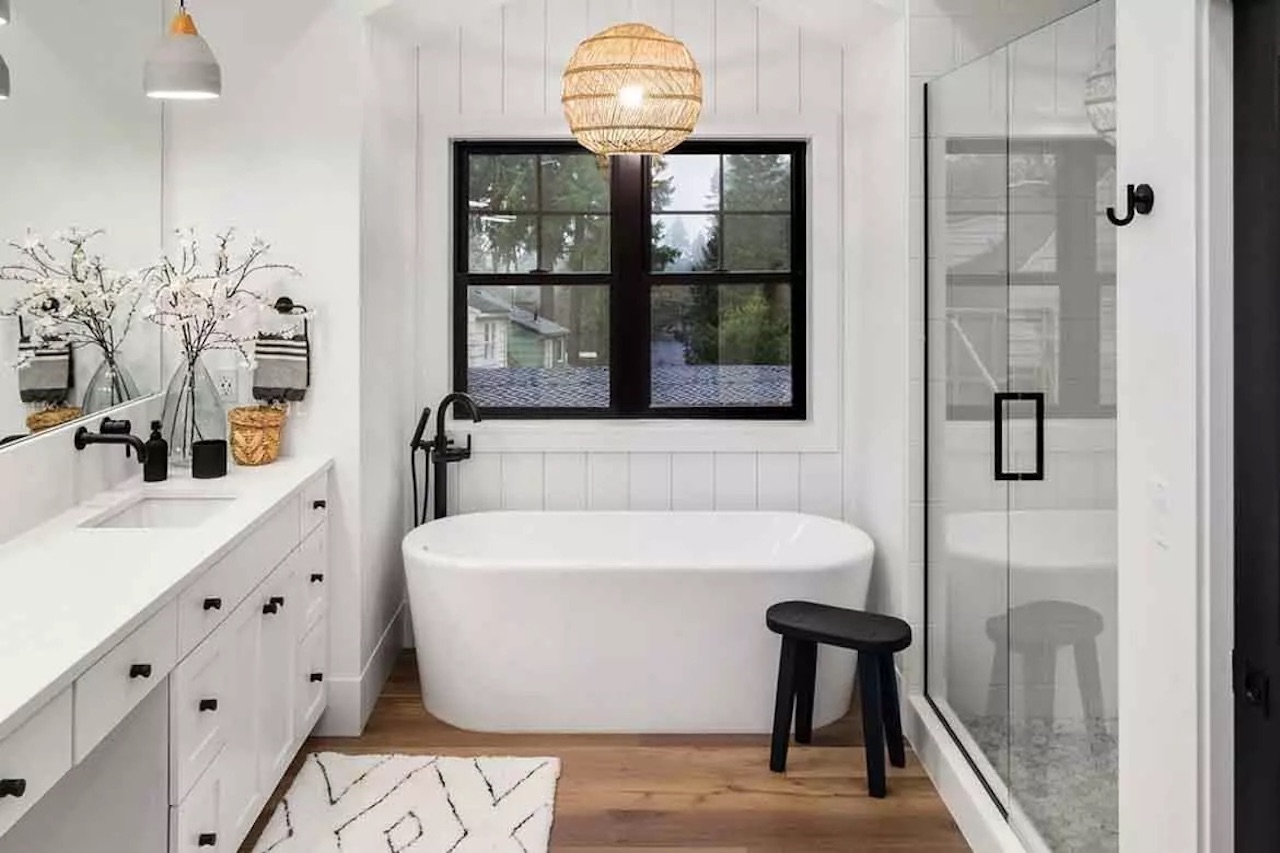
Spa-like Layout
The spa-like bathroom layout is designed to create a tranquil and relaxing environment reminiscent of a luxurious spa retreat. This layout focuses on incorporating elements that promote serenity, comfort, and self-care, allowing you to create a serene sanctuary within your own home.
In a spa-like layout, the key is to prioritize a sense of openness and tranquility. This can be achieved by creating an uncluttered space with clean lines and minimalistic design. Embrace a neutral color palette with soft, soothing tones to promote a calming ambiance.
When designing a spa-like bathroom, consider incorporating a freestanding soaking tub as the centerpiece. This provides a focal point in the room and creates a sense of relaxation. Pair the tub with a serene backdrop, such as a large window with a view or a wall covered in natural stone or mosaic tiles.
Another essential element of a spa-like layout is a spacious shower area. Install a large, walk-in shower with multiple showerheads or a rainfall showerhead to mimic the experience of a luxurious spa. Consider adding a built-in bench or seating area for added comfort and relaxation.
Incorporating natural elements is a key aspect of a spa-like layout. Use materials such as natural stone, bamboo, or wood to create a connection with nature. Integrate plants or a small indoor garden to bring a sense of tranquility and serenity to the space.
Lighting is crucial in a spa-like bathroom to create a serene atmosphere. Incorporate soft, diffused lighting through the use of dimmers, wall sconces, or candles to create a relaxing and intimate ambiance. Consider adding a skylight or large window to bring in natural light and connect with the outdoor environment.
Storage in a spa-like layout should be kept minimalistic and hidden. Opt for built-in cabinetry or vanities with streamlined designs to maintain an uncluttered and peaceful environment. Utilize hidden storage solutions or discreet niches to keep essentials organized and out of sight.
To enhance the spa-like experience, incorporate additional features such as heated floors, towel warmers, and high-quality bath linens. These elements add a touch of luxury and comfort, making your bathroom feel like a true spa retreat.
Finally, consider incorporating soothing aromas and music into your spa-like bathroom. Use scented candles, essential oil diffusers, or bath products with calming scents to create an immersive sensory experience. Play soft, calming music to further enhance the relaxing ambiance.
The spa-like bathroom layout offers a haven of tranquility and rejuvenation within your own home. By incorporating elements of nature, serene design, and luxurious features, you can create a spa-like oasis where you can escape the stress of daily life and indulge in self-care.
Accessibility Layout
The accessibility bathroom layout is designed to prioritize the needs of individuals with mobility challenges or disabilities. This layout focuses on creating a safe, functional, and barrier-free environment, ensuring that the bathroom is accessible and easy to use for everyone.
When designing an accessibility bathroom, the first consideration is ample space for maneuverability. The layout should allow for easy navigation with mobility aids, such as wheelchairs or walkers. Ensure that there is enough clearance around fixtures, doors, and pathways to accommodate the necessary turning radius.
One of the key features of an accessibility layout is a barrier-free shower. Install a large, curbless shower that allows for easy entry and exit, eliminating the need to step over a threshold. Include grab bars and a sturdy shower seat to provide support and stability during bathing.
A raised toilet with grab bars is another essential element of an accessible bathroom. The height of the toilet should be at a level that allows for easy transfer from a wheelchair. Adequate space around the toilet ensures maneuverability and provides clearance for mobility aids.
The sink and vanity should be designed with accessibility in mind. Choose a wall-mounted or pedestal sink that allows for comfortable wheelchair access. Install lever handles on faucets to make them easier to use for individuals with limited hand strength or dexterity.
Concerning storage in an accessibility layout, it’s important to ensure that it is easily reachable and within arm’s reach. Utilize lower shelves or cabinets that can be accessed without excessive bending or stretching. Consider installing pull-out or roll-out shelves for better visibility and accessibility of stored items.
Proper lighting is crucial in an accessibility bathroom to ensure visibility for individuals with vision impairments. Use bright, even lighting throughout the space to eliminate shadows and dark spots. Install motion-activated lights to provide automatic illumination when entering the bathroom.
For individuals with hearing impairments, incorporating visual and tactile elements can enhance the accessibility of the bathroom. Install visual alerts, such as strobe lights or vibrating alarms, to indicate when the doorbell or phone rings. Consider using contrasting colors and textures to differentiate surfaces and aid with orientation.
Accessibility should extend to the entry and exit of the bathroom as well. Ensure that there are non-slip flooring materials, such as textured tiles, to prevent accidents. Install wider doorways or pocket doors to accommodate wheelchair access, and consider adding an automatic door opener for convenience.
The accessibility bathroom layout is designed to create an inclusive and user-friendly space for individuals with mobility challenges or disabilities. By incorporating features that promote ease of use, safety, and comfort, you can create a bathroom that allows everyone to navigate and utilize the space with independence and dignity.
Conclusion
Choosing the right bathroom layout is essential for creating a functional, practical, and visually appealing space. Whether you have a small bathroom in need of clever storage solutions or a large bathroom that requires a spa-like atmosphere, there is a layout that can meet your specific needs and preferences.
In this article, we explored ten different bathroom layout ideas, each with its own unique benefits and considerations. The single-wall layout is perfect for compact spaces, while the galley layout offers efficiency and clear divisions. The L-shaped and U-shaped layouts provide versatility and ample storage options, while the peninsula layout adds a touch of style and extra counter space.
For those with limited space, the corner and compact layouts make the most of every inch. The open plan layout brings a sense of spaciousness and connectivity, while the spa-like layout focuses on creating a soothing and tranquil environment. Finally, the accessibility layout ensures that every individual can use the bathroom with ease and safety.
When designing your bathroom layout, keep in mind factors such as available space, plumbing requirements, storage needs, and aesthetic preferences. Plan the arrangement of fixtures and incorporate smart storage solutions to maximize functionality and organization. Consider lighting, materials, and finishes that align with the overall design theme you want to achieve.
Remember, the most important aspect of any bathroom layout is balance. It should be practical and cater to your specific needs while creating a space that is visually pleasing and enjoyable to use. The right layout has the power to transform your bathroom into a sanctuary where you can unwind, relax, and rejuvenate.
By understanding the different bathroom layout ideas and considering your own requirements, you can make informed decisions and create a bathroom that suits your lifestyle and reflects your personal style. Whether you choose a single-wall layout for a compact space or an open plan design for a more spacious bathroom, the possibilities are endless.
So, embrace your bathroom’s potential and let your creativity flow. With the right layout and thoughtful design choices, you can transform your bathroom into a functional and inspiring space that exceeds your expectations.
Frequently Asked Questions about Bathroom Layout Ideas: The Best Layouts For Bathrooms
Was this page helpful?
At Storables.com, we guarantee accurate and reliable information. Our content, validated by Expert Board Contributors, is crafted following stringent Editorial Policies. We're committed to providing you with well-researched, expert-backed insights for all your informational needs.
0 thoughts on “Bathroom Layout Ideas: The Best Layouts For Bathrooms”