Home>Articles>How To Install A Trinsic Single Post Toilet Paper Holder In Chrome
Articles
How To Install A Trinsic Single Post Toilet Paper Holder In Chrome
Modified: August 19, 2024
Learn how to install the Trinsic Single Post Toilet Paper Holder in Chrome with our informative articles. Expert tips and step-by-step instructions.
(Many of the links in this article redirect to a specific reviewed product. Your purchase of these products through affiliate links helps to generate commission for Storables.com, at no extra cost. Learn more)
Introduction
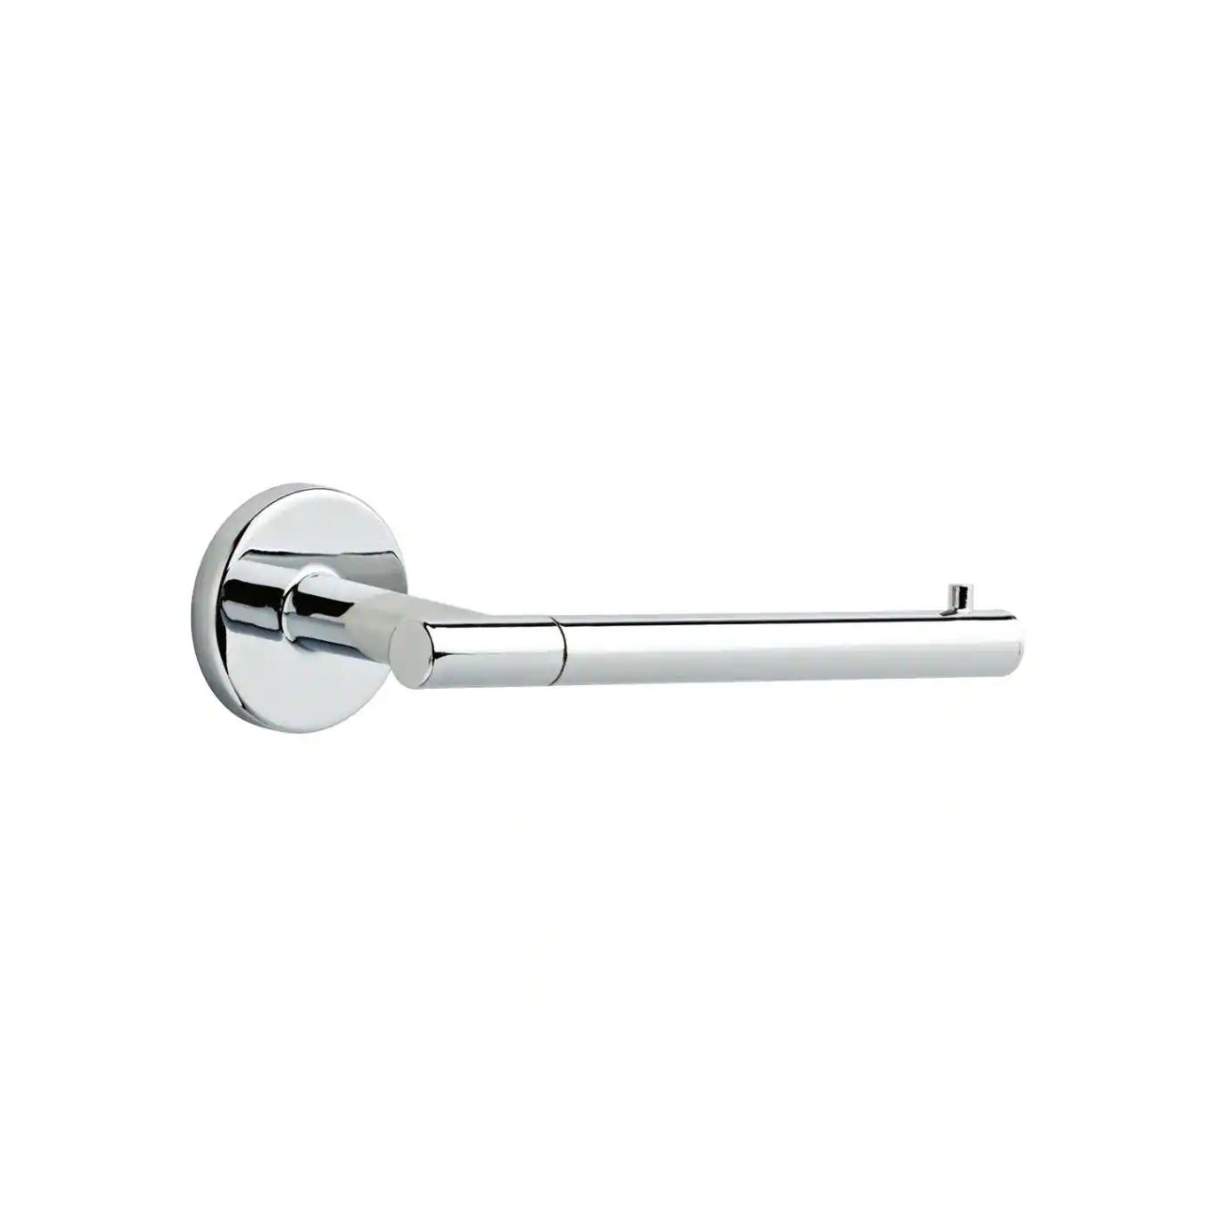
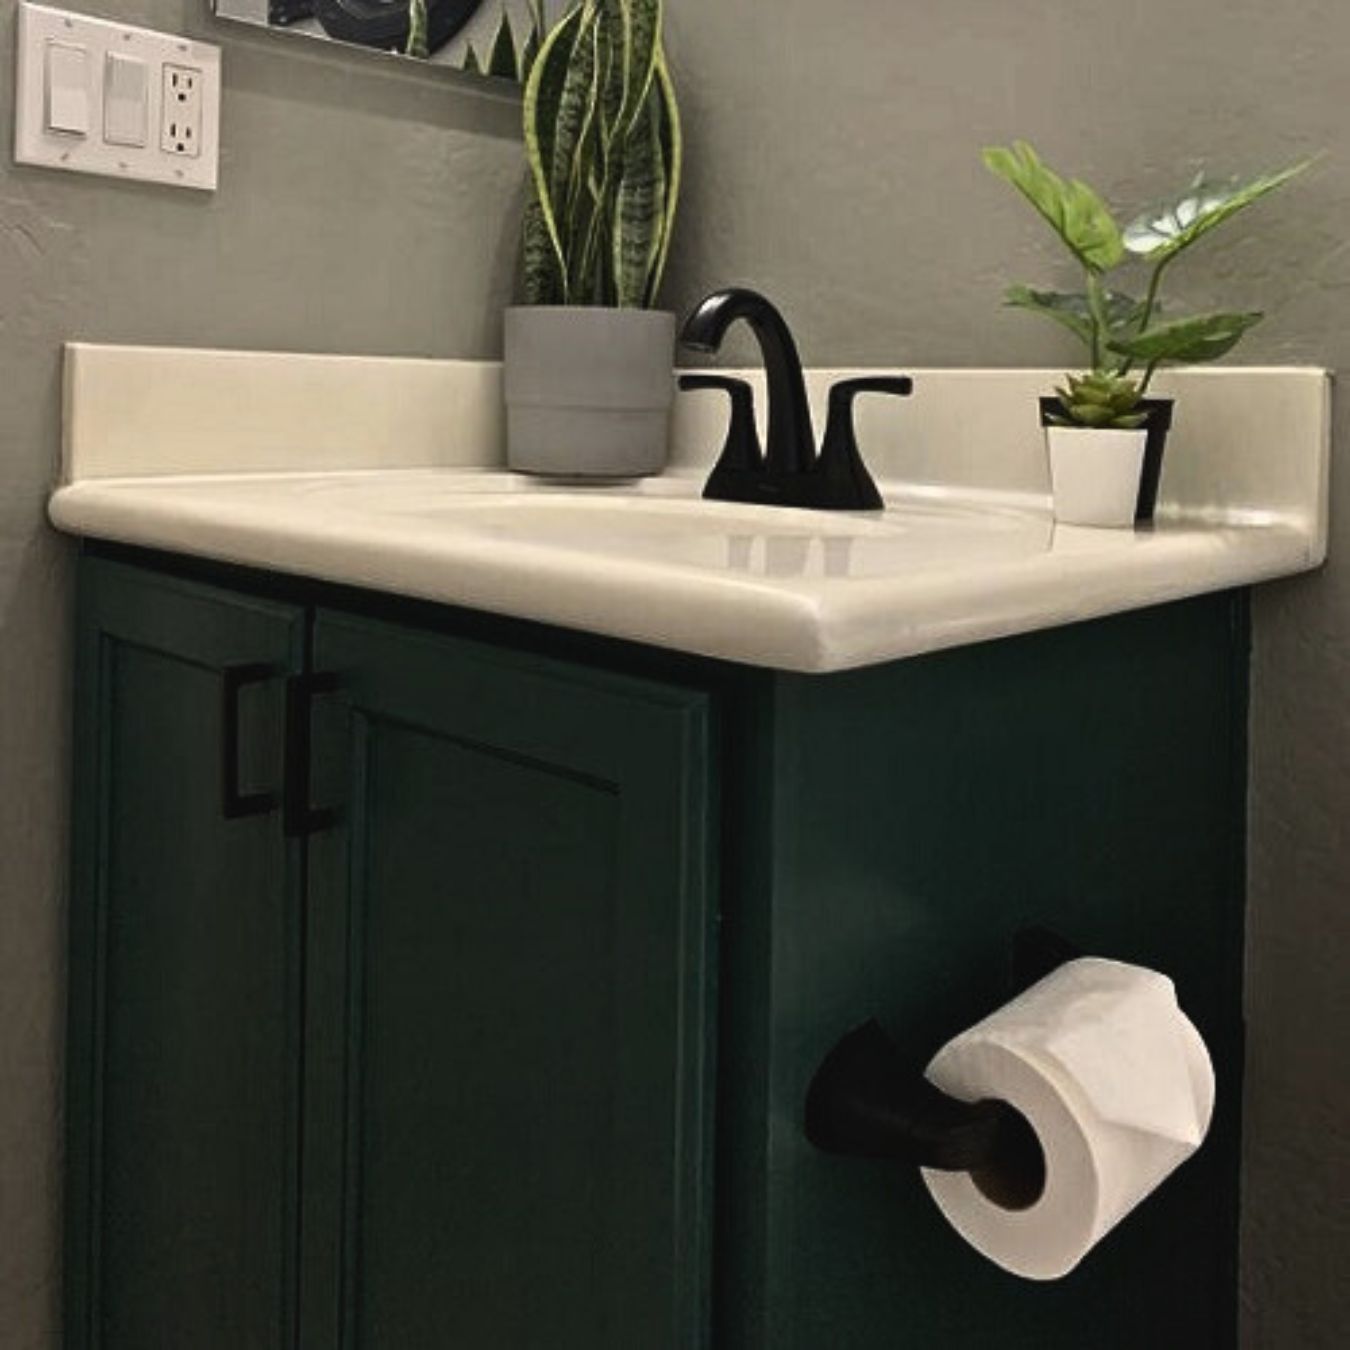
Welcome to our step-by-step guide on how to install the Trinsic Single Post Toilet Paper Holder in Chrome. This stylish and functional accessory will add a touch of elegance to your bathroom while providing a convenient and accessible place to store your toilet paper.
Installing the Trinsic Single Post Toilet Paper Holder is a straightforward process that can be completed with just a few tools and materials. Whether you’re a seasoned DIY enthusiast or a novice looking to tackle your first home improvement project, this guide will walk you through each step to ensure a successful installation.
Before we dive into the installation process, let’s take a look at the tools and materials you will need:
Key Takeaways:
- Installing the Trinsic Single Post Toilet Paper Holder in Chrome is a straightforward process that can be completed with just a few tools and materials, making it an accessible DIY home improvement project for anyone.
- Proper preparation, precise installation location determination, and thorough testing of stability are crucial steps in ensuring a successful and functional installation of the Trinsic Single Post Toilet Paper Holder in Chrome.
Tools and Materials Needed
Before you begin the installation process, gather the following tools and materials:
1. Trinsic Single Post Toilet Paper Holder in Chrome (included in the package)
2. Screwdriver (Phillips or flathead, depending on the type of screws included)
3. Measuring tape or ruler
4. Pencil or marker
5. Level (optional, but recommended for ensuring a straight and aligned installation)
6. Wall anchors and screws (if not provided with the toilet paper holder)
7. Drill (if necessary, for creating pilot holes)
8. Cleaning cloth or towel (for removing any dirt or debris from the installation area)
Make sure you have all these tools and materials ready before starting the installation process. This will save you time and ensure a smooth and successful installation.
Step 1: Gather all necessary components
Before you begin the installation process, it’s essential to gather all the necessary components of the Trinsic Single Post Toilet Paper Holder in Chrome. Open the package and ensure that you have the following items:
- The toilet paper holder arm
- The mounting bracket
- Screws and wall anchors (if included)
Inspect each component to ensure there are no defects or missing parts. If you notice any issues, reach out to the manufacturer for support or consider exchanging the product.
It’s also a good idea to read through the installation instructions provided by the manufacturer. This will give you a better understanding of the process and any specific guidelines or precautions you should follow.
Once you have confirmed that you have all the necessary components and familiarized yourself with the instructions, you’re ready to move on to the next step: determining the installation location.
Step 2: Determine the installation location
Choosing the right location for installing your Trinsic Single Post Toilet Paper Holder is crucial. You want to make sure it is easily accessible and conveniently located for daily use. Here are a few factors to consider when determining the installation location:
- Height: The ideal height for the toilet paper holder is approximately 26 inches from the floor. Keep in mind the comfort and accessibility of all the users in your household.
- Reach: Ensure the holder is within easy reach from the toilet seat. This will make it convenient for users to grab the toilet paper without having to stretch or strain.
- Clearance: Make sure there is sufficient clearance around the toilet paper holder. Avoid installing it too close to other fixtures or obstructions that could make it difficult to access or use.
- Stud location: If possible, try to mount the toilet paper holder on a wall stud for added stability and support. Use a stud finder to locate the studs behind the wall. If no studs are available in the desired location, you will need to use wall anchors for secure installation.
- Aesthetics: Consider the overall aesthetics of your bathroom and choose a location that complements the existing fixtures and design. The toilet paper holder should blend well with the overall theme and style of the space.
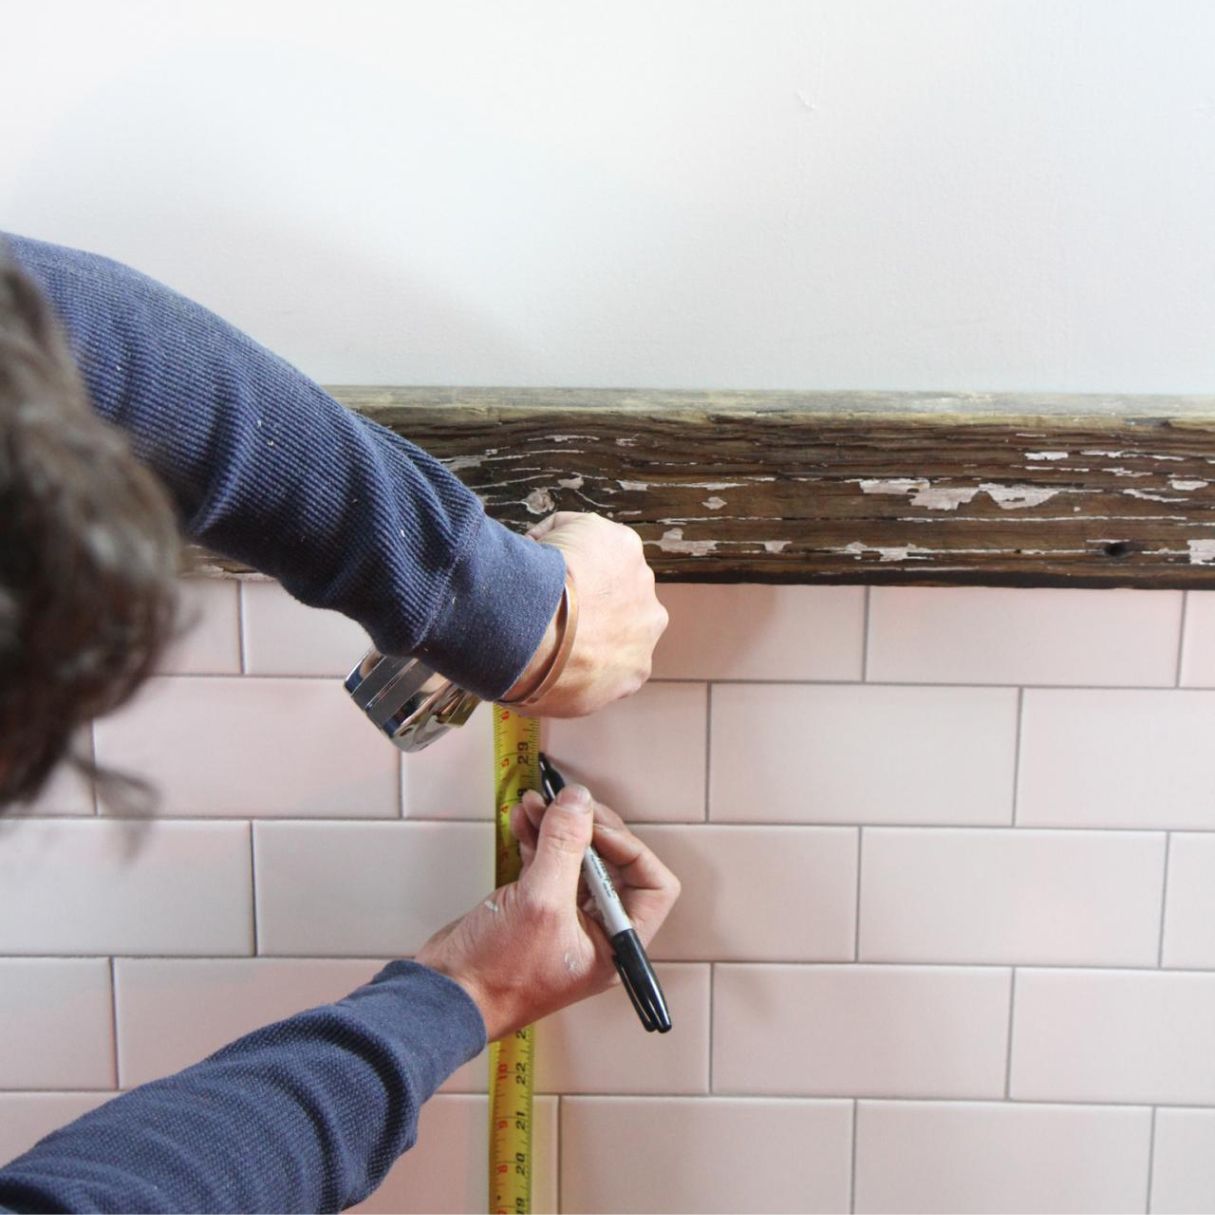
Once you have determined the installation location, mark it with a pencil or marker. Use a measuring tape or ruler to ensure precise placement. Take your time to double-check the height and alignment before moving on to the next step.
With the installation location determined, you’re ready to prepare the installation area and get closer to completing the installation of your stylish Trinsic Single Post Toilet Paper Holder.
Step 3: Prepare the installation area
Before you can begin mounting the Trinsic Single Post Toilet Paper Holder, it’s important to prepare the installation area. This step ensures a clean and secure installation while also preventing any damage to the surrounding walls or surfaces. Follow these steps to prepare the area:
- Clean the wall: Using a cleaning cloth or towel, wipe down the area where you will be installing the toilet paper holder. Remove any dust, dirt, or debris that may interfere with the adhesive or mounting process.
- Remove existing fixtures: If there is an existing toilet paper holder or any other fixture in the installation area, remove it carefully. This can usually be done by unscrewing or detaching the fixture from the wall.
- Fill any holes: If the previous fixture left behind any holes in the wall, use spackling paste or putty to fill them. Allow the filler to dry completely before continuing with the installation.
- Smooth the wall surface: If the wall surface is uneven or has any rough patches, use sandpaper or a sanding block to smooth it out. This will ensure a flush and stable installation.
By preparing the installation area properly, you create a clean and stable base for mounting the Trinsic Single Post Toilet Paper Holder. This will not only enhance the overall appearance of your bathroom but also ensure the longevity and functionality of the fixture.
Once the installation area is prepared, continue to the next step: mounting the mounting bracket.
Read more: How To Clean A Chrome Toilet Paper Holder
Step 4: Mount the Mounting Bracket
Now that you have prepared the installation area, it’s time to mount the mounting bracket for the Trinsic Single Post Toilet Paper Holder. The mounting bracket acts as a secure base for attaching the holder arm. Follow these steps to mount the bracket:
- Hold the mounting bracket against the wall: Position the mounting bracket at the marked installation location. Make sure it is level by using a level or visually aligning it with the horizontal or vertical lines on your wall. Adjust as needed.
- Mark the screw hole locations: Using a pencil or marker, mark the screw hole locations on the wall through the holes in the mounting bracket. This will guide you when drilling the pilot holes or inserting the wall anchors.
- Drill pilot holes (if necessary): If drilling is required because you do not have wall studs to anchor the screws, use an appropriate-sized drill bit to create pilot holes at the marked locations. This will prevent the wall from cracking or splitting when inserting the screws.
- Insert wall anchors (if necessary): If the mounting bracket doesn’t align with wall studs, insert wall anchors into the pilot holes. Tap them gently with a hammer until they are flush with the wall surface. Wall anchors provide stability and support in drywall or other fragile materials.
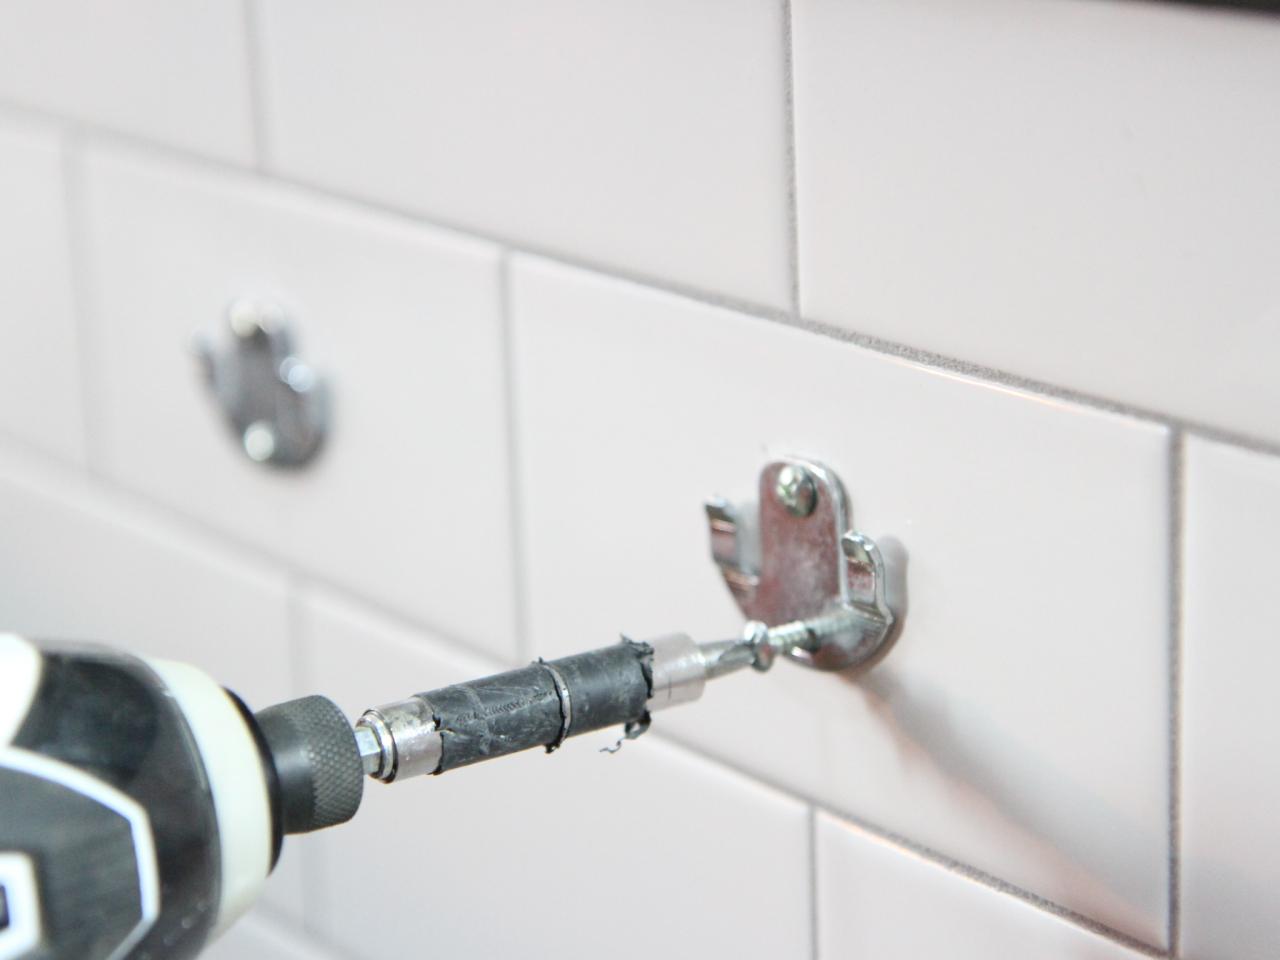
- Secure the mounting bracket: Using the provided screws, or screws of appropriate size and type, attach the mounting bracket to the wall by driving the screws through the holes in the bracket and into the wall anchors or pilot holes. Tighten the screws firmly but avoid over-tightening, as it may damage the wall or affect the stability of the bracket.
With the mounting bracket securely in place, you’re ready to move on to the next step: attaching the toilet paper holder arm.
Before installing the Trinsic Single Post Toilet Paper Holder in Chrome, make sure to measure and mark the desired location on the wall. Use a level to ensure it is straight before drilling the holes for the screws.
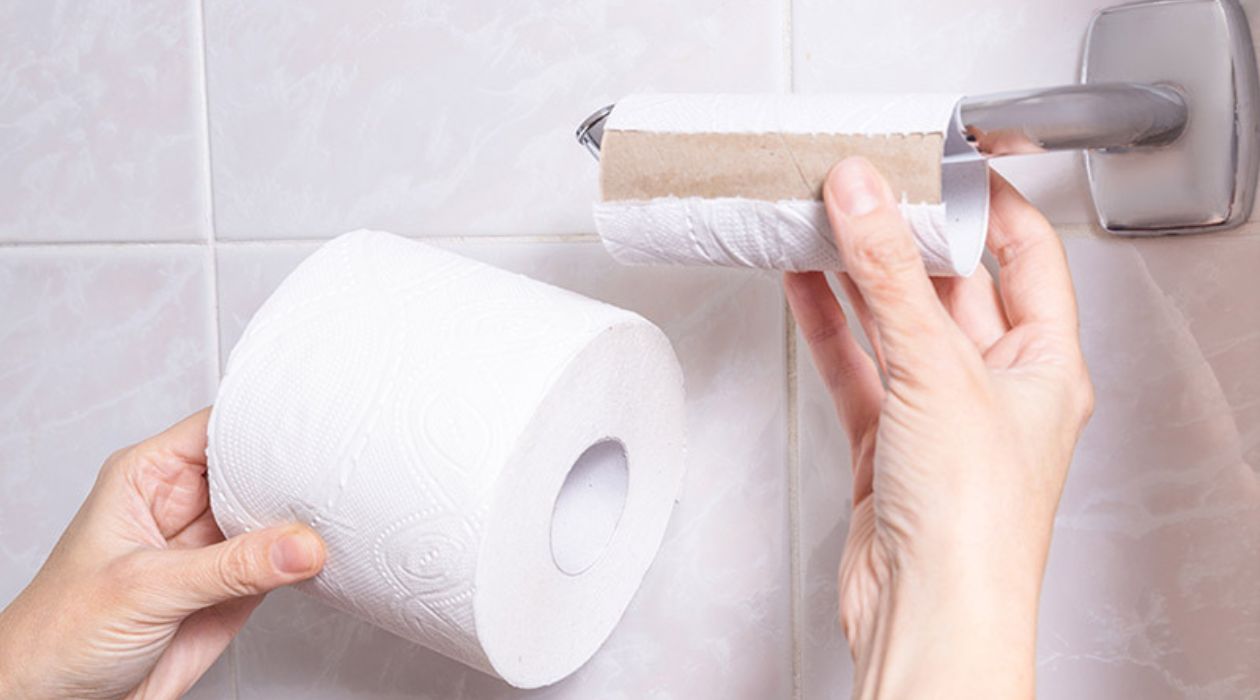
Step 5: Attach the Toilet Paper Holder Arm
With the mounting bracket securely mounted, it’s time to attach the toilet paper holder arm to complete the installation. Follow these steps to attach the arm:
- Align the arm with the mounting bracket: Position the toilet paper holder arm over the mounting bracket, aligning the screw holes on the arm with the corresponding holes on the bracket. Ensure that the arm is straight and level.
- Insert the screws: Insert the provided screws, or screws of the appropriate size and type, through the screw holes on the arm and into the corresponding holes on the mounting bracket. Use a screwdriver to tighten the screws securely, but be careful not to overtighten as it may damage the arm or bracket.
Double-check the alignment and stability of the toilet paper holder arm after attaching it to the mounting bracket. Ensure that it is securely fastened and doesn’t wobble or move when pressure is applied.
Congratulations! You have successfully attached the toilet paper holder arm. Now it’s time to move on to the next step: testing the stability and making any necessary adjustments.
Step 6: Test the Stability and Adjust if Necessary
After attaching the toilet paper holder arm, it’s important to test its stability and make any necessary adjustments to ensure a secure and functional installation. Follow these steps to test the stability and make adjustments if needed:
- Apply pressure: Gently apply pressure to the toilet paper holder arm to simulate the force of pulling or tearing off a piece of toilet paper. This will help you assess its stability and determine if any adjustments are required.
- Check for wobbling: Pay attention to any wobbling or movement of the toilet paper holder arm. If it feels loose or unstable, you may need to tighten the screws further or readjust the alignment.
- Realign if necessary: If the arm is not level or straight, you can carefully adjust its position by loosening the screws slightly and repositioning it. Once it is aligned correctly, tighten the screws securely.
- Ensure smooth rotation: If your toilet paper holder arm has the ability to rotate, test its rotation to ensure smooth movement. It should be able to rotate easily without any resistance or stiffness.
By testing the stability and making necessary adjustments, you ensure that your toilet paper holder is securely installed and will function properly. It is essential to address any issues now before proceeding with the final steps of the installation process.
Once you’re satisfied with the stability and alignment of the toilet paper holder arm, it’s time to move on to the next step: securing the holder in place.
Step 7: Secure the Holder in Place
With the toilet paper holder arm properly aligned and stable, it’s time to secure the holder in place to ensure it stays fixed to the mounting bracket. Follow these steps to secure the holder:
- Tighten the set screw: Locate the set screw on the underside or back of the toilet paper holder arm. This screw is used to secure the arm to the mounting bracket. Use a screwdriver to tighten the set screw and ensure a firm connection.
- Double-check stability: After tightening the set screw, test the stability of the holder arm by gently applying pressure and ensuring it doesn’t wobble or move. If it feels loose, double-check that the set screw is tightened securely.
It’s important to note that not all toilet paper holder designs include a set screw. If your particular model does not have a set screw, skip this step and proceed to the next step.
By securing the holder in place, you provide additional support and prevent it from becoming loose or dislodged over time. This step ensures the longevity and functional efficiency of the toilet paper holder.
Now that the holder is securely in place, it’s time to move on to the final step: cleaning and finalizing the installation.
Step 8: Clean and Finalize the Installation
Congratulations! You’re in the final stage of installing your Trinsic Single Post Toilet Paper Holder. This step focuses on cleaning up the installation area and making sure everything is in its proper place. Follow these steps to clean and finalize the installation:
- Clean the toilet paper holder: Use a soft cloth or towel to clean any fingerprints, smudges, or dirt from the surfaces of the toilet paper holder. This will give it a polished and clean appearance.
- Check for any loose screws: Inspect the mounting bracket, the toilet paper holder arm, and any other connections for any loose screws. If you find any, use a screwdriver to tighten them securely.
- Remove any protective covering: If your toilet paper holder came with any protective covering or plastic wrap to prevent scratches during installation, now is the time to remove it. Be careful not to scratch or damage the holder while doing so.
- Wipe down the surrounding area: Use a cloth or towel to wipe down the surrounding walls, countertops, or any surfaces near the installation area. This will remove any dust or residue that may have accumulated during the installation process.
Taking the time to clean and finalize the installation will leave your bathroom looking neat and tidy. It also ensures that your Trinsic Single Post Toilet Paper Holder is ready for use and will provide a functional and aesthetically pleasing addition to your bathroom.
With that, the installation process of your Trinsic Single Post Toilet Paper Holder in Chrome is complete! Enjoy the convenience and stylish design of your new toilet paper holder.
Remember to refer back to the manufacturer’s instructions if you have any questions or concerns. And as always, if you encounter any difficulties during the installation, don’t hesitate to seek assistance from a professional handyman or contact the manufacturer’s customer support for further guidance.
Conclusion
Installing the Trinsic Single Post Toilet Paper Holder in Chrome is a relatively simple and rewarding task that can enhance the functionality and visual appeal of your bathroom. By following the step-by-step guide outlined in this article, you can successfully complete the installation process with ease.
Throughout the installation, we covered important steps such as gathering the necessary components, determining the installation location, preparing the area, mounting the bracket, attaching the toilet paper holder arm, testing the stability, securing the holder, and finally, cleaning and finalizing the installation.
Remember, it’s essential to carefully follow the manufacturer’s instructions and ensure you have all the required tools and materials before starting the installation. Take your time during each step to ensure proper alignment and stability. Testing the stability and making any necessary adjustments will guarantee a secure and functional installation.
Once your Trinsic Single Post Toilet Paper Holder is installed and secured, take a moment to admire your work. The polished chrome finish and sleek design will add a touch of elegance to your bathroom décor while providing convenient storage for your toilet paper.
We hope this guide has been helpful in assisting you with the installation process. Remember to keep it handy for future reference or share it with others who may be interested in installing a similar toilet paper holder. If you have any further questions or need additional assistance, don’t hesitate to reach out to the manufacturer’s customer support or consult a professional handyman.
Enjoy the convenience and style of your newly installed Trinsic Single Post Toilet Paper Holder in Chrome!
Frequently Asked Questions about How To Install A Trinsic Single Post Toilet Paper Holder In Chrome
Was this page helpful?
At Storables.com, we guarantee accurate and reliable information. Our content, validated by Expert Board Contributors, is crafted following stringent Editorial Policies. We're committed to providing you with well-researched, expert-backed insights for all your informational needs.


0 thoughts on “How To Install A Trinsic Single Post Toilet Paper Holder In Chrome”