Home>Articles>How To Install A Toilet Paper Holder In The Wall

Articles
How To Install A Toilet Paper Holder In The Wall
Modified: October 27, 2024
Learn how to install a toilet paper holder in the wall with this informative article. Step-by-step instructions and tips to make the process easy and hassle-free.
(Many of the links in this article redirect to a specific reviewed product. Your purchase of these products through affiliate links helps to generate commission for Storables.com, at no extra cost. Learn more)
Introduction
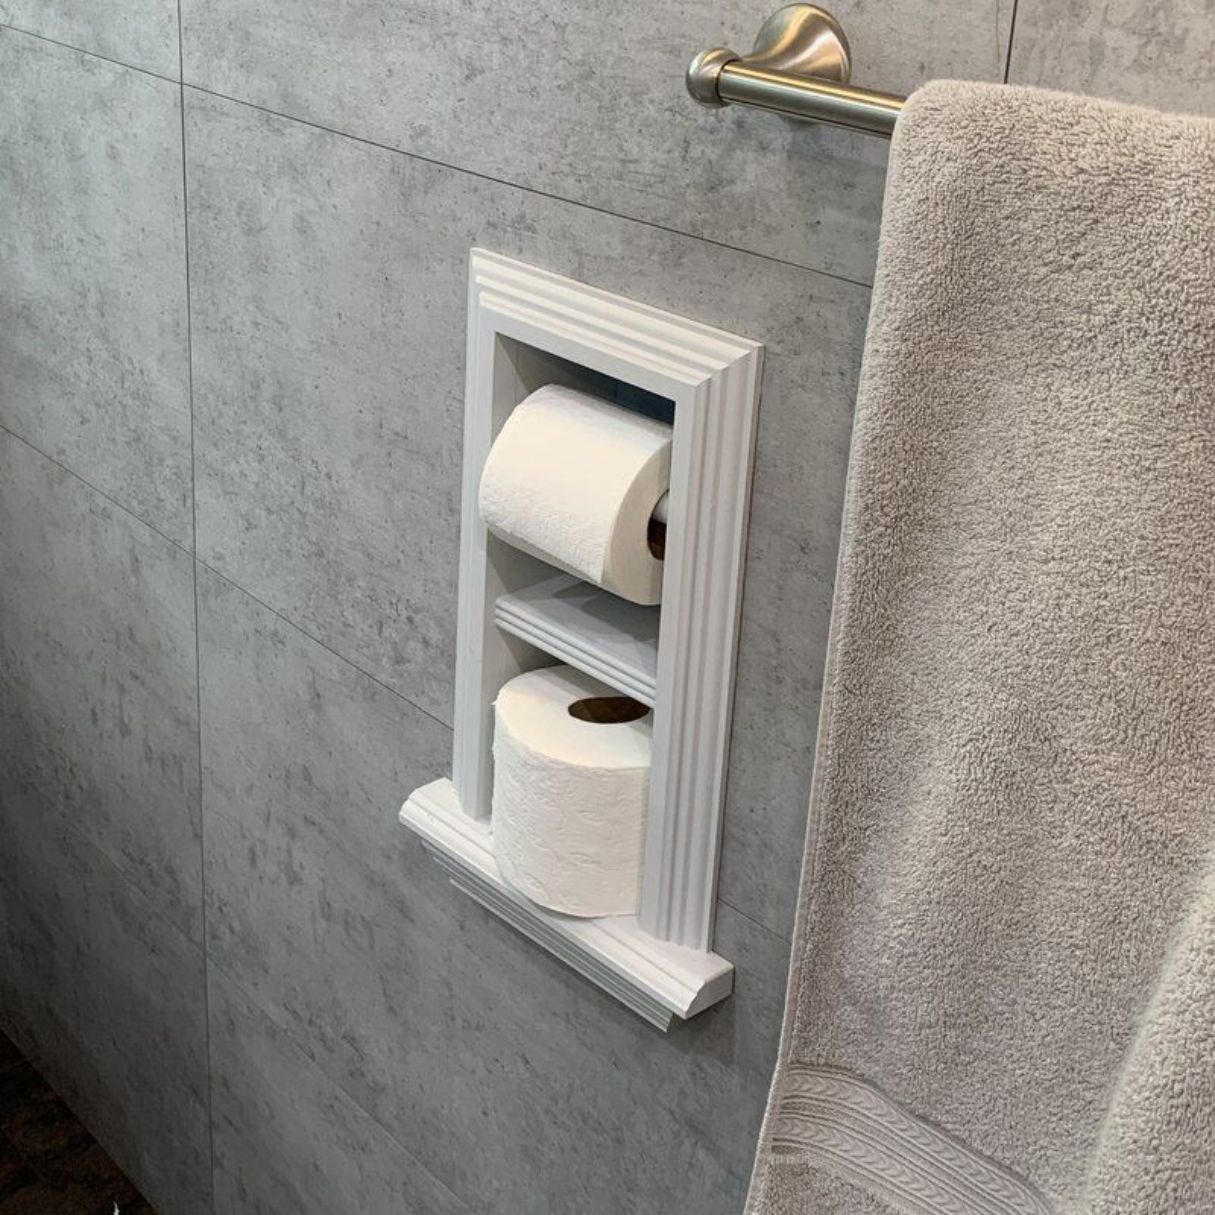
Installing a toilet paper holder in the wall is a simple and practical home improvement project that can add convenience and functionality to your bathroom. No one wants to fumble around for a spare roll of toilet paper, especially in the middle of an urgent bathroom visit. With a properly installed toilet paper holder, you can always have a roll within easy reach.
In this article, we will guide you through the step-by-step process of installing a toilet paper holder in the wall. We will provide you with a list of tools and materials you will need, as well as detailed instructions to ensure a successful installation. Even if you are not a handyman or have little experience with DIY projects, fear not! With the right guidance, you will be able to complete this project with ease.
Before we dive into the installation process, let’s quickly go over the tools and materials you will need for the job. Having everything prepared beforehand will save you time and ensure a smooth installation process. So, let’s gather up the necessary supplies and get started on this practical bathroom upgrade.
Key Takeaways:
- Installing a toilet paper holder in the wall is a simple yet impactful home improvement project that adds convenience and functionality to your bathroom. By following the step-by-step guide, you can ensure a secure and aesthetically pleasing installation.
- From choosing the right location to testing and adjusting the functionality, this guide provides the necessary tools and knowledge for both DIY experts and novices to successfully install a toilet paper holder in the wall.
Tools and Materials Needed
Before you begin installing a toilet paper holder in the wall, you will need to gather a few tools and materials. Here’s a list of what you’ll need:
1. Tape Measure: This will help you accurately measure the distance between the wall studs and mark the mounting holes.
2. Pencil or Marker: You’ll need something to mark the locations for the mounting holes on the wall.
3. Stud Finder: A stud finder is essential for locating the wall studs. This will ensure that the toilet paper holder is securely attached to a sturdy surface.
4. Power Drill: You’ll need a power drill to create holes in the wall for the mounting screws and anchors (if necessary).
5. Drill Bits: Depending on the type of mounting screws or anchors, you’ll need appropriate drill bits to create the right-sized holes.
6. Screwdriver: A screwdriver will be needed to tighten the mounting screws and attach the toilet paper holder.
7. Level: A level will help you ensure that the toilet paper holder is installed straight and level on the wall.
8. Wall Anchors (if required): If you are not able to install the toilet paper holder directly into a wall stud, you may need wall anchors to provide extra support.
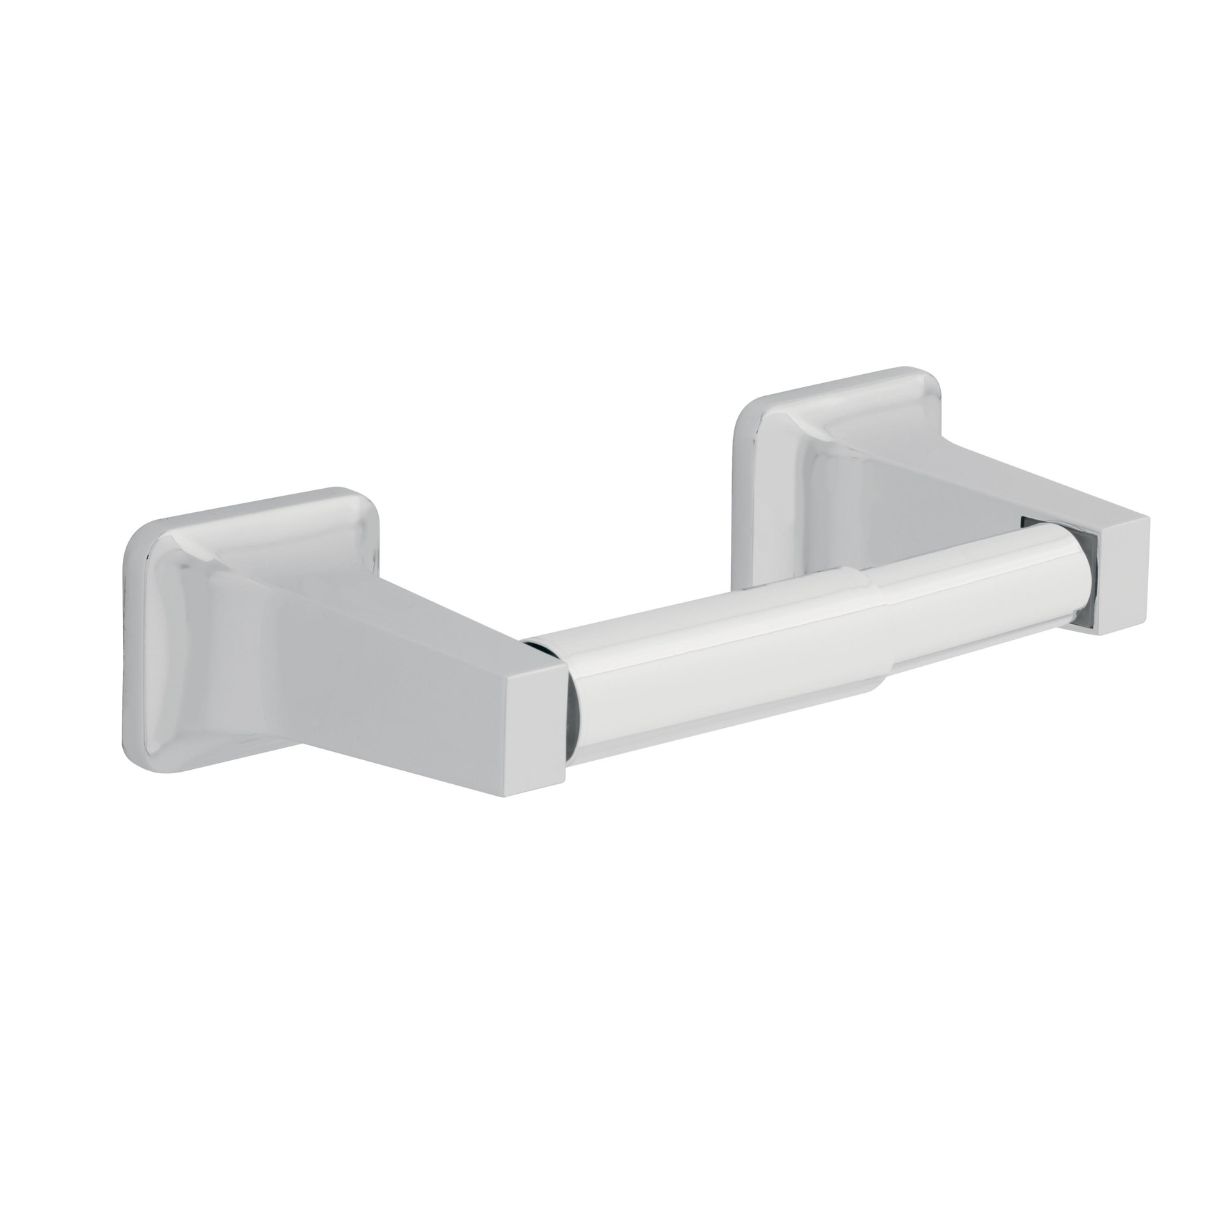
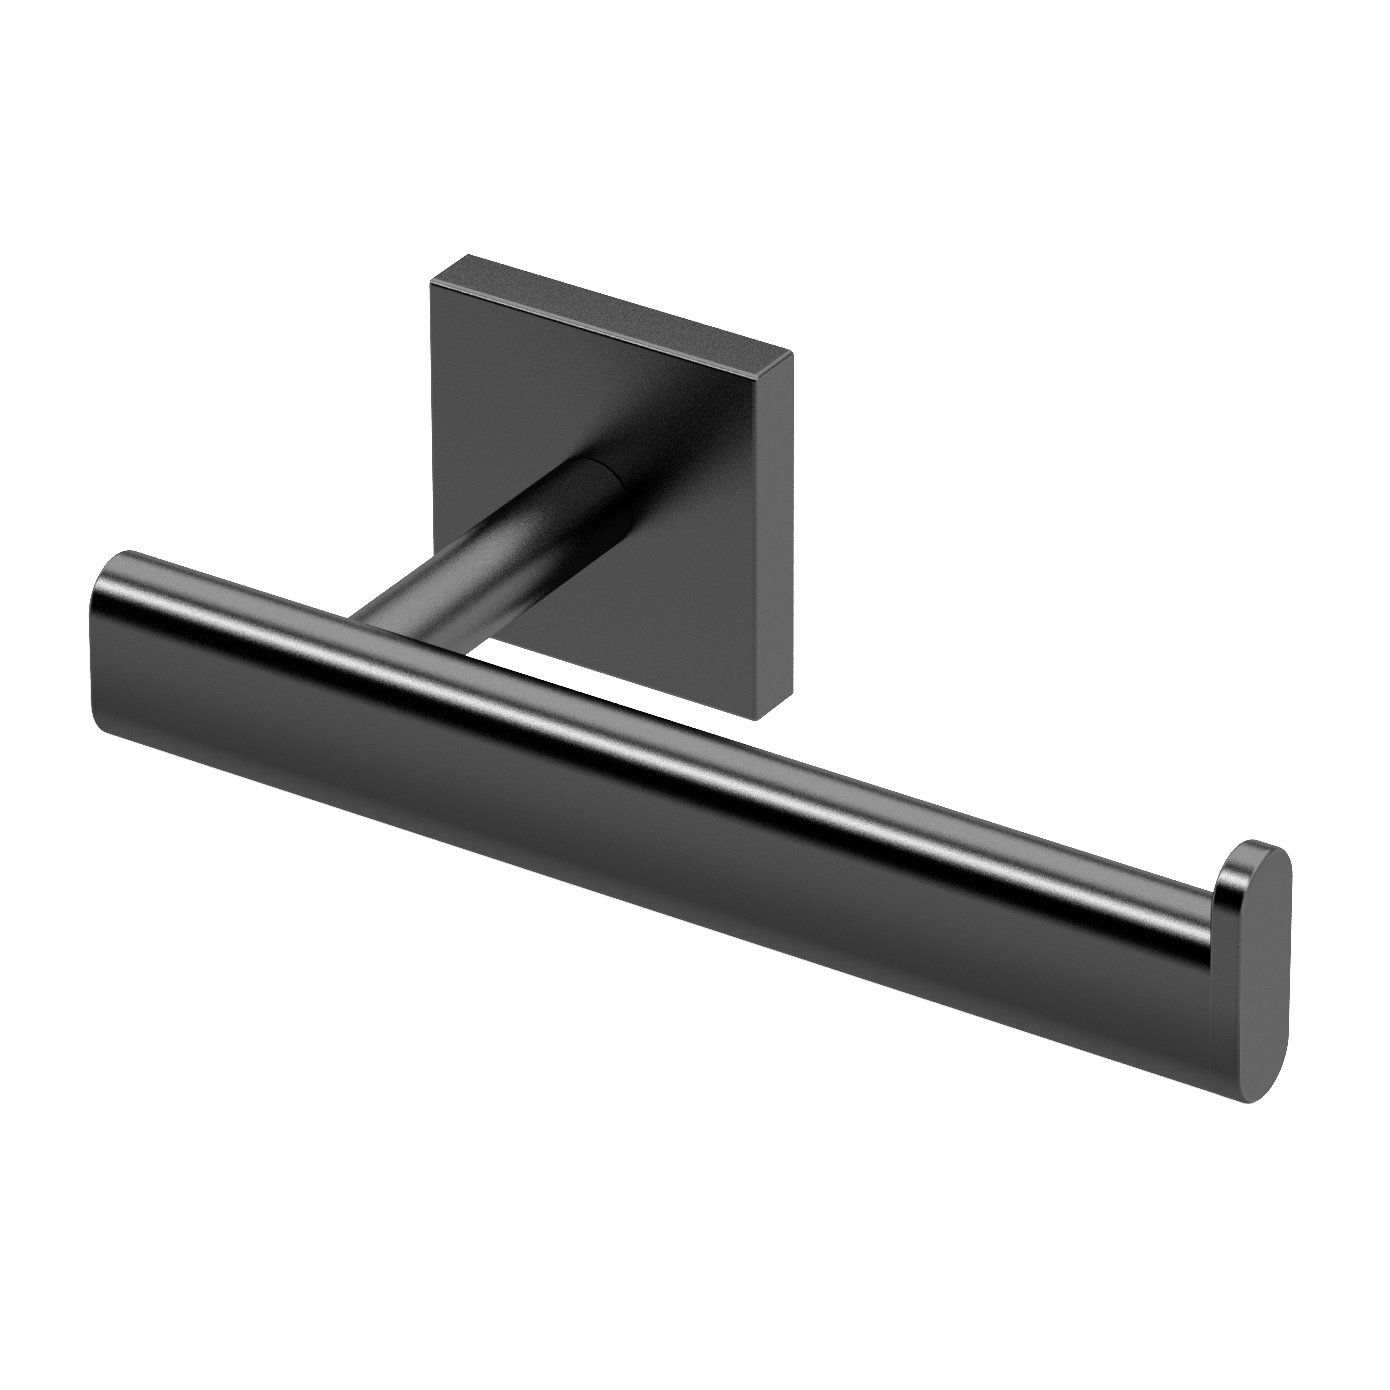
9. Toilet Paper Holder Kit: Purchase a toilet paper holder kit that includes the toilet paper holder, mounting screws, and any other necessary components.
10. Safety Equipment: Remember to wear safety goggles and gloves to protect yourself while using power tools and handling sharp objects.
Once you have gathered all the necessary tools and materials, you are ready to move on to the installation process. In the next steps, we will guide you through each stage of the installation, ensuring that your toilet paper holder is mounted securely and functioning properly.
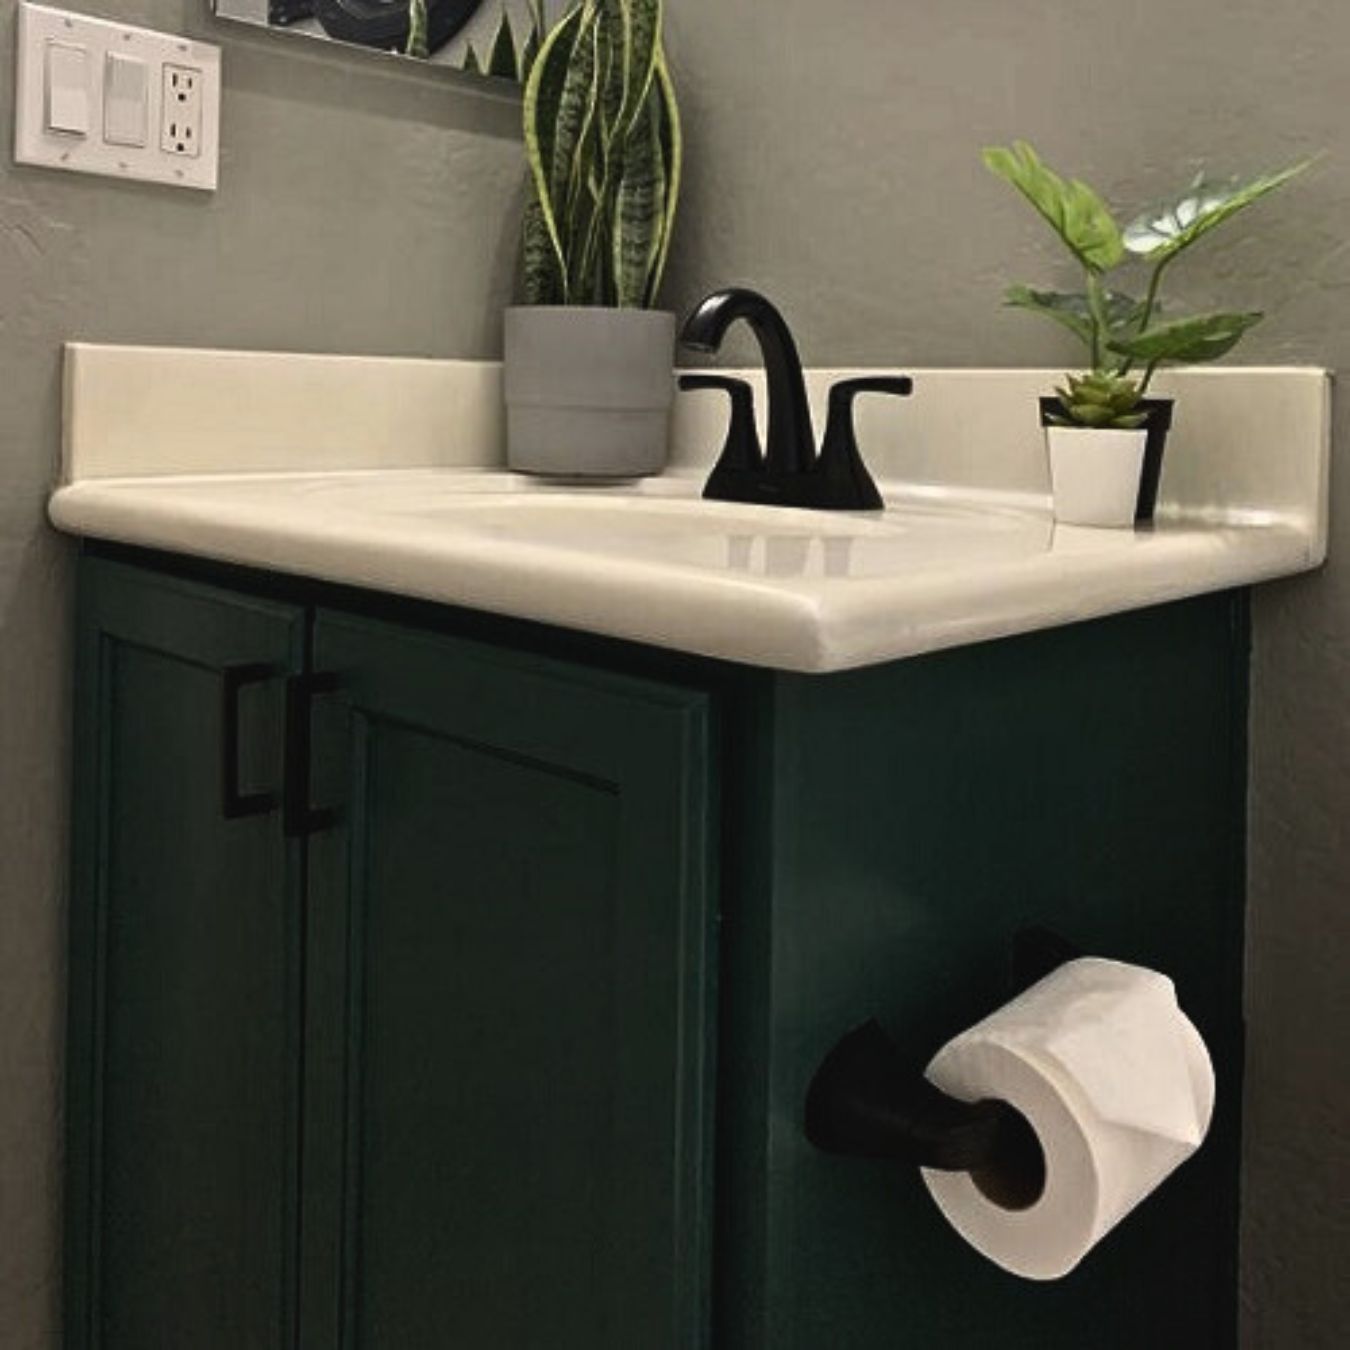
Step 1: Choose the Location
Choosing the right location for your toilet paper holder is crucial for both convenience and aesthetics. You want to ensure that it is within easy reach and positioned at a comfortable height. Here’s how to choose the ideal location:
1. Consider optimal reach: The toilet paper holder should be placed within arm’s reach of the toilet. Choose a location that is easily accessible from a seated position. Avoid placing it too far away, as it may be inconvenient to reach for toilet paper.
2. Assess surrounding fixtures: Take into account the position of other fixtures in the bathroom, such as the sink, shower, or bathtub. You’ll want to ensure that the toilet paper holder is not obstructed by any of these fixtures or their accessories when in use.
3. Check wall space: Examine the available wall space near the toilet. Look for a spot where the holder can be installed securely, without interfering with door swings or other obstructions. Keep in mind the orientation of the roll and make sure there is enough space for it to rotate freely.
4. Consider height: The average height for a mounted toilet paper holder is around 26 inches from the floor to the center of the holder. However, you can adjust this height based on your preferences and the needs of your household. Consider the height of family members and guests who will be using the bathroom.
5. Account for toilet clearance: Ensure that the chosen location allows for adequate clearance of the toilet bowl. The holder should not obstruct movement around the toilet or interfere with the proper operation of the toilet seat.
6. Visual aesthetics: Think about how the toilet paper holder will fit into the overall design of your bathroom. Consider the style and finish of the holder to complement the existing fixtures and decor. You may want to choose a location where the holder will visually harmonize with the overall look and feel of the space.
Take your time to evaluate various locations in your bathroom, keeping these factors in mind. Once you have selected the perfect spot, move on to the next step: locating the wall studs for secure installation.
Step 2: Locate the Wall Studs
Locating the wall studs is essential for ensuring that your toilet paper holder is securely attached to a sturdy surface. Wall studs are typically made of wood and provide structural support for the walls. Here’s how to locate the studs:
1. Use a stud finder: A stud finder is a handy tool that helps you locate wall studs quickly and accurately. Place the stud finder against the wall and move it horizontally until it detects a stud. Most stud finders will emit a beep or light up when a stud is detected.
2. Start near an electrical outlet or switch: Electrical outlets and switches are usually attached to wall studs. Begin your search for studs near these fixtures as they often indicate the presence of a stud nearby.
3. Measure from the corner: If you cannot locate an electrical outlet or switch, you can measure from the corner of the wall. Studs are typically spaced 16 or 24 inches apart, so measure from the corner in multiples of these measurements.
4. Tap and listen for a solid sound: As a supplementary method, you can tap on the wall using your knuckles or a small hammer. A hollow sound indicates the absence of a stud, while a solid and dense sound typically means a stud is present.
5. Mark the stud locations: Once you have located the first stud, mark its position on the wall using a pencil or marker. Continue searching for additional studs using the same methods, and mark their positions as well. This will help you visualize the stud locations during the installation process.
It is important to note that not all walls are built with studs at standard intervals. In some cases, you may encounter non-standard spacing or even metal studs if you have a newer construction. Adjust your approach accordingly, and be prepared to use wall anchors for added support if necessary.
By accurately locating the wall studs, you will ensure that your toilet paper holder is firmly attached to the wall and can support the weight of the toilet paper rolls. Once you have marked the stud locations, it’s time to move on to the next step: marking the mounting holes on the wall.
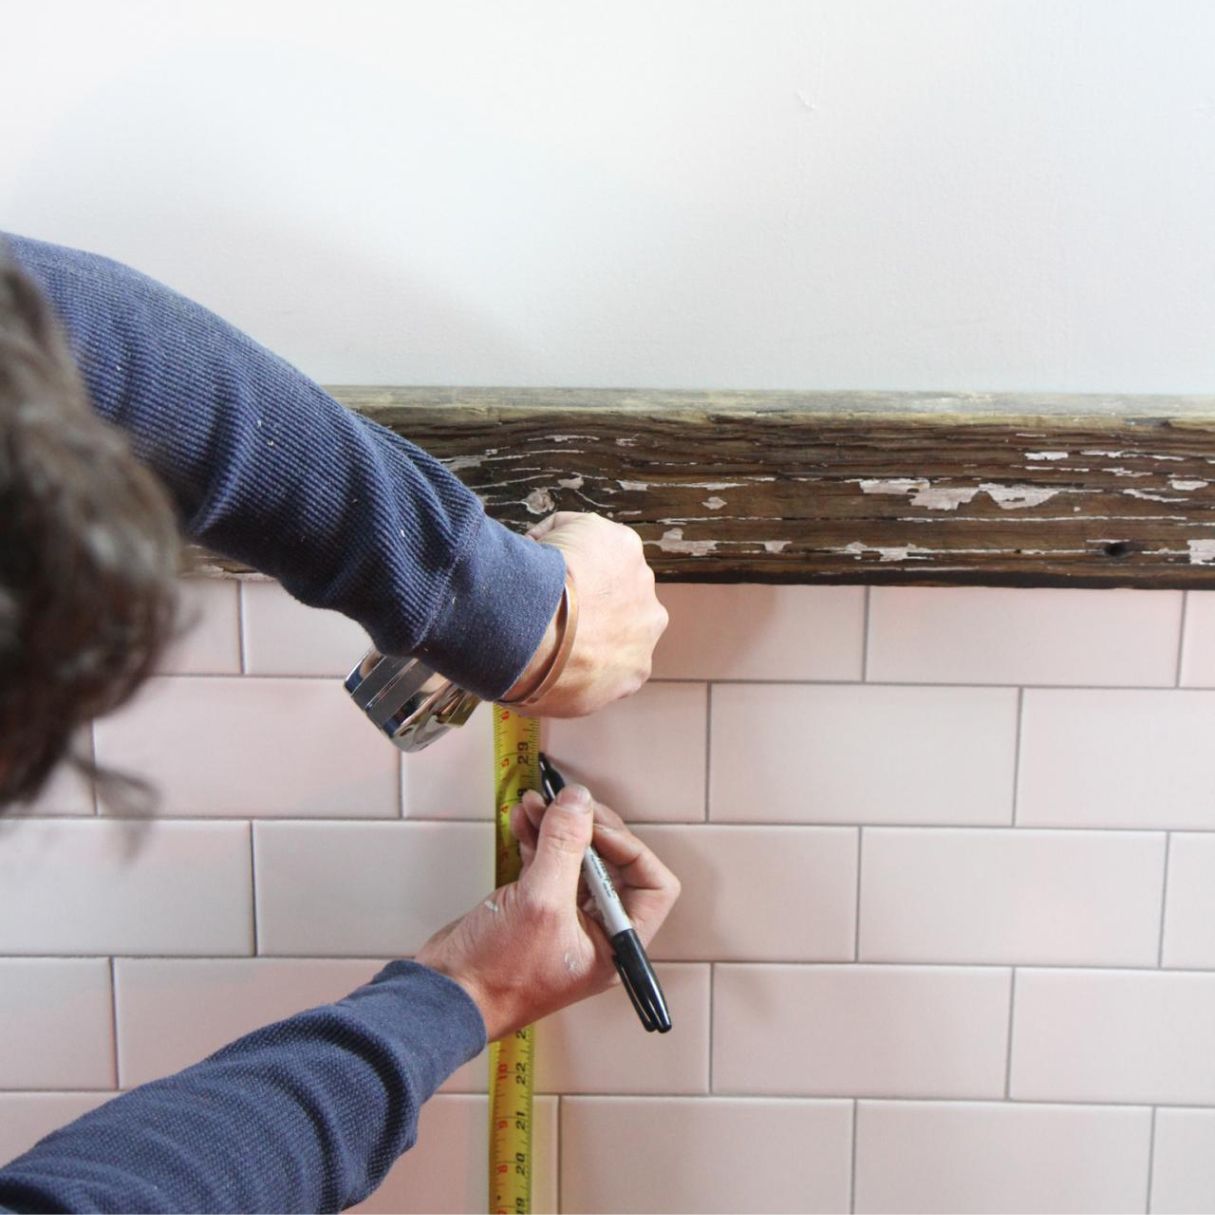
Step 3: Mark the Mounting Holes
Now that you have located the wall studs, it’s time to mark the mounting holes on the wall. These marks will serve as a guide for drilling the holes and installing the toilet paper holder securely. Here’s how to mark the mounting holes:
1. Position the toilet paper holder: Place the toilet paper holder against the wall in the desired location. Ensure that the holder is level and aligned with your chosen height and orientation.
2. Use a pencil or marker: With the holder in position, use a pencil or marker to mark the screw holes onto the wall. Typically, the holder will have two or more mounting holes. Mark each hole by pressing the pencil or marker through the mounting holes of the holder.
3. Space the holes evenly: If your toilet paper holder has multiple mounting holes, make sure to space them evenly along the horizontal axis. This will provide stability and distribute the weight of the roll more effectively.
4. Include stud markings: If one or more of the mounting holes align with a wall stud, be sure to mark them as well. This will help you to screw directly into the studs for extra strength and stability.
5. Double-check the placement: Step back and examine the marked holes to ensure they are in the desired location and alignment. Make any adjustments if needed, ensuring that the holder is centered and level before proceeding.
By marking the mounting holes accurately, you will ensure that the toilet paper holder is properly positioned on the wall. It is important to take your time during this step to avoid any mistakes or misalignments. Once you are satisfied with the marked hole locations, you are ready to move on to the next step: drilling the holes in the wall.
Step 4: Drill the Holes
With the mounting holes marked on the wall, it’s time to drill the holes that will accommodate the mounting screws for your toilet paper holder. Here’s a step-by-step guide on how to drill the holes properly:
1. Select the right drill bit: Choose a drill bit that matches the diameter of the mounting screws provided with your toilet paper holder. If you are using wall anchors, select a drill bit that matches the size of the anchors.
2. Put on safety goggles: Before starting to drill, ensure that you are wearing safety goggles to protect your eyes from any debris or dust.
3. Attach the drill bit to your power drill: Insert the appropriate drill bit into the chuck of your power drill. Tighten it securely to ensure stability during the drilling process.
4. Begin drilling: Position the drill bit directly over one of the marked holes. Apply steady, firm pressure and start drilling slowly into the wall. Use a level to ensure that you are drilling at a straight angle. If you are drilling through tile or another hard surface, use a masonry drill bit and apply light pressure to avoid damaging the surface.
5. Drill to the appropriate depth: Drill the hole to the depth necessary for the mounting screws or wall anchors. Be cautious not to drill too deeply, as this can compromise the stability of the installation.
6. Repeat for all marked holes: Once the first hole is drilled, move on to the remaining marked holes and drill each one in the same manner. Take your time and maintain a steady hand to ensure accurate hole placement.
7. Remove any dust or debris: After drilling each hole, use a brush or vacuum to clean out any dust or debris from the holes. This will ensure a proper fit for the mounting screws or wall anchors.
By following these steps, you will successfully drill the necessary holes for your toilet paper holder. Remember to take your time, use caution, and double-check the hole placements before proceeding to the next step. Once the holes are drilled, you can move on to step 5: inserting wall anchors if necessary.
Before installing a toilet paper holder in the wall, use a stud finder to locate a suitable spot for mounting. This will ensure a secure and sturdy installation.
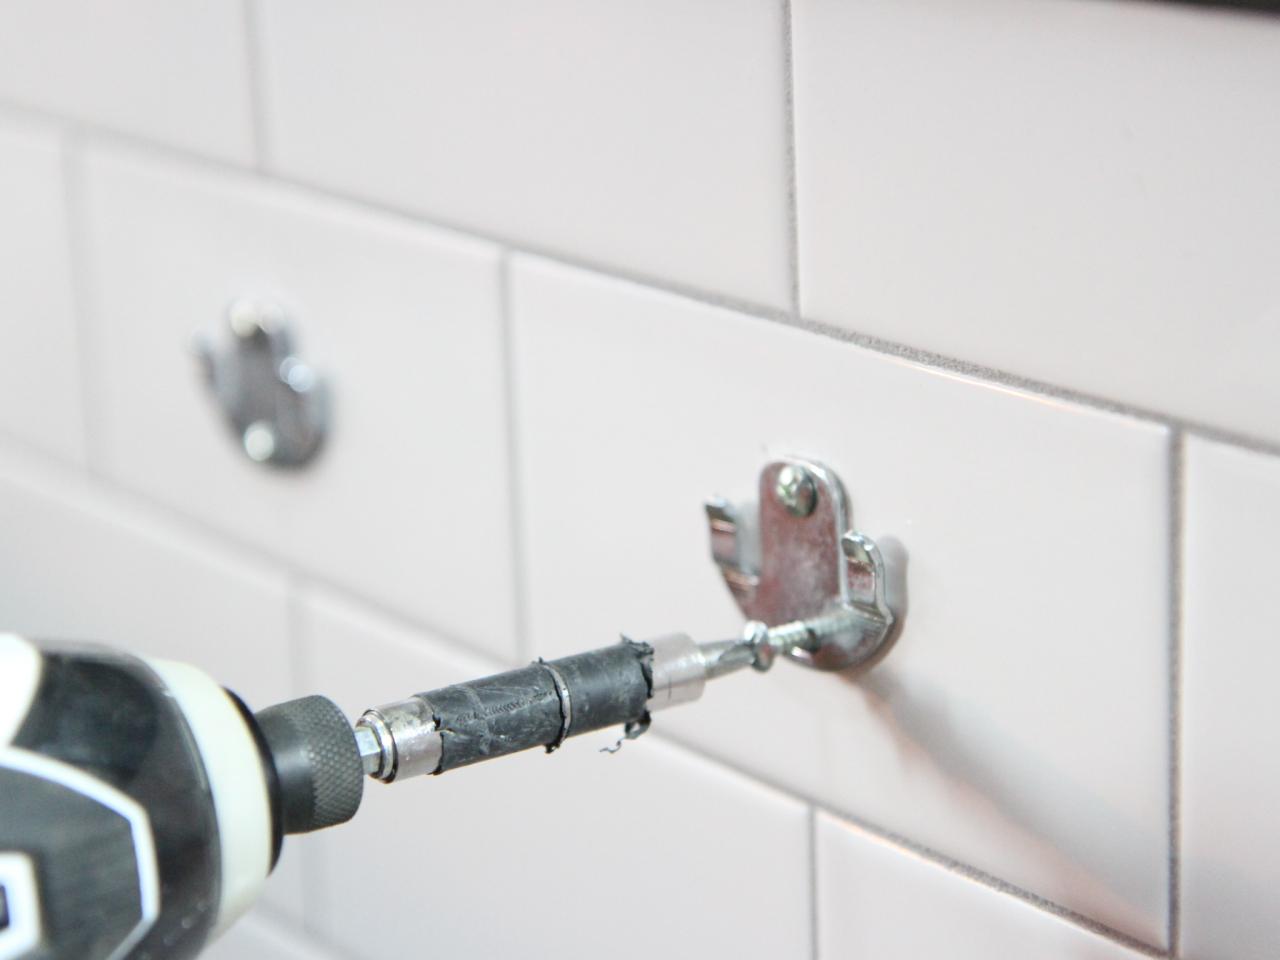
Step 5: Insert Wall Anchors (if needed)
If you are not able to directly mount the toilet paper holder onto a wall stud, you will need to use wall anchors for additional support. Wall anchors are essential for ensuring that the screws hold securely into the wall material. Here’s how to insert wall anchors if needed:
1. Select the appropriate wall anchors: Choose wall anchors that are suitable for the type of wall material you have, such as drywall, plaster, or tile. There are various types of wall anchors available, including plastic anchors, toggle bolts, or molly bolts. Refer to the packaging of the wall anchors for guidance on the weight capacity and installation instructions.
2. Match the anchor size to the drill hole: Determine the size of the hole required for the selected wall anchors. If your anchors come with specific drill bit sizes, use the corresponding drill bit to make the hole in the wall. Ensure that the hole diameter matches the size of the anchor.
3. Insert the wall anchor: Insert the wall anchor into the drilled hole. Tap it lightly with a hammer to ensure it is flush with the wall surface. If using a toggle bolt or molly bolt, follow the specific instructions provided with the anchor for proper installation.
4. Repeat for additional wall anchors: If multiple holes require wall anchors, repeat the process for each hole. Space the anchors evenly along the horizontal axis to distribute the weight of the toilet paper holder.
5. Check the anchor stability: After inserting the wall anchors, give them a gentle tug to ensure they are securely in place. If they feel loose or wobbly, remove the anchor and try a larger size or a different type of anchor.
Wall anchors provide stability and prevent the screws from pulling out of the wall, especially in materials like drywall that may not have the necessary strength to hold the weight of the toilet paper holder on its own. Always follow the manufacturer’s instructions for the wall anchors to ensure a proper installation.
Now that the wall anchors are in place, you are ready to move on to the next step: mounting the toilet paper holder onto the wall.
Step 6: Mount the Toilet Paper Holder
With the mounting holes prepared and the wall anchors inserted (if necessary), it’s time to mount the toilet paper holder onto the wall. This step will secure the holder in place, allowing it to support the weight of the toilet paper roll. Follow these steps for a successful installation:
1. Align the holder with the mounting holes: Position the toilet paper holder over the marked mounting holes on the wall. Ensure that it is centered, level, and aligned with your desired orientation.
2. Insert the screws or bolts: Take the mounting screws or bolts that came with your toilet paper holder and insert them through the mounting holes on the holder. If wall anchors were used, align the holes in the holder with the wall anchors.
3. Start screwing in the mounting screws or bolts: Using a screwdriver or drill, begin tightening the screws or bolts into the wall or wall anchors. Start with a gentle tightening and gradually increase the force until they are securely fastened. Be careful not to overtighten, as this can cause damage to the holder or the wall.
4. Check for stability: Once all the screws or bolts are securely fastened, check the stability of the toilet paper holder. Give it a gentle tug to ensure it is firmly attached to the wall. If there is any wobbling or instability, double-check the tightness of the screws or bolts.
5. Make minor adjustments if needed: If the holder is not aligned to your liking, you can make minor adjustments by loosening the screws or bolts slightly and repositioning the holder. Once adjusted, tighten the screws or bolts again.
6. Remove any visible marks: If there are any pencil or marker marks on the wall from the previous steps, use an eraser or a damp cloth to gently remove them.
By following these steps, you will correctly mount the toilet paper holder onto the wall. Take your time during the process to ensure proper alignment and secure attachment. Once the holder is securely mounted, you can move on to the next step: attaching the toilet paper bar.
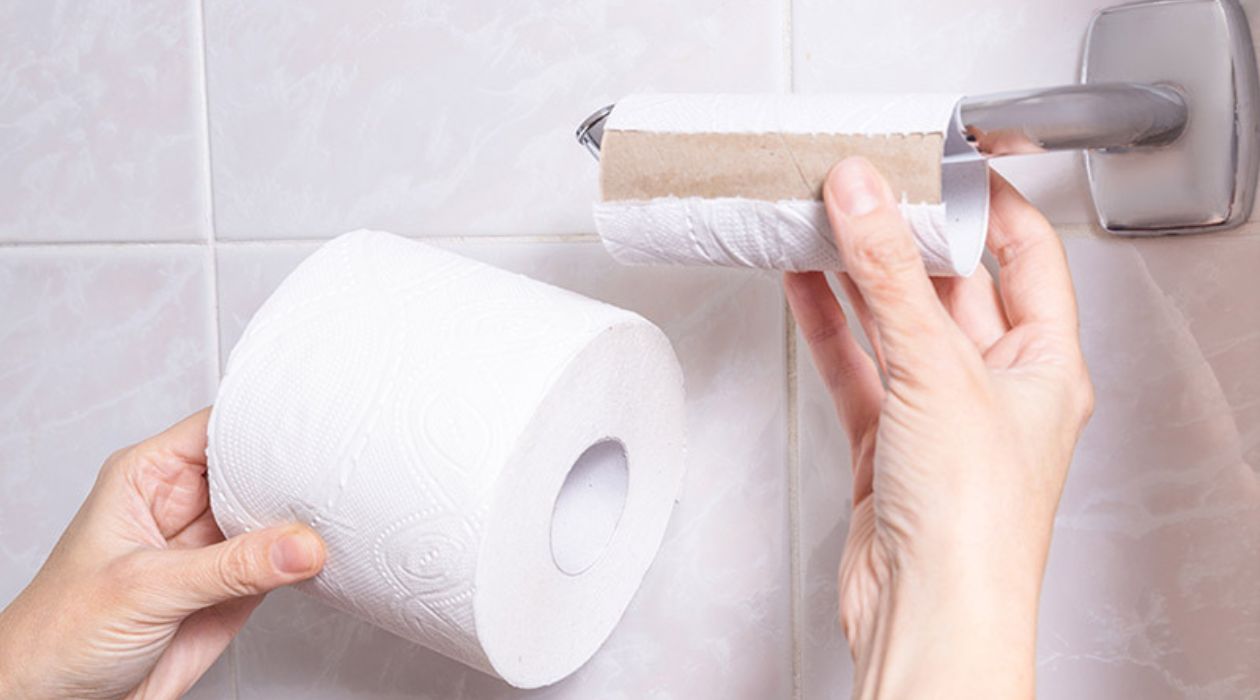
Step 7: Attach the Toilet Paper Bar
Now that the toilet paper holder is securely mounted on the wall, it’s time to attach the toilet paper bar. This is the final step in the installation process and will allow you to conveniently hang and dispense toilet paper rolls. Follow these steps to attach the toilet paper bar:
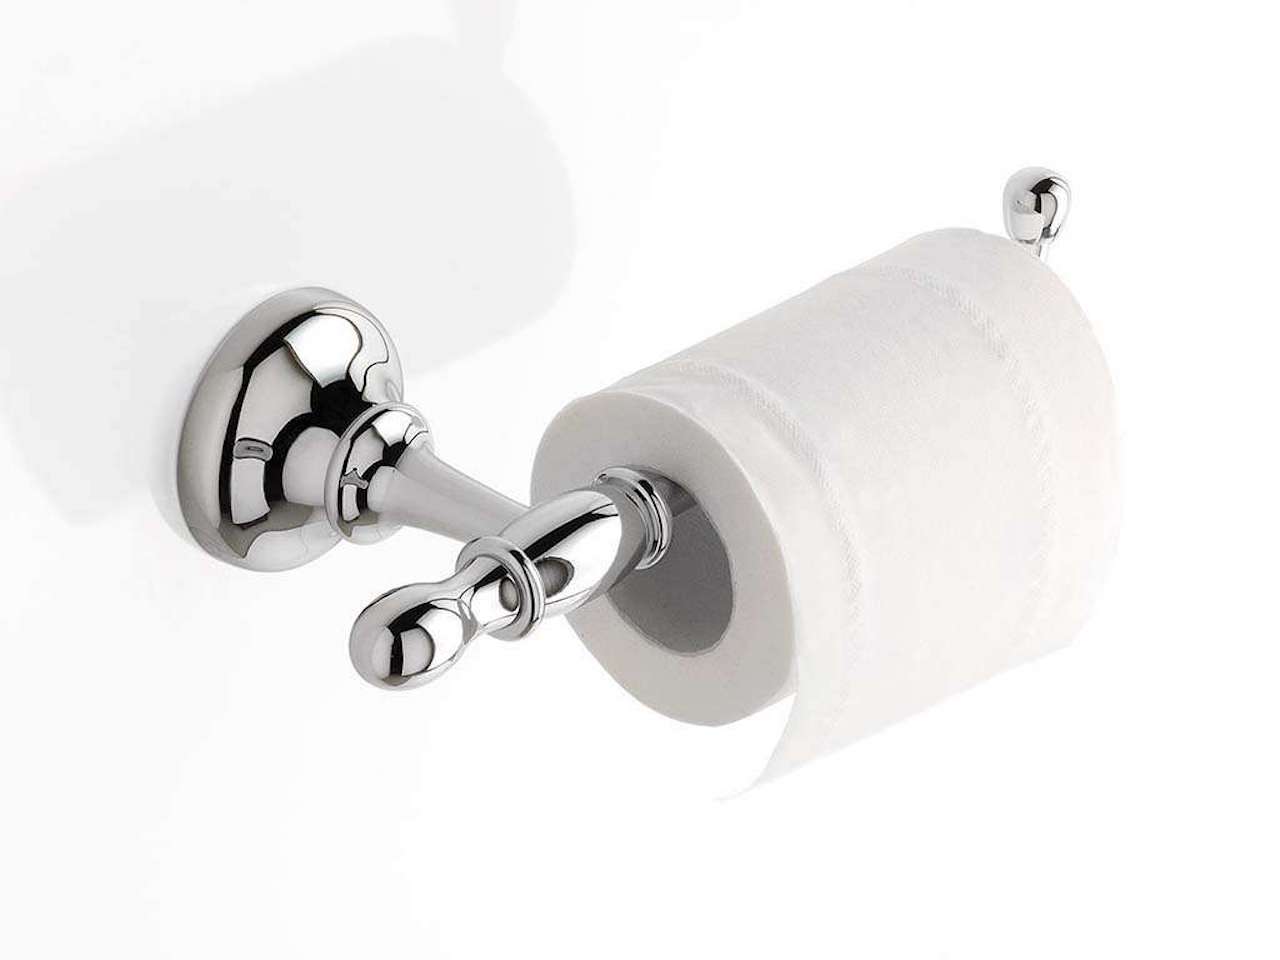
1. Locate the toilet paper bar: Find the toilet paper bar that comes with your holder. It is usually a cylindrical rod or bar that holds the toilet paper roll.
2. Insert the bar into the holder: Depending on the design of your toilet paper holder, you will either slide the bar horizontally into the holders or snap it into place. Follow the specific instructions provided with your toilet paper holder to attach the bar correctly.
3. Test the movement of the toilet paper bar: Gently pull on the toilet paper bar to ensure that it moves smoothly and rotates without any obstructions. The bar should rotate freely so that you can easily replace the toilet paper rolls when needed.
4. Adjust the tightness, if necessary: If the bar feels too loose or tight, you may be able to adjust the tension. Some holders have screws or mechanisms that can be tightened or loosened to adjust the grip on the toilet paper bar. Refer to the manufacturer’s instructions to make any necessary adjustments.
5. Verify alignment and levelness: Check the alignment and levelness of the toilet paper bar. Ensure that it is parallel to the floor and visually aligned with the holder. Make any slight adjustments if needed.
6. Test functionality: Pull on the loose end of the toilet paper to verify that it dispenses smoothly and the roll spins freely. This will ensure that the toilet paper is easily accessible and ready for use.
Congratulations! You have successfully attached the toilet paper bar to the holder. Now your toilet paper holder is fully installed and ready for use. Take a moment to admire your handiwork and enjoy the convenience and functionality it adds to your bathroom.
In the next and final step, we will cover testing and making any necessary adjustments to ensure that everything is working as desired.
Step 8: Test and Adjust
After completing the installation of your toilet paper holder, it’s important to test its functionality and make any necessary adjustments. This final step ensures that everything is working properly and meets your needs. Follow these steps to test and adjust your toilet paper holder:
1. Test the roll placement: Grab a toilet paper roll and slide it onto the toilet paper bar. Make sure it sits securely and does not slide off. Give it a gentle tug to ensure it stays in place.
2. Check for smooth rotation: Rotate the toilet paper bar to unroll a few sheets of toilet paper. Pay attention to the rotation and make sure it moves smoothly without any obstructions. If the roll is difficult to rotate or gets stuck, try adjusting the tightness of the holder or realigning the toilet paper bar.
3. Assess stability and alignment: While using the toilet paper, check the stability and alignment of the holder. Ensure that it remains securely mounted to the wall and does not wobble or shift under normal use. If you notice any issues, examine the mounting screws or bolts and tighten them if necessary.
4. Make adjustments if needed: If you encounter any issues during the testing phase, make the necessary adjustments. This might involve tightening screws or bolts, realigning the holder, or adjusting the tension of the toilet paper bar. Refer to the manufacturer’s instructions for guidance on making specific adjustments.
5. Re-test the functionality: Once you have made any adjustments, re-test the functionality of the toilet paper holder. Verify that the roll slides smoothly, unrolls without resistance, and remains secure on the bar. Make any additional adjustments as needed.
By thoroughly testing and adjusting your toilet paper holder, you can ensure that it functions optimally and provides the convenience you desire. Take your time during this step to fine-tune the installation and make any necessary tweaks for a seamless user experience.
Congratulations! You have successfully installed and tested your new toilet paper holder. Enjoy the convenience of having your toilet paper readily accessible and neatly organized in your bathroom.
Conclusion
Installing a toilet paper holder in the wall is a simple yet impactful home improvement project that adds convenience and functionality to your bathroom. By following the steps outlined in this guide, you can successfully mount a toilet paper holder and enjoy easy access to toilet paper rolls.
Starting with choosing the right location, considering factors such as reach, clearance, and aesthetics, you can ensure that the holder is positioned optimally. Locating the wall studs provides a sturdy base for the installation, while marking the mounting holes and drilling them allows for secure attachment.
If wall studs are not available, inserting wall anchors provides additional support. From there, mounting the toilet paper holder onto the wall and attaching the toilet paper bar completes the installation process. It’s important to test the functionality and adjust as needed to ensure smooth rotation and stability.
Remember to gather the necessary tools and materials before beginning the installation, and always prioritize safety by wearing protective gear.
By installing a toilet paper holder in the wall, you eliminate the need for freestanding or countertop holders, decluttering your bathroom and maximizing space. Not only does it keep your toilet paper within easy reach, but it also adds a decorative element to your bathroom, enhancing its overall appearance.
Whether you consider yourself a DIY expert or a novice, this step-by-step guide has provided you with the knowledge and tools necessary to successfully install a toilet paper holder in the wall. With a little effort and attention to detail, you can complete this project and enjoy the convenience it brings for years to come.
So, go ahead and upgrade your bathroom by installing a toilet paper holder in the wall. Your future self and your guests will thank you for the added convenience and functionality it provides. Happy installing!
Frequently Asked Questions about How To Install A Toilet Paper Holder In The Wall
Was this page helpful?
At Storables.com, we guarantee accurate and reliable information. Our content, validated by Expert Board Contributors, is crafted following stringent Editorial Policies. We're committed to providing you with well-researched, expert-backed insights for all your informational needs.


0 thoughts on “How To Install A Toilet Paper Holder In The Wall”