Home>Articles>How To Remove A Toilet Paper Holder Without Screws
Articles
How To Remove A Toilet Paper Holder Without Screws
Modified: October 19, 2024
Learn how to easily remove a toilet paper holder with no screws using simple techniques and tools. Find step-by-step instructions and helpful tips in this informative article.
(Many of the links in this article redirect to a specific reviewed product. Your purchase of these products through affiliate links helps to generate commission for Storables.com, at no extra cost. Learn more)
Introduction
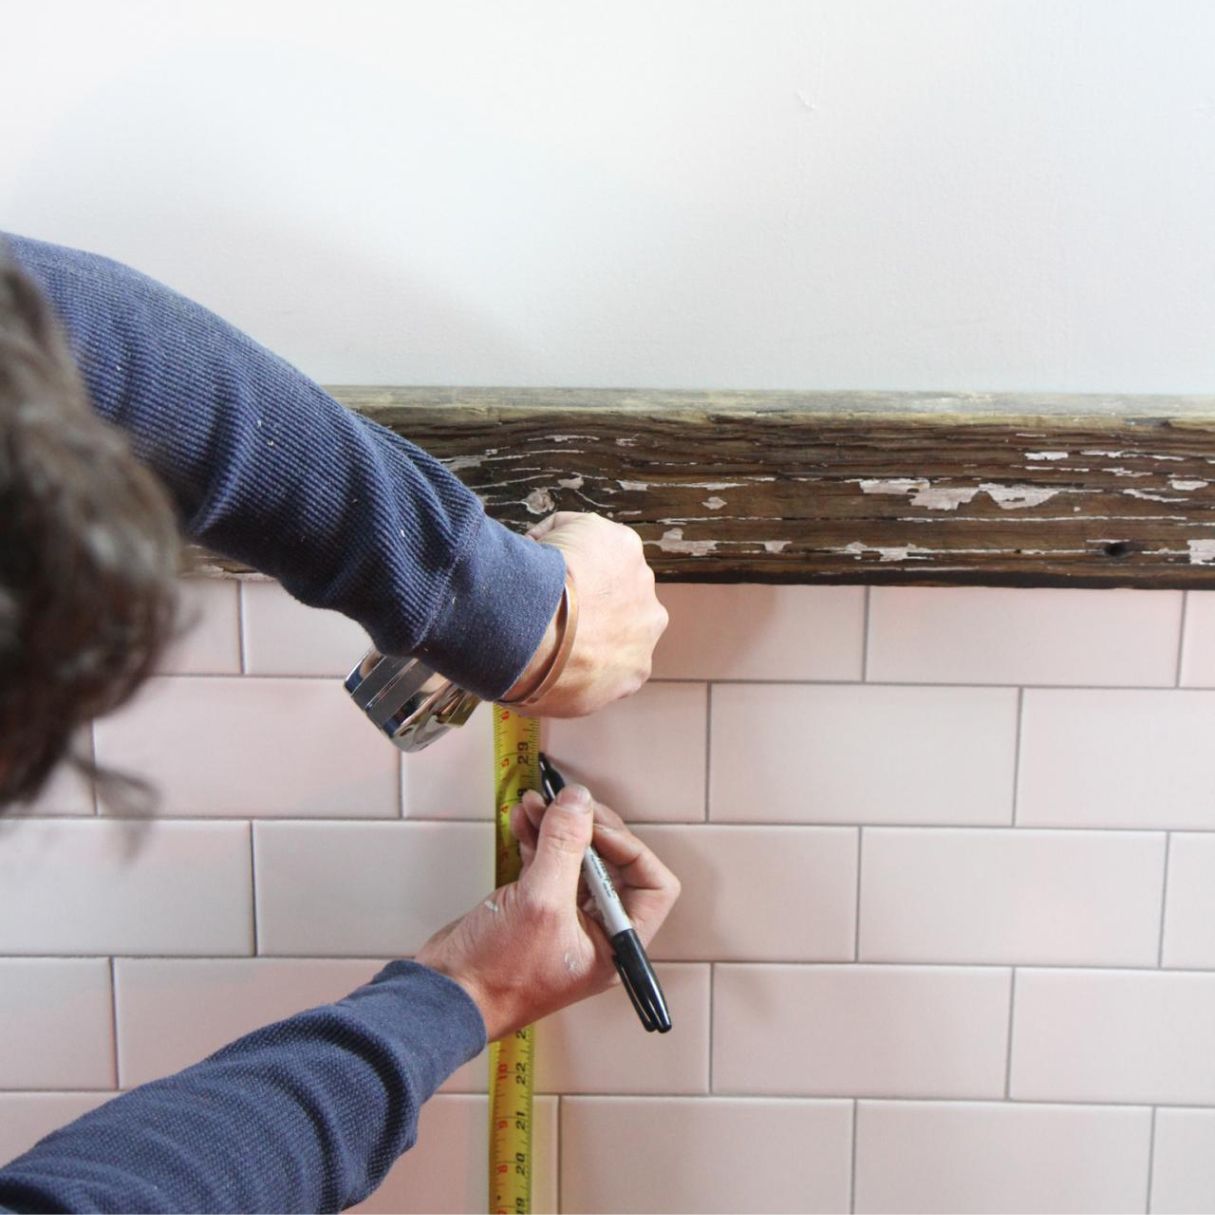
In most bathrooms, a toilet paper holder is an essential accessory that ensures convenience and organization. However, there may come a time when you need to remove a toilet paper holder, either to replace it with a new one or to make repairs. While removing a toilet paper holder with screws is relatively straightforward, some holders are installed using different methods that may not be immediately obvious.
In this article, we will explore different methods on how to remove a toilet paper holder with no screws. Whether your toilet paper holder is glued to the wall, has a spring-loaded mechanism, hidden screws, or requires a twist-and-lift technique, we’ve got you covered. Let’s dive in!
Key Takeaways:
- Easily remove a toilet paper holder with no screws using methods such as adhesive removal, spring-loaded mechanism release, hidden screw identification, and twist-and-lift technique. Each method requires patience and attention to detail to avoid damaging the wall.
- Whether your toilet paper holder is glued, spring-loaded, or has hidden screws, the right tools and techniques can safely remove it. Take your time, follow the steps carefully, and be prepared to make repairs or install a new holder afterward.
Read more: How To Screw On Toilet Paper Holder
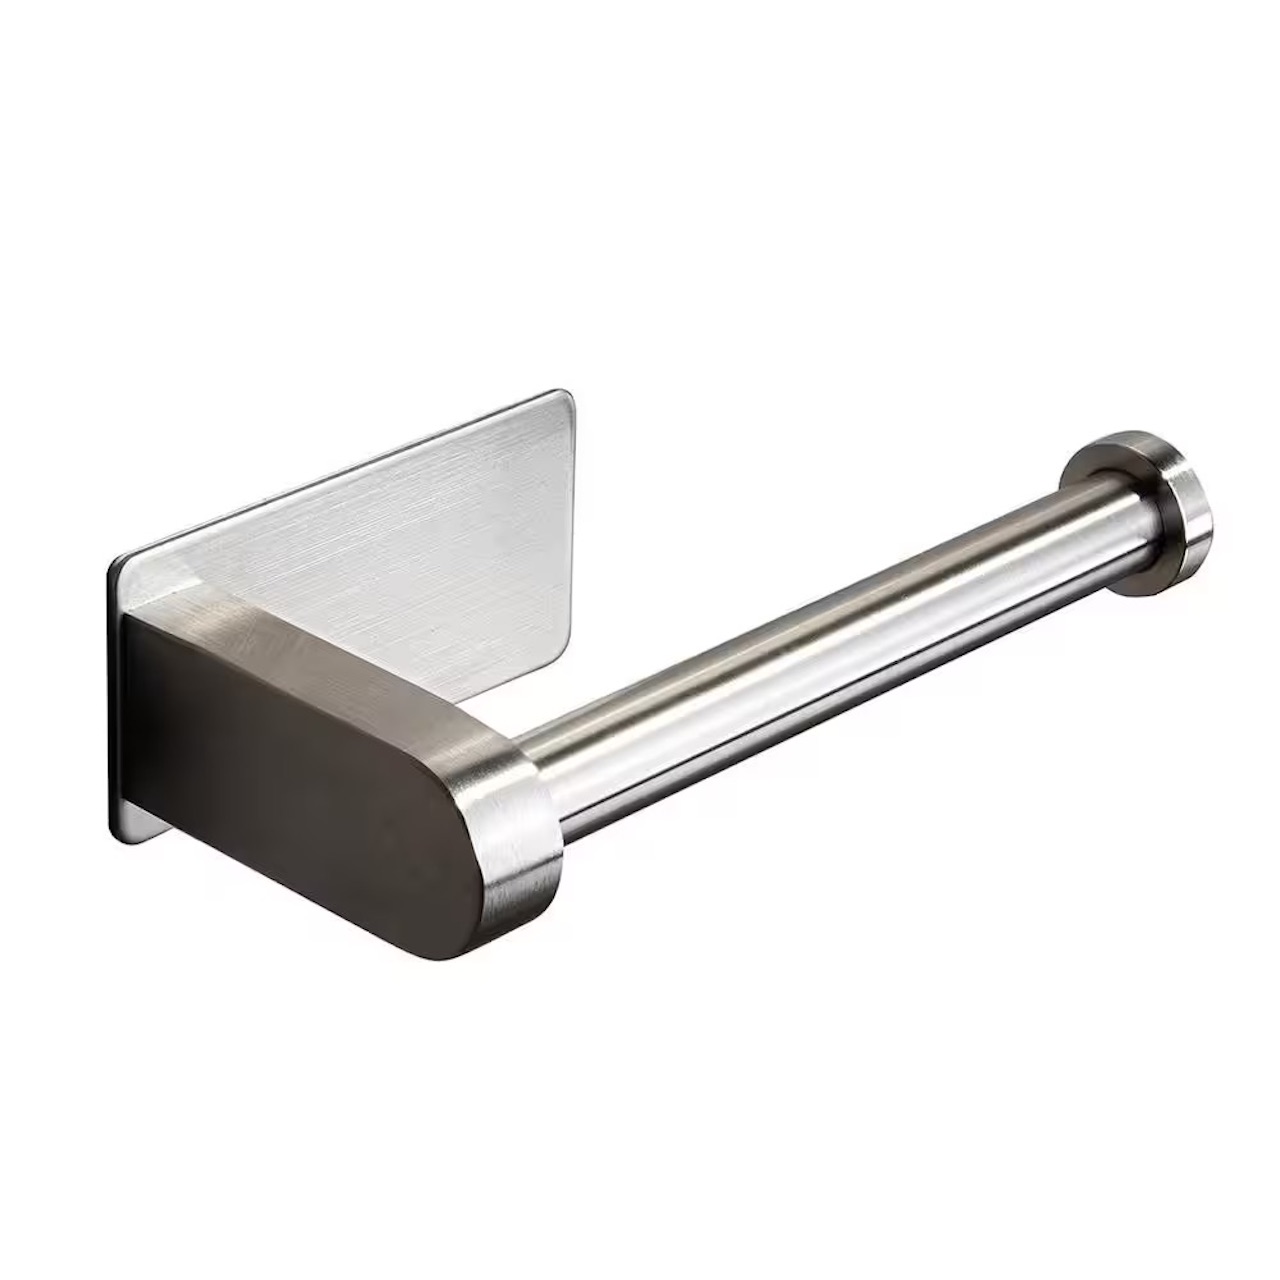
Method 1: Adhesive Removal
One common way to install a toilet paper holder is by using adhesive. This method eliminates the need for screws, making removal slightly more challenging. However, with the right techniques, you can safely remove the toilet paper holder without damaging the wall.
To begin, gather the necessary tools and materials, including a hairdryer, dental floss or fishing line, and adhesive remover. Start by heating the adhesive with the hairdryer, keeping it a few inches away from the holder. The warmth will help soften the adhesive, making it easier to remove.
Once the adhesive is warmed up, take the dental floss or fishing line and gently slide it behind the toilet paper holder. Use a sawing motion to work the floss or line back and forth, cutting through the adhesive. Take extra care not to scratch or damage the wall surface.
If the adhesive is stubborn and does not yield easily, consider applying an adhesive remover. This can help break down the adhesive and make it easier to remove. Be sure to follow the instructions on the adhesive remover product and use it sparingly to avoid damaging the wall paint or finish.
Continue to work the dental floss or fishing line behind the entire toilet paper holder, separating it from the wall. Once the holder is free, gently pull it away from the wall, exerting steady pressure but being careful not to force it.
After removing the toilet paper holder, you may notice some adhesive residue left behind on the wall. To remove this residue, use a mild adhesive remover or rubbing alcohol. Apply the remover to a clean cloth or sponge and gently scrub the residue until it is completely gone. Finally, wipe the area clean with a damp cloth to remove any remaining traces of adhesive remover.
With the adhesive removed, you can now proceed with installing a new toilet paper holder or make any necessary repairs or adjustments to the wall surface.
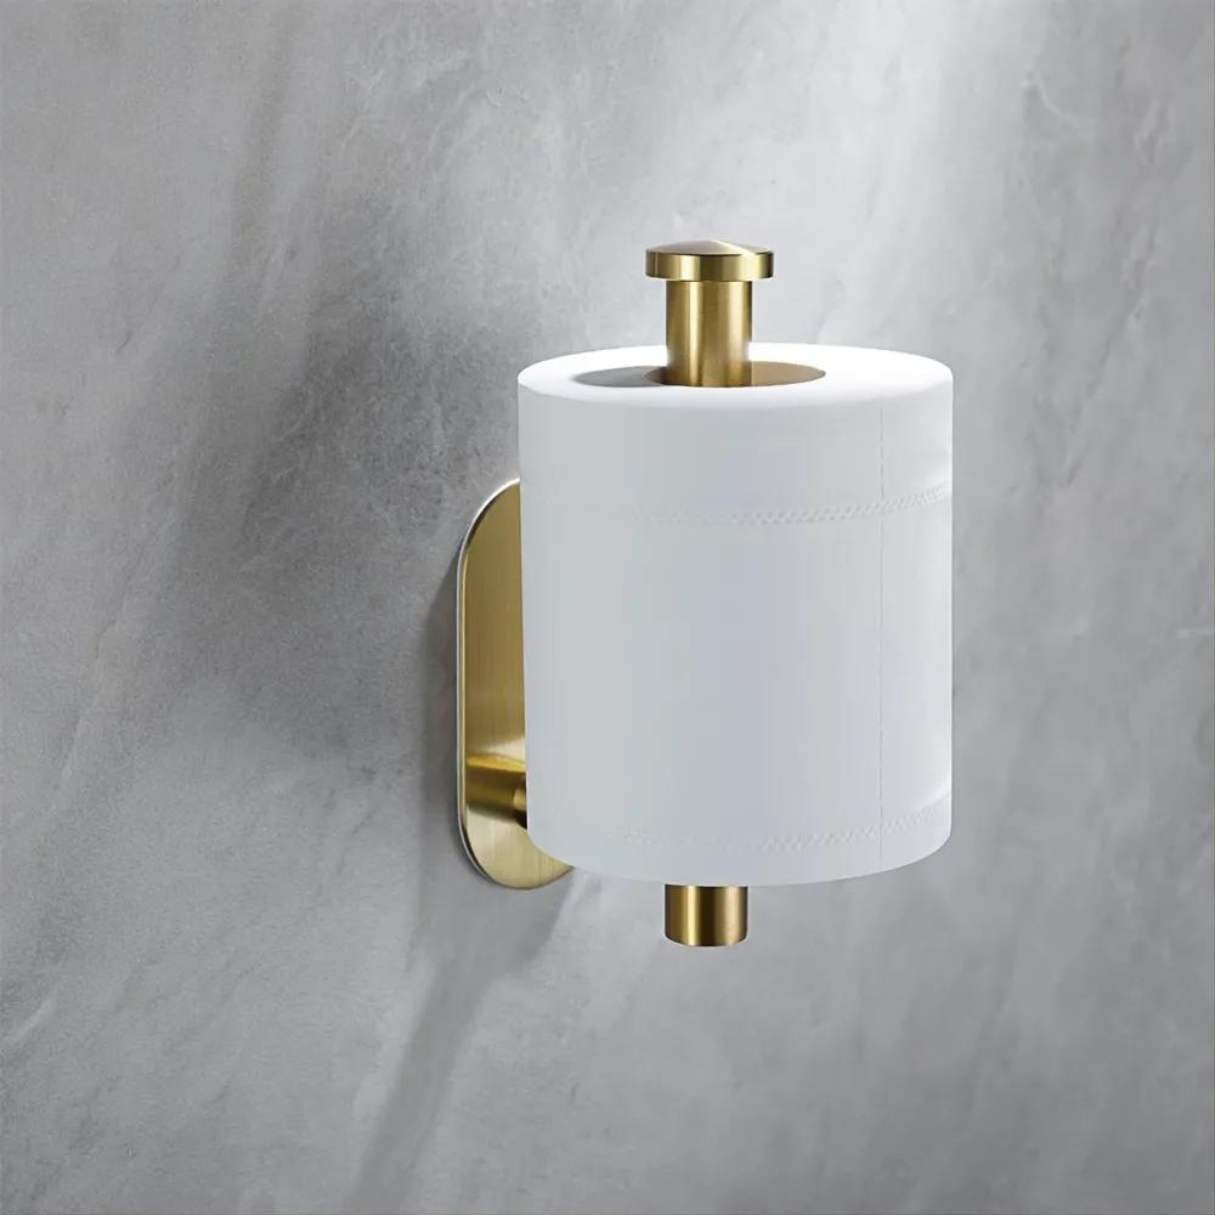
Method 2: Spring-Loaded Mechanism Removal
Some toilet paper holders are designed with a spring-loaded mechanism that holds the roll in place. These holders often do not have visible screws, which may perplex you when attempting to remove them. However, with the right technique, you can easily uninstall a toilet paper holder with a spring-loaded mechanism.
Start by identifying the type of spring-loaded mechanism your holder has. Most spring-loaded holders have a small release button or lever located on the side or bottom of the holder. This button or lever is designed to release the spring tension and allow you to remove the holder.
Locate the release button or lever on your toilet paper holder. Press or depress it to release the tension in the spring. You may need to use a screwdriver or another small tool to activate the release mechanism.
Once the tension is released, gently lift the holder away from the wall, taking care not to force it or cause any damage. If the holder doesn’t come off easily, double-check that the release mechanism has been fully activated.
If your toilet paper holder does not have a visible release button or lever, it may have a concealed release mechanism. In this case, examine the holder for any small tabs, slots, or openings. Use a thin, flat object such as a small screwdriver or a butter knife to pry open any hidden compartments, releasing the spring tension and allowing you to remove the holder.
After successfully removing the spring-loaded toilet paper holder, you can proceed with installing a new one or making any necessary repairs or adjustments to the wall surface. Remember to keep the screws, brackets, or any other parts of the new holder in a safe place until you’re ready to install it.
By following these steps, you’ll be able to remove a toilet paper holder with a spring-loaded mechanism easily. Now you can replace it with a new one or explore other styles and designs to match your bathroom decor.
Look for a small tab or cover on the base of the toilet paper holder. Use a flathead screwdriver to gently pry it open and reveal the hidden screws. Unscrew them to remove the holder.
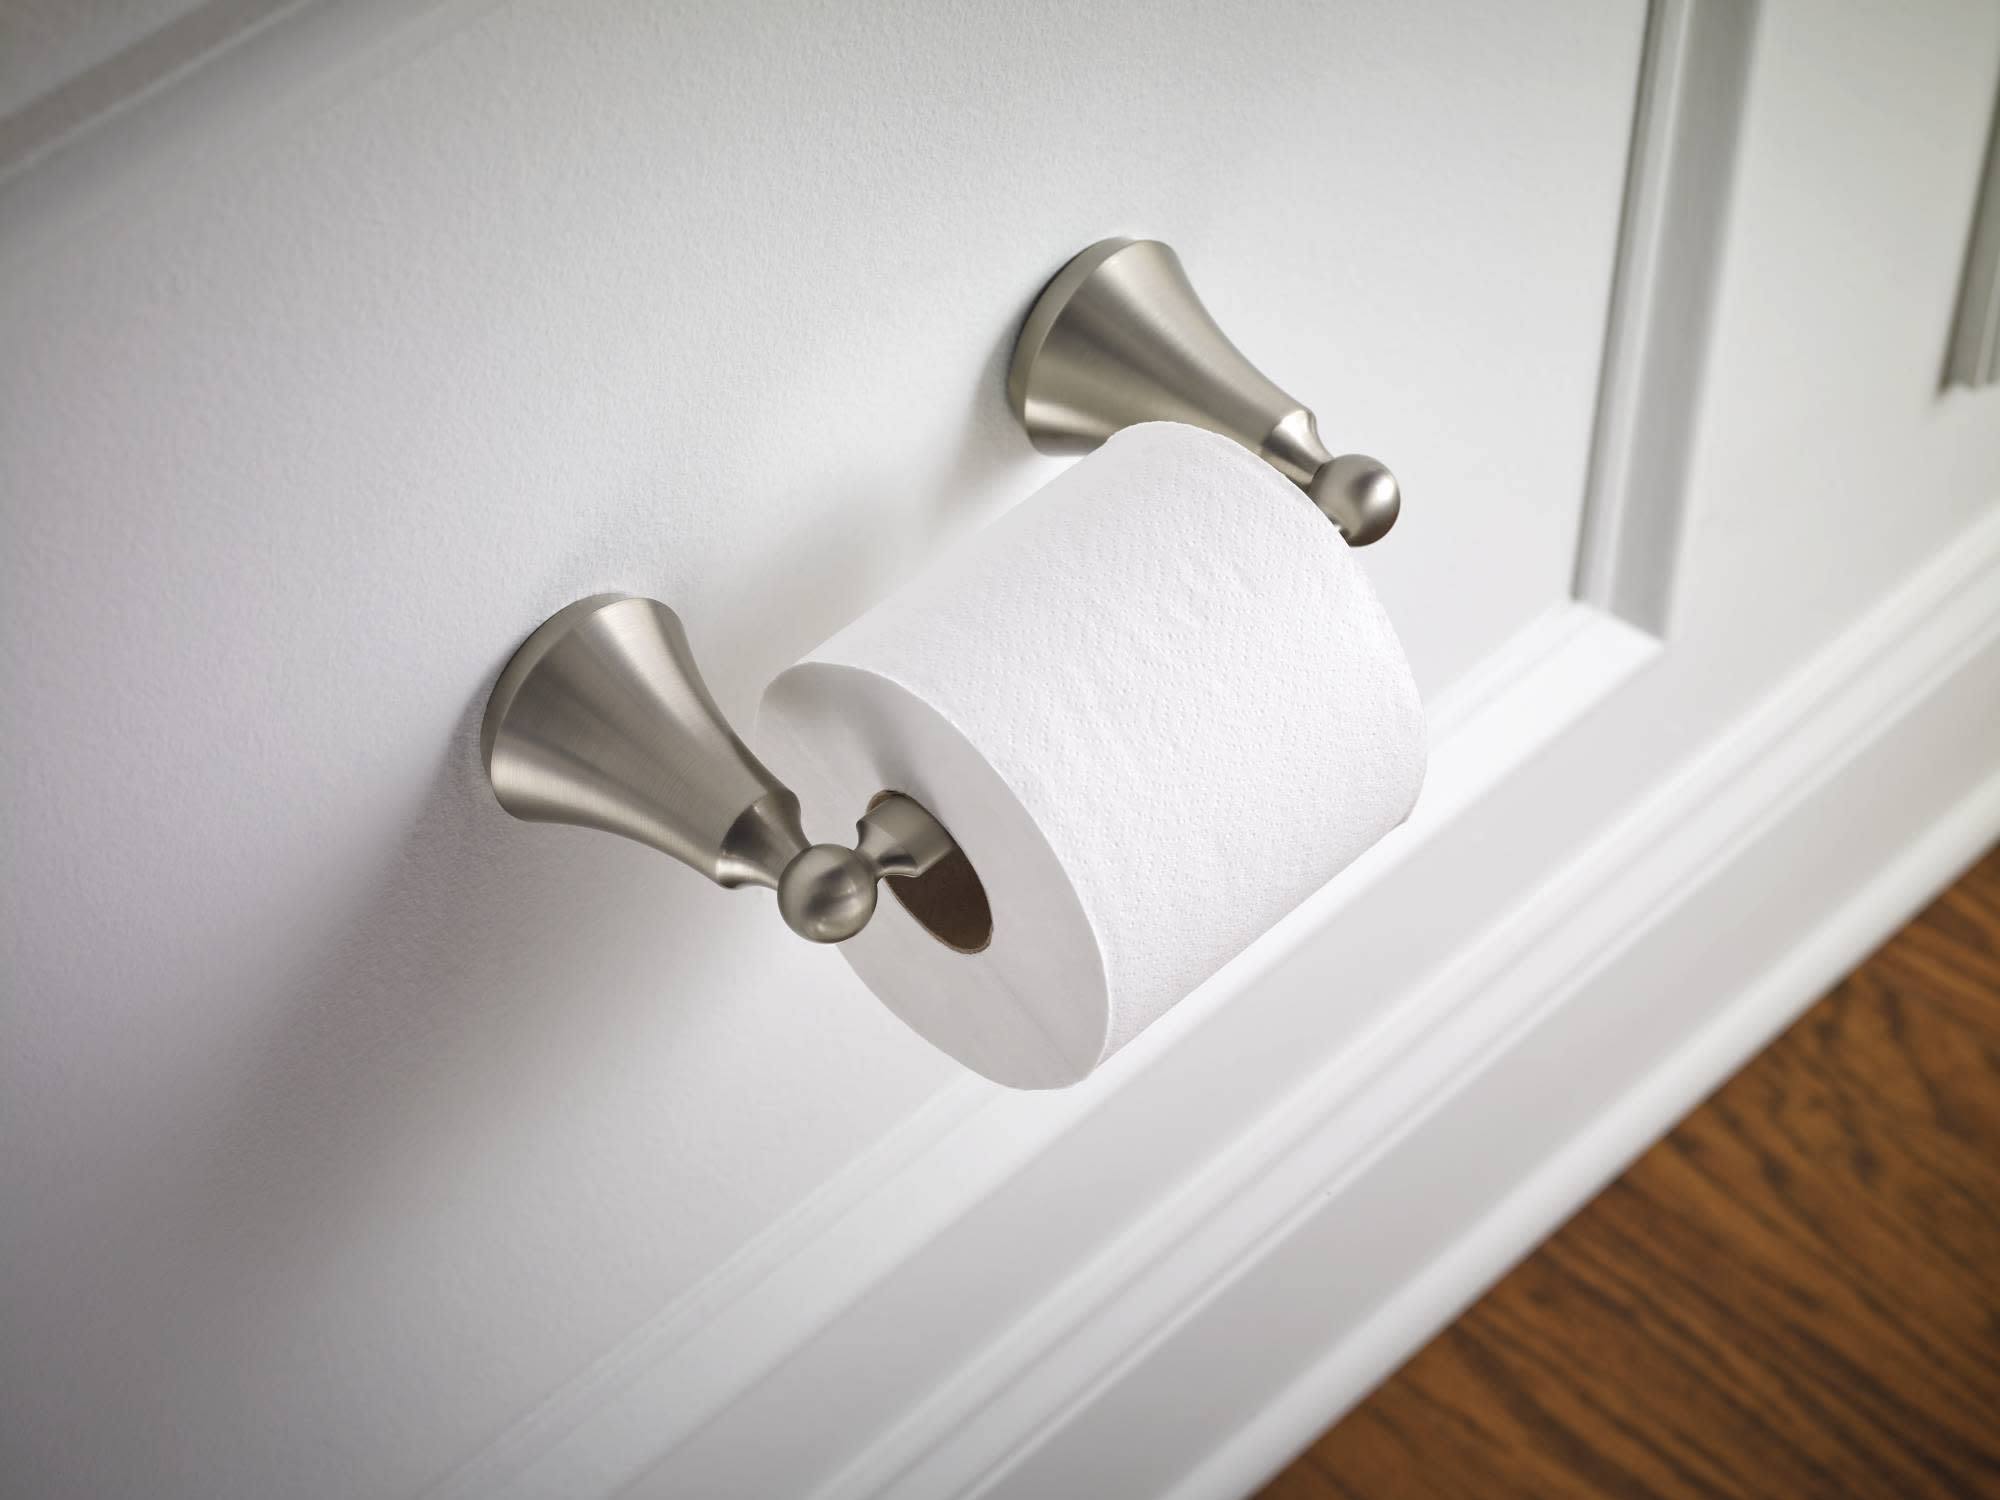
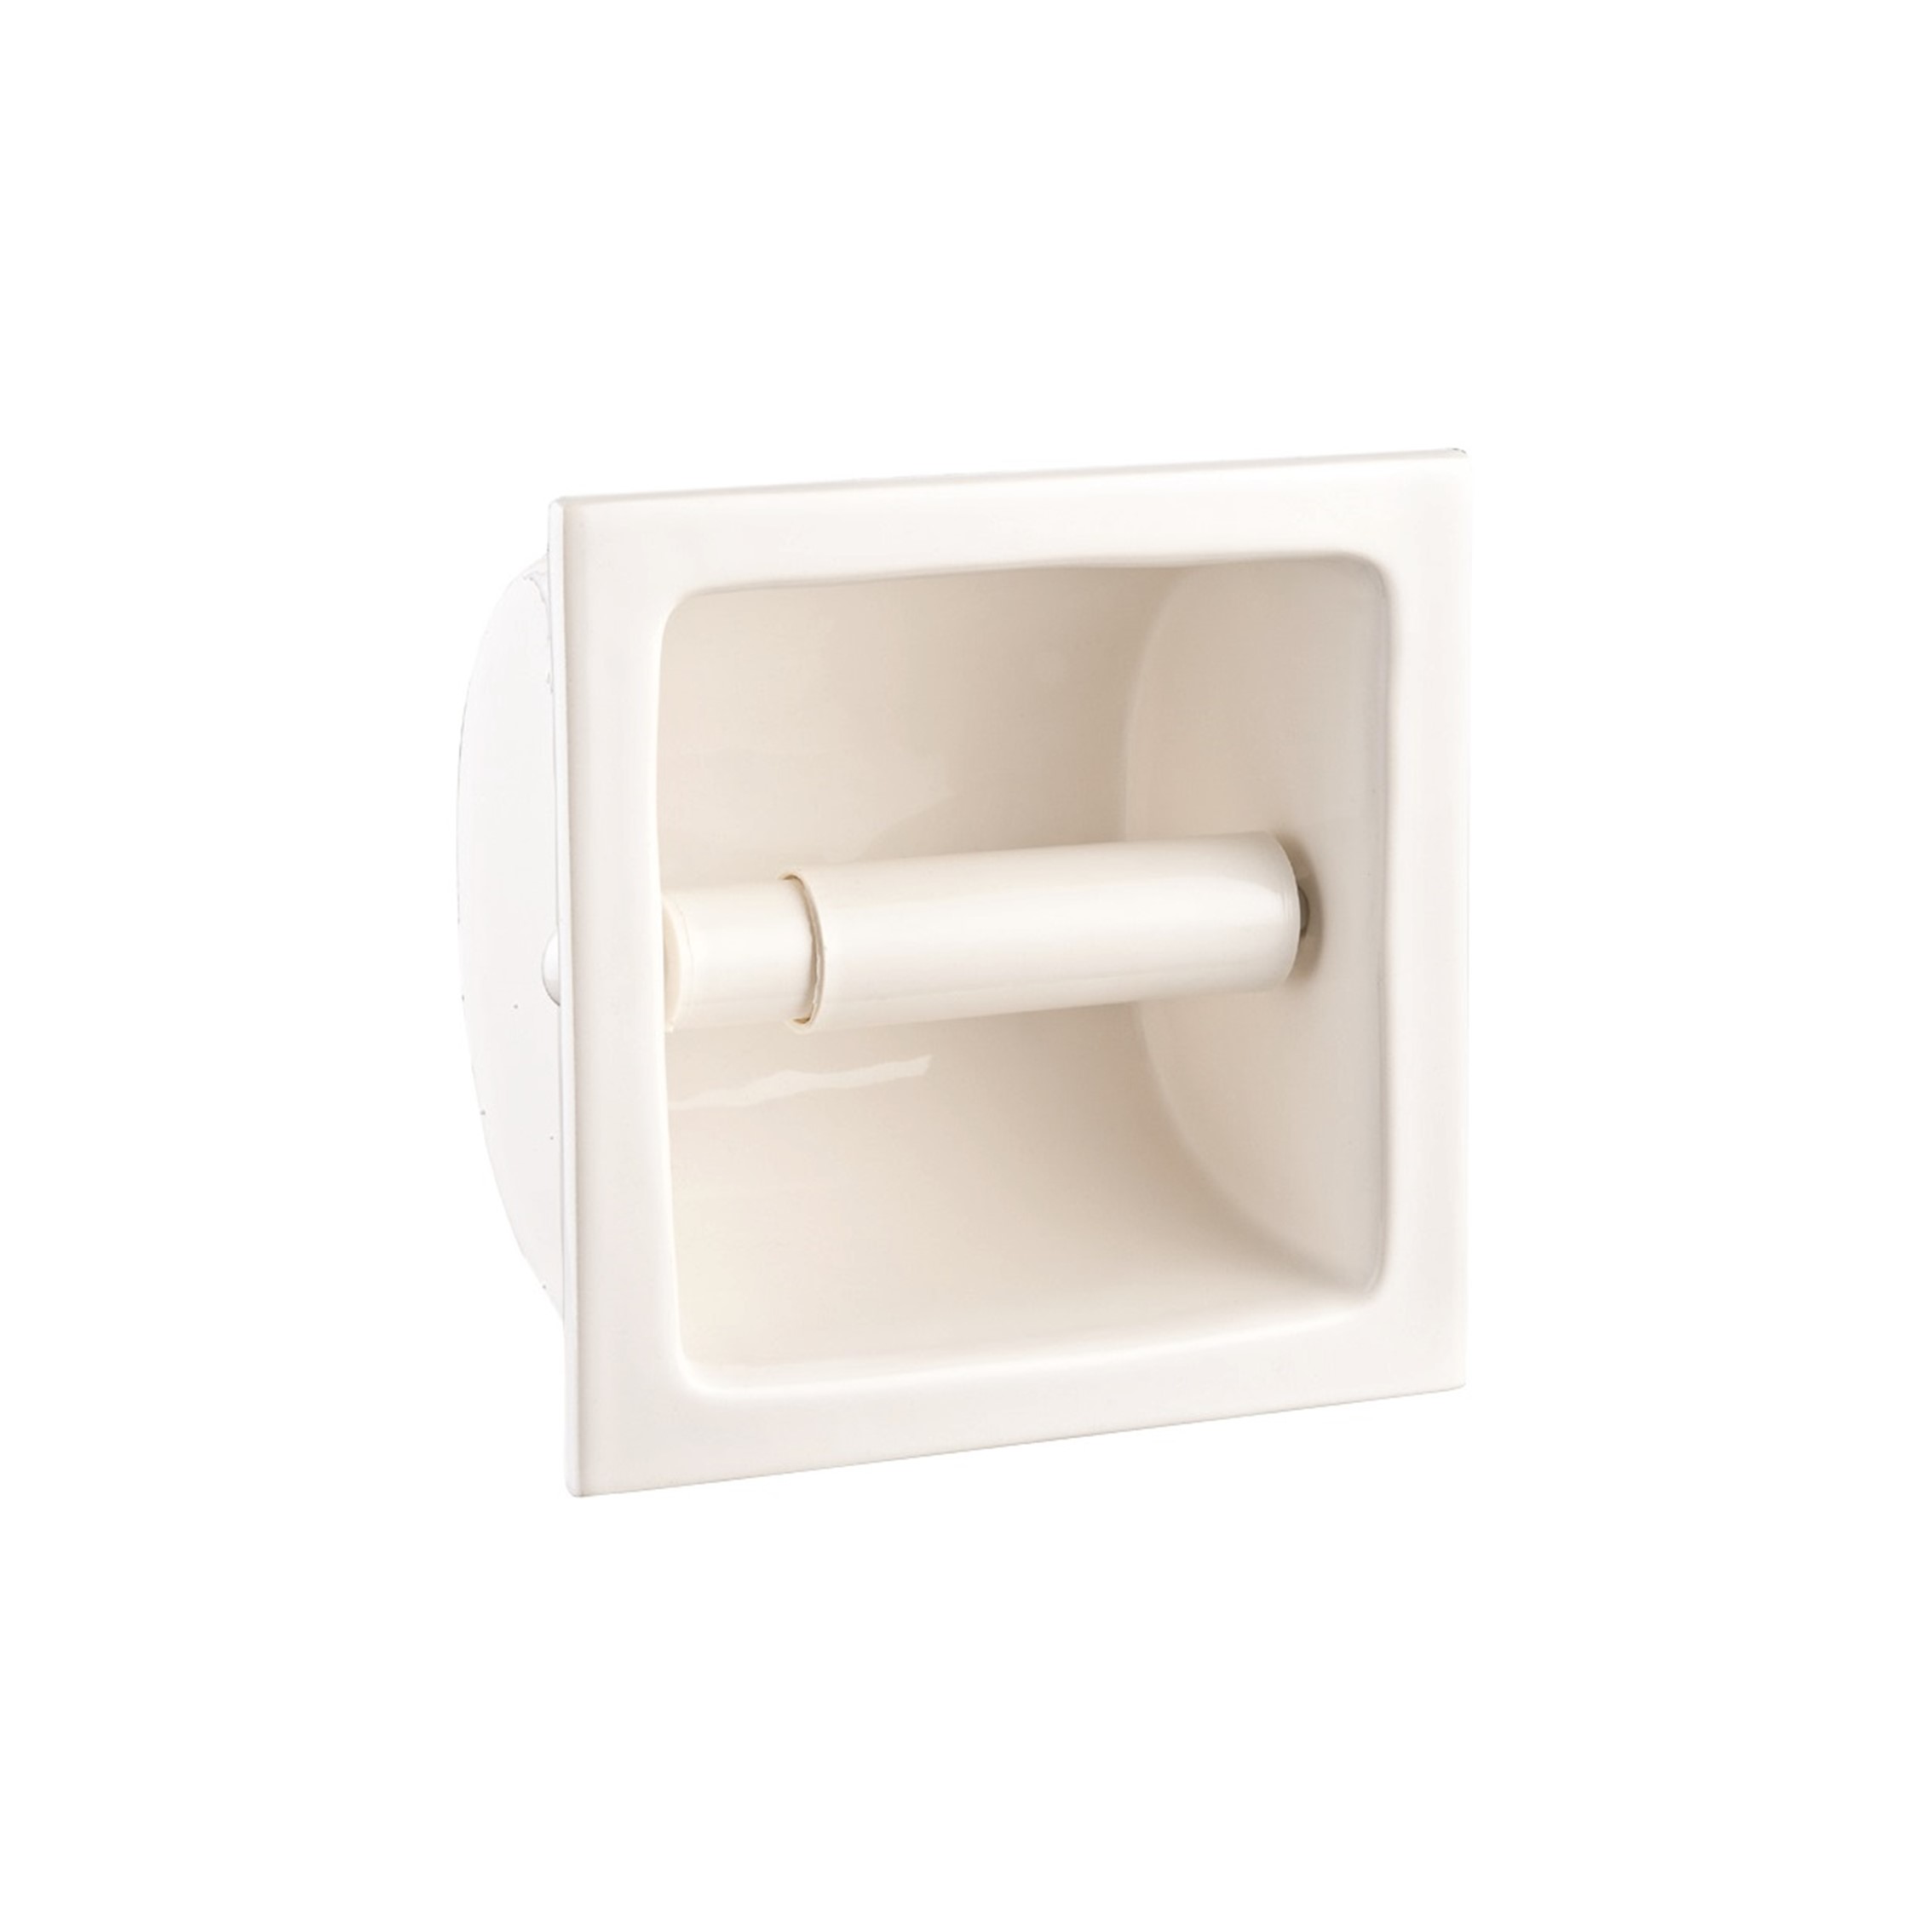
Method 3: Hidden Screw Removal
Some toilet paper holders are designed with hidden screws, which can make the removal process a bit more challenging. However, with a keen eye and the right tools, you can successfully remove a toilet paper holder with hidden screws.
Start by inspecting the holder closely to identify any areas where the screws may be hidden. Look for small caps or covers that may be masking the screws. These caps are often located on the sides or bottom of the holder, where they blend seamlessly with the design.
Once you’ve identified the screw covers, use a thin, flat tool such as a flathead screwdriver or a butter knife to gently pry them open. Apply light pressure and insert the tool into the small gap between the cover and the holder. With a gentle twisting motion, the cover should pop off, revealing the hidden screws.
After exposing the hidden screws, use a screwdriver that matches the size and shape of the screws to remove them. Turn the screws counterclockwise to loosen and remove them completely. Make sure to keep track of the screws as you remove them to avoid misplacing them.
Once the screws are removed, gently pull the toilet paper holder away from the wall, taking care not to damage the surrounding area. If the holder feels stuck, double-check that all the screws have been completely removed.
After successfully removing the toilet paper holder, you can proceed with installing a new holder or making any necessary repairs or adjustments to the wall surface. Remember to save the screws if you plan on reusing them or keep them as a reference when purchasing new ones.
With patience and attention to detail, removing a toilet paper holder with hidden screws can be done without much difficulty. Take your time, and don’t hesitate to seek professional help if you encounter any challenges during the process.
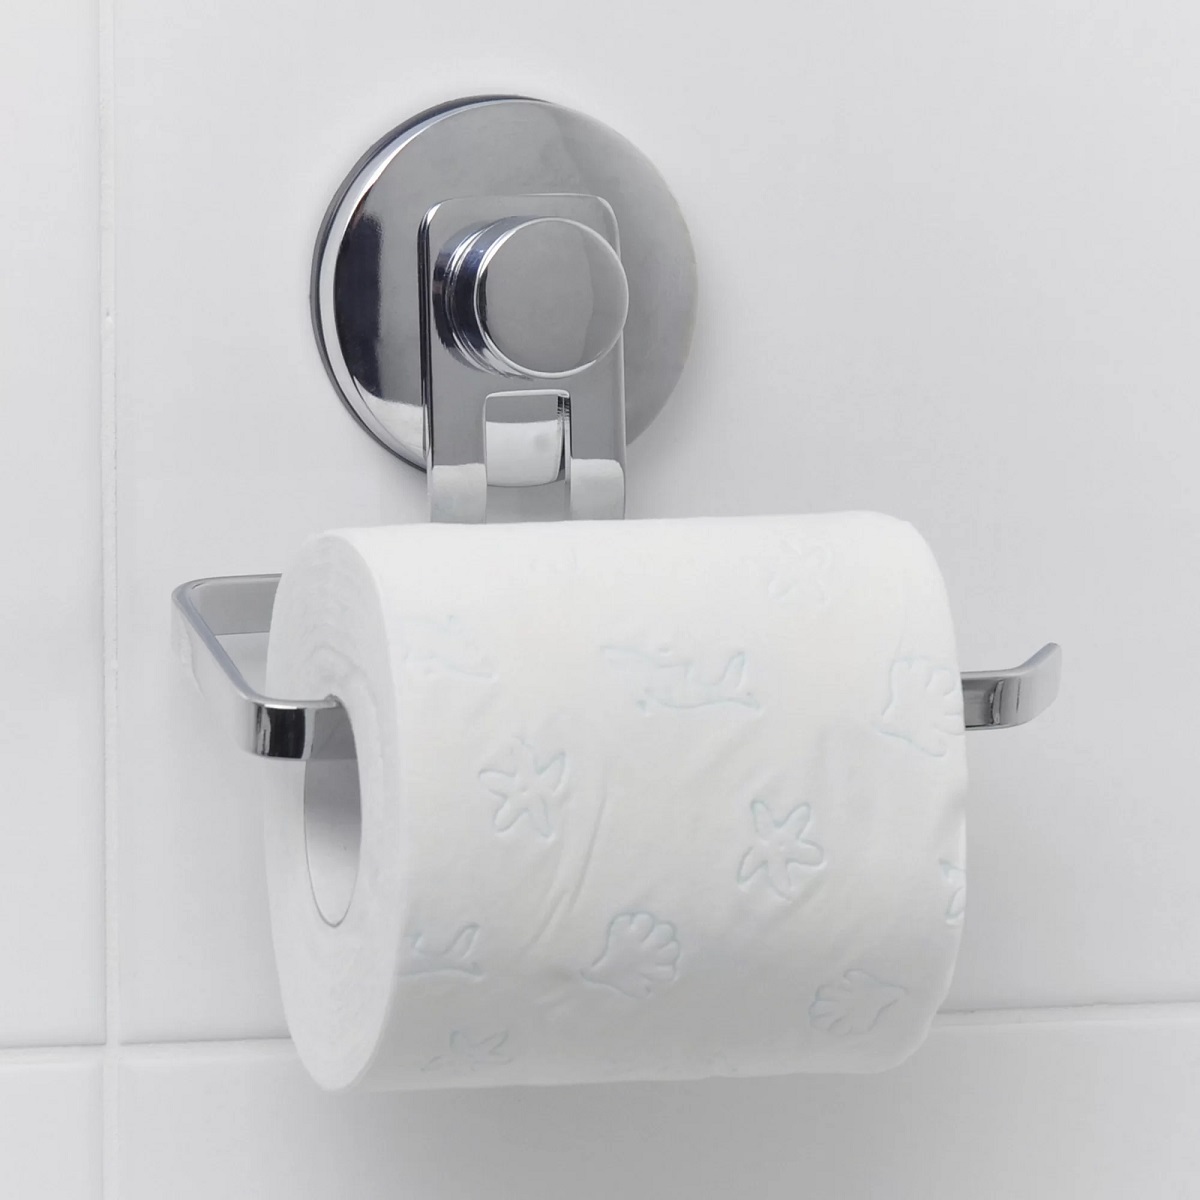
Method 4: Twist-and-Lift Removal
Another method for removing a toilet paper holder is the twist-and-lift technique. This method is commonly used for holders that are installed with a secure twist-lock mechanism.
To begin, locate the base or mounting plate of the toilet paper holder. Look for any visible notches, grooves, or indents on the base. These are the areas where you’ll need to twist and unlock the holder.
Place your hands on the holder and firmly grip the base. Begin twisting the holder counterclockwise while applying steady and even pressure. The twisting motion may require some force, but be cautious to avoid excessive pressure that could damage the holder or the wall surface.
Continue twisting and lifting the holder until it becomes loose and can be easily lifted off the wall. If necessary, use a flathead screwdriver or a similar tool to assist with the twisting action.
Once the holder is loosened and lifted away from the wall, inspect the area to ensure there are no hidden screws or additional mechanisms that need to be disengaged. If you encounter any extra components, follow the appropriate removal steps outlined in the previous methods.
After successfully removing the toilet paper holder using the twist-and-lift technique, you can proceed with installing a new holder or making any necessary repairs or adjustments to the wall surface.
Remember to keep the screws, brackets, or any other parts of the new holder in a safe place until you’re ready to install it.
The twist-and-lift method is a simple yet effective way to remove a toilet paper holder that is secured with a twist-lock mechanism. With patience and careful application of force, you can easily uninstall the holder without causing any damage.
Conclusion
Removing a toilet paper holder with no screws may initially seem like a daunting task, but with the right methods and techniques, it can be accomplished successfully. Whether your holder is secured with adhesive, has a spring-loaded mechanism, hidden screws, or requires a twist-and-lift technique, each method presents its own unique challenges and solutions.
When removing a toilet paper holder with adhesive, the key is to heat the adhesive, use dental floss or fishing line to cut through it, and then clean off any residue left behind. For holders with spring-loaded mechanisms, locating the release button or lever and understanding how to activate it is crucial in safely removing the holder. Hidden screw removal requires careful observation to locate hidden caps or covers, followed by the removal of the screws using the appropriate tool. Finally, the twist-and-lift method involves twisting and lifting the holder in a secure twist-lock mechanism.
Regardless of the method used, it’s important to proceed with caution to avoid any damage to the wall or surrounding areas. Take your time and be patient throughout the process. If you encounter any difficulties or uncertainties, it’s always wise to seek professional assistance.
Once you have successfully removed the toilet paper holder, you can proceed with installing a new one or making any necessary repairs or adjustments to the wall surface. Ensure you have all the necessary tools and materials ready for installation or consult a professional if needed.
Remember, the methods outlined in this article are intended to assist you in removing a toilet paper holder without screws. Take care to follow the instructions carefully and adapt them to your specific situation. With a little effort and know-how, you’ll be able to remove the old holder and prepare the way for a fresh update or repair in your bathroom.
Now that you've mastered removing a toilet paper holder without screws, why not tackle a bigger project? Upgrading your bathroom can seem overwhelming, but understanding the time commitment involved is a great first step. Our next guide breaks down the duration of bathroom renovations, offering practical timelines and factors that influence the process. Get ready to transform your space more efficiently!
Frequently Asked Questions about How To Remove A Toilet Paper Holder Without Screws
Was this page helpful?
At Storables.com, we guarantee accurate and reliable information. Our content, validated by Expert Board Contributors, is crafted following stringent Editorial Policies. We're committed to providing you with well-researched, expert-backed insights for all your informational needs.


0 thoughts on “How To Remove A Toilet Paper Holder Without Screws”