Articles
How To Change A Tork USA Toilet Paper Holder
Modified: March 1, 2024
Discover step-by-step articles on how to change the Tork Sca toilet paper holder. Upgrade your bathroom accessories with our helpful guides and tips.
(Many of the links in this article redirect to a specific reviewed product. Your purchase of these products through affiliate links helps to generate commission for Storables.com, at no extra cost. Learn more)
Introduction
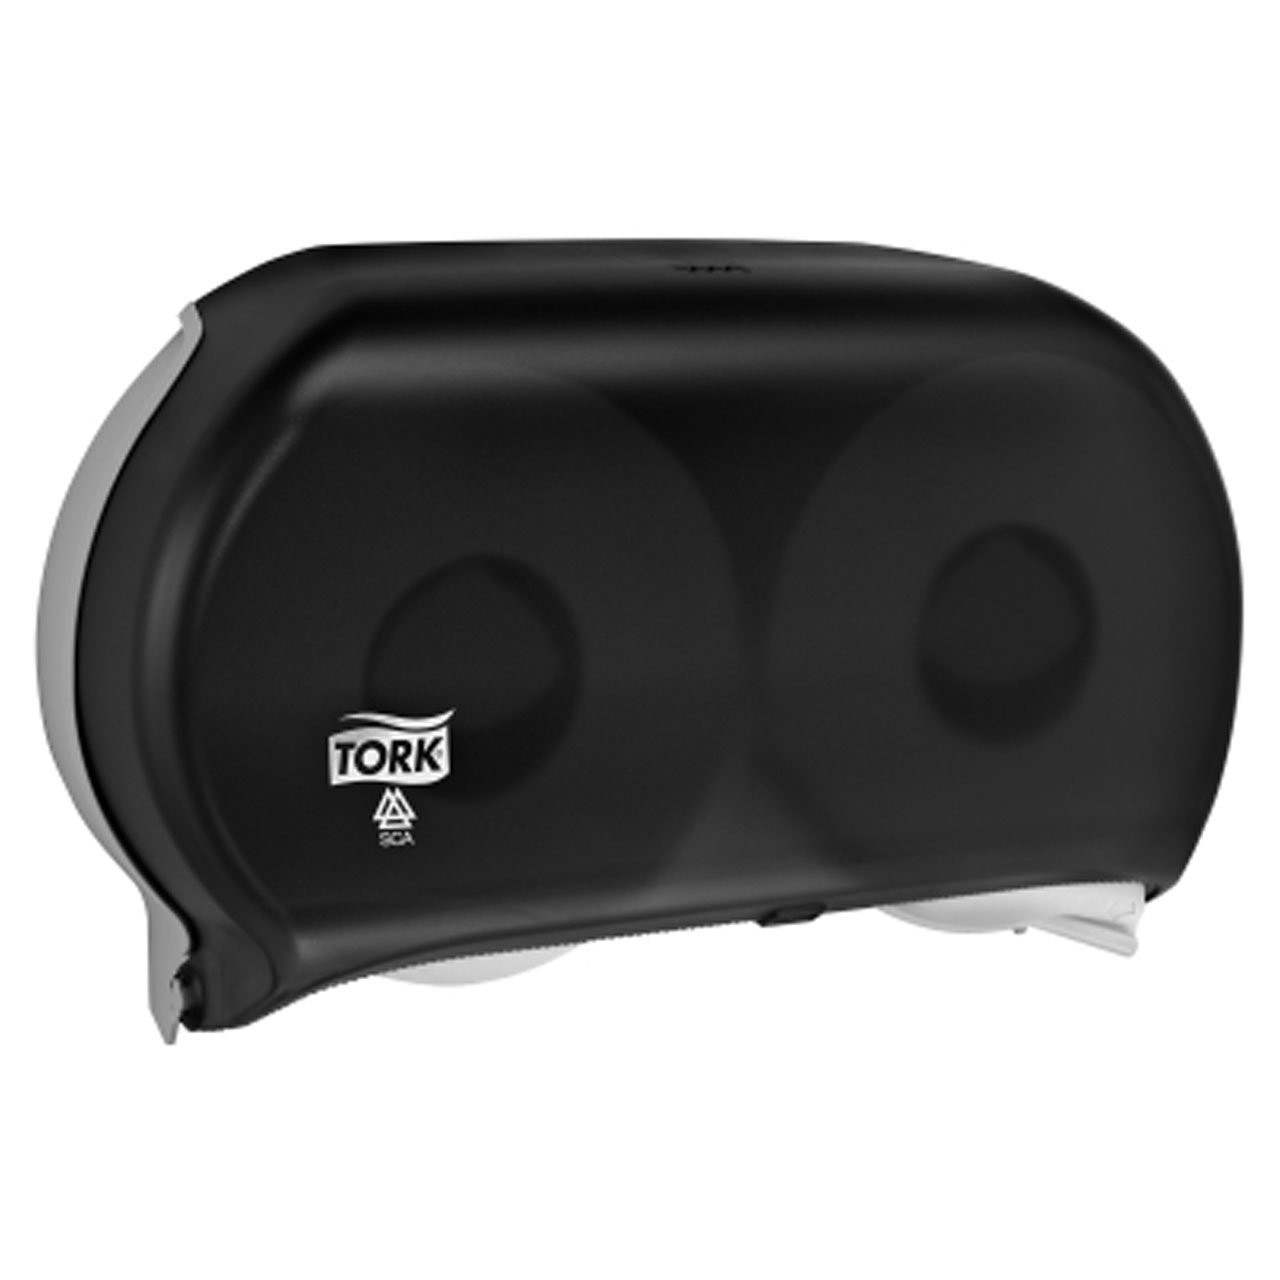
Changing a toilet paper holder may seem like a simple task, but it can make a big difference in the appearance and functionality of your bathroom. If you’re looking for a stylish and durable option, the Tork Sca toilet paper holder is a great choice. With its sleek design and easy installation process, it’s no wonder why many homeowners are opting for this brand.
In this article, we will guide you through the step-by-step process of changing your toilet paper holder to a Tork Sca model. Whether you’re a DIY enthusiast or just looking to update your bathroom fixtures, this guide will help you achieve a professional-looking installation with ease.
Before we dive into the installation process, let’s take a moment to familiarize ourselves with the necessary tools you’ll need for a successful project.
Key Takeaways:
- Upgrade your bathroom with the sleek and durable Tork Sca toilet paper holder, following a simple DIY installation process using basic tools and step-by-step guidance.
- Enjoy a professional-looking installation by preparing, removing, and adjusting the Tork Sca toilet paper holder, ensuring optimal functionality and aesthetic appeal in your bathroom.
Read more: How To Screw On Toilet Paper Holder
Step 1: Gather the necessary tools
Before you start installing your new Tork Sca toilet paper holder, it’s important to gather all the necessary tools. Having everything you need at hand will make the installation process smoother and more efficient. Here are the tools you’ll need:
- Drill: A drill will be required to create holes for the mounting screws.
- Screwdriver: You’ll need a screwdriver to tighten the screws and secure the toilet paper holder in place.
- Level: A level will help ensure that your toilet paper holder is straight and properly aligned.
- Measuring tape: You’ll need a measuring tape to accurately measure the spacing for the mounting holes.
- Pencil: A pencil will come in handy for marking the mounting hole positions on the wall.
- Drywall anchors and screws: If your wall is made of drywall, you may need drywall anchors to provide additional support for the toilet paper holder.
- Safety goggles and gloves: It’s always a good idea to wear safety goggles and gloves to protect yourself during the installation process.
Once you have gathered all the necessary tools, you are ready to move on to the next step of removing the old toilet paper holder.
Step 2: Remove the old toilet paper holder
Before you can install your new Tork Sca toilet paper holder, you will need to remove the old one. Here’s how:
- Start by locating the screws or mounting brackets that are holding the old toilet paper holder in place. These are usually located on the sides or underneath the holder.
- Using a screwdriver, loosen and remove the screws or unfasten the mounting brackets. Be sure to hold onto the old holder as you remove the screws to prevent it from falling and causing any damage.
- Once the screws or mounting brackets are removed, gently pull the old toilet paper holder away from the wall. You may need to wiggle it or apply light pressure to loosen it. If there is any adhesive or caulk holding it in place, carefully pry it away using a putty knife.
- Once the old holder is removed, inspect the wall for any damage or debris. If there are any holes or rough areas, now is a good time to fill them or sand them down to ensure a smooth surface for the new installation.
With the old toilet paper holder removed and the wall prepped, you’re now ready to move on to the next step of preparing the Tork Sca toilet paper holder for installation.
Step 3: Prepare the Tork Sca toilet paper holder for installation
Before installing the Tork Sca toilet paper holder, it’s important to prepare it properly. Here’s what you need to do:
- Remove all components: Take out all the components of the Tork Sca toilet paper holder from the packaging. This typically includes the holder itself, mounting brackets, screws, and any other accessories. Lay them out in an organized manner to ensure you have everything you need.
- Read the instructions: Familiarize yourself with the installation instructions provided by Tork. Pay attention to any specific requirements or recommendations for your particular model. It’s always best to follow the manufacturer’s guidelines for a successful installation.
- Inspect the components: Before proceeding with the installation, inspect all the components of the Tork Sca toilet paper holder for any defects or damage. Ensure that the screws are in good condition, and all the necessary hardware is included.
- Adjust the mounting brackets: Depending on the model of your Tork Sca toilet paper holder, you may need to adjust the position of the mounting brackets to fit the desired height or spacing. Refer to the instructions for guidance on adjusting the brackets, if needed.
- Clean the surface: Before applying any adhesive or mounting the holder, clean the surface of the wall where the toilet paper holder will be installed. Use a mild detergent and water to remove any dust, dirt, or residue that could interfere with adhesion.
By properly preparing the Tork Sca toilet paper holder, you ensure a smooth and successful installation process. Now that everything is ready, it’s time to move on to the exciting part – installing the new toilet paper holder!
When changing the toilet paper holder Tork Sca, make sure to turn off the water supply to the toilet to avoid any potential leaks. Use a screwdriver to remove the old holder and install the new one according to the manufacturer’s instructions.
Step 4: Install the new Tork Sca toilet paper holder
Now that you’ve prepared the Tork Sca toilet paper holder, it’s time to install it. Follow these steps for a successful installation:
- Measure and mark the mounting hole positions: Use a measuring tape to determine the desired height and spacing for your Tork Sca toilet paper holder. Use a pencil to mark the positions of the mounting holes on the wall. Make sure the marks are level and evenly spaced.
- Pre-drill the holes: Using a drill and the appropriate drill bit, carefully pre-drill holes at the marked positions. This will make it easier to insert the screws and minimize the risk of damaging the wall.
- Attach the mounting brackets: Place the mounting brackets over the pre-drilled holes and align them with the marks on the wall. Secure the brackets in place by inserting screws into the holes and tightening them with a screwdriver. Ensure that the brackets are level and properly aligned.
- Attach the toilet paper holder: Take the Tork Sca toilet paper holder and align it with the mounting brackets. Insert the screws provided into the holes on the holder and tighten them to secure the holder in place. Use a screwdriver to ensure they are tightened properly, but be careful not to overtighten and strip the screws.
It’s important to follow the manufacturer’s instructions when attaching the Tork Sca toilet paper holder to ensure a secure and reliable installation. Once you have completed this step, you’re almost done! Just a few more steps to go.
Read more: What Is A Toilet Paper Holder
Step 5: Test and adjust the toilet paper holder
After installing the Tork Sca toilet paper holder, it’s crucial to test its functionality and make any necessary adjustments. Here’s what you need to do:
- Test the holder: Insert a toilet paper roll into the holder and pull on the paper to ensure it rolls smoothly. Check that the holder securely holds the roll and doesn’t wobble or come loose. This step will help you identify any issues and ensure that the holder is properly installed.
- Check for levelness: Use a level to determine if the Tork Sca toilet paper holder is perfectly horizontal. If it’s not level, you can adjust it by loosening the screws holding the brackets and making slight adjustments. Once level, re-tighten the screws to secure the holder in place.
- Ensure proper clearance: Check if the toilet paper holder has sufficient clearance from other objects or obstacles. The roll should freely spin without hitting the wall or any surrounding fixtures. If necessary, adjust the position of the holder or re-adjust the brackets for better clearance.
- Make any final adjustments: Take a step back and visually inspect the Tork Sca toilet paper holder. Ensure that it is visually appealing and properly aligned with the rest of your bathroom decor. If any further adjustments are needed, make them now before finalizing the installation.
Testing and adjusting the Tork Sca toilet paper holder will guarantee its optimal functionality and appearance. Once you’re satisfied with the performance and placement of the holder, you’re on the final step of the installation process.
Step 6: Finalize the installation
Congratulations! You’re in the final step of installing your new Tork Sca toilet paper holder. Follow these steps to complete the installation:
- Tighten all screws: Double-check that all the screws are securely tightened. Use a screwdriver to ensure that the mounting brackets and the toilet paper holder itself are firmly attached to the wall. This will help prevent any loosening or wobbling over time.
- Clean the toilet paper holder: Take a damp cloth or sponge and gently clean the surface of the Tork Sca toilet paper holder. This will remove any fingerprints, smudges, or dirt that may have accumulated during the installation process.
- Dispose of the old holder (if applicable): If you removed an old toilet paper holder, dispose of it properly. Recycle any recyclable components and discard the rest in accordance with your local waste disposal guidelines.
- Admire your new toilet paper holder: Stand back and take a moment to appreciate your newly installed Tork Sca toilet paper holder. Admire its sleek design and the improvement it brings to your bathroom’s aesthetics.
With the installation of the Tork Sca toilet paper holder now completed, you can enjoy the convenience and style it adds to your bathroom. Make sure to properly maintain and clean the holder to keep it looking its best for years to come.
Thank you for following this step-by-step guide. We hope it has been helpful in assisting you with the installation of your Tork Sca toilet paper holder. Enjoy your upgraded bathroom experience!
Conclusion
Changing your toilet paper holder to a Tork Sca model can bring both style and functionality to your bathroom. With its sleek design and easy installation process, the Tork Sca toilet paper holder is an excellent choice for homeowners looking to upgrade their bathroom fixtures.
In this article, we’ve provided a step-by-step guide to help you successfully install your new Tork Sca toilet paper holder. From gathering the necessary tools to finalizing the installation, we’ve covered each stage in detail to ensure a smooth and professional-looking outcome.
By following the instructions and tips outlined in this guide, you can confidently tackle the installation process yourself or guide a professional if needed. Remember to take the time to properly prepare the Tork Sca toilet paper holder, remove the old holder, and make any necessary adjustments for a secure and aesthetically pleasing installation.
Once installed, test the functionality of the holder, ensure it is level, and adjust as needed for proper clearance from other objects in your bathroom. Once you’ve finalized the installation, take a moment to appreciate your new Tork Sca toilet paper holder and enjoy the improved appearance and convenience it brings to your bathroom space.
Thank you for choosing Tork Sca and for following this comprehensive guide. We hope it has been informative and helpful in simplifying the process of changing your toilet paper holder. Enjoy your upgraded bathroom experience!
Frequently Asked Questions about How To Change A Tork USA Toilet Paper Holder
Was this page helpful?
At Storables.com, we guarantee accurate and reliable information. Our content, validated by Expert Board Contributors, is crafted following stringent Editorial Policies. We're committed to providing you with well-researched, expert-backed insights for all your informational needs.


0 thoughts on “How To Change A Tork USA Toilet Paper Holder”