Home>Technology>Home Entertainment Systems>How To Retune The Television

Home Entertainment Systems
How To Retune The Television
Modified: October 20, 2024
Learn how to retune your television for optimal performance with our expert guide. Get the best viewing experience at home with our home entertainment systems tips.
(Many of the links in this article redirect to a specific reviewed product. Your purchase of these products through affiliate links helps to generate commission for Storables.com, at no extra cost. Learn more)
Introduction
Welcome to the world of home entertainment systems, where the magic of audio-visual technology comes to life in the comfort of your living room. With the evolution of digital broadcasting, the process of retuning your television has become essential to ensure uninterrupted access to a wide array of channels and content. Whether you're a seasoned enthusiast or a newcomer to the realm of home entertainment, understanding how to retune your television is a valuable skill that can enhance your viewing experience.
In this comprehensive guide, we will delve into the intricacies of the retuning process, equipping you with the knowledge and confidence to navigate this essential task with ease. From preparing for the retune to troubleshooting common issues, we'll cover every aspect to ensure that you can enjoy seamless access to your favorite programs.
So, grab your remote control, settle into your favorite spot on the couch, and let's embark on a journey to unravel the mysteries of retuning your television. Whether you're adjusting to a new broadcast frequency or simply optimizing your channel lineup, this guide will empower you to take control of your viewing experience and make the most of your home entertainment system. Let's dive in and unlock the full potential of your television!
Key Takeaways:
- Retuning your television is crucial to keep up with changes in broadcasting frequencies and technological advancements, ensuring uninterrupted access to your favorite channels and content.
- Before retuning, check for updates, evaluate signal strength, document your channel list, and align your antenna to optimize the retuning process and avoid common issues.
Read more: How To Pack A Television
Understanding the Retuning Process
Before delving into the practical steps of retuning your television, it’s essential to grasp the underlying principles of this process. Retuning is necessary when there are changes in broadcasting frequencies, channel allocations, or technological advancements in digital transmission. These changes often occur as part of efforts to optimize signal quality, introduce new channels, or comply with regulatory standards.
When a broadcaster alters the frequency or channel arrangement, your television must be retuned to align with the updated settings. Failure to do so can result in missing channels, poor signal quality, or the complete loss of certain services. Understanding the reasons behind the retuning process underscores its significance in maintaining a seamless viewing experience.
Additionally, technological advancements, such as the transition from analog to digital broadcasting, have necessitated widespread retuning efforts. Digital television offers superior picture and sound quality, as well as interactive features, but it requires compatible equipment and accurate tuning to unlock its full potential.
Furthermore, the emergence of high-definition (HD) and ultra-high-definition (UHD) broadcasts has revolutionized the visual experience, prompting viewers to recalibrate their televisions to access these enhanced formats. Retuning enables your television to recognize and display these advanced broadcast signals, delivering stunning clarity and immersive audio-visual experiences.
By comprehending the reasons for retuning and the technological advancements driving this process, you gain a deeper appreciation for the pivotal role it plays in ensuring that your television remains in sync with the evolving landscape of digital broadcasting. Armed with this knowledge, you’re now prepared to embark on the practical aspects of retuning, which we’ll explore in the subsequent sections.
Preparing for Retuning
Before initiating the retuning process, it’s important to undertake a few preparatory steps to streamline the experience and maximize the chances of a successful outcome. By attending to these preliminary considerations, you can mitigate potential issues and ensure a smooth transition to the updated broadcasting settings.
Check for Updates: Begin by verifying if your television or set-top box manufacturer has released any firmware or software updates. These updates often include improvements to channel scanning algorithms, compatibility enhancements, and bug fixes that can optimize the retuning process. Visit the manufacturer’s website or consult the user manual for guidance on updating your device’s software.
Signal Strength Evaluation: Assess the signal strength and quality of your existing channels. Most televisions feature a signal strength indicator within the settings menu, allowing you to gauge the reception conditions. If you notice weak signals or intermittent disruptions, consider repositioning your antenna or seeking professional assistance to optimize signal reception prior to retuning.
Channel List Documentation: Take note of your current channel lineup and any custom settings, such as favorite channel lists or parental control configurations. Documenting this information ensures that you can easily restore your preferences after the retuning process, preventing the need to reconfigure your channels from scratch.
Antenna Alignment: If you rely on an external antenna for receiving broadcast signals, inspect its alignment and condition. Ensure that the antenna is securely mounted and oriented towards the transmission towers of your preferred broadcasters. Any misalignment or physical damage to the antenna can impede signal reception, necessitating corrective measures before proceeding with the retuning process.
By addressing these preparatory tasks, you set the stage for a successful retuning experience, minimizing potential disruptions and optimizing the performance of your television system. With these considerations in mind, you’re now ready to embark on the practical steps of performing the retune, which we’ll explore in the next section.
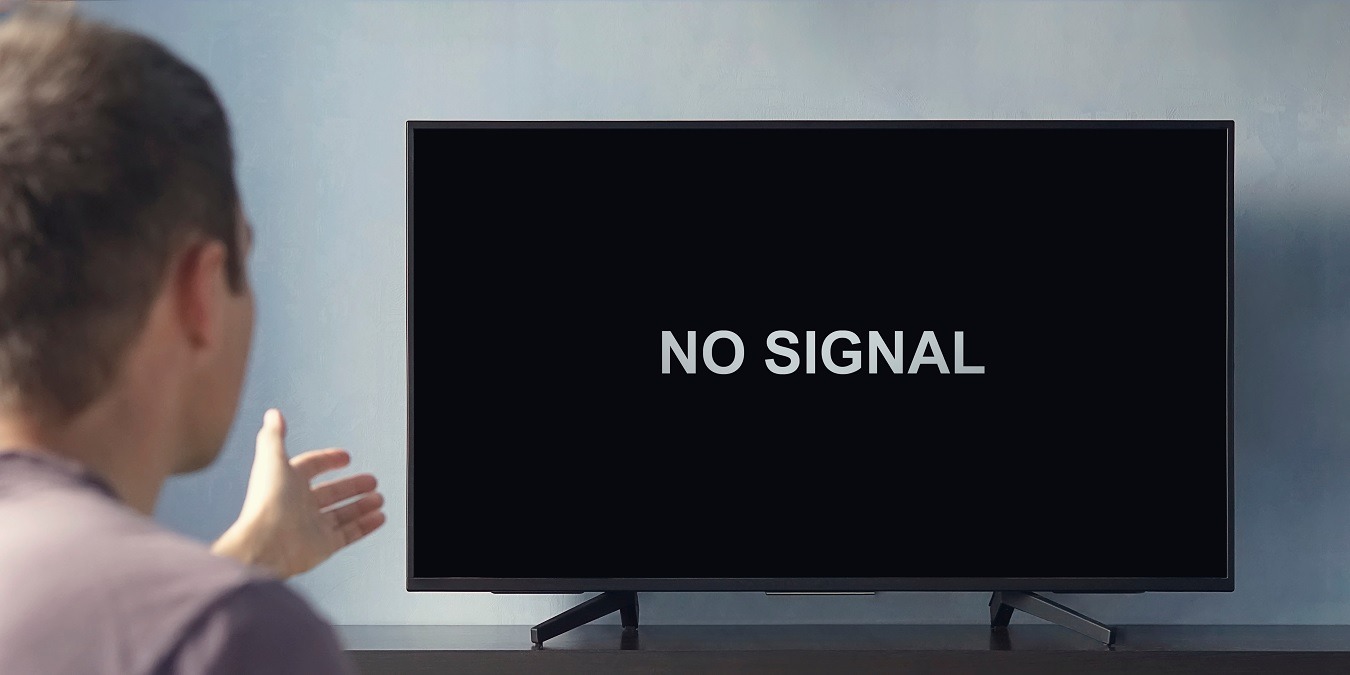
If your television is not picking up all the channels or the picture is fuzzy, you may need to retune it. Go to the settings menu and look for the option to “auto-tune” or “channel scan.” This will search for all available channels and improve the picture quality.
Performing the Retune
As you embark on the process of retuning your television, it’s essential to approach each step with precision and attentiveness to ensure a seamless transition to the updated broadcasting settings. Whether you’re using an integrated digital tuner within your television or a separate set-top box, the following steps will guide you through the retuning process in a methodical manner.
Accessing the Menu: Begin by accessing the settings or menu interface of your television or set-top box. This can typically be achieved using the remote control, which may feature a dedicated “Menu” or “Settings” button. Navigate to the section related to channel setup, tuning, or installation to initiate the retuning process.
Initiating Channel Scan: Within the channel setup or tuning menu, look for the option to perform an automatic channel scan or retune. This feature triggers the device to search for available channels and update the channel list based on the latest broadcasting frequencies. Select the “Scan” or “Retune” option and allow the device to complete the scanning process.
Signal Detection and Storage: During the scanning process, your television or set-top box will detect and store the available channels, organizing them into the updated channel lineup. It’s important to refrain from interrupting the scanning procedure, as this can lead to incomplete channel storage or inaccuracies in the channel list.
Verification and Channel Organization: Once the scanning process concludes, review the updated channel list to ensure that all desired channels have been successfully stored. Take note of any new channels that have been added and verify the presence of familiar channels in their respective positions. Some devices offer the flexibility to organize the channel list based on preferences, allowing you to customize the order or create personalized favorites lists.
Finalizing Settings and Confirmation: After the channel scan is complete, navigate to the settings or confirmation section within the menu interface. Confirm the updated channel lineup and save the settings to ensure that the retuning process is applied effectively. If prompted, restart your television or set-top box to activate the updated channel list and finalize the retuning procedure.
By following these systematic steps and exercising patience throughout the retuning process, you can optimize the performance of your television system and align it with the latest broadcasting frequencies. With the retuning process successfully completed, you are now poised to enjoy uninterrupted access to a diverse range of channels and content.
Troubleshooting Common Issues
While the retuning process is designed to facilitate a seamless transition to updated broadcasting settings, occasional challenges or issues may arise. Understanding and addressing these common issues can help you navigate potential obstacles and ensure that your television system operates optimally following the retune.
Missing Channels: If certain channels are missing from the updated channel lineup after retuning, begin by verifying the signal strength and quality for the affected channels. Weak signals or reception issues may prevent certain channels from being detected during the scanning process. Consider adjusting the antenna position or seeking professional assistance to enhance signal reception and capture the missing channels.
Signal Interference: Interference from nearby electronic devices, physical obstructions, or environmental factors can degrade signal quality and disrupt channel reception. Identify potential sources of interference, such as cordless phones, wireless routers, or large metal structures, and reposition your antenna or television to minimize the impact of external disturbances on signal reception.
Audio or Video Distortions: If you encounter audio or video distortions on specific channels following the retuning process, ensure that your television or set-top box is equipped to decode the broadcast signals accurately. Check for firmware updates or compatibility issues that may affect the decoding and playback of certain channels, and consult the manufacturer’s support resources for guidance on resolving these issues.
Channel Reorganization: Following a retune, you may find that the channel lineup has been reorganized, resulting in unfamiliar placements or disrupted viewing habits. Most televisions and set-top boxes offer the flexibility to customize the channel list, allowing you to reorder channels, create favorites lists, and hide unwanted channels. Utilize these customization features to restore your preferred channel organization and streamline your viewing experience.
Professional Assistance: If persistent issues or technical complexities hinder the successful retuning of your television, consider seeking professional assistance from certified technicians or service providers. These experts possess the knowledge and diagnostic tools to address advanced issues related to signal reception, equipment compatibility, and software integration, ensuring that your television system operates at its full potential.
By familiarizing yourself with these common issues and their respective remedies, you can proactively troubleshoot any challenges that may arise during or after the retuning process. Armed with the knowledge to address these issues, you can maintain a reliable and immersive viewing experience on your home entertainment system.
Read more: How To Record Television
Conclusion
Congratulations on successfully navigating the intricacies of retuning your television, a pivotal step in ensuring uninterrupted access to a diverse array of channels and content. By embracing the knowledge and insights shared in this guide, you have empowered yourself to optimize the performance of your home entertainment system and adapt to the evolving landscape of digital broadcasting.
Retuning your television is not merely a technical task but a gateway to unlocking the full potential of your viewing experience. With each channel scan and frequency adjustment, you reaffirm your commitment to staying attuned to the latest broadcast standards and technological advancements, enriching your entertainment journey in the process.
As you settle into your favorite spot on the couch and browse through the updated channel lineup, take a moment to appreciate the seamless transition facilitated by the retuning process. Whether you’re exploring new channels, reveling in high-definition visuals, or immersing yourself in captivating audio experiences, your television system stands ready to deliver endless moments of joy and discovery.
Remember, the world of home entertainment is a dynamic realm, characterized by constant innovation and evolving standards. Embracing the art of retuning is a testament to your adaptability and enthusiasm for harnessing the latest advancements in audio-visual technology. As you continue to enjoy the immersive experiences offered by your home entertainment system, stay curious, stay engaged, and relish the magic of every moment spent in the company of your television.
Thank you for embarking on this journey to demystify the retuning process and elevate your television viewing to new heights. May your home entertainment system continue to be a source of joy, inspiration, and shared moments of delight for you and your loved ones.
Frequently Asked Questions about How To Retune The Television
Was this page helpful?
At Storables.com, we guarantee accurate and reliable information. Our content, validated by Expert Board Contributors, is crafted following stringent Editorial Policies. We're committed to providing you with well-researched, expert-backed insights for all your informational needs.


0 thoughts on “How To Retune The Television”