Home>Technology>Home Entertainment Systems>How To Make Television Antenna

Home Entertainment Systems
How To Make Television Antenna
Modified: August 17, 2024
Learn how to make a television antenna and improve your home entertainment system with our easy DIY guide. Save money and enjoy better TV reception!
(Many of the links in this article redirect to a specific reviewed product. Your purchase of these products through affiliate links helps to generate commission for Storables.com, at no extra cost. Learn more)
Introduction
Welcome to the world of DIY television antennas! In this guide, we'll embark on an exciting journey to create a television antenna that not only provides exceptional signal reception but also offers a sense of accomplishment. Whether you're a tech enthusiast, a savvy homeowner, or someone seeking an affordable alternative to traditional cable or satellite TV, crafting your own television antenna can be a rewarding and practical endeavor.
Television antennas have come a long way since their inception, evolving from bulky rooftop structures to sleek, modern designs. While there's an abundance of commercially available antennas on the market, building your own can be a fulfilling and cost-effective option. By harnessing the power of creativity and basic materials, you can construct a high-performing antenna tailored to your specific needs.
Throughout this tutorial, we'll delve into the step-by-step process of assembling and installing a television antenna, providing clear and concise instructions that cater to both seasoned DIY enthusiasts and beginners. By the end of this guide, you'll be equipped with the knowledge and skills to construct a functional antenna that delivers clear, crisp television signals to enhance your viewing experience.
So, roll up your sleeves, gather your tools, and let's dive into the exciting world of DIY television antennas. Whether you're aiming to cut the cord, improve your TV reception, or simply enjoy the satisfaction of building your own technology, this guide is your gateway to unlocking the potential of homemade television antennas. Let's get started!
Key Takeaways:
- Build your own TV antenna using simple materials like copper wire and wood for better signal reception and a cost-effective alternative to traditional cable or satellite TV.
- Enjoy free, high-quality TV channels by connecting your DIY antenna to your TV, embracing empowerment, self-sufficiency, and a diverse range of over-the-air content.
Read also: 14 Amazing Hd Television Antenna For 2025
Materials Needed
Before embarking on the journey of building your own television antenna, it’s essential to gather the necessary materials to ensure a smooth and successful construction process. Here’s a comprehensive list of the materials you’ll need:
- Coaxial cable: This serves as the conduit for transmitting the television signals from the antenna to your TV.
- Wood or PVC board: You’ll need a sturdy, lightweight board to serve as the base for mounting the antenna components.
- Copper wire: The main element of the antenna, the copper wire will be used to construct the antenna’s elements, such as the dipole and reflector.
- Balun transformer: This component helps to match the impedance between the antenna and the coaxial cable, ensuring efficient signal transmission.
- Screws and nuts: These are essential for securing the various components of the antenna assembly.
- Insulating materials: To prevent electrical interference and ensure proper insulation, you’ll need insulating materials such as plastic spacers or insulating tape.
- Tools: Prepare a set of basic tools including a saw, drill, screwdriver, and wire cutters to facilitate the assembly process.
- Antenna mast: If you plan to mount the antenna outdoors, an antenna mast will be required for stable installation.
- Antenna rotator (optional): For those seeking enhanced signal reception from different directions, an antenna rotator can be a valuable addition.
By acquiring these materials, you’ll be well-equipped to commence the construction of your DIY television antenna. With a clear understanding of the components and their roles in the antenna assembly, you’re ready to move on to the next step: gathering the parts and preparing for the construction process.
Step 1: Gather the Parts
Before diving into the construction phase, it’s crucial to gather all the necessary parts and components for your DIY television antenna. By ensuring that you have everything at your disposal, you’ll streamline the assembly process and minimize any potential interruptions. Here’s a detailed guide on gathering the essential parts:
Coaxial Cable: Begin by selecting a high-quality coaxial cable of sufficient length to connect the antenna to your television. It’s advisable to opt for a cable with low signal loss to ensure optimal signal transmission.
Wood or PVC Board: Procure a sturdy and lightweight board, such as wood or PVC, to serve as the foundation for mounting the antenna elements. Ensure that the board is large enough to accommodate the antenna components and allow for secure attachment.
Copper Wire: Acquire a sufficient quantity of copper wire, preferably of a suitable gauge, to construct the key elements of the antenna, including the dipole and reflector. The wire will serve as the primary conductor for capturing television signals.
Balun Transformer: Obtain a balun transformer to facilitate the efficient matching of impedance between the antenna and the coaxial cable. This component plays a vital role in optimizing signal transmission and reception.
Screws and Nuts: Stock up on an assortment of screws and nuts to securely fasten the various components of the antenna assembly. Opt for durable, corrosion-resistant hardware to ensure long-term stability.
Insulating Materials: Ensure that you have an adequate supply of insulating materials, such as plastic spacers or insulating tape, to prevent electrical interference and maintain proper insulation within the antenna assembly.
Tools: Gather a set of essential tools, including a saw, drill, screwdriver, and wire cutters, to facilitate the construction process. Having the right tools at hand will streamline the assembly and ensure precision in crafting the antenna elements.
Antenna Mast: If you plan to mount the antenna outdoors, secure an appropriate antenna mast to provide a stable and elevated platform for installation. The mast will play a crucial role in optimizing signal reception.
Antenna Rotator (Optional): For those seeking enhanced signal reception from multiple directions, consider incorporating an antenna rotator into your setup. This optional component allows for convenient adjustment of the antenna’s orientation to capture signals from various angles.
By meticulously gathering these parts and components, you’ll set the stage for a seamless and efficient construction process. With all the essential elements at your disposal, you’re ready to move on to the next step: assembling the antenna and bringing your DIY television project to life.
Step 2: Assemble the Antenna
With all the necessary parts and components in hand, it’s time to embark on the exciting phase of assembling your DIY television antenna. This step-by-step guide will walk you through the process of constructing the antenna, from crafting the essential elements to integrating the components into a functional and efficient design.
Constructing the Dipole: Begin by fashioning the dipole, a fundamental component of the antenna responsible for capturing television signals. Using the copper wire, carefully measure and cut the wire to the appropriate length, following the specifications of your chosen antenna design. Shape the wire into the requisite dipole configuration, ensuring precision and symmetry in its construction.
Creating the Reflector: Next, focus on creating the reflector, which plays a critical role in enhancing the antenna’s signal reception capabilities. Utilize additional lengths of copper wire to form the reflector, adhering to the specified dimensions and layout to optimize its reflective properties. Position the reflector in alignment with the dipole, maintaining the prescribed distance for optimal performance.
Mounting the Elements: Once the dipole and reflector are meticulously crafted, affix them securely to the chosen board, whether wood or PVC. Utilize screws and nuts to firmly attach the elements to the board, ensuring stability and proper alignment. Pay close attention to the positioning of the dipole and reflector, adhering to the designated spacing and orientation for optimal signal reception.
Integrating the Balun Transformer: Incorporate the balun transformer into the antenna assembly, ensuring seamless connectivity between the antenna elements and the coaxial cable. Position the balun transformer strategically, allowing for efficient impedance matching and reliable signal transmission. Secure the transformer in place, taking care to insulate and protect the connections for optimal performance.
Insulating and Securing: Prioritize the insulation and secure fastening of all components to mitigate the risk of electrical interference and ensure long-term durability. Utilize insulating materials, such as plastic spacers or insulating tape, to safeguard against signal distortion and environmental factors. Verify the robustness of the assembly, tightening screws and fasteners as needed to maintain structural integrity.
Quality Assurance and Testing: Before proceeding to the antenna mounting phase, conduct a comprehensive quality assurance check to verify the integrity and functionality of the assembled antenna. Test the electrical connections, inspect the overall construction, and ensure that all components are securely fastened. This meticulous approach will help preempt potential issues and guarantee optimal performance.
By meticulously following these steps, you’ll successfully assemble a high-performing DIY television antenna tailored to your specific requirements. With the antenna taking shape, you’re now ready to proceed to the next crucial phase: mounting the antenna for optimal signal reception and connectivity.
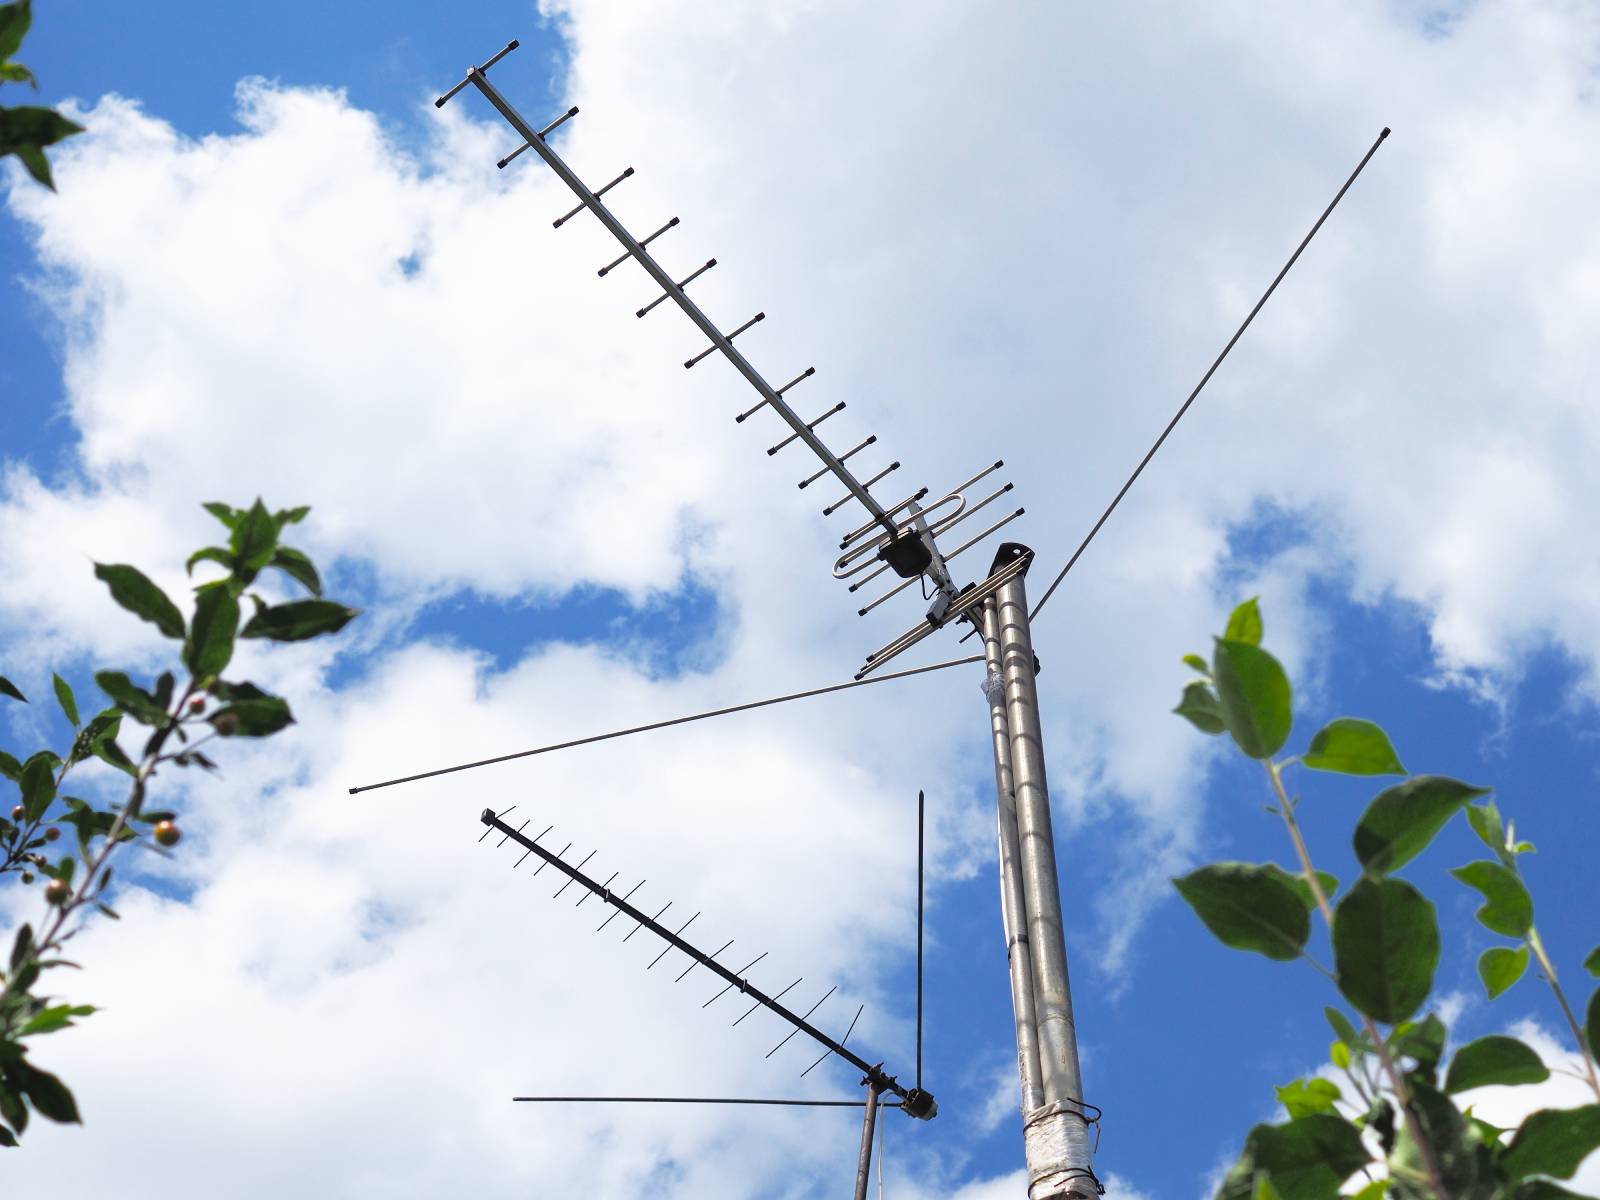
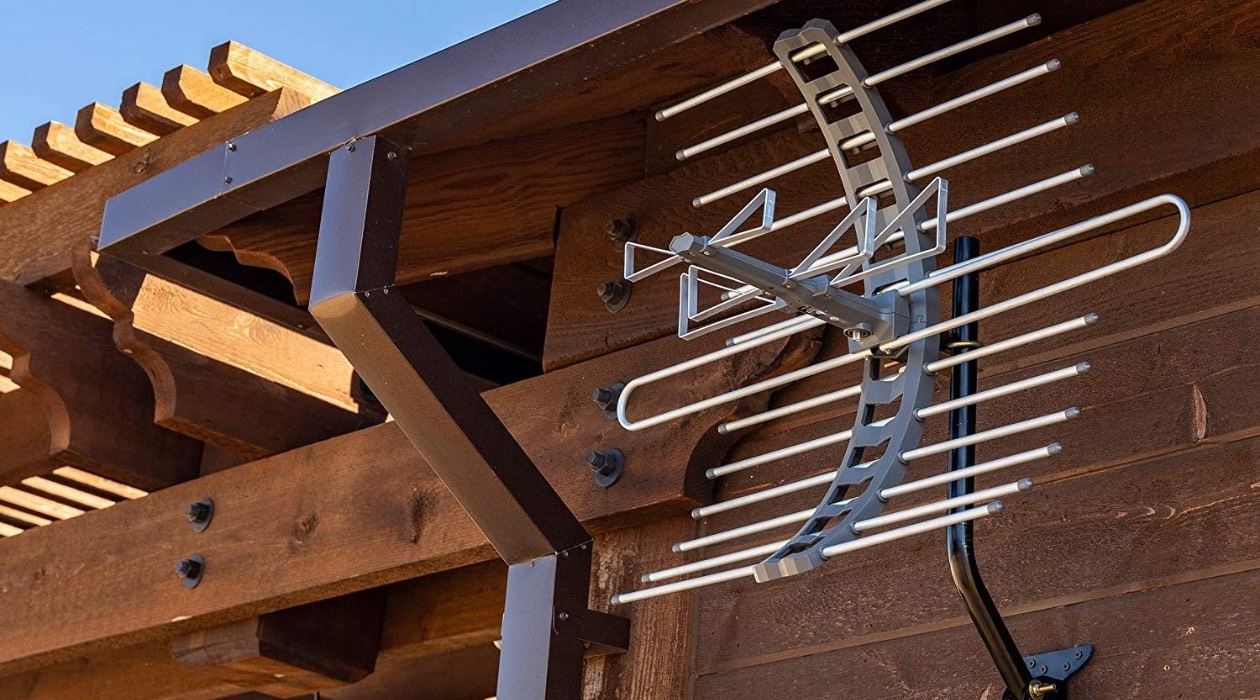
When making a television antenna, use copper wire for the best signal reception. The length of the wire should be one-half of the wavelength of the frequency you want to receive.
Step 3: Mounting the Antenna
As you progress in the construction of your DIY television antenna, the next pivotal step involves mounting the assembled antenna to optimize signal reception and ensure reliable performance. Whether you’re positioning the antenna indoors or outdoors, the mounting process is essential for harnessing the full potential of your homemade antenna. Let’s delve into the key considerations and steps for mounting the antenna:
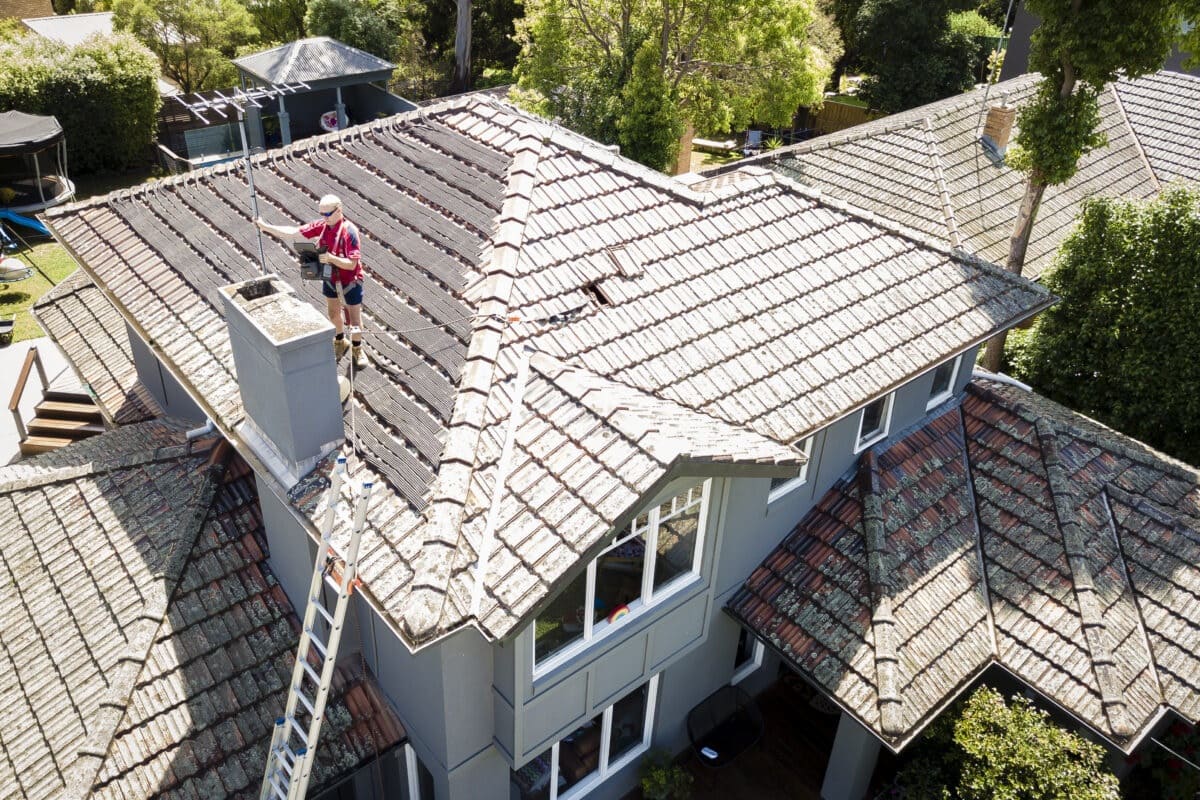
Choosing the Mounting Location: Begin by identifying the ideal location for mounting the antenna. If opting for indoor placement, select a spot near a window or in an elevated position to minimize obstructions and maximize signal capture. For outdoor installation, ensure that the chosen location offers unobstructed exposure to television transmission towers and minimizes potential interference.
Securing the Antenna Mast: If mounting the antenna outdoors, install a sturdy antenna mast to provide a stable and elevated platform for the antenna. Ensure that the mast is securely anchored to withstand environmental factors and maintain the antenna’s positioning. Opt for a height that aligns with the recommended elevation for optimal signal reception.
Aligning the Antenna: Position the assembled antenna on the mounting platform, whether it’s the antenna mast or a designated indoor location. Align the antenna to face the direction of the nearest television transmission towers, maximizing the potential for capturing strong and clear signals. Utilize a compass or online tools to determine the precise orientation for optimal reception.
Securing the Antenna Assembly: Once the antenna is aligned, securely fasten the assembly to the mounting platform using appropriate hardware and fasteners. Whether bolting the antenna to the mast or affixing it to an indoor support structure, ensure a robust and stable attachment to withstand environmental conditions and maintain the desired orientation.
Antenna Elevation Adjustment: For outdoor installations, consider adjusting the elevation of the antenna to fine-tune its reception capabilities. By optimizing the antenna’s height and orientation, you can enhance its ability to capture signals with minimal interference, thereby improving the overall viewing experience.
Weatherproofing (Outdoor Installations): If mounting the antenna outdoors, take measures to weatherproof the connections and components, safeguarding them against moisture and environmental exposure. Utilize waterproofing materials and sealants to protect the coaxial cable connections, balun transformer, and other vulnerable areas from the elements.
Signal Testing and Optimization: Following the antenna mounting process, conduct thorough signal testing to assess the reception quality and make any necessary adjustments. Fine-tune the antenna’s orientation and elevation based on the signal strength and clarity, optimizing its position for optimal performance.
By diligently following these steps, you’ll successfully mount your DIY television antenna, positioning it for optimal signal reception and connectivity. With the antenna securely in place, you’re now poised to proceed to the final phase: connecting the antenna to your TV and relishing the fruits of your DIY endeavor.
Read more: How To Make An Outdoor Antenna
Step 4: Connecting the Antenna to Your TV
As you near the culmination of your DIY television antenna project, the final step involves connecting the meticulously crafted antenna to your television, thereby unlocking access to a plethora of over-the-air channels and content. This pivotal phase is essential for harnessing the antenna’s signal reception capabilities and integrating it seamlessly with your TV. Let’s explore the step-by-step process of connecting the antenna to your TV:
Locating the Antenna Input: Begin by identifying the antenna input on your television set. This input is typically labeled as “Antenna In” or “RF In” and is commonly situated at the rear panel of the TV. Locate and familiarize yourself with this connection point to facilitate the subsequent steps.
Preparing the Coaxial Cable: Trim the coaxial cable to the required length, ensuring a sufficient reach from the antenna to your TV’s antenna input. Use a coaxial cable cutter to achieve a clean and precise cut, and carefully strip the cable’s outer insulation to expose the inner conductor and shielding.
Connecting the Coaxial Cable: With the coaxial cable prepared, connect one end to the balun transformer on the antenna assembly. Ensure a secure and snug fit, and verify that the connection is properly insulated to prevent signal interference and maintain signal integrity.
TV Antenna Input Connection: Proceed to connect the other end of the coaxial cable to the designated antenna input on your TV. Align the connector with the input port and gently screw it into place, ensuring a firm and secure connection. Take care not to overtighten the connection to avoid damaging the input port.
TV Input Selection: Once the antenna is connected, power on your TV and access the input selection menu. Choose the “Antenna” or “Air” input option to instruct the TV to receive signals from the connected antenna. This step ensures that the TV is primed to capture over-the-air channels and content.
Channel Scanning: Initiate a channel scan on your TV to detect and store the available over-the-air channels. This automated process allows the TV to identify and program the channels accessible through the connected antenna, providing you with a comprehensive lineup of free-to-air content.
Signal Quality Assessment: Following the channel scan, assess the signal quality and clarity of the captured channels. Fine-tune the antenna’s orientation and position if necessary to optimize signal reception and enhance the viewing experience.
Enjoying Over-the-Air Content: With the antenna successfully connected and the channels programmed, revel in the diverse array of over-the-air content available at your fingertips. Explore local broadcasts, network channels, and additional digital subchannels, embracing the freedom and variety offered by your DIY television antenna.
By following these steps, you’ll seamlessly connect your DIY television antenna to your TV, opening the door to an extensive selection of over-the-air channels and content. With the antenna integrated into your TV setup, you’re poised to savor the benefits of free, high-quality television reception and embark on an enriching viewing experience.
Conclusion
Congratulations on successfully navigating the exhilarating journey of constructing and integrating your very own DIY television antenna. Through meticulous planning, precise assembly, and strategic mounting, you’ve harnessed the power of ingenuity to create a reliable and efficient antenna tailored to your specific needs. As you reflect on this enriching endeavor, it’s important to acknowledge the myriad benefits and opportunities unlocked by your DIY antenna project.
Empowerment and Self-Sufficiency: By crafting your own television antenna, you’ve embraced a sense of empowerment and self-sufficiency, transcending the limitations of conventional cable or satellite TV. Your DIY approach has empowered you to take control of your viewing experience and explore a wealth of over-the-air content without recurring subscription fees or dependencies.
Enhanced Signal Reception: The carefully constructed antenna, coupled with strategic mounting and precise orientation, has endowed you with enhanced signal reception capabilities. You now have the ability to capture clear, high-definition television signals, providing access to local broadcasts, network channels, and digital subchannels with remarkable clarity and consistency.
Cost-Effective Entertainment: Your DIY television antenna represents a cost-effective and sustainable entertainment solution, offering access to an array of free-to-air channels and content without ongoing subscription expenses. This financial prudence aligns with your commitment to practicality and resourcefulness, allowing you to allocate your resources to other enriching pursuits.
Exploration and Discovery: With your DIY antenna seamlessly integrated into your TV setup, you’re poised to embark on a journey of exploration and discovery, delving into a diverse spectrum of over-the-air content. From local news and sports to educational programs and cultural offerings, you’re primed to explore a rich tapestry of broadcasting, broadening your horizons and enriching your viewing repertoire.
Community and Connection: Embracing over-the-air television through your DIY antenna fosters a sense of community and connection, aligning with the shared experience of accessing free, accessible content. Your antenna project has positioned you to engage with local and national broadcasts, fostering a sense of connection with your community and the broader cultural landscape.
As you bask in the satisfaction of your DIY television antenna accomplishment, remember that your journey doesn’t end here. Your newfound expertise and creativity can inspire others to embark on similar ventures, fostering a community of DIY enthusiasts and amplifying the spirit of innovation and self-reliance.
So, as you revel in the fruits of your DIY labor, take pride in the ingenuity, resourcefulness, and dedication that have propelled you to this triumphant moment. Your DIY television antenna stands as a testament to your commitment to exploration, self-sufficiency, and the boundless potential of DIY innovation. Embrace the freedom, diversity, and quality of over-the-air television, and continue to embrace the spirit of DIY ingenuity in all your future endeavors.
Frequently Asked Questions about How To Make Television Antenna
Was this page helpful?
At Storables.com, we guarantee accurate and reliable information. Our content, validated by Expert Board Contributors, is crafted following stringent Editorial Policies. We're committed to providing you with well-researched, expert-backed insights for all your informational needs.


0 thoughts on “How To Make Television Antenna”