Home>Technology>Home Office Tech>How To Install Tesla Charging Station

Home Office Tech
How To Install Tesla Charging Station
Modified: August 23, 2024
Learn how to install a Tesla charging station at your home or office with our comprehensive guide. Get the latest tech tips and advice for a smooth installation process.
(Many of the links in this article redirect to a specific reviewed product. Your purchase of these products through affiliate links helps to generate commission for Storables.com, at no extra cost. Learn more)
Introduction
Welcome to the exciting world of electric vehicles! If you’re the proud owner of a Tesla, you already know the many benefits of driving an electric car. From reducing your carbon footprint to enjoying the smooth, quiet ride, there’s a lot to love about owning a Tesla. However, to truly maximize the convenience of owning an electric vehicle, installing a Tesla charging station at your home is a game-changer.
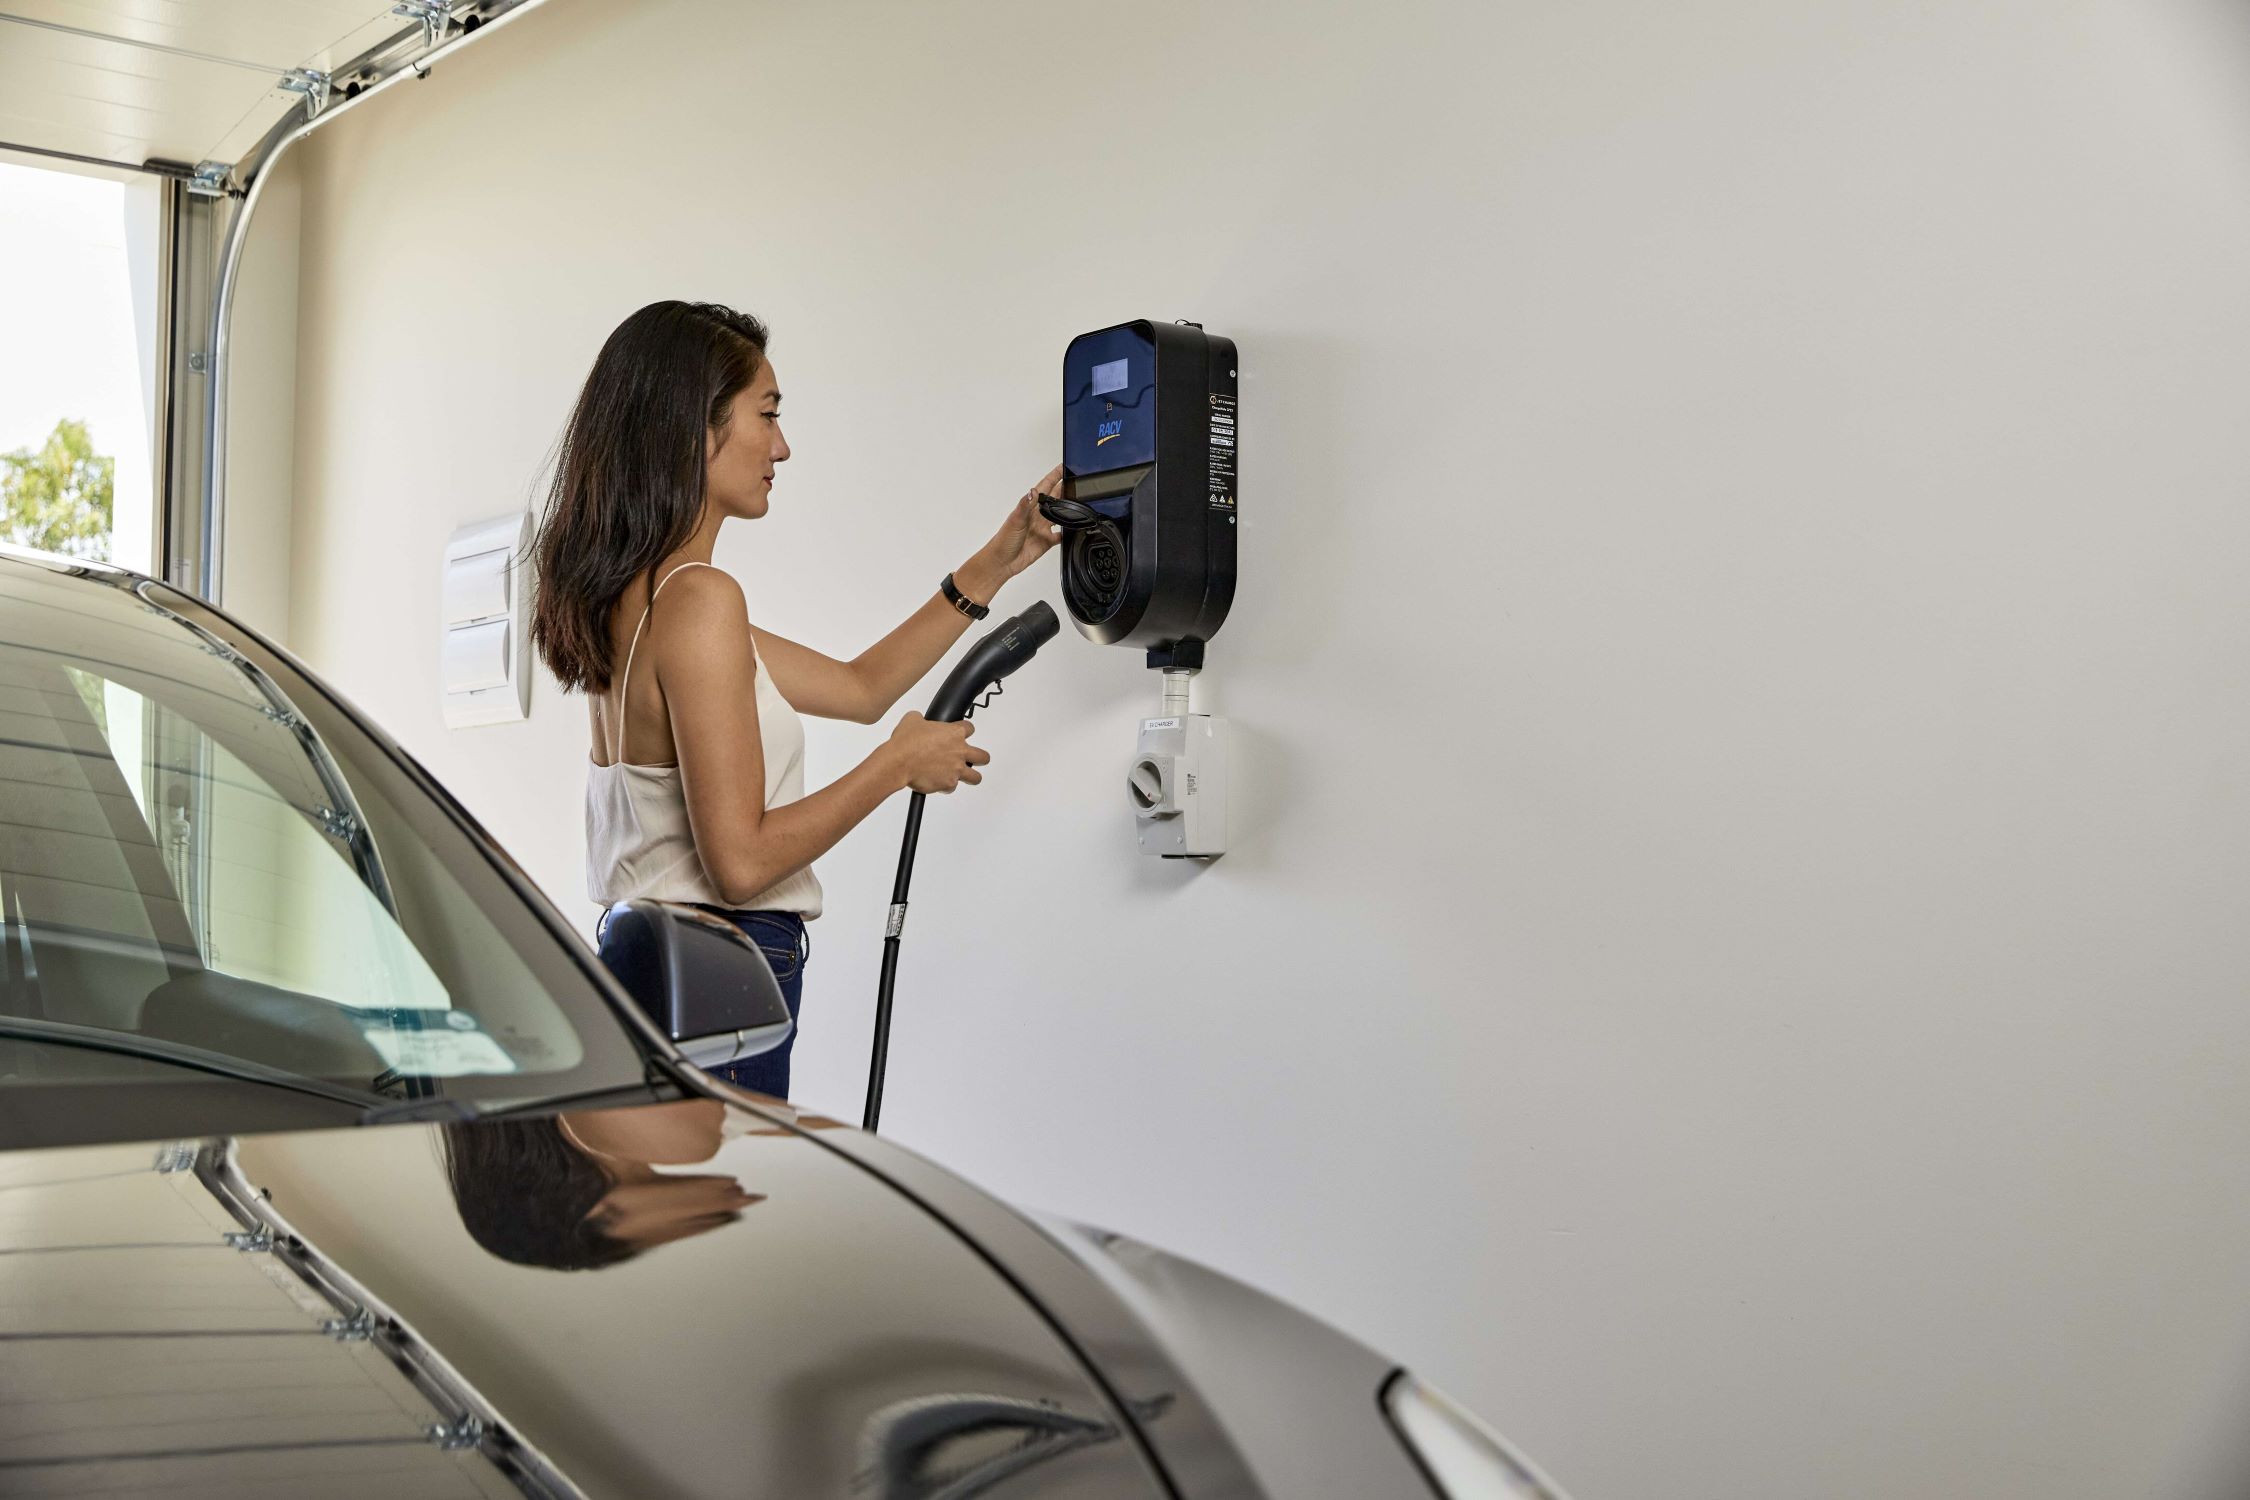
By having a Tesla charging station at home, you can say goodbye to frequent trips to public charging stations and enjoy the convenience of charging your car in the comfort of your own garage. In this guide, we’ll walk you through the process of installing a Tesla charging station at your home, providing clear and actionable steps to make the installation process smooth and hassle-free.
Whether you’re a tech-savvy DIY enthusiast or a homeowner looking to understand the process before hiring a professional, this guide will equip you with the knowledge and confidence to install a Tesla charging station at your home. So, roll up your sleeves, grab your tools, and let’s get started on this electrifying journey!
Key Takeaways:
- Installing a Tesla charging station at home is a game-changer, providing convenience and sustainability. It’s an exciting step towards effortless charging and reducing carbon emissions.
- By following the installation guide, you can confidently integrate cutting-edge technology into your daily life and embark on countless adventures with the convenience of home charging for your Tesla.
Read more: How To Charge A Tesla At A Charging Station
Determine the Location
Before diving into the installation process, it’s crucial to carefully consider the location for your Tesla charging station. The ideal placement will ensure convenient access to your vehicle while adhering to safety and electrical guidelines. Here are a few key factors to keep in mind when determining the location:
- Proximity to Your Tesla: Choose a location that allows for easy and convenient access to your Tesla. Consider the length of the charging cable and ensure that it can comfortably reach your vehicle when parked in its designated spot.
- Electrical Accessibility: The chosen location should have easy access to the electrical panel in your home. This will simplify the wiring process and minimize the need for extensive electrical work.
- Weather Protection: Whenever possible, opt for a location that provides protection from the elements. A covered area, such as a garage or carport, can shield the charging station from rain, snow, and extreme temperatures, prolonging its lifespan.
- Wall Mounting Considerations: If you plan to mount the charging station on a wall, ensure that the chosen location allows for secure and stable installation. The wall should be structurally sound and capable of supporting the weight of the charging station.
By carefully evaluating these factors, you can select an optimal location for your Tesla charging station that prioritizes convenience, safety, and practicality. Once you’ve identified the perfect spot, you’re ready to move on to the next steps in the installation process.
Required Tools and Materials
Before embarking on the installation of your Tesla charging station, it’s essential to gather the necessary tools and materials to ensure a smooth and efficient process. Here’s a comprehensive list of what you’ll need:
Tools:
- Power Drill: A reliable power drill will be essential for mounting the charging station on the chosen surface.
- Drill Bits: Ensure you have appropriate drill bits for the mounting hardware and any necessary pilot holes.
- Screwdriver Set: A set of screwdrivers, including Phillips and flat-head varieties, will be needed for securing the charging station and connecting wiring.
- Adjustable Wrench: An adjustable wrench is essential for tightening nuts and bolts during the installation process.
- Wire Cutters/Strippers: These tools will be used for preparing the electrical wiring and ensuring clean, precise connections.
- Level: A level will help ensure that the charging station is mounted perfectly straight and level on the wall.
- Multimeter: A multimeter is crucial for testing electrical connections and ensuring proper voltage and continuity.
- Protective Gear: Safety goggles and work gloves are essential for protecting your eyes and hands during the installation process.
Materials:
- Tesla Charging Station: Of course, you’ll need the Tesla Wall Connector or Tesla Mobile Connector, depending on your preference and electrical setup.
- Mounting Hardware: This includes screws, anchors, and any additional hardware required for securely mounting the charging station.
- Electrical Wiring: Depending on the distance from the electrical panel to the charging station location, you may need to purchase additional electrical wiring to complete the installation.
- Wire Connectors: Quality wire connectors are essential for creating secure and reliable electrical connections.
- Electrical Tape: Electrical tape will be used for insulating wire connections and providing an added layer of protection.
- Cable Strain Relief: This component helps secure the charging cable to the wall, preventing strain and damage to the electrical connections.
By ensuring that you have all the necessary tools and materials at your disposal, you’ll be well-prepared to tackle the installation of your Tesla charging station with confidence and precision.
Read more: How To Find A Charging Station On Tesla
Mounting the Charging Station
Now that you’ve gathered the required tools and materials, it’s time to move on to the exciting phase of mounting your Tesla charging station. Whether you’ve opted for the Tesla Wall Connector or the Tesla Mobile Connector, the mounting process involves securing the unit in a location that provides convenient access to your electric vehicle. Here’s a step-by-step guide to mounting the charging station:
- Choose the Mounting Location: Based on your earlier assessment, select the ideal location for mounting the charging station. Ensure that the chosen spot allows for easy access to your Tesla and is within reach of the electrical panel.
- Prepare the Mounting Surface: If you’re mounting the charging station on a wall, use a power drill and appropriate drill bits to create pilot holes for the mounting hardware. Ensure that the surface is clean and free of any obstructions.
- Secure the Charging Station: With the help of a screwdriver and the provided mounting hardware, carefully secure the charging station to the designated surface. Use a level to ensure that the unit is mounted perfectly straight and level.
- Attach the Cable Strain Relief: If included with your charging station, attach the cable strain relief to the wall near the bottom of the unit. This component will help secure the charging cable and prevent strain on the electrical connections.
- Route the Charging Cable: Depending on the design of your charging station, carefully route the charging cable from the unit to the desired location where your Tesla will be parked. Ensure that the cable is neatly organized and free from any sharp edges or potential hazards.
By following these steps, you’ll successfully mount your Tesla charging station, creating a convenient and reliable home charging solution for your electric vehicle. With the unit securely in place, you’re ready to proceed to the next crucial phase of the installation process.
Connecting the Wiring
With the charging station securely mounted, the next vital step in the installation process is connecting the wiring to ensure a safe and reliable electrical supply for your Tesla. This phase requires careful attention to detail and adherence to electrical safety standards. Here’s a clear and concise guide to connecting the wiring for your Tesla charging station:
- Shut Off the Power: Before working on any electrical connections, shut off the power to the designated circuit at the electrical panel. Use a voltage tester to confirm that the power is indeed off before proceeding.
- Prepare the Electrical Wiring: If necessary, carefully strip the insulation from the electrical wiring to expose the conductors. Ensure that the wiring is of the appropriate gauge and type for the electrical load of the charging station.
- Make the Electrical Connections: Following the manufacturer’s instructions, make the necessary electrical connections within the charging station. This typically involves connecting the hot, neutral, and ground conductors to their respective terminals in a secure and code-compliant manner.
- Secure the Wiring: After making the electrical connections, carefully organize and secure the wiring within the charging station enclosure. Use cable ties or clamps to prevent strain on the connections and ensure a tidy and professional installation.
- Install Cable Strain Relief: If not already in place, install the cable strain relief near the bottom of the charging station to secure the charging cable and prevent stress on the electrical connections.
Throughout the wiring process, it’s crucial to prioritize safety and precision, ensuring that all electrical connections are secure, properly insulated, and compliant with local electrical codes. By following these steps with care and attention to detail, you’ll complete the essential task of connecting the wiring for your Tesla charging station, bringing you one step closer to enjoying the convenience of home charging for your electric vehicle.
Before installing a Tesla charging station, make sure to consult with a licensed electrician to ensure your home’s electrical system can support the charging station’s power requirements.
Testing the Charging Station
With the wiring connected and the charging station securely mounted, it’s time to conduct thorough testing to ensure that everything is functioning as intended. Proper testing is crucial for verifying the safety and functionality of the charging station before putting it into regular use. Here’s a comprehensive guide to testing your Tesla charging station:
- Restore Power: After completing the wiring connections, restore power to the designated circuit at the electrical panel. Use a multimeter to verify that the voltage supply is within the expected range and that there are no irregularities in the electrical supply.
- Perform Ground Fault Circuit Interrupter (GFCI) Test: If your charging station is equipped with a built-in GFCI, follow the manufacturer’s instructions to perform a test to ensure that the GFCI functions correctly and provides essential protection against ground faults.
- Test Charging Station Functionality: Plug the charging cable into your Tesla and initiate a charging session. Confirm that the charging station communicates with your vehicle and that the charging process begins without any issues. Monitor the charging session to ensure that it progresses as expected.
- Verify Cable Management: During the testing phase, pay attention to the routing and management of the charging cable. Confirm that the cable strain relief effectively secures the cable to the wall and prevents strain on the electrical connections.
- Inspect for Proper Grounding: Use a multimeter to verify that the charging station is properly grounded, providing an essential layer of safety and protection against electrical faults.
By meticulously following these testing procedures, you’ll gain confidence in the safety and functionality of your Tesla charging station. Any issues or irregularities identified during testing should be promptly addressed to ensure that your home charging solution is reliable and ready for regular use.
Conclusion
Congratulations on successfully completing the installation of your Tesla charging station! By following the steps outlined in this guide, you’ve taken a significant step towards enhancing the convenience and sustainability of your electric vehicle ownership experience. With your home charging solution in place, you can enjoy the benefits of effortless charging right in your own garage or driveway.
Installing a Tesla charging station at home not only streamlines the charging process but also contributes to the broader goal of reducing carbon emissions and promoting sustainable transportation. By choosing to power your Tesla with clean, renewable energy at home, you’re making a positive impact on the environment and setting an example for sustainable living.
As you bask in the satisfaction of a successful installation, take a moment to appreciate the seamless integration of cutting-edge technology into your daily life. The convenience of home charging, coupled with the innovative design and engineering of the Tesla charging station, exemplifies the remarkable advancements in electric vehicle infrastructure.
With your Tesla charging station ready to power your journeys, you’re poised to embark on countless adventures with the confidence of a reliable and efficient charging solution at your fingertips. Whether it’s a daily commute, a weekend road trip, or a spontaneous drive to explore new destinations, your Tesla will always be ready to hit the road, fueled by the convenience of home charging.
Thank you for joining us on this electrifying journey of installing a Tesla charging station at home. We hope this guide has empowered you with the knowledge and confidence to embrace the future of sustainable transportation and make the most of your Tesla ownership experience. Here’s to many miles of emission-free driving, powered by the limitless potential of electric mobility!
Frequently Asked Questions about How To Install Tesla Charging Station
Was this page helpful?
At Storables.com, we guarantee accurate and reliable information. Our content, validated by Expert Board Contributors, is crafted following stringent Editorial Policies. We're committed to providing you with well-researched, expert-backed insights for all your informational needs.

0 thoughts on “How To Install Tesla Charging Station”