Home>Renovation & DIY>Home Renovation Guides>How To Whitewash Backsplash
Home Renovation Guides
How To Whitewash Backsplash
Published: February 8, 2024
Learn how to whitewash your backsplash with our comprehensive home renovation guide. Transform your kitchen with our expert tips and techniques.
(Many of the links in this article redirect to a specific reviewed product. Your purchase of these products through affiliate links helps to generate commission for Storables.com, at no extra cost. Learn more)
Introduction
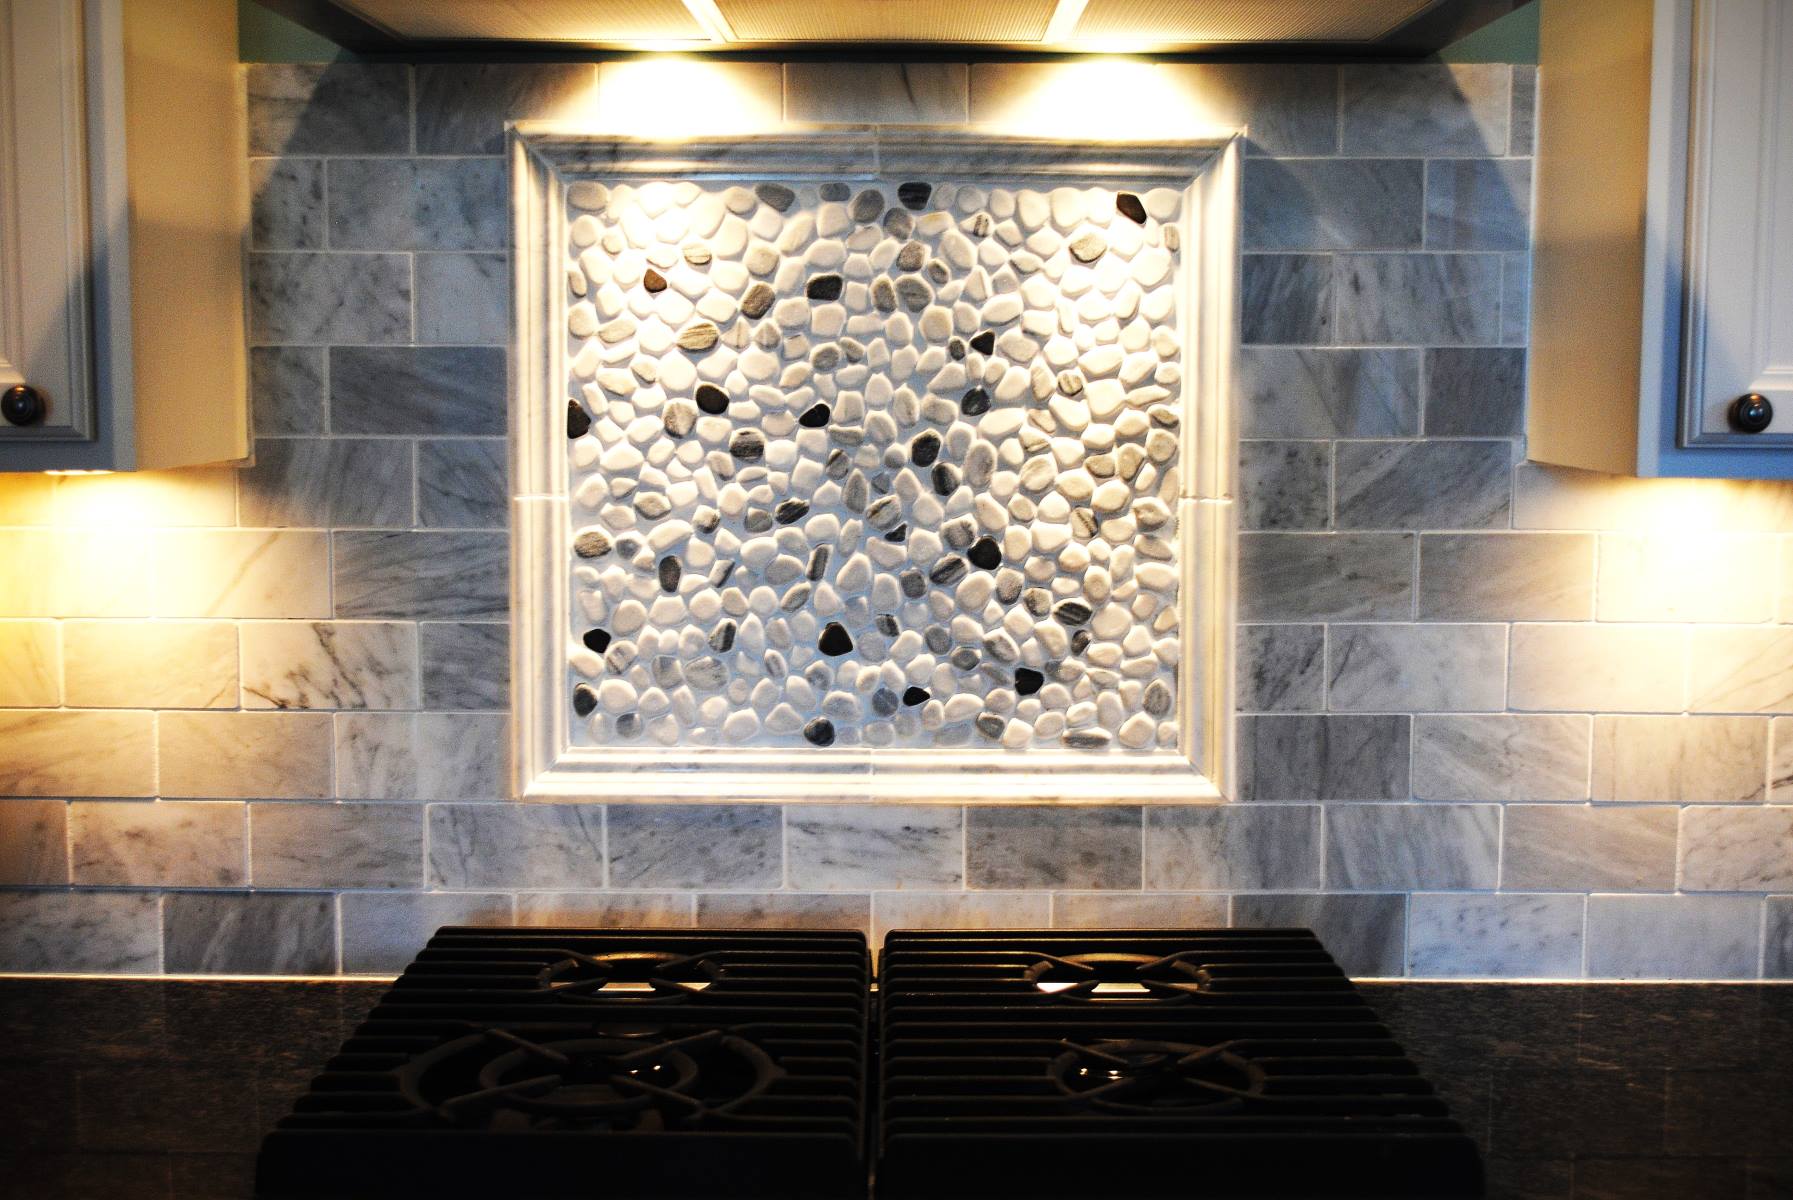
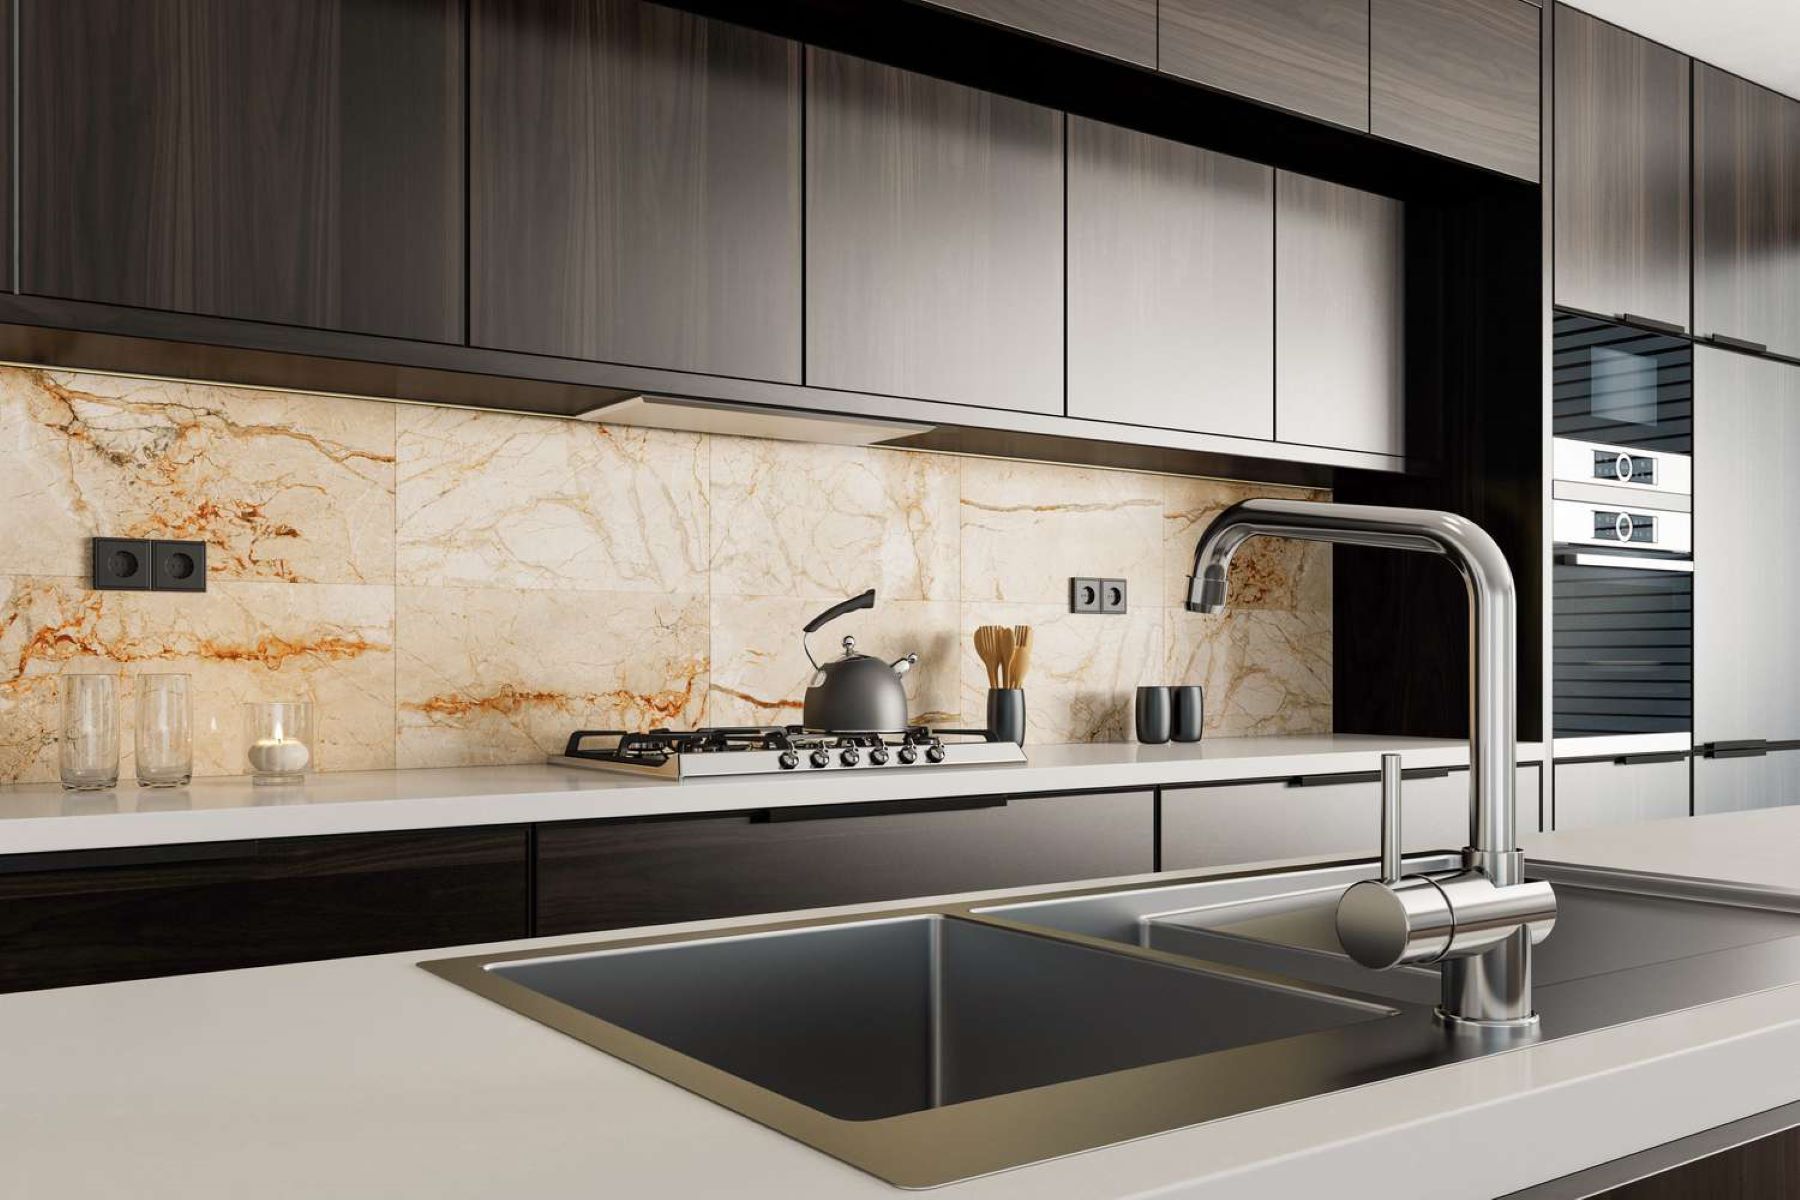
Whitewashing your backsplash can breathe new life into your kitchen or bathroom, adding a touch of rustic charm or modern elegance to the space. This simple and cost-effective DIY project allows you to revamp your backsplash without the need for a complete renovation. Whether you're aiming for a farmhouse-inspired look or a contemporary aesthetic, whitewashing offers a versatile and customizable solution to elevate the style of your home.
By learning how to whitewash your backsplash, you can unleash your creativity and transform the ambiance of your living space. This technique allows you to achieve a variety of effects, from a subtle, weathered appearance to a bold, dramatic statement. With the right materials and a bit of guidance, you can embark on this rewarding endeavor and witness the remarkable impact it can have on your home's interior design.
Whitewashing is not only a practical way to update your backsplash, but it also provides a sense of accomplishment and personalization. As you embark on this project, you'll have the opportunity to express your unique style and preferences, infusing your living space with character and individuality. Whether you're a seasoned DIY enthusiast or a newcomer to home improvement projects, whitewashing your backsplash can be a fulfilling and enjoyable experience.
In the following sections, we will explore the step-by-step process of whitewashing your backsplash, from gathering the necessary materials to applying the whitewash and adding the finishing touches. By following these instructions and unleashing your creativity, you can achieve a stunning backsplash transformation that reflects your personal taste and enhances the overall aesthetic of your home. Let's dive into the world of whitewashing and discover the transformative power it holds for your living space.
Key Takeaways:
- Transform your kitchen or bathroom with a DIY whitewashed backsplash, adding rustic charm or modern elegance to your space. It’s a cost-effective way to revamp without a complete renovation, allowing for personalization and creativity.
- Prepare, mix, apply, and finish for a stunning whitewashed backsplash. Clean, protect, and test before applying the whitewash, then add finishing touches for a polished and enduring result.
Read more: How To Whitewash A Stone Fireplace
Materials Needed
To embark on the exciting journey of whitewashing your backsplash, you'll need a few essential materials to ensure a successful and visually appealing outcome. Before diving into the creative process, it's crucial to gather the following items:
-
Cleaning Supplies: Begin by ensuring that your backsplash is free of any dirt, grease, or grime. You'll need mild dish soap, warm water, and a sponge or cloth to thoroughly clean the surface. This step is vital for achieving a smooth and even whitewash application.
-
Protective Gear: Prioritize safety by equipping yourself with protective gear, including gloves and safety goggles. These items will shield your skin and eyes from any potential contact with the whitewash solution.
-
Drop Cloths or Plastic Sheets: Prepare your workspace by covering the surrounding areas with drop cloths or plastic sheets to prevent any accidental spills or splatters from reaching other surfaces.
-
Painter's Tape: Use painter's tape to protect adjacent walls, countertops, and cabinets from unintentional whitewash application. This will help maintain a clean and precise finish on your backsplash.
-
Whitewash Solution: The key component of this project is the whitewash solution itself. You can create your own whitewash by mixing equal parts of water and white latex paint. Alternatively, pre-mixed whitewash products are available for added convenience.
-
Paintbrushes and/or Rollers: Select high-quality paintbrushes and/or rollers suitable for the size and texture of your backsplash. These tools will facilitate the application of the whitewash, ensuring an even and professional-looking result.
-
Stirring Sticks or Paddles: To achieve a consistent and well-blended whitewash solution, have stirring sticks or paddles on hand to thoroughly mix the paint and water.
-
Rags or Sponges: Opt for rags or sponges to help control the intensity of the whitewash application and create various textures and effects on the backsplash.
-
Sealer (Optional): Depending on your preference, you may consider applying a sealer to protect the whitewashed backsplash and enhance its durability. Select a suitable sealer based on the material of your backsplash.
By gathering these materials, you'll be fully equipped to commence the whitewashing process and unleash your creativity. With careful preparation and attention to detail, you can achieve a stunning whitewashed backsplash that revitalizes the ambiance of your kitchen or bathroom.
Preparing the Backsplash
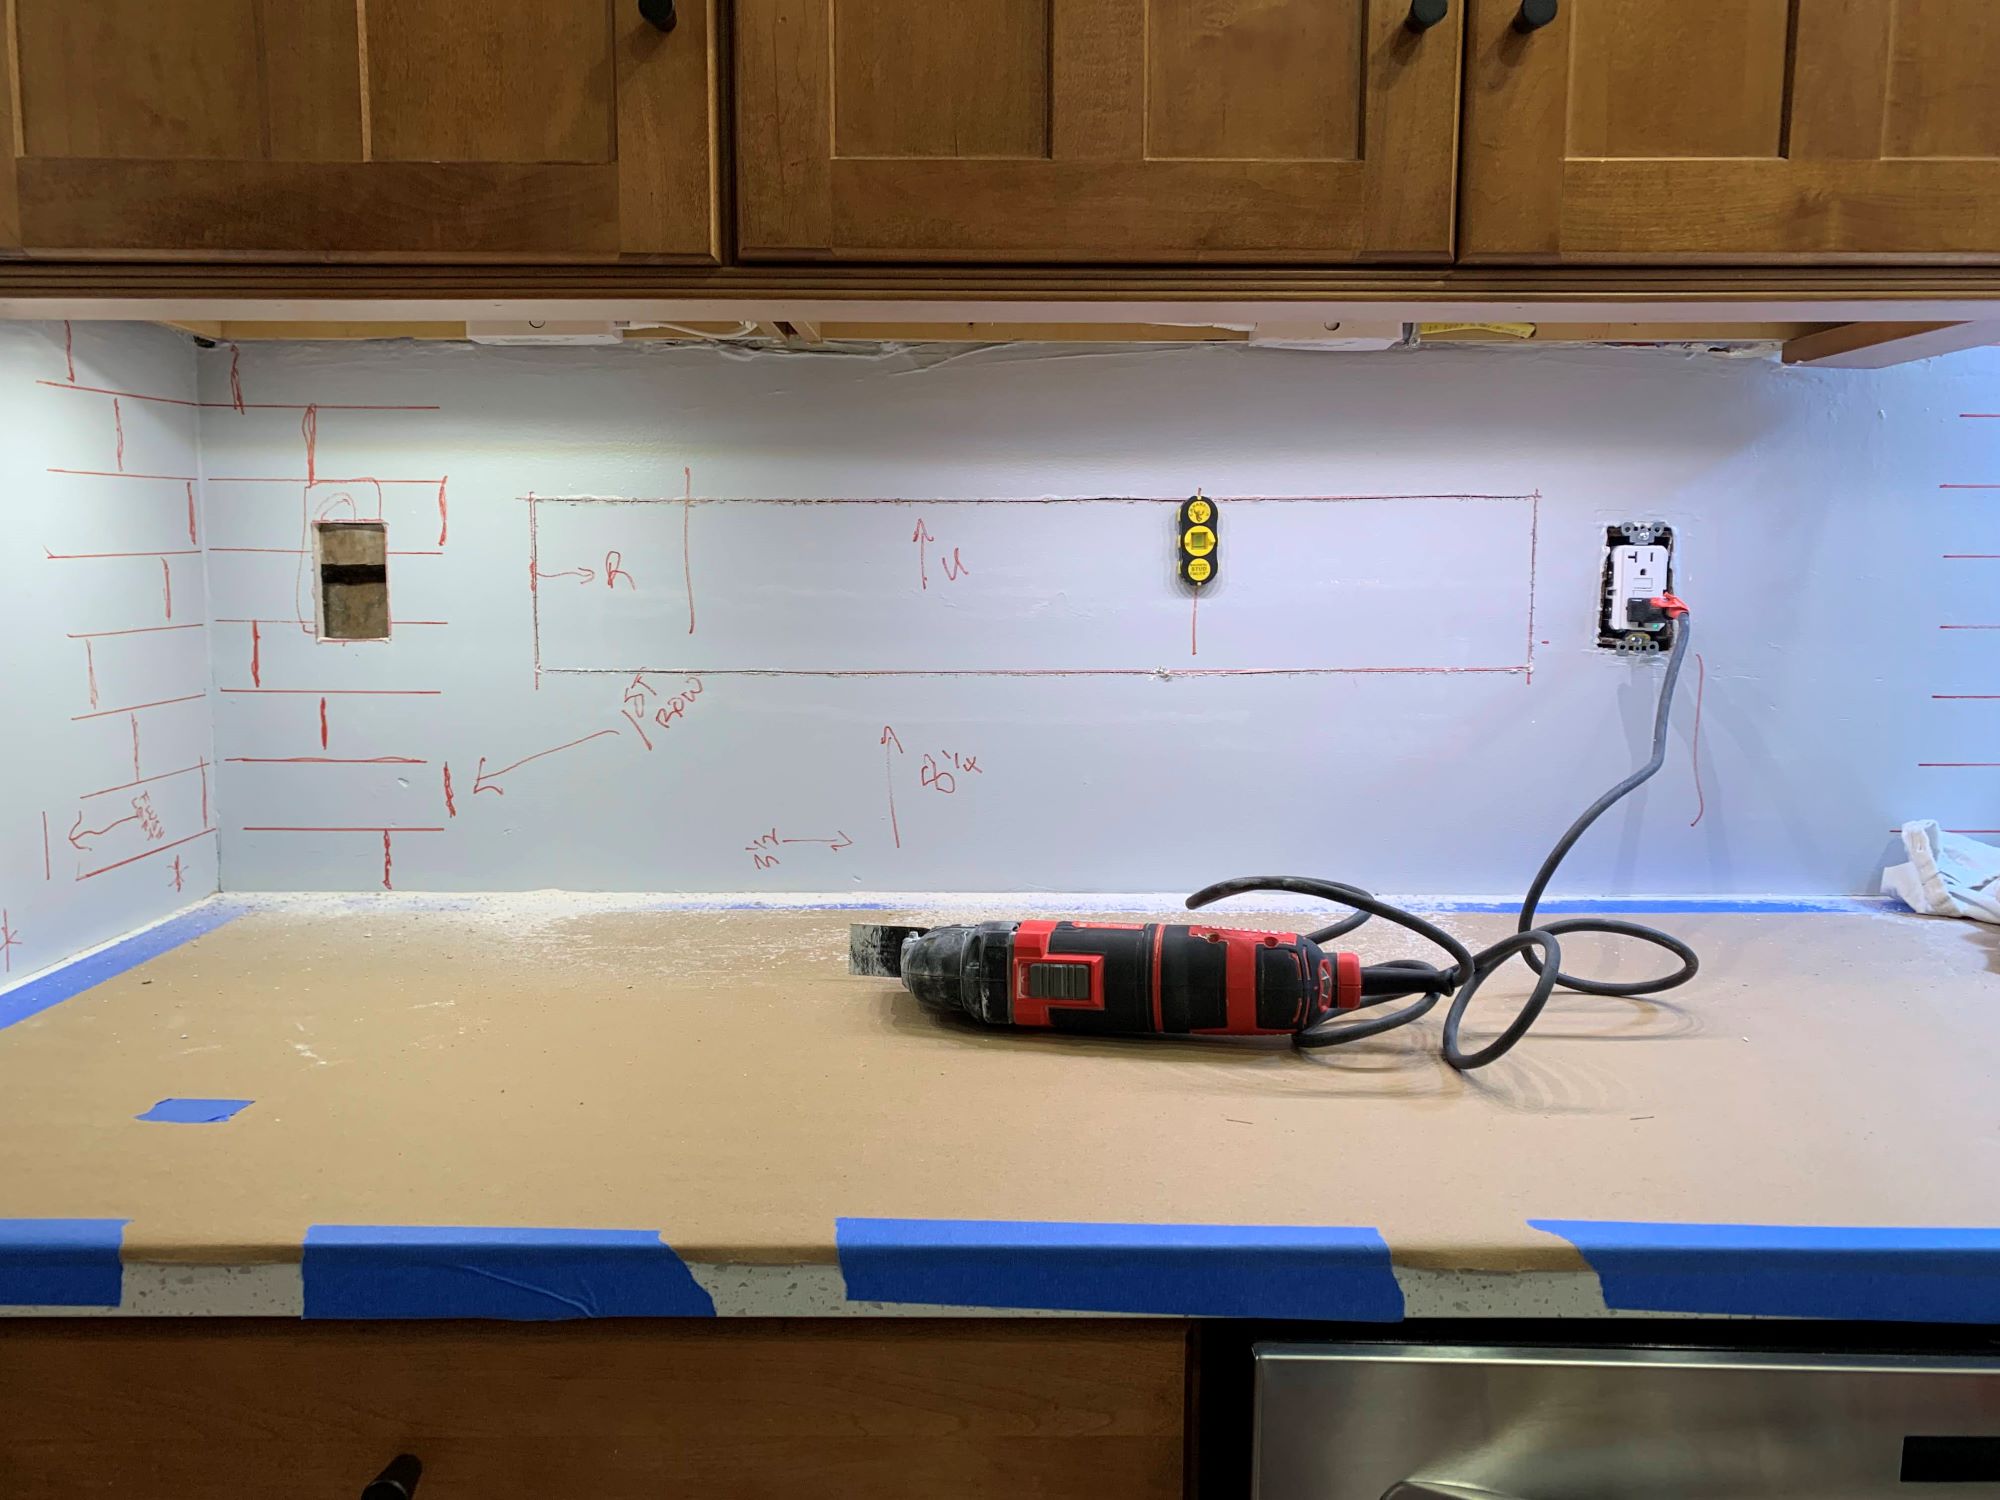
Before diving into the exhilarating process of whitewashing your backsplash, it's crucial to dedicate time and effort to prepare the surface for the transformative makeover. Proper preparation sets the stage for a flawless and enduring whitewash application, ensuring that the final result exudes elegance and sophistication. Here's a detailed guide on how to prepare your backsplash for the whitewashing process:
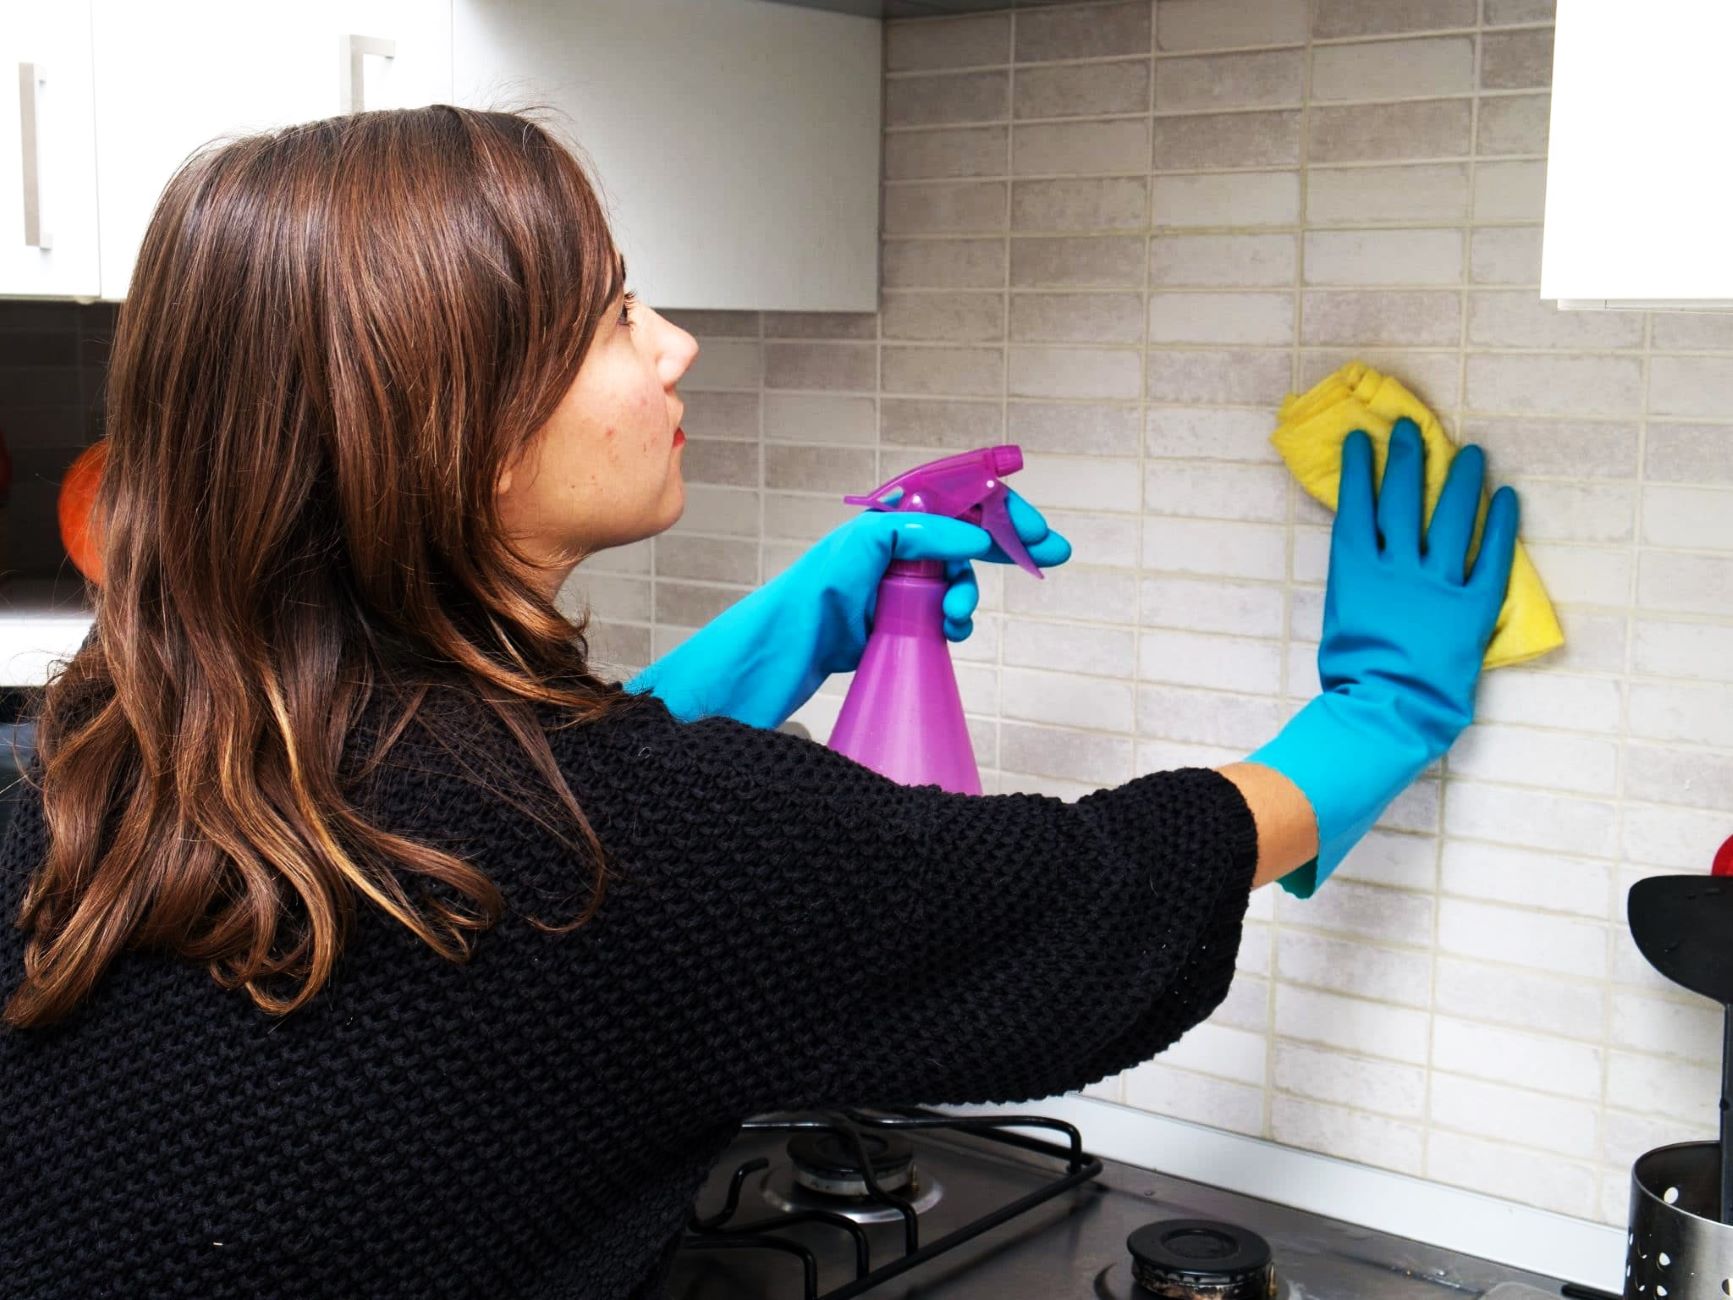
Step 1: Thorough Cleaning
Commence the preparation by thoroughly cleaning the backsplash surface. Use a mild dish soap, warm water, and a sponge or cloth to remove any accumulated dirt, grease, or grime. Pay close attention to areas near the stovetop or sink, as these tend to gather the most residue. By achieving a pristine and debris-free surface, you pave the way for a seamless whitewash application and guarantee a stunning end result.
Step 2: Protecting Surrounding Areas
Prioritize the protection of surrounding areas by covering countertops, cabinets, and adjacent walls with drop cloths or plastic sheets. This precautionary measure prevents accidental spills or splatters from reaching other surfaces, ensuring that your kitchen or bathroom remains unscathed during the whitewashing process.
Read more: How To Whitewash A Brick Fireplace
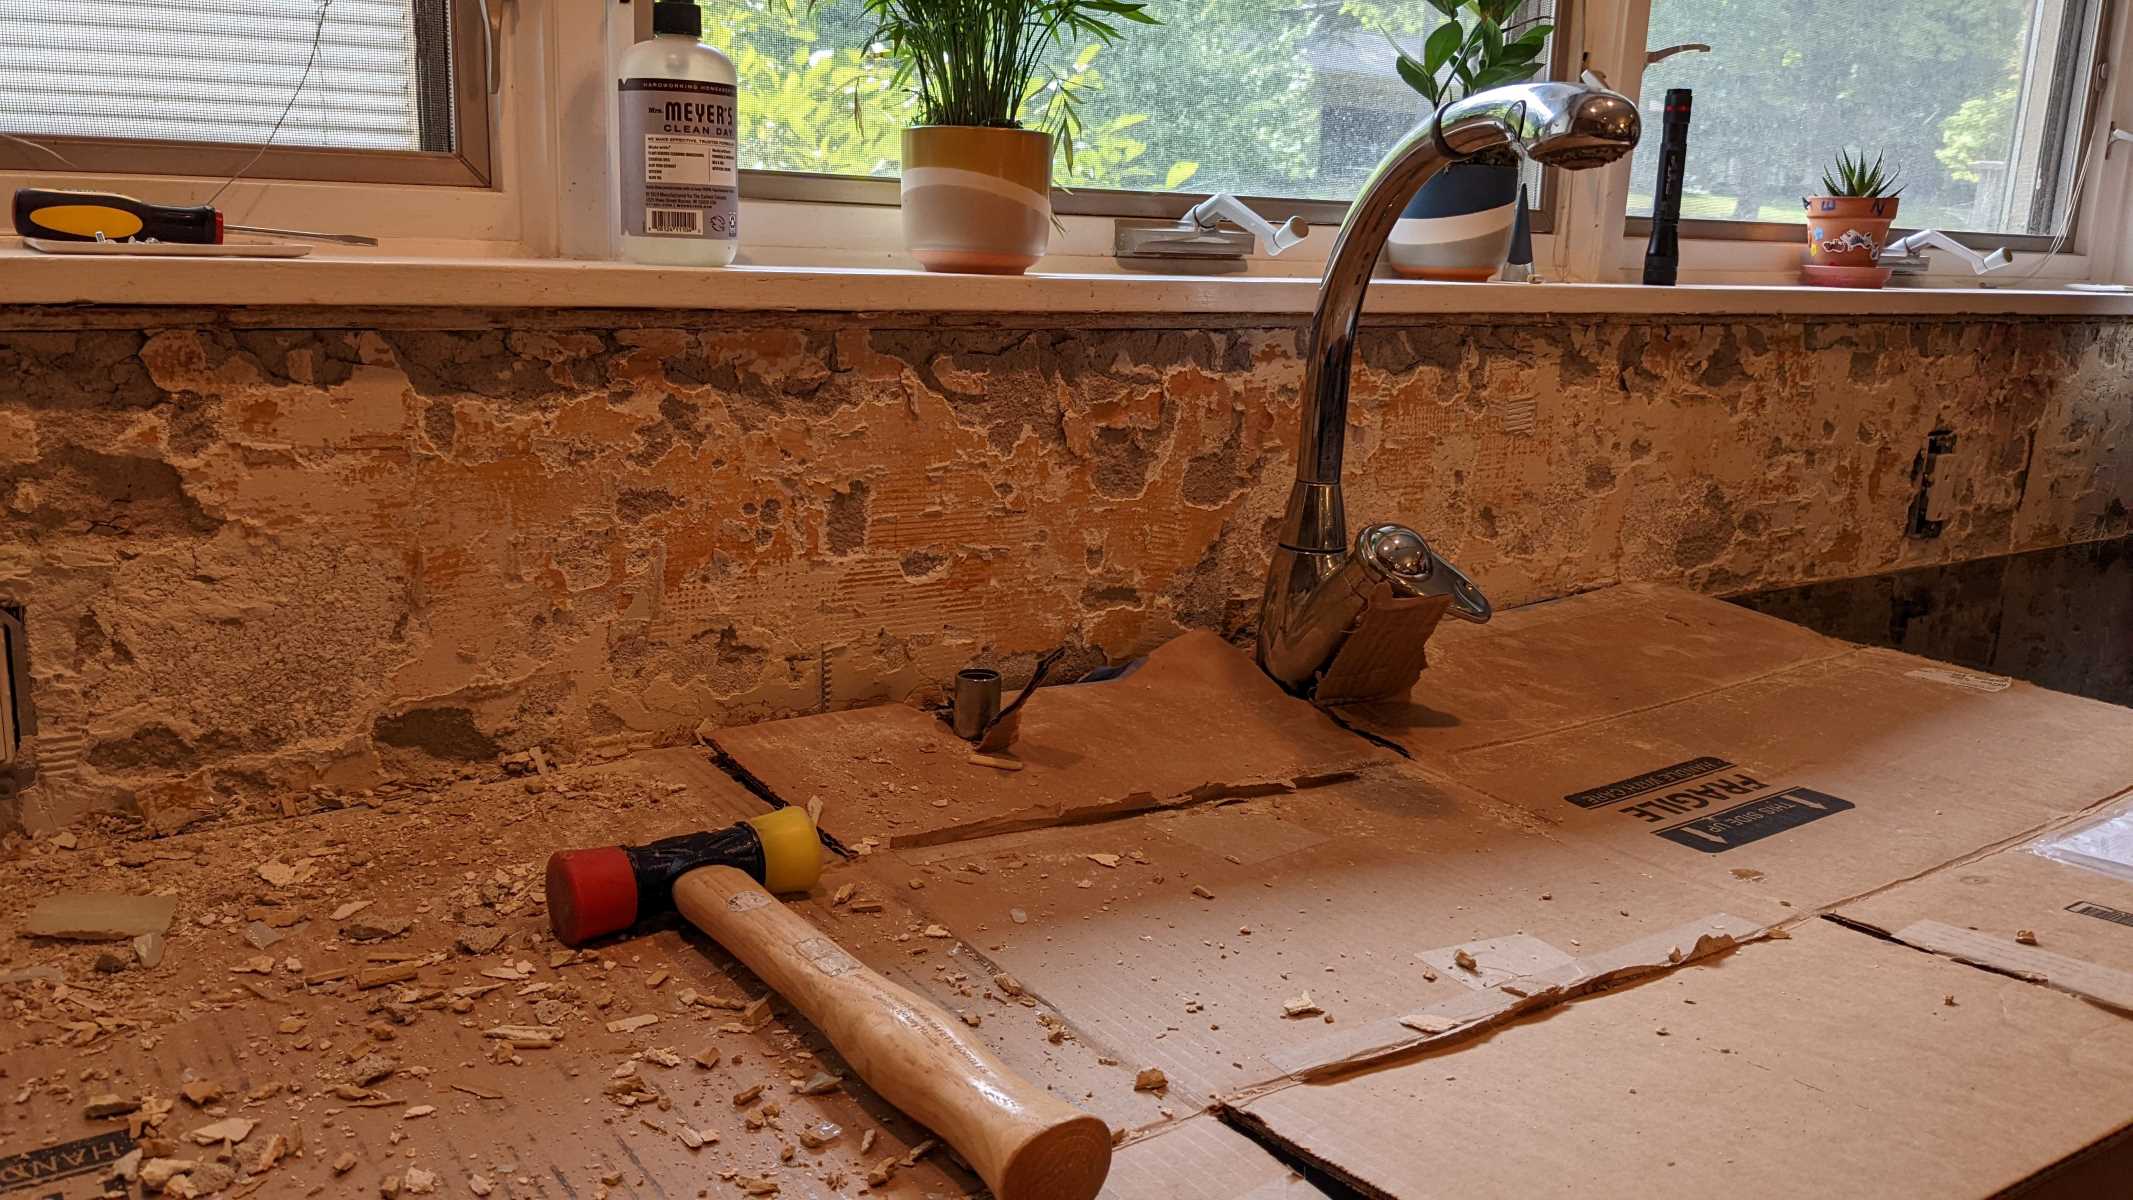
Step 3: Removing Outlet Covers and Fixtures
To facilitate a thorough and uniform whitewash application, consider removing outlet covers and fixtures from the backsplash area. This allows you to access the entire surface without any obstructions, ensuring that every nook and cranny receives the desired whitewash treatment.
Step 4: Sanding (If Necessary)
If your backsplash features a glossy or uneven surface, consider lightly sanding it to promote better adhesion of the whitewash. Use fine-grit sandpaper to gently roughen the surface, creating a suitable texture for the whitewash to adhere to. After sanding, be sure to wipe away any dust or debris to maintain a clean and smooth surface.
Step 5: Applying Painter's Tape
Utilize painter's tape to protect adjacent walls, countertops, and cabinets from unintentional whitewash application. This meticulous step ensures that the whitewash remains confined to the backsplash area, maintaining a clean and polished look for your kitchen or bathroom.
By meticulously preparing your backsplash through these essential steps, you lay the groundwork for a successful and visually captivating whitewashing process. With a clean, protected, and well-prepared surface, you are now ready to embark on the next phase of this exciting DIY project: mixing and applying the whitewash.
Mixing the Whitewash
Creating the perfect whitewash solution is a pivotal step in achieving the desired aesthetic for your backsplash. This process involves blending water and white latex paint to produce a semi-translucent mixture that will impart a subtle, weathered appearance to the surface. By mastering the art of mixing the whitewash, you can customize the intensity and texture of the application, allowing for a personalized and visually striking result.
To begin, gather the necessary materials for mixing the whitewash, including a container for the solution, equal parts of water and white latex paint, and stirring sticks or paddles. Ensure that the container is clean and free of any residual substances to maintain the purity of the whitewash.
Start by pouring an equal amount of water and white latex paint into the container. The ratio of water to paint can be adjusted based on your desired level of translucency and coverage. For a more opaque finish, increase the proportion of paint, while a higher water content will result in a lighter, more transparent effect.
Once the water and paint are in the container, use a stirring stick or paddle to thoroughly blend the two components. It's essential to achieve a homogeneous mixture, ensuring that the paint is evenly dispersed in the water. Vigorous stirring will help eliminate any lumps or inconsistencies, resulting in a smooth and uniform whitewash solution.
As you mix the whitewash, take the opportunity to assess its consistency and opacity. If the solution appears too thick, gradually add small amounts of water while stirring continuously until the desired fluidity is achieved. Conversely, if the whitewash seems too diluted, incorporate additional paint to enhance its opacity and richness.
Throughout the mixing process, maintain a keen eye for achieving the perfect balance of water and paint, allowing you to tailor the whitewash to your specific preferences. By experimenting with different ratios and consistently evaluating the texture and color of the solution, you can fine-tune the whitewash to align with your envisioned outcome.
Once the whitewash reaches the desired consistency and translucency, it is ready for application to the prepared backsplash surface. The meticulously mixed solution holds the potential to impart a captivating and nuanced finish to your backsplash, elevating the visual appeal of your kitchen or bathroom with its timeless charm and allure.
Read more: How To Whitewash A Brick House
Applying the Whitewash
With the backsplash meticulously prepared and the whitewash solution expertly mixed, it's time to embark on the exhilarating phase of applying the whitewash. This pivotal step holds the power to transform the appearance of your backsplash, infusing it with a captivating and personalized touch. By following these detailed guidelines, you can achieve a flawless and visually striking whitewash application that revitalizes the ambiance of your kitchen or bathroom.
Step 1: Test Application
Before proceeding with the full application, conduct a test run of the whitewash on a small, inconspicuous area of the backsplash. This allows you to assess the translucency and texture of the whitewash on the surface, ensuring that it aligns with your envisioned outcome. By conducting a test application, you can make any necessary adjustments to the whitewash mixture and application technique before covering the entire backsplash.
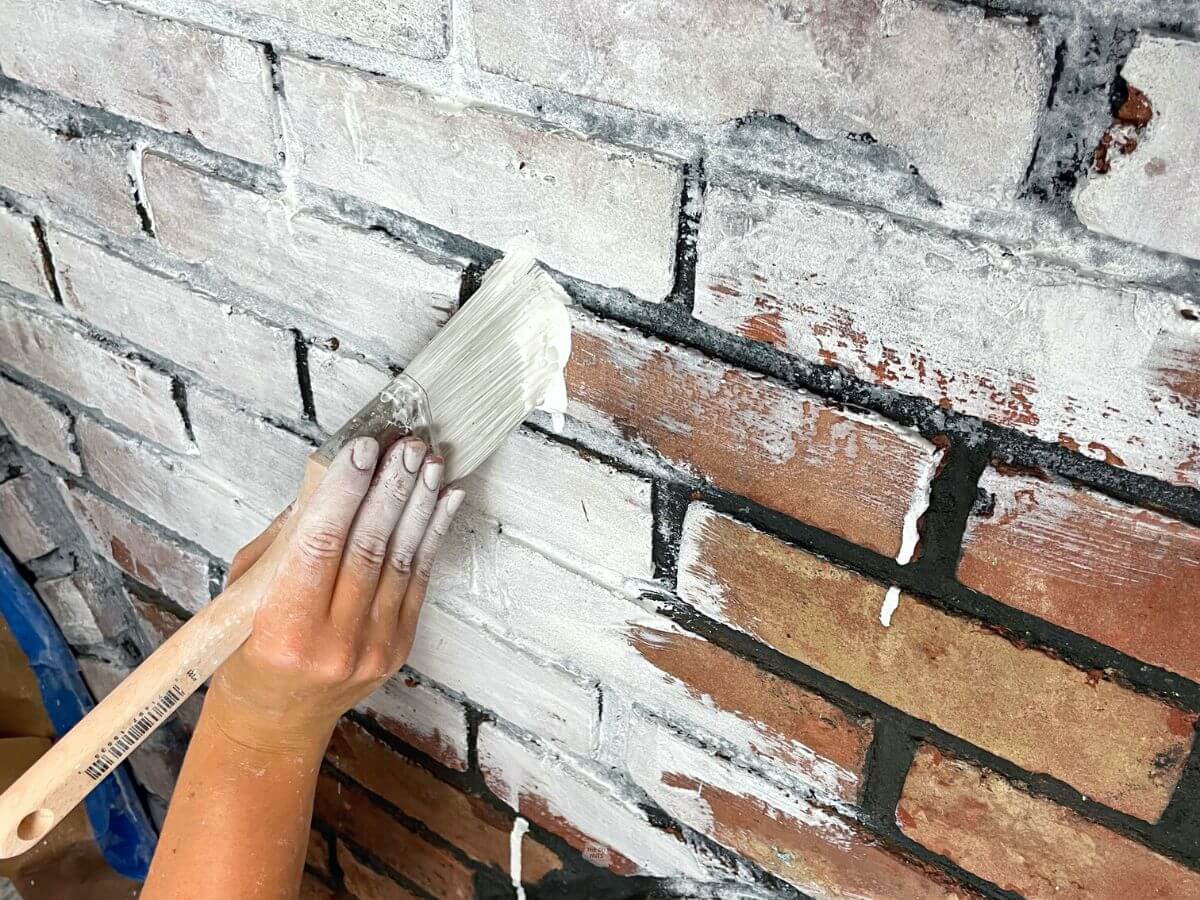
Step 2: Begin the Application
Armed with a high-quality paintbrush or roller, commence the whitewash application by starting at one corner of the backsplash. Apply the whitewash in smooth, even strokes, working in manageable sections to maintain control over the coverage and texture. Ensure that the whitewash reaches into the grout lines and adheres evenly to the surface, creating a cohesive and harmonious effect across the entire backsplash.
Step 3: Control the Intensity
As you apply the whitewash, consider using a rag or sponge to control the intensity of the application. This technique allows you to create varying levels of transparency and texture, adding depth and dimension to the whitewashed surface. Experiment with different pressure and motion to achieve the desired visual impact, whether it's a subtle, weathered appearance or a more pronounced, artistic effect.
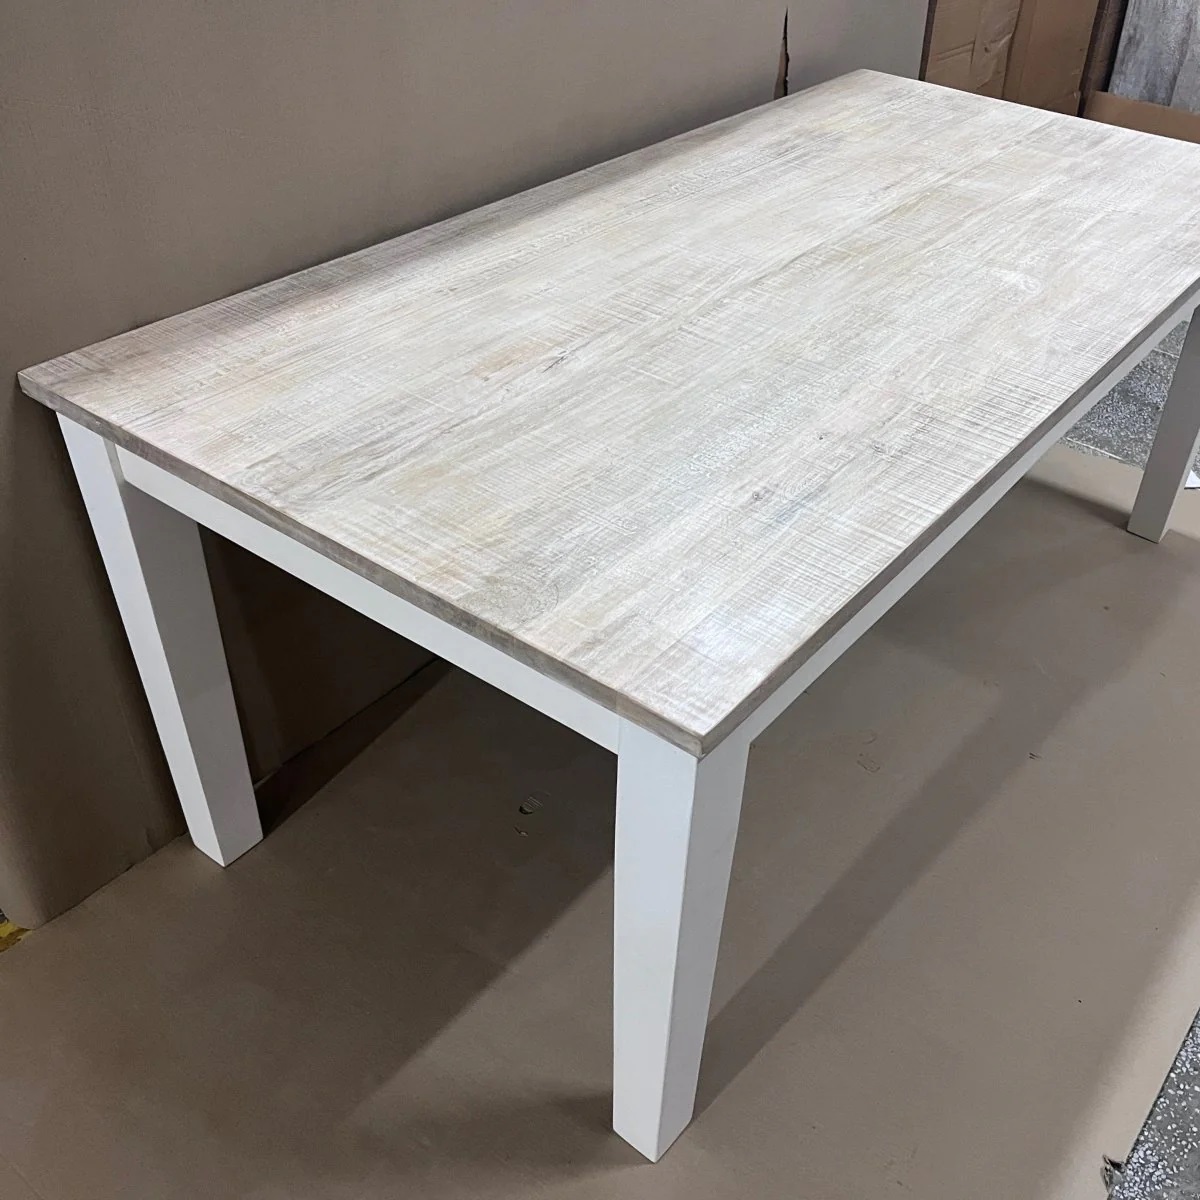
Read more: How To Whitewash A Coffee Table
Step 4: Blend and Feather
To maintain a seamless and natural look, blend and feather the whitewash as you progress across the backsplash. This technique involves gently smoothing out any visible brush or roller marks and seamlessly integrating the whitewash into the surface. By employing a gentle touch and fluid motions, you can achieve a cohesive and elegant finish that exudes sophistication and charm.
Step 5: Evaluate and Adjust
Throughout the application process, periodically step back to evaluate the evolving appearance of the whitewashed backsplash. Assess the overall consistency, texture, and coverage, making any necessary adjustments to ensure a uniform and visually appealing result. This critical step allows you to fine-tune the application and address any areas that may require additional attention or refinement.
By meticulously following these steps and infusing your application with creativity and attention to detail, you can achieve a stunning whitewashed backsplash that serves as a captivating focal point in your home. The transformative power of the whitewash application breathes new life into your living space, infusing it with character, elegance, and timeless allure. As you complete the application process, revel in the remarkable impact of your efforts and admire the breathtaking metamorphosis of your backsplash.
Finishing Touches
After completing the exhilarating process of applying the whitewash to your backsplash, the final stage involves adding the finishing touches to perfect the overall look and ensure the longevity of your newly transformed surface. These essential steps will elevate the visual impact of your whitewashed backsplash, creating a polished and enduring result that enhances the aesthetic appeal of your kitchen or bathroom.
Step 1: Drying Time
Allow the whitewash to thoroughly dry according to the manufacturer's recommendations or the specific drying time indicated for the type of paint used. It's crucial to exercise patience during this phase to prevent any premature contact with the whitewashed surface, ensuring that the finish sets and adheres securely to the backsplash.
Read more: How To Whitewash Brick With Paint
Step 2: Assessing the Finish
Once the whitewash has fully dried, carefully evaluate the finish to identify any areas that may require additional touch-ups or refinement. Take this opportunity to address any inconsistencies or imperfections, ensuring that the whitewashed surface achieves a uniform and visually captivating appearance.
Step 3: Optional Sealing
Consider applying a suitable sealer to the whitewashed backsplash to enhance its durability and protect it from daily wear and tear. Select a high-quality sealer compatible with the type of paint used and the material of your backsplash, following the manufacturer's instructions for proper application and drying time.
Step 4: Reinstalling Fixtures
Once the whitewashed backsplash has been meticulously evaluated and, if desired, sealed, proceed to reinstall any outlet covers and fixtures that were removed during the preparation phase. This step completes the seamless integration of the whitewashed surface into your kitchen or bathroom, allowing for a cohesive and polished appearance.
Step 5: Admiring the Transformation
Step back and admire the remarkable transformation that has taken place in your living space. Revel in the captivating allure of your newly whitewashed backsplash, appreciating the personalized and timeless charm it brings to your home. Take pride in the accomplishment of revitalizing your environment through this rewarding DIY project, and relish the enduring impact it has on the ambiance of your kitchen or bathroom.
By meticulously attending to these finishing touches, you can ensure that your whitewashed backsplash achieves a flawless and enduring result. The culmination of these steps marks the culmination of your journey in transforming your living space, infusing it with character, elegance, and a touch of your unique style.
Frequently Asked Questions about How To Whitewash Backsplash
Was this page helpful?
At Storables.com, we guarantee accurate and reliable information. Our content, validated by Expert Board Contributors, is crafted following stringent Editorial Policies. We're committed to providing you with well-researched, expert-backed insights for all your informational needs.


0 thoughts on “How To Whitewash Backsplash”