Home>Technology>Security & Surveillance>How To Install Sliding Door Lock

Security & Surveillance
How To Install Sliding Door Lock
Modified: August 16, 2024
Learn how to enhance your home security with our step-by-step guide on installing a sliding door lock. Protect your property with our easy-to-follow security and surveillance tips.
(Many of the links in this article redirect to a specific reviewed product. Your purchase of these products through affiliate links helps to generate commission for Storables.com, at no extra cost. Learn more)
Introduction
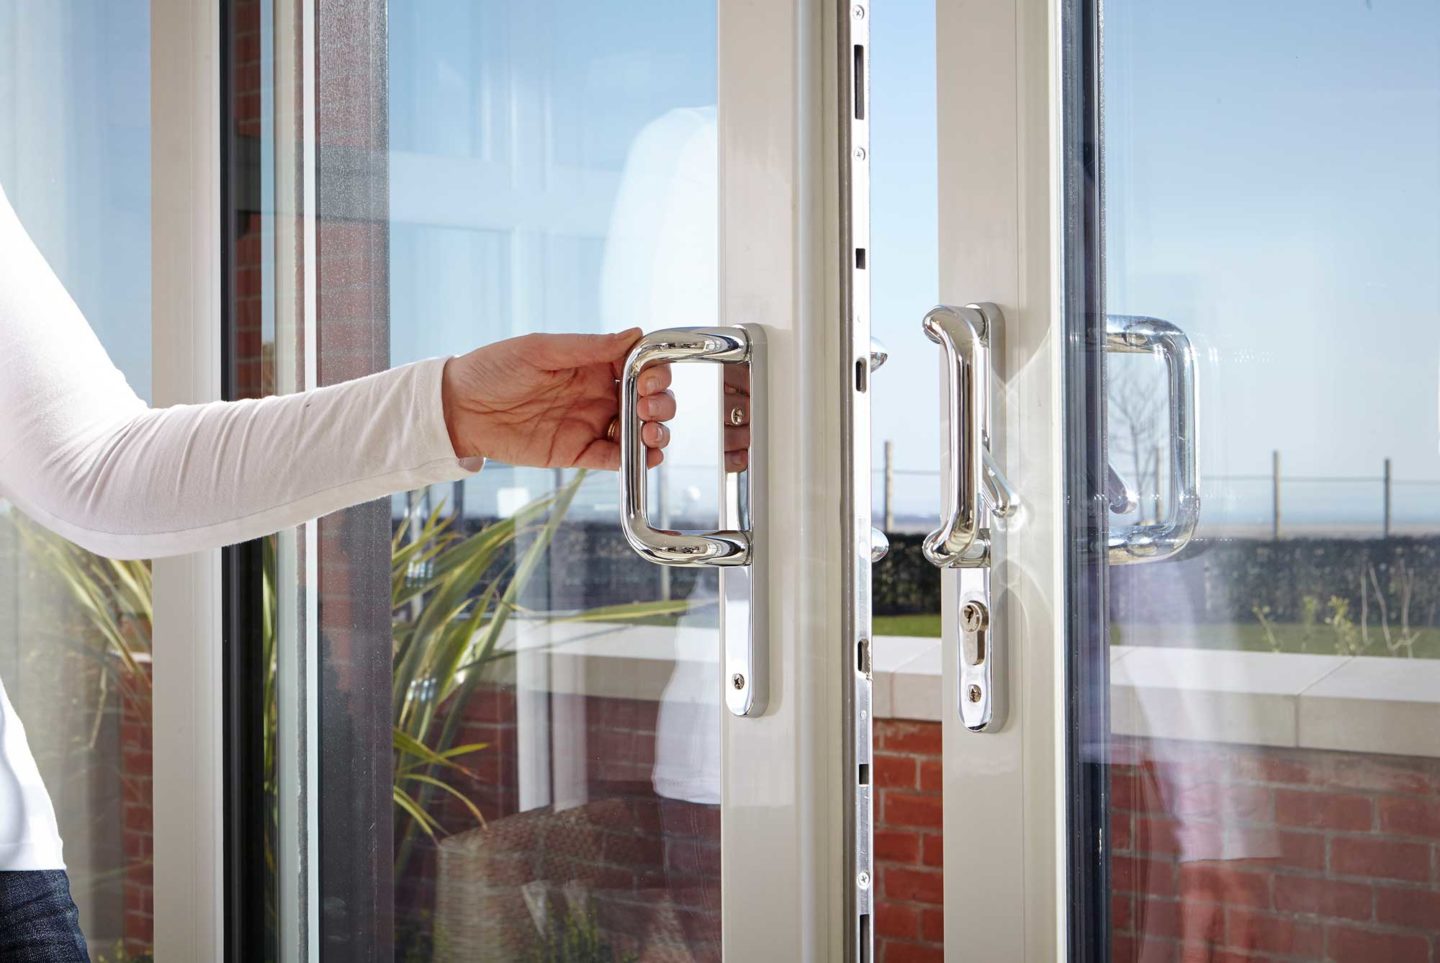
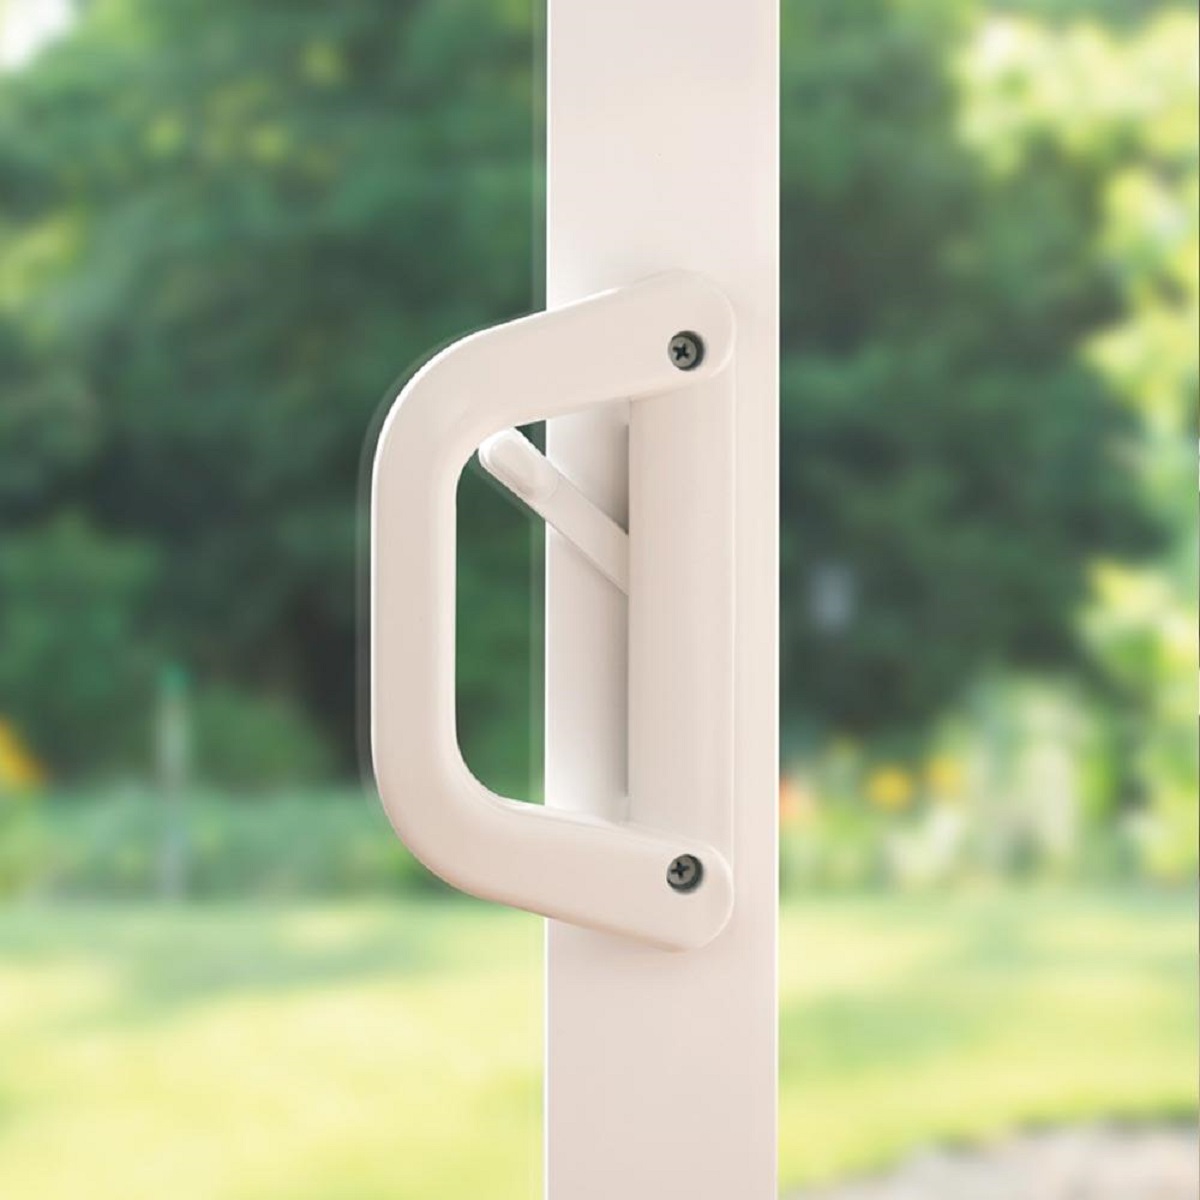
Welcome to the comprehensive guide on how to install a sliding door lock. Securing your home is of utmost importance, and one effective way to enhance your home security is by installing a reliable lock on your sliding doors. Whether you are looking to safeguard your patio, balcony, or any other sliding entryway, a properly installed lock provides peace of mind and protection against unauthorized access.
In this guide, we will walk through the step-by-step process of installing a sliding door lock. By following these instructions, you can ensure that your sliding door is equipped with a robust locking mechanism, deterring potential intruders and bolstering the security of your property.
Before we dive into the installation process, it’s essential to gather the necessary tools and materials. Let’s ensure that you have everything required to complete this task efficiently and effectively.
Key Takeaways:
- Installing a sliding door lock is crucial for home security. By following the steps in this guide, you can ensure a safe and secure living space, providing peace of mind and protection against unauthorized access.
- Regularly inspect and maintain your sliding door lock to ensure continued effectiveness. Consider complementing security measures with outdoor lighting, surveillance cameras, and alarm systems for a comprehensive security plan.
Read more: How To Open Sliding Door Lock
Tools and Materials Needed
Before initiating the installation process, it’s crucial to gather the essential tools and materials. Here’s a list of what you’ll need:
Tools:
- Power drill
- Drill bits
- Screwdriver
- Measuring tape
- Pencil
- Chisel
- Hammer
Materials:
- Sliding door lock kit
- Screws
- Wood filler
Ensuring that you have these tools and materials readily available will streamline the installation process and help you achieve a professional and secure outcome. Once you’ve gathered everything on the list, you’re ready to prepare the sliding door for the installation of the lock mechanism.
Preparing the Sliding Door
Before installing the lock mechanism, it’s essential to prepare the sliding door to ensure a seamless and secure fit for the new lock. Follow these steps to prepare the door for the installation:
Read more: How To Pick A Sliding Door Lock
Step 1: Choose the Location
Decide where you want to place the lock on the sliding door. Typically, the lock should be positioned at a comfortable height for easy access while ensuring it effectively secures the door when engaged.
Step 2: Mark the Drill Holes
Using a measuring tape and pencil, carefully mark the spots where the lock components will be attached. Ensure that the markings are level and symmetrical for a professional finish.
Step 3: Drill Pilot Holes
With the power drill and appropriate drill bit, create pilot holes at the marked spots. Pilot holes help prevent the wood from splitting when you insert the screws during the lock installation.
Step 4: Create Recesses for the Lock Mechanism
Using a chisel and hammer, create recesses or cavities in the door to accommodate the lock mechanism. Take precise measurements and work carefully to ensure that the recesses are the correct size and depth for a snug fit.
Read more: How To Fix Lock On Sliding Door
Step 5: Test the Fit
Before proceeding with the installation, test the fit of the lock components in the prepared recesses. Ensure that the components sit flush and secure within the door, making any necessary adjustments as required.
Once the sliding door is properly prepared, you’re ready to move on to the next step – installing the lock mechanism.
Installing the Lock Mechanism
Now that the sliding door is prepared, it’s time to install the lock mechanism. Follow these steps to ensure a secure and functional installation:
Step 1: Assemble the Lock Components
Begin by assembling the lock components according to the manufacturer’s instructions. Ensure that all parts fit together seamlessly and that you have a clear understanding of how the mechanism operates.
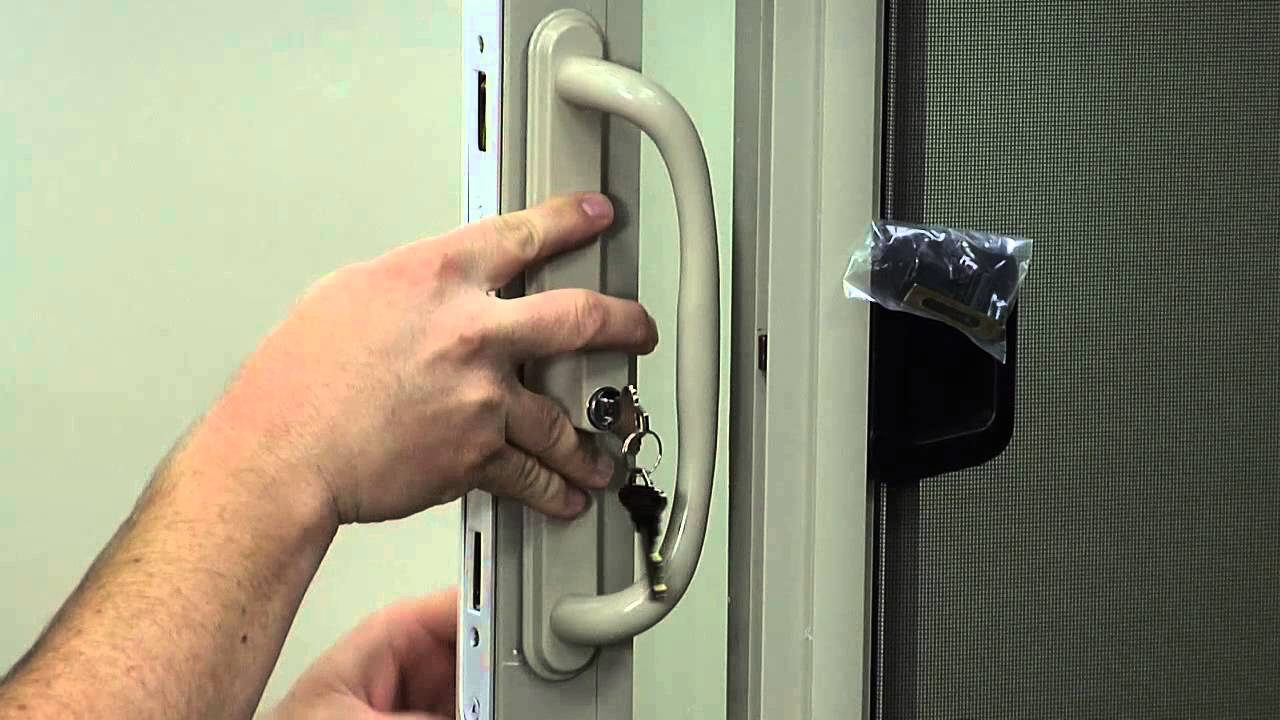
Step 2: Attach the Lock to the Door
Position the lock over the prepared recesses and align it with the pilot holes. Using the provided screws, secure the lock to the door, ensuring that it is level and tightly fastened. A screwdriver will be necessary to drive the screws into place.
Read more: How To Add A Lock To A Sliding Door
Step 3: Test the Operation
Once the lock is securely attached, test its operation to ensure that it functions smoothly. Slide the door open and closed while engaging and disengaging the lock to verify that it operates as intended. Make any necessary adjustments to the installation if the lock does not function properly.
Step 4: Fill Any Gaps
If there are any gaps between the lock and the door surface, use wood filler to fill them in. This step not only enhances the aesthetics of the installation but also prevents potential tampering by intruders.
Step 5: Double-Check the Security
Once the lock is installed, double-check its security by attempting to move the door without disengaging the lock. Ensure that the lock effectively prevents the door from sliding open when engaged, providing the security you need.
With the lock mechanism successfully installed, the final step is to test the lock to ensure its reliability and effectiveness.
Testing the Lock
After installing the lock mechanism, it’s crucial to thoroughly test its functionality to ensure that it provides the intended security for your sliding door. Follow these steps to conduct a comprehensive test of the lock:
Read more: How To Lock Sliding Glass Door With Dog Door
Step 1: Engage and Disengage the Lock
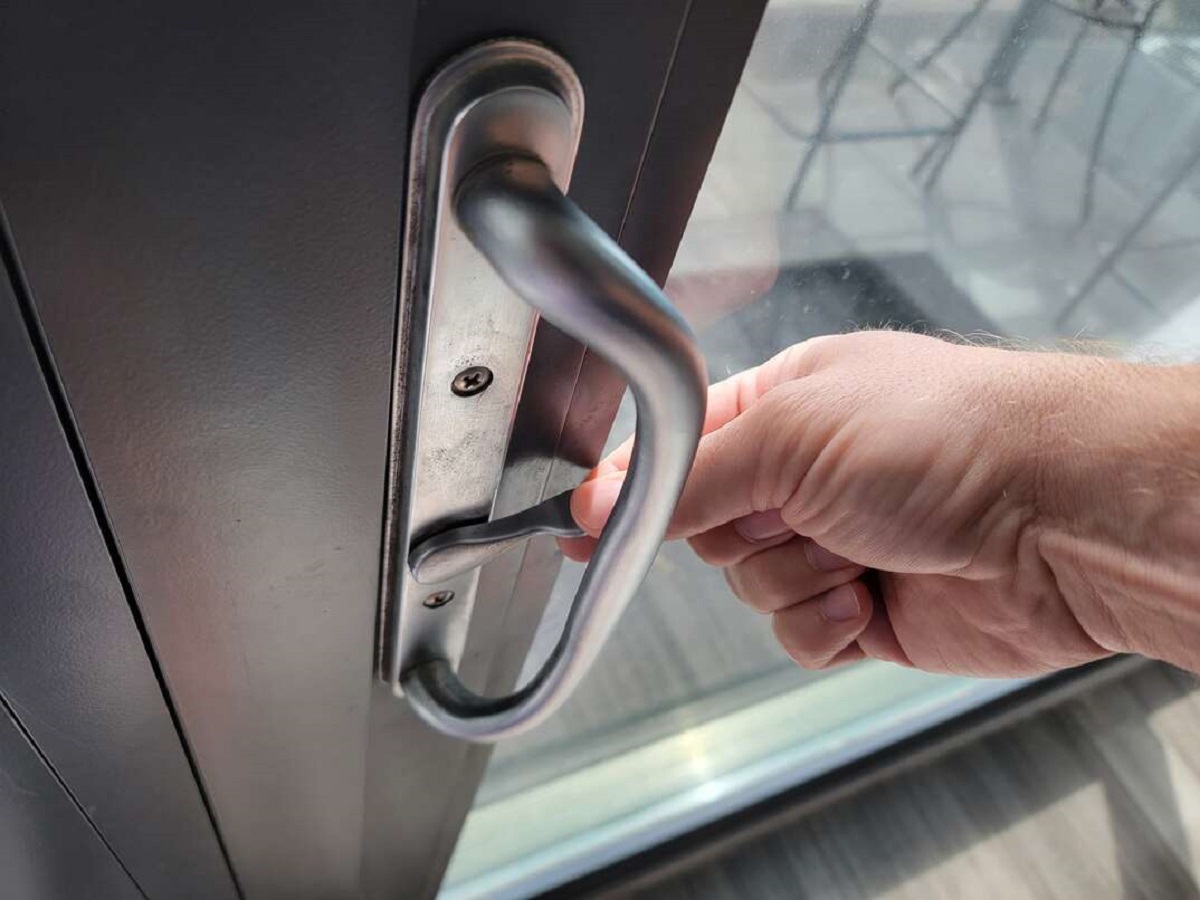
Slide the door to the closed position and engage the lock. Ensure that the locking mechanism securely holds the door in place without any play or movement. Then, disengage the lock and verify that the door slides open and closed smoothly.
Step 2: Apply Pressure to the Door
Apply gentle pressure to the door while it is both locked and unlocked. When the lock is engaged, the door should remain securely in place without yielding to the pressure. When the lock is disengaged, the door should slide open and closed without resistance.
Step 3: Test from the Outside
If possible, test the lock from the outside of the door to simulate a real-world scenario. Ensure that the lock effectively prevents the door from being opened from the exterior, providing an additional layer of security for your home.
Step 4: Verify Accessibility
Confirm that the lock is easily accessible and operable from inside your home. It should be convenient to engage and disengage without requiring excessive force or complex maneuvers.
Read more: How To Adjust Sliding Door Lock
Step 5: Check for Any Defects
Thoroughly inspect the installed lock for any defects or malfunctions. Ensure that all components are securely fastened and that there are no loose parts that could compromise the lock’s effectiveness.
By conducting a comprehensive test of the lock, you can be confident in its ability to secure your sliding door effectively. With the successful completion of the testing phase, your sliding door is now equipped with a reliable lock mechanism, bolstering the security of your home.
Conclusion
Securing your sliding door with a robust lock is a fundamental aspect of home security. By following the steps outlined in this guide, you have taken a proactive approach to fortifying your property and enhancing the safety of your living space. The installation of a sliding door lock not only provides protection against potential intruders but also offers peace of mind, allowing you to enjoy the comfort of your home without unnecessary worry.
Throughout the installation process, you have acquired valuable insights into preparing, installing, and testing a lock mechanism on a sliding door. By carefully choosing the location, accurately marking drill holes, and skillfully attaching the lock components, you have ensured a secure and functional installation.
Remember, the security of your home is an ongoing commitment. Regularly inspect and maintain your sliding door lock to ensure its continued effectiveness. Additionally, consider complementing your security measures with other strategies such as outdoor lighting, surveillance cameras, and alarm systems to create a comprehensive security plan for your home.
By taking proactive steps to secure your sliding door, you contribute to a safe and protected environment for yourself and your loved ones. Embrace the peace of mind that comes with knowing your home is equipped with reliable security measures, including a well-installed sliding door lock.
Congratulations on completing the installation of your sliding door lock. May your home be a sanctuary of safety and comfort for years to come.
Frequently Asked Questions about How To Install Sliding Door Lock
Was this page helpful?
At Storables.com, we guarantee accurate and reliable information. Our content, validated by Expert Board Contributors, is crafted following stringent Editorial Policies. We're committed to providing you with well-researched, expert-backed insights for all your informational needs.

0 thoughts on “How To Install Sliding Door Lock”