Articles
How To Install A Sliding Glass Door
Modified: August 27, 2024
Learn how to install a sliding glass door with our step-by-step articles. Gain valuable insights and expert tips for a smooth installation process.
(Many of the links in this article redirect to a specific reviewed product. Your purchase of these products through affiliate links helps to generate commission for Storables.com, at no extra cost. Learn more)
Introduction
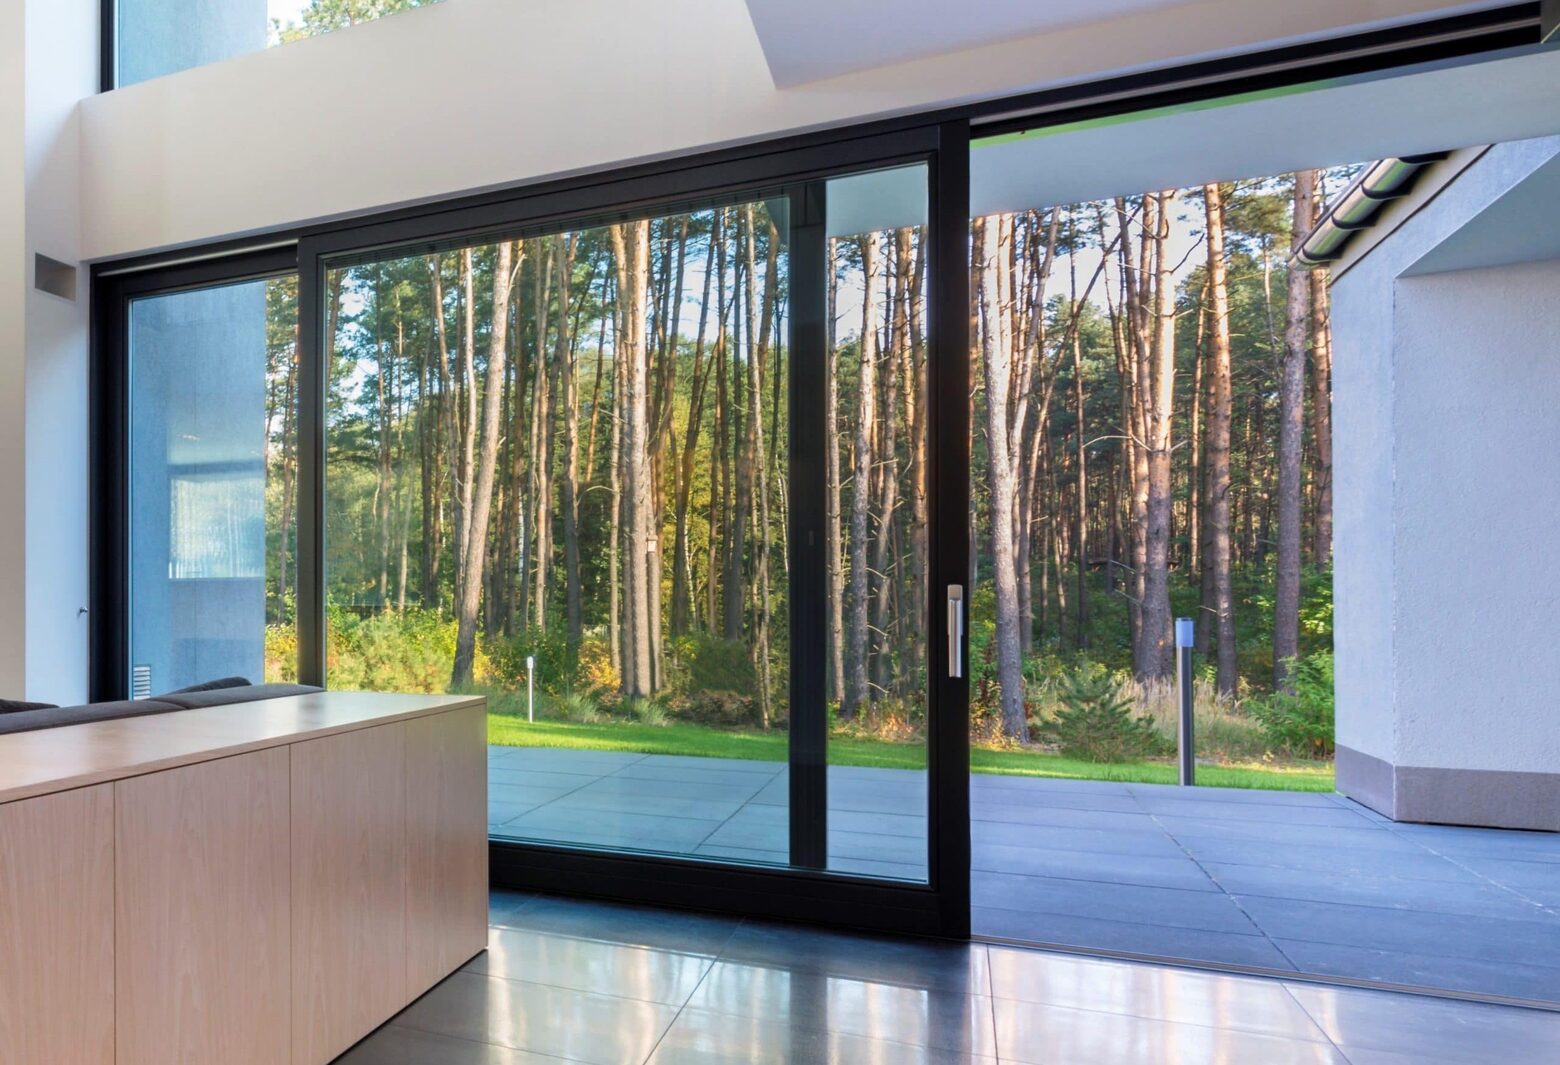
Installing a sliding glass door is a great way to bring natural light into your home and create a seamless connection between your indoor and outdoor living spaces. Whether you’re replacing an old door or adding a new one, this step-by-step guide will help you navigate through the installation process with ease.
A sliding glass door offers various benefits, including enhancing the aesthetic appeal of your home, providing excellent insulation, and improving energy efficiency. By following the proper installation steps, you can ensure a smooth and secure operation of the door, while also increasing the overall value of your property.
In this guide, we’ll walk you through each step of the sliding glass door installation process, from gathering the necessary tools and materials to the final finishing touches. So, grab your measuring tape and get ready to transform your space with a beautiful, functional sliding glass door.
Key Takeaways:
- Installing a sliding glass door involves crucial steps such as measuring, preparing the opening, removing the old door, and installing the bottom and top tracks. Attention to detail and proper adjustments ensure a seamless and functional door.
- The installation process also includes inserting the glass panels, installing side jambs, adjusting and securing the door, and adding weatherstripping and finishing touches. These steps contribute to enhanced natural light, energy efficiency, and a seamless indoor-outdoor connection.
Step 1: Gather the Necessary Tools and Materials
Before you start installing your sliding glass door, it’s important to gather all the tools and materials you’ll need for the job. Having everything on hand will save you time and ensure a smooth installation process. Here’s a list of the essential tools and materials you’ll need:
- Tape measure: Accurate measurements are crucial for properly sizing the opening and selecting the right-sized door.
- Level: This will help ensure that your door is installed straight and plumb.
- Screwdriver and drill: You’ll need these for removing the old door (if applicable) and installing the new one.
- Hammer: Useful for any necessary adjustments or securing components.
- Safety glasses and gloves: Protect yourself while handling glass panels and working with tools.
- Sliding glass door kit: This includes the door panels, track system, and necessary hardware.
- Weatherstripping: Insulates the door and helps prevent drafts.
- Sealant and caulking gun: Used for sealing gaps and ensuring proper weatherproofing.
Before purchasing your sliding glass door kit, make sure to carefully measure the dimensions of the opening to ensure you get the correct size. It’s also a good idea to consider energy-efficient options that have Low-E glass or double-pane insulation for improved thermal performance. Check with your local building codes for any additional requirements or permits needed for the installation process.
Once you have all the necessary tools and materials gathered, you’ll be ready to move on to the next step: measuring and preparing the opening.
Step 2: Measure and Prepare the Opening
Before installing your sliding glass door, it’s crucial to measure and prepare the opening to ensure a proper fit. Taking accurate measurements will help you select the right-sized door and make any necessary adjustments to the opening. Here’s how to measure and prepare the opening:
- Start by measuring the width and height of the opening. Measure from the inside of the opening, from stud to stud, and record the measurements. Be sure to measure at the top, middle, and bottom of the opening, as walls can sometimes be slightly uneven.
- If the opening is not plumb or level, you may need to make some adjustments. Use shims or a level to identify any high or low spots in the opening and add or remove shims as necessary.
- Check the opening for any obstructions that may interfere with the installation. Clear away any debris, nails, or other obstacles that could affect the smooth operation of the sliding glass door.
- Inspect the sill for any signs of damage or rot. If needed, repair or replace the sill to ensure a solid foundation for the door.
- Next, measure the rough opening depth. This measurement will determine the thickness of the door jamb and track system that you’ll need to install. Typically, the rough opening depth should be equal to the thickness of the door jamb and the track system combined.
Once you have measured and prepared the opening, you’ll be ready to move on to the next step: removing the old door (if applicable). If you’re installing a new sliding glass door into a new opening, you can skip this step and proceed to the next one.
Remember, accurate measurements and proper preparation are essential to ensure a seamless and successful installation process. Taking the time to measure and prepare the opening will help optimize the fit and functionality of your sliding glass door.
Step 3: Remove the Old Door (If Applicable)
If you’re replacing an existing sliding glass door, you’ll need to remove the old door before installing the new one. Follow these steps to safely and effectively remove the old door:
- Start by carefully removing any trim or molding around the door frame using a pry bar or a screwdriver.
- Next, inspect the door panel for any screws or fasteners that may be holding it in place. Remove these screws using a screwdriver or drill.
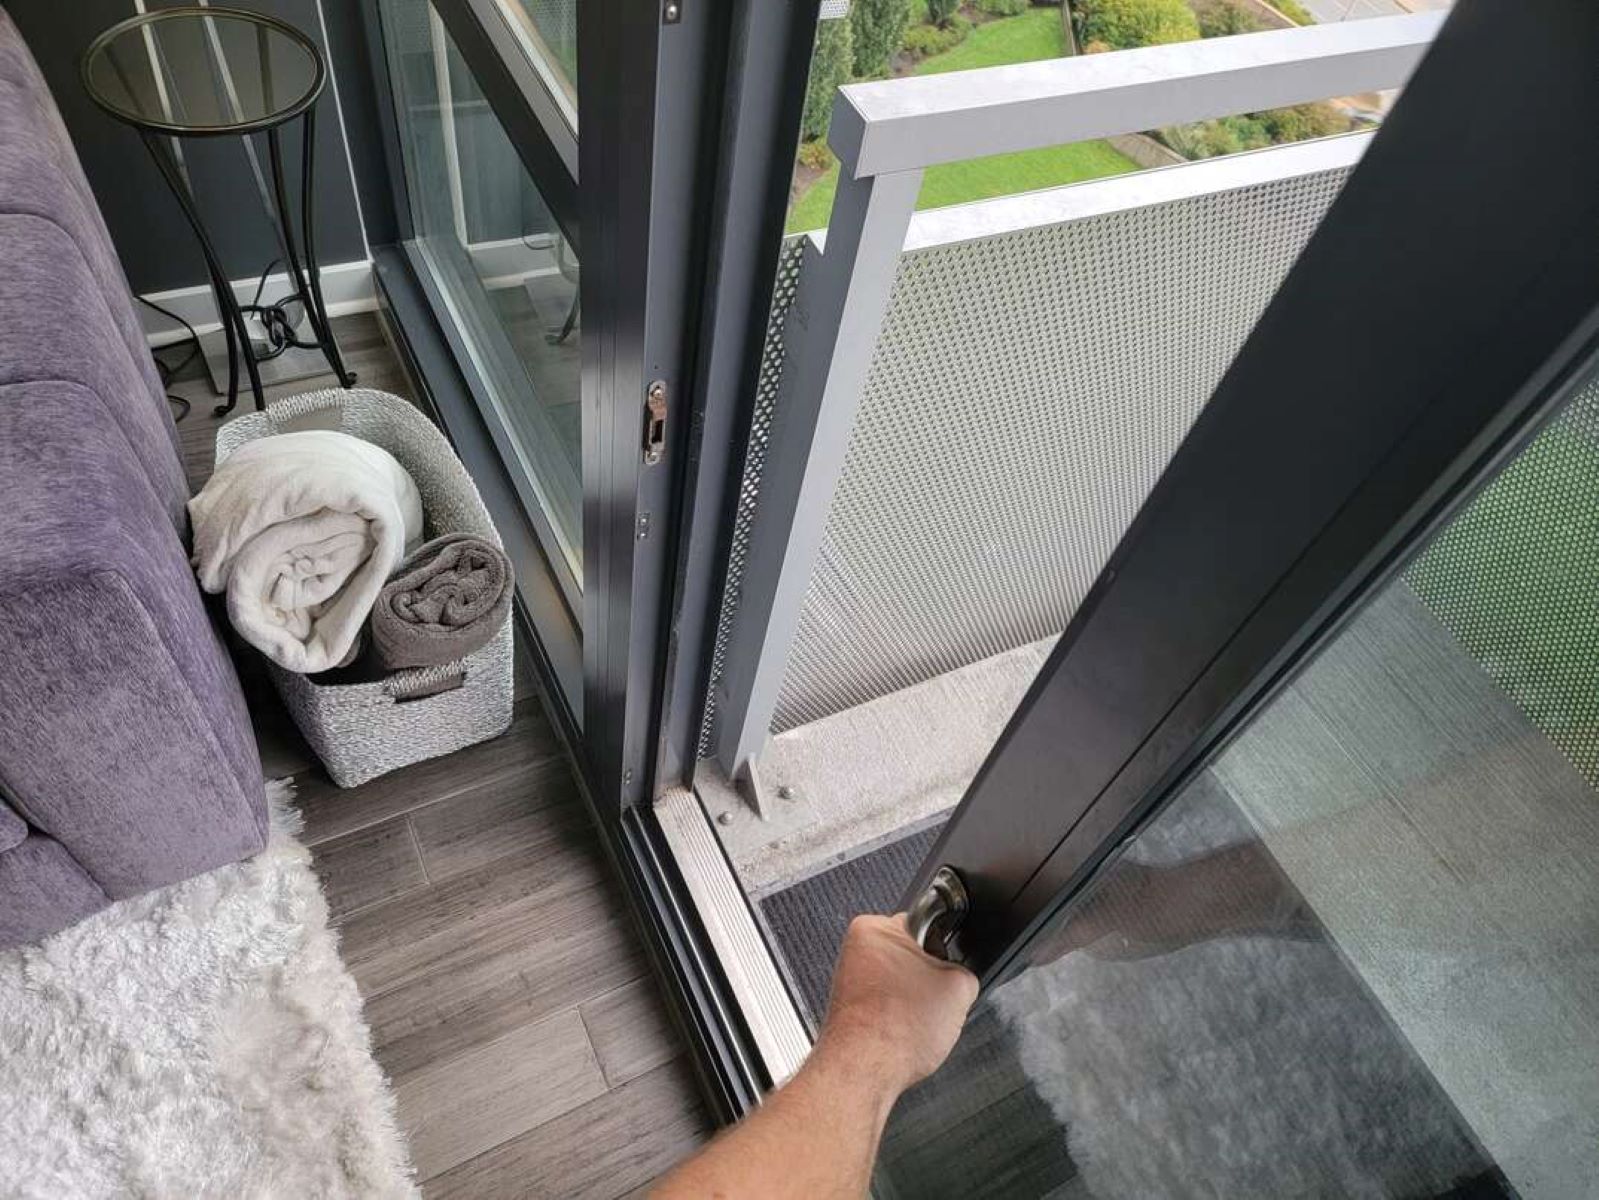
- With the screws removed, gently lift the door panel out of the track system. If the door is heavy or difficult to lift, consider enlisting the help of a second person to avoid any damage or injuries.
- Once the door panel is removed, inspect the track system and remove any screws or fasteners that are securing it to the frame.
- Once all the screws or fasteners are removed, carefully lift and remove the track system from the frame.
- Inspect the frame for any caulking or sealant that may be holding it in place. Use a utility knife or scraper to remove any caulking, taking care not to damage the frame or surrounding materials.
- After removing the old door and track system, clean the opening and prepare it for the installation of the new sliding glass door.
Keep in mind that the removal process may vary depending on the specific design and installation of your old sliding glass door. It’s essential to take your time and exercise caution to avoid any damage to the surrounding walls or the new door that you’ll be installing.
With the old door successfully removed, you’re now ready to proceed with the installation process. In the next step, we’ll guide you through installing the bottom track for your new sliding glass door.
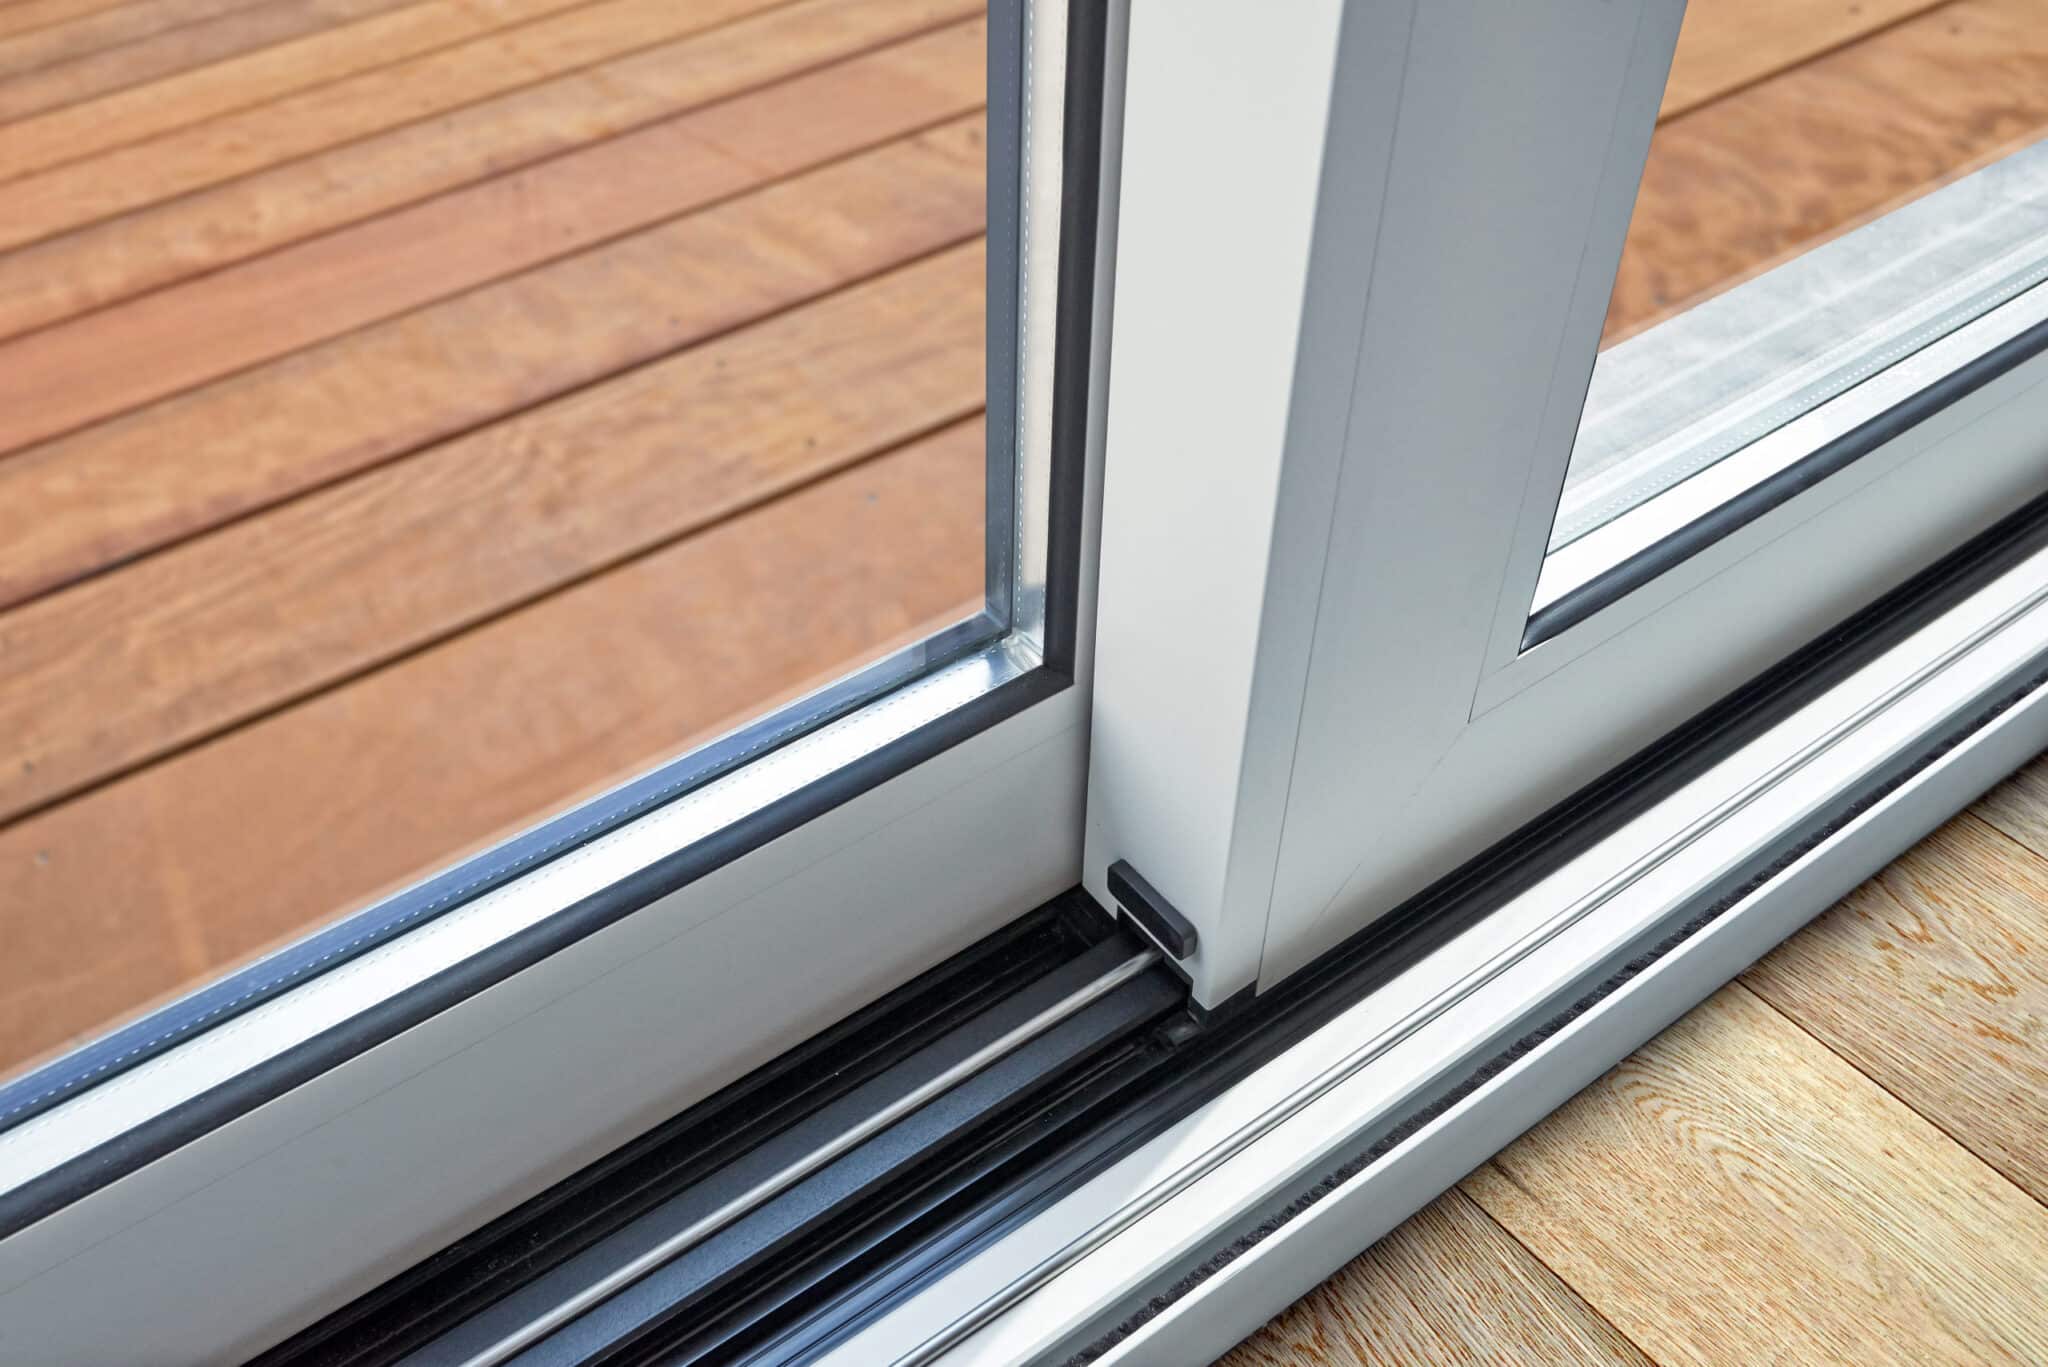
Step 4: Install the Bottom Track
Now that you have prepared the opening and removed the old door (if applicable), it’s time to install the bottom track for your new sliding glass door. The bottom track provides stability and ensures smooth sliding motion. Follow these steps to install the bottom track:
- Start by cleaning the bottom of the opening to ensure a clean and smooth surface for installation.
- Measure the length of the track and cut it to fit the opening, if necessary. Use a hacksaw or a miter saw to make precise cuts, following the manufacturer’s instructions.
- Position the bottom track in the opening, making sure it is level and centered. Use a level to ensure accuracy.
- Secure the track in place using screws or nails, following the manufacturer’s guidelines. Make sure to align the screw holes with the pre-drilled holes in the bottom track.
- Test the sliding motion of the track by sliding a panel back and forth. Make any necessary adjustments to ensure smooth and effortless sliding.
When installing the bottom track, it’s important to ensure that it is level, securely fastened, and properly aligned. A level track will ensure that your sliding glass door operates smoothly and prevents any binding or uneven sliding motion.
Once the bottom track is installed and tested, you’re ready to move on to the next step: inserting the glass panels into the track system. This step brings us one step closer to completing the installation of your new sliding glass door.
Read more: How To Install Sliding Door Lock
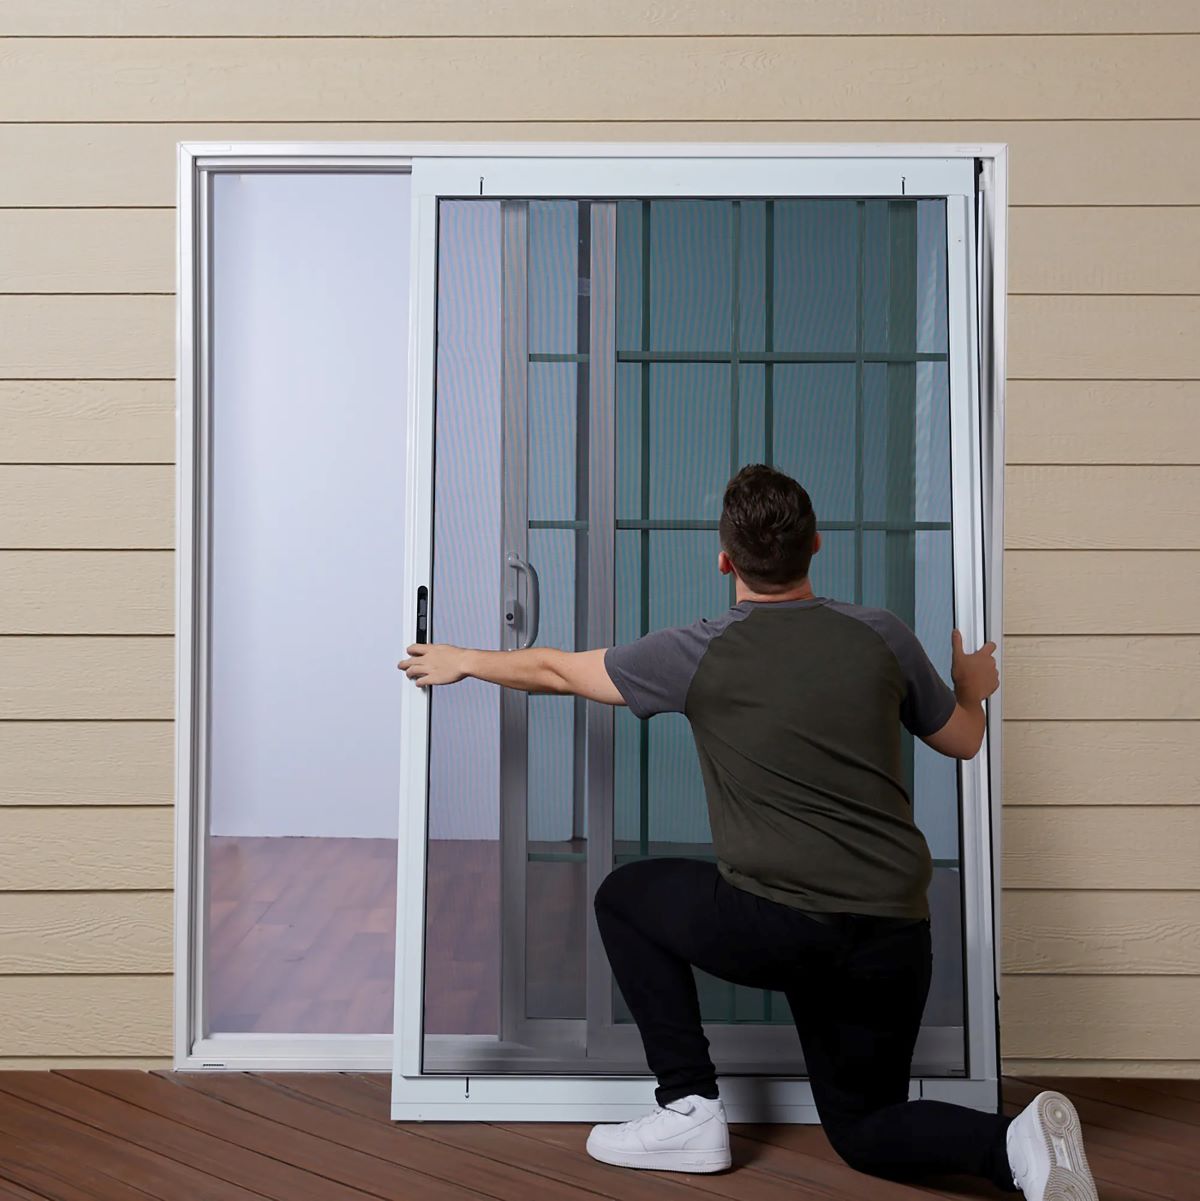
Step 5: Insert the Glass Panels
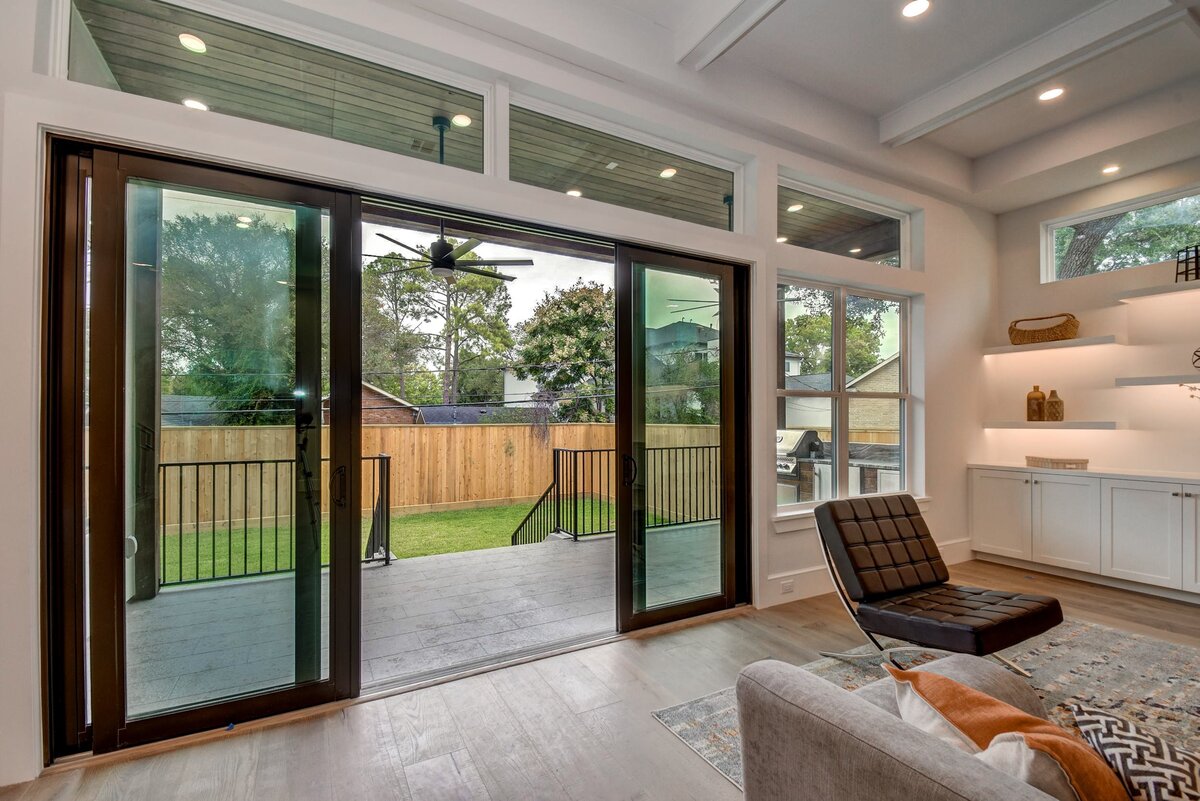
With the bottom track installed, it’s time to insert the glass panels into the track system. The glass panels are the main feature of your sliding glass door, providing visibility, natural light, and creating a connection between your indoor and outdoor spaces. Follow these steps to insert the glass panels:
- Start by carefully lifting one glass panel and inserting it into the bottom track. Tilt the top of the panel towards you and align the rollers at the top with the corresponding track in the top frame.
- Gently lower the glass panel into the track, making sure it is resting securely and evenly.
- Repeat the process for the second glass panel if your sliding glass door has two panels.
- Once both panels are inserted, test the sliding motion by carefully pushing and pulling the panels. Ensure that they slide smoothly and without any obstruction.
- If needed, adjust the roller height using the adjustment screws located at the bottom of the door. This will help ensure that the panels are properly aligned and glide effortlessly.
- Make any necessary adjustments to the panels to ensure they are level and provide a tight fit. This may involve adjusting the height, width, or tilt of the panels.
During this step, it’s important to handle the glass panels with care to avoid any damage or injury. Work delicately and take your time to ensure that the panels are inserted correctly and function properly.
With the glass panels securely inserted and operating smoothly, you’re ready to move on to the next step: installing the top track. The installation process is progressing, and soon you’ll have a fully functioning sliding glass door.
When installing a sliding glass door, make sure to carefully measure the opening to ensure a proper fit. It’s also important to follow the manufacturer’s instructions and use the recommended tools for a successful installation.
Step 6: Install the Top Track
Now that the glass panels are securely in place, it’s time to install the top track of your sliding glass door. The top track provides support and stability to the door panels, ensuring proper alignment and smooth sliding motion. Follow these steps to install the top track:
- Start by cleaning the top of the opening to ensure a clean and smooth surface for installation.
- Measure the length of the top track and cut it to fit the opening, if necessary. Use a hacksaw or a miter saw to make precise cuts, following the manufacturer’s instructions.
- Position the top track on the top of the opening, making sure it is level and aligned with the bottom track. Use a level to ensure accuracy.
- Secure the top track in place using screws or nails, following the manufacturer’s guidelines. Make sure to align the screw holes with the pre-drilled holes in the top track.
- Verify that the top track is level and straight, and that it aligns with the bottom track. This is essential for the smooth operation of the sliding glass door.
- Test the sliding motion of the door panels by sliding them back and forth along the tracks. Make any necessary adjustments to ensure smooth and effortless sliding.
Installing the top track of your sliding glass door requires careful alignment and precision. Ensure that the track is level, securely fastened, and properly aligned with the bottom track. This will ensure that your door operates smoothly and prevents any binding or uneven sliding motion.
With the top track securely installed, the installation process is nearing completion. It’s time to move on to the next step: installing the side jambs to further enhance the stability and functionality of your sliding glass door.
Step 7: Install the Side Jambs
With the top and bottom tracks in place, it’s time to install the side jambs of your sliding glass door. The side jambs provide stability, support, and a finished look to the door frame. Follow these steps to install the side jambs:
- Start by cleaning the sides of the opening to ensure a clean and smooth surface for installation.
- Measure the height of the opening and cut the side jambs to size, if necessary. Use a saw or a miter saw to make precise cuts, following the manufacturer’s instructions.
- Position the side jambs against the sides of the opening, ensuring they are flush with the top and bottom tracks. Use a level to ensure they are plumb.
- Secure the side jambs in place using screws or nails, following the manufacturer’s guidelines. Make sure to align the screw holes with the pre-drilled holes in the jambs.
- Check the alignment and stability of the side jambs, ensuring they are securely fastened and provide a tight fit against the opening.
- Test the sliding motion of the door panels by sliding them back and forth along the tracks. Make any necessary adjustments to ensure smooth and effortless sliding.
Installing the side jambs is an important step in the sliding glass door installation process as they provide additional support and help maintain the structural integrity of the door. Ensure that the jambs are securely fastened, plumb, and aligned with the top and bottom tracks.
With the side jambs installed, you’re one step closer to completing the installation of your sliding glass door. The next step will focus on adjusting and securing the door for optimal performance.
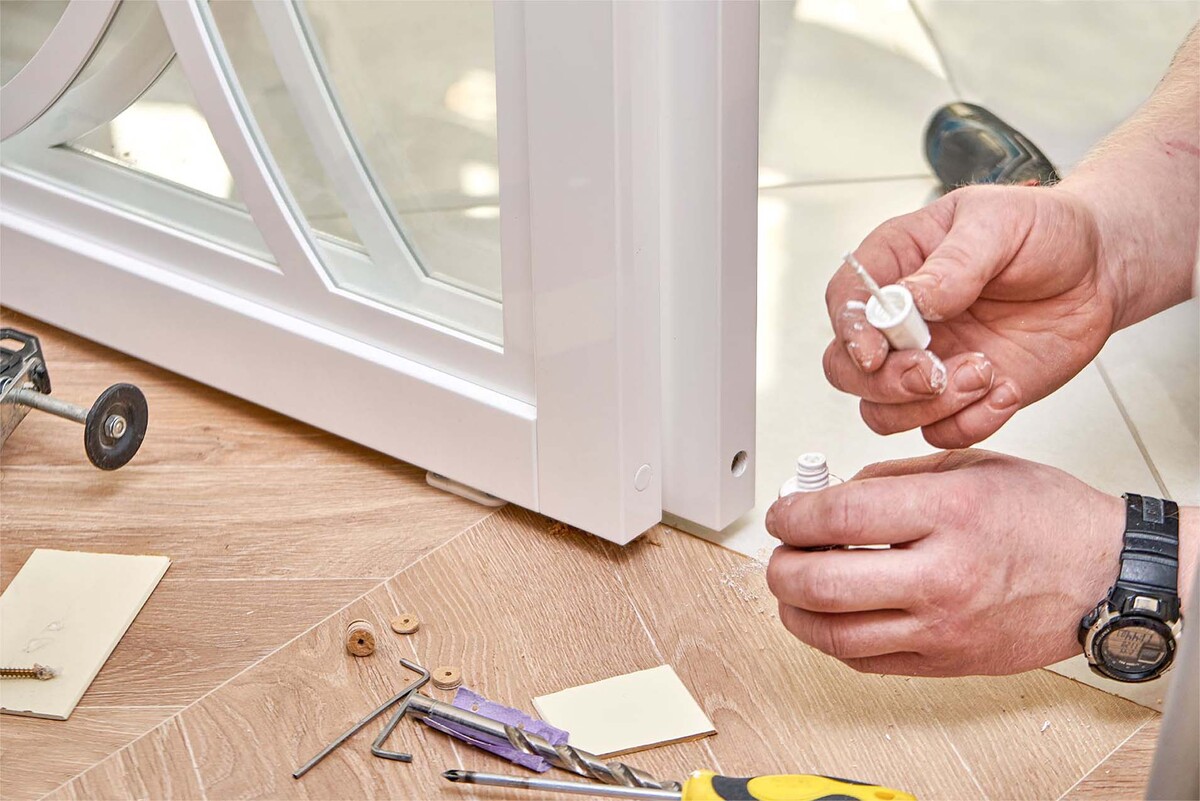
Step 8: Adjust and Secure the Door
Now that the basic structure of your sliding glass door is in place, it’s time to adjust and secure the door to ensure proper operation and security. Follow these steps to adjust and secure the door:
- Start by checking the alignment of the door panels. If needed, adjust the height or tilt of the panels using the adjustment screws located at the bottom of the door. This will help ensure that the panels are properly aligned and glide effortlessly.
- Next, check the gap between the door panels and the surrounding frame. Make any necessary adjustments to ensure even spacing along the sides and top of the door.
- Test the sliding motion of the door by opening and closing it several times. Ensure that it operates smoothly without any binding or resistance.
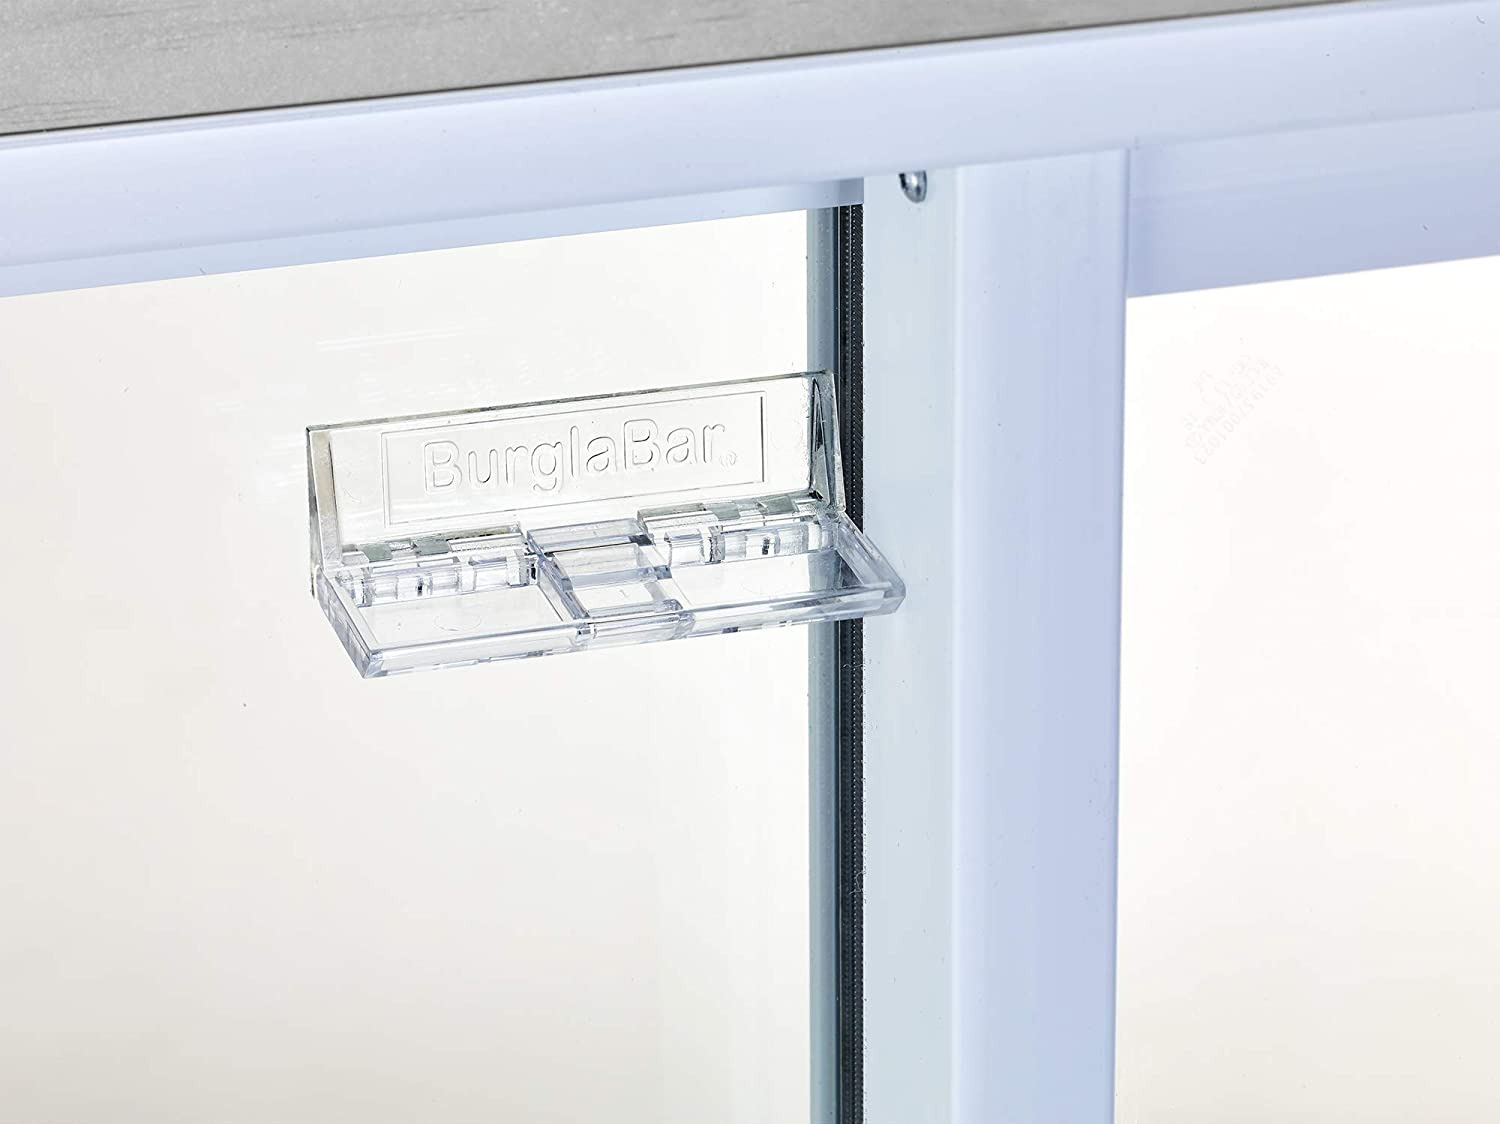
- Inspect the door’s locking mechanism and hardware. Make sure they are functioning properly and securely fastened.
- If needed, lubricate the door rollers and track system with a silicone-based lubricant. This will help ensure smooth and quiet operation of the door.
- Install any additional hardware or accessories, such as a door handle or lock, following the manufacturer’s instructions.
- Once you’re satisfied with the adjustments and the door’s operation, secure it in place by screwing the side jambs into the surrounding frame.
By properly adjusting and securing your sliding glass door, you’ll not only ensure optimal functionality but also enhance the security of your home. Take the time to fine-tune the door’s alignment and test its operation to ensure a smooth and secure sliding motion.
With the door adjusted and securely fastened, you’re almost done with the installation process. The next step will focus on installing weatherstripping to improve insulation and prevent drafts.
Read more: How To Install A Sliding Closet Door
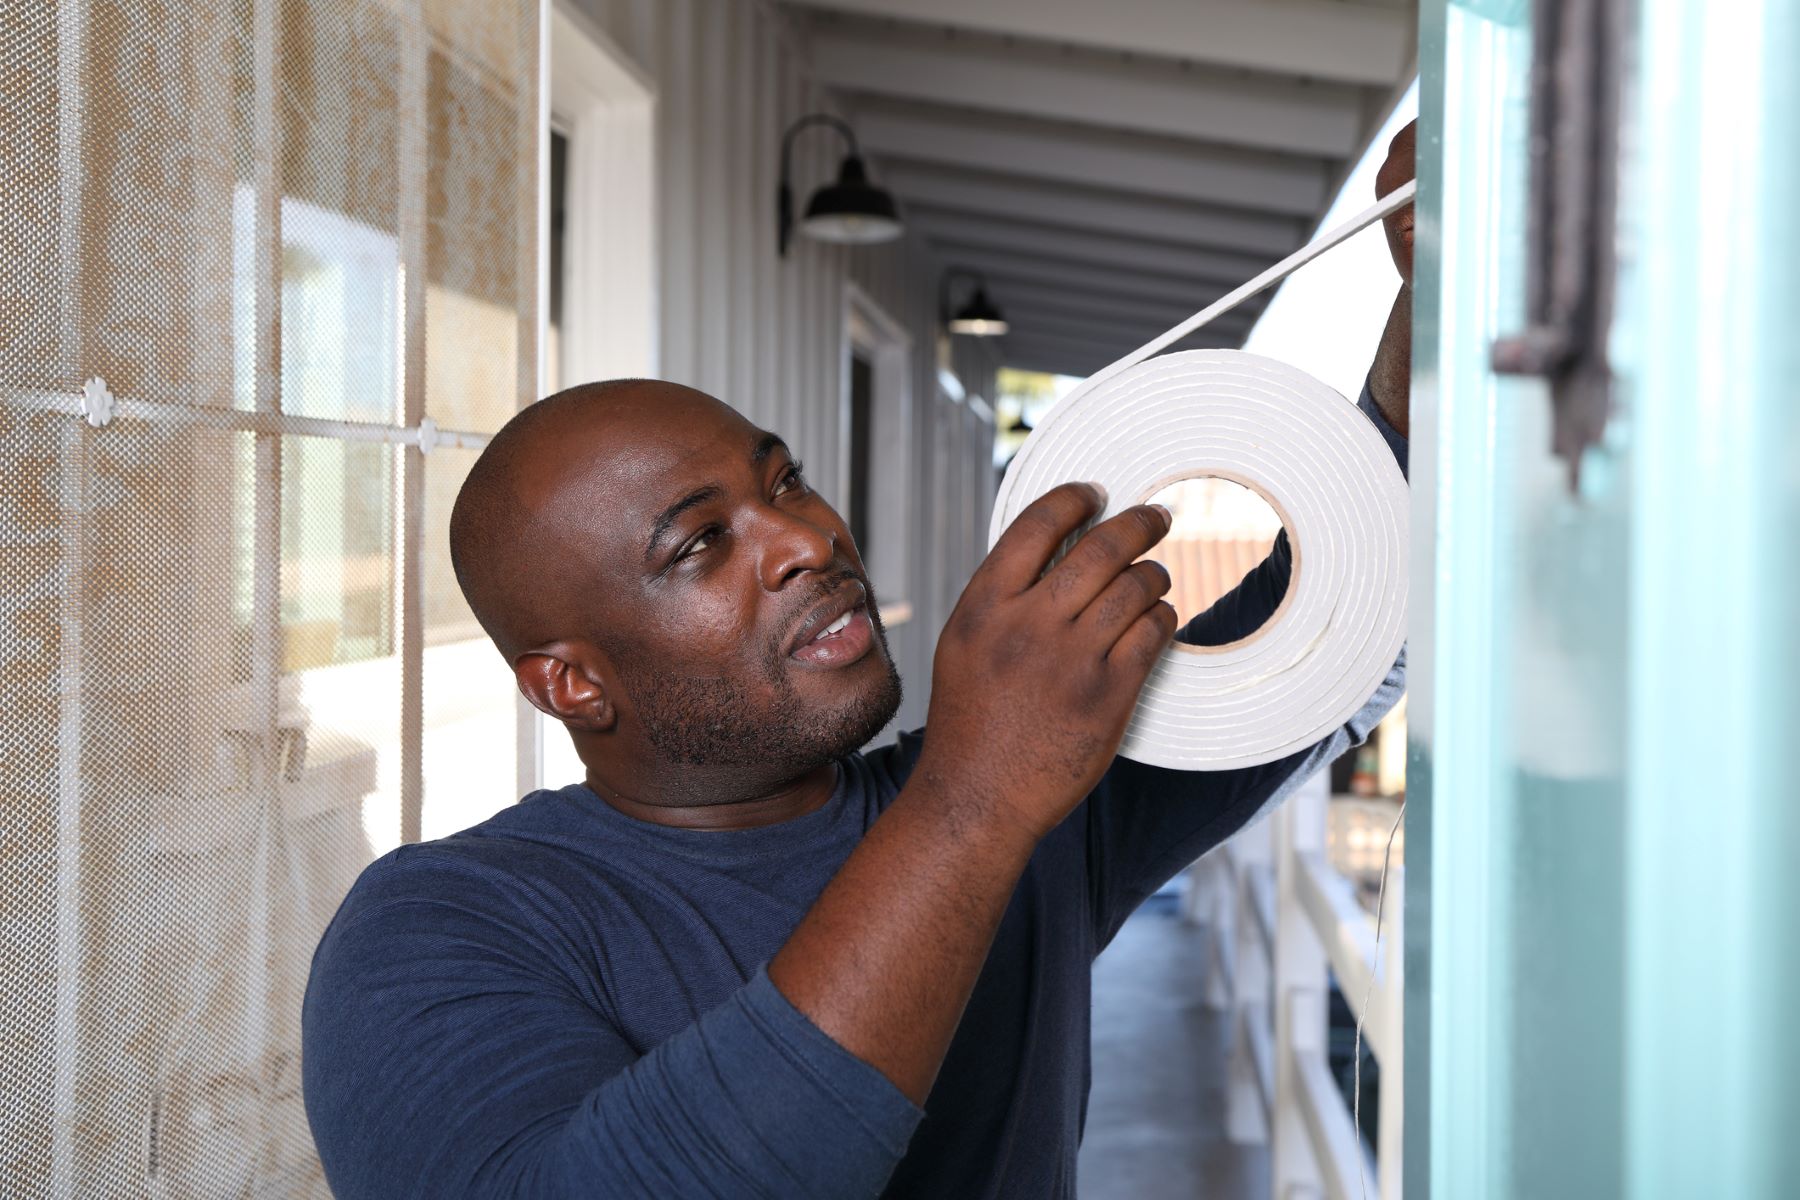
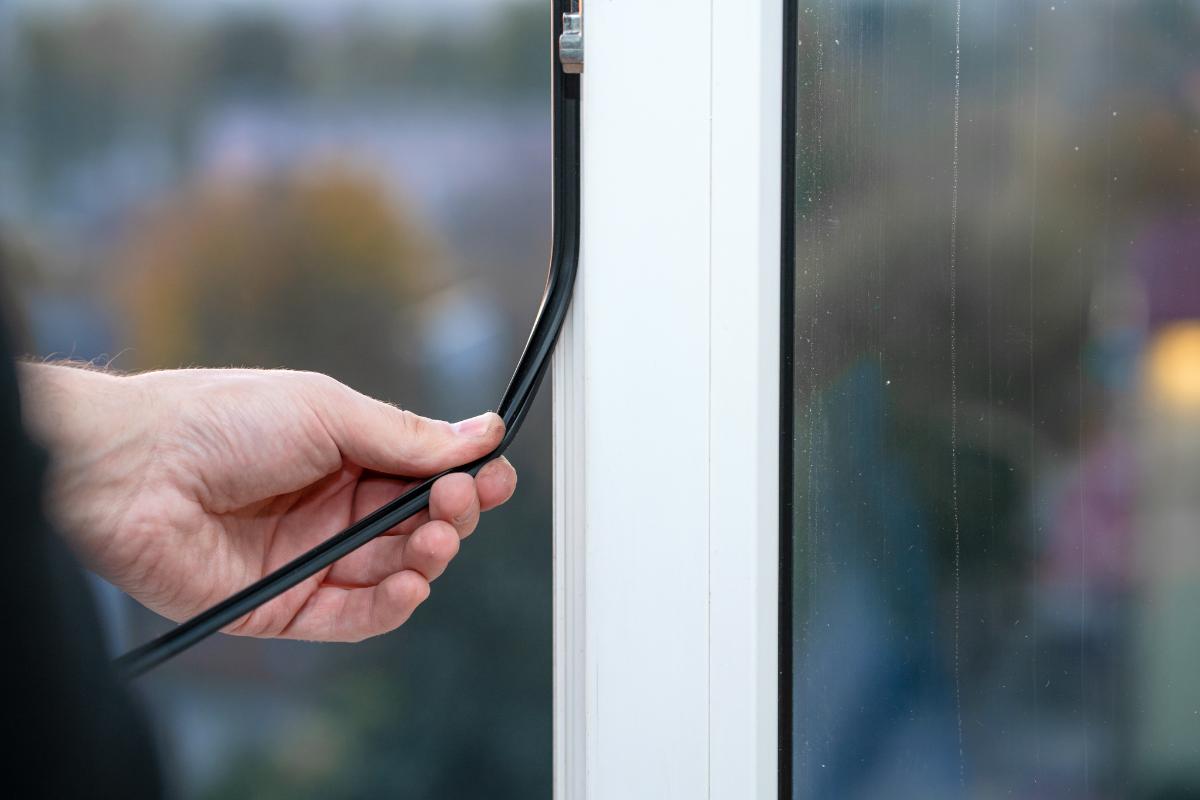
Step 9: Install Weatherstripping
Installing weatherstripping is a crucial step in completing the installation of your sliding glass door. Weatherstripping helps improve insulation, prevents drafts, and enhances energy efficiency. Follow these steps to install weatherstripping:
- Start by cleaning the surfaces where the weatherstripping will be installed. Remove any dust, dirt, or debris to ensure a clean and secure attachment.
- Measure the length needed for the weatherstripping by measuring the sides and top of the door frame. Cut the weatherstripping to fit, ensuring it is slightly longer than the measured length to allow for a snug fit.
- Peel off the adhesive backing from the weatherstripping and carefully attach it to the corresponding areas of the door frame. Start with the sides and then move on to the top.
- Press the weatherstripping firmly against the frame to ensure a secure bond. Smooth out any wrinkles or air bubbles.
- Repeat the process for the other side of the door frame and the remaining sides, if applicable.
- Test the closing and opening of the door to ensure that the weatherstripping does not obstruct the operation. Make any necessary adjustments if the door does not close or lock properly.
Installing weatherstripping will provide an additional layer of insulation and help keep your home comfortable by preventing drafts and reducing energy loss. It’s important to choose high-quality weatherstripping that is durable and weather-resistant.
With the weatherstripping installed, your sliding glass door will be well-insulated and protected against the elements. The final step will cover testing the door and adding any finishing touches to complete the installation process.
Step 10: Test and Finishing Touches
Congratulations! You’re in the final stage of installing your sliding glass door. Step 10 involves thoroughly testing the door’s functionality and making any necessary adjustments, as well as adding some finishing touches to complete the installation process. Here’s what you need to do:
- Open and close the sliding glass door multiple times to ensure it operates smoothly and effortlessly. Pay attention to any resistance, sticking, or misalignment.
- Check the door’s locking mechanism to make sure it securely locks and unlocks without any issues. Test it from both the inside and outside.
- Inspect the door and surrounding area for any gaps or leaks. If you notice any, use weather-resistant caulk or sealant to seal them and prevent air or water infiltration.
- Clean the glass panels and the entire door to remove any smudges, fingerprints, or debris accumulated during the installation process.
- Once you’re satisfied with the functionality and cleanliness of the door, add any necessary accessories or final touches. This may include installing a door handle, adding a decorative trim, or attaching a window film for privacy.
- Step back and admire your newly installed sliding glass door. Take a moment to appreciate the enhanced aesthetic appeal, improved natural light, and seamless connection between your indoor and outdoor spaces.
By thoroughly testing the door and making necessary adjustments, you can ensure its smooth operation and long-term functionality. Additionally, adding the finishing touches will give your sliding glass door a polished and personalized look.
Congratulations once again on successfully installing your sliding glass door! It’s now ready to enhance the beauty and functionality of your home for years to come.
Remember to consult the manufacturer’s instructions and local building codes throughout the installation process. If you’re unsure about any step, it’s always a good idea to seek professional assistance.
Conclusion
Installing a sliding glass door can transform your home by bringing in natural light, providing a connection to the outdoors, and adding a touch of elegance. By following the step-by-step guide outlined in this article, you have gained the knowledge and confidence to successfully install your own sliding glass door.
Throughout the installation process, we covered essential steps such as gathering the necessary tools and materials, measuring and preparing the opening, removing the old door (if applicable), installing the bottom and top tracks, inserting the glass panels, installing the side jambs, adjusting and securing the door, installing weatherstripping, and performing final tests and finishing touches.
Each of these steps is crucial to ensure a seamless and functional sliding glass door. Remember to take accurate measurements, use the proper tools and materials, and exercise caution and attention to detail throughout the installation process.
With your new sliding glass door installed, you can enjoy the benefits it brings, such as increased natural light, improved energy efficiency, and a connection to the outdoors. The aesthetics and functionality of your home will be enhanced, creating a more inviting and comfortable living space.
If you encounter any challenges or feel unsure about any aspect of the installation, it’s always a good idea to consult professional assistance. They can ensure that the installation is done correctly and in compliance with any local building codes.
Enjoy your newly installed sliding glass door and the beauty and functionality it adds to your home. Take the time to appreciate the natural light, admire the seamless indoor-outdoor connection, and embrace the elegance it brings to your living space.
Thank you for following this guide, and we wish you the best of luck with your sliding glass door installation!
Frequently Asked Questions about How To Install A Sliding Glass Door
Was this page helpful?
At Storables.com, we guarantee accurate and reliable information. Our content, validated by Expert Board Contributors, is crafted following stringent Editorial Policies. We're committed to providing you with well-researched, expert-backed insights for all your informational needs.


0 thoughts on “How To Install A Sliding Glass Door”